Who doesn’t love a good old fashioned Nerf Battle? My 10 year old son was who I had in mind when I added Nerf Wars and Target Practice to our Advent activities this year. But let’s be honest…this is fun for any age…even the grown ups!
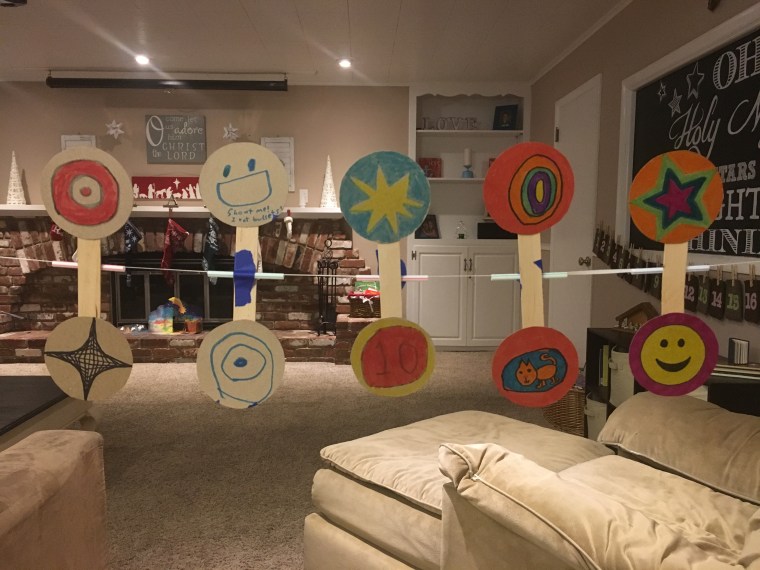
We started our evening by creating these spinning targets, which were a big “hit!” I prepared everything ahead of time by cutting circles out of empty food boxes and setting out markers, tape, two circles per person, large craft sticks, straws cut to size, pennies to weigh the spinners down at the bottom, a piece of string, and a couple of push pins. Then we sat down at our coffee table to create. Check out my tutorial to see how we made the spinners.
Next we each selected our Nerf Gun, grabbed a couple of soft bullets and had target practice. We also stacked up some red cup pyramids to shoot down and then ended our evening with a boys vs. girls living room Nerf Battle, using a jump rope to divide the room in half. The last one standing was the winner. Want to know who the epic champion of the night was? You guessed it…little sister for the win! #CommissionsEarned
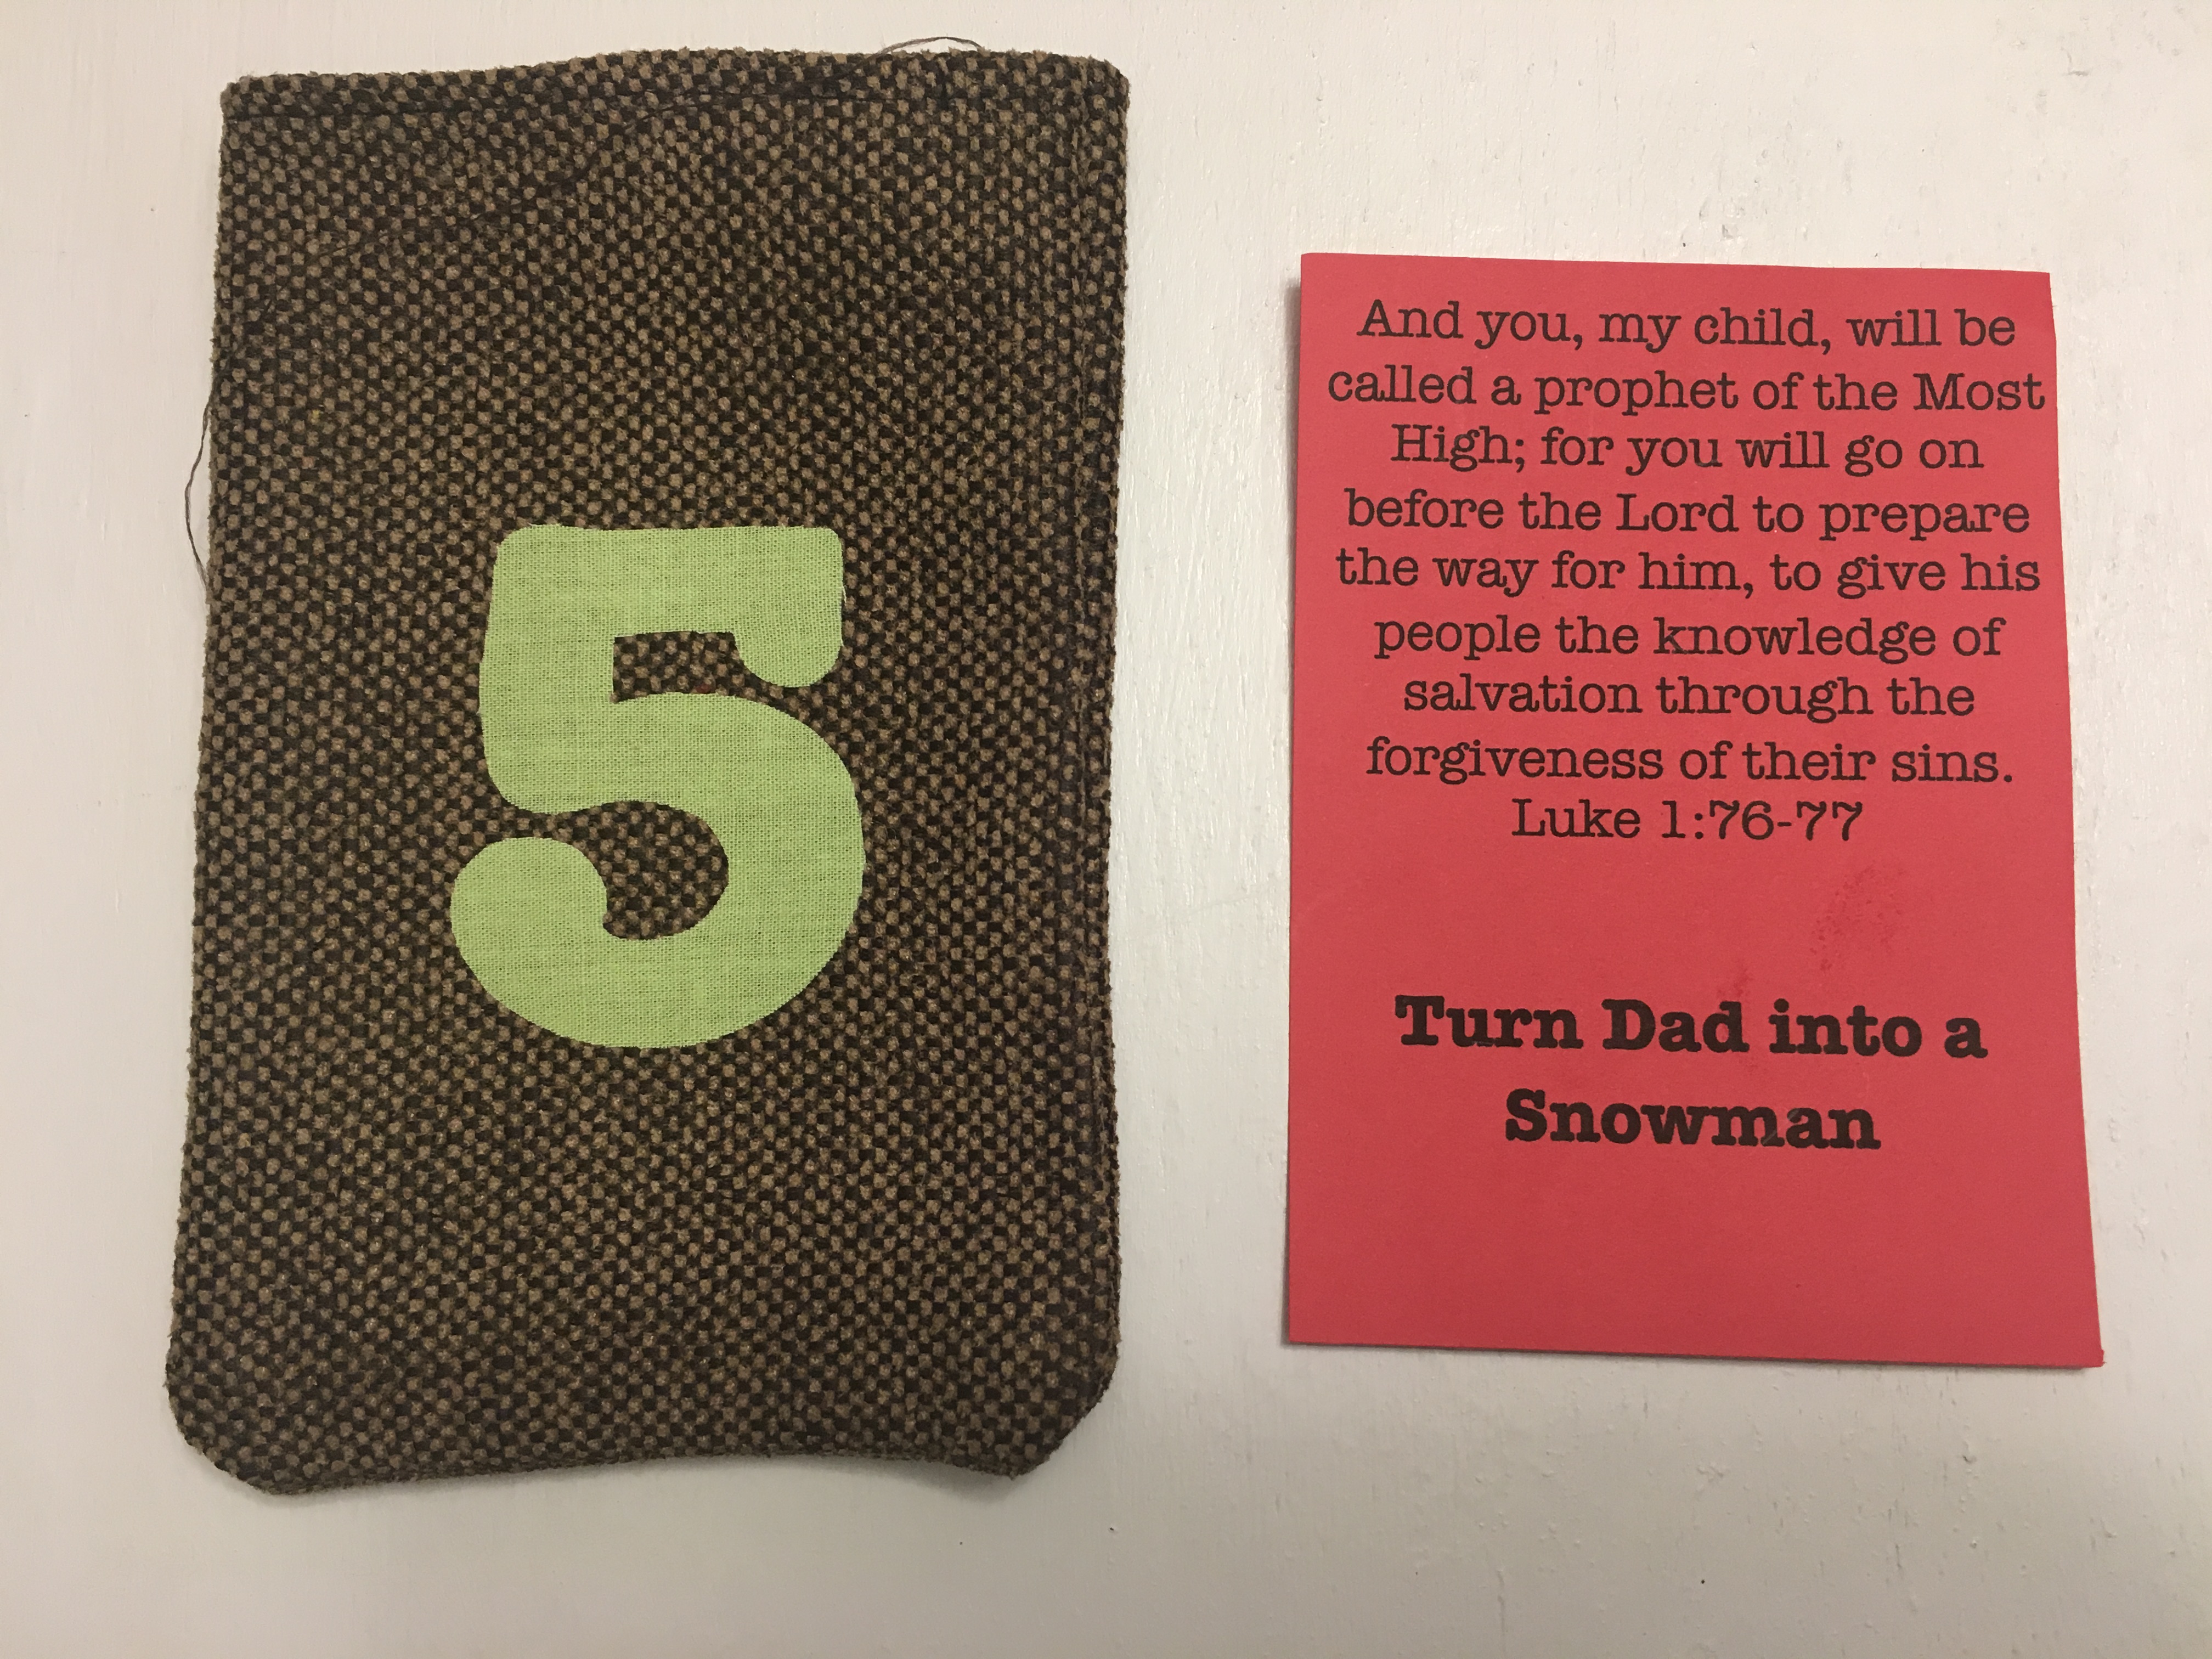
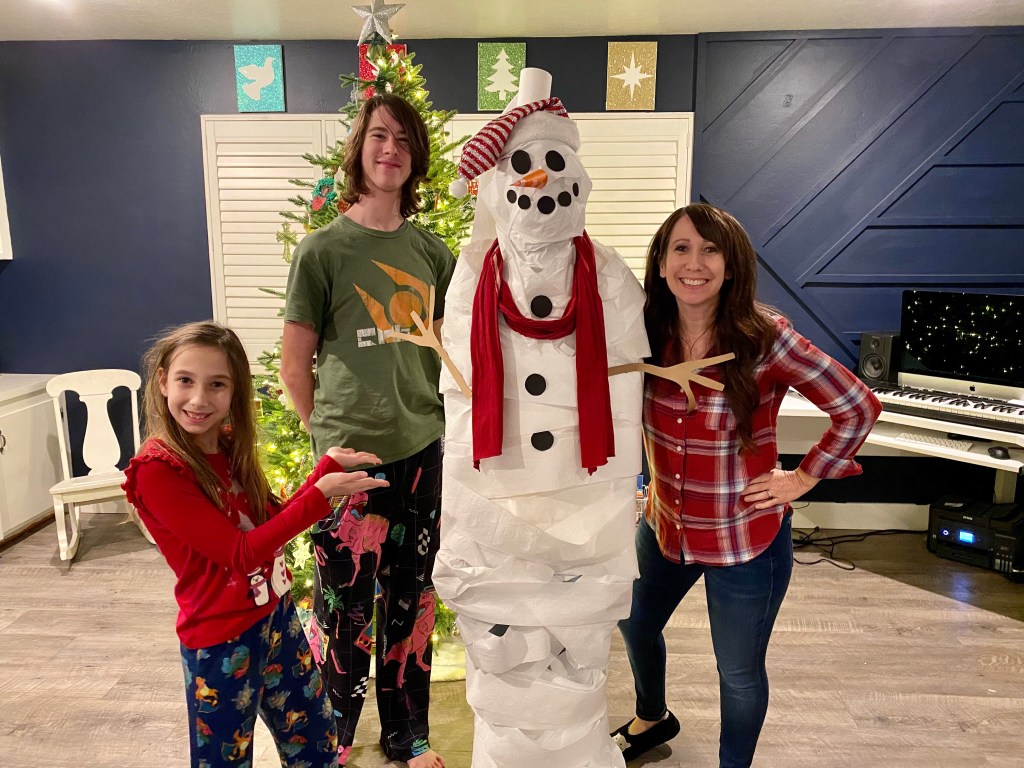
Turning Dad into a snowman has become one of the most anticipated Advent activities for our children. We started this tradition 3 years ago and it’s always sure to bring out tons of laughter and joy for all of us! The kids squealed with delight this morning, when they opened the Advent bag and read that this was the day to make a Dad “snowman!”
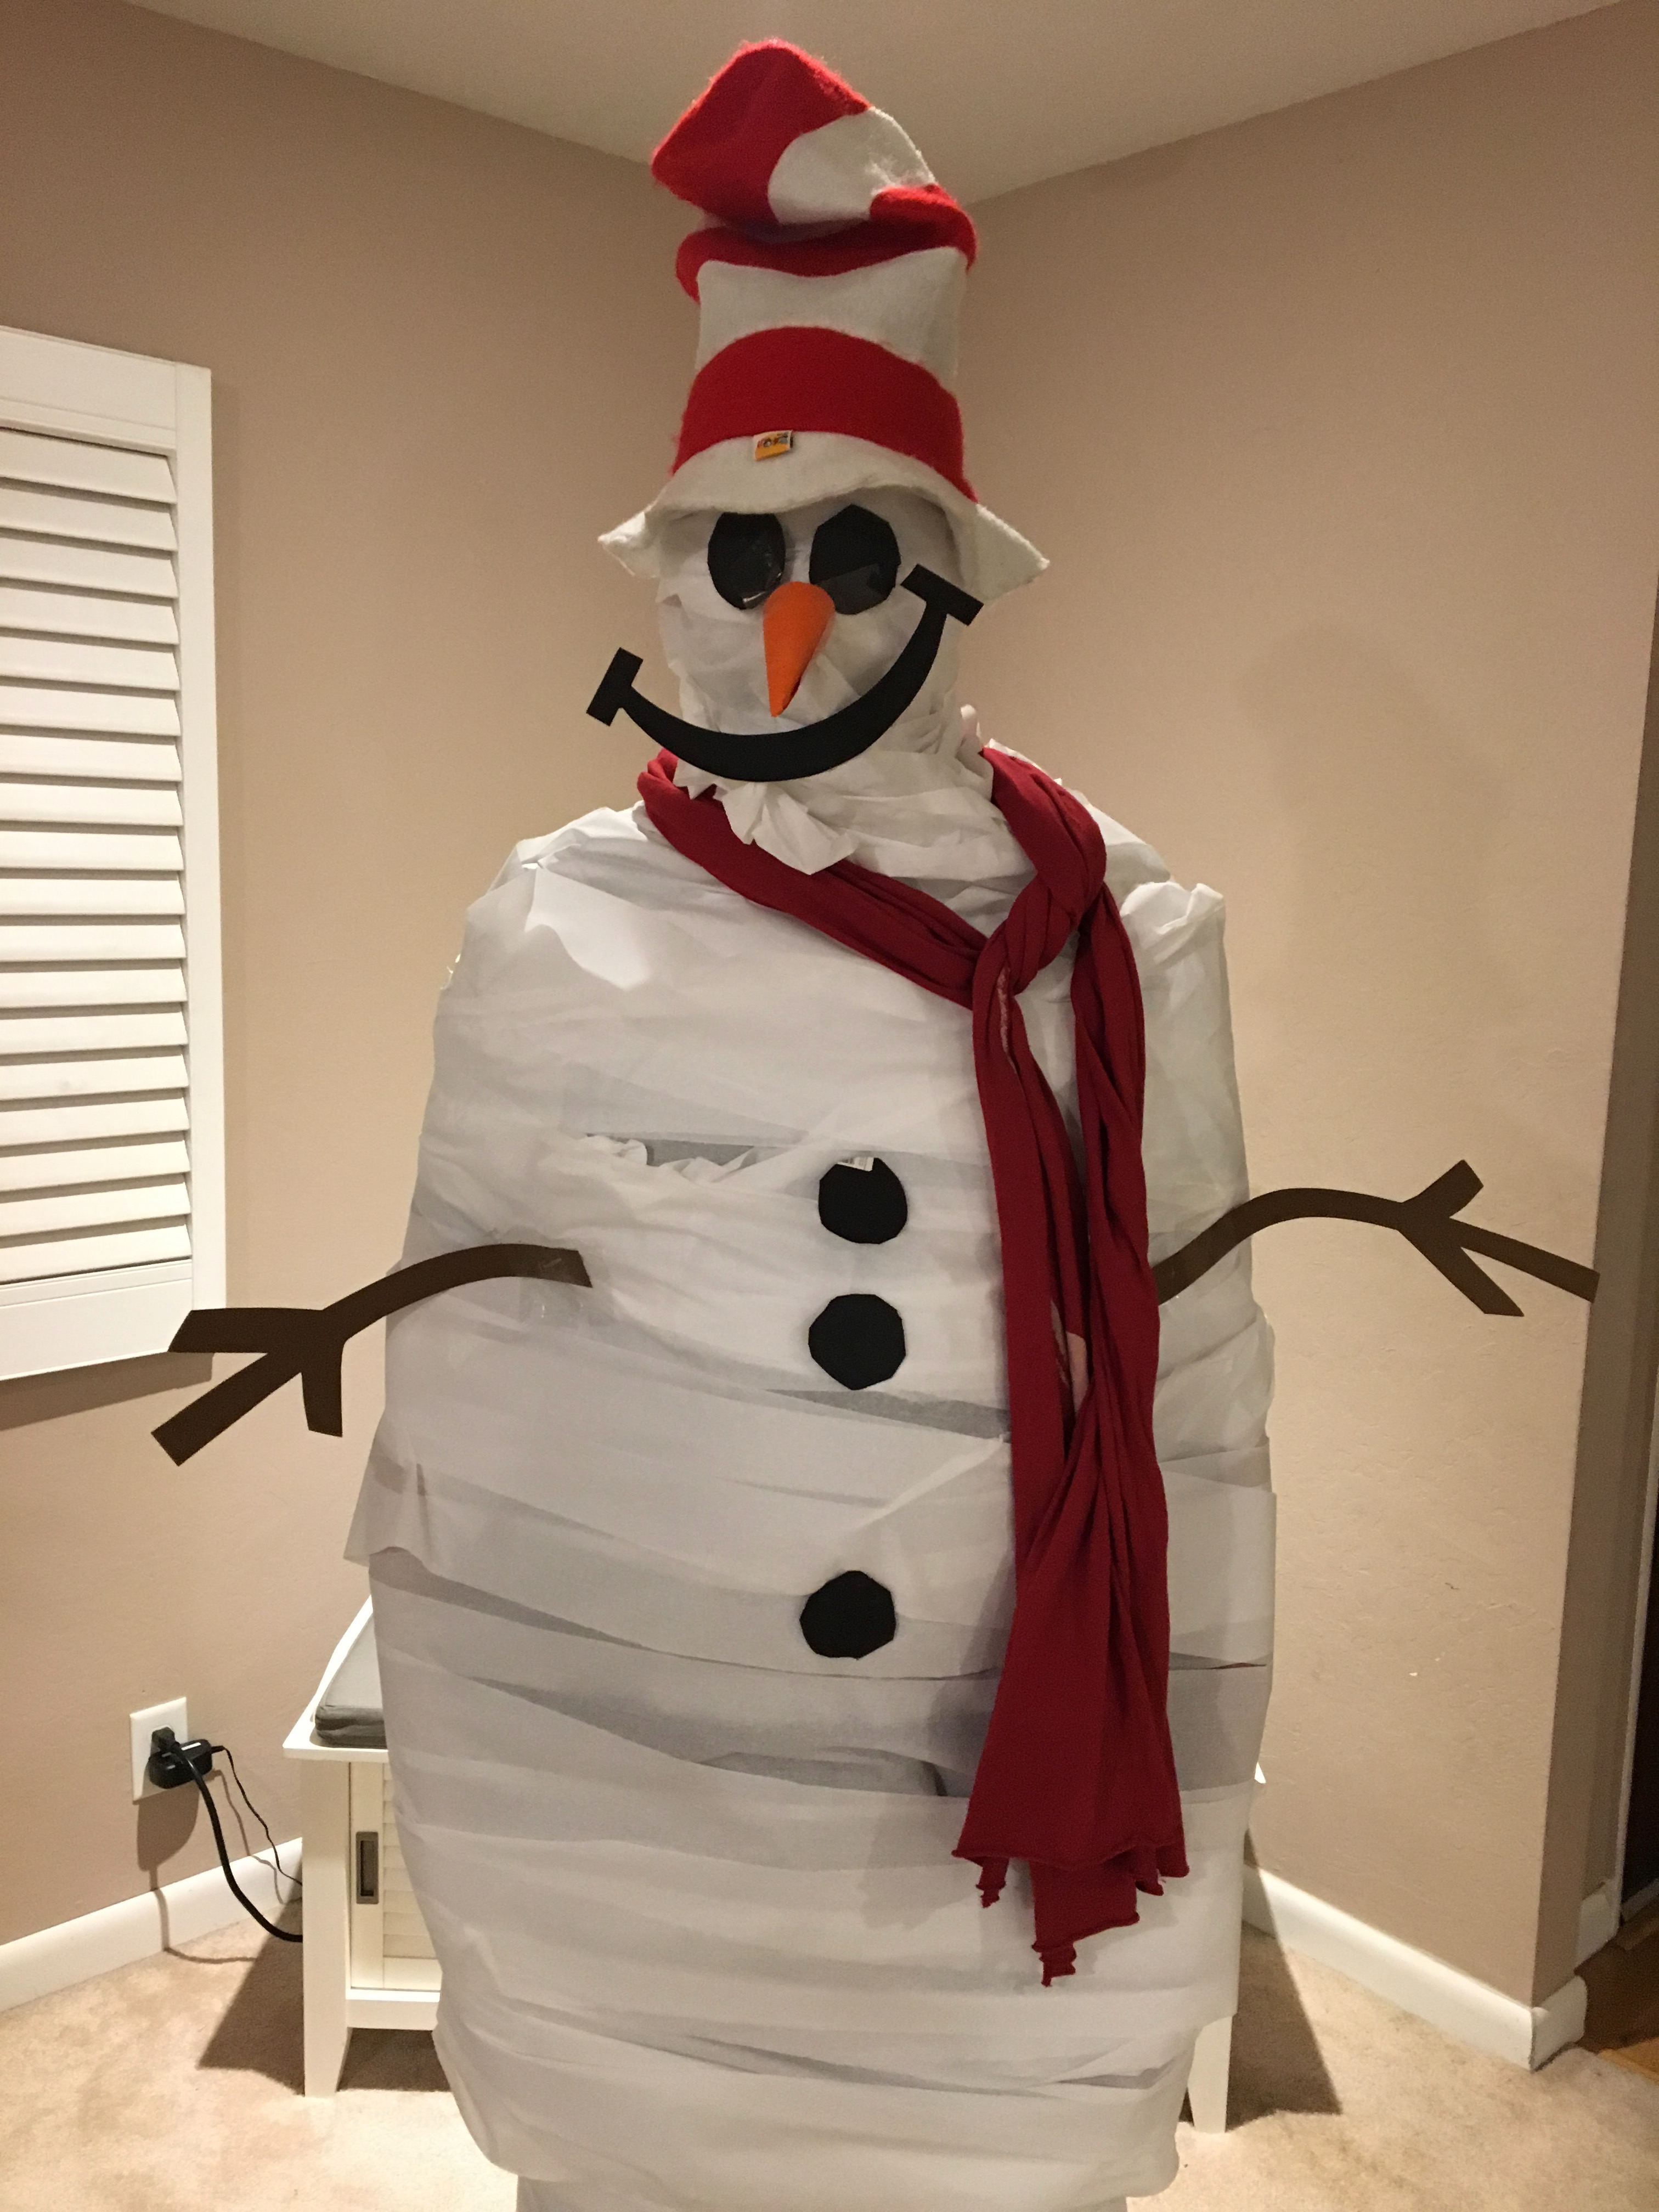
The best part of this activity, besides the crazy amount of laughter, is that it is free! Just gather what you have around the house. We used a couple of rolls of toilet paper, some scrapes of cardstock for the eyes, coal buttons, nose, mouth, and arms. I grabbed a scarf out of my closet and a hat out of the kid’s dress up box. Have some scotch tape handy and you are ready to go.
Last year, by accident, my husband got some toilet paper in his mouth, which made for a hilarious few minutes of giggles for the kids. So of course, this year, there was the expectation that he would make this happen once again. He did not disappoint! Make sure to watch our video to the very end to see the grand finale!
Over the last several years, we have switched things up a bit. So far all but one of us has been the snowman. The kids were delighted the year that they opened the advent bag and found the card that said “turn MOM into a snowman!” From that point on, every year we have chosen a different person to be the snowman. Here are a few pics of this silly tradition.
For more Christmas Fun check out the following blogposts:
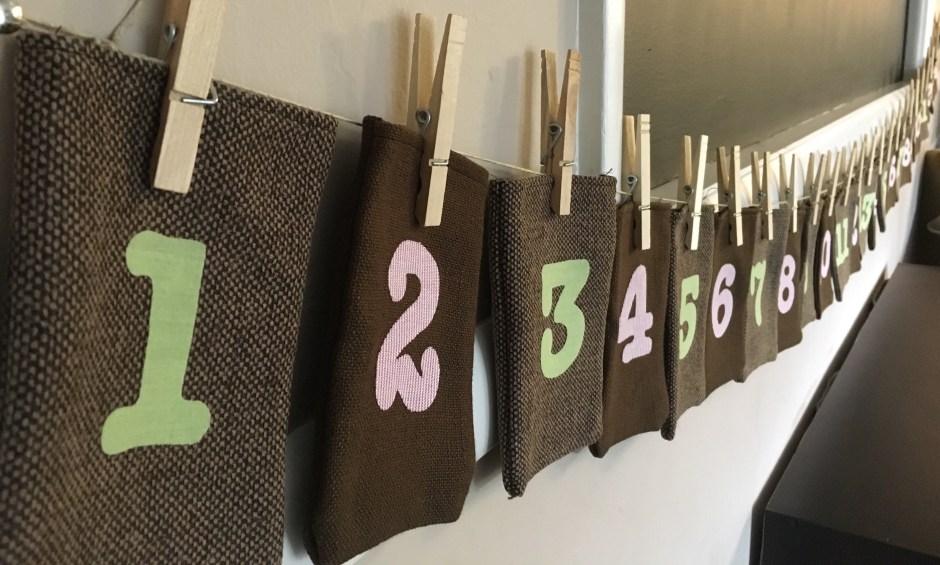
Every year, in the month of December, we spent time focusing on preparing our hearts to celebrate the birth of our Savior, Jesus Christ. One tangible way we do this as a family is by doing Advent Activities. Each day, December 1-25, our kids open the Advent Bag that corresponds with that day. Each bag contains a card with a Bible verse and a family activity printed on it.
I’ve included a video tutorial on how I made my Advent Bags. They are simple to make and have held up for over 5 years. My kids get so excited when they see them hung up across a wall of our house each December.
I’ve also given you a list of the Bible verses that we use, as well as our Advent activities for this year. Just an FYI, some of our activities may not be in the order I have posted. I try to plan ahead, but adjust as necessary depending on how life goes. Follow my blog this month for more detailed blog posts on some of our crafts and family activities.
ADVENT BIBLE VERSES
Therefore the Lord himself will give you a sign: The virgin will be with child and will give birth to a son, and will call him Immanuel. Isaiah 7:14
Give thanks to the Lord for He is good; His love endures forever. Psalm 118:29
My sheep listen to my voice; I know them and they follow me. I give them eternal life and they shall never perish; no one can snatch them out of my hand. John 10:27-28
But the angel said to him: “Do not be afraid, Zecharaiah; your prayer has been heard. Your wife Elizabeth will bear you a son, and you are to give him the name John.” Luke 1:13
And you, my child, will be called a prophet of the Most High; for you will go on before the Lord to prepare the way for him, to give his people the knowledge of salvation through the forgiveness of their sins. Luke 1:76-77
But the angel said to her, “Do not be afraid, Mary, you have found favor with God. You will be with child and give birth to a son, and you are to give him the name Jesus. He will be great and will be called the Son of the Most High.” Luke 1: 30-32
And everyone went to his own town to register. Luke 2:3
And Mary said: “My soul glorifies the Lord and my spirit rejoices in God my Savior.” Luke 1:46-47
She will give birth to a son, and you are to give him the name Jesus because he will save his people from their sins. Matthew 1:21
The Word became flesh and made his dwelling among us. We have seen his glory, the glory of the One and only, who came from the Father, full of grace and truth. John 1:14
She wrapped him in cloths and placed him in a manger, because there was no room for them in the inn. Luke 2:7
On the eighth day, when it was time to circumcise him, he was named Jesus, the name the angel had given him before he had been conceived. Luke 2:21
The shepherds returned, glorifying and praising God for all the things they had heard and seen, which were just as they had been told. Luke 2:20
After Jesus was born in Bethlehem in Judea, during the time of king Herod, Magi from the east came to Jerusalem and asked, “Where is the one who has been born king of the Jews? We saw his star in the east and have come to worship him.” Matthew 2:1-2
On coming to the house, they saw the child with his mother Mary, and they bowed down and worshiped him. Matthew 2:11a
Then they opened their treasures and presented him with gifts of gold and of incense and of myrrh. Matthew 2:11b
When they had gone, an angel of the Lord appeared to Joseph in a dream. “Get up,” he said, “take the child and his mother and escape to Egypt. Stay there until I tell you, for Herod is going to search for the child to kill him.” Matthew 2:13
For to us a child is born, to us a son is given, and the government shall be on his shoulders. And he will be called Wonderful Counselor, Might God, Everlasting Father, Prince of Peace. Isaiah 9:6
And this is the testimony: God has given us eternal life, and this life is in his Son. 1 John 5:11
And live a life of love, just as Christ loved us and gave himself up for us as a fragrant offering and sacrifice to God. Ephesians 5:2
Jesus answered, “I am the way and the truth and the life. No one comes to the Father except through me.” John 14:6
Your word is truth. John 17:17
For God so loved the world that he gave his one and only Son, that whoever believes in him shall not perish but have eternal life. John 3:16
Jesus is the Son of God. Acts 9:20
This is how God showed his love among us: he sent his one and only Son into the world that we might live through him. 1 John 4:9
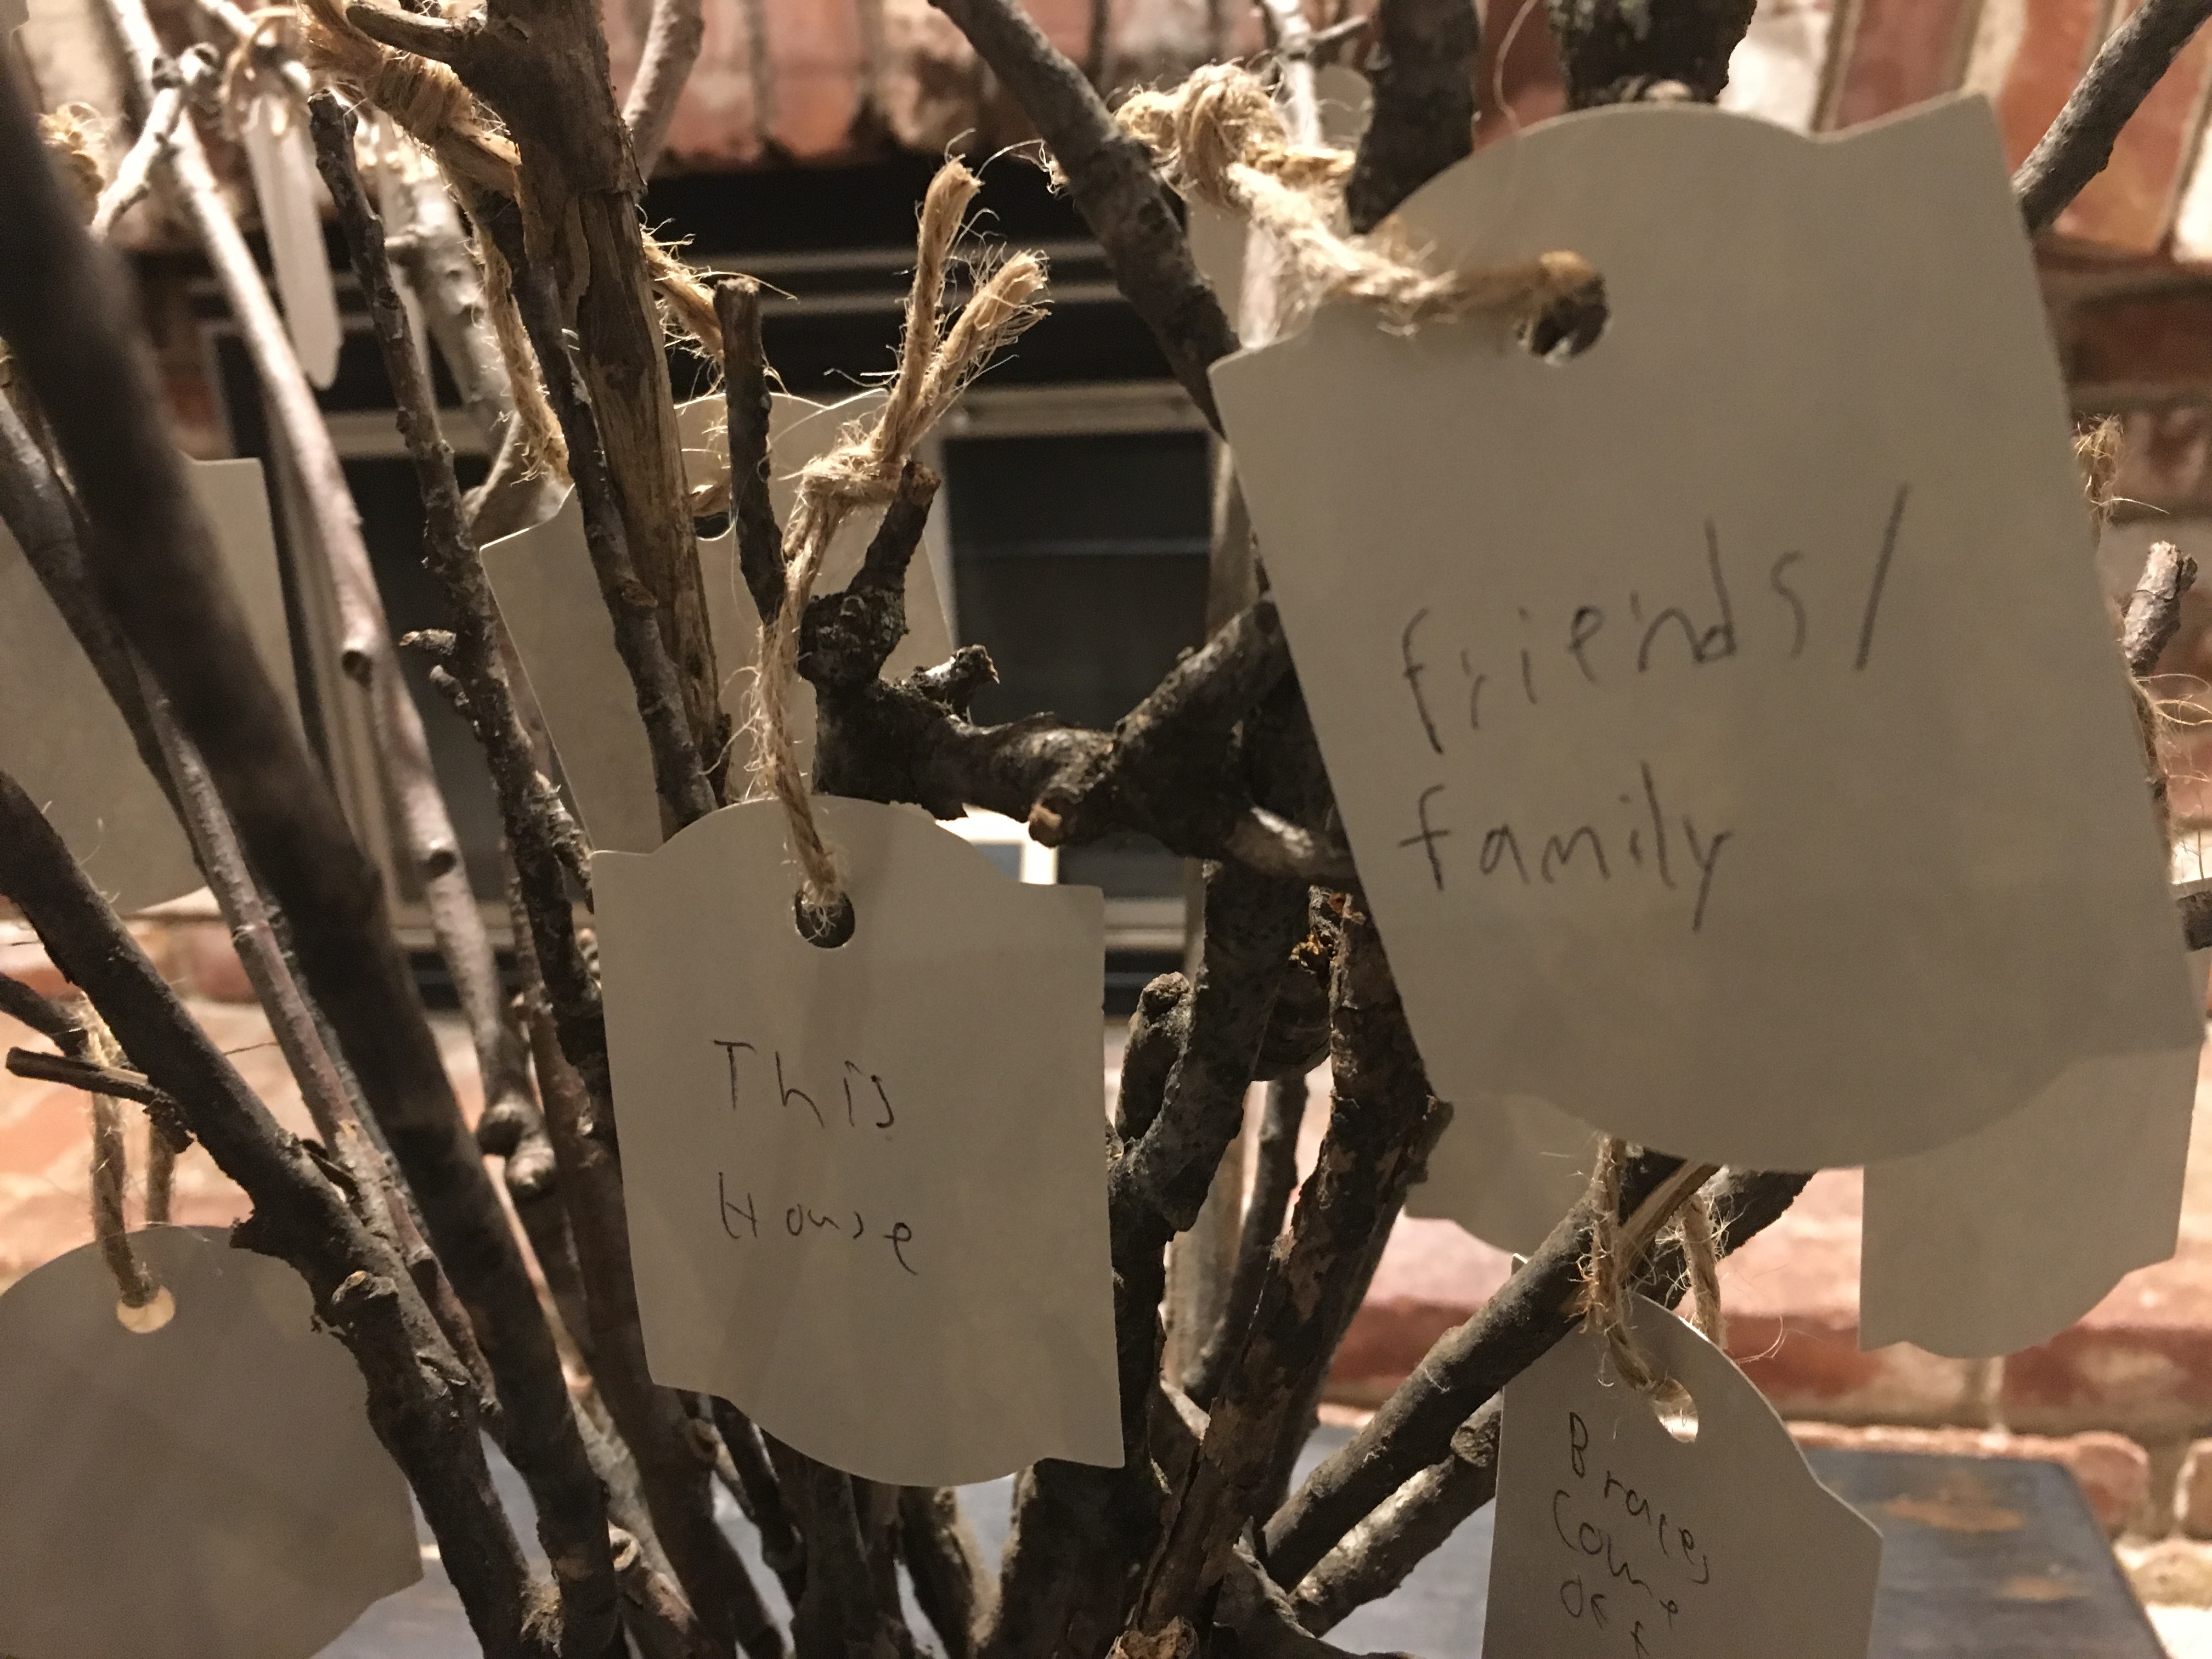
One of our Thanksgiving traditions is to create a thankful tree. We have done this several ways throughout the years, but this has become my favorite way to display our gratitude in the month of November. It is a great activity that encourages families to spend quality time together and to focus on the things we are grateful for.
Fall walks are full of beauty with the changing colors and leaves and twigs scattered throughout. We are blessed to have gorgeous walking trails in our city. This year we took our kids out to collect branches near the river. We brought the branches home and placed them in a vase. This year I just used a large mason jar. I cut out simple tags using my Cricut machine, punched a hole in the top, and threaded a loop of twine through each one. #CommissionsEarned
One evening, when we were all home together, we sat down in the living room and spent a few minutes writing the things that we are thankful for, then decorated our “tree.” This activity can be done anytime in the month of November and can become part of your Fall decor, or it can be an activity that you do with extended family and friends on Thanksgiving day when many are gathered, as a part of your time together.
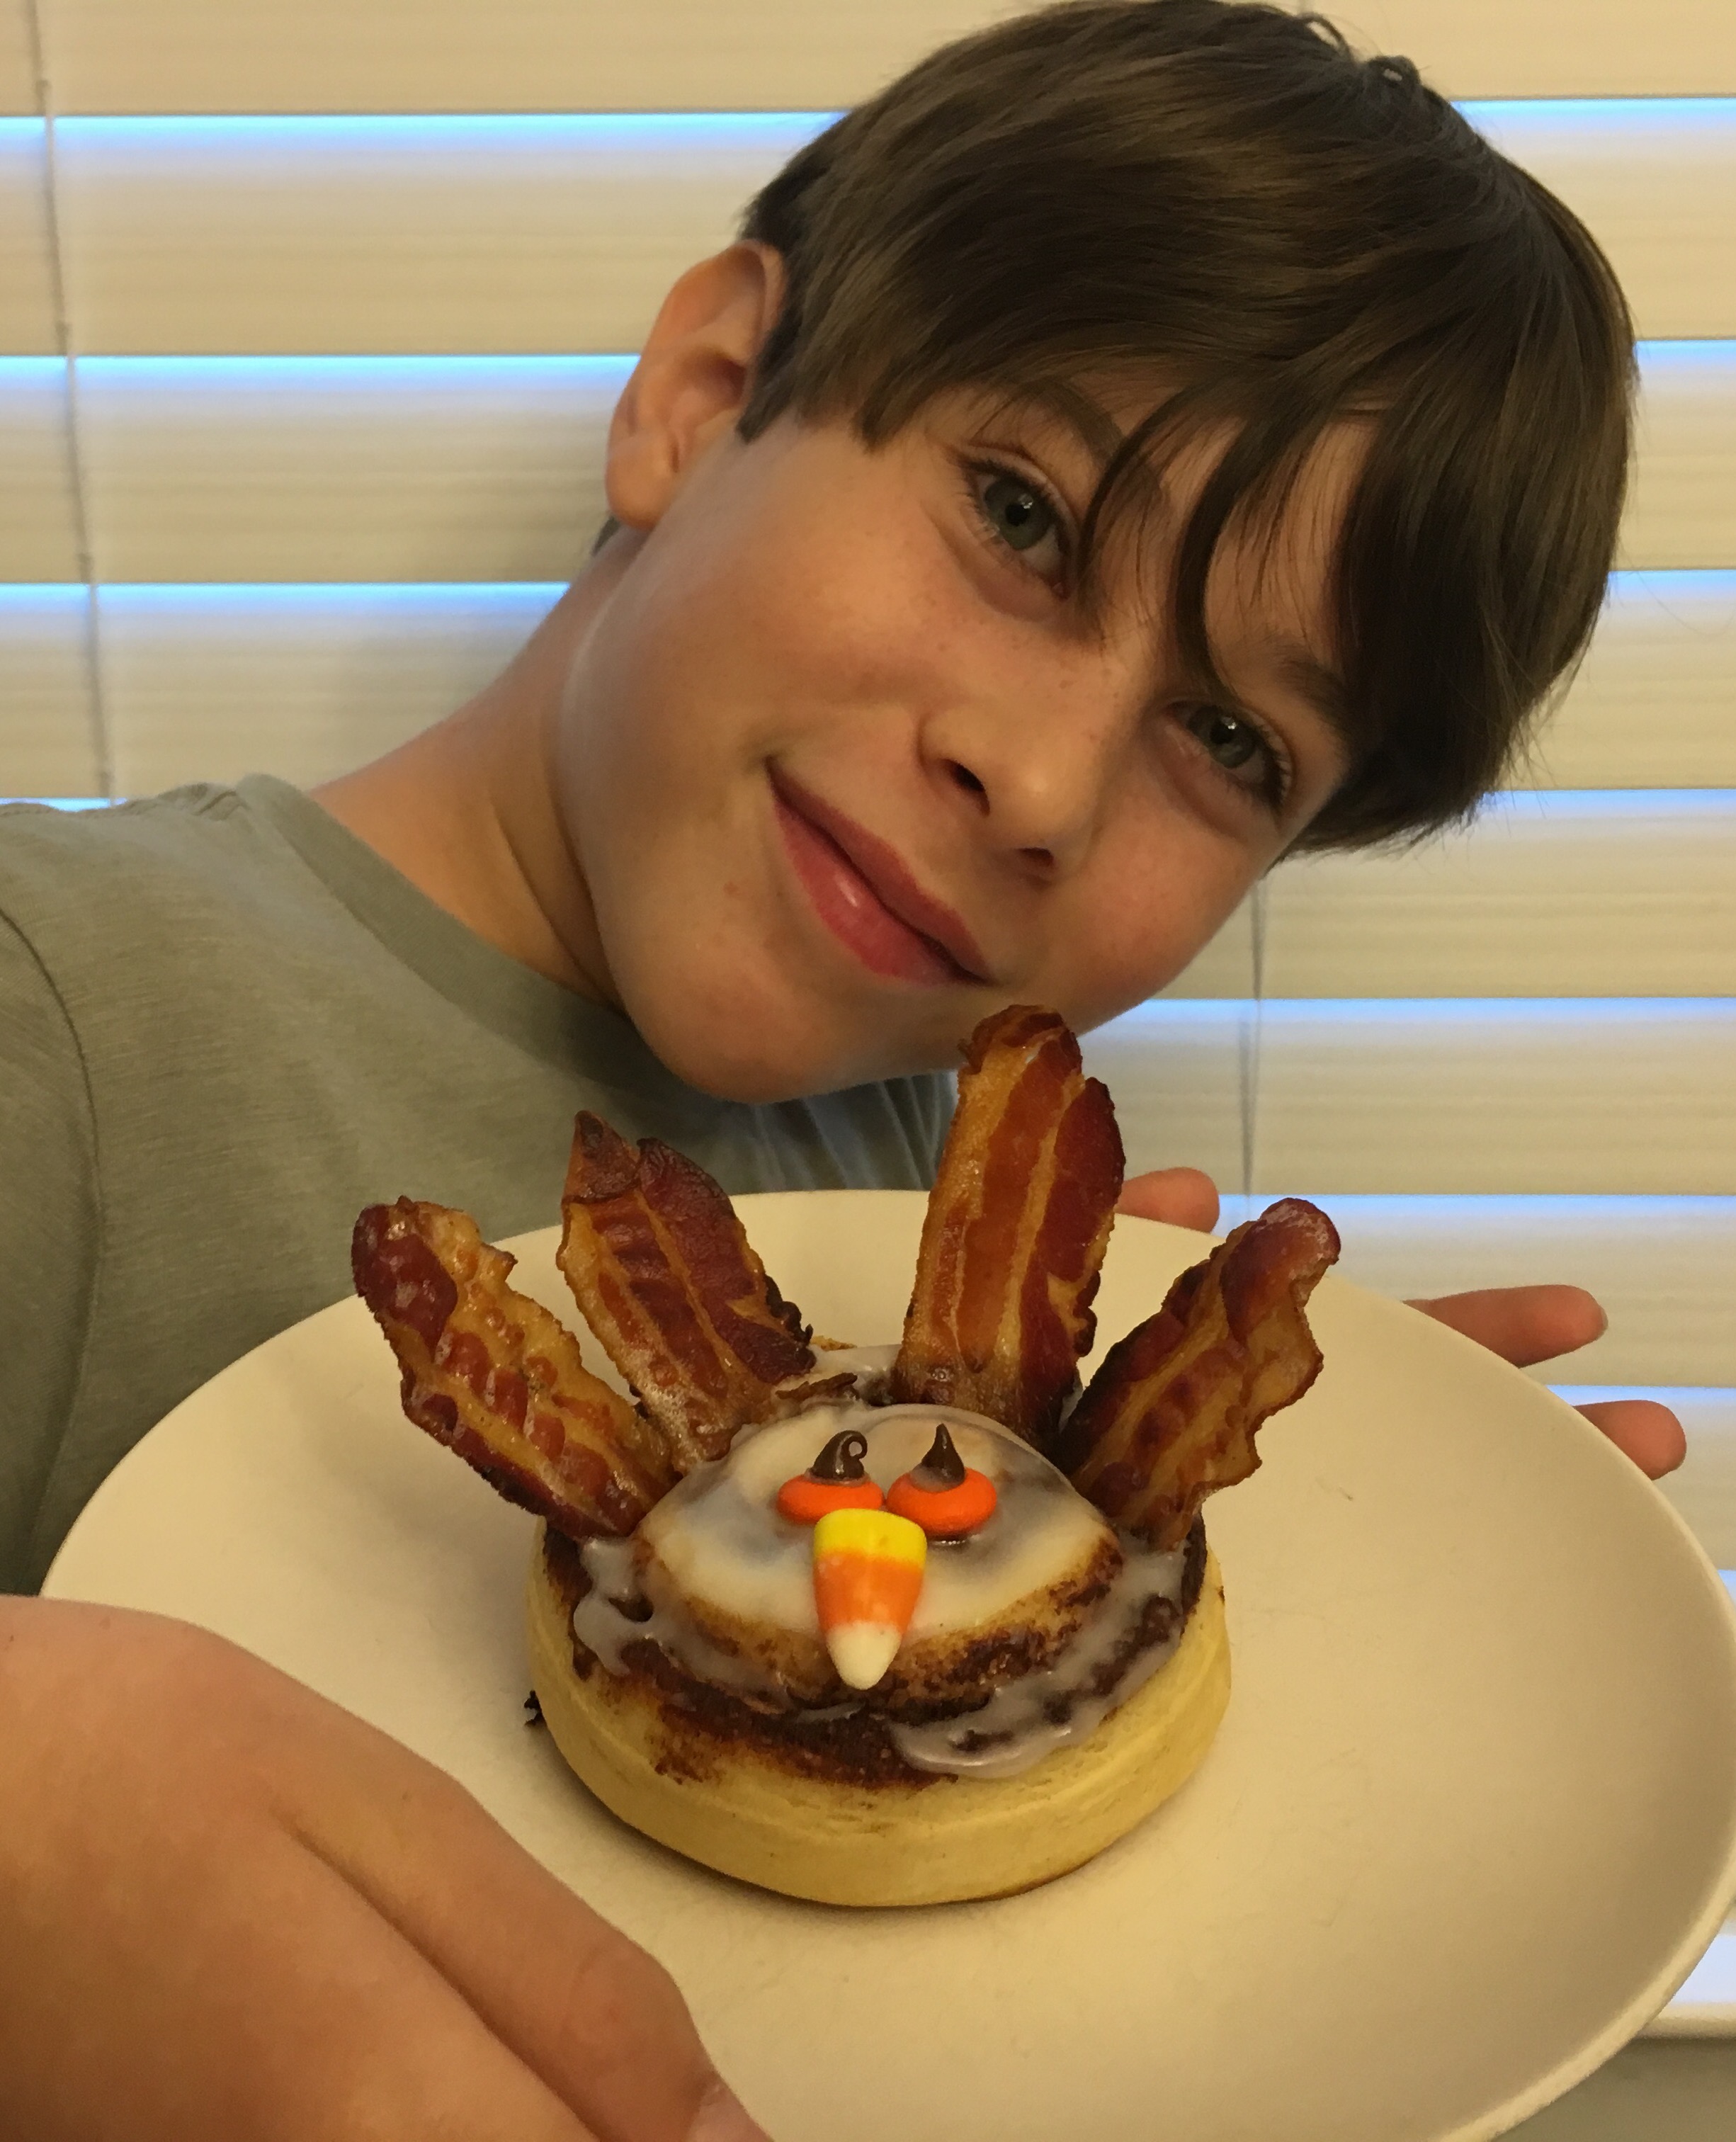
It’s the Monday morning of Thanksgiving break. We are all in our pajamas and enjoying a relaxing day off. In a couple of days we will pack up and head to Papa and Grandma’s house for Thanksgiving. But today we are home with virtually no agenda. I mentioned to my husband that we had cinnamon rolls and bacon in the refrigerator and then inspiration hit! I had seen a picture of these breakfast turkeys on Pinterest and had wanted to make them. Today was the perfect day! These sweet and yummy turkeys didn’t last long in our house…and I think we found a new Thanksgiving Break tradition.
FALL!!! It’s my favorite time of year! Leaves are changing color and the weather is perfect! If you are looking for a simple and elegant cupcake to celebrate Fall or to add to your Thanksgiving dessert menu, take a few minutes to watch my tutorial and learn how to make these delicious edible leaf cupcake toppers! You will need a package of chocolate Wilton’s candy melts, a squeeze bottle, gold cupcake holders, chocolate cake mix, and vanilla frosting. #CommissionsEarned
For more fun Fall ideas check out some of my other blogposts:
Are you looking for a quick and inexpensive Halloween costume? Or maybe you are attending an 80’s themed party. Well, look no further! Recently, my daughter had “time warp” day at school and we decided she would dress up in 80’s attire. This brought back many memories of my childhood…jelly bracelets, leg warmers, crimped hair, side ponytails, charm bracelets. I could almost hear Michael Jackson’s “Thriller” playing in the background as I made this shirt and reminisced. I was the same age as my daughter is now when that album was released, and it was the first record I ever owned!
Fortunately, I had all of what I needed on hand, so this time warp outfit did not cost a thing! I pulled an old “too small” t-shirt out of my son’s drawer and went to work. In less than an hour, my daughter was all ready for her fun dress up day at school.
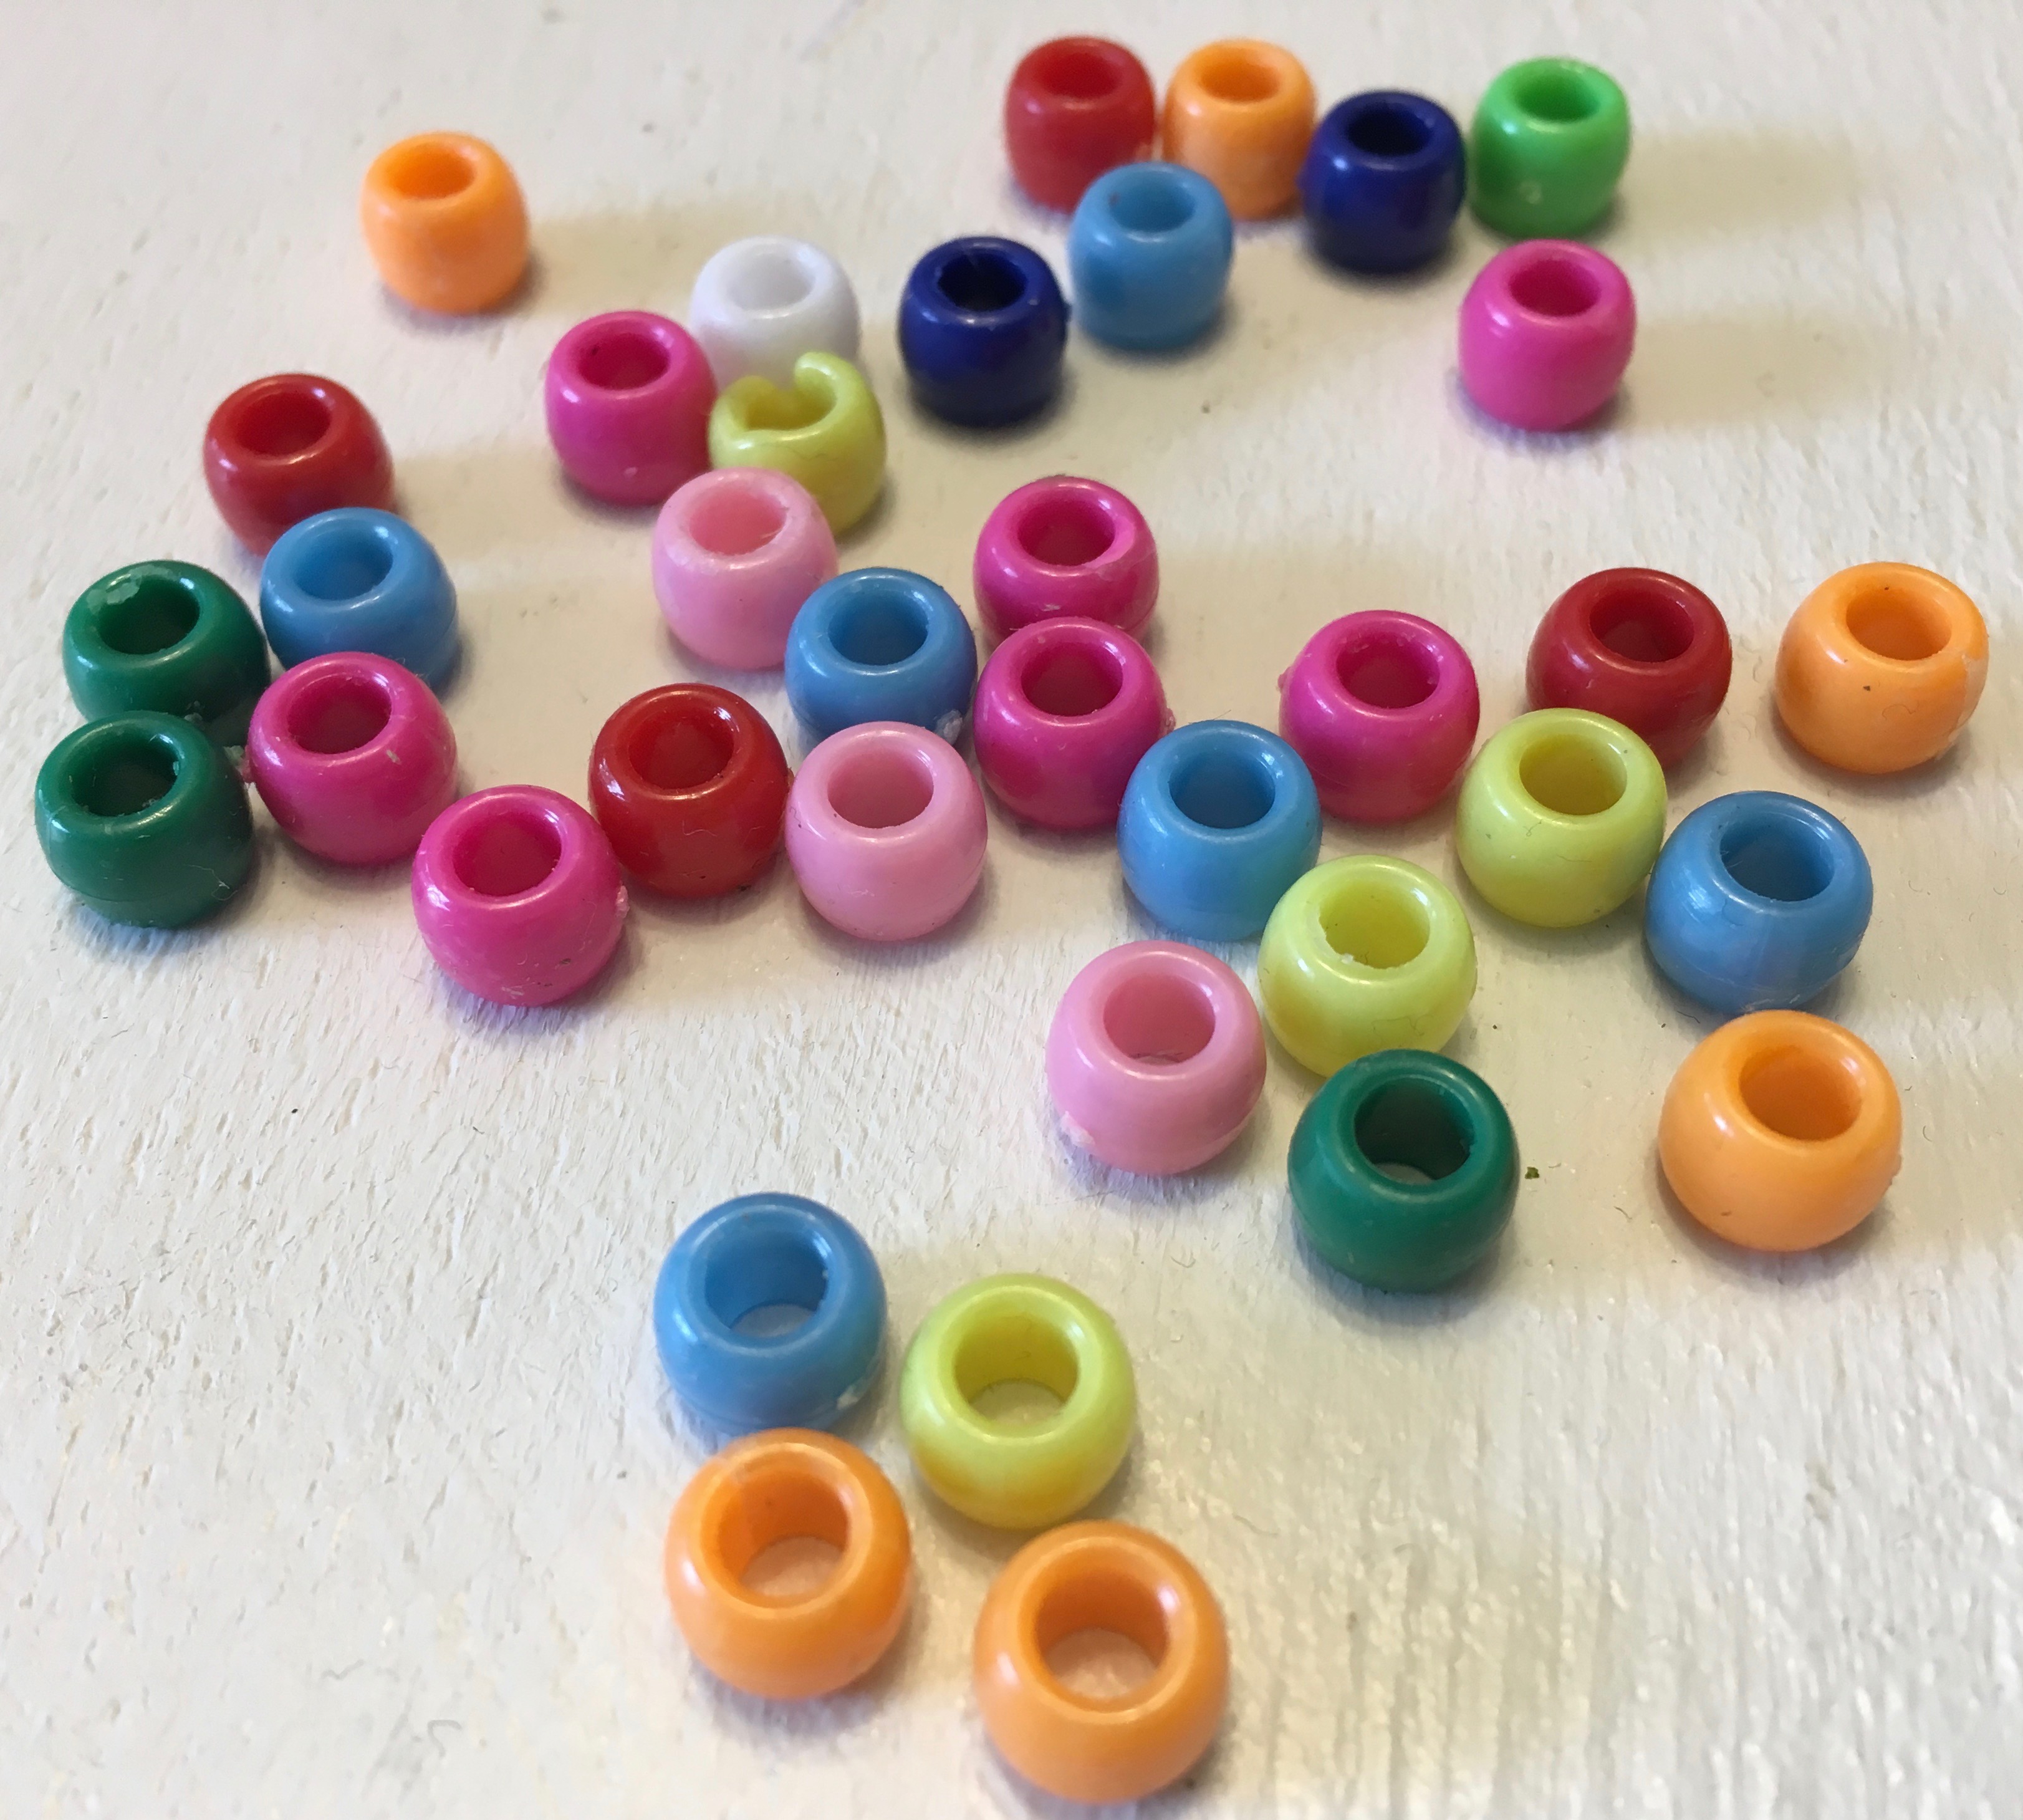
Here’s what you will need: An old t-shirt, pony beads, and scissors #CommissionsEarned
Enjoy my tutorial on how to create the neckline and fringes on this totally 80’s shirt.
For more easy costume ideas check out the following blogposts:
With Halloween just around the corner, I wanted to create something fun and festive. My kids have been asking for marshmallow pops recently, so I thought I’d make these delicious cuties for them to enjoy! Mallow pops are so easy and inexpensive to make and I love how how many variations can be made with just a few modifications. Even though I enjoyed putting these little guys together, I think next time, I will leave the decorating to my kids and see what “spooky” creations they come up with.
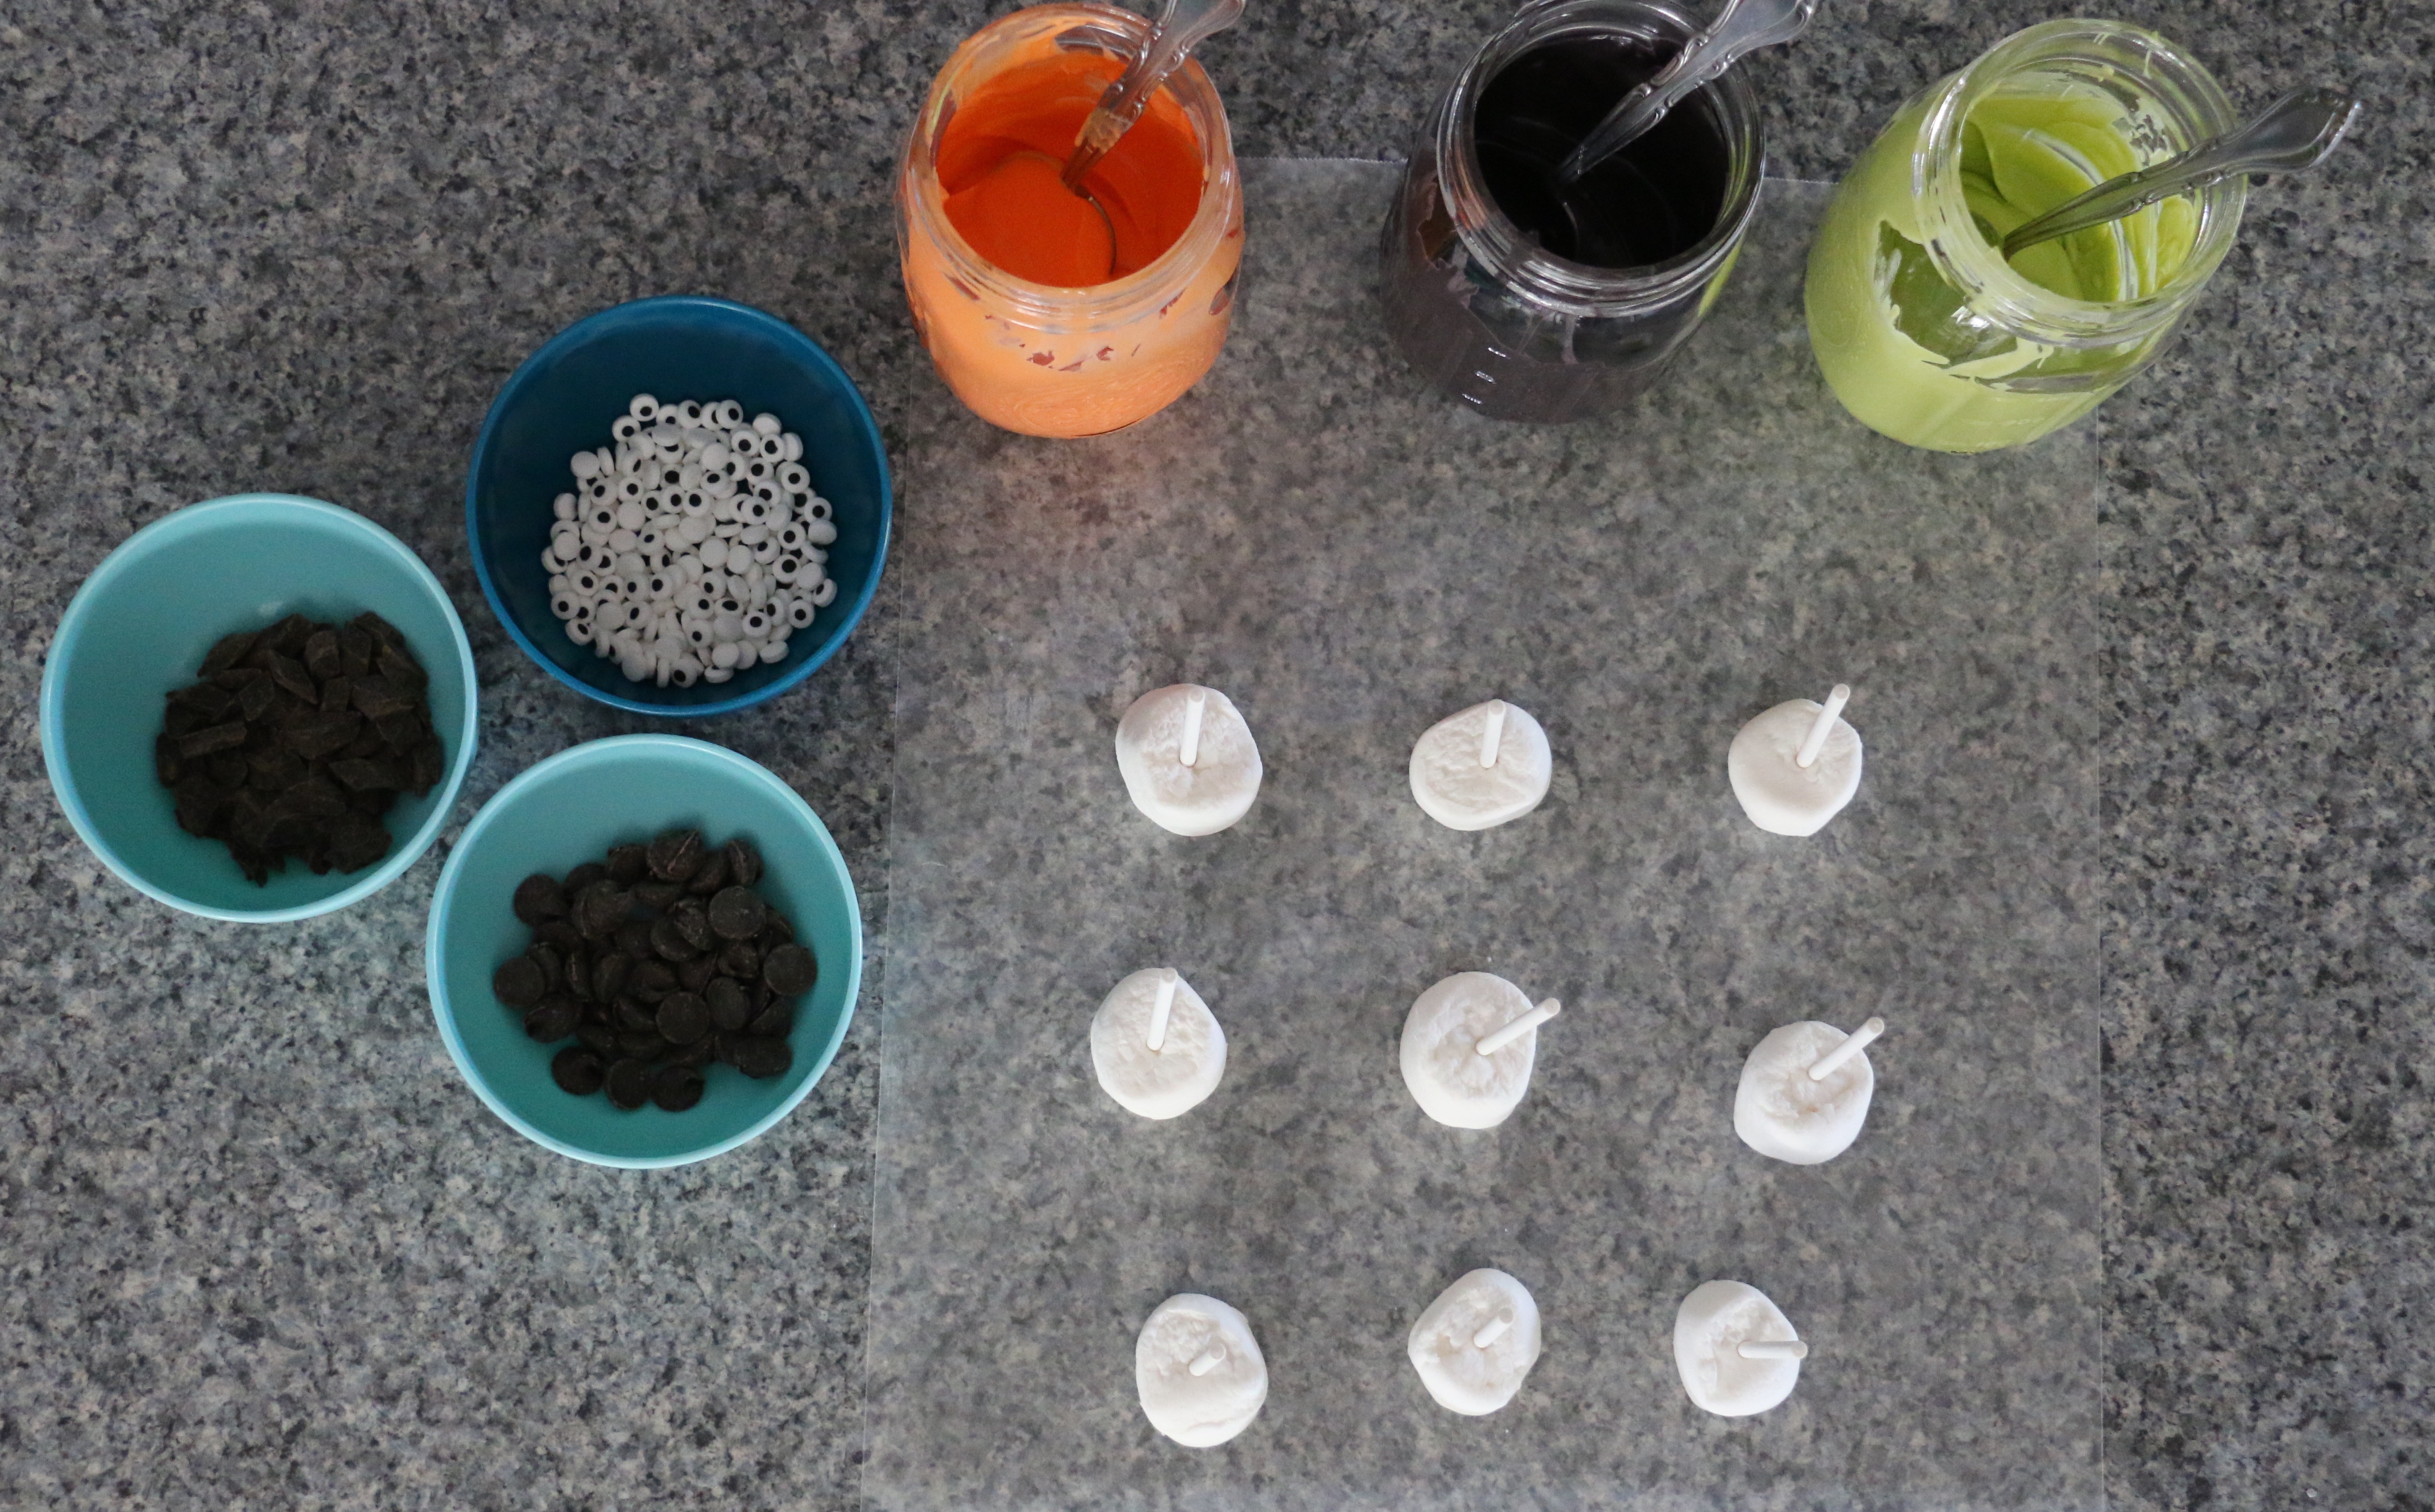
For these Halloween pops you will need the following items: a bag of large marshmallows, Wilton’s lollipop sticks, Wilton’s candy melts in several colors, candy eyeballs, chocolate chips (for the cat ears), chocolate chunks (for the pumpkin stems), oreo cookies (minus the filling, for the bat wings), a toothpick or kabob stick (for the little details like the noses and mouths), white sprinkles (for the cat whiskers and bat fangs)
In addition, it is helpful to have wax paper to place your marshmallows on before you dip and a piece of styrofoam to poke the lollipop sticks in after you dip them, while they dry. I bought an inexpensive styrofoam round at Michael’s that I have used over and over again for marshmallow and cake pops.I like to use mason jars to melt the candy in, but small bowls or coffee mugs work also. Just make sure whatever you use is microwaveable. It’s best to set everything up before melting so your all ready to begin dipping the marshmallows. Line your countertop with wax paper and push a lollipop stick into the center of each marshmallow. Get your candies and sprinkles all ready to go. Follow the directions on the back of the bag of candy melts. I have found it best to start with one minute in the microwave on 50% power. After that, stir, and then go an additional 30 seconds at a time until your candy is easy to stir and completely melted. *Do not over melt…sometimes as you stir, the candy will continue to melt, so give it a good stir each time.
Helpful Tip: If your candy melts start to harden before you are finished dipping or decorating, no worries. Just pop them back in the microwave for 20-30 seconds and they will quickly melt again, so you can finish dipping and decorating.Now comes the fun part! You are ready to dip and decorate! Enjoy my tutorial on making Halloween Marshmallow Pops for more helpful tips!
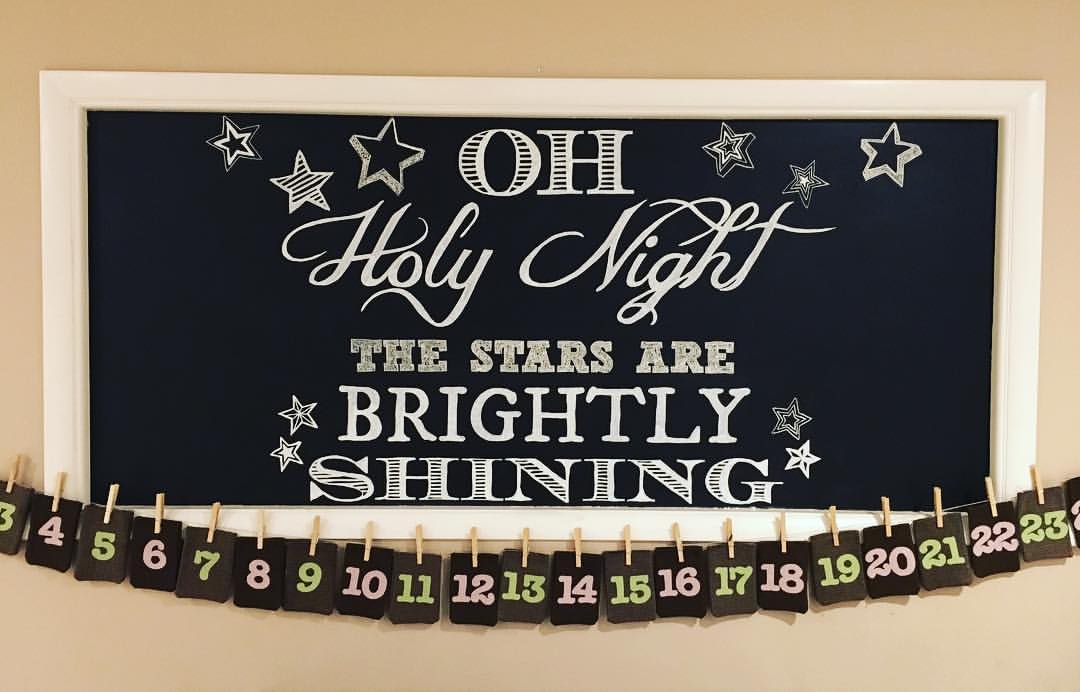
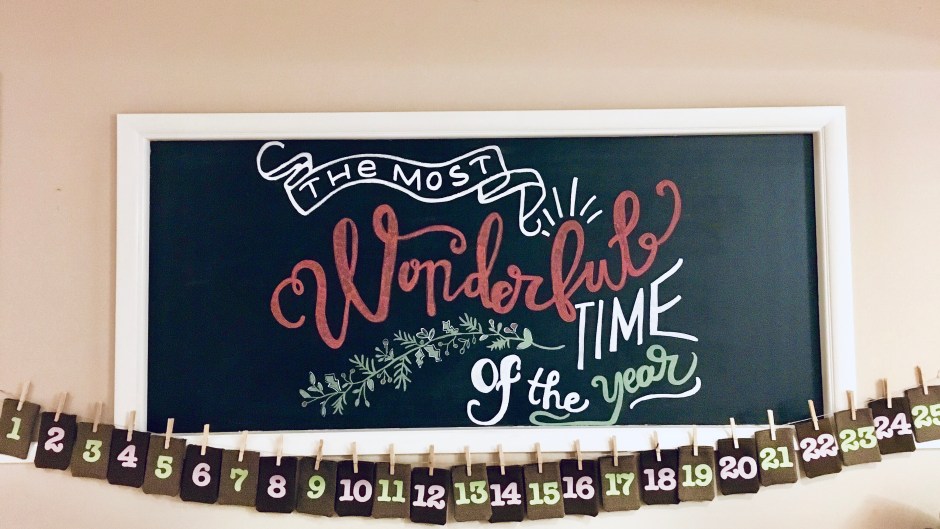
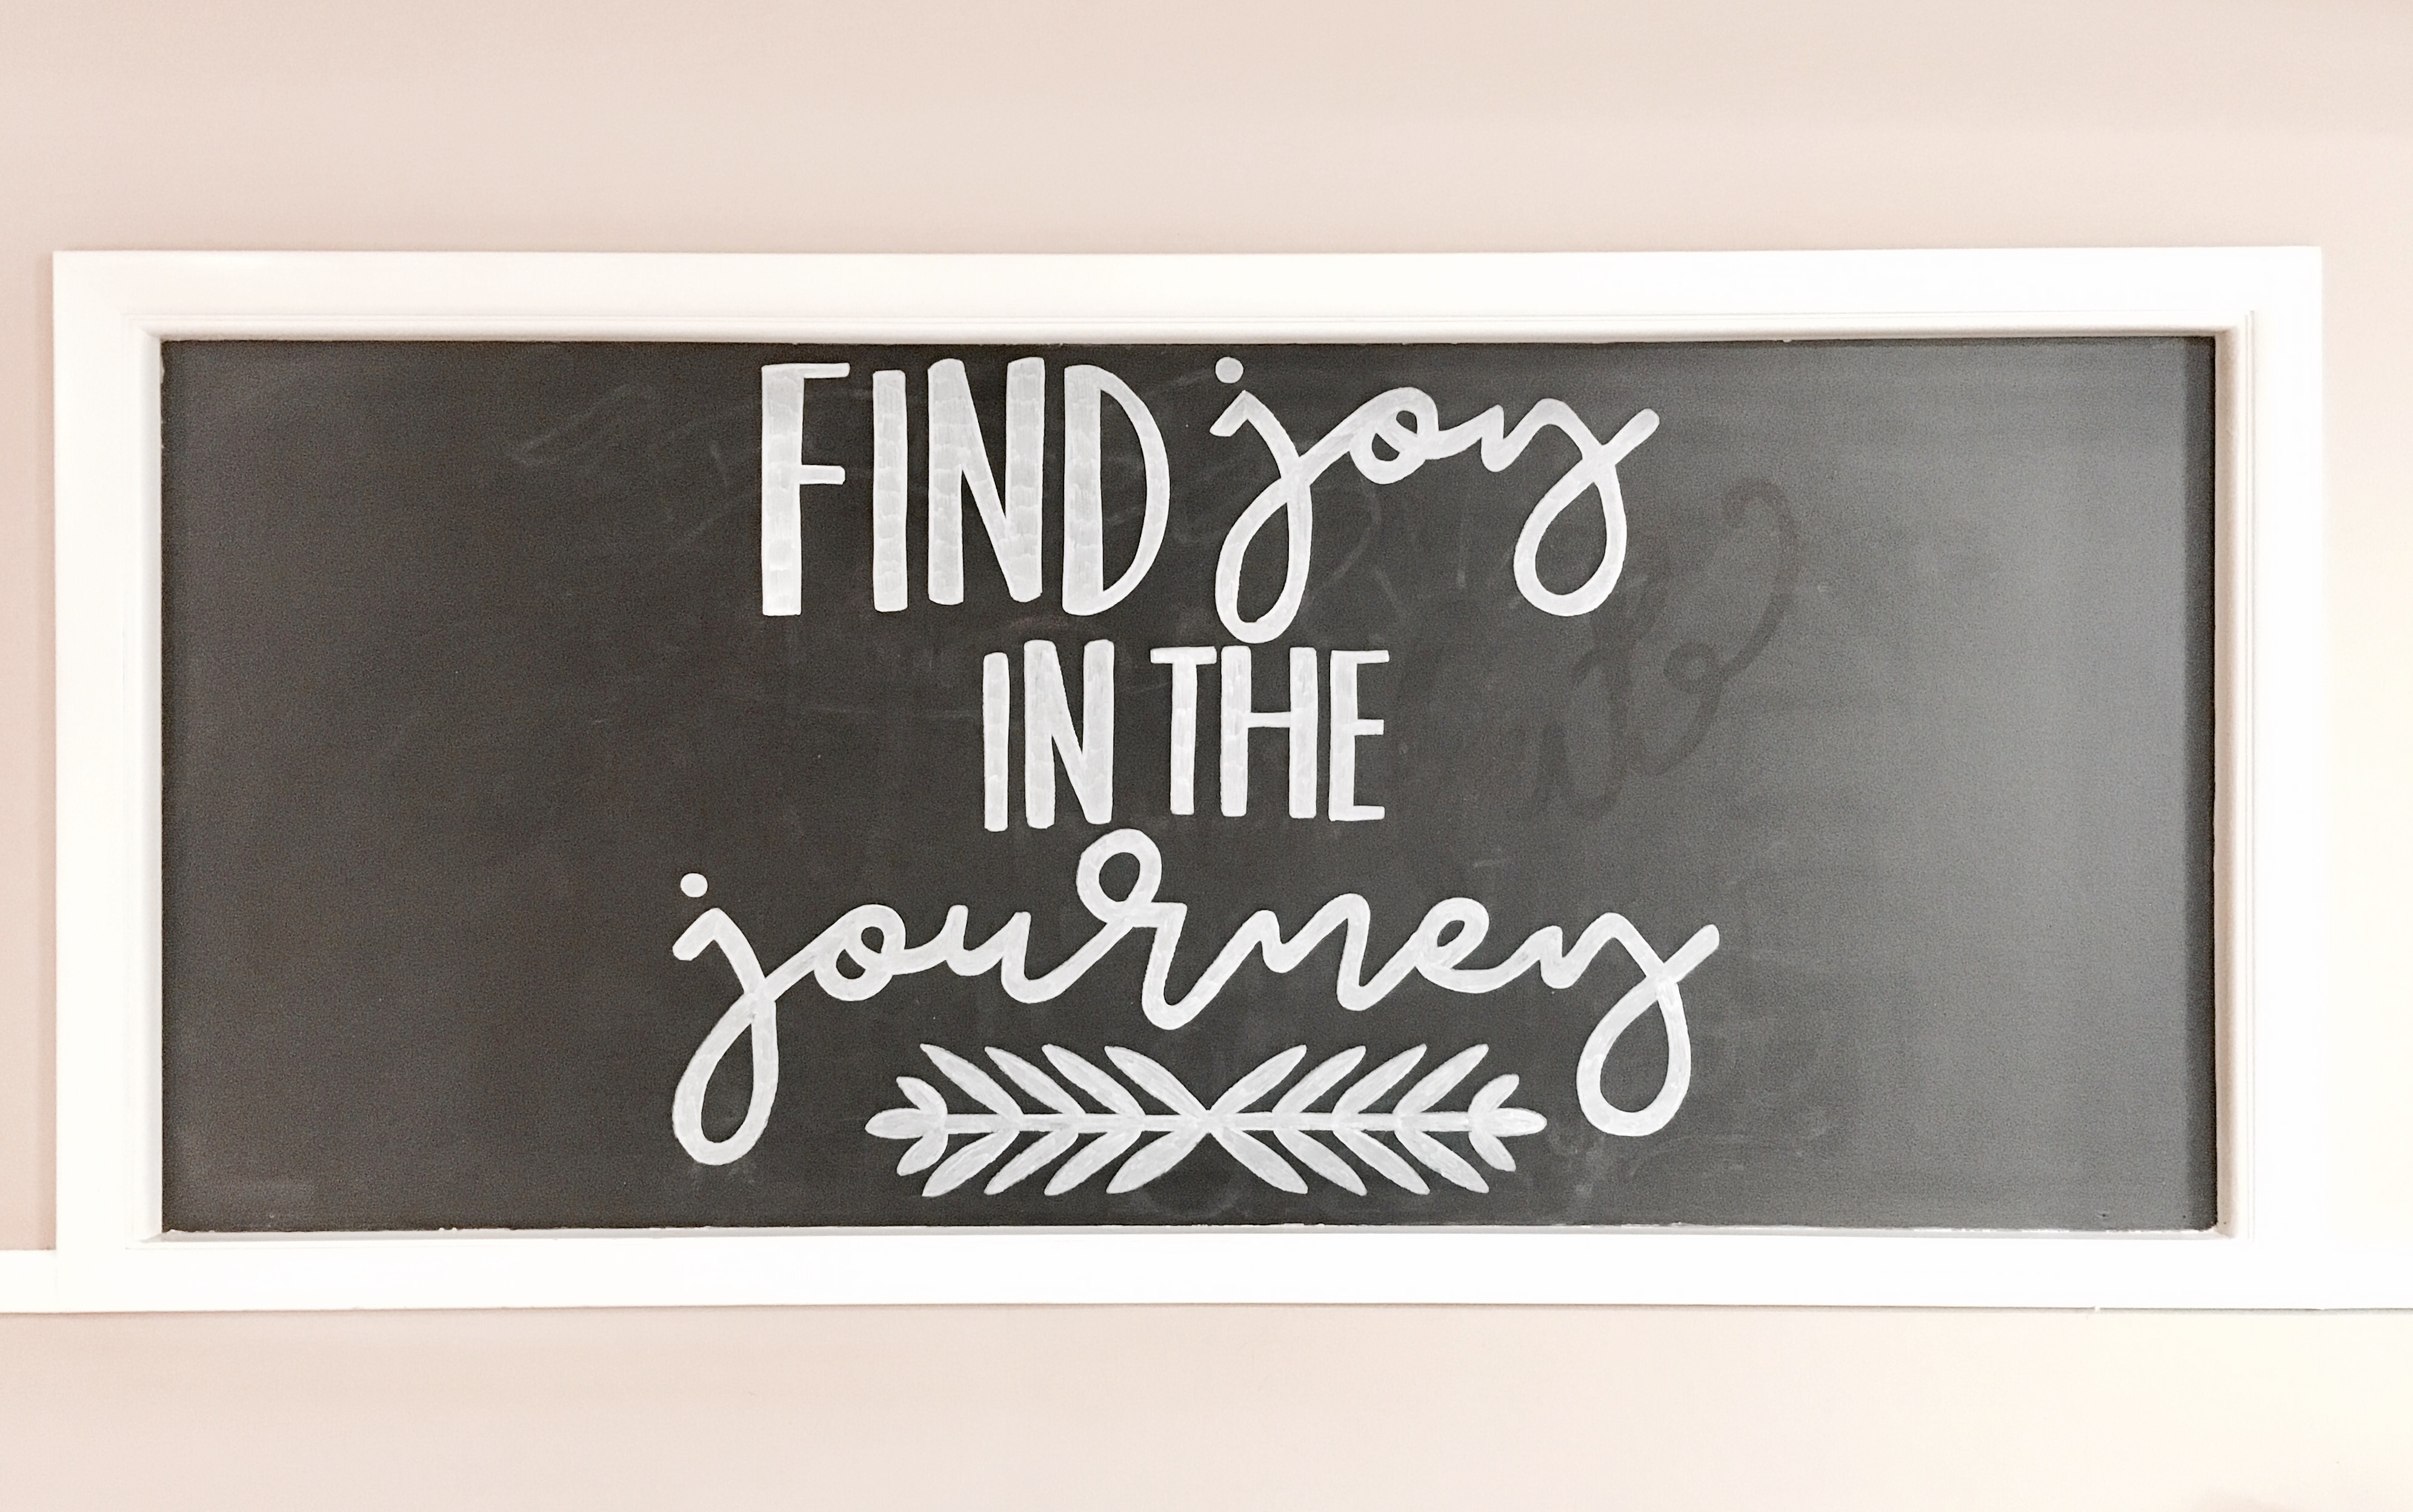
I absolutely love chalkboards! They are so versatile and you can change them anytime to create a new look in your home. You can add quotes and drawings to go with seasons and holidays. The possibilities with a blank chalkboard are endless!
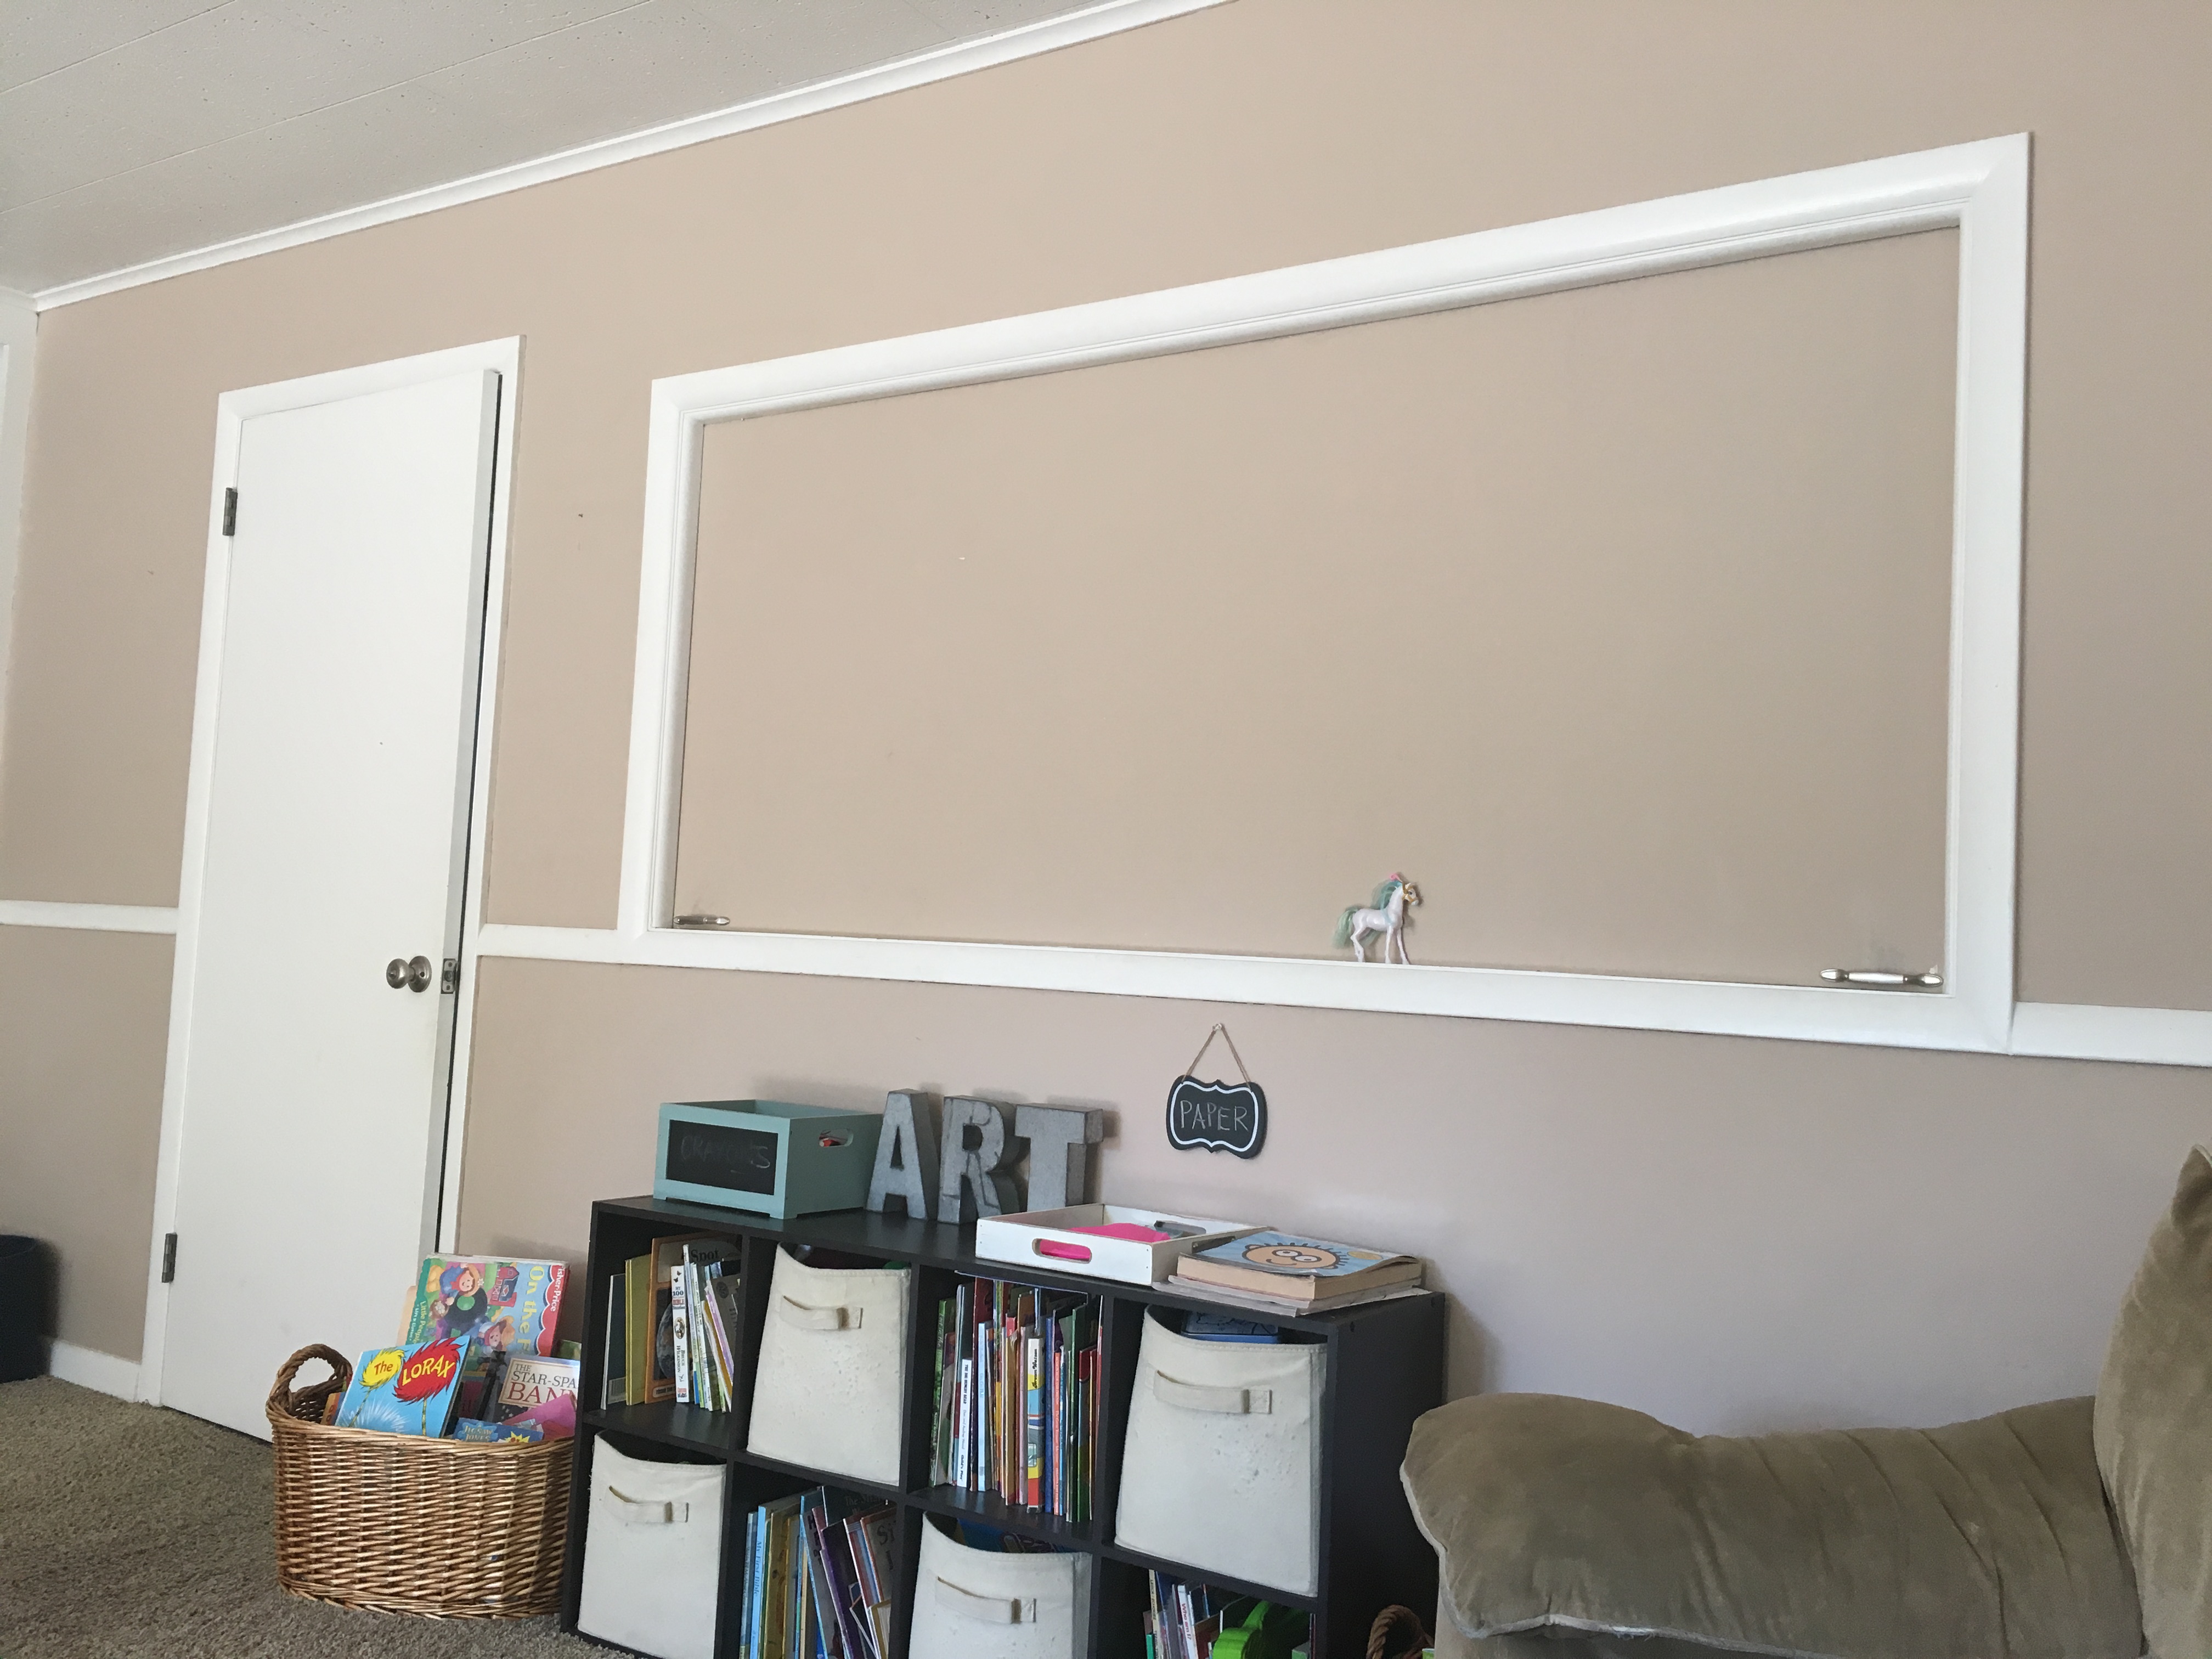
When we moved into our home over a year ago, there was an odd roll up door in the living room. It seems like the previous owners had used it as a sort of bar to serve drinks, but we didn’t quite know what to do with it. We have talked about closing it off, but haven’t gotten around to it. A couple of weeks ago, while sitting in my living room, I was struck with inspiration. I saw the frame around the roll up door and thought, “I wonder what it would look like if I turned this into a giant chalkboard?”
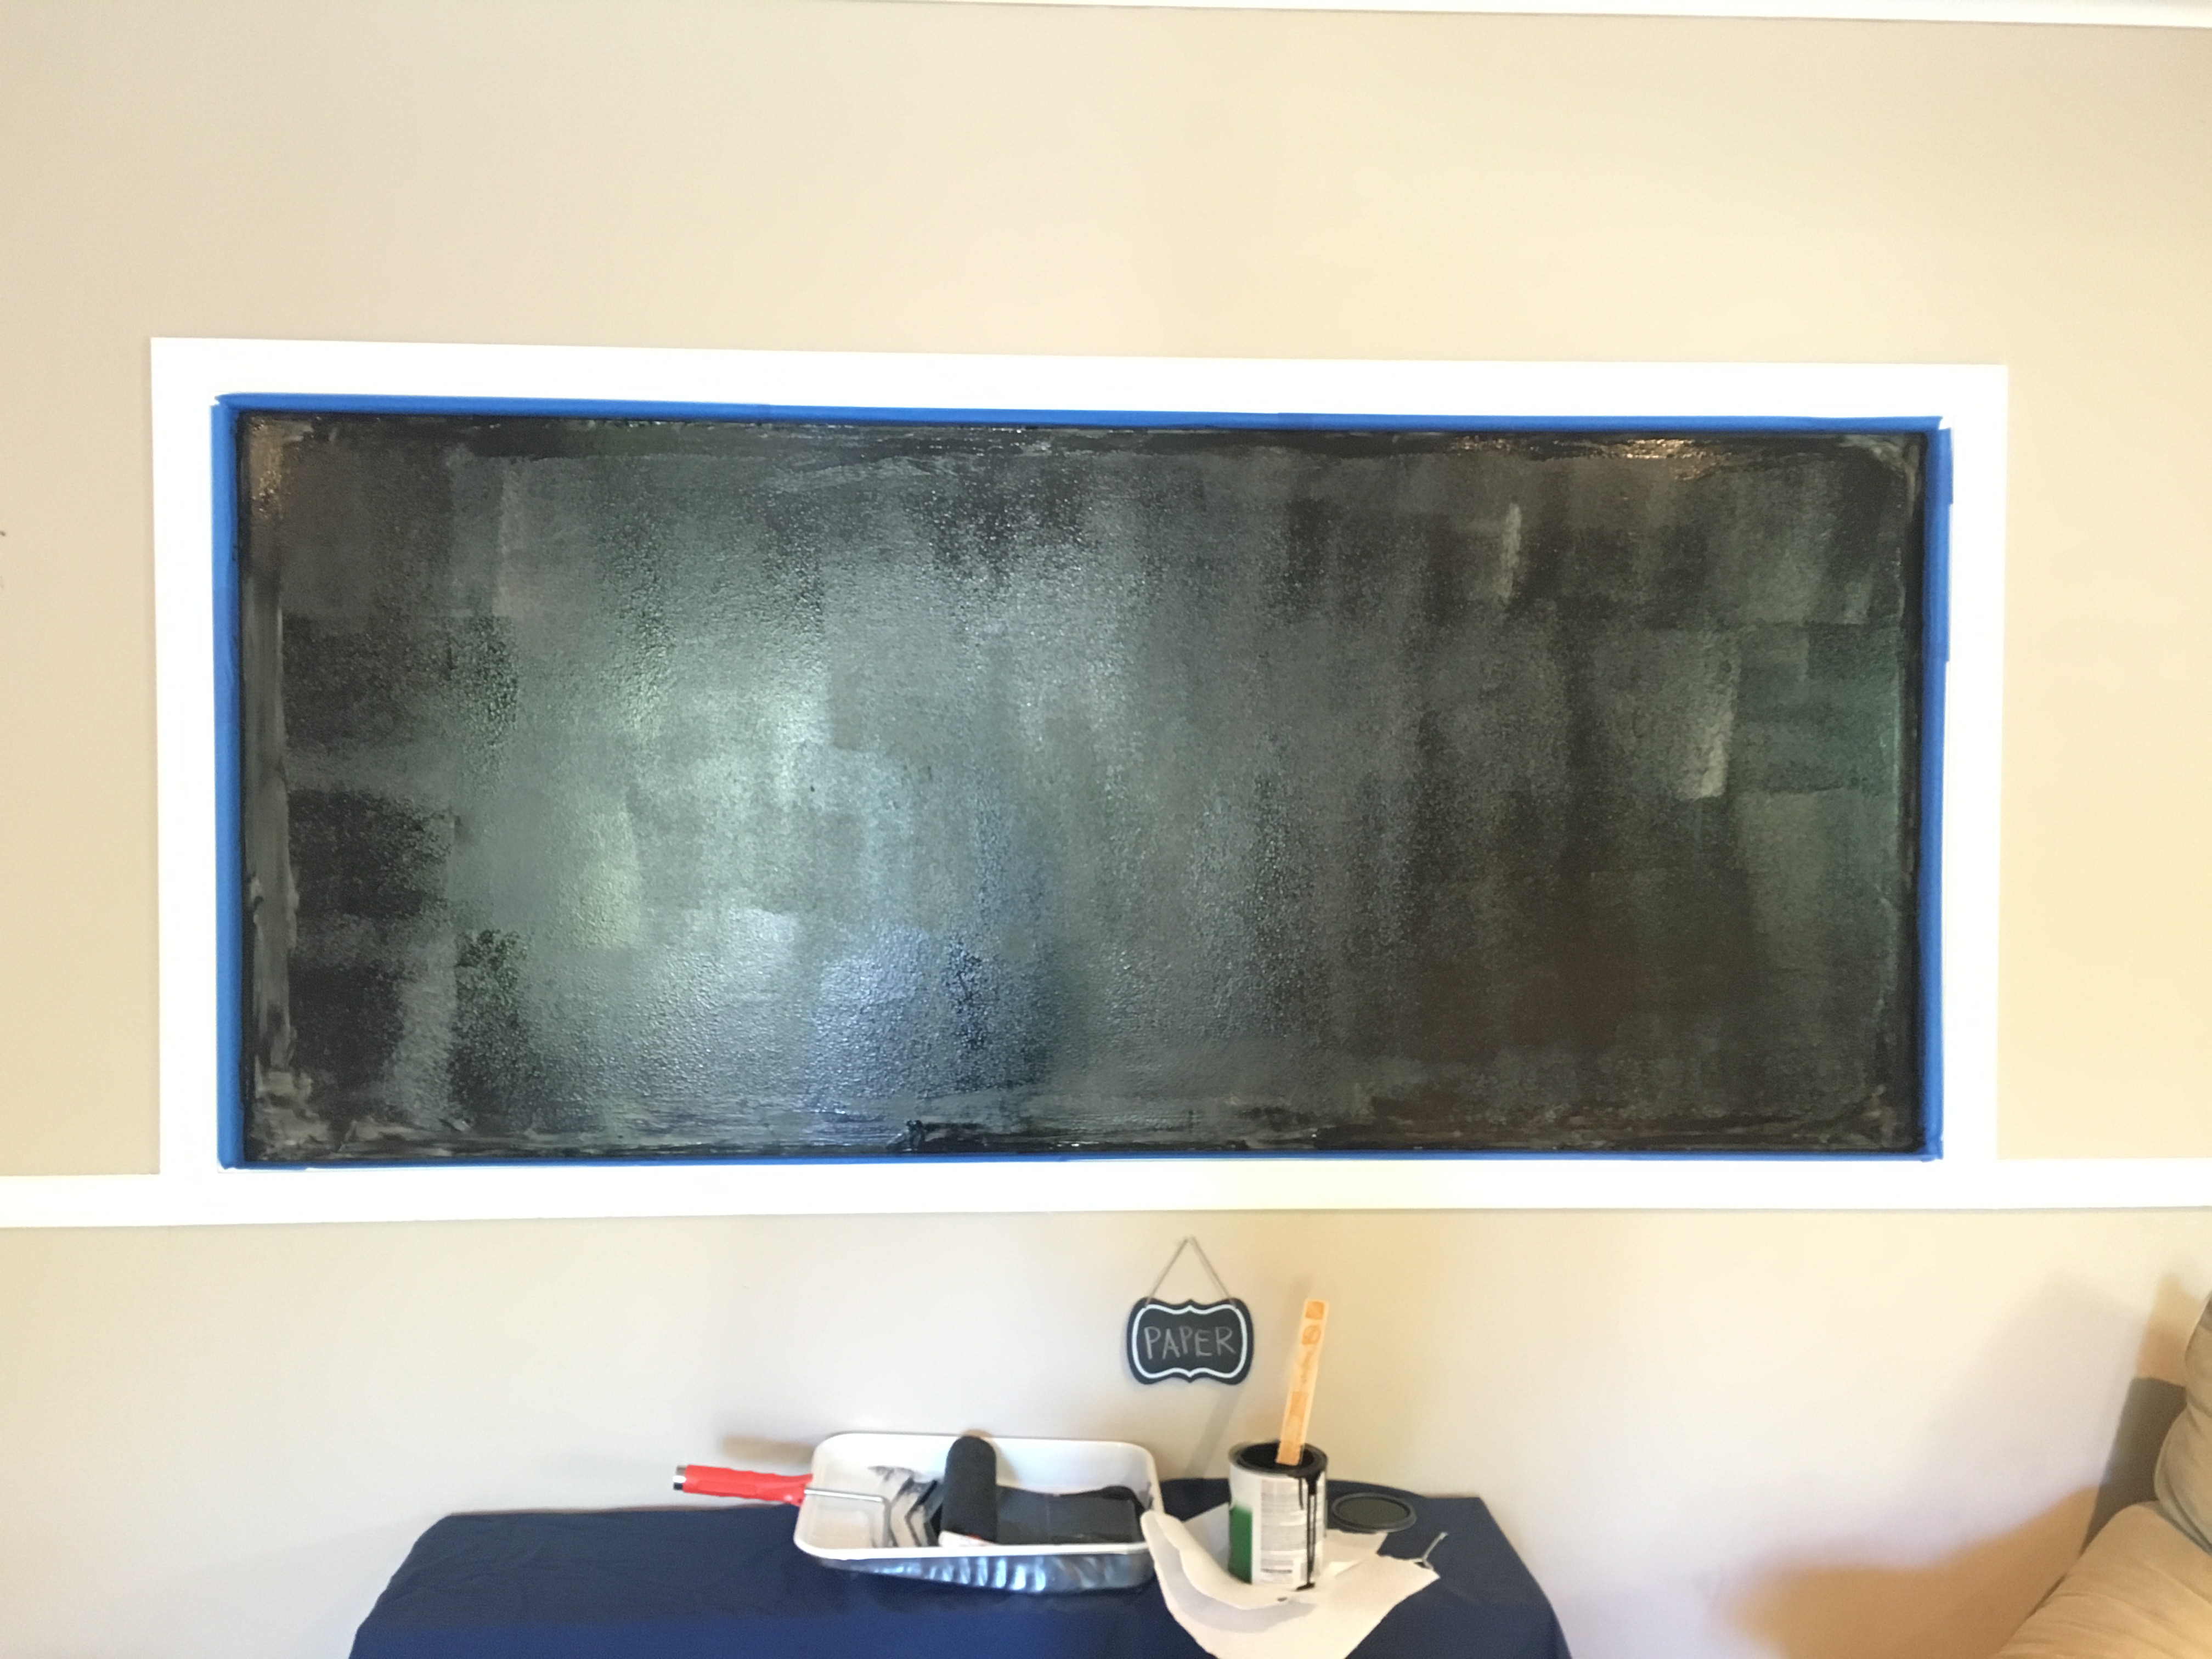
A few coats of chalkboard paint later and project complete! I am happy to report that it turned out even better than I expected! I used Rust-oleum ChalkBoard Paint and it took 3 coats of paint to cover the area thoroughly. I let each coat dry for at least an hour before adding another, and one 30 oz. can of paint did the trick. I purchased a white chalk marker and found a quote on that I love. I used our projector on my new chalkboard to get the quote just right and then traced it with the chalk pen. I filled in some of the lighter areas with a regular piece of white chalk to create some contrast of texture and I absolutely love it!!! This is definitely a great addition to the decor in our living room. #CommissionsEarned
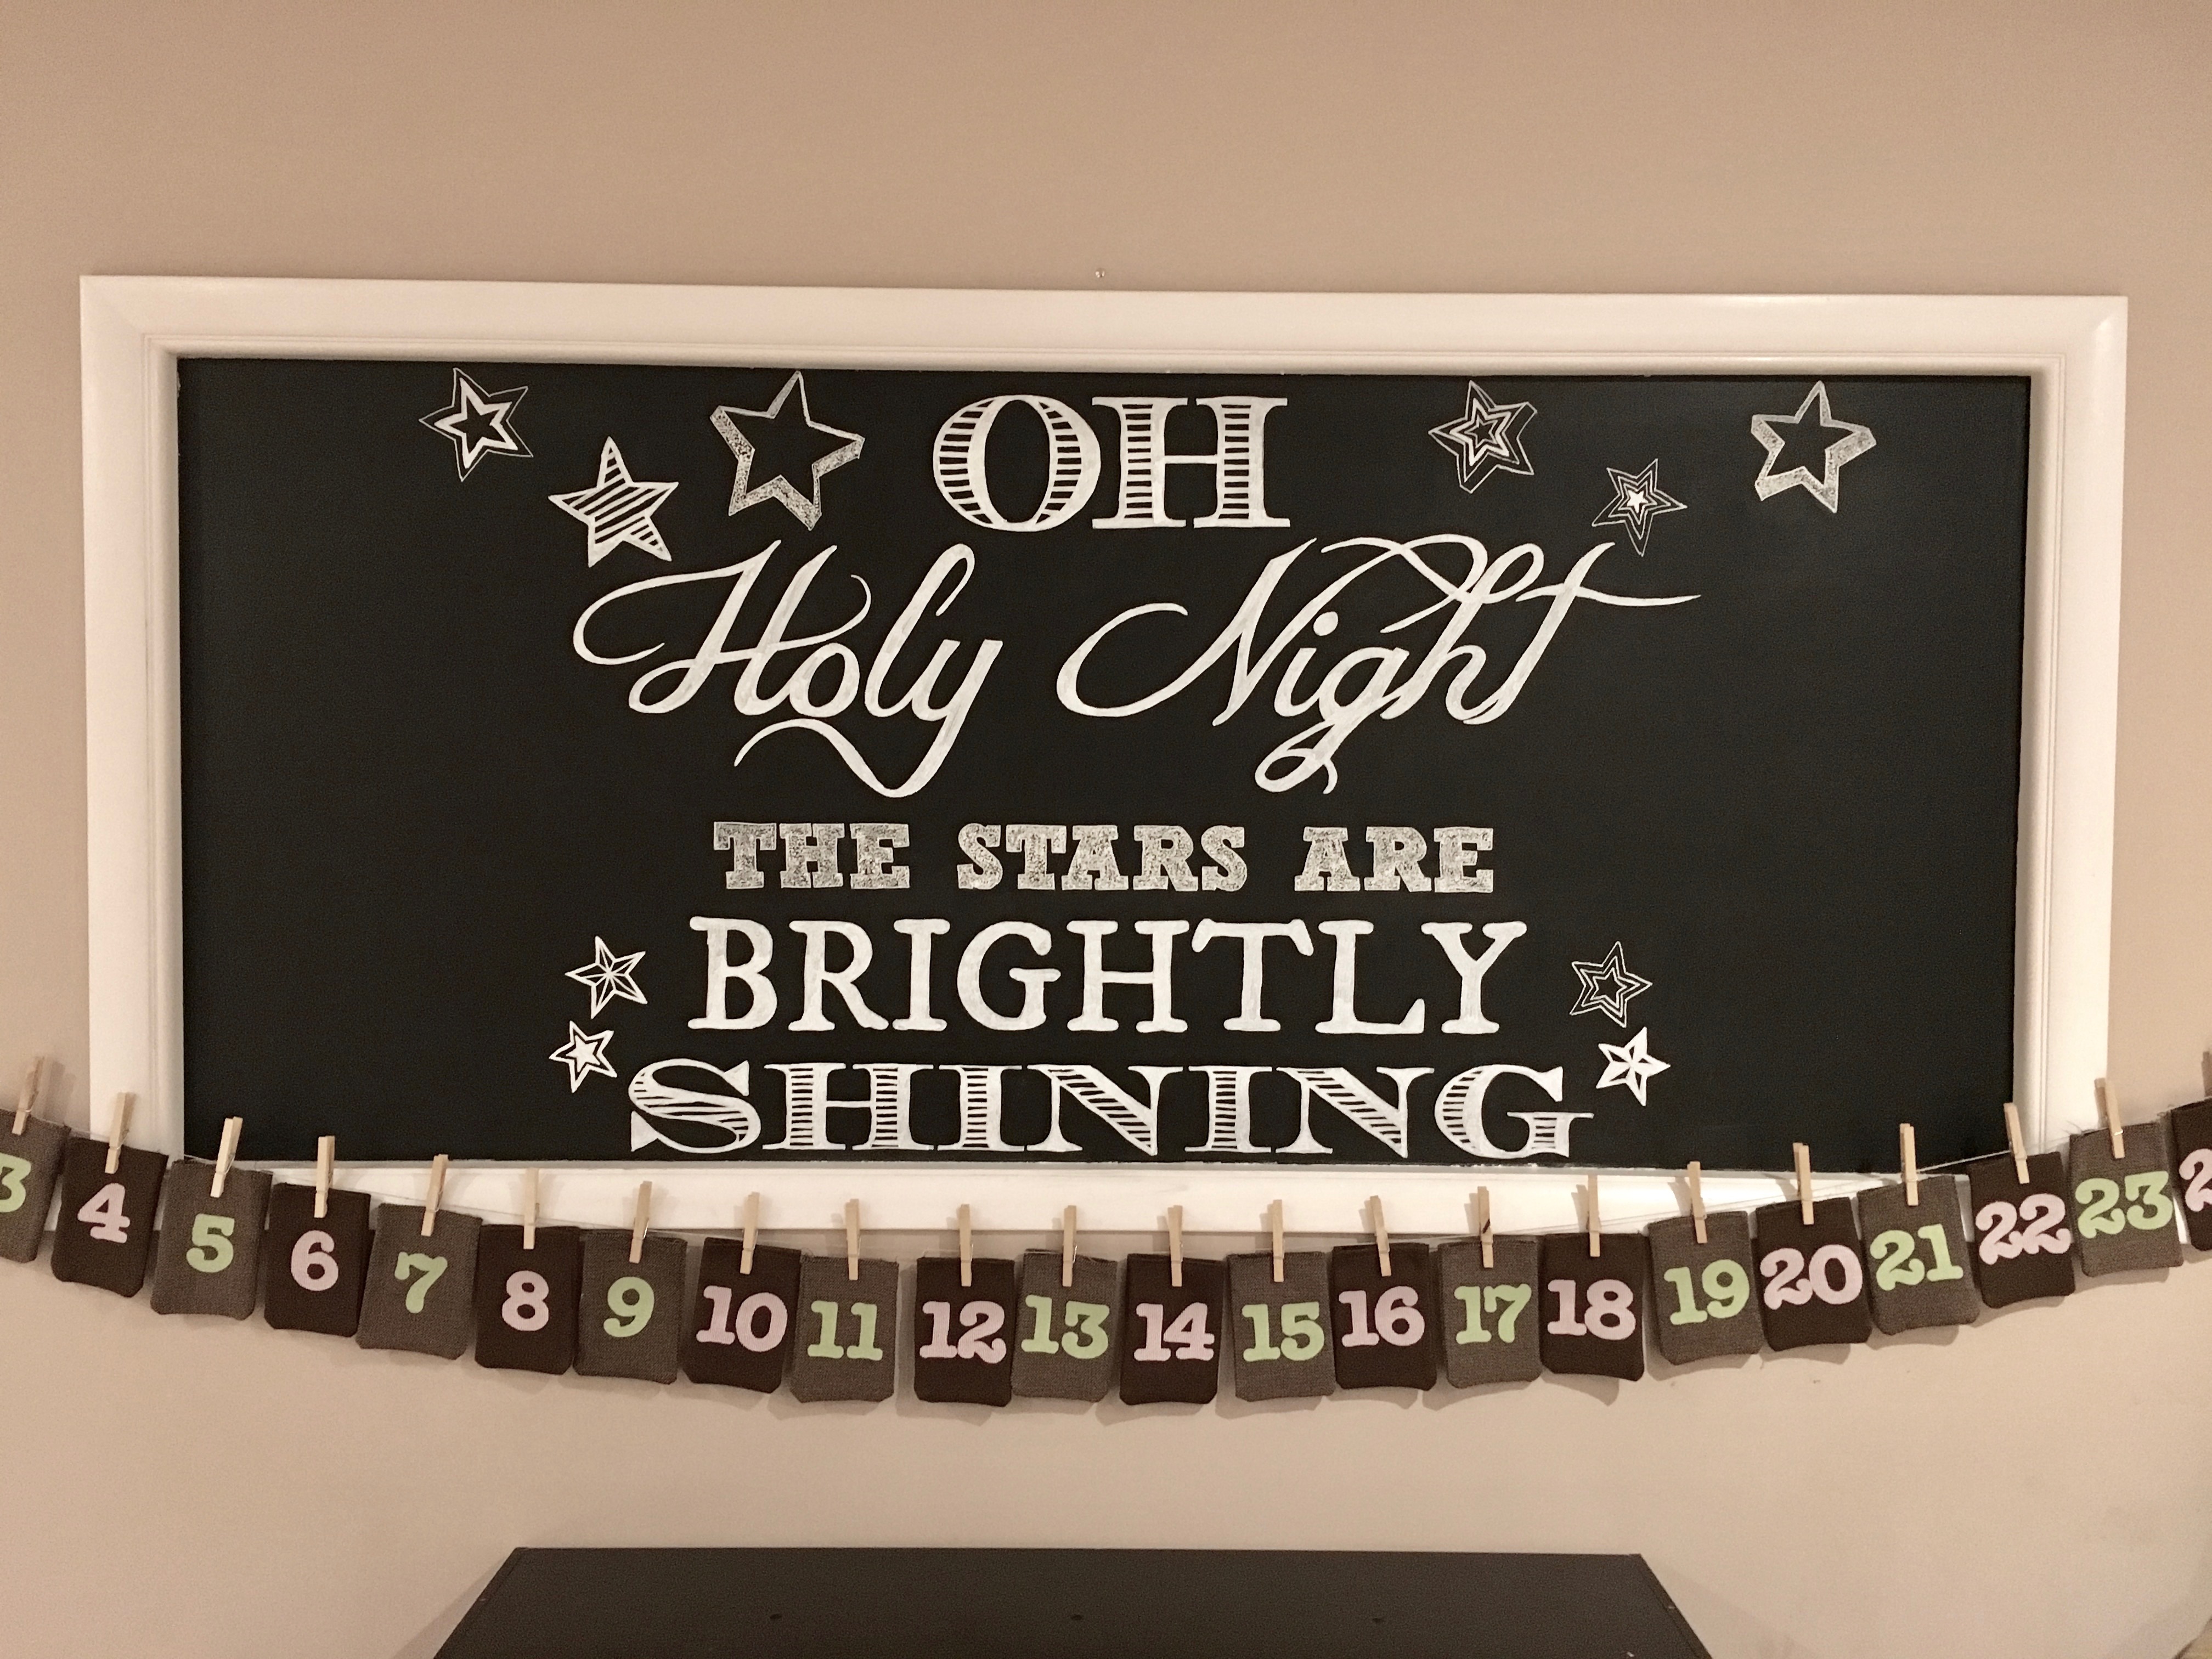
Update: over the years, I have transformed our chalkboard many times over and have included several pics (above) of various quotes. I have found that it helps to paint a new coat of chalkboard paint over the blank board each time I do a new quote because sometimes the outline of the previous quote shows through a bit as you can see in “Find Joy In The Journey.”
For more fun DIY projects check out some of my recent blogposts:
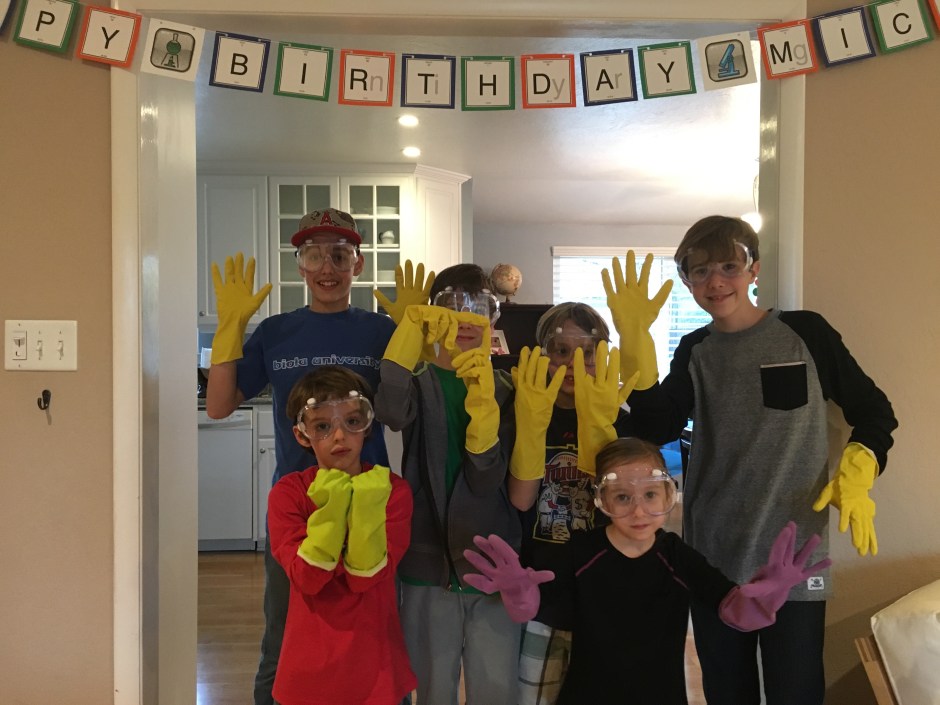
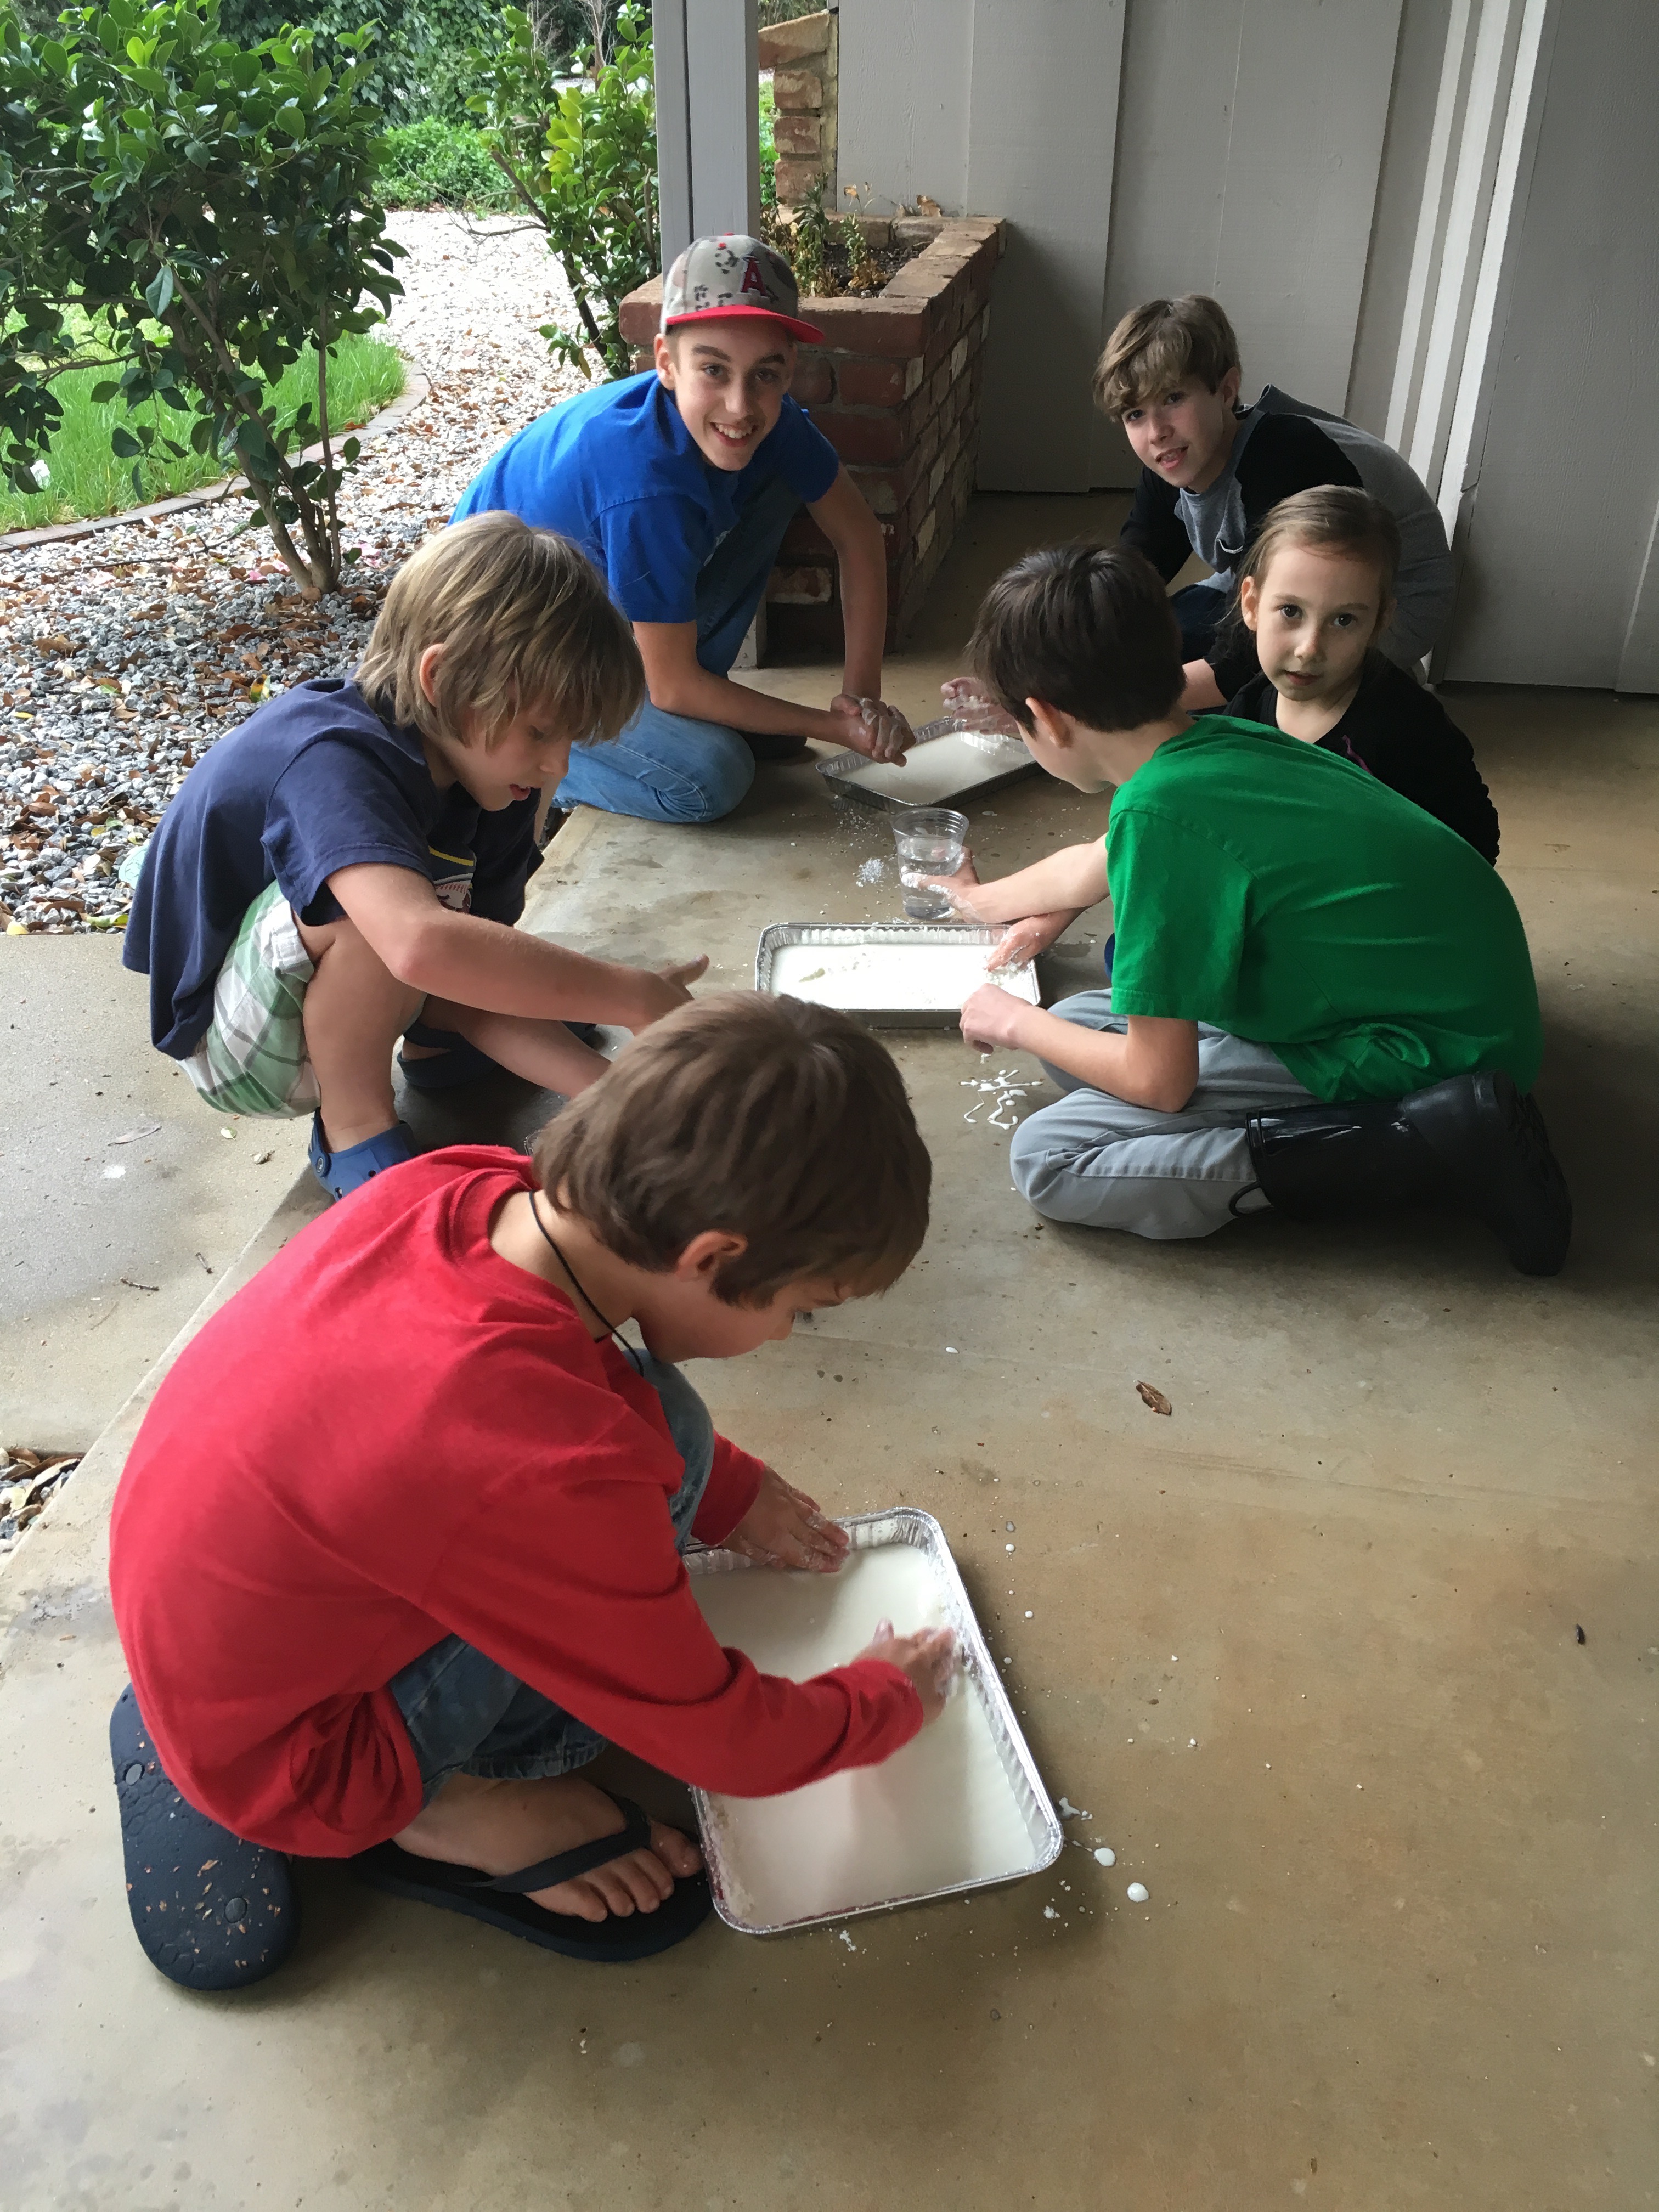
Micah is our little scientist. He loves all things science, so naturally, when he was about to turn 10, we began to plan the ultimate Science Experiment Birthday Party. The vision started to take shape one afternoon when we bought a slab of dry ice for Micah to “play” with. He literally spent over 4 hours experimenting with it. I decided then and there that dry ice experiments would be the main event of the party. I wanted to include a couple of other simple activities as well. A Coke and Mentos demonstration, cornstarch and water play, and build your own edible molecules made this an unforgettable birthday party!
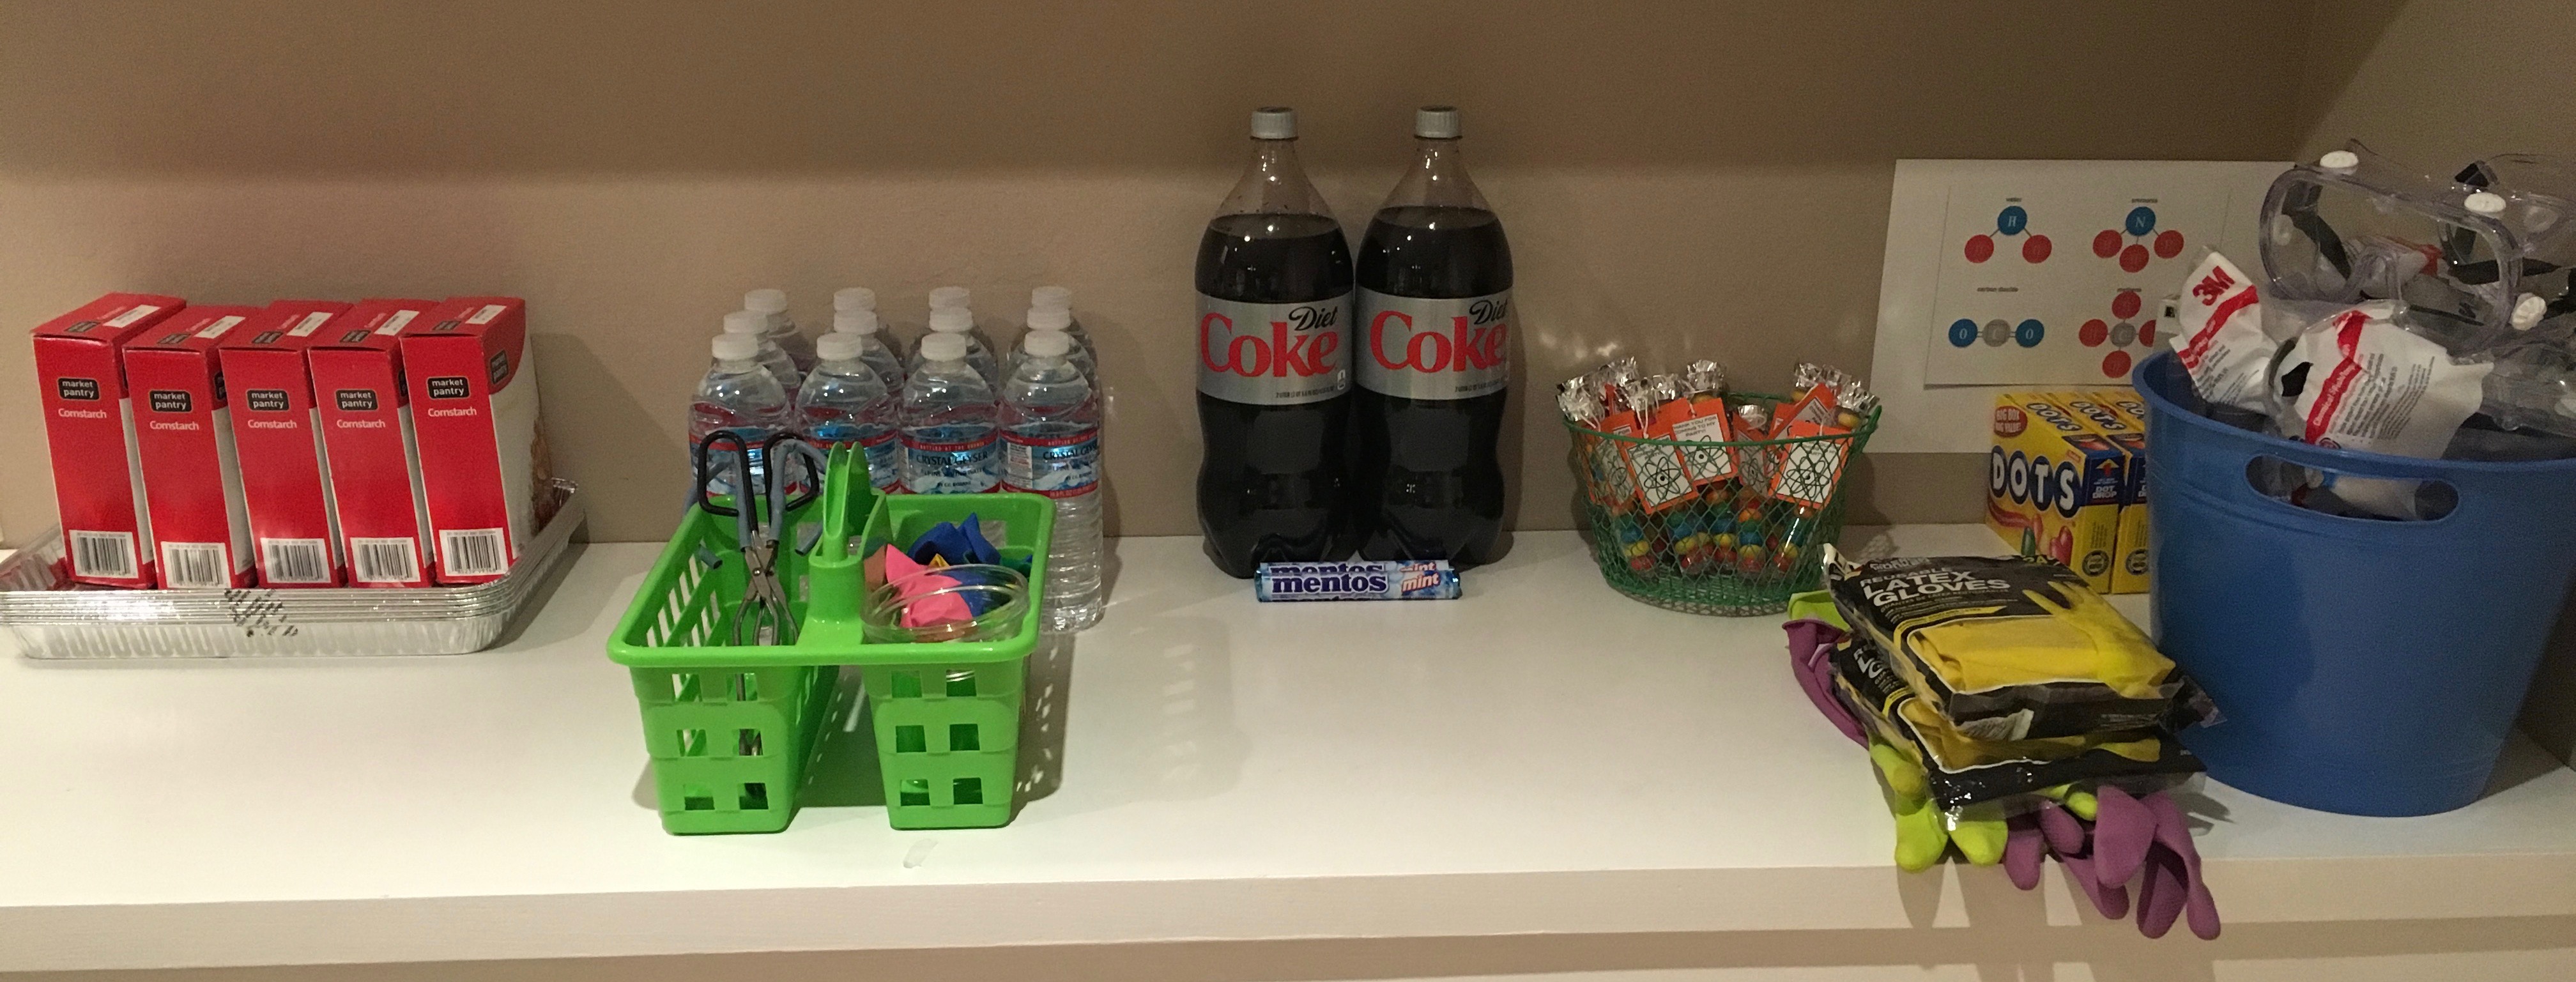
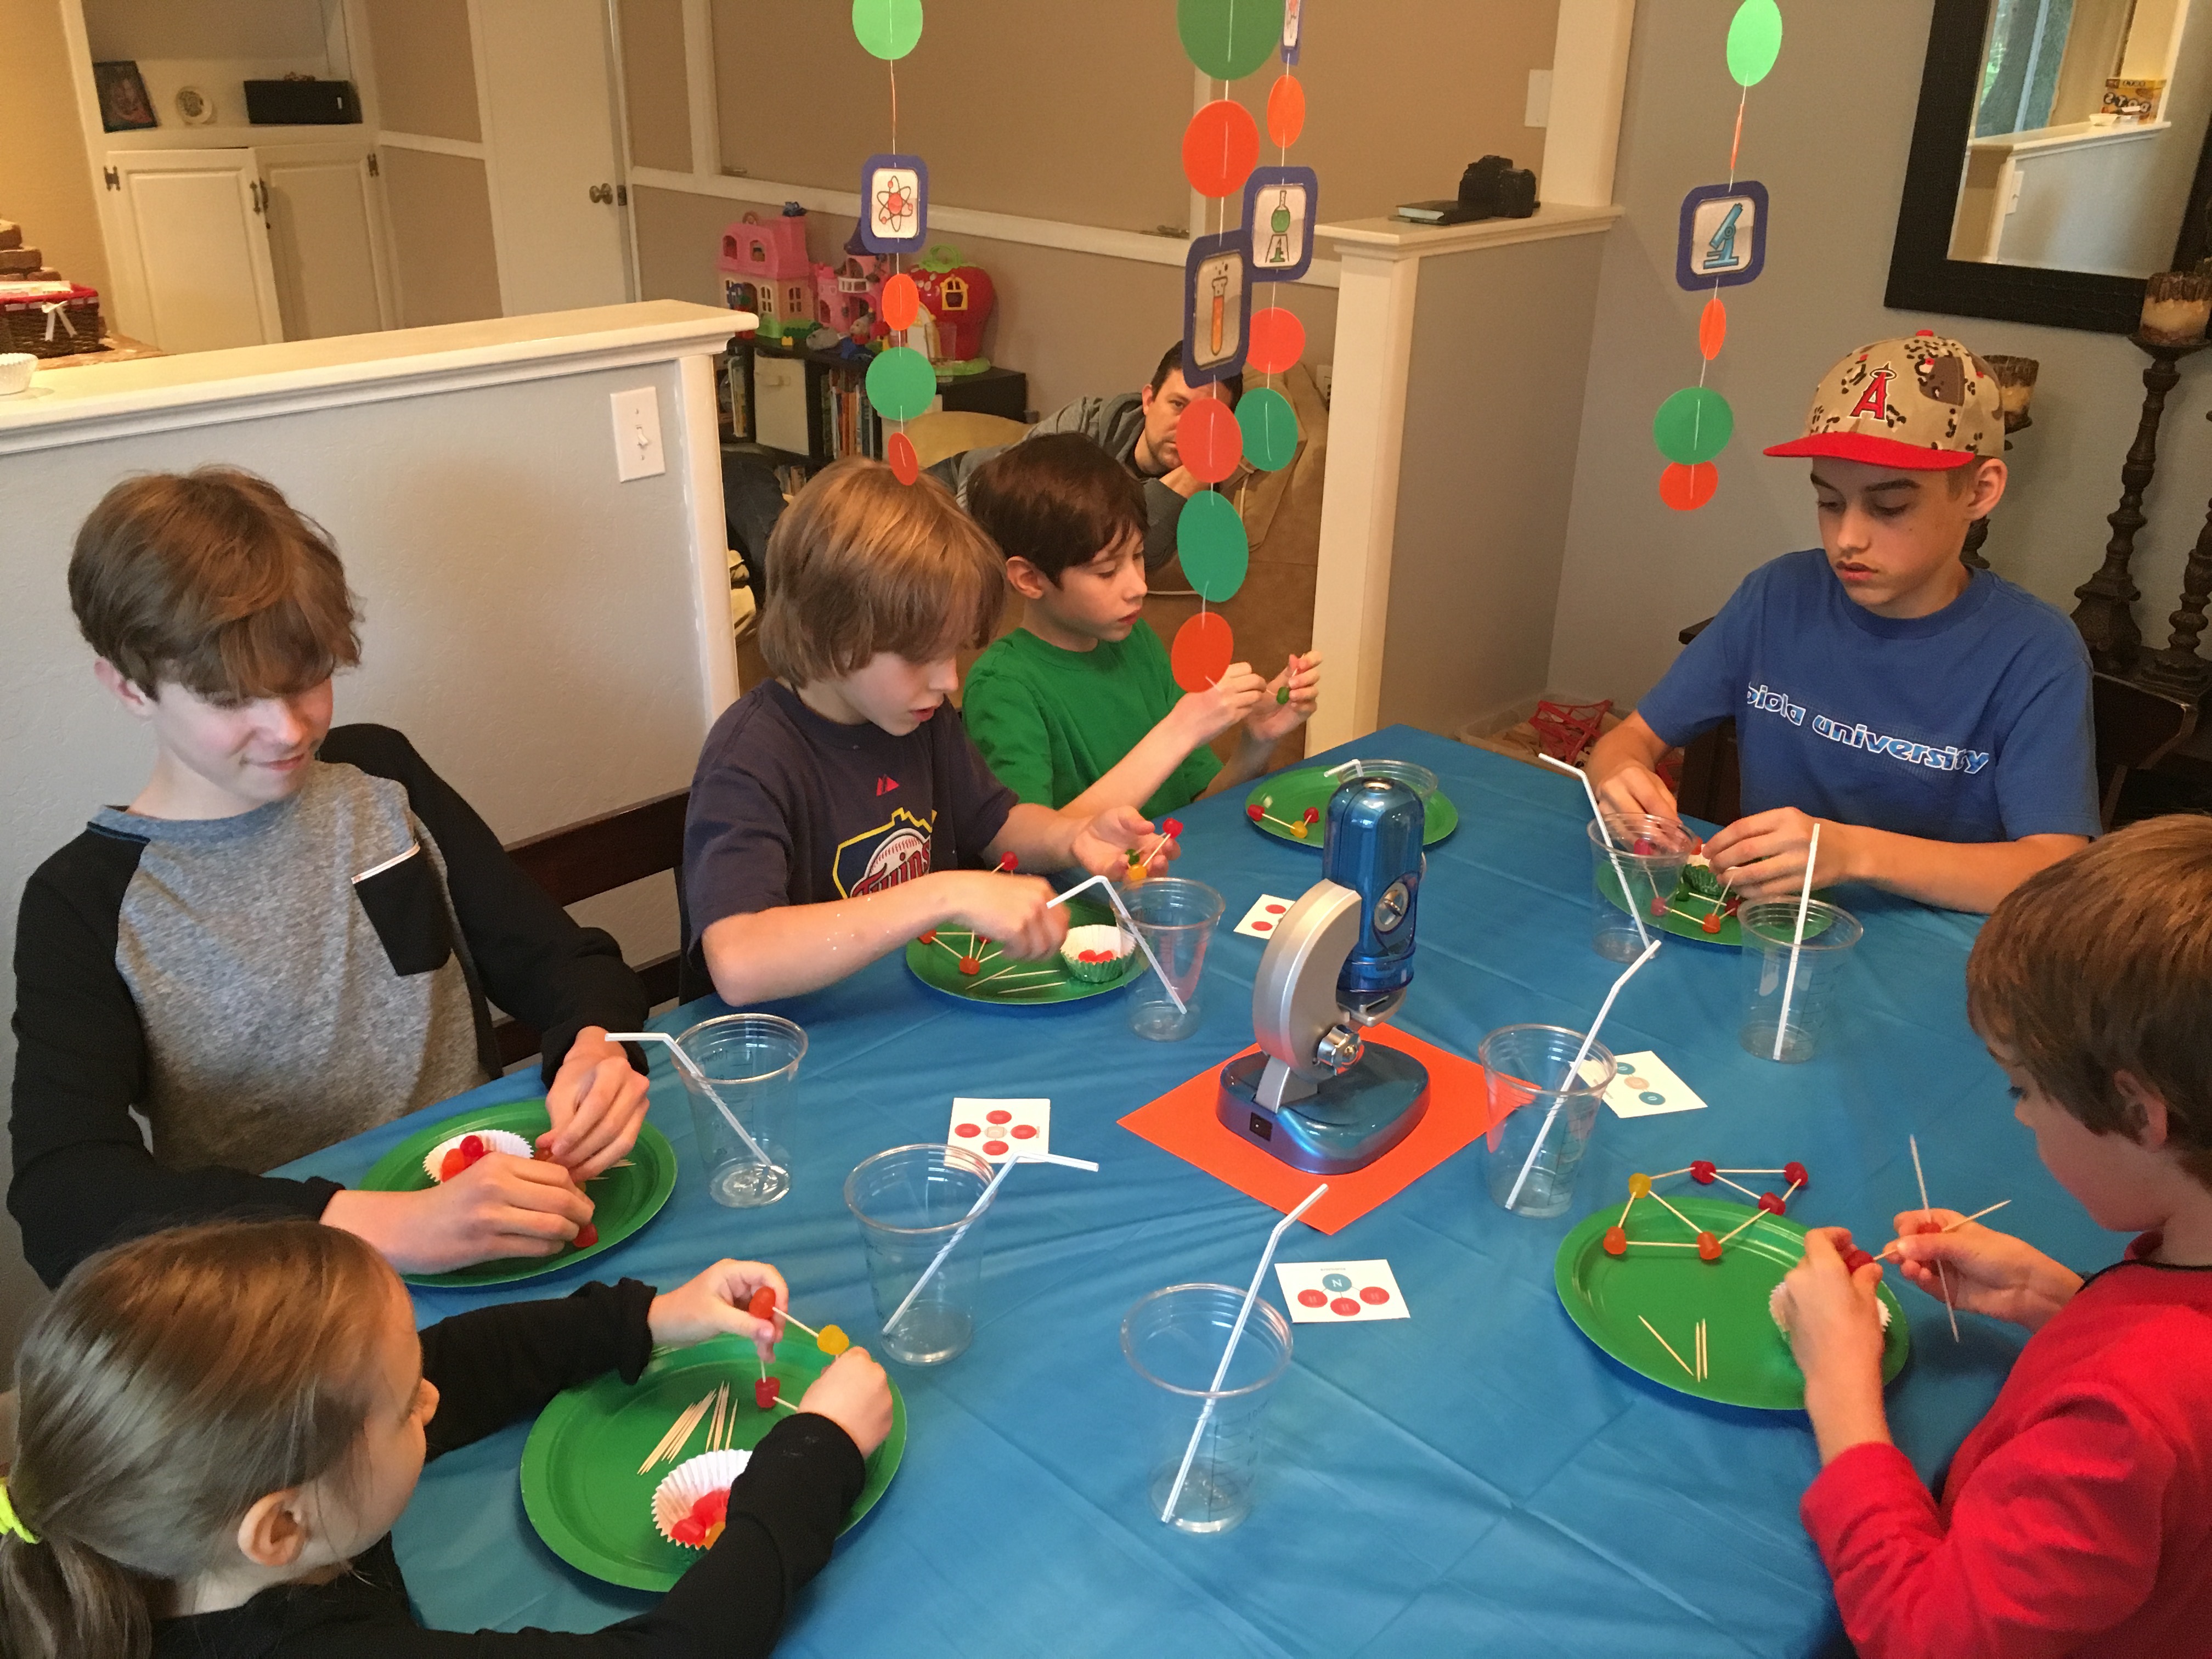
The decorations were quite simple, since most of our time was spent on the science activities. I created a really fun “Happy Birthday Micah” banner using letters from the periodic table and a couple of science symbols. My cricut came in handy for most of the homemade decorations. I used an old toy microscope as our centerpiece and placed Micah’s plasma ball near the food area. I used a black sharpie to draw lines and numbers on clear plastic cups to make them resemble beakers. I lined our counter with everything needed for the party, so that it was quickly accessible to keep things moving along.
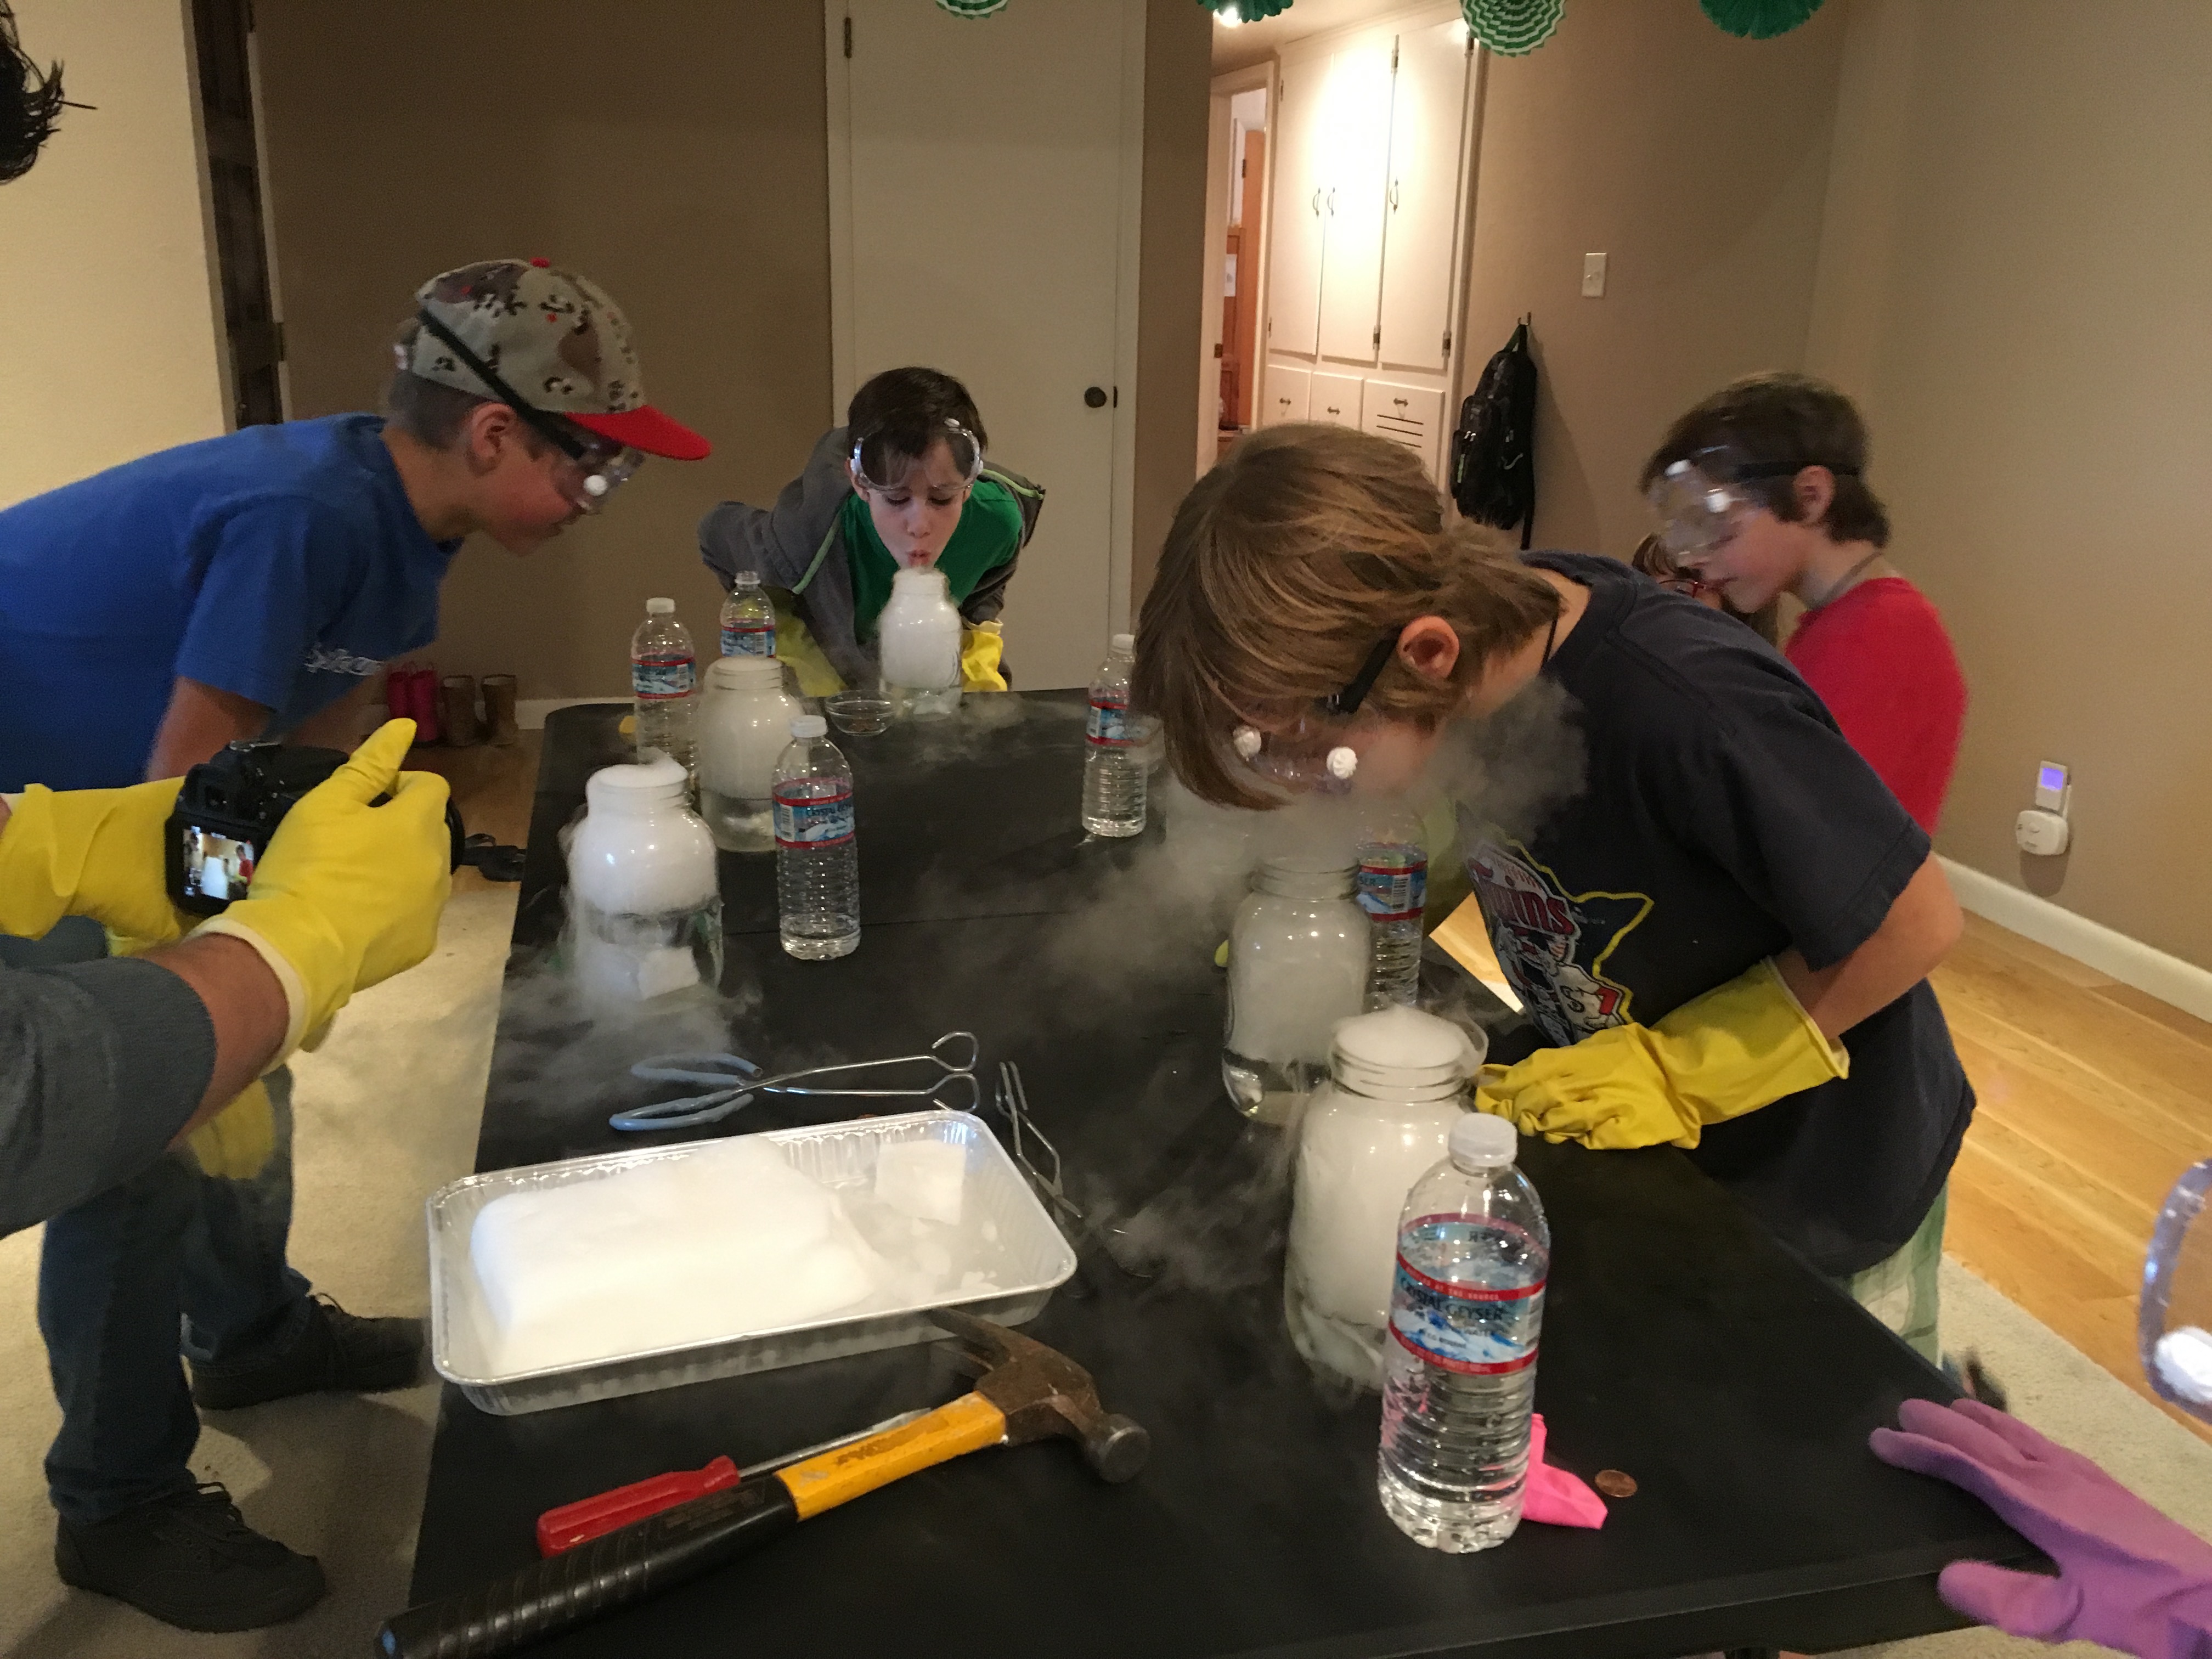
We read up on the proper safety precautions needed when handling dry ice, so we were well prepared to host a party of this kind. In the birthday invitations, I asked that a parent be present to help supervise their own child/children and asked the kids to come dressed in long sleeves, long pants, and close toes shoes. We provided gloves and safety goggles for each person handling the dry ice and when the kids arrived we were all ready to go. #CommissionsEarned
Water mixed with dry ice in some mason jars makes for some pretty awesome smoke, but when you add a couple of drops of dish soap, you take it to a whole new level. What kid doesn’t like to create a giant mass of bubbles that turns to smoke when popped!?!
Did you know that you can blow up a balloon by placing it over a water bottle with a small chunk of dry ice inside? But why stop there, a rubber glove pulled over a mason jar will work as well…and it’s pretty awesome to let it fill up so much that it pops off all on it’s own.
Time to get messy. Cornstarch mixed with water makes for such a great hands on experience. You can actually shape the mixture into a solid ball, open up your hand, and then watch it melt before your very eyes and turn back to liquid form. And what kid doesn’t enjoy getting a little bit messy just for fun!?! #CommissionsEarned
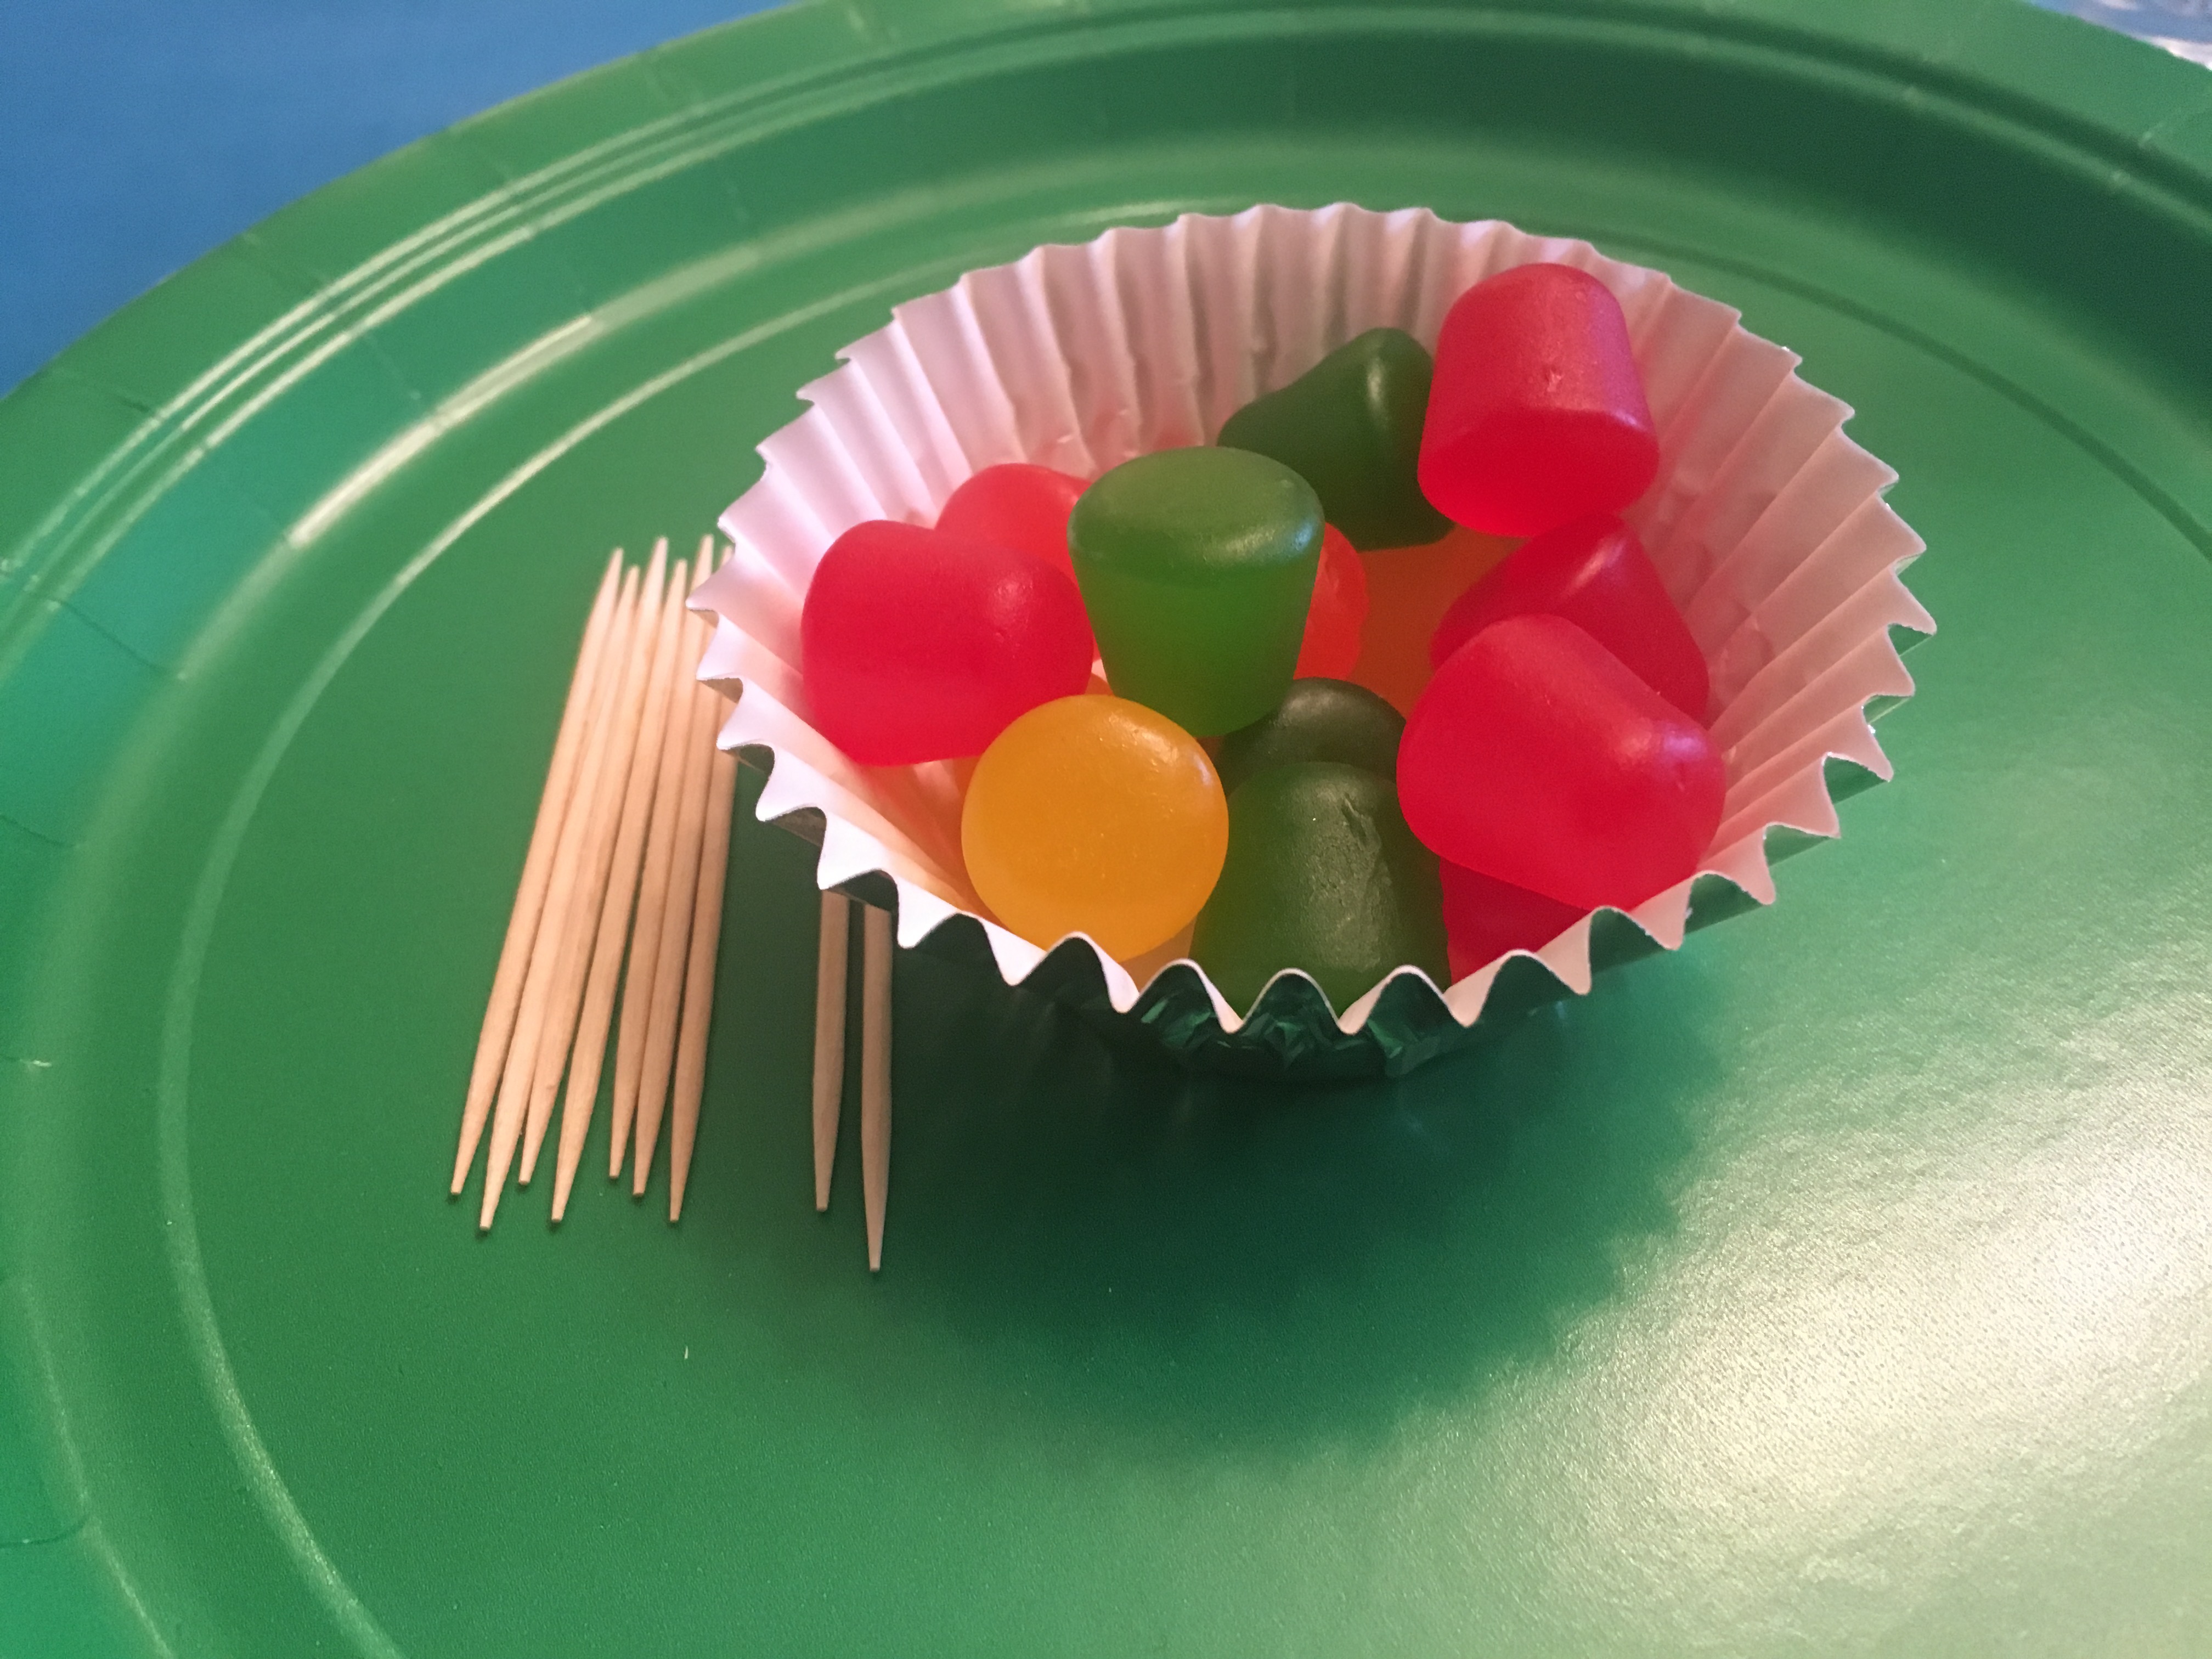
Dots candy and toothpicks make the perfect edible molecules. Try and create real models, like carbon dioxide, or just create your own crazy molecule. Science can be fun and tasty at the same time! Petrie dish anyone? A couple of drops of food coloring, a few sprinkles, and 4 of Wilton’s black sugar pearl sprinkles turn ordinary green jello into an edible science experiment. #CommissionsEarnedGummy lifesaver topped marshmallow pops dipped in nerds are always a huge hit in our house. I used Wilton’s candy melts in dark chocolate and orange to create these yummy treats.
Wilton’s candy melts are perfect for creating edible cupcake toppers. To go along with the science theme, I created beakers, test tubes, and molecules. Mini m&m’s completed the look.
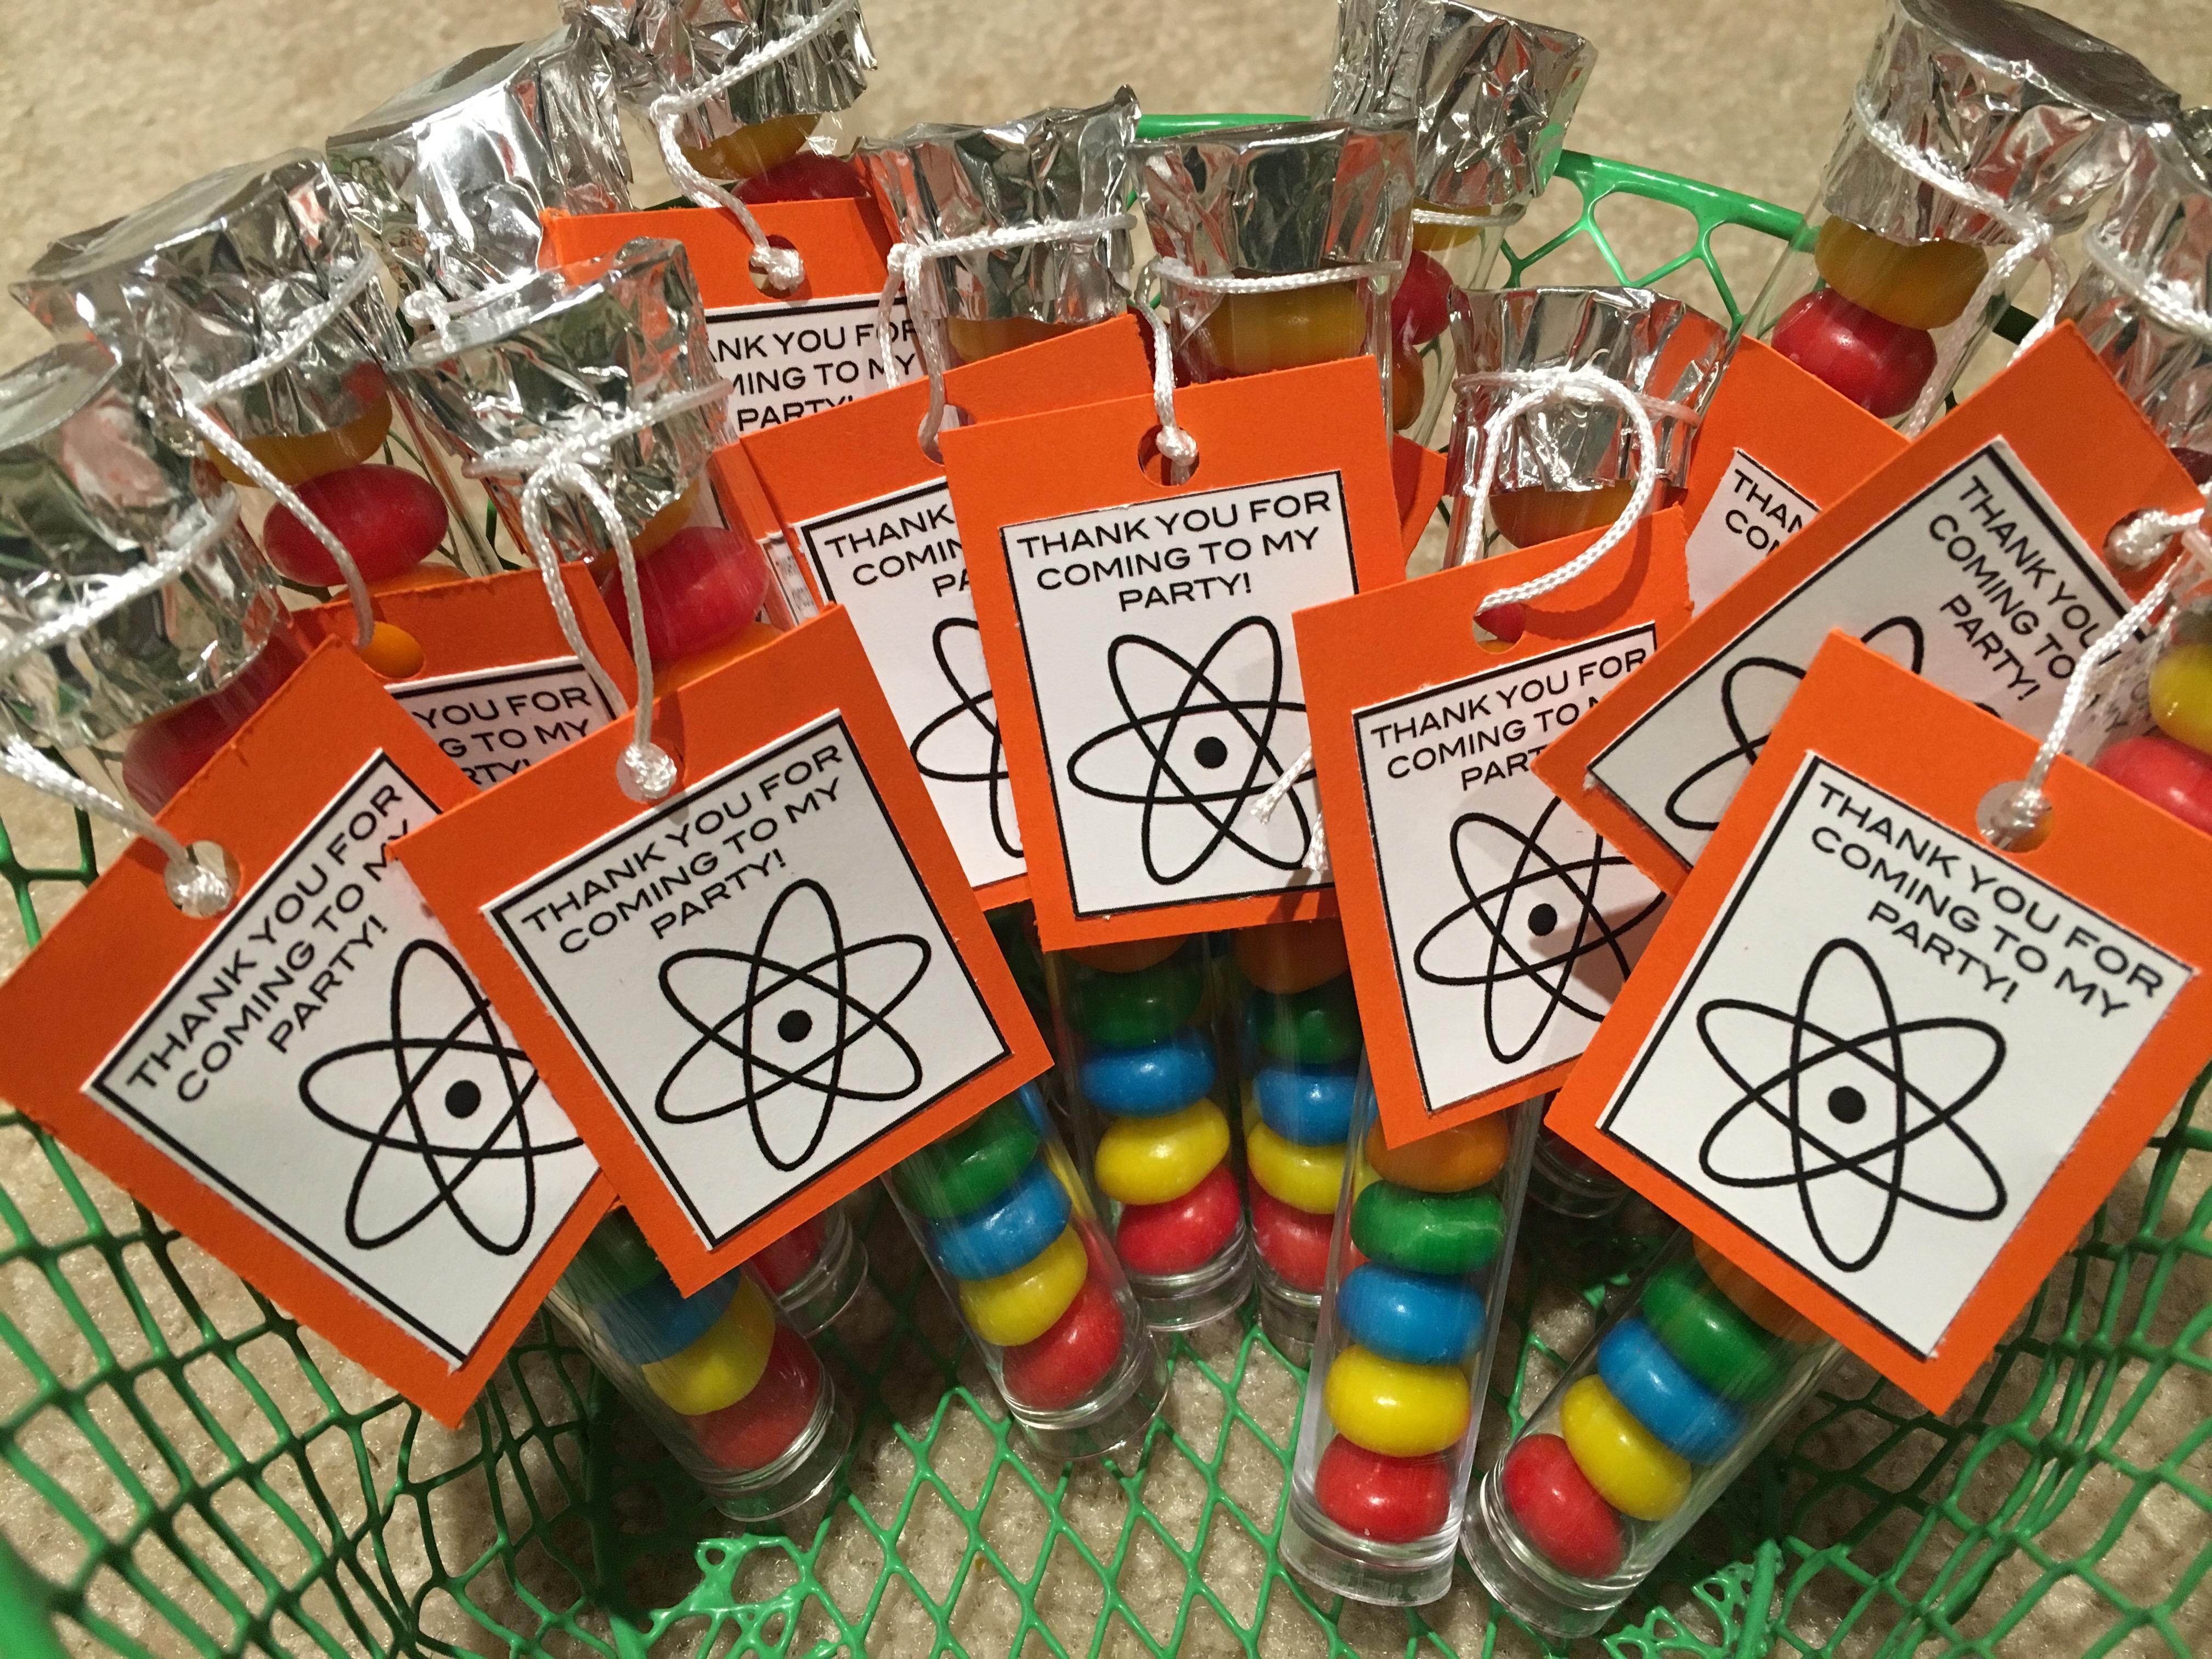
What’s a science party without test tubes? These plastic test tubes made great party favors to send home with Micah’s friends. Chewy Airhead Bites are the perfect size candy to fit into the tubes, but you could use a variety of different candies. #CommissionsEarned
For more fun birthday ideas check out some of my other blogposts:


 Every year, in the month of December, we spent time focusing on preparing our hearts to celebrate the birth of our Savior, Jesus Christ. One tangible way we do this as a family is by doing Advent Activities. Each day, December 1-25, our kids open the Advent Bag that corresponds with that day. Each bag contains a card with a Bible verse and a family activity printed on it.


 I like to use mason jars to melt the candy in, but small bowls or coffee mugs work also. Just make sure whatever you use is microwaveable. It’s best to set everything up before melting so your all ready to begin dipping the marshmallows. Line your countertop with wax paper and push a lollipop stick into the center of each marshmallow. Get your candies and sprinkles all ready to go. Follow the directions on the back of the bag of candy melts. I have found it best to start with one minute in the microwave on 50% power. After that, stir, and then go an additional 30 seconds at a time until your candy is easy to stir and completely melted. *Do not over melt…sometimes as you stir, the candy will continue to melt, so give it a good stir each time.
 Now comes the fun part! You are ready to dip and decorate! Enjoy my tutorial on making Halloween Marshmallow Pops for more helpful tips!
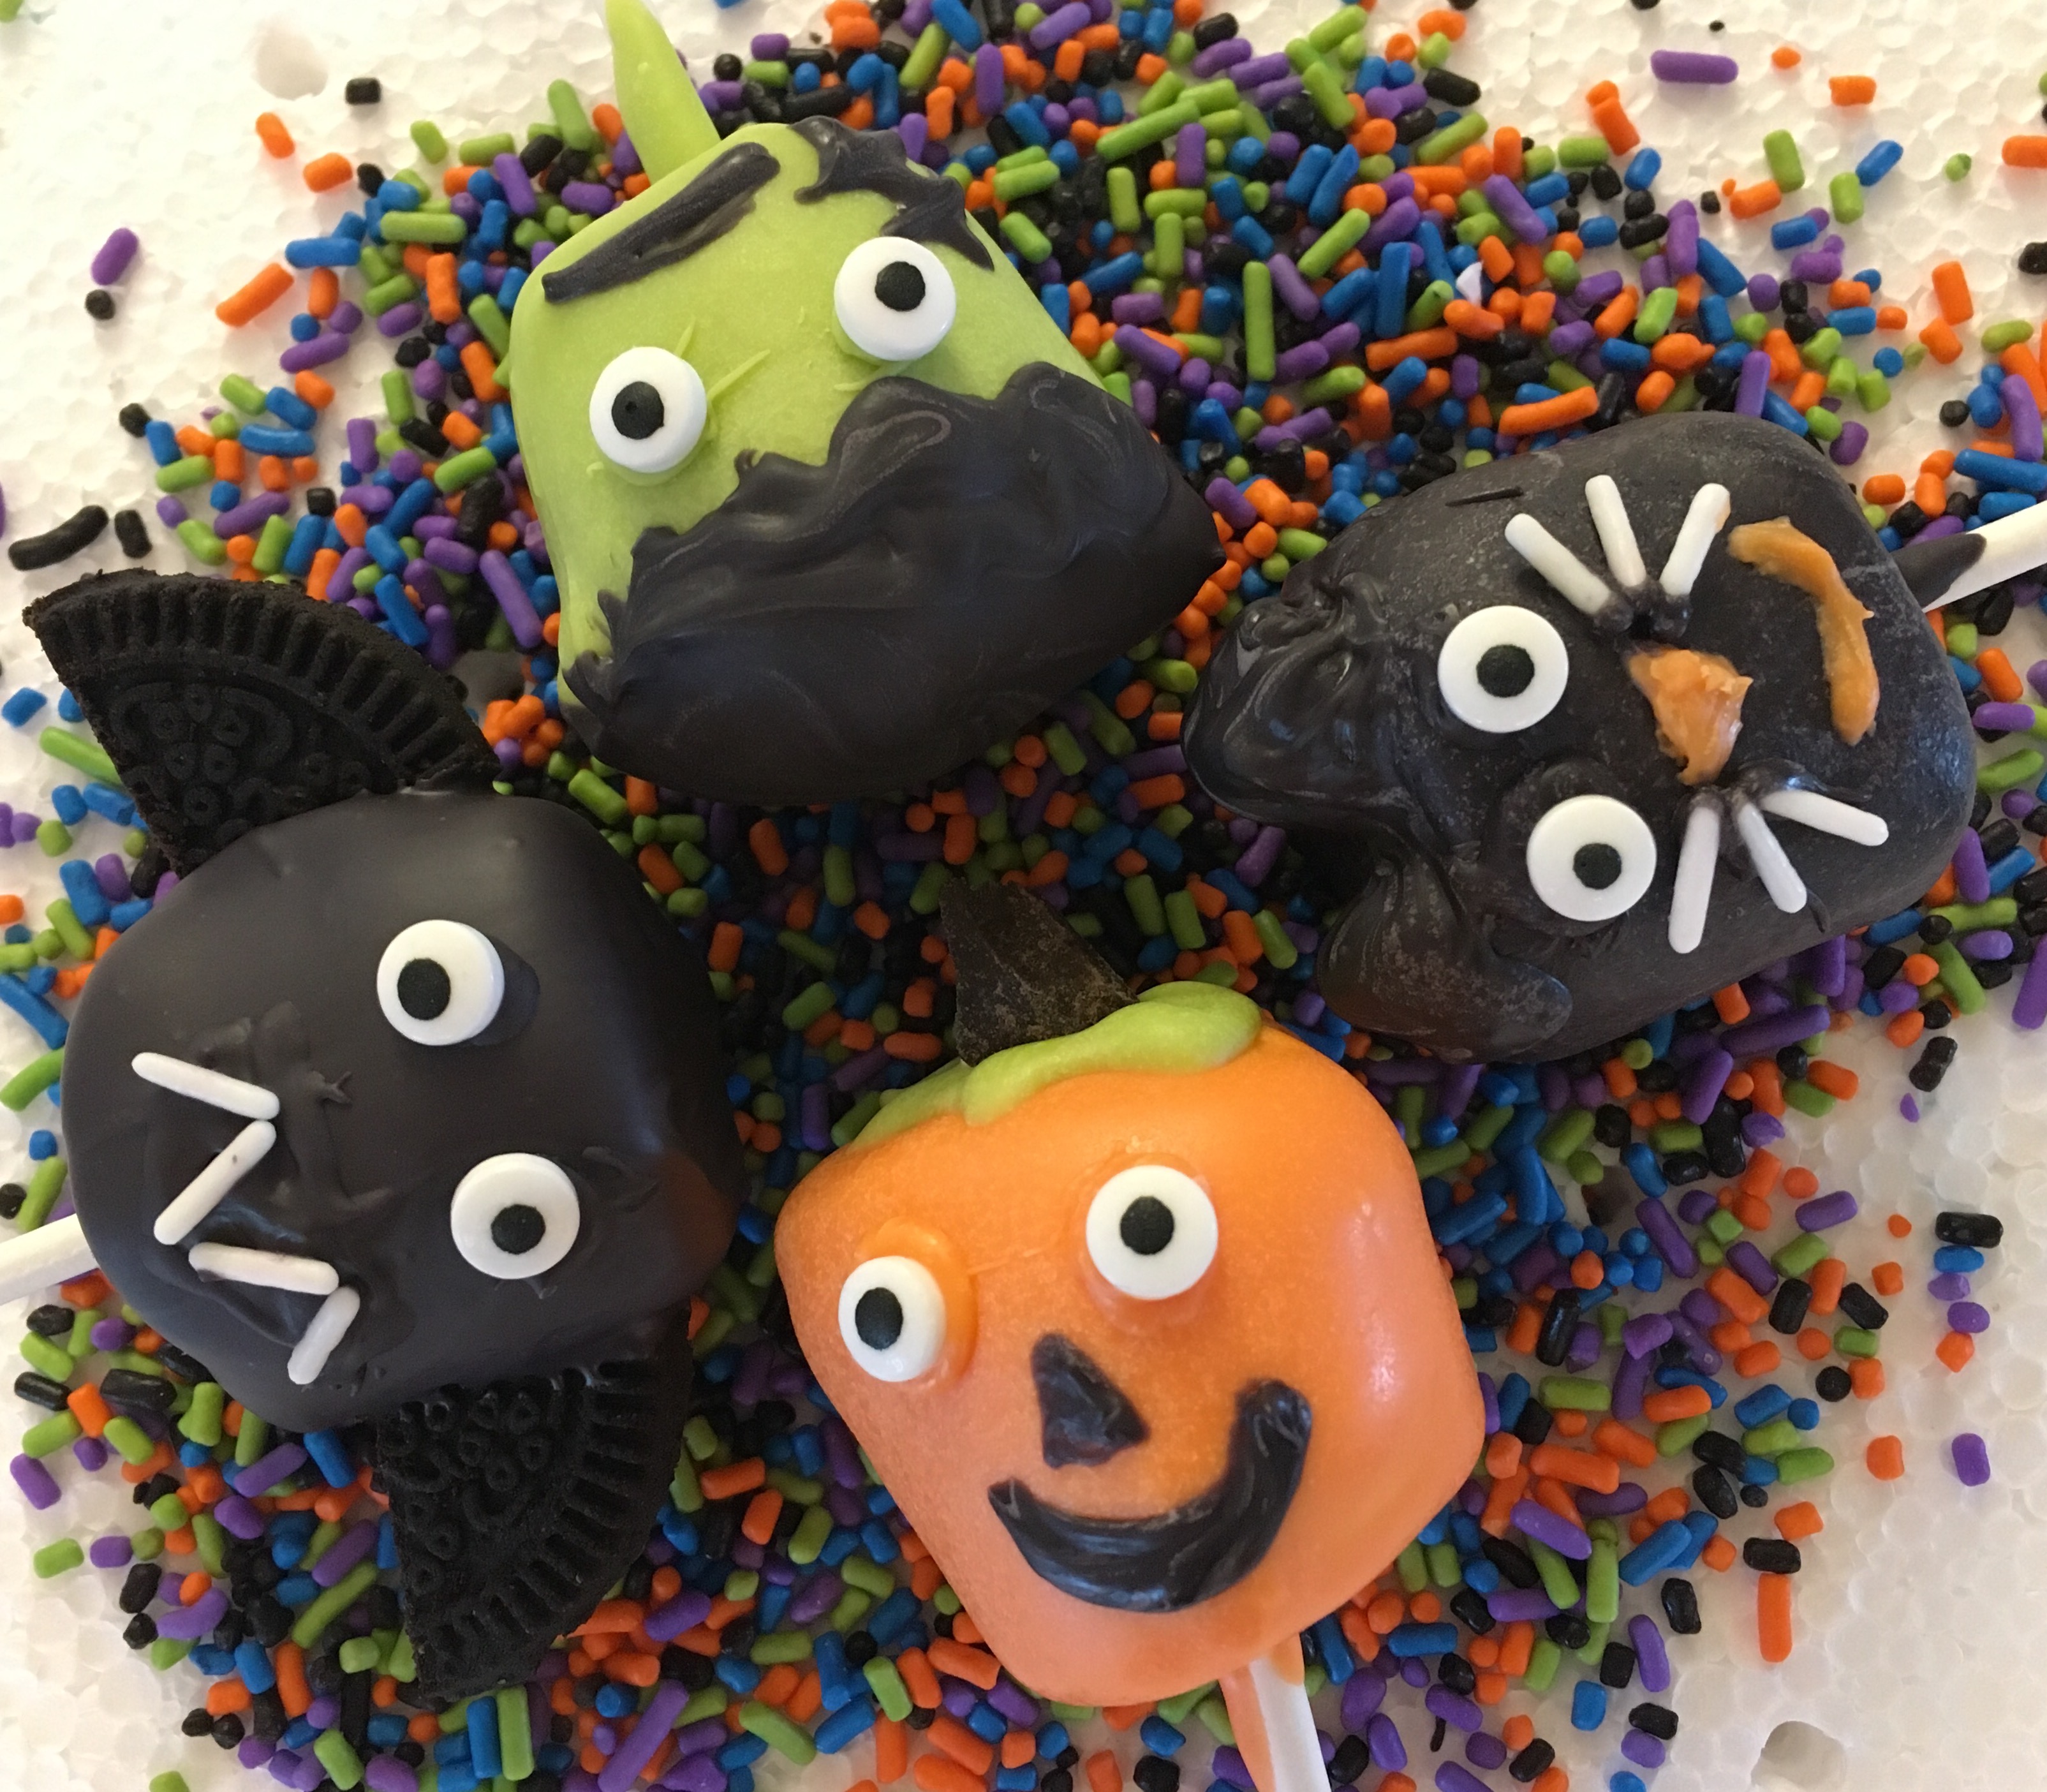


 Petrie dish anyone? A couple of drops of food coloring, a few sprinkles, and 4 of
 Gummy lifesaver topped marshmallow pops dipped in nerds are always a huge hit in our house. I used Wilton’s candy melts in dark chocolate and orange to create these yummy treats.