It was always my plan to update our front room when we moved into our home 6 years ago, but life is busy and something else always took priority. I finally decided to go with something bold and paint the room navy blue, knowing that the color would really pop against the white shutters and white built-ins. I chose Naval by Valspar in an eggshell finish and the color is exactly what I pictured. My sweet girl offered to help me paint the room, so we tackled it together.

Around that same time we were binge watching the show “Making It” and I saw a quick clip of a board and batten feature wall that was done by one of the contestants on the show. I told my husband that we had to create a similar wall in our front room and thankfully he was on board. I am the visionary in the family for these types of projects, but oftentimes, he is the one to carry out the little details to make it happen. I drew a sketch of what I wanted the wall to look like with rough measurements, and then we took a trip to Lowes to see what we could find to make it happen. I’ll include my sketch so that you can use it as a template to create your own. The middle fold is where the wall meets because my boards cover two walls.

Our unfinished boards measure 1 1/2″ x 3/4″ and were 8 ft long, but you can go with a different size depending on the design you choose. I did have to go back at one point for a couple more boards, so I think we ended up using about 15 total. Because the room was already painted navy, my next step was to add a coat of paint to all of the unfinished boards.
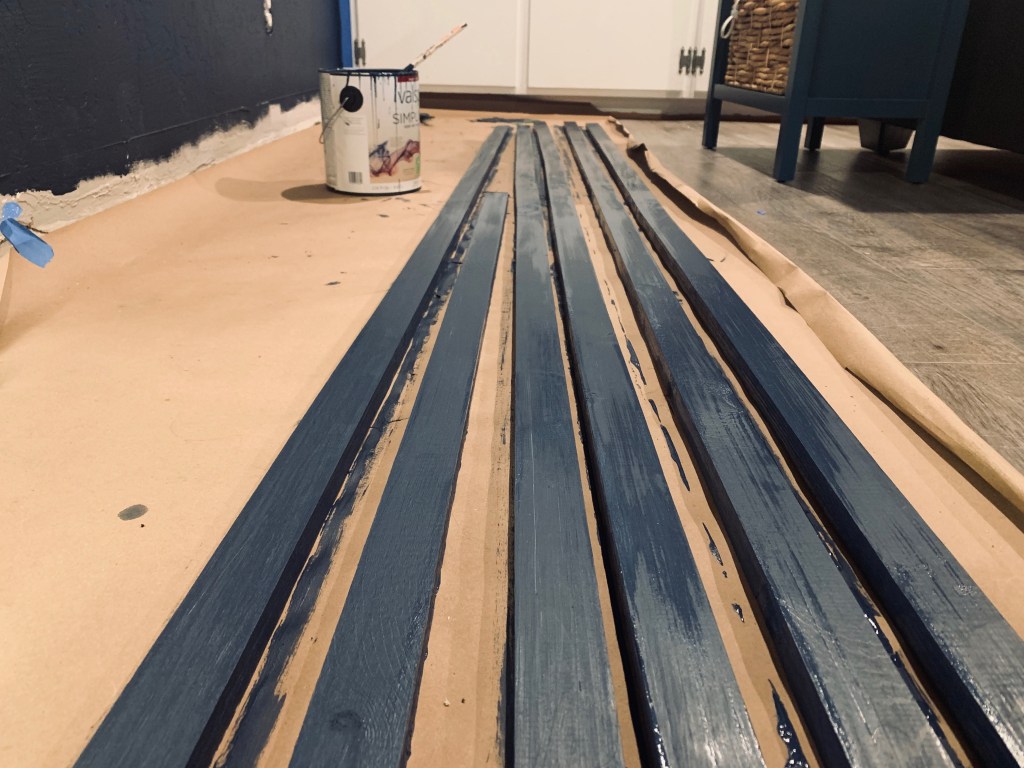
While we waited for the paint to dry, we grabbed our level, a ruler, and a roll of painters tape to map out the placement of the boards along the wall. #CommissionsEarned

The measuring and cutting was definitely the trickiest part. This is where my husband came in with his mathematical mind and precision to detail. He used his compound miter saw for all of the cuts. As you can see from the photo, my rough sketch on paper made it easier to bring my vision to life with the painters tape. My husband used a nail gun to attach the boards to the wall. We started off with the outline along the sides and top, then moved on to the longest ones in the center and went out from there, measuring and cutting each board along the way. #CommissionsEarned


Once all of the boards were up, I added another two coats of paint to make sure all of the nail holes were covered up and to give this “feature wall” a finished look. Our DIY board & batten wall was a worthwhile weekend project that ended up costing us under $75 and it has added so much warmth and texture to our front room.


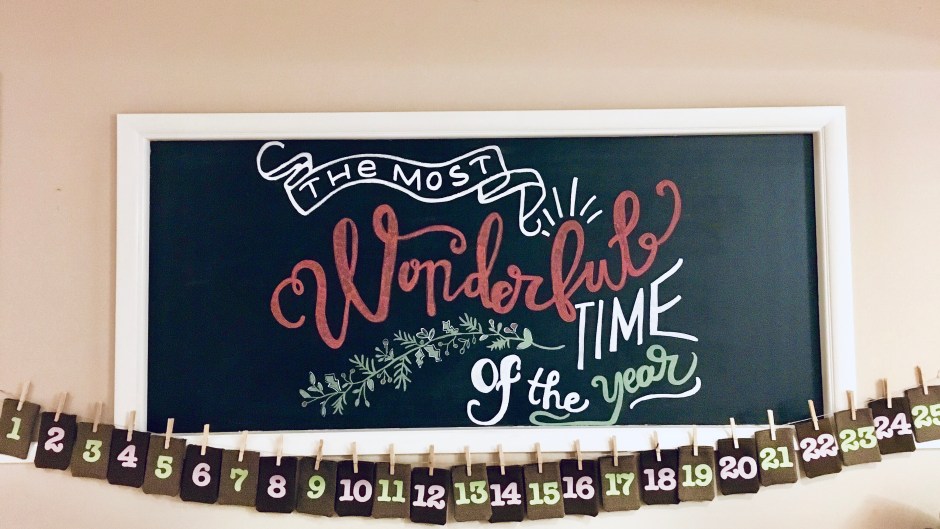
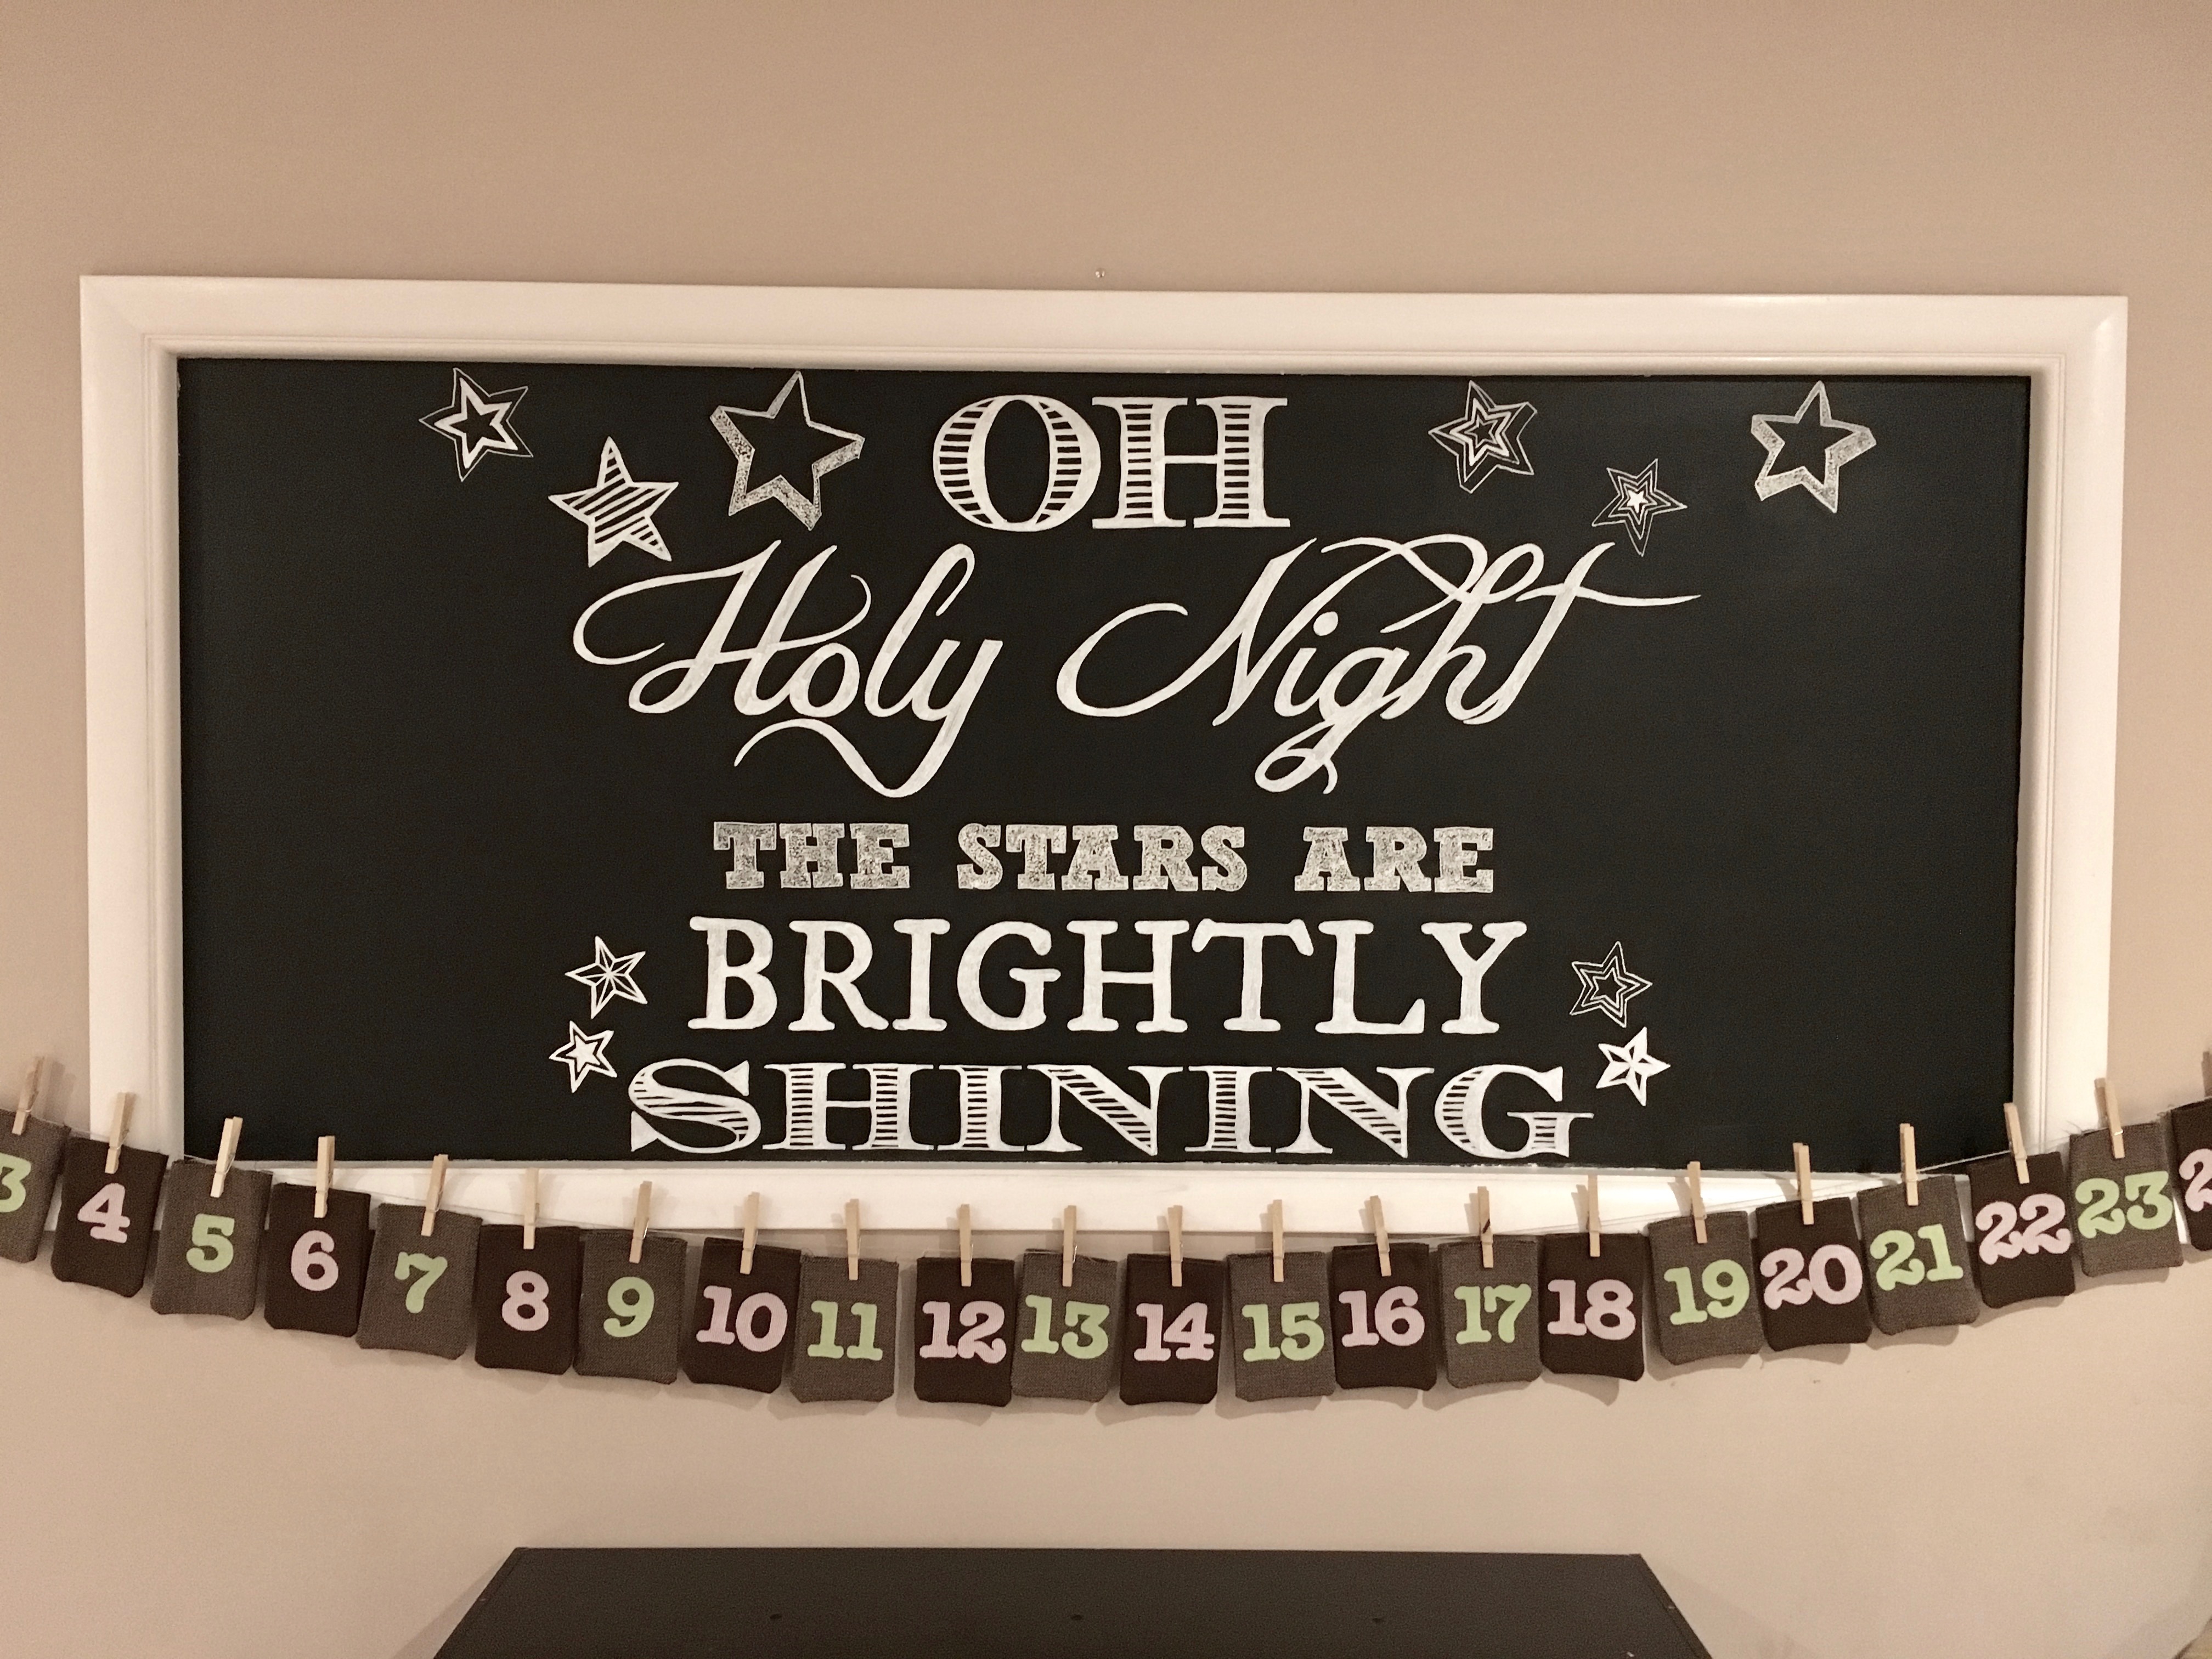
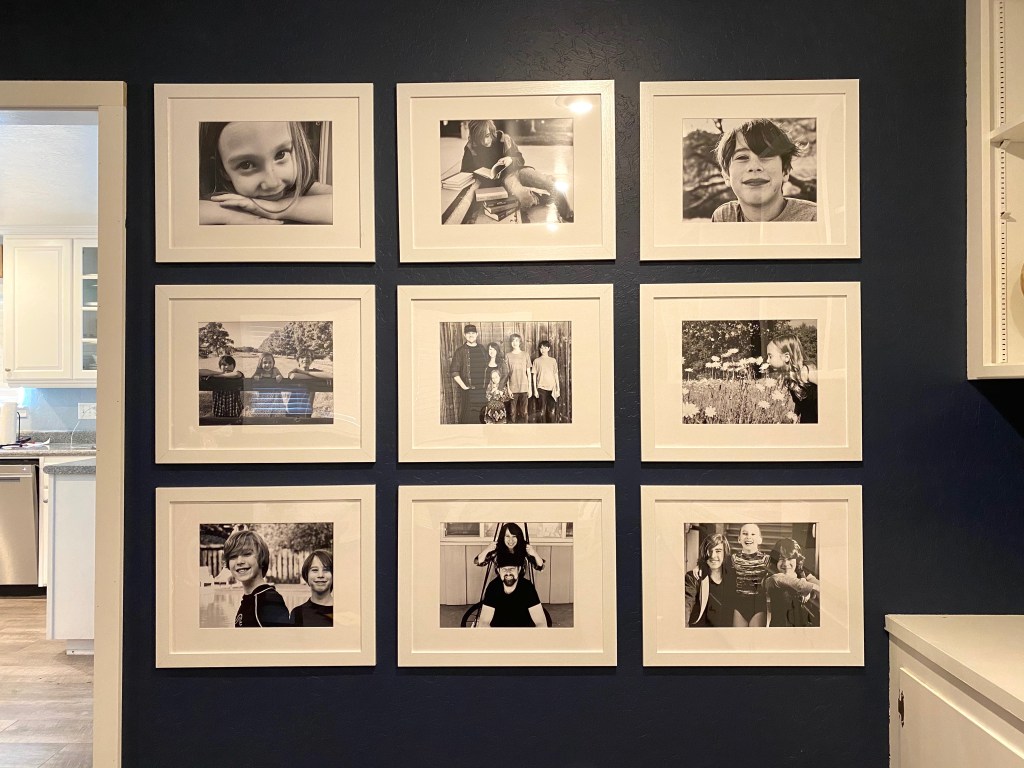
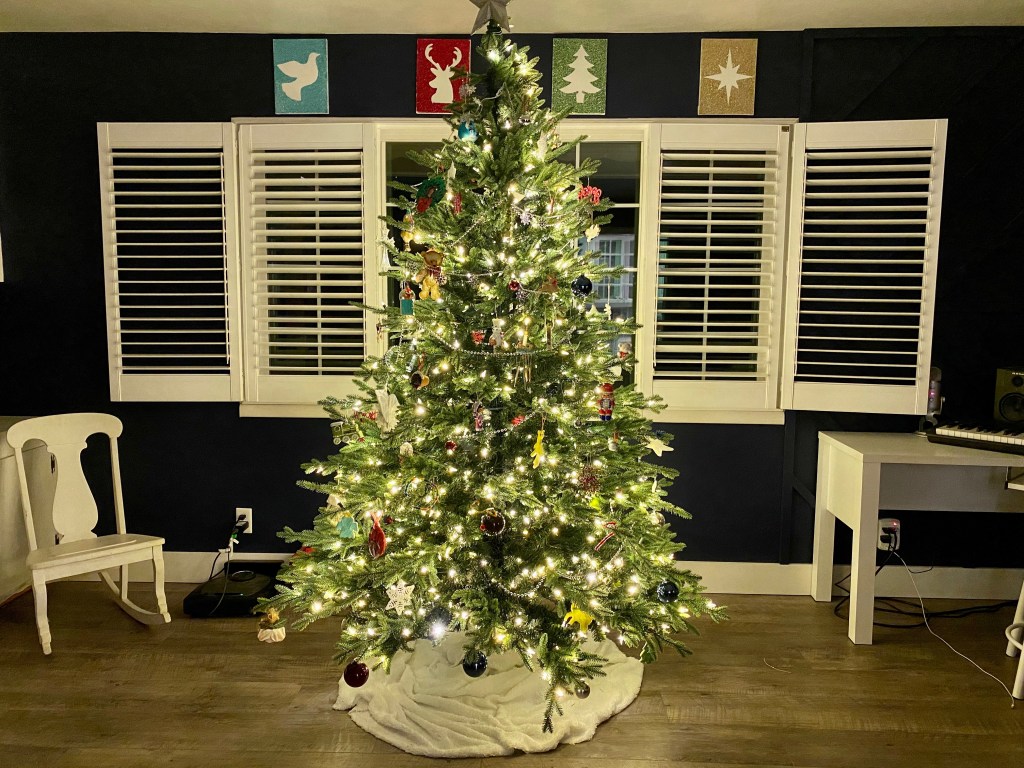
Because navy is such a dark color, I wanted to make sure to add plenty of contrast, so I created a large gallery wall of photos of our family on the other side of the room and I updated the decor on our built-ins. You can find similar matts and frames on Amazon, and Shutterfly is a great place for oversized black and white prints. I love that this is the first glimpse people get when they enter our home and I am thrilled with the way our Christmas decorations look in here as well. This room has definitely become my favorite in our entire house. #CommissionsEarned


For another fun and easy DIY project check out one of my recent blogposts : Oversized Scripture Scroll: Ephesians 3