
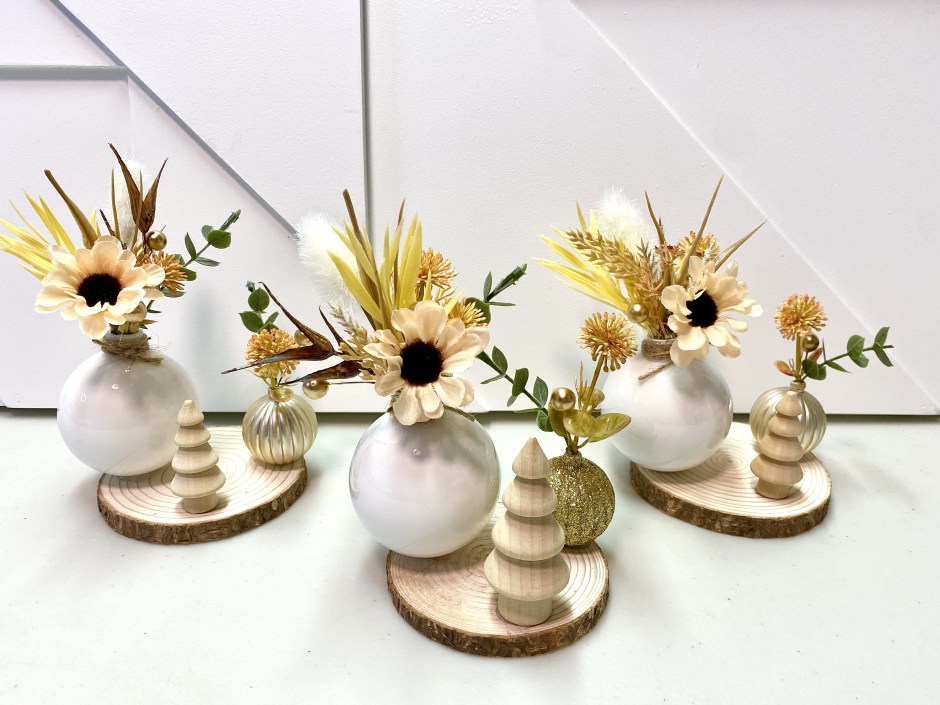

Wondering what to do with those leftover faux florals from Fall? How about using them to make these elegant natural Christmas centerpieces? You can’t go wrong with this easy DIY, whether you are making one to add to your own decor or several to put on each table for a holiday party. They would also make stunning centerpieces for a Christmas wedding.
Here’s what you will need:
wood rounds (about 4 inches each)
#commissionsearned

Start your project by pouring white acrylic paint into your clear plastic ornaments. Tip: Before adding the white paint, swish a bit of rubbing alcohol inside of each ornament and then pour out the excess. Let it dry before adding the white paint. This will help the paint adhere to the plastic. Believe me when I say that this step is important! I ruined several ornaments by skipping this step, and ended up with a blotchy paint job.
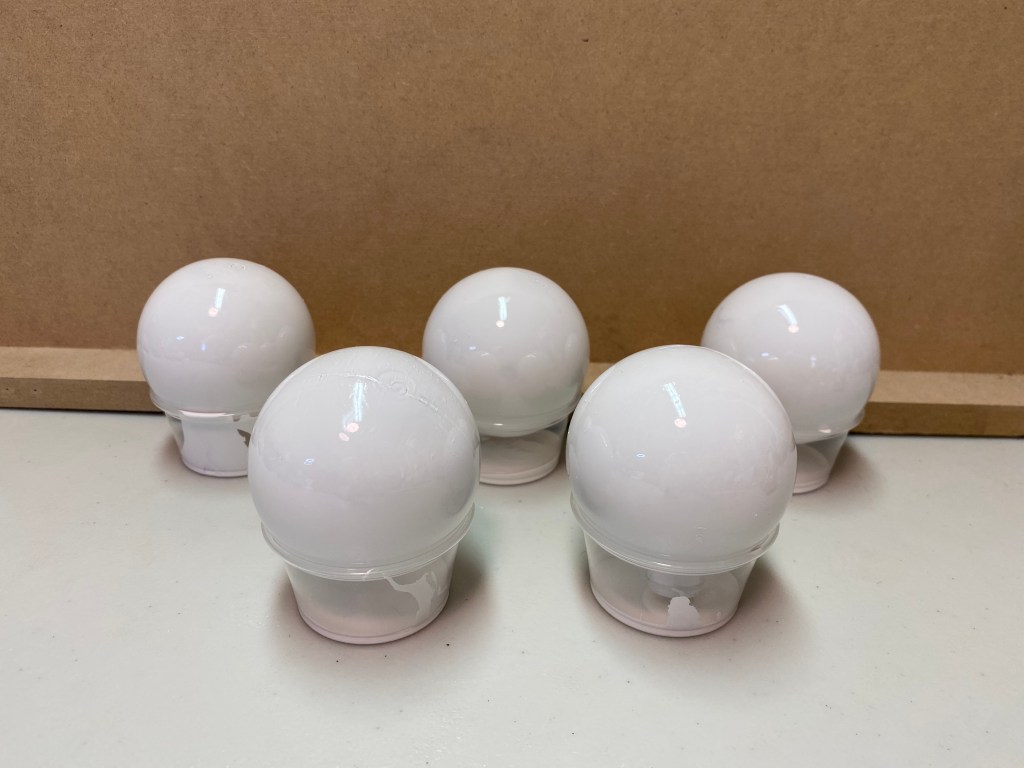
Once the alcohol has dried, pour a bit of paint into each ornament. Swirl is around so that the entire inside of the ornament is coated with white paint, then turn each ornament upside down to drain the excess paint out. I left my ornaments like this overnight, and then turned them right side up for another 24 hours to make sure that the paint was fully dry before moving onto the next step.
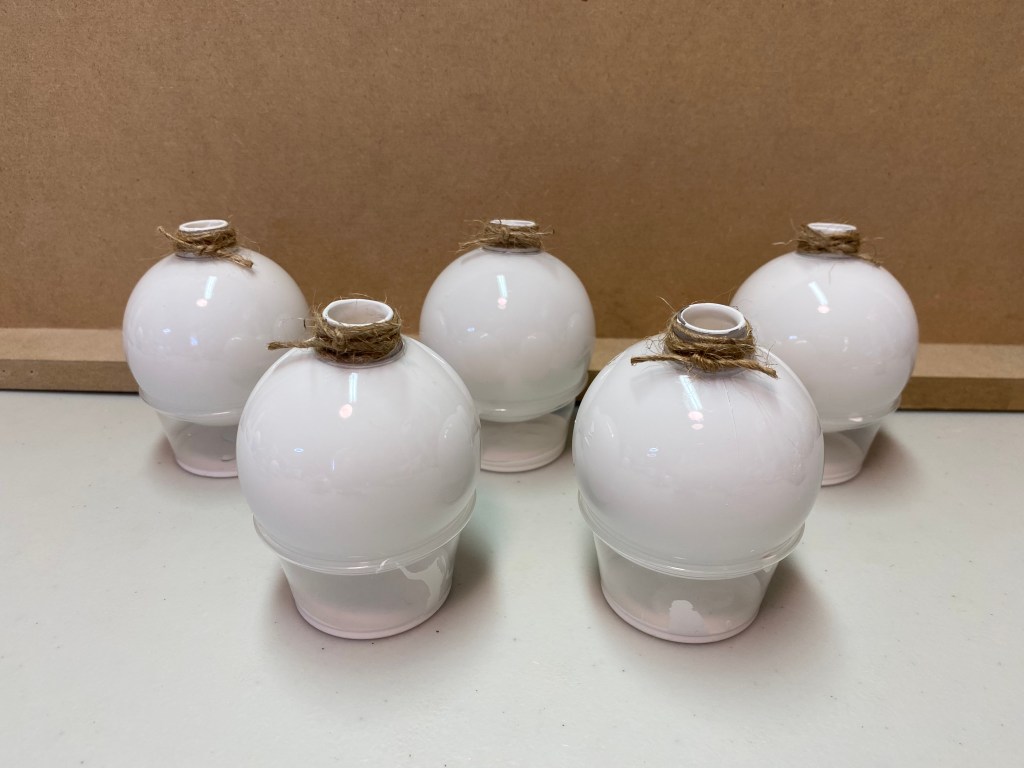
Once the paint is dry, cut a piece of twine to loop around the top of the ornaments. I added a dab of hot glue to the back to keep the twine in place and then tied each in a double knot. Trim the twine to your preferred length.


Use floral tape to secure the stems of the faux florals together to form a small bouquet. Make sure to wrap the stems tightly and to keep it small enough to fit inside the top hole of the ornament. Leave out 3 small pieces to place inside of the tiny gold ornament.
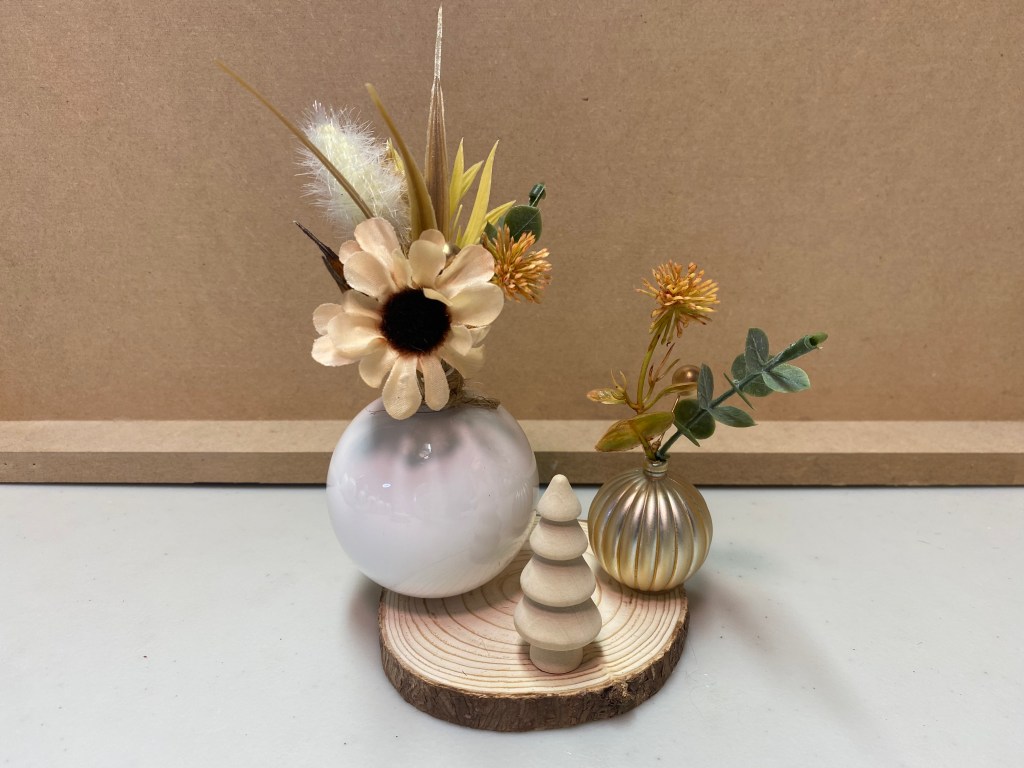
Now you just need to use your hot glue gun to secure everything in place. I put a tiny dab of glue on the stem of the gold ball that I added to the gold ornament before I slid it into place to hold those florals in the right place as well.
I’ve included a short video tutorial so that you can see, step by step, how I created these gorgeous Christmas centerpieces.
Let me know if you decide to make some for your home or for your holiday gathering. You could even change the colors and florals to coordinate with any color scheme. And if you missed my last blogpost, you can see a peek of my Floral Embroidered Christmas Tree in the last picture on this post. You’ll find the instant download PDF pattern and printable instructions in my new Etsy Shop, thistles and rainbows.
Merry Christmas from Kerri Creates!
