DIY Tablecloth Curtains

A couple of years ago we rented the cutest little house in an older neighborhood.  The street was lined with big trees, the neighbors were friendly, and the backyard was filled with a variety of fruit trees.  The house itself had a lot of character, including a wall covered in shiplap, a large window with a view of a train trestle, glass doorknobs, and old light fixtures.  The master bedroom, however, needed a bit of help.  Because we were renting, I didn’t want to invest a ton of money into bedroom decor, as we knew we wouldn’t be living there very long.

One afternoon my husband decided to take the kids to see a movie and he left me with a couple of glorious hours home alone.  I had purchased two rectangular tablecloths at Target a couple of days before, so I went right to work on creating some curtains to brighten up my bedroom.  The windows truly were the best feature of that room, so I wanted to highlight them.

I can’t believe how easy it was to sew these simple curtains!  By the time my family came home, I was finished and my bedroom had a completely new look.   Here’s my tutorial on how to make simple curtains out of a rectangular table cloth.

I would love to hear from you.  Leave me a comment and tell me about your favorite DIY project and of course show me a picture if you make some tablecloth curtains of your own!


Dr. Seuss (Cat In The Hat) Birthday Party

Dr. Seuss’ birthday is March 2nd.  When my boys were little, they LOVED Dr. Seuss books.  The Cat in the Hat was one of their favorites!  Several years in a row I made cupcakes for my oldest son’s class for Dr. Seuss’ Birthday.  Then when Jacob turned 7, he decided to have a Cat In The Hat Themed Birthday Party.

Jacob will be 15 in May.  Time sure flies!  But sometimes I look at him and I still see that sweet little 7 year old running around in his Cat in the Hat, red and white, striped hat.  Thankfully he’s still just as sweet, almost 8 years later, but we are well past the age of themed birthday parties.

So today I am taking a few minutes to reminisce.  With Dr. Seuss’ birthday  just a few weeks away, I decided that I would look through our archives of photos and share some of my memories with all of you.   The quality of photos isn’t the greatest.  I had no thought of starting a blog back then…just of keeping up with two busy little boys, but I’m sure there are some fun ideas for those of you who are thinking of hosting a Cat in the Hat Party or just looking for something fun to do on Dr. Seuss’ birthday.

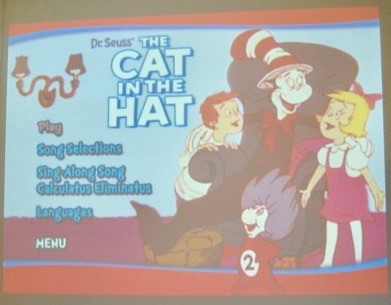
For Jacob’s party, he wanted to watch some classic Dr. Seuss cartoons, so we made our house into a mini movie theater including a “red carpet” entrance made out of a red plastic table cloth.  Our snack bar included popcorn, red vines, water bottles, and m&ms.  We gave each of the kids some pretend money to “purchase” their snack items and ushered them into a curtained off room, lit only with white lights around the perimeter of the floor. We projected the movie onto a wall to make it feel like a movie theater and set up some cozy seating along the other wall.

DSC04597.JPGDSC04571.JPG

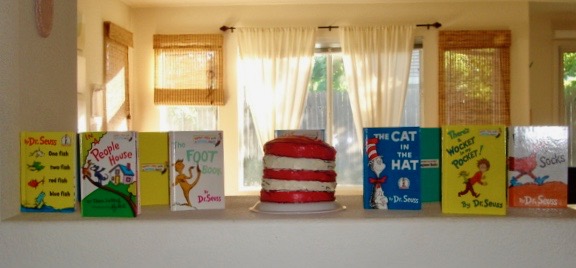
I decorated with a display of our own Dr. Seuss books and some cardboard cut outs that I purchased online.  For the cake, I bought a white plate and turned it upside down for the base.   I made 5 cake rounds and stacked them one on top of the other.  I frosted every other white and red and piped a bit of black frosting for the lines.

DSC04569.JPGDSC04568.JPGDSC04573.JPGDSC04575.JPG

The cupcakes featured are the ones I brought to Jacob’s class.  For the toppers, just layer white lifesavers and round cinnamon hard candies with frosting in between to “glue” them together.  Place the candy toppers in the refrigerator to harden before putting them on the cupcakes.  Frost the cupcakes blue and then add a circle of white in the middle before placing the candy hats in the center.  The white frosting becomes the base of the hat.

dsc05909

I filled a basket with Dr. Seuss pencil and eraser sets for each of the kids to take home as a “thank you for attending my party” gift.  This was definitely a fun and memorable birthday party for my oldest boy!

DSC04576.JPG

Valentine Marshmallow Pops

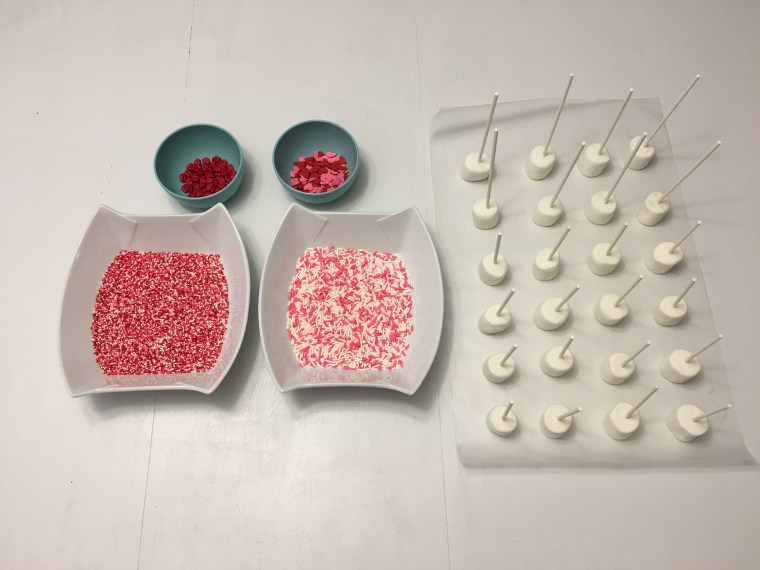
If you are looking for a cute and simple, no bake, Valentine Treat…look no further.  These Valentine Marshmallow Pops are quick and easy to make and they taste delicious!  They are perfect for taking to class parties or passing out to friends.  You can even hole punch a small Valentine card or paper heart on the top and bottom, and weave it through the top of the lollipop stick, for personalized treats.

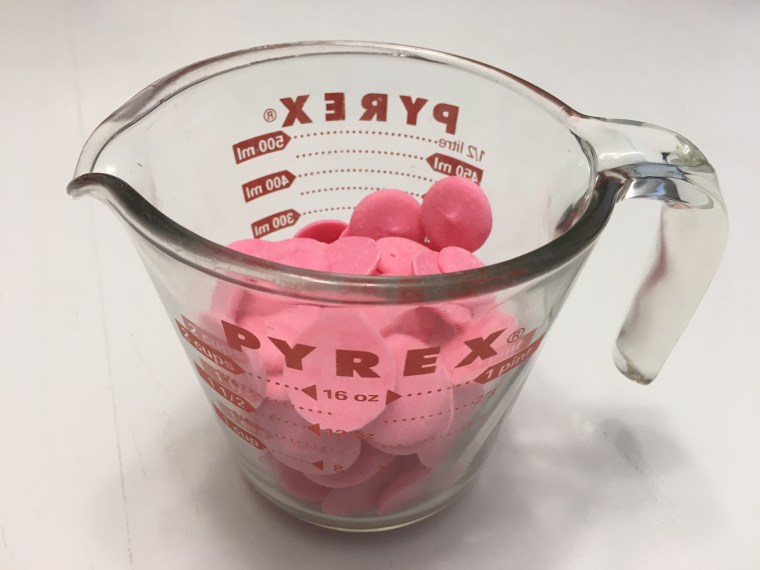
One bag of Wilton’s candy melts makes about 26 pops and the decorating possibilities are endless.  Let your kids help you make these for a fun family activity and an opportunity for them to express their creativity.

For more helpful tips on making these adorable Valentine Pops, watch my tutorial!    Happy Valentine’s Day!

img_6032img_6035img_6033img_6034img_6038img_6037img_6042img_6056img_6058

Book Page Banner

img_5919

I love books!  In this day in age when so many are reading books on Kindles, Nooks, and iPads, you will find me curled up in a cozy spot in my house with a traditional paper book.  The library just so happens to be one of my very favorite places on the Earth!  I think that is why my eyes are drawn to creative projects made from book pages.

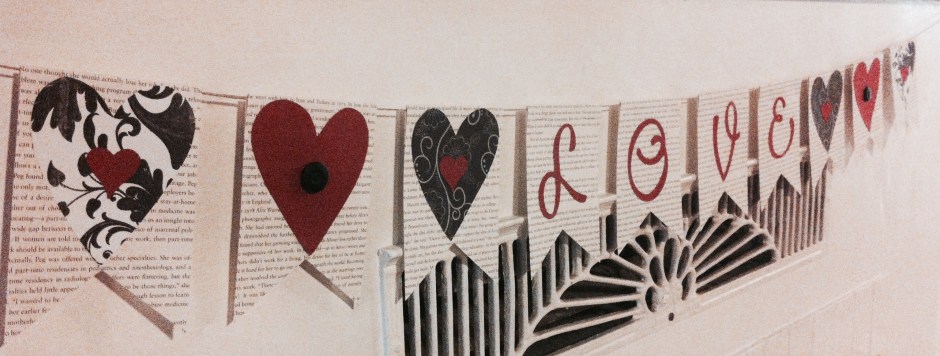
Several years ago I made this pretty little book page banner to hang across my mantle for Valentine’s Day and I have reused it several years in a row because I love it so much!  To make one of your own, you will need a book that you don’t mind cutting up (I bought mine from the Dollar Tree).  You will also need scrapbooking paper in several colors or patterns. I went with a black, red, and off white theme.  Grab a couple of buttons and some twine and you are all set.

I used my Cricut Expression 2 to cut the L O V E letters, but made my own template for the large and small hearts.  The book pages are 6 inches long by 4 inches wide.  This gives you enough length to fold the top over to hang them on the twine and to cut a 1 1/2 inch triangle out of the bottom of each.  For my banner, I stapled the individual book page pieces over the twine and then glue the hearts on after to cover the stapes.  For the LOVE portion, I lined the staples up with one of the words to “hide” it as much as possible.

If you love creating banners for your own home, check out my tutorial on How to Make a Pennant Banner.

If you are looking for some other simple and fun Valentine ideas, here are some links you will enjoy.

Valentine Paper Garlands

Valentine Craft for Kids: Cookie Cutters and Paint

Valentine Words of Affirmation for Kids 

Chocolate Covered Strawberries 

Valentine Paper Garlands

Paper garlands have become one of my absolute favorite DIY decorations.  They are simple to create, inexpensive, and they are perfect for everything from holiday decor to birthday parties.  These elegant heart and circle garlands will add a little bit of love to your home for Valentine’s Day.  Watch my tutorial for some tips on how to make some of your own.

For my hearts and circles, I used the Cricut Expression 2, but if you do not have a Cricut, you can simply cut hearts and circles out of card stock.  I used 3 different colors of card stock, plain white, and a shiny gold & red that I purchased from the Dollar Tree.  Sometimes, when I make paper garlands, I use my sewing machine, but for these, I just used a needle and white thread.  I wanted to be able to space them out, so this gave me the option to slide them along the thread and place them where I wanted to. #CommissionsEarned

Some friends of mine gave me this beautiful old window, which made the perfect backdrop to display a collection of Valentine Paper Garlands.  Happy Valentine’s Day from Kerri Creates!

fullsizeoutput_d8b2fullsizeoutput_d8bffullsizeoutput_d8c1

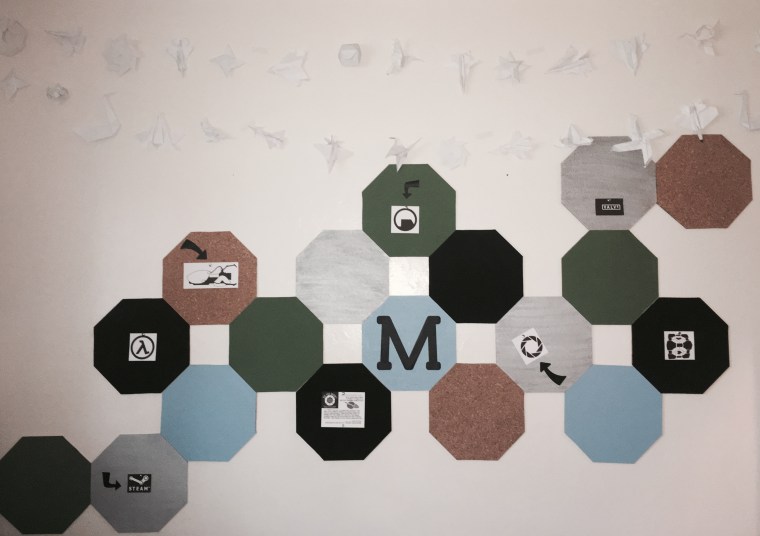
Octagon (Geometric) Bulletin Board

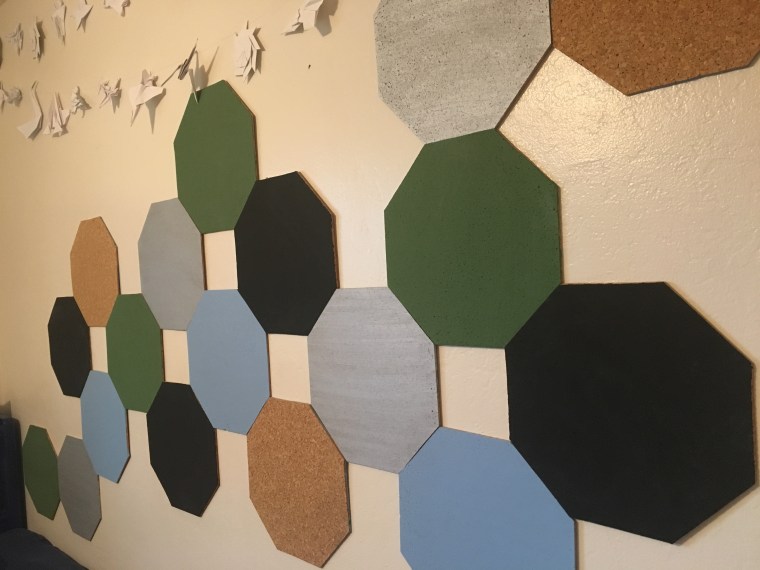
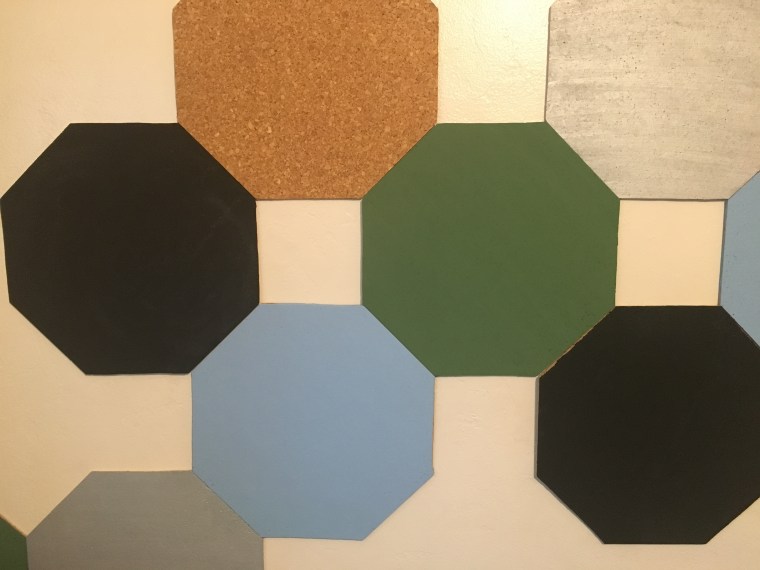
I have had this huge stack of cork tiles in my son’s room for several years… just sitting there…  taking up space!  So this week, I finally decided to do something fun with them!  I created a geometric bulletin board for my 10 year old son’s bedroom wall and I am so happy with the way it turned out.  It was a bit tricky getting the right cut to create the octagons, but with a little help from my husband, (who measured and cut the template for me) I was on my way.  A couple of coats of paint and some command strips later, and these cork tiles became a really cool memo board for my son to pin up a “few of his favorite things.”

Watch my tutorial on how to create your own Octagon Memo Board.  This would be perfect in a bedroom, a dorm room, or an office.

Here are a couple of tips:

Use different textures of paint for contrast

Paint at least 2 coats on each octagon

Leave some octagons unpainted

Lay out your tiles on the ground and play around with different configurations before hanging them up

Use command strips to hang each tile on the wall

Also featured in this video is a collection of my son’s amazing origami creations, strung up across the top of the Octagon Bulletin Board.  He has spent hours making these incredible creations, one intricate fold after another.  I love seeing them all on display in his bedroom.  For those of you who love origami, check out MicahsToyReviews to learn how to make some origami creations of your own.

img_5750fullsizeoutput_d731img_5763img_5781img_5880img_5887fullsizeoutput_d860

Valentine Craft: Cookie Cutters & Paint

Today I’m introducing a new series on Kerri Creates called “Craft Time with Karis.”  So many of my crafting inspirations have to do with my kids, so I thought it would be fun to bring my daughter in as my little crafting sidekick!  She’s always up for an art project and I love providing creative opportunities for her.

“Craft Time With Karis” debuts with a simple and inexpensive Valentine Craft that we put together with a few things we already had around our house…cookie cutters, paint, and paper bags.  Enjoy this little video tutorial we created, and subscribe to our youtube channel for up and coming “Craft Time With Karis” videos.  #CommissionsEarned img_5838img_5840fullsizeoutput_d7a0

For more Valentine fun check out the following blogposts:

Valentine Felt Heart “LOVE BOMBS”

Valentine Marshmallow Pops

Valentine Paper Garland

Valentine Words of Affirmation for Kids

Valentine Hearts Cake

Valentine Words of Affirmation for Kids

Valentine’s Day is the perfect opportunity to be intentional about expressing our love in creative ways to our children.  So why save it all for one day?  Take the beginning of February and create an “affirmation heart chain” for each of your children.  Hang it on their bedroom doors and write a word or phrase affirming something uniquely wonderful about who they are on one heart, each day, leading up to Valentine’s Day.

I will never forget the first time we did this with our kids.  It made getting up each morning a little more pleasant.  You could see the joy on their faces as they read the words written just for them.  I would even catch them reading down the list several times a day.

To make this a bit easier for me to stick to (as we all know how busy life gets), I like to print out a list of 14 words or phrases of affirmation for each of my kids before February 1st.  I cut them up and put them in baggies.  Then I just glue one on each of their hearts before I go to bed every night.

fullsizeoutput_d78ffullsizeoutput_d790fullsizeoutput_d791

For more Valentine ideas for kids, see my latest blogpost,

Valentine Felt Heart “LOVE BOMBS”