Tween Girl Birthday Party Sleepover

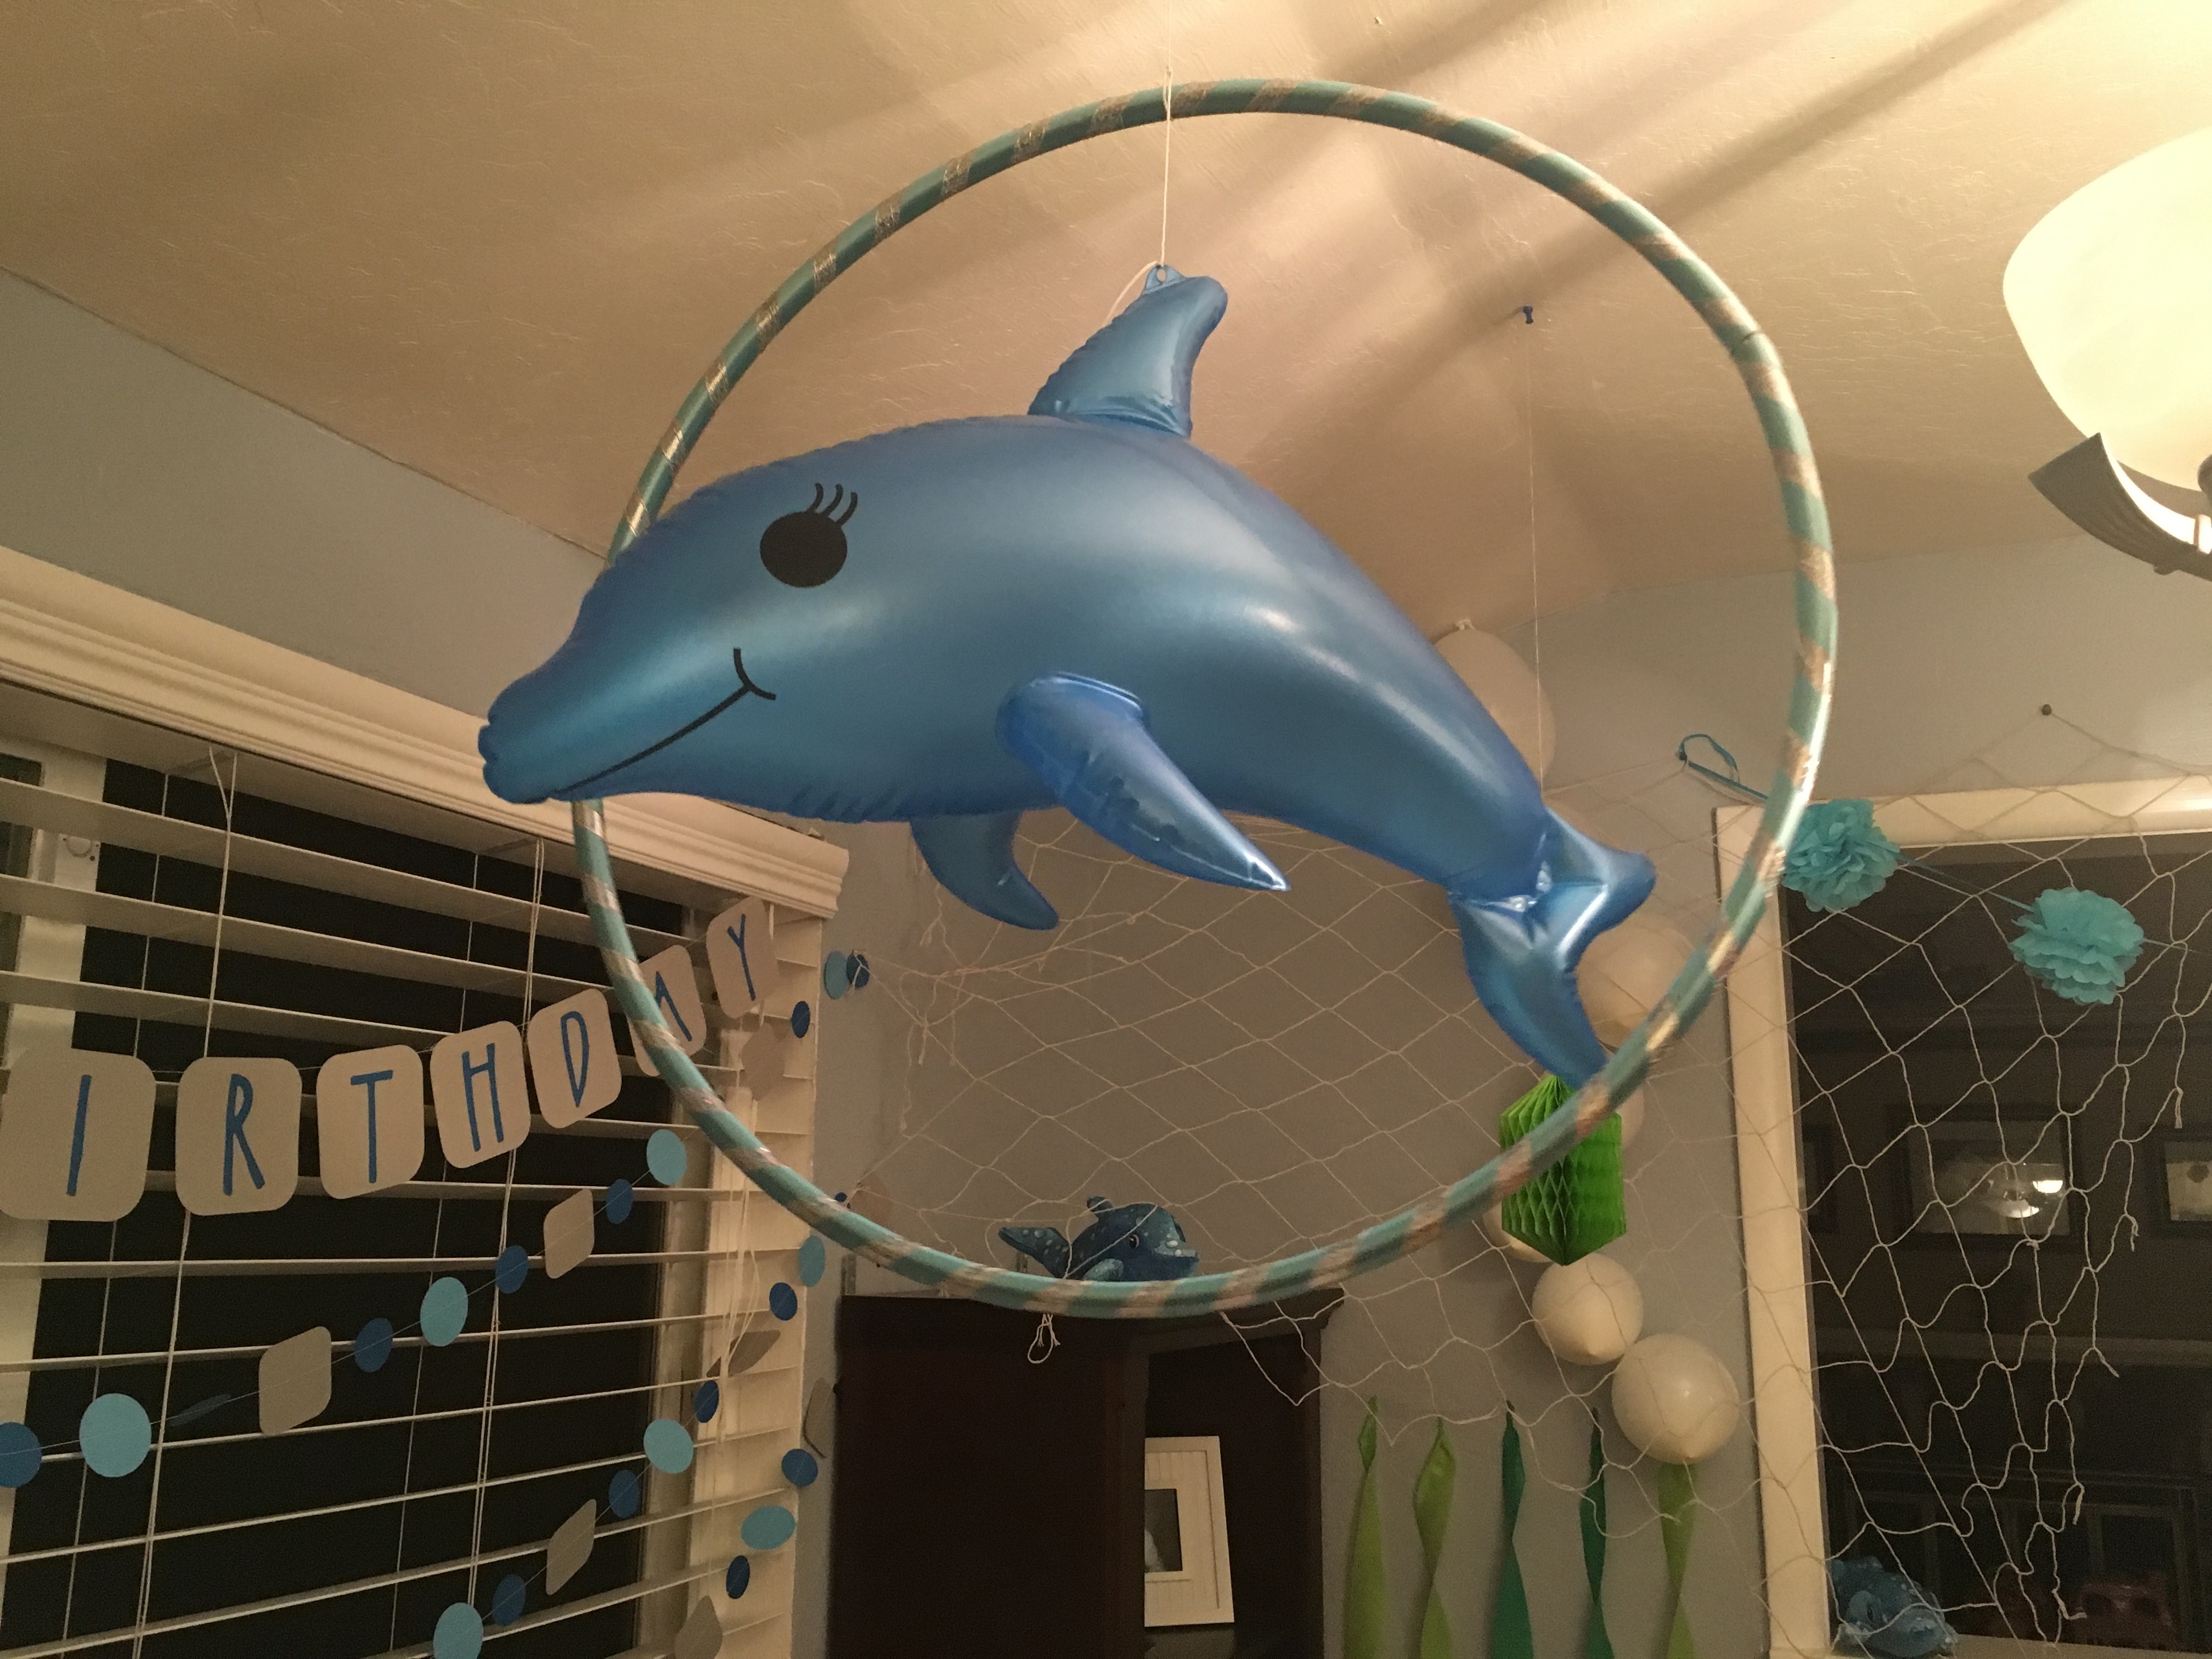
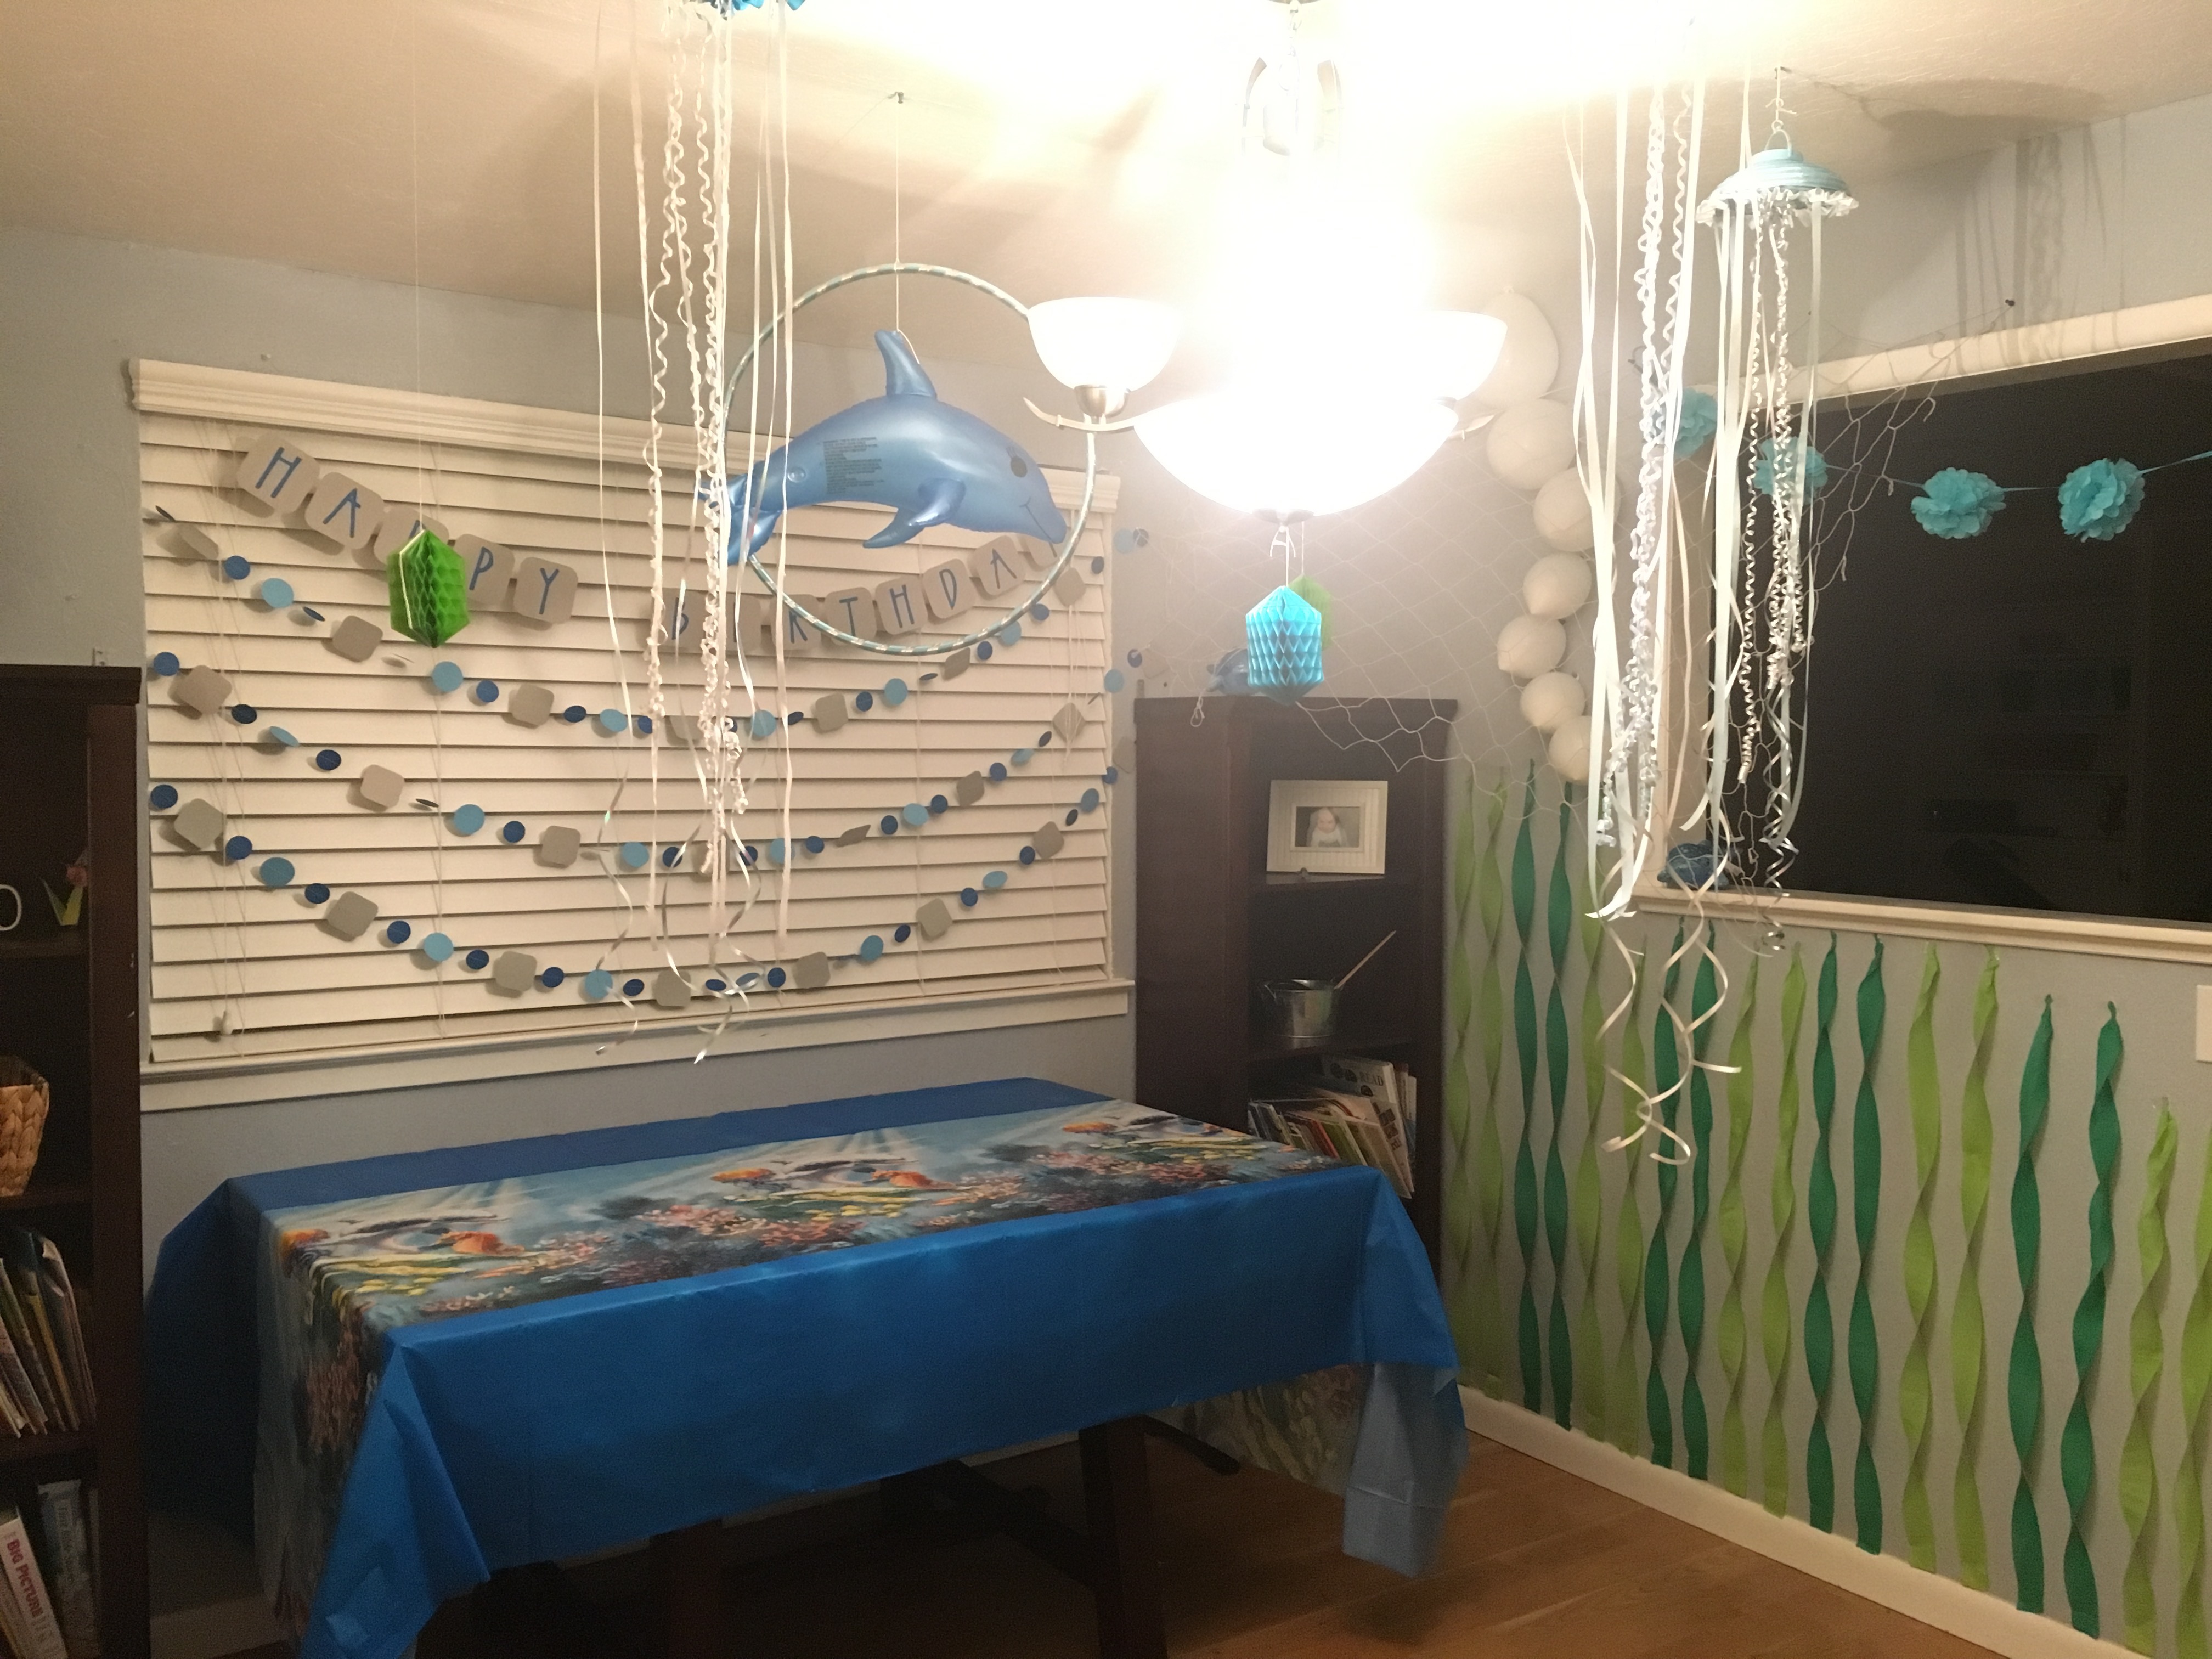
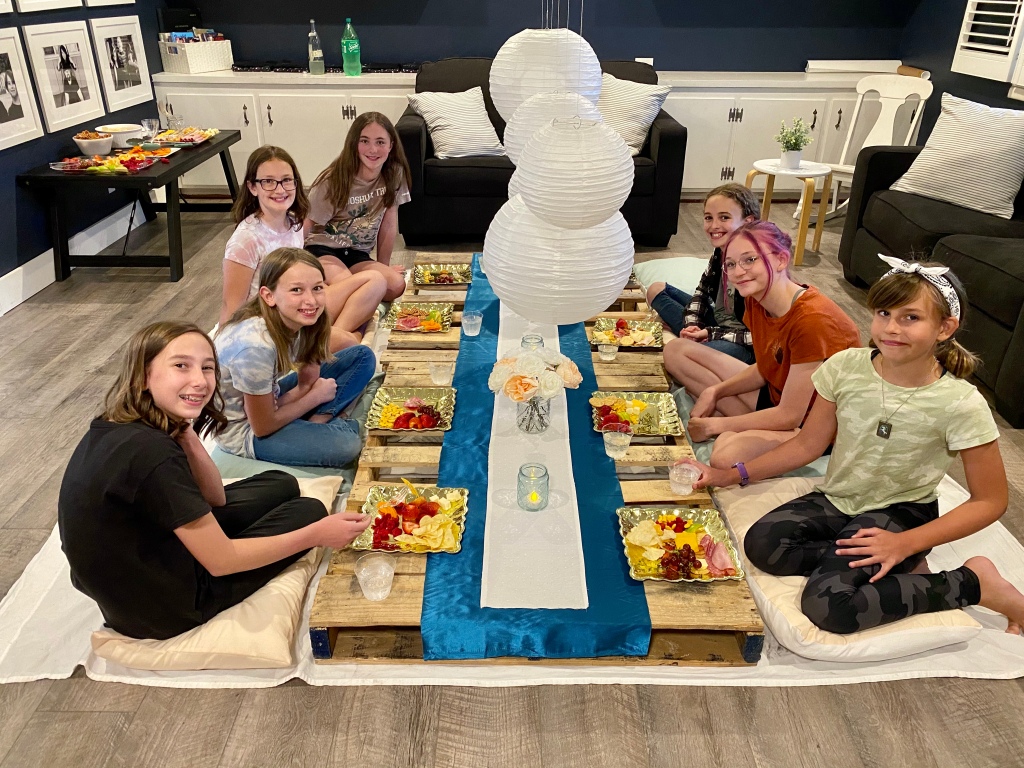
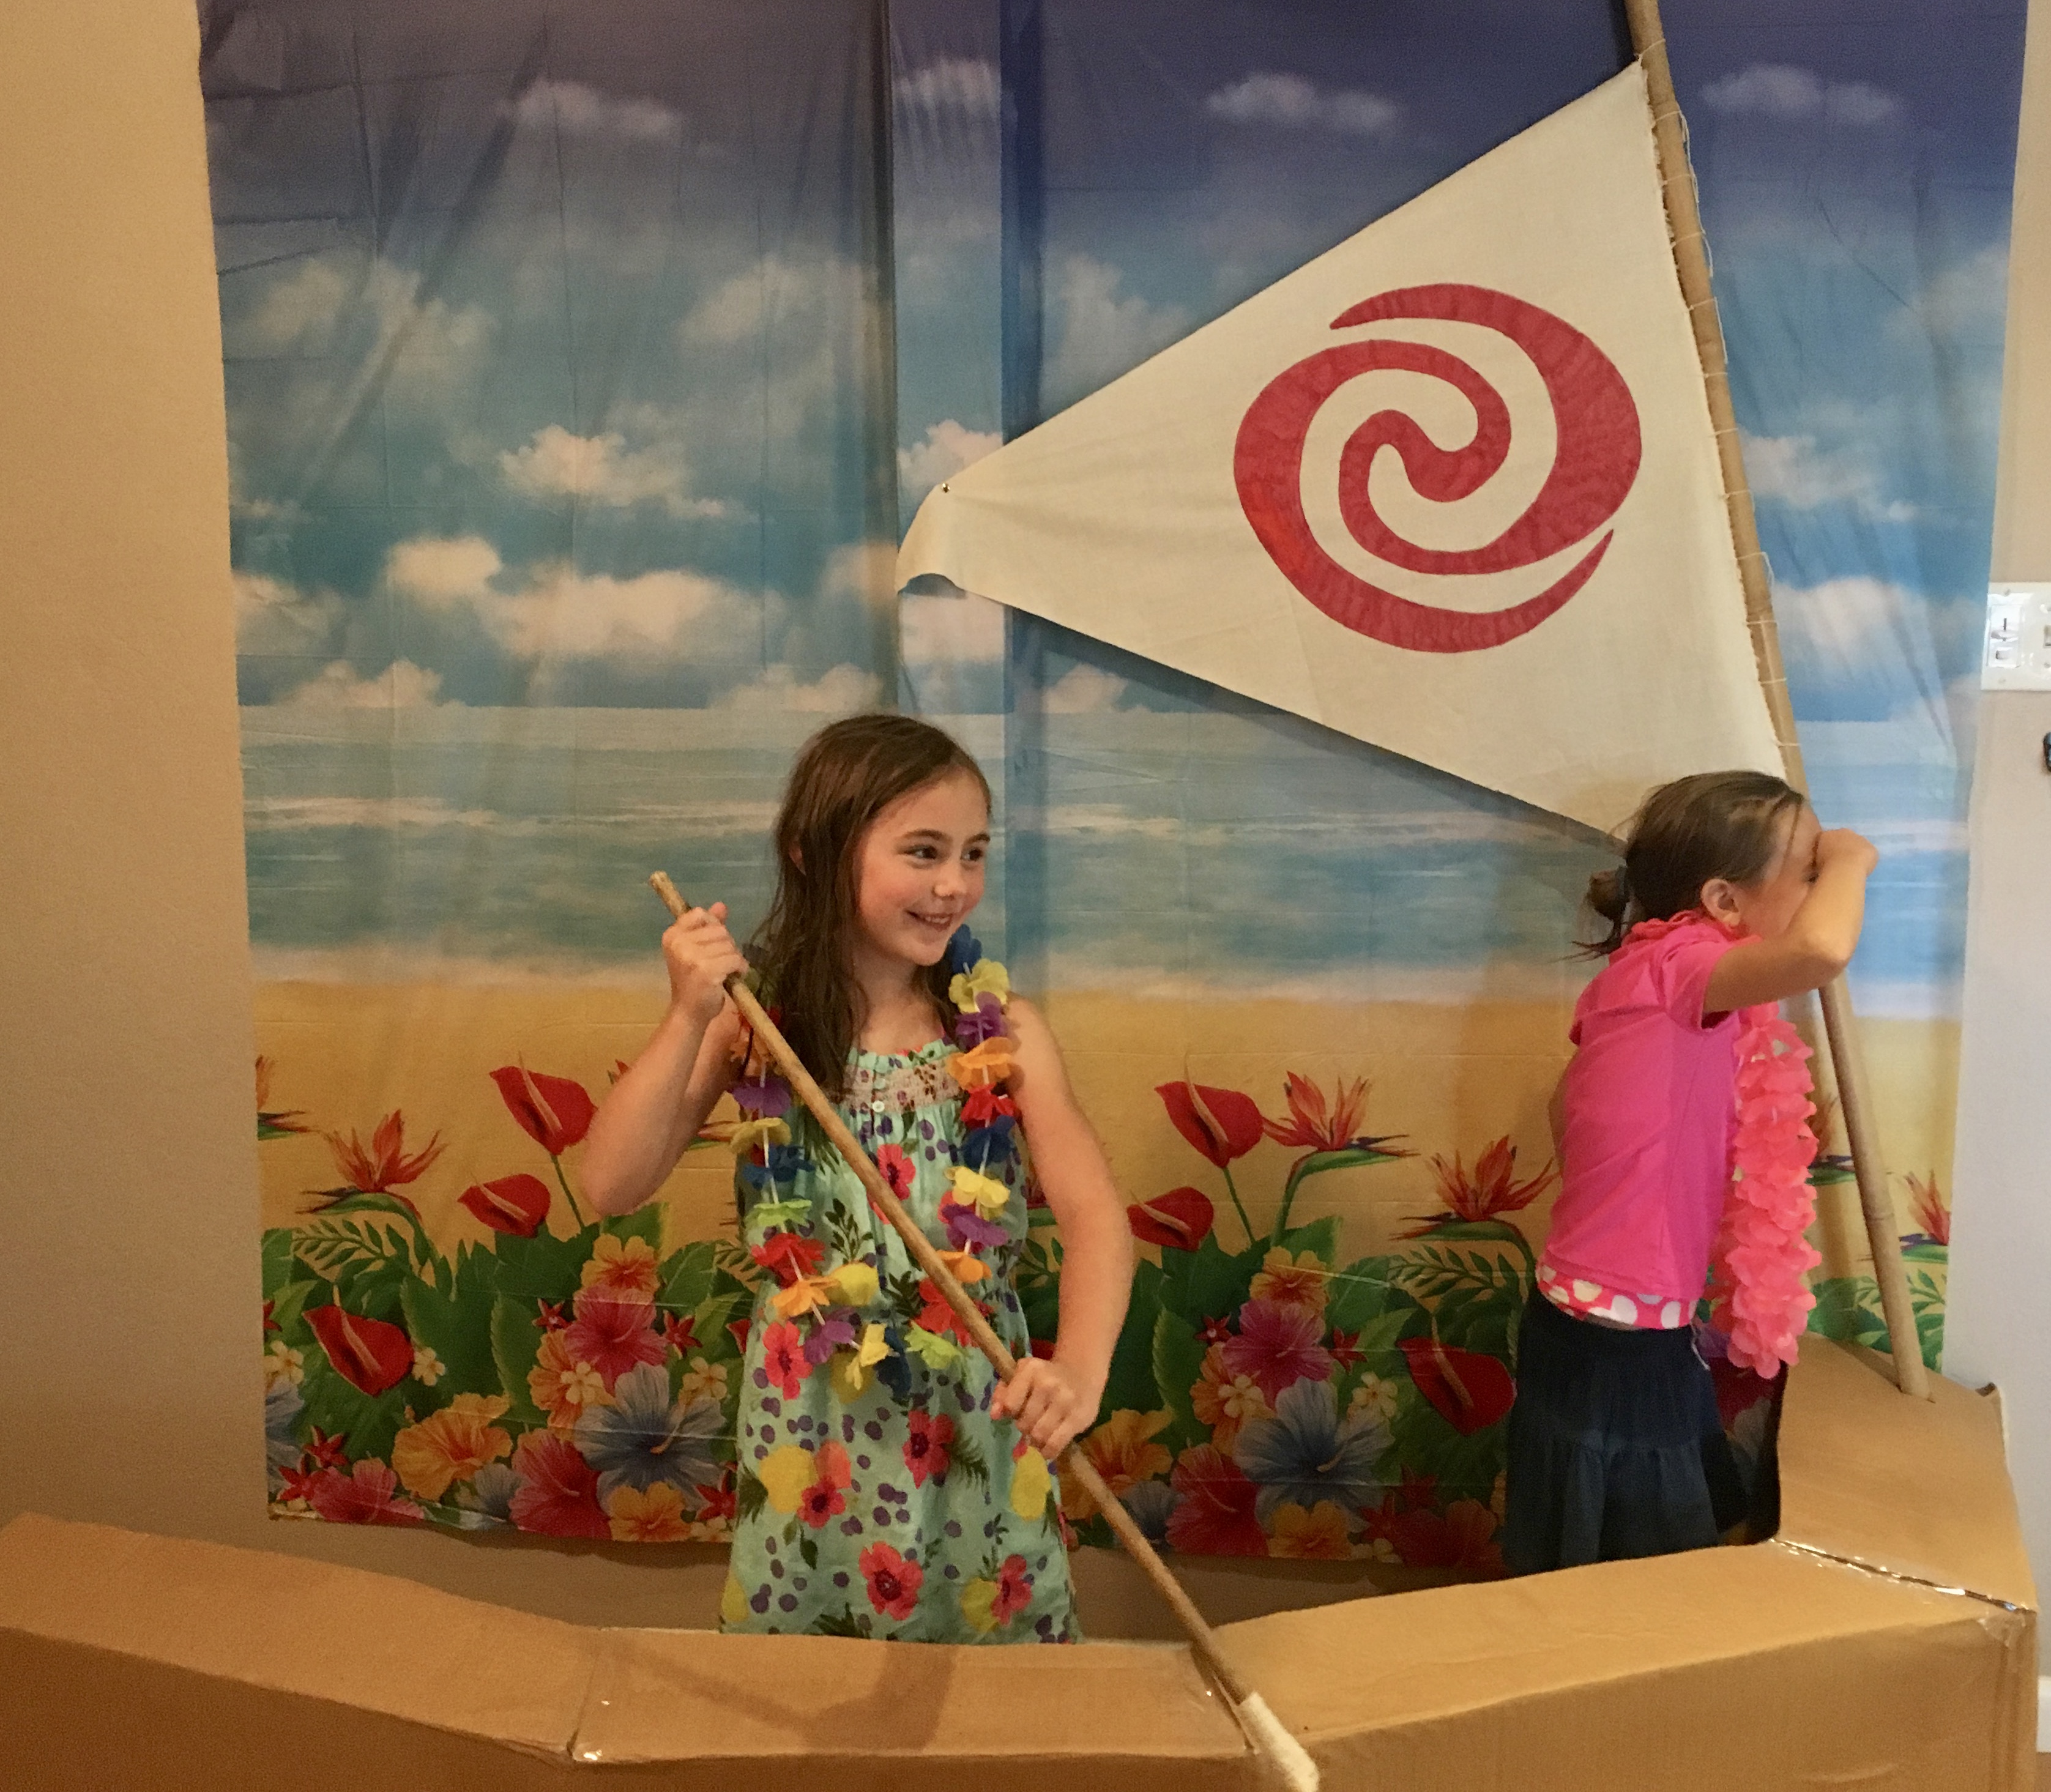
My beautiful girl turned 12 last week! I can hardly believe we are just one year away from the having another teenager in the house! Karis could not decide on a theme for her party, so I asked her if she wanted me to come up with something fun. She agreed, so I went to work, browsing Pinterest for ideas. Around that time, I was dropping my son off at youth group and I saw a stack of wooden pallets behind the dumpster of a neighboring business. I called and asked if I could take some of the pallets and they said that was fine, so I grabbed a couple and started dreaming of creating an elegant pallet table for my girl and her friends to enjoy during the party.

I took inventory of what I already had at home: extra pillows, a white king sized sheet, twine. Then I made a list of the things that I wanted to purchase: paper lanterns, mason jars, tea lights, flowers, twinkle lights, material. I walked the aisles of Hobby Lobby trying to come up with a color combination, and because Karis is a big fan of pastels, I settled on peach, light green, white, and some pops of dark teal. I bought 6 white paper lanterns in various sizes, a string of white battery operated lights, some aqua tinted mason jars, two larger clear jars, white and peach flowers, tea lights, and material to use as pillow covers and a table runner. I also picked up some fancy gold paper plates and gold number candles. #CommissionsEarned

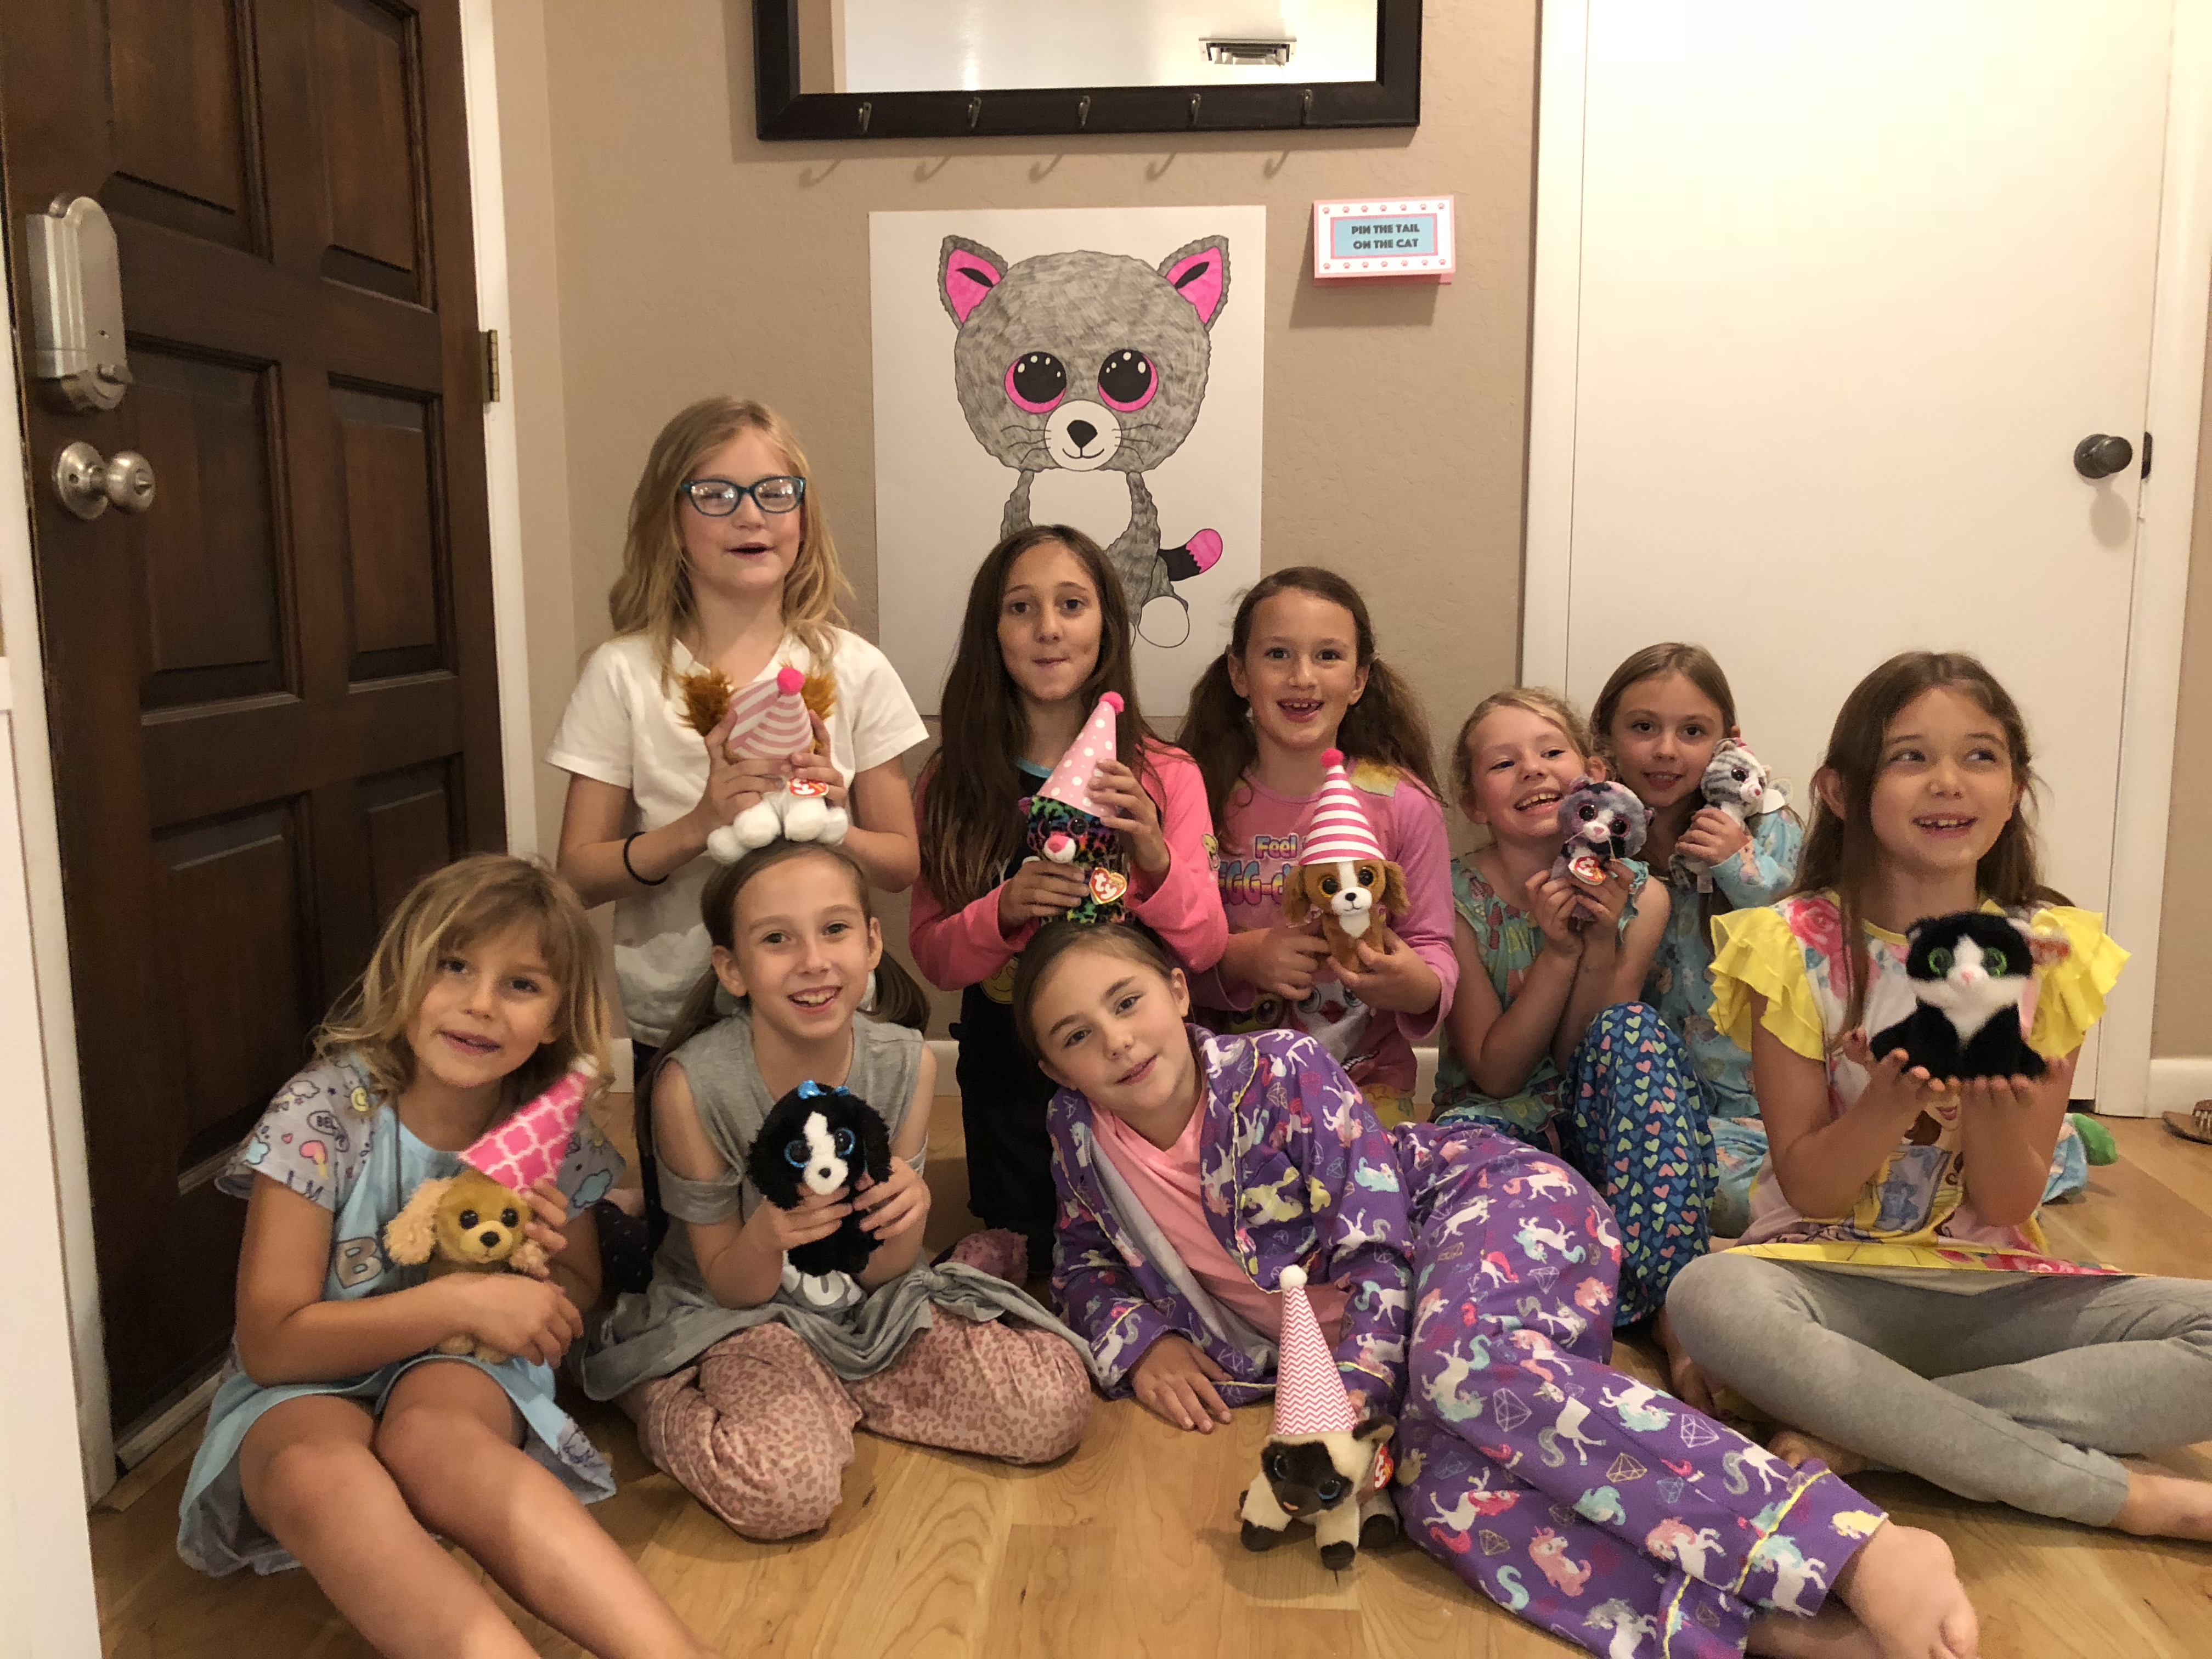
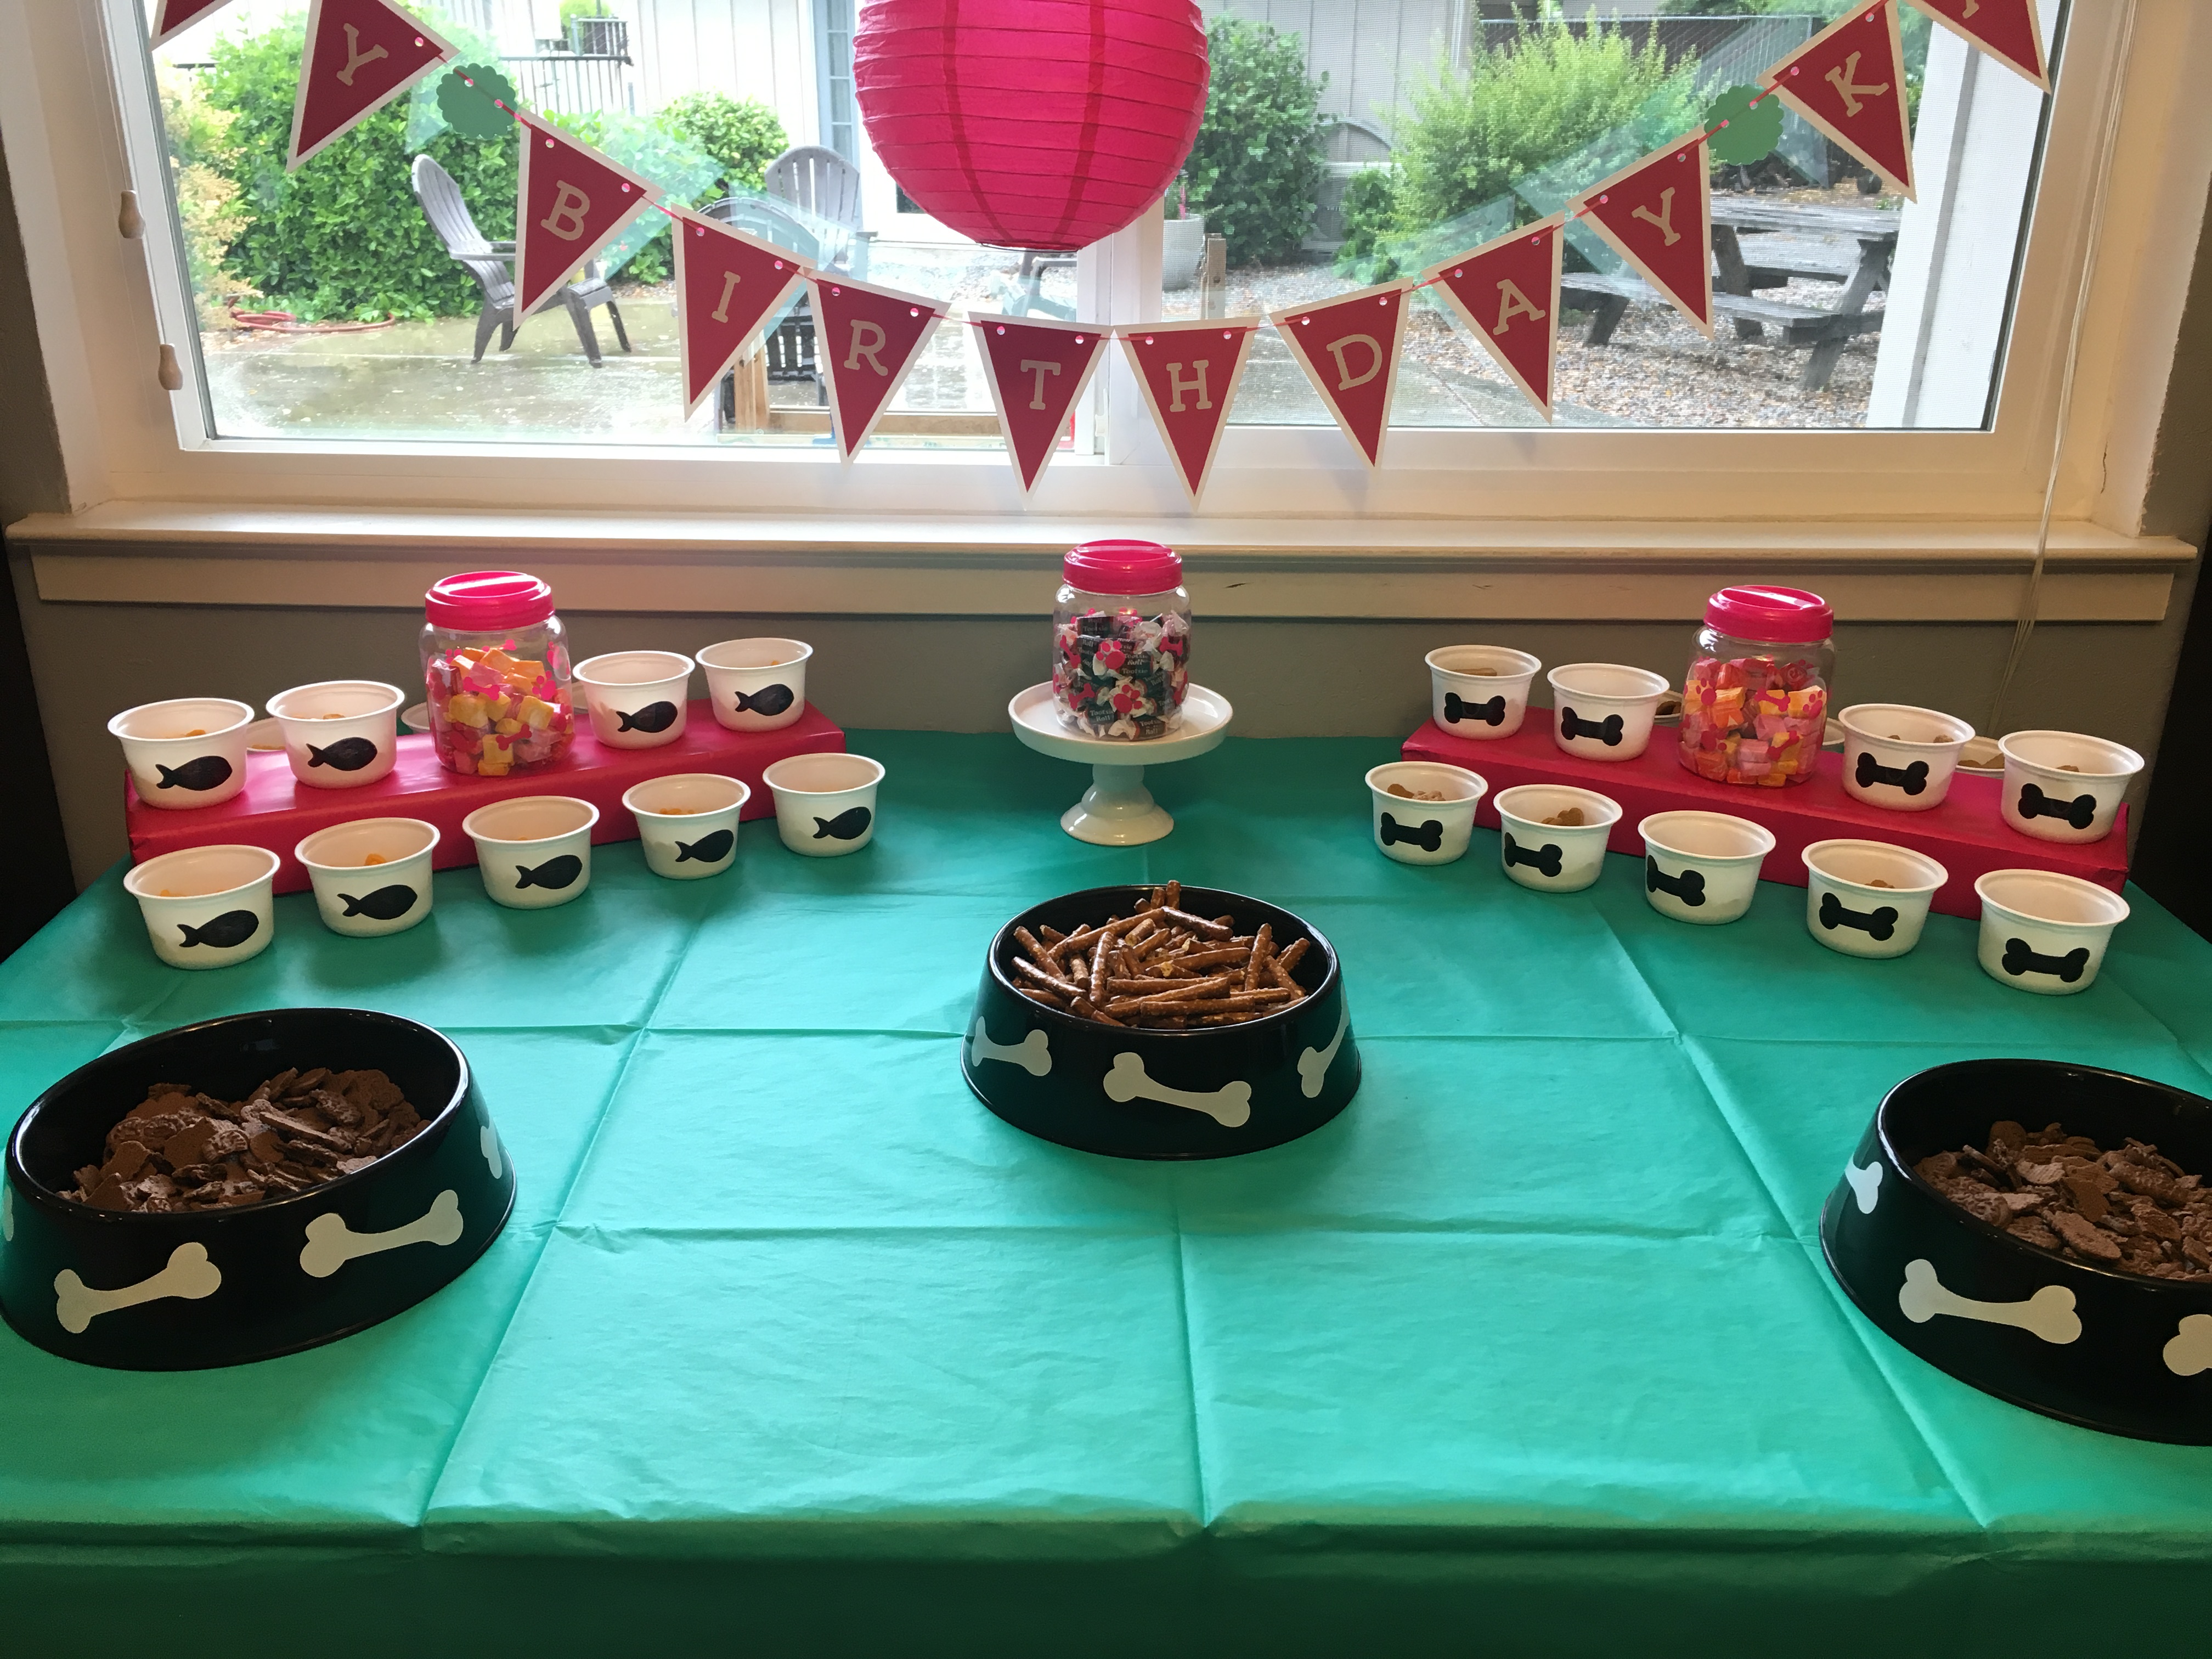
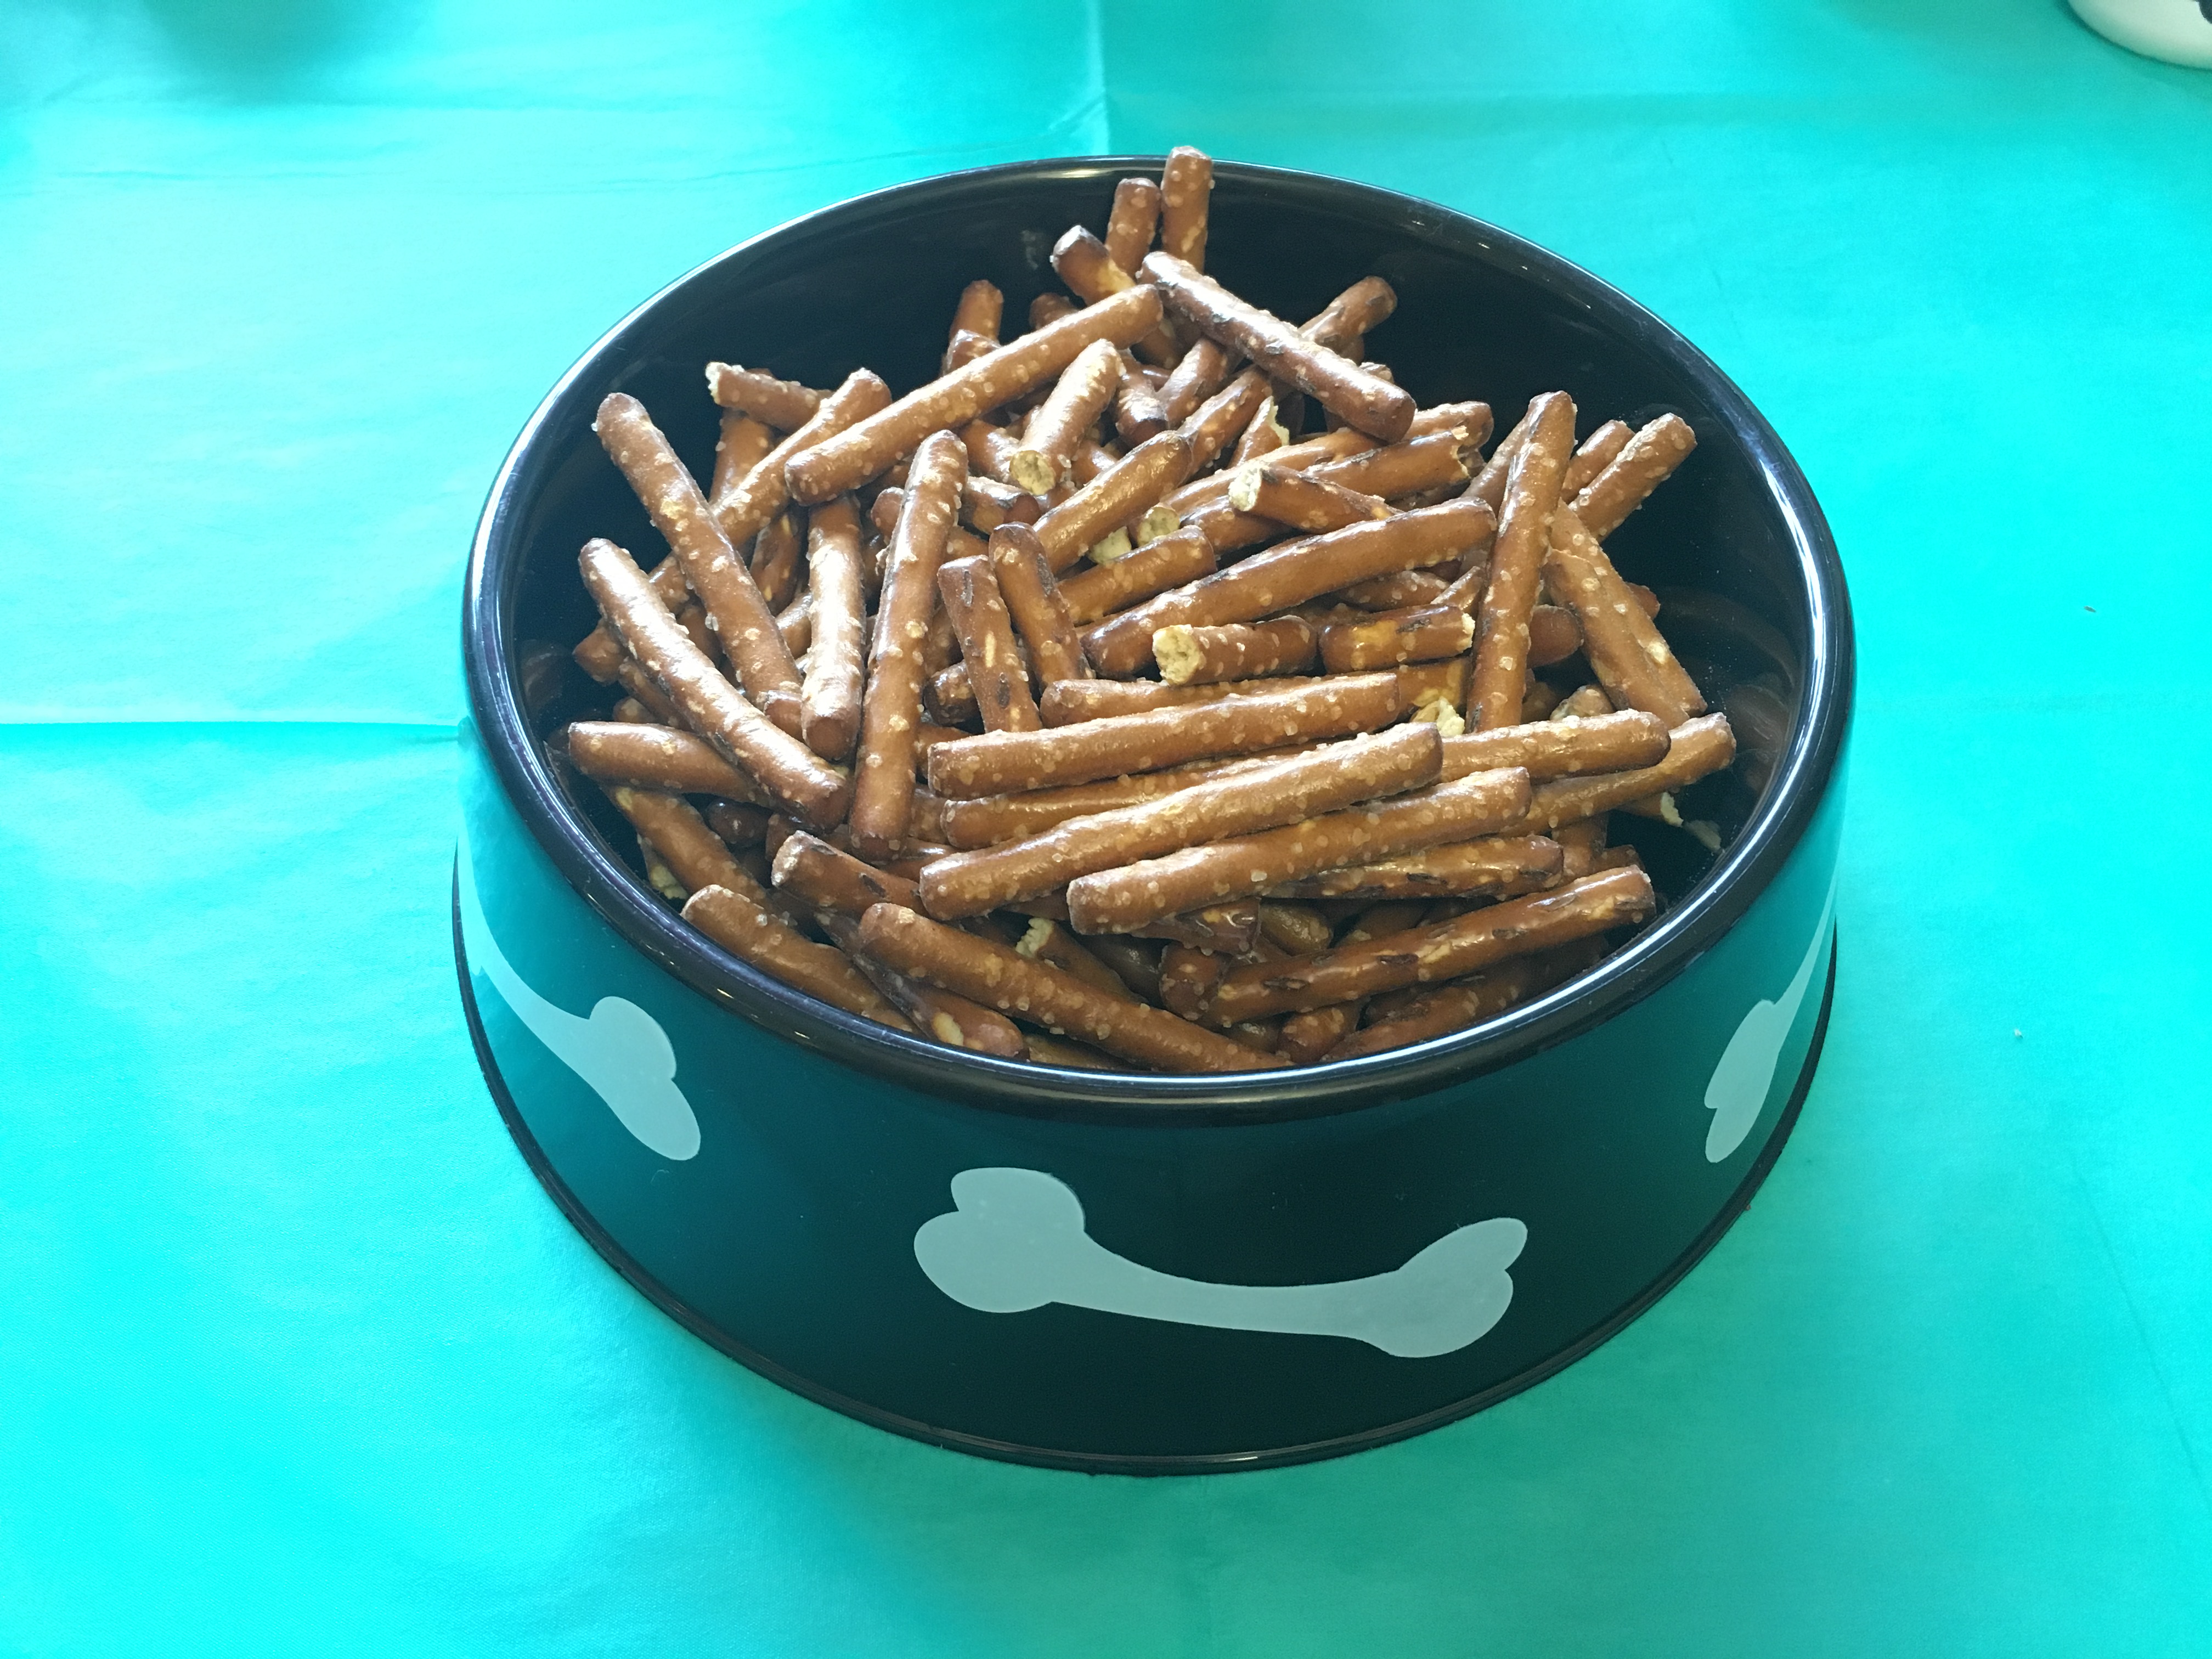
I set the table a couple of days before the party so that I had plenty of time to get my house cleaned and to prep for the food and games. I found some amazing game ideas on Pinterest and hit up the Dollar Tree for supplies. Karis wanted to swim, make s’mores, and play games. We started the party at 5:00 pm and I put together a simple charcuterie board style dinner with a variety of meats, cheeses, crackers, fruits, and veggies. The girls loved eating a “fancy dinner” by candlelight (I turned the main light on to get this photo).

I saved the “Beach Ball Question Game” from our New Year’s Eve party and that was once again, a huge hit with 11 & 12 year old girls. They actually played this game several times throughout the party. All you need is a beach ball and a sharpie marker. Blow up the ball and then write questions all over it with the sharpie. Some favorites are: What do you want to be when you grow up? What is your favorite book? movie? food? place? What superpower do you wish you had? Who do you admire? The ball gets tossed around and whoever catches it has to answer the question that is under their right hand when they catch it.

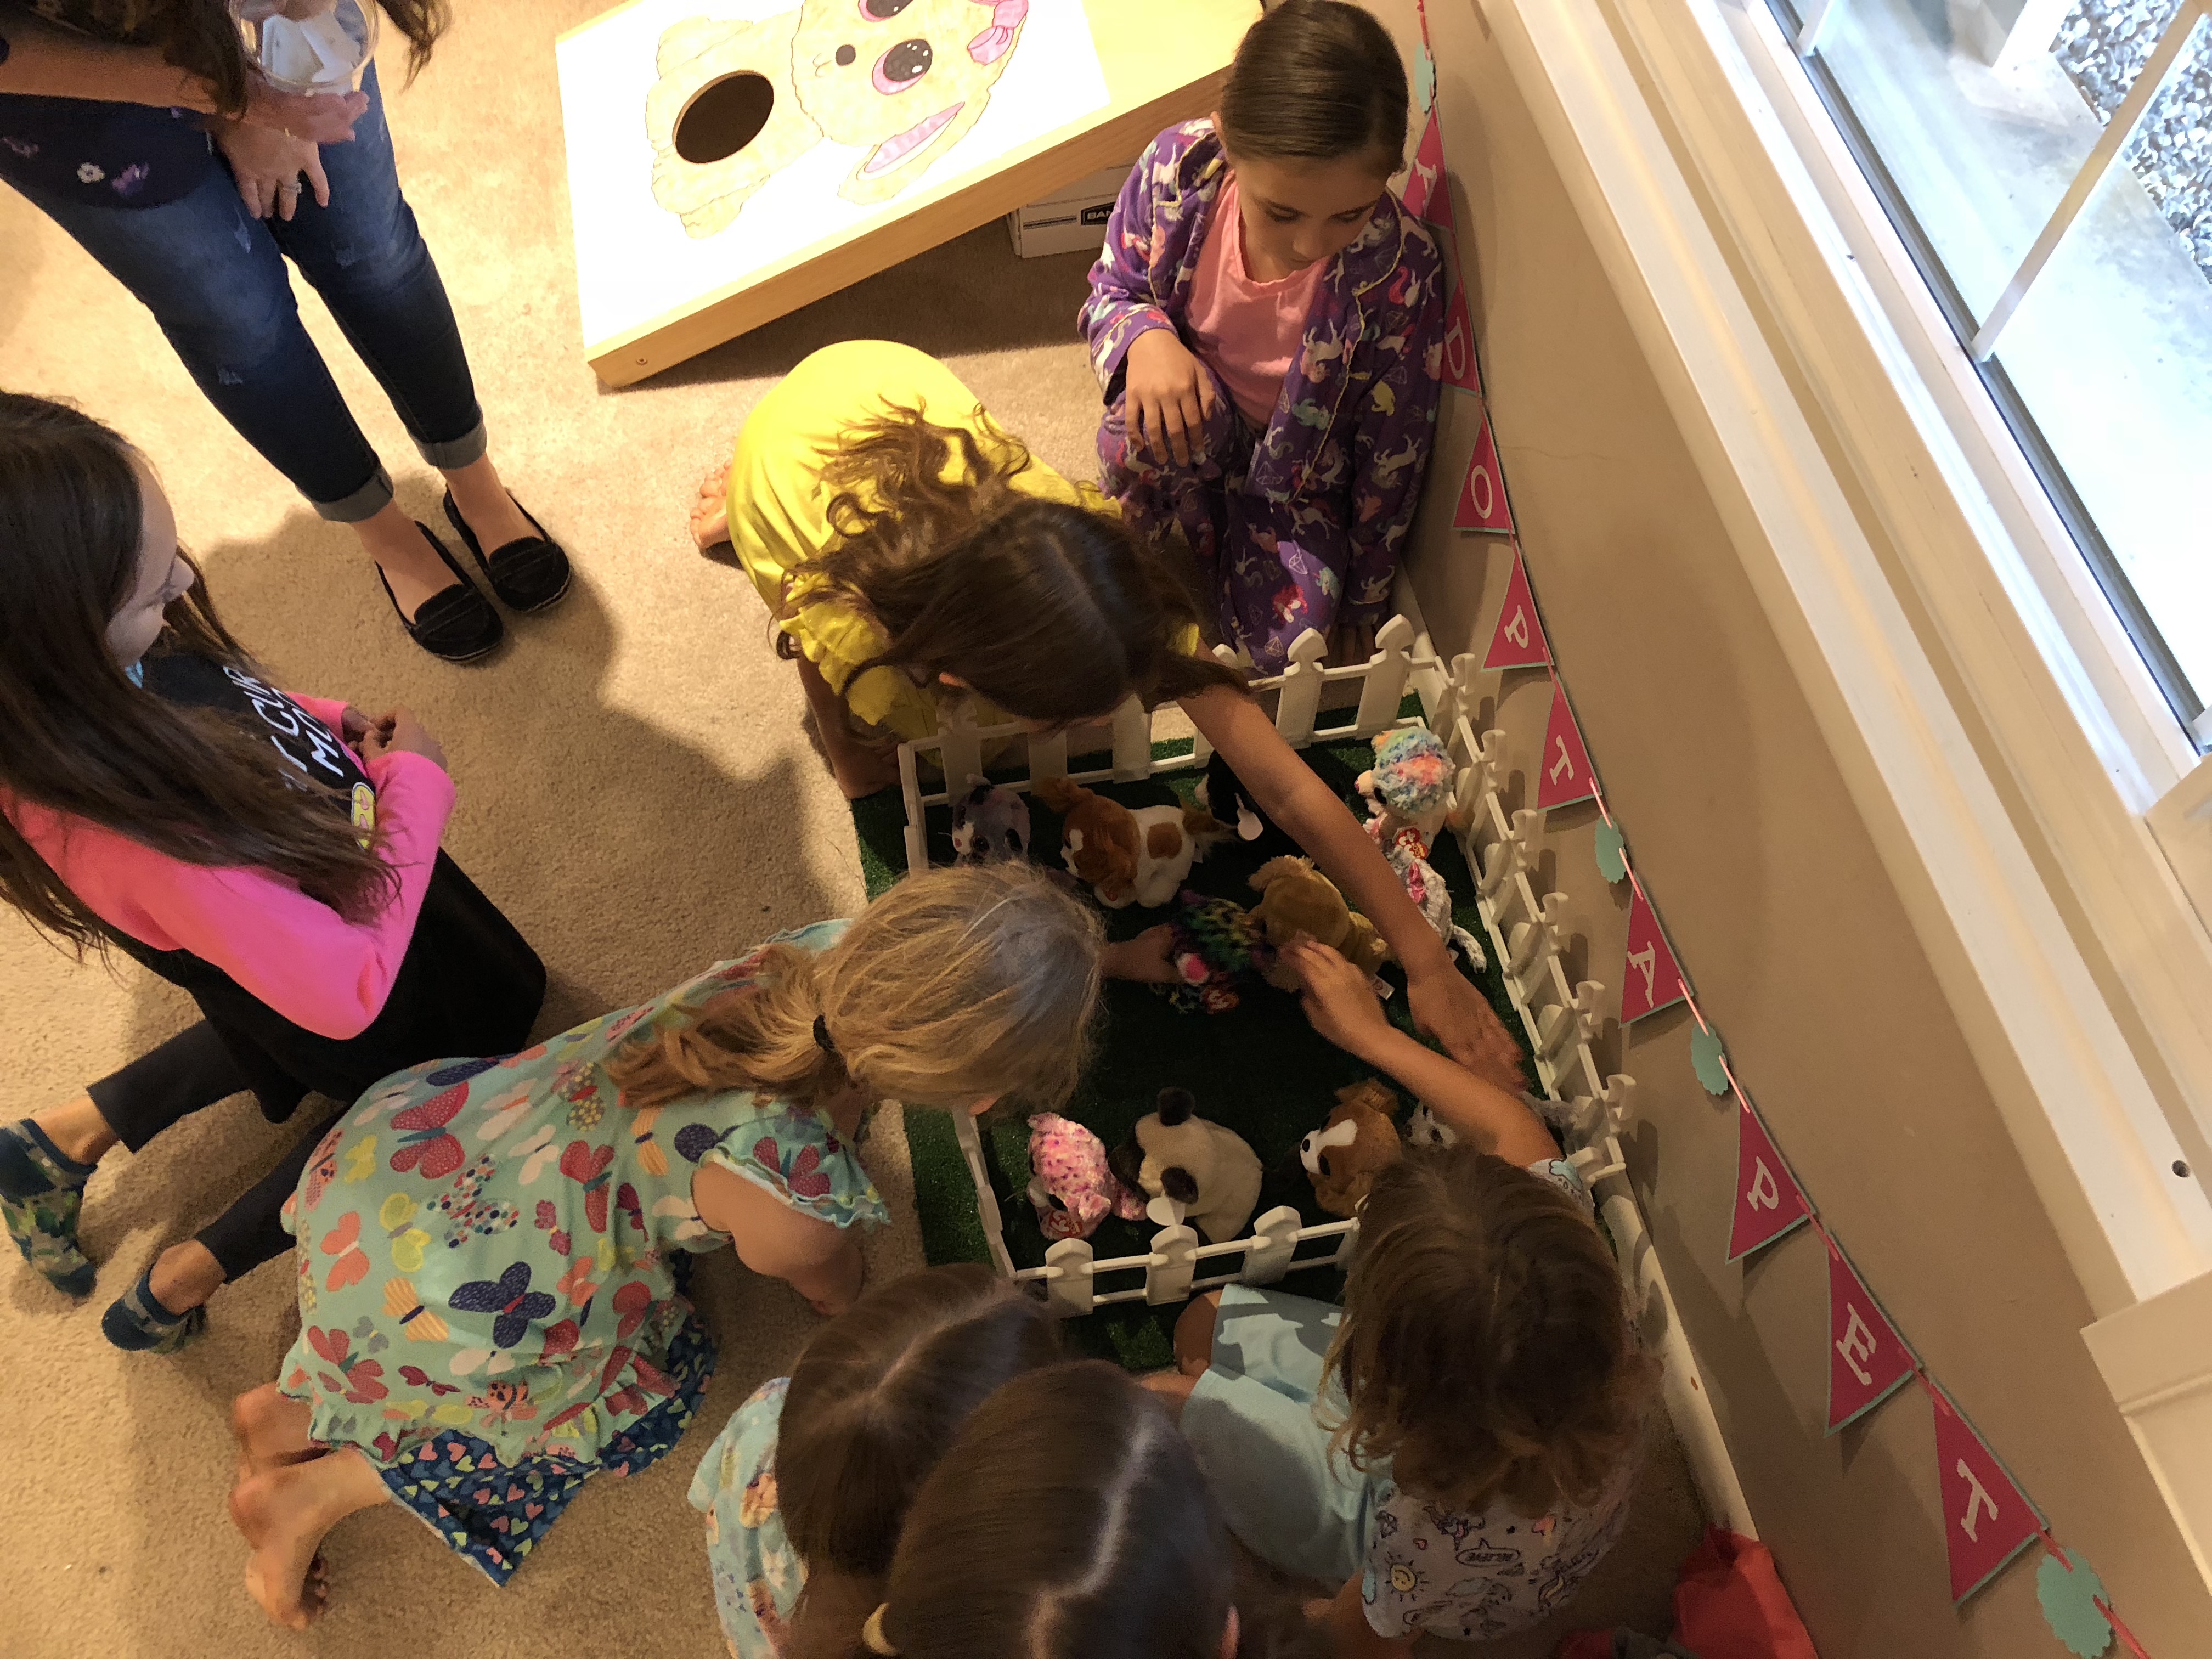
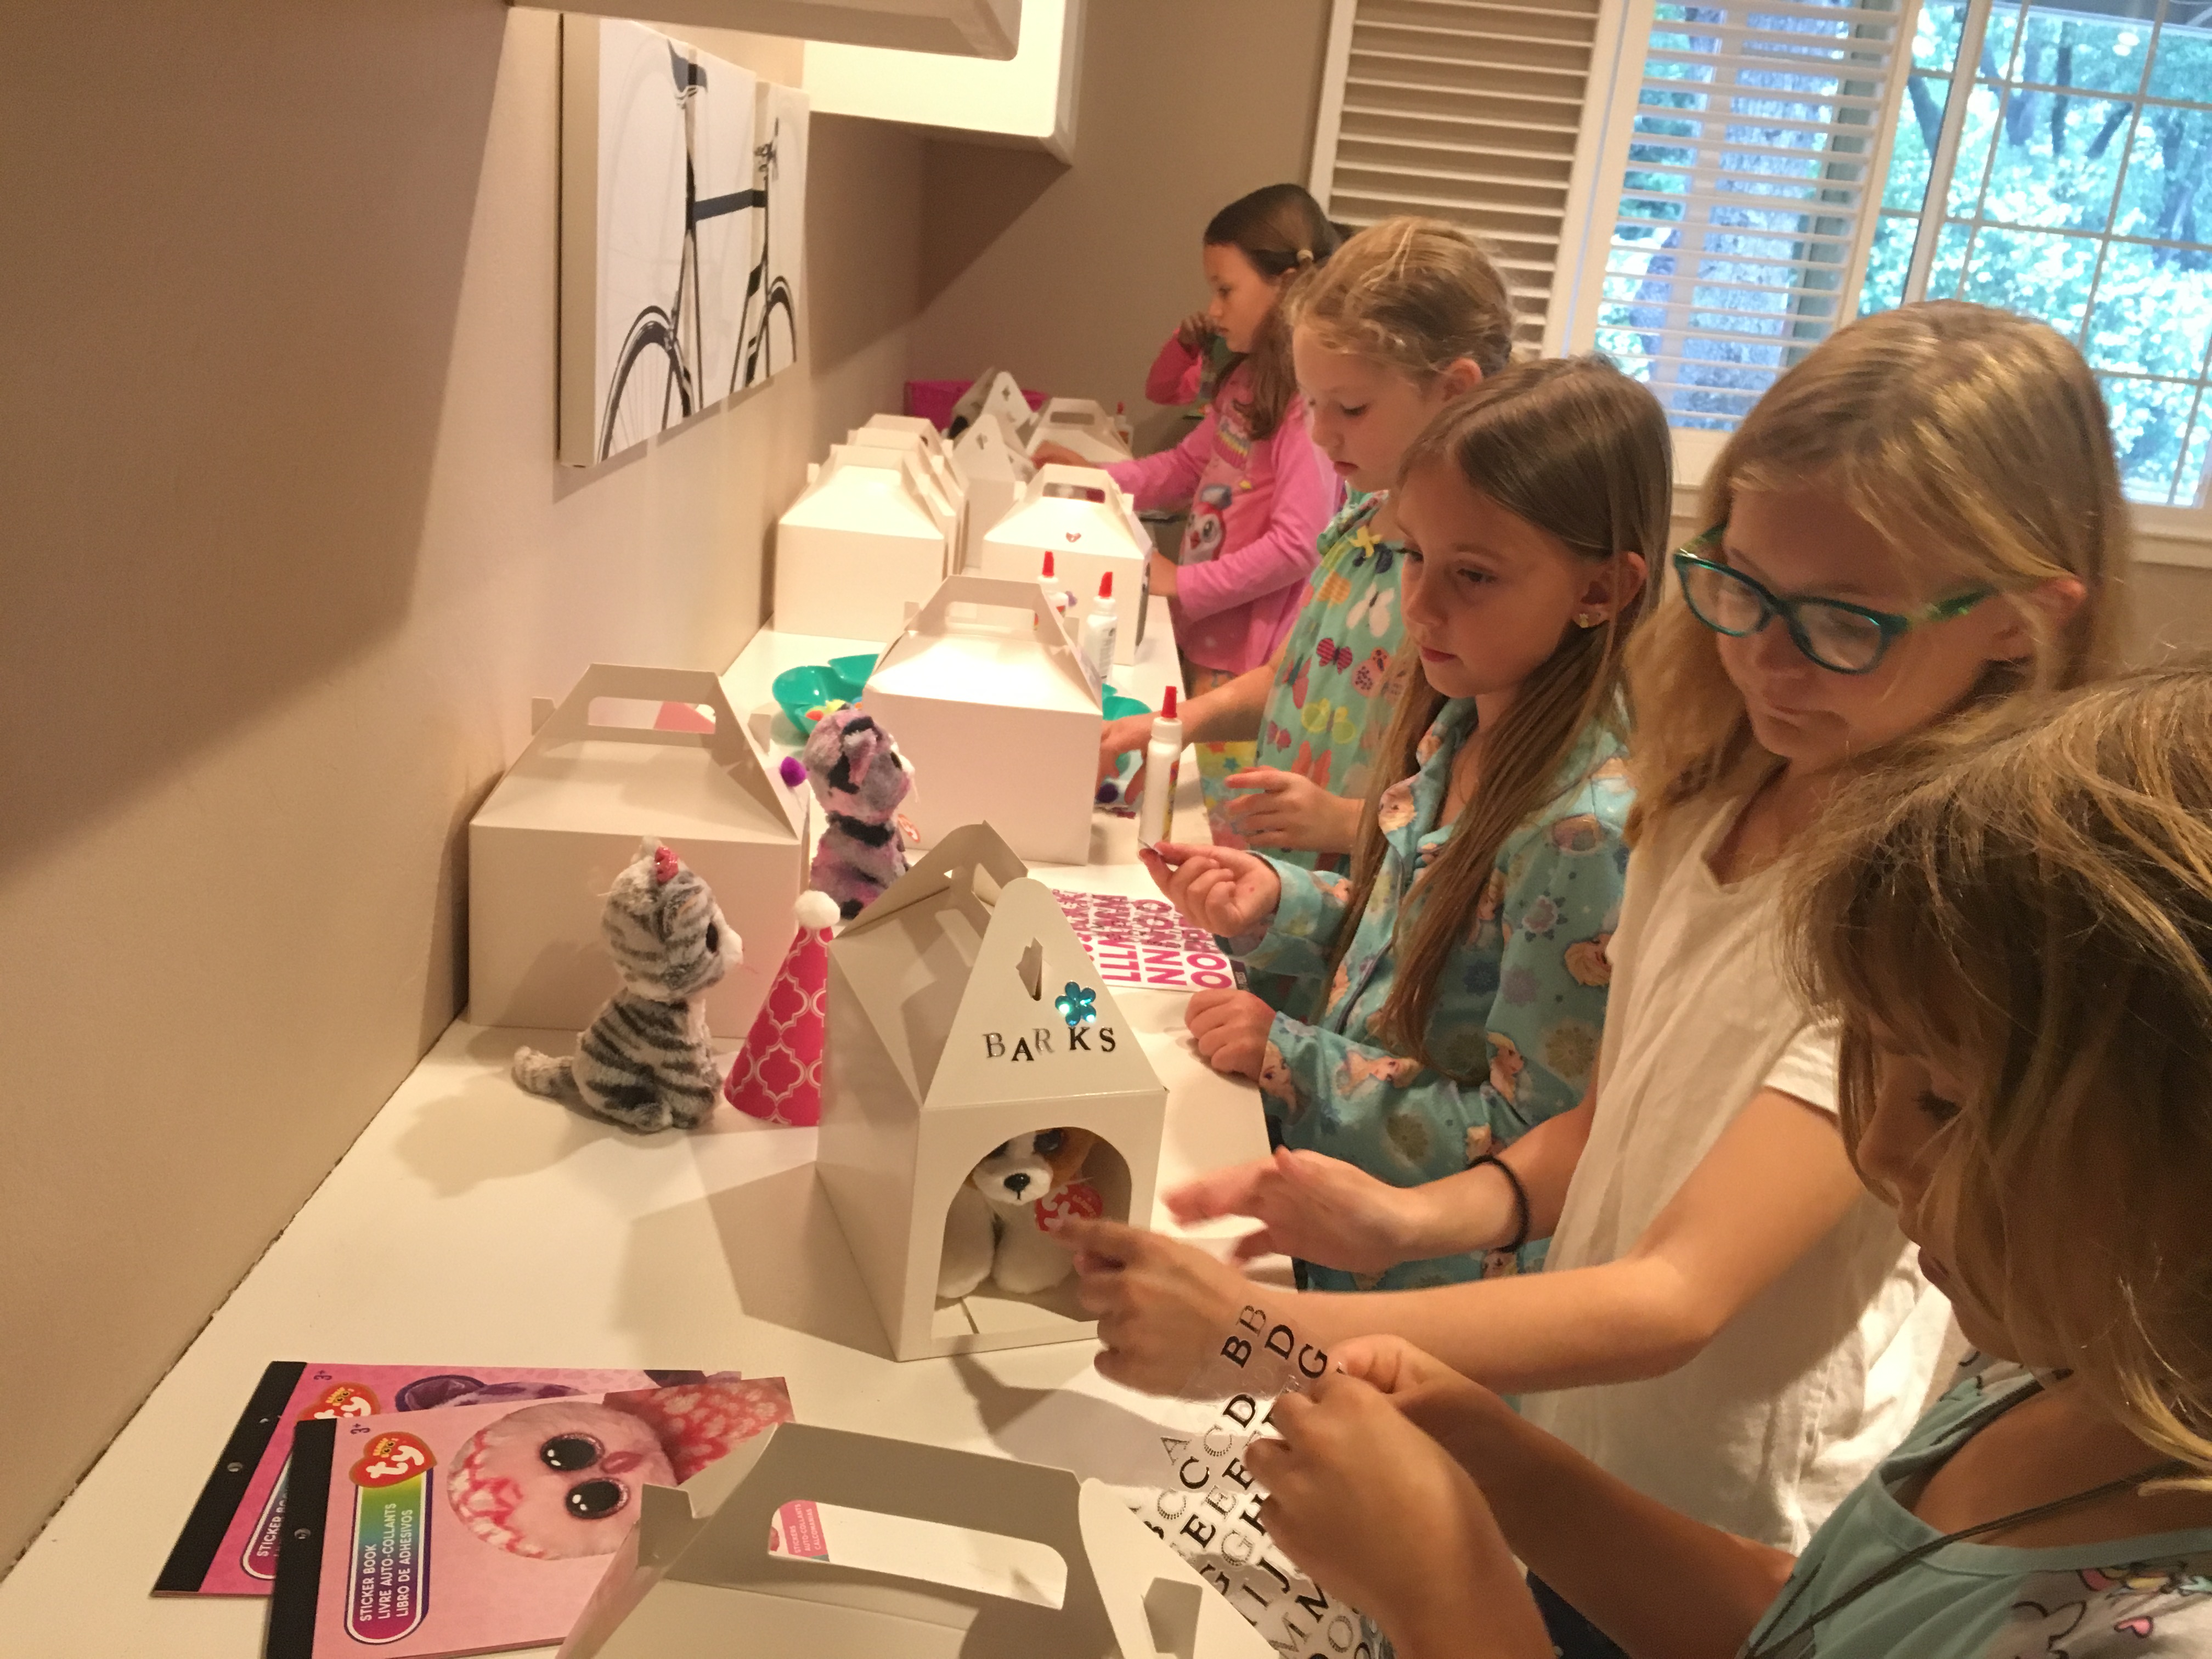
My favorite game/activity of the night was called “Foil Fashion Show.” This is where the Dollar Tree came in handy. I picked up a roll of tin foil for each girl, as well as several crafty type items: tape, pom poms, ribbon, pipe cleaners, glowsticks, and some flowered leis that we pulled apart. I told the girls that their goal was to create an outfit and when they were done, we would have a foil fashion show. I honesty expected them to take about 15-20 minutes on their creations, but they surprised me and took at least an hour. Some of them went all out, creating jewelry and headbands. One even made a super long train that dragged behind her as she walked the living room “runway.” The giggles and chatter were so fun to take in as the girls went to work, helping each other put together their best looks. I found some “runway” music for kids on youtube to play while they strutted their stuff and it was pure entertainment from start to finish.

The last game we played is a form “telephone” only with phrases and drawings. The girls played two rounds at night and then another round in the morning. All you need is blank paper and pencils. Cut paper in fourths and make a stack for each player. The stacks of paper should contain the same number of papers as the number of players. We had 7 girls, so each girl got a stack of 7 pieces of paper.

Have each player write a phrase (any phrase) on the top of piece #1. Then each player passes their ENTIRE STACK to the right. The next step is to read the phrase and then put that top paper on the bottom of your stack, facing up. The players will then draw a picture of the phrase on the top of page #2. Once everyone is finished drawing their picture, everyone will pass their ENTIRE STACK to the right. Now each player will see the drawing on the top and will have to guess what the phrase is that inspired the drawing. They will place page #2 on the bottom of the stack, face up, and write that phrase on the top of page #3. The process is repeated, phrase, pass, drawing, pass, phrase, pass, drawing, etc until each player ends up with their original stack of paper. Be sure to take some time to read through your entire stack out load and be ready to laugh until you have tears streaming down your face. This is definitely a perfect game for tweens, teens, and adults alike.

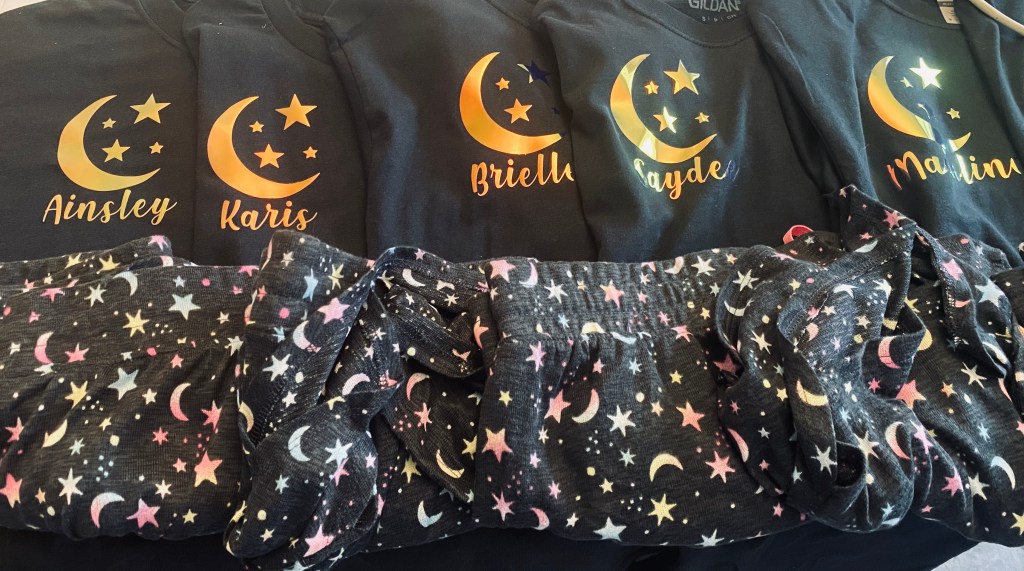
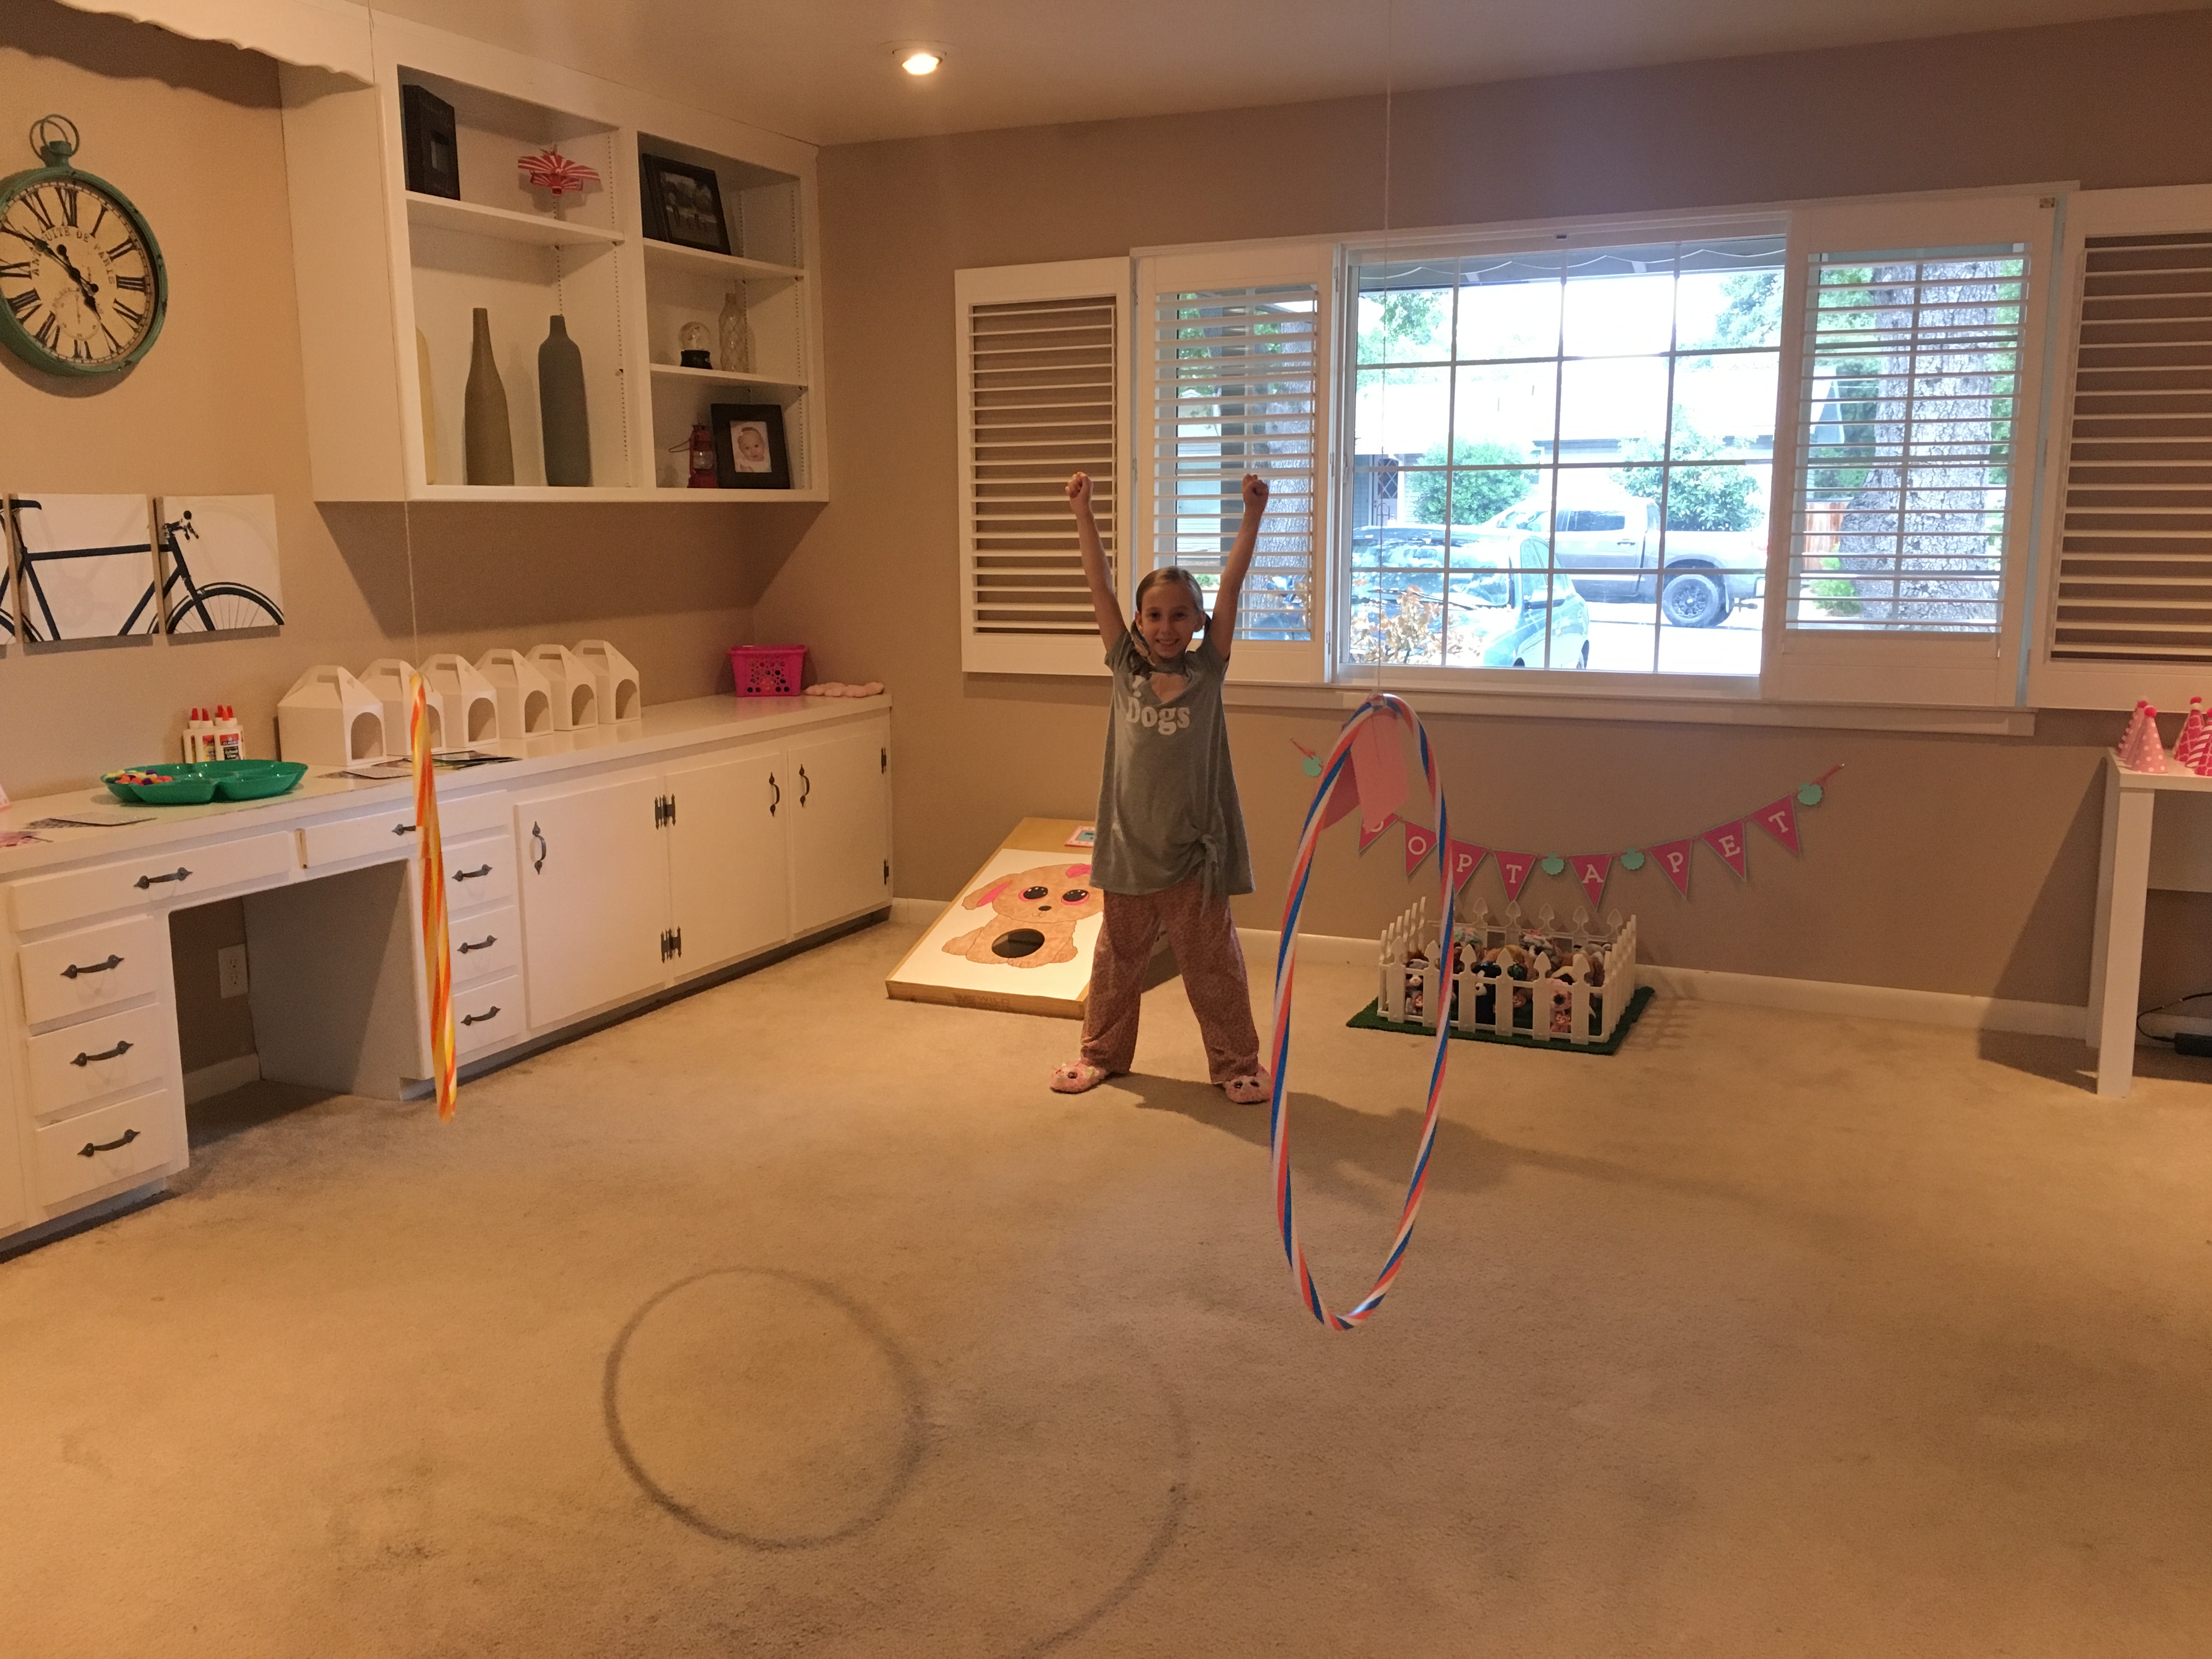
It was an unusually cool day in June this year, so we had to slightly modify our original plans. The girls actually braved the cold and jumped in the pool for a short swim. Fortunately, one of the things that I got for them was matching pjs, so they dried off after a bit and got comfy for the night. My husband got me a Cricut Maker 3 for Mother’s Day this year and I haven’t had a ton of time to use it, so I made sure to test it out on a couple of things for Karis’s party. I found some adorable moon and star pj shorts for a great deal at Walmart and bought plain black t-shirts to make personalized tops to match the shorts. I tried out holographic iron on for the first time and it was such a cool product. I found a free moon and stars SVG online and watched a few tutorials. I must say that for my first try at making shirts with my Cricut, it was pretty easy and I loved the way they turned out. #CommissionsEarned

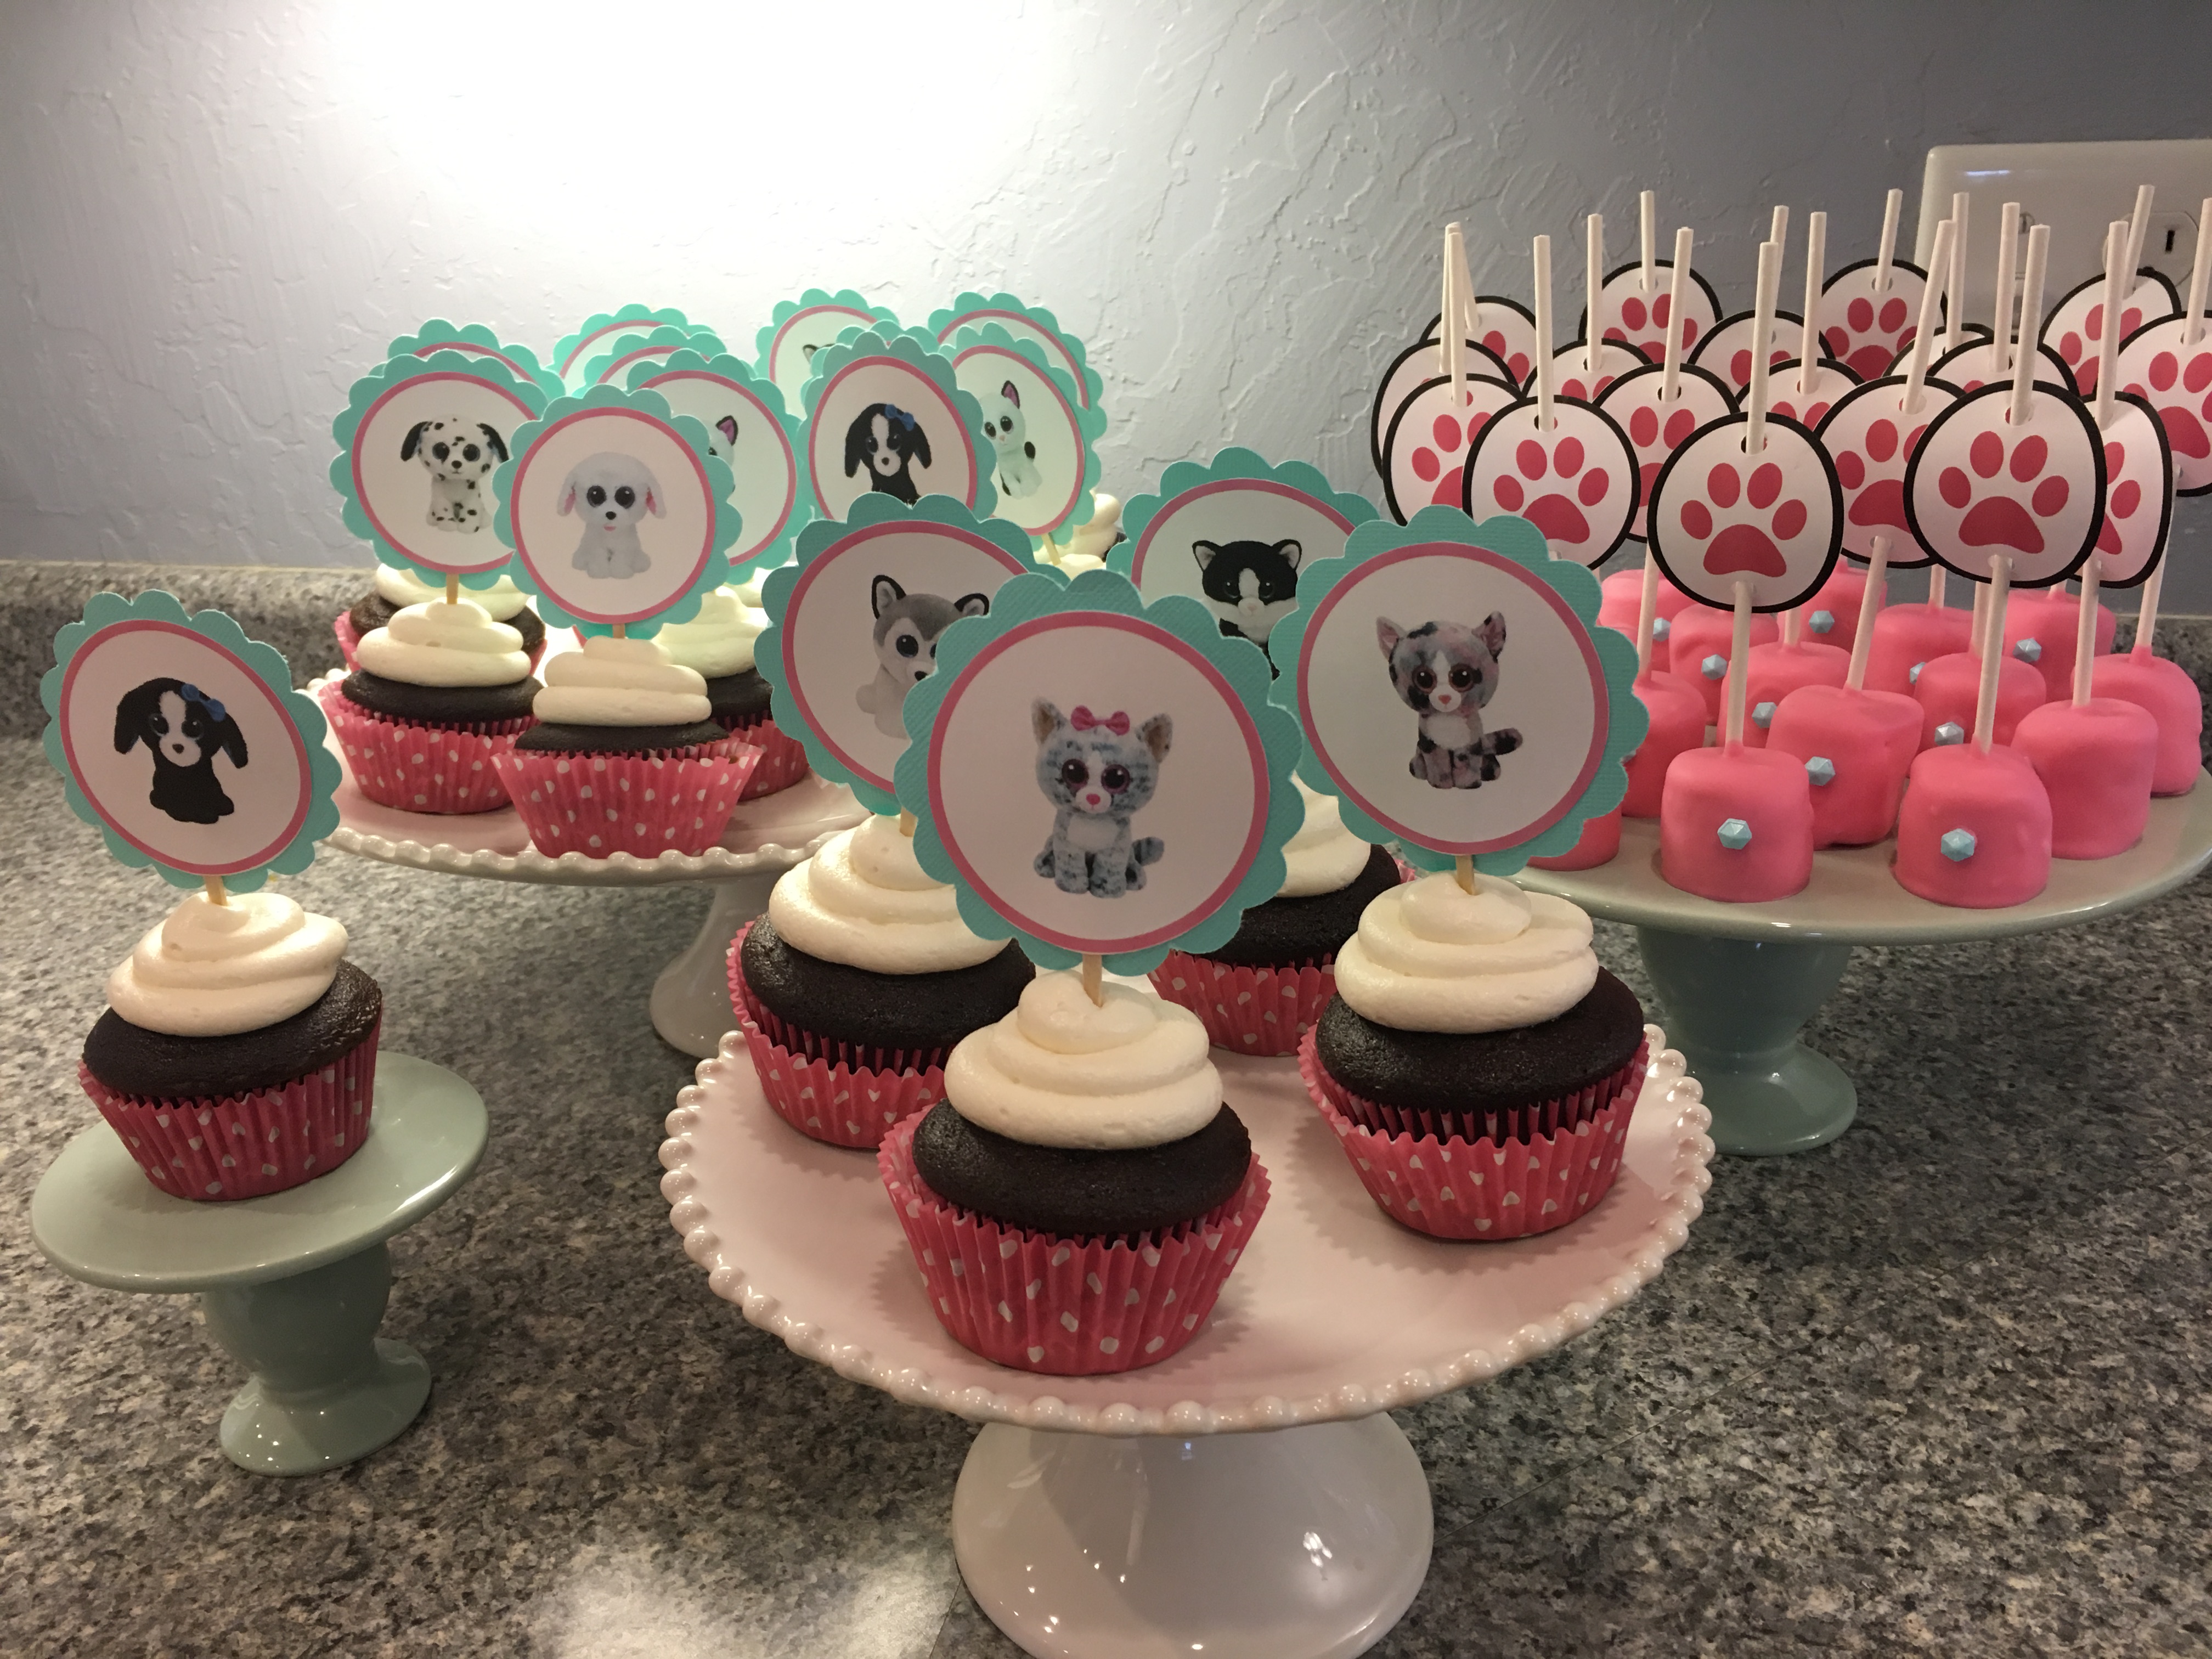
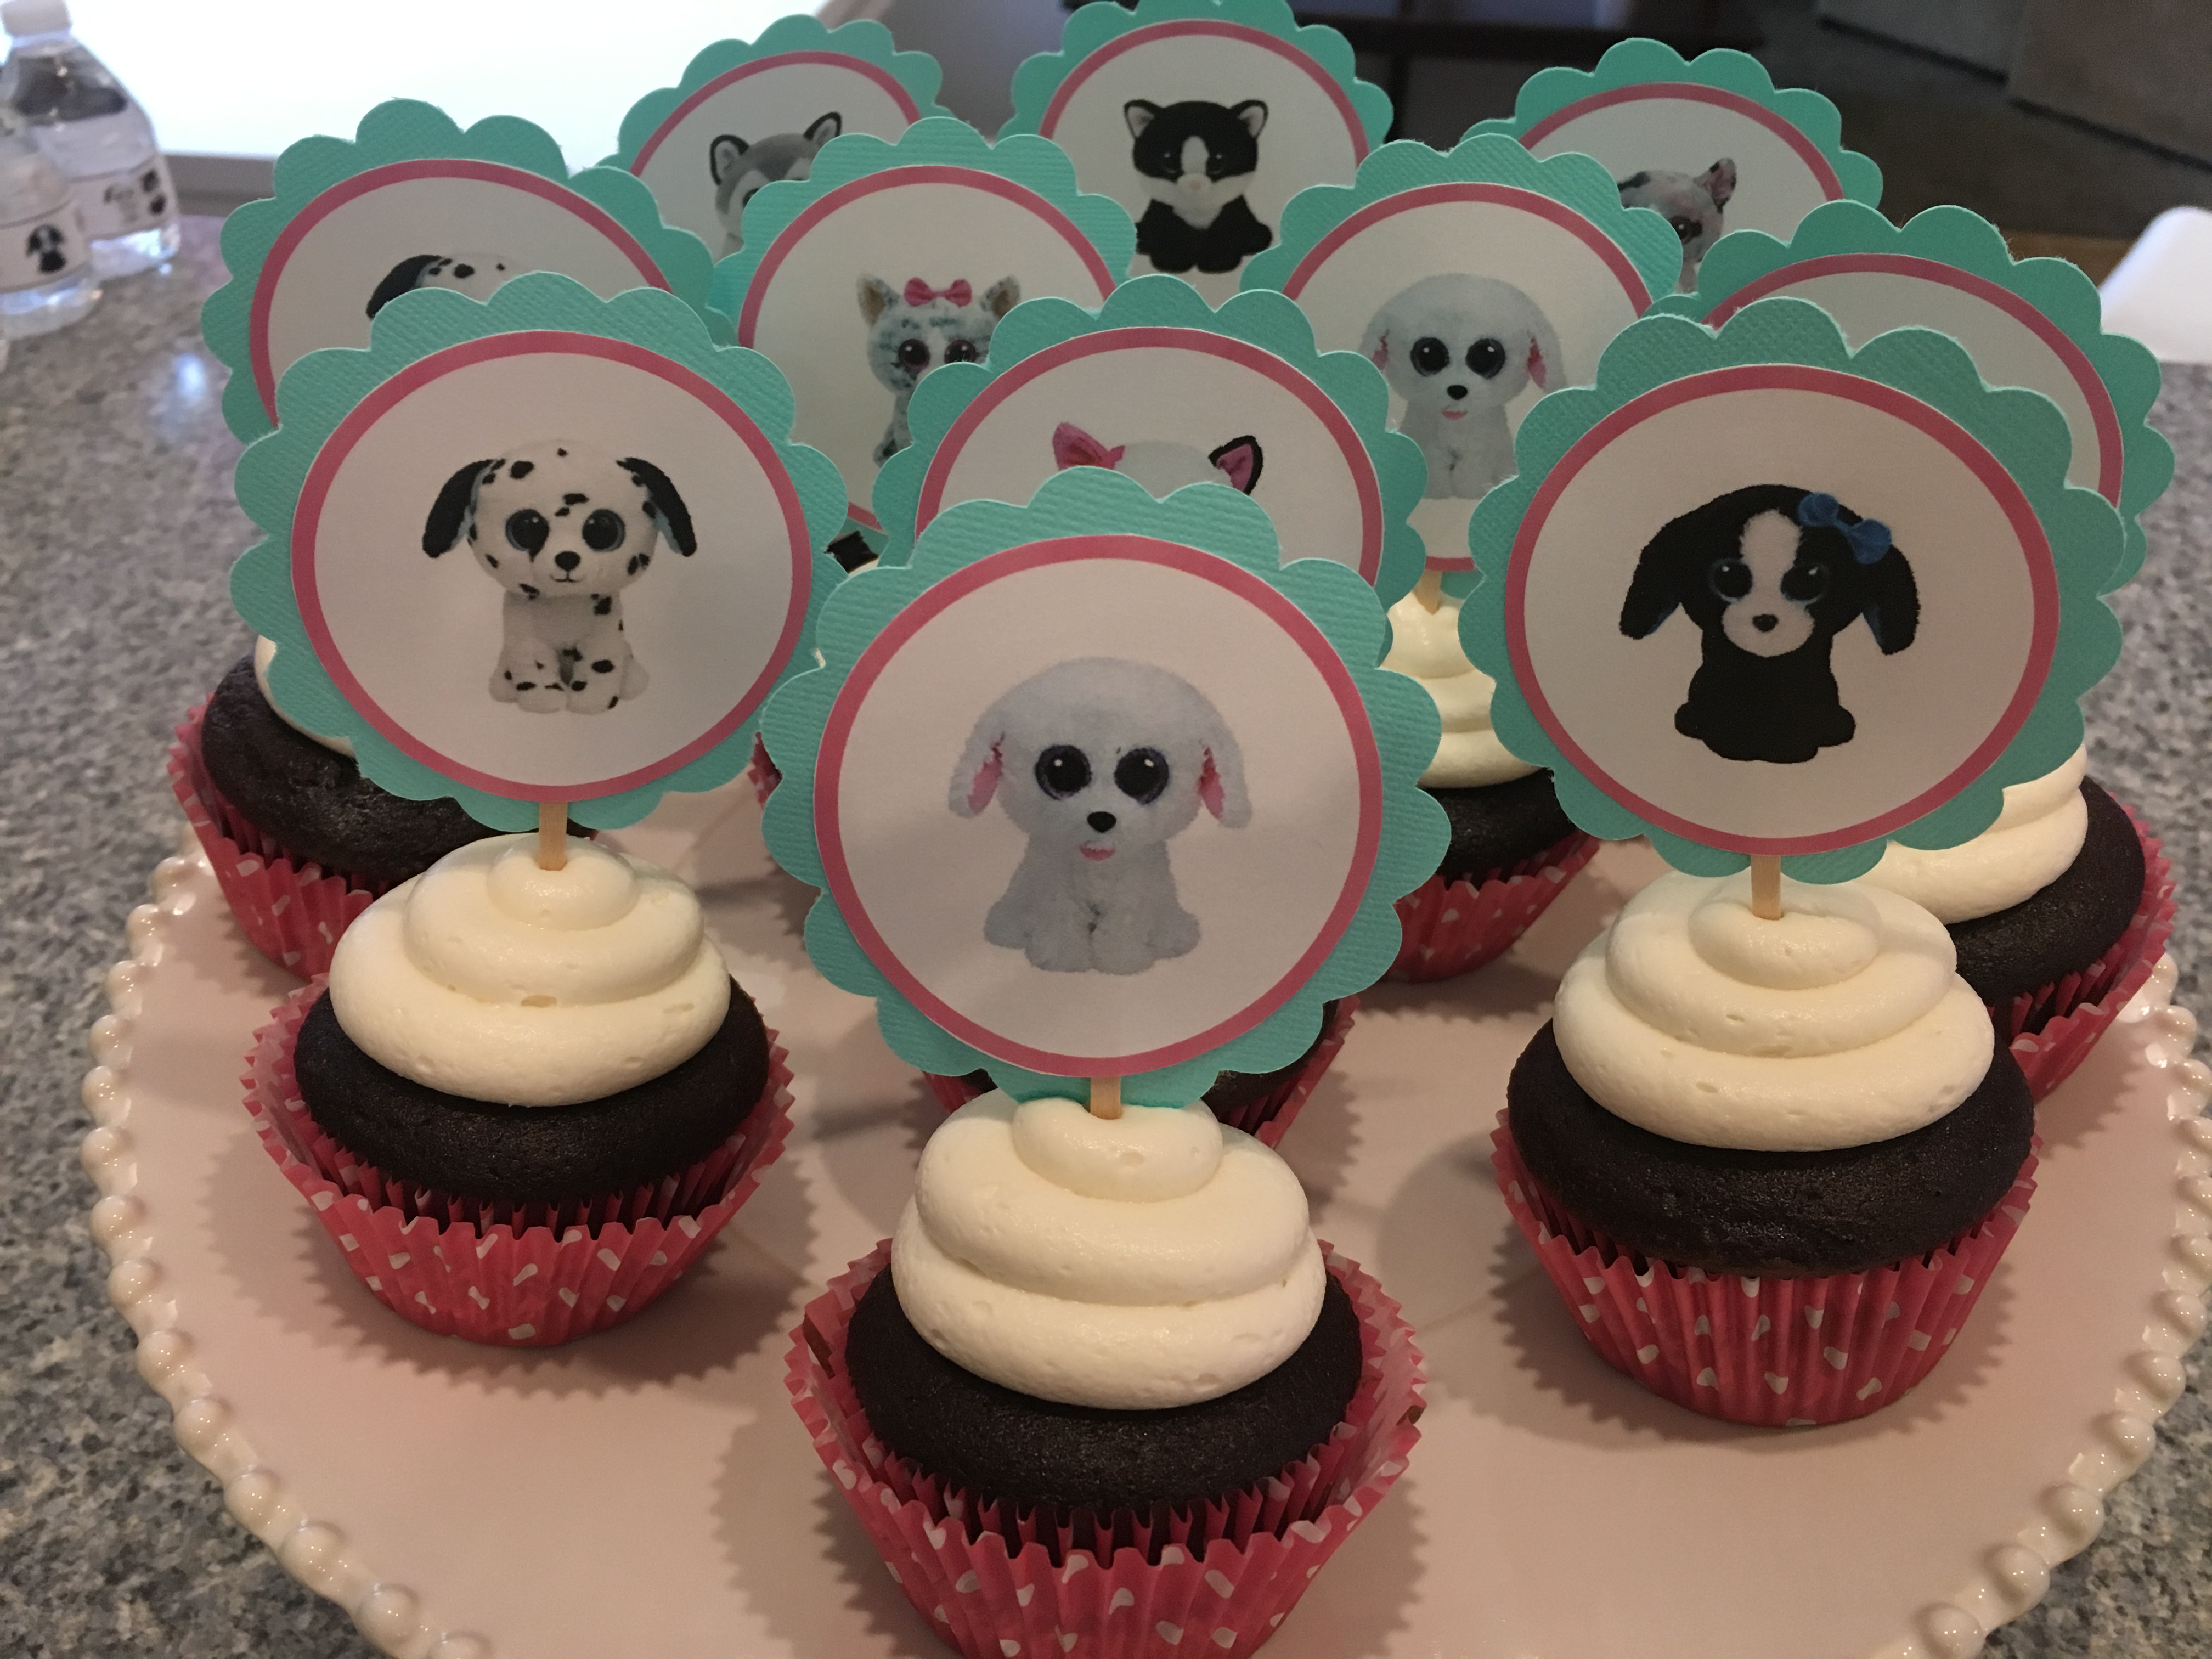
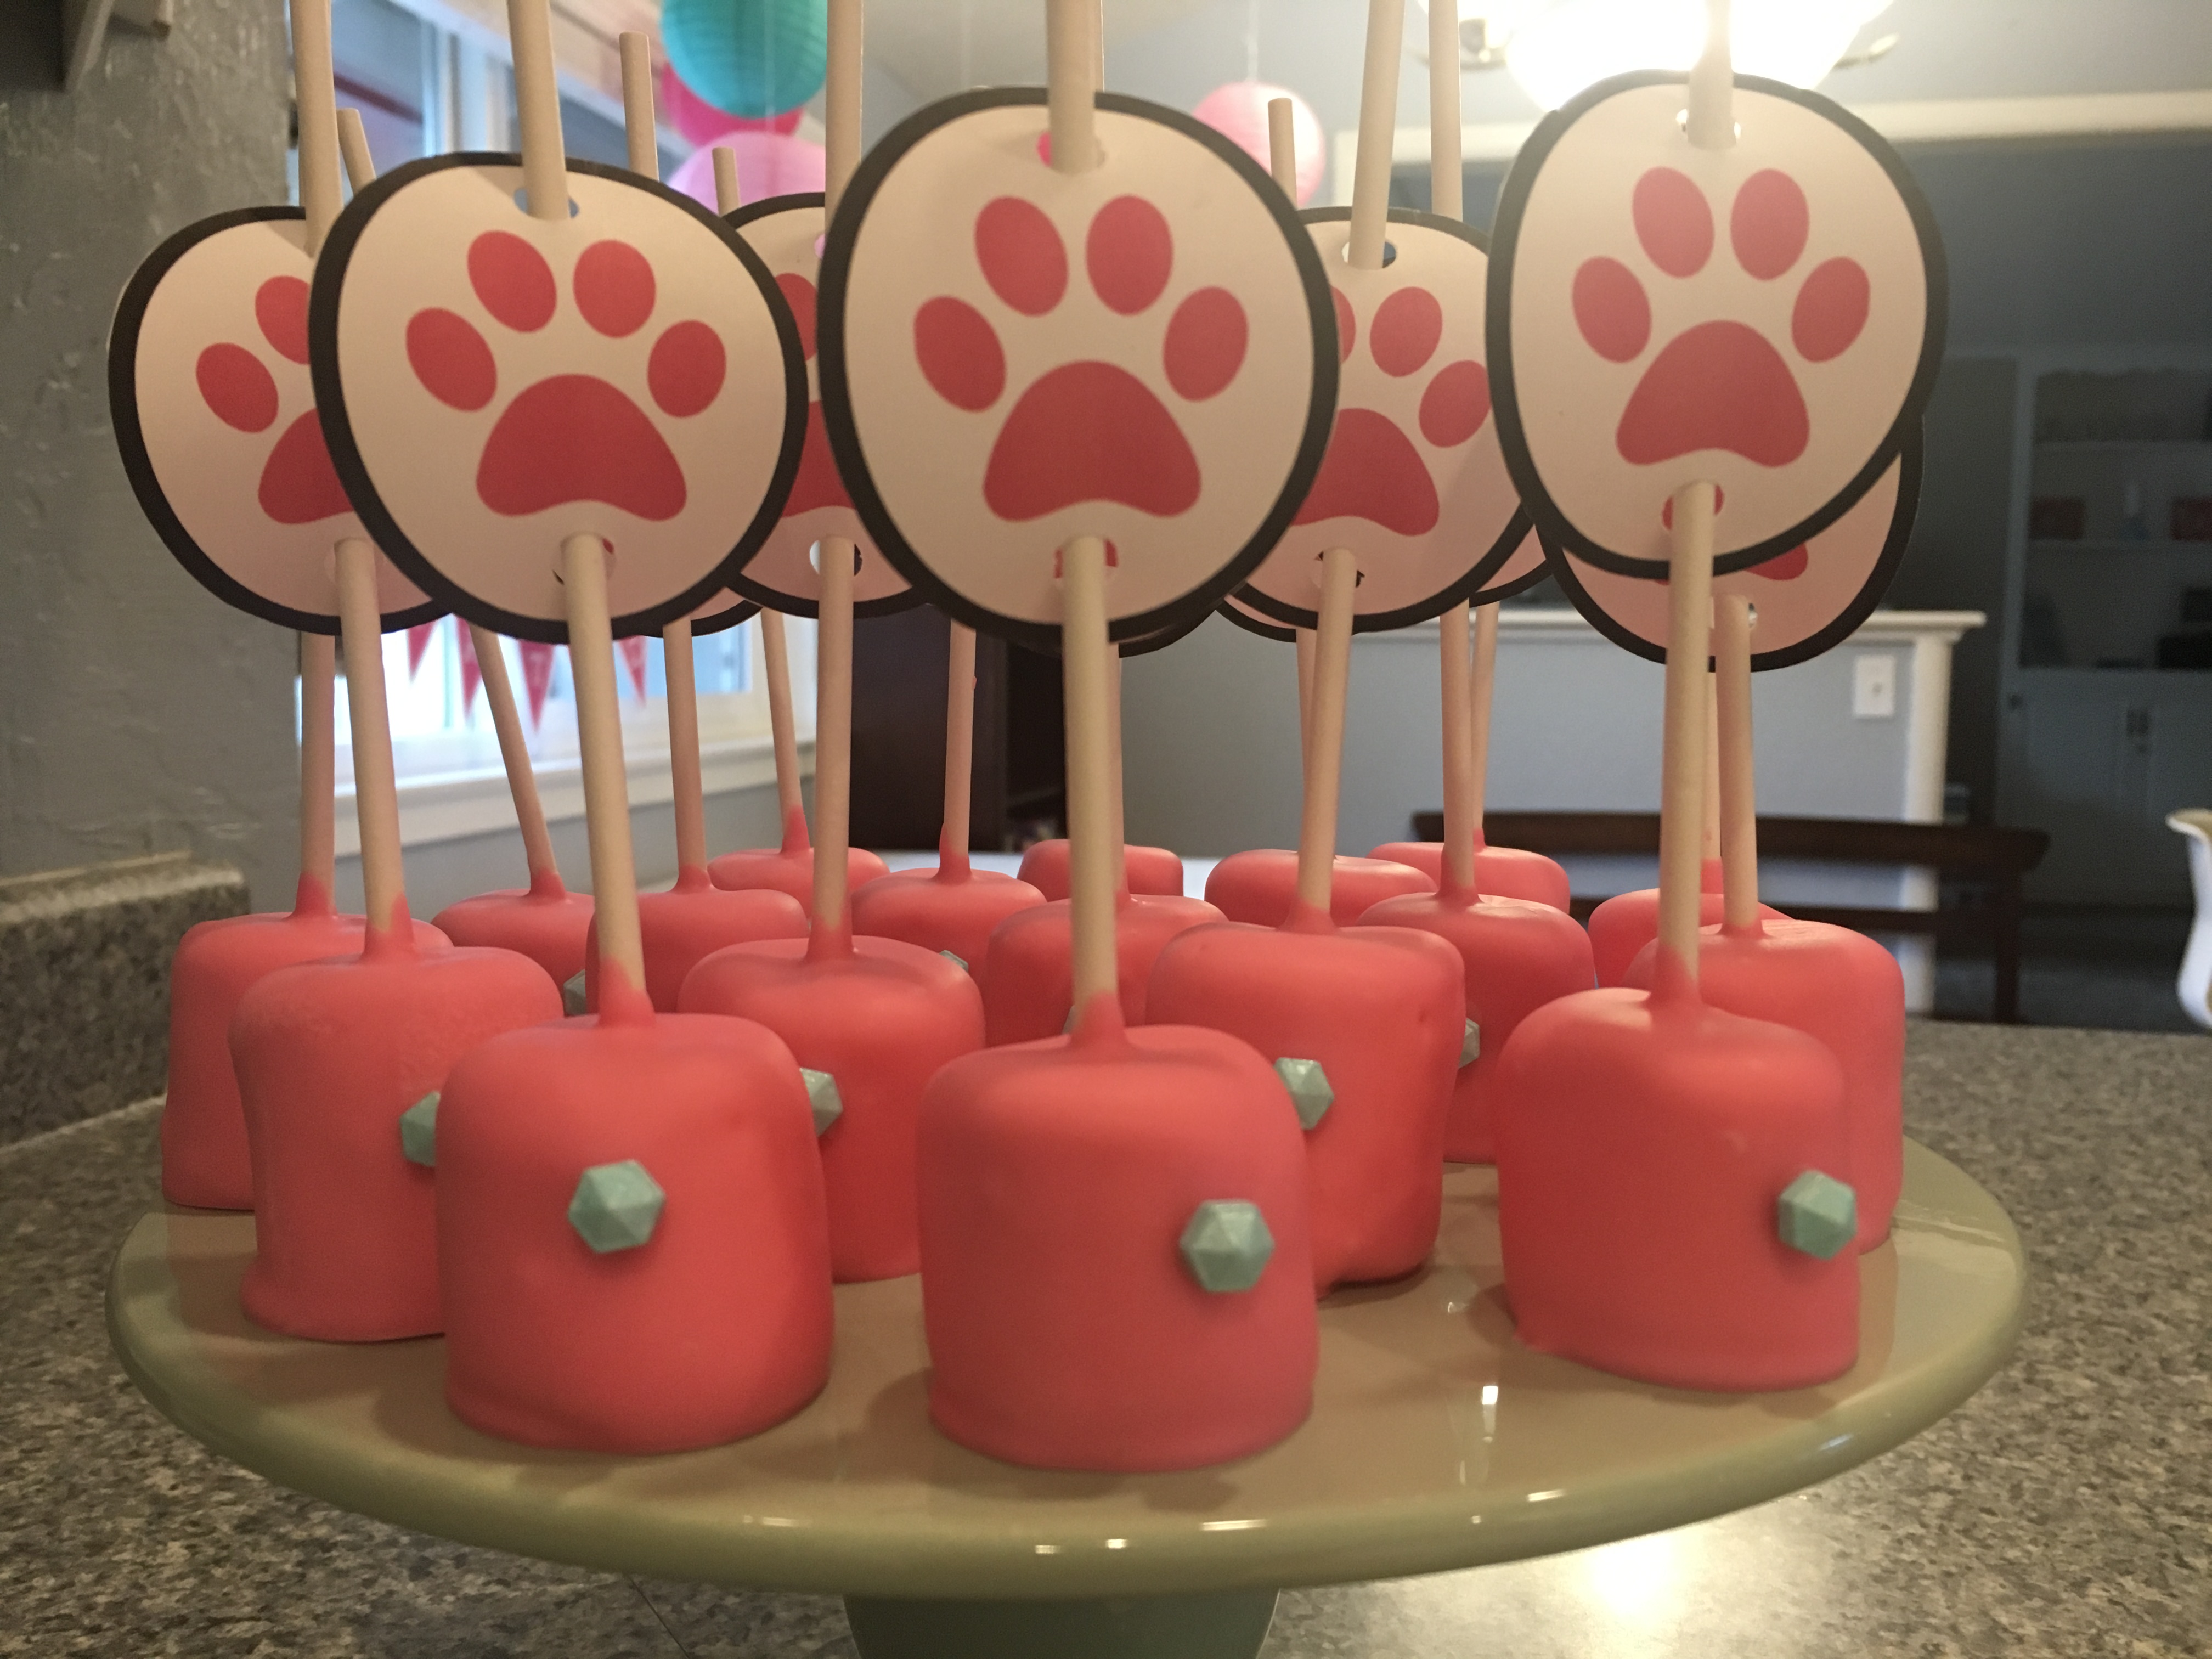
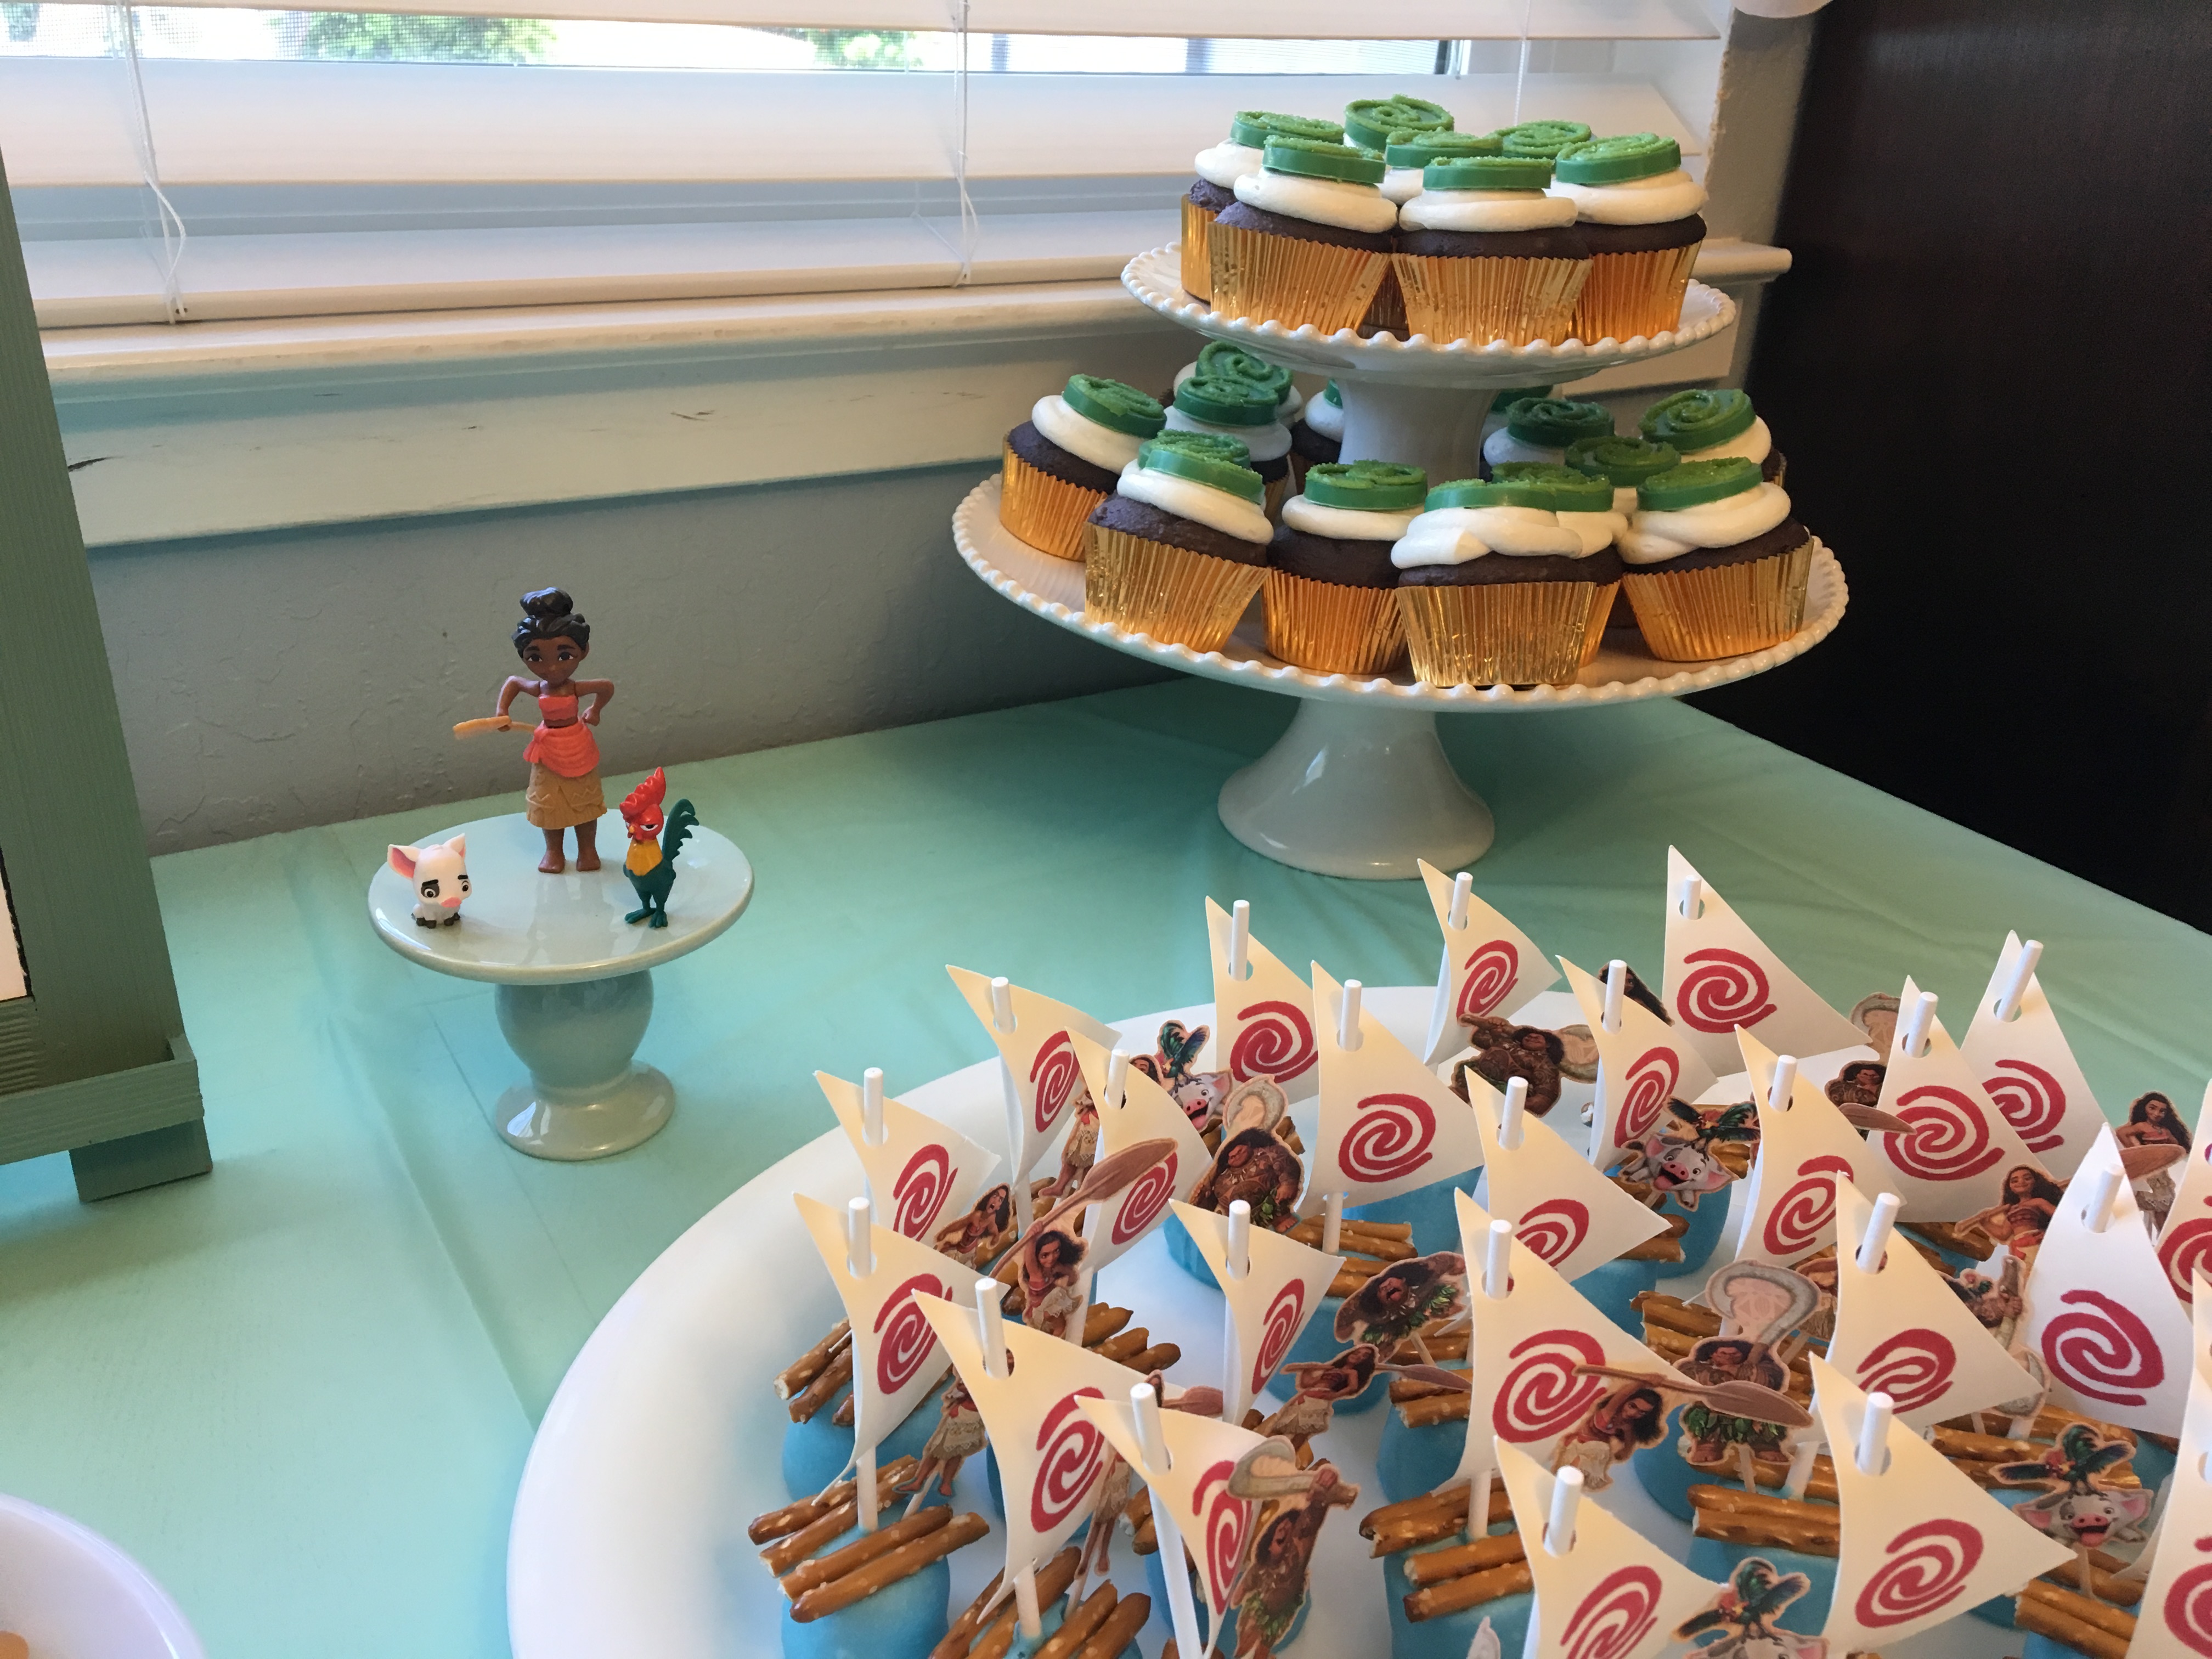
I used my Cricut Maker 3 for a couple of other decorations as well. I found a free Happy Birthday cake topper SVG and cut it out on two pieces of gold card stock. I used the smaller one as an accent for the Marshmallow Pops I made. Karis is not a fan of cake, so every year, I make marshmallow pops as an alternative. This year, I used Jett Puffed S’more Marshmallows and diluted orange candy melts with white ones to make a pastel peach color. I mixed blue and green candy melts with a bit of white to create teal for the flowers, and I used gold colored sprinkles on white candy melt dots for the centers of the flowers. They were the perfect complement to the colors of the elegant pallet table and Karis loved them! For more marshmallow pop inspiration, check out some of my marshmallow pop tutorials.

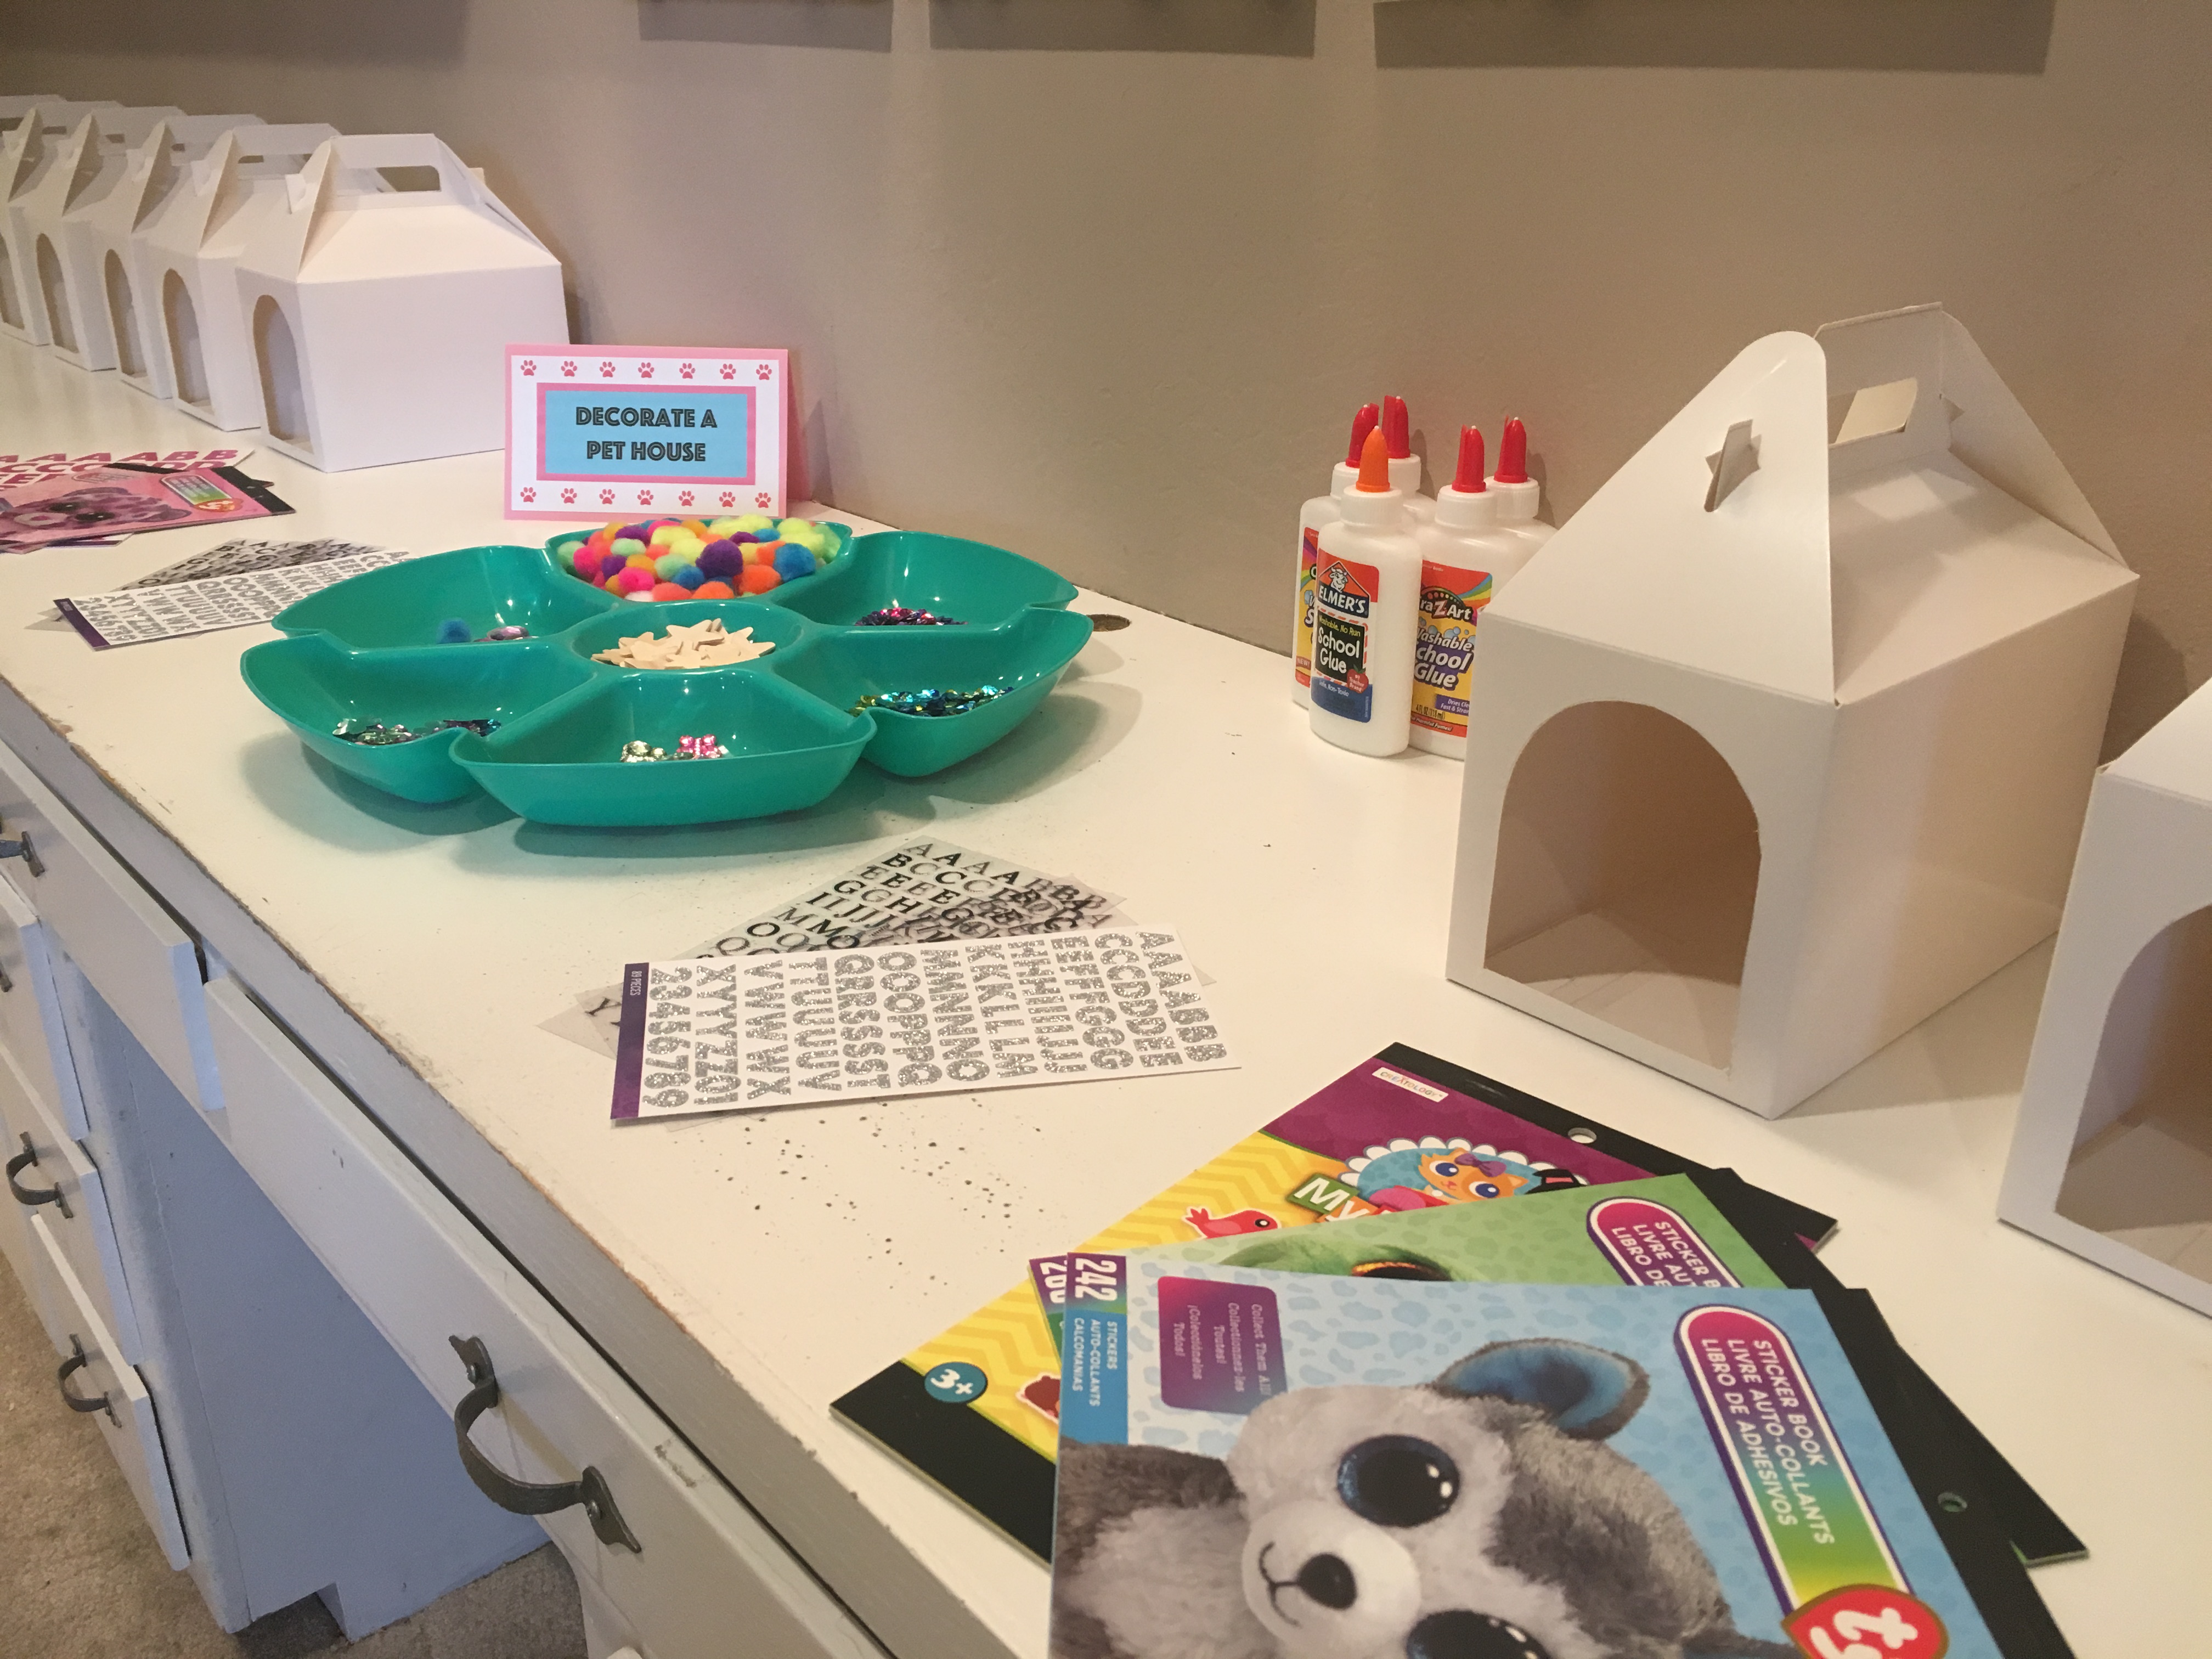
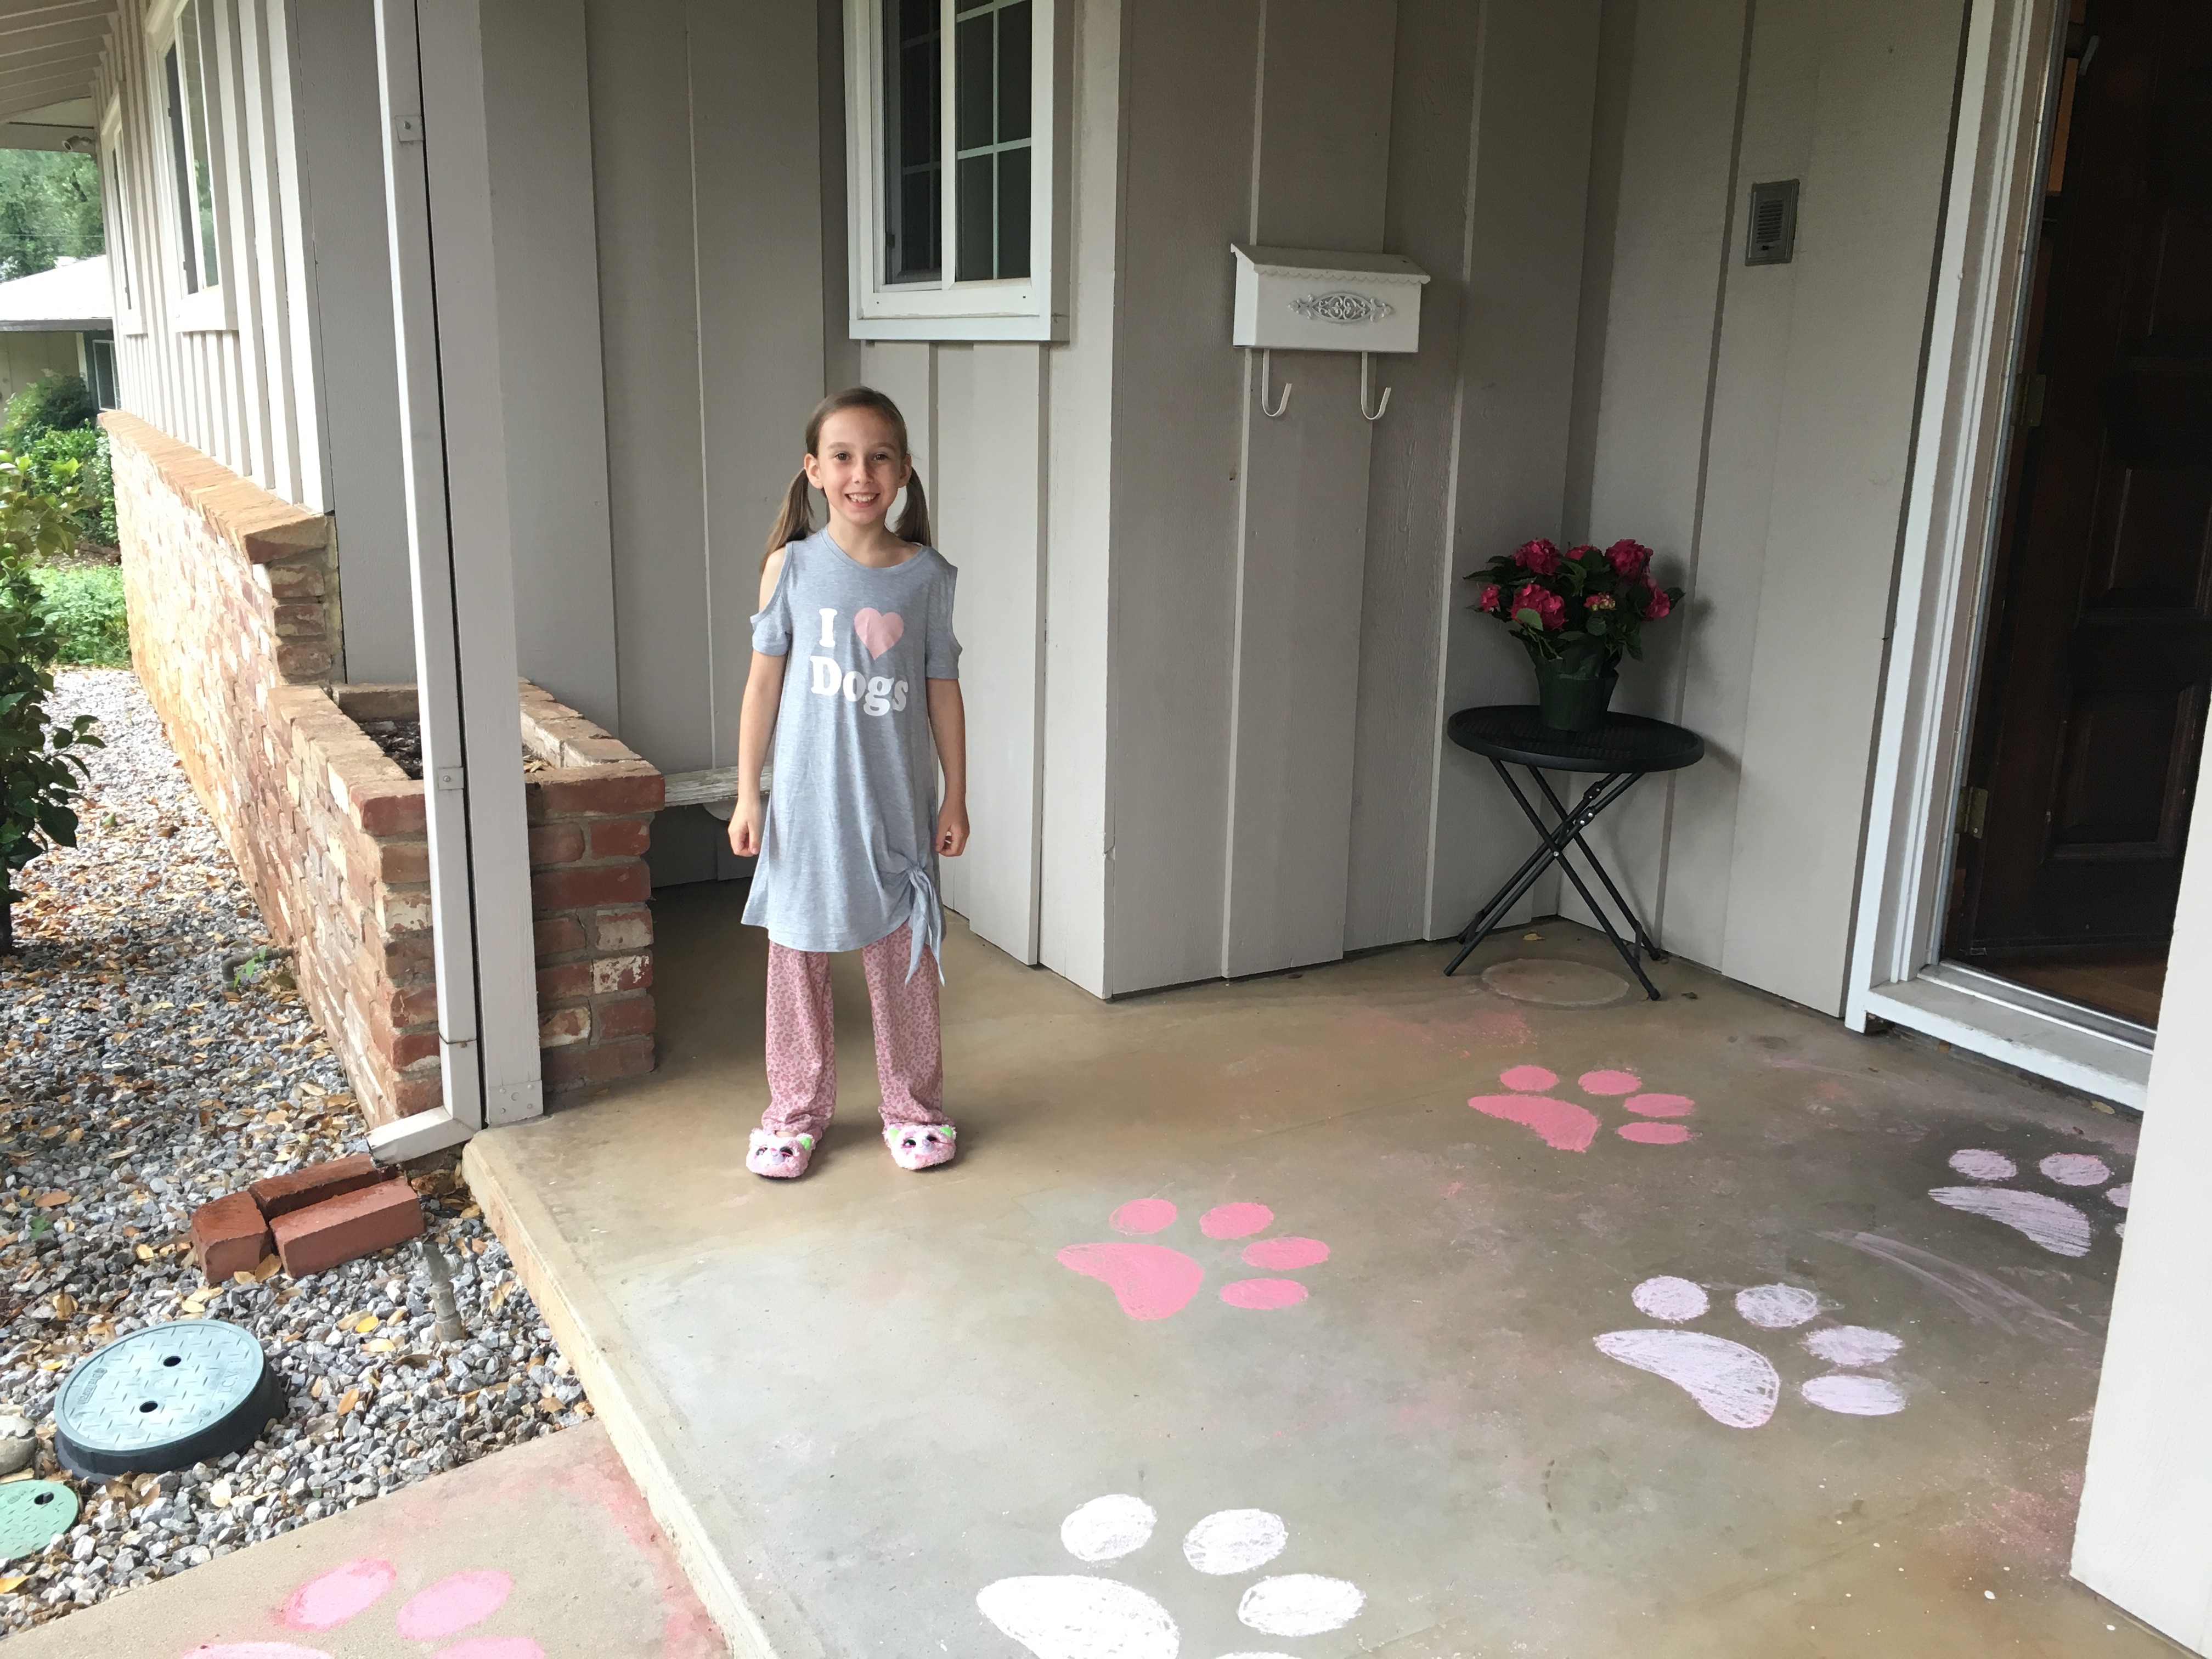
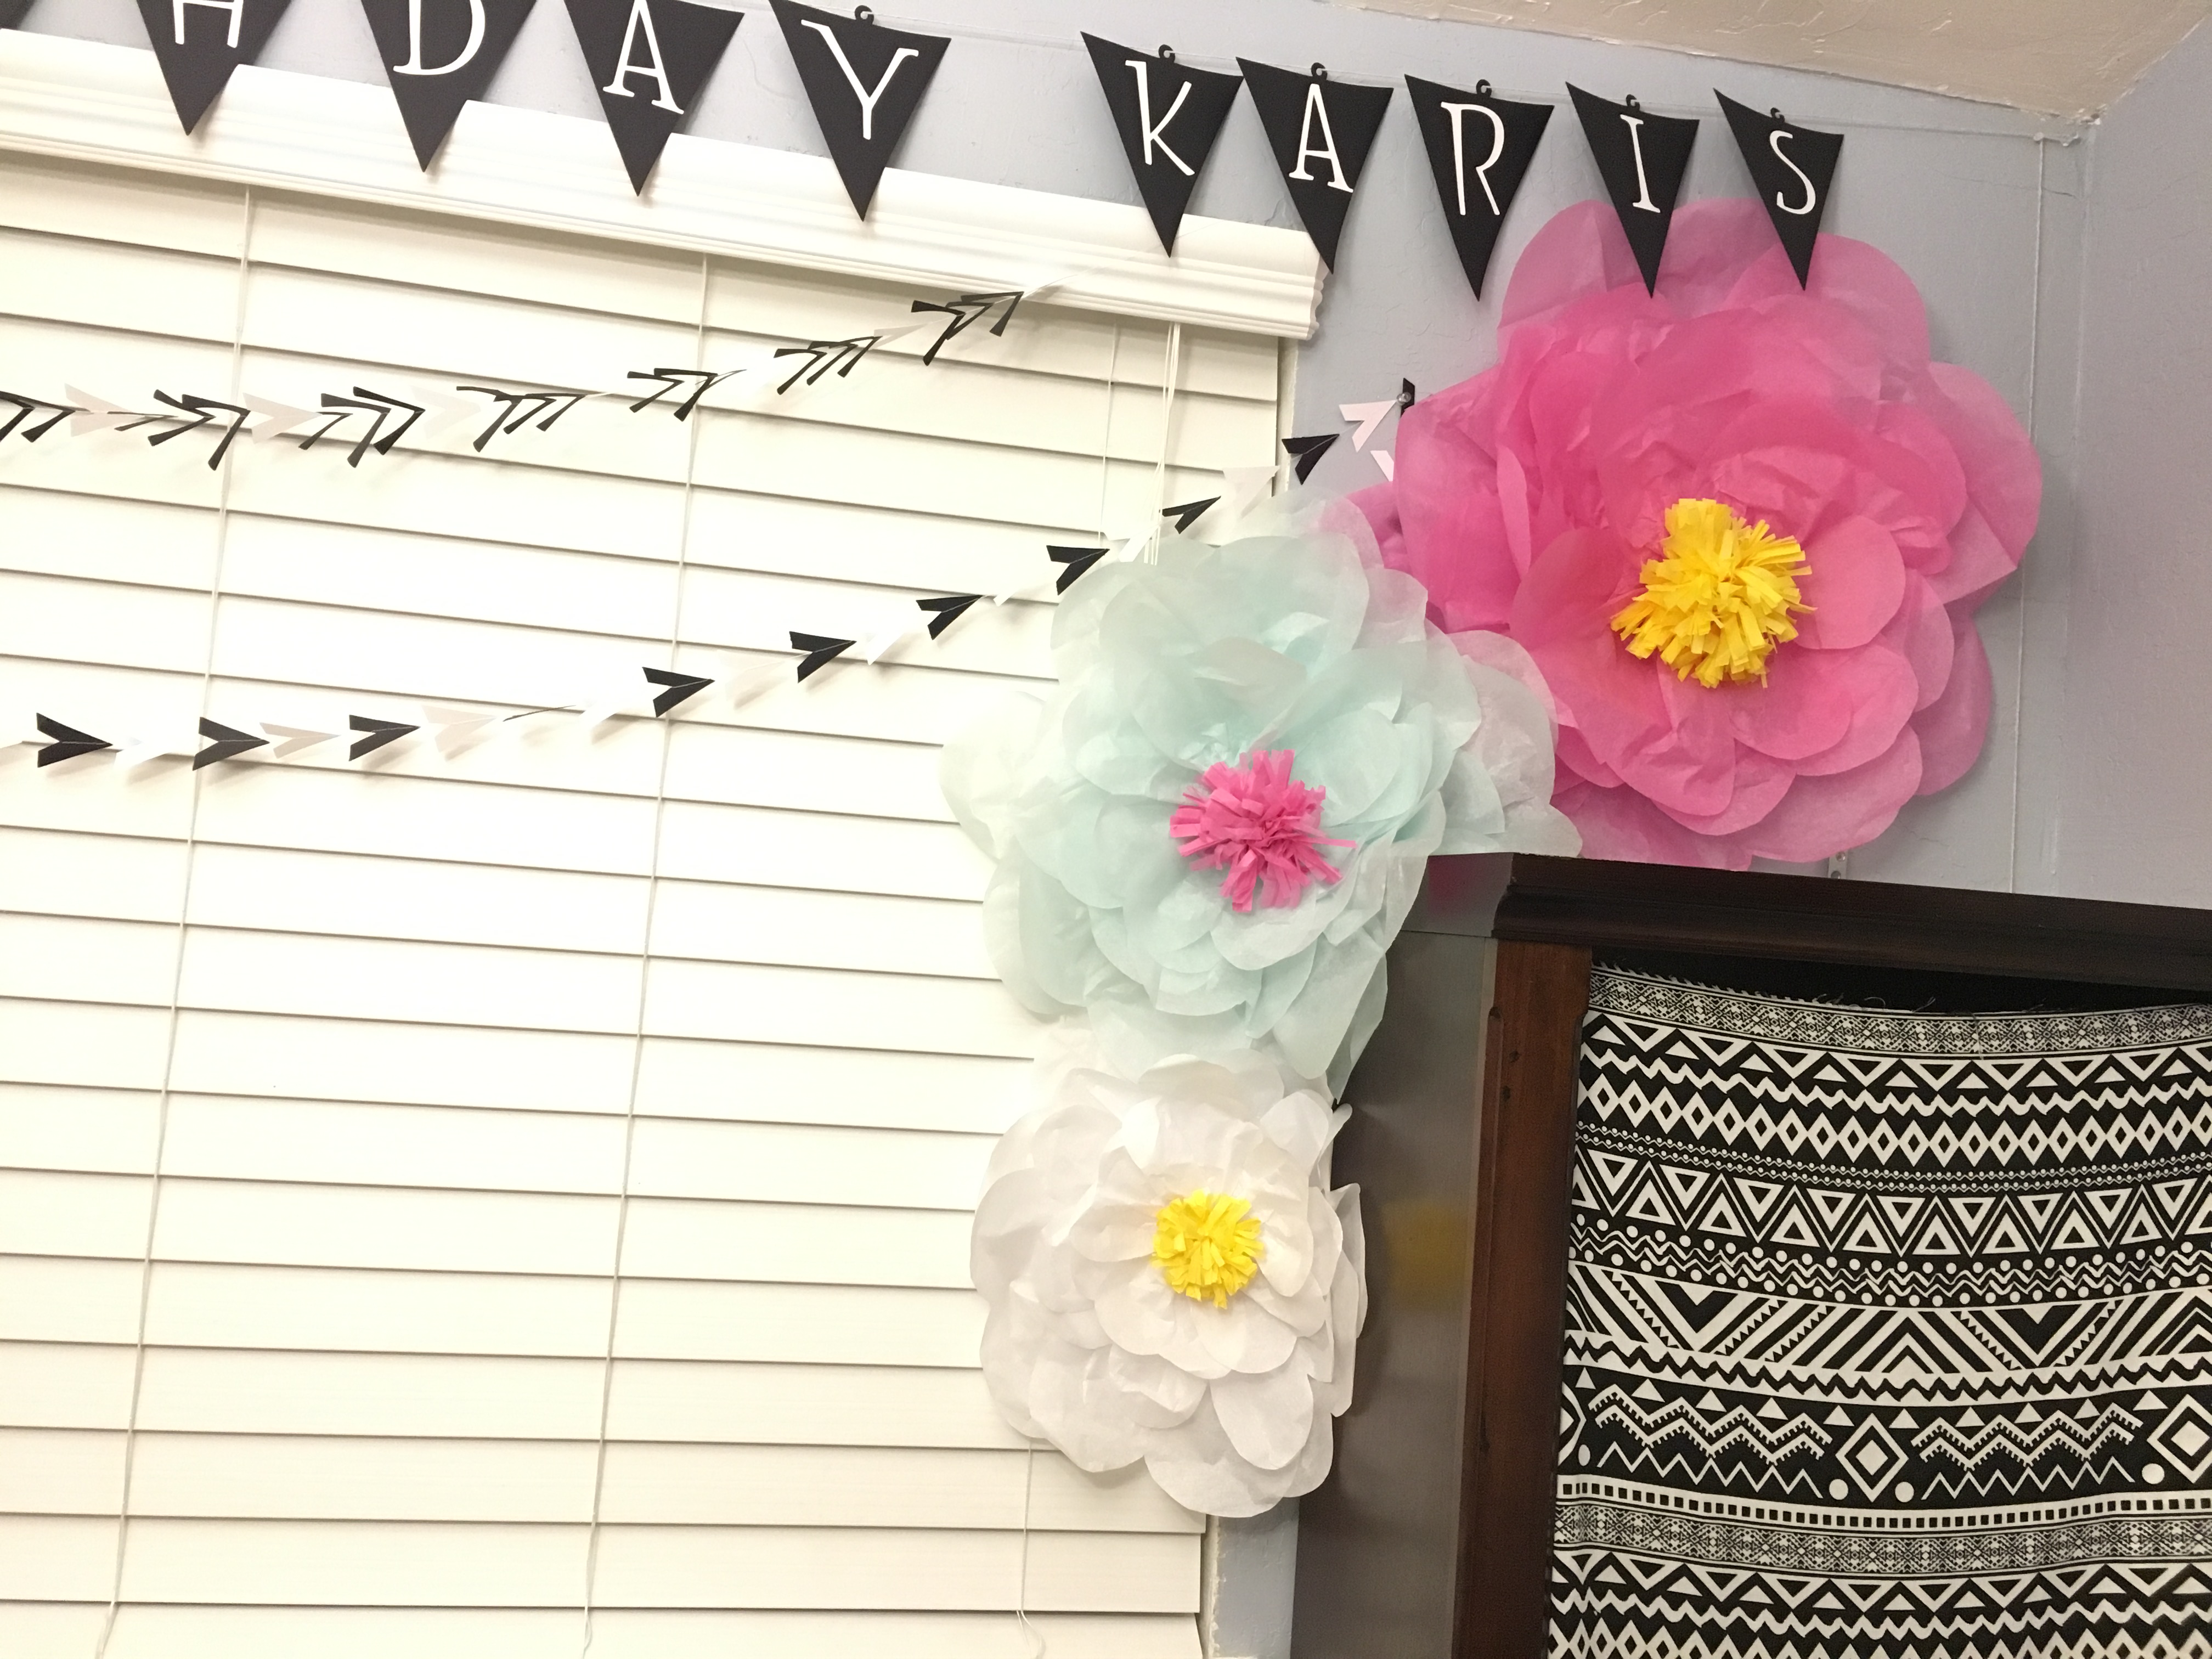
I decided that the door needed a “Happy Birthday” sign at the last minute, so I used the larger gold cutout and gathered some items that I already had laying around. A wooden embroidery hoop, leftover material from the table runner and the pillow covers, and the leaves that I pulled off of the peach and white flowers came together beautifully as an elegant birthday wreath. I used three long scraps of fabric that I twisted and hot glued to form the flowers. It added the perfect finishing touch to my girl’s elegant 12th birthday party.

The rain picked up as the night went on and Karis still had her heart set on making s’mores. Dad to the rescue. He grabbled our little propane camping fire pit and set it up on the front porch. Before the girls settled in for the night, they sat outside on the porch, roasted marshmallows, and made s’mores. It was actually a very sweet moment seeing them all circled around, chatting under the overhang in their matching pjs while it rained.

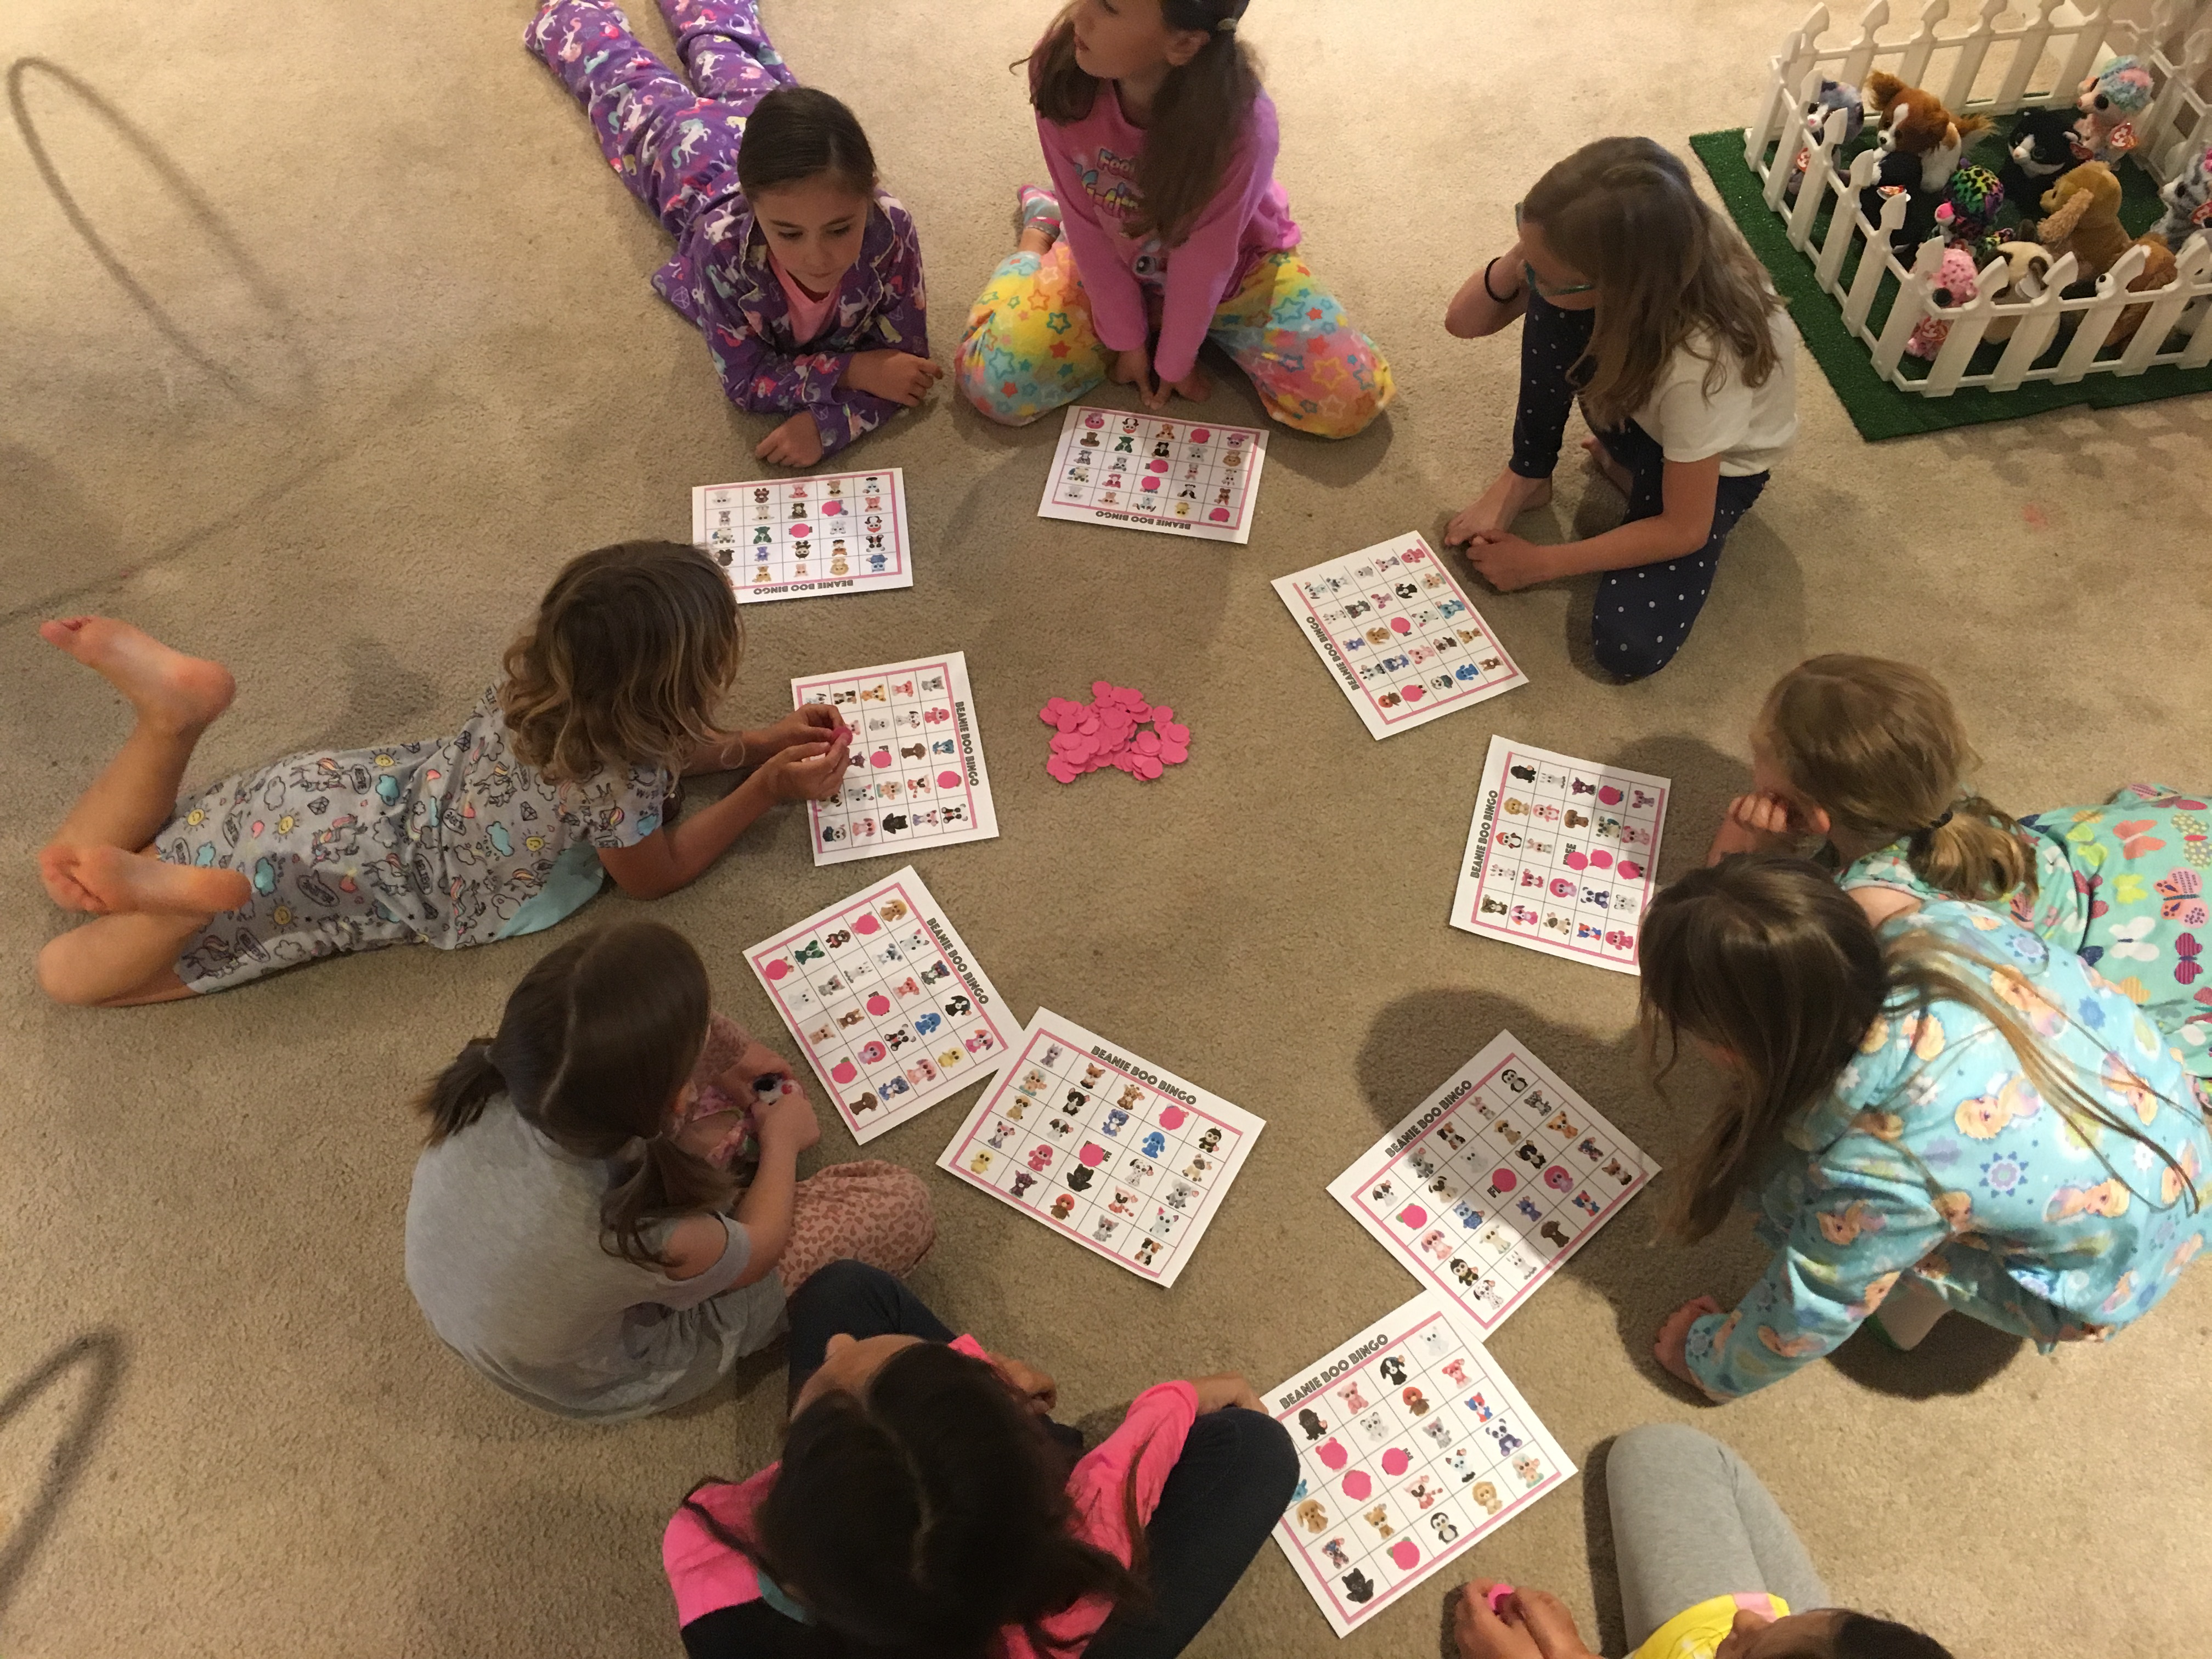
You would think that after late night s’mores it would be hard to settle 7 girls down for bed, but after dinner, swimming, a foil fashion show, and paper telephone, they spontaneously grabbed the beach ball for another round of the question game. They got their beds ready and snuggled in for some late night chats. I only had to come out once to remind them to keep it to a whisper and I actually got some sleep myself. Twelve is a fun age, and I am so thankful for the sweet group of girls that my daughter gets to do life with. I would have to say that this was one of the most enjoyable parties I’ve done, and the joy on Karis’s face always makes it so worth the creative effort it takes to pull of a memorable birthday party.

For more fun ideas for tweens and teens check out some of my other blogposts…

The Amazing Race Birthday Party

Retro Video Game Room (Arcade) For Teens

Wings of Fire Birthday Party

Advertisement

St. Patrick’s Day Mantel and Decor

I don’t usually go all out for St. Patrick’s Day, but I had so much fun styling my Valentine Mantel that I decided I needed to add some rainbows and shamrocks to my living room this year. I didn’t want to spend a lot of money, so I hit up the local Dollar Tree for inexpensive frames and decorations and created my own printables. I love the story of St. Patrick (see my St. Patrick’s Day Treasure Hunt post for a bit about this Irish saint) so I wanted to incorporate one of his famous quotes in my collection.

I also found the cutest set of white vases in the spring section of the dollar spot at Target and I spray painted an old pot black. I was able to style my entire mantel for about $20 and I will definitely be able to use several of the items other times of the year.

For more fun St. Patrick’s Day ideas check out the following blogposts:

St. Patrick’s Day Treasure Hunt

3 Simple St. Patrick’s Day treats

Rainbow Kabobs

Adopt A Pet (Beanie Boo Cats & Dogs) Birthday Party

My daughter just turned 8, and this year we decided on an Adopt A Pet (Beanie Boo Cats & Dogs) theme for her birthday party.  I’m not sure what was more fun, preparing for the party, or the party itself.  My daughter and I spent so much quality time planning and crafting together in the months before.  Be sure to watch my video compilation (above) of the party.

Beanie Boos can be expensive so I started purchasing these little kittens and puppies early, taking advantage of the 60% off coupons from Michael’s as often as possible.  We picked out 6 kittens and 6 puppies and then I set out to find a fence and fake grass.  I used my Circut Expression 2 to make the “Adopt A Pet” banner and then did a little photo shoot to use as the cover of the invitations. #CommissionsEarned

IMG_2183

I wanted to plan a fun activity for the beginning of the party while the guests were arriving, so I created a super fun game of Beanie Boo Bingo.  I have included the pdf below if you want to print out this game to use for your child’s party.

IMG_2413

Beanie Boo Bingo pdf

Once all of the girls arrived, I let them choose their pet to adopt.  I was a little nervous about this part because each animal was different and I wasn’t sure if the girls would get their hearts set on one and be disappointed.  I asked them to think about 2 or 3 that they would love to adopt and then said we would draw numbers to see what order they would choose.  We let the birthday girl have the first choice and then went from there.  Thankfully it all worked out and everyone was happy with their pet.

fullsizeoutput_ed5nkITFz5mRmGvL0sK2hHf7wuo0Sv4uBQ%mQ+22BkOByMw

The girls got to sign an adoption certificate to make it official.

IMG_2370

Here is the link for you to use.    pet adoption certificate pdf

I purchased a dozen white gable boxes to use as pet houses, cut a hole in each for a door, and the girls got to decorate a house for their pet. This was such a fun activity and I love watching all of their creativity as they designed a sweet little space for their pet to live in. #CommissionsEarnedIMG_2424IMG_2425IMG_2426IMG_2491IMG_2492

I set up another station for the girls to make a collar for their pet using pipe cleaners and beads.  These Dollar Tree veggie trays were perfect for holding craft supplies.  I have used them over and over for several projects and they have held up really well.  Amazon has a wonderful assortment of pony beads and letter beads.  #CommissionsEarned

IMG_2458IMG_2496

I also made leashes and blankets for each of the pets.  Click the links to purchase paw print ribbon and gold rings and clips.  One spool of ribbon made 12 leashes.  1 yard of paw print fabric, 1/2 yard of puppy fabric, and 1/2 yard of kitty fabric made 12 small blankets about the size of a baby burp cloth. #CommissionsEarned

IMG_2391IMG_2450IMG_2453

We played a couple of fun games.  “Give The Dog A Bone” and “Pin The Tail On The Kitty.”  I used poster boards to draw a Kitten and Puppy.  Then I made three bone shaped bean bags, mounted the puppy on one of our corn hole pieces and cut a hole for the bean bags.  These old fashioned party games were so much fun!

IMG_2397IMG_2398IMG_2521IMG_2522IMG_2446shMGGGevT82awKz2f0dqwAIMG_0717

I kept the food pretty simple because we also had hot dogs and fruit for dinner.  I collected yogurt cups in the months leading up to the party, then used a sharpie to draw a “fish” on half of them and a “bone” on the other half.  I filled the cat dishes with Goldfish Crackers and the dog dishes with Scooby Doo bone shaped graham crackers.  I covered two pieces of styrofoam with pink wrapping paper to display them on.  The Dollar Tree was a goldmine for decorations and pet themed items.  I found the large black dog dishes there and filled one with pretzels (sticks) and the other two with Trader Joe’s chocolate Cat’s Cookies.  I also purchased three paw print jars from the Dollar Tree and filled them with candy, but you can find similar jars here.  #CommissionsEarned The pink and teal hanging paper lanterns were 2 for a dollar as well, making the table setting very affordable.  I have included a pdf of the cupcake toppers, activity signs, and “DIG IN” sign for you to print off from home.  (see below)

IMG_2476IMG_2535IMG_2536IMG_2479IMG_2480IMG_2520IMG_2474IMG_2470IMG_2421IMG_2465IMG_2410

IMG_2416

beanie boo cupcake toppers pdf

dig in party sign pdf

IMG_2366

cats & dogs party signs pdf

A month later, my girl is still saying that her Adopt A Pet party was the “funnest birthday party ever!”  I would definitely have to agree!

IMG_2486IMG_2483IMG_2488IMG_2517IMG_0713IMG_0705

Moana Birthday Party

We celebrated my daughter’s 7th birthday the first week of June with a Moana Themed Birthday Party.   My girl fell in love with Moana after watching the movie in the theater and she’s been belting out “How Far I’ll Go” at the top of her lungs ever since.  Her Grandma and Papa surprised her with the soundtrack for her birthday, which made the party even more special to have her favorite Moana songs playing in the background while she swam and played with all of her sweet friends.

I had so much fun planning this party and I’m happy to say that everything turned out just as I imagined it would.  I started making decorations several weeks in advance because May and June are always crazy busy with all of the end of school activities, dance recitals, and two kids with birthdays just a couple of weeks apart.

I used my Cricut Expression 2 to make the black and white tribal sewn paper garlands and the HAPPY BIRTHDAY KARIS pennant banner.  I also used it to cut some of the pieces for the Kakamora faces.  These were all made out of card stock that I purchased from Joann Fabrics.  I also found the tribal print material at Joann’s that I used to cover the contents of our two bookshelves.

The Dollar Tree is a great place for inexpensive tropical decorations this time of year and it did not disappoint.  This is where I purchased the tissue paper for the giant tropical flowers, the leis, the grass skirts that I used to surround the table, the plastic beach backdrop, plates and napkins, and the Moana and Maui “magic towels” that we gave to the children as party favors.  You can also find a lot of beachy party decorations on Amazon.

My favorite part of the whole party, was the Moana Boat and Sail Photo Backdrop (tutorial link below).  All the kids were greeted by my daughter and given a lei to wear and the first thing they saw when they walked in was a huge beach scene with a cardboard Moana boat and sail to play in.  I even made an oar out of a dowel, cardboard, and twine.  We got some super cute pictures of the kids in Moana’s boat. #CommissionsEarned

If you are planning a Moana party of your own, here are three fun tutorial for you as well as a ton of pictures from my daughter’s party.  Enjoy!

Moana Marshmallow Pops Tutorial

IMG_8471

Moana Boat and Sail Photo Backdrop Tutorial

IMG_8430

Heart of Te Fiti Cupcake Tutorial 

IMG_8488

IMG_8525IMG_0642IMG_0643IMG_8285fullsizeoutput_e4a2IMG_8307IMG_8310IMG_8313IMG_8301IMG_8352IMG_8359IMG_8432IMG_8340IMG_8396IMG_8400IMG_0648IMG_8575fullsizeoutput_e4a0

If you are planning your own Moana party, I’ve included links to some products that you can purchase for your child’s party. #CommissionsEarned

For the Marshmallow Pops you will need-  Moana Stickers, Marshmallows, Lollipop Sticks, blue Candy Melts, and Pretzels

Moana Figurines

Moana Party Decorations 

SaveSave

Trolls Craft: Poppy’s Popsicle Stick Frames

You know that scene from the movie “Trolls,” when Poppy and Branch are on their way to rescue their friends from the Bergens, and they camp for the night?  Poppy sets up a collage of Popsicle Stick Frames with pictures of all the missing Trolls and it keeps expanding.  That was the inspiration behind this Trolls Craft.  As soon as I saw that scene, the first time we watched Trolls in the theater, I knew that my daughter and I would have to make a “Poppy Frame” of our own.  So I started gathering the supplies, and my plan was to have a special “Trolls night” with my girl as soon as the movie came out on DVD.

I found a set of Trolls stickers at Joann Fabrics.  The rest of the supplies we bought from the Dollar Tree.  I also picked up this amazing find, a plastic veggies and dip tray to hold all of our craft supplies.  I have reused this dollar store treasure many times since for other art and craft projects and sensory activities.

The week that Trolls hit the Red Box, I surprised my daughter with a special “Mommy/Sissy” Day.  We rented the movie, made our craft, and also created a yummy   treat to enjoy,  Trolls Marshmallow Pops.

My daughter thoroughly enjoyed her special day and spent a long time making her Poppy Popsicle Stick Frames with pictures of her favorite Trolls and tons of decorative embellishments.  Here’s what we used:

  • colored popsicle sticks
  • colored cardstock to back the frames
  • Trolls stickers
  • buttons
  • beads
  • sequins
  • paper cutouts (cut from my Cricut, left over from another project)
  • butterfly charms
  • pom poms
  • glue (I used a hot glue gun for the frames and my daughter used Elmer’s glue for the decorations)

Here’s a screen shot of Poppy’s Frames and some fun pictures of my daughter’s creation.

IMG_7305

IMG_7350fullsizeoutput_de46fullsizeoutput_dd85IMG_7351


Book Page Banner

img_5919

I love books!  In this day in age when so many are reading books on Kindles, Nooks, and iPads, you will find me curled up in a cozy spot in my house with a traditional paper book.  The library just so happens to be one of my very favorite places on the Earth!  I think that is why my eyes are drawn to creative projects made from book pages.

Several years ago I made this pretty little book page banner to hang across my mantle for Valentine’s Day and I have reused it several years in a row because I love it so much!  To make one of your own, you will need a book that you don’t mind cutting up (I bought mine from the Dollar Tree).  You will also need scrapbooking paper in several colors or patterns. I went with a black, red, and off white theme.  Grab a couple of buttons and some twine and you are all set.

I used my Cricut Expression 2 to cut the L O V E letters, but made my own template for the large and small hearts.  The book pages are 6 inches long by 4 inches wide.  This gives you enough length to fold the top over to hang them on the twine and to cut a 1 1/2 inch triangle out of the bottom of each.  For my banner, I stapled the individual book page pieces over the twine and then glue the hearts on after to cover the stapes.  For the LOVE portion, I lined the staples up with one of the words to “hide” it as much as possible.

If you love creating banners for your own home, check out my tutorial on How to Make a Pennant Banner.

If you are looking for some other simple and fun Valentine ideas, here are some links you will enjoy.

Valentine Paper Garlands

Valentine Craft for Kids: Cookie Cutters and Paint

Valentine Words of Affirmation for Kids 

Chocolate Covered Strawberries 

Valentine Paper Garlands

Paper garlands have become one of my absolute favorite DIY decorations.  They are simple to create, inexpensive, and they are perfect for everything from holiday decor to birthday parties.  These elegant heart and circle garlands will add a little bit of love to your home for Valentine’s Day.  Watch my tutorial for some tips on how to make some of your own.

For my hearts and circles, I used the Cricut Expression 2, but if you do not have a Cricut, you can simply cut hearts and circles out of card stock.  I used 3 different colors of card stock, plain white, and a shiny gold & red that I purchased from the Dollar Tree.  Sometimes, when I make paper garlands, I use my sewing machine, but for these, I just used a needle and white thread.  I wanted to be able to space them out, so this gave me the option to slide them along the thread and place them where I wanted to. #CommissionsEarned

Some friends of mine gave me this beautiful old window, which made the perfect backdrop to display a collection of Valentine Paper Garlands.  Happy Valentine’s Day from Kerri Creates!

fullsizeoutput_d8b2fullsizeoutput_d8bffullsizeoutput_d8c1

New Year’s Eve

New Year’s Eve is always a much anticipated night for our family.  It is, of course, the one night a year that my little night owls are given permission to stay up until midnight!  We started the tradition of celebrating a “family friendly” New Year’s Eve a couple of years ago.  Some years we have joined together with other families.  This year it was just the 5 of us at home for the evening.

fullsizeoutput_d589
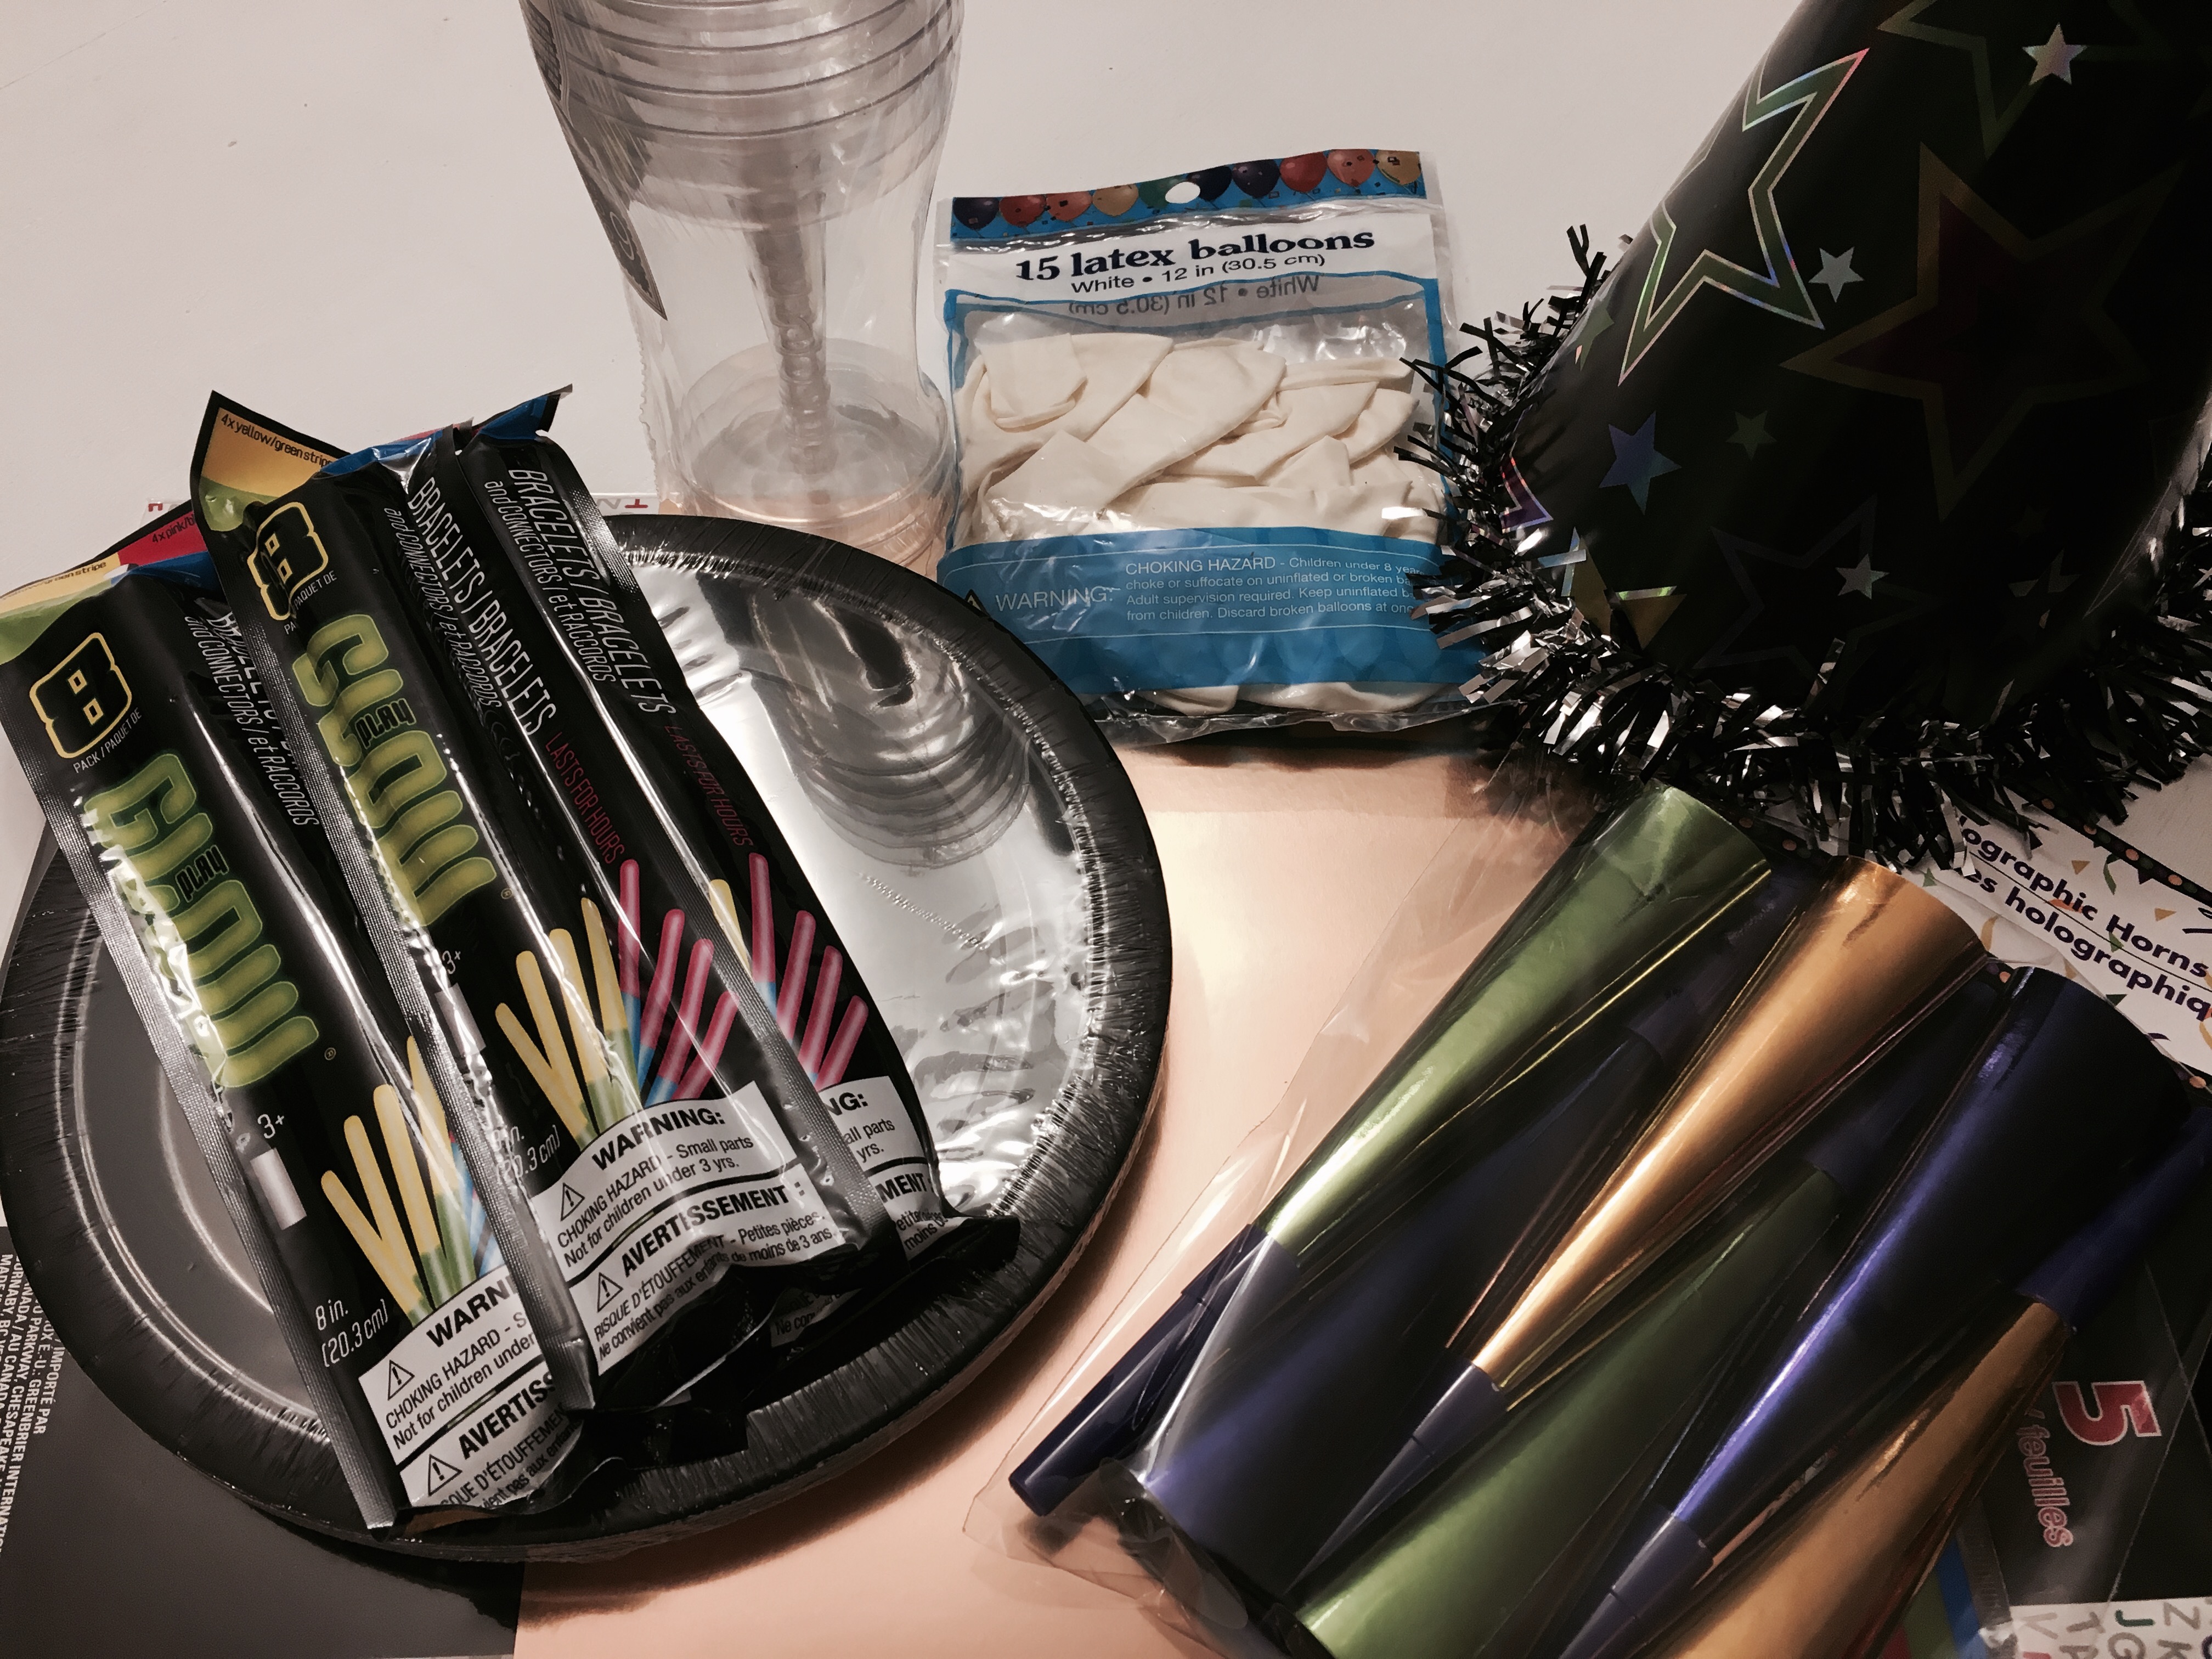
I kept things inexpensive by hitting up our local Dollar Tree for supplies, and then I went to work.  I already had paper bags, card stock, and glue sticks, so our “On the Hour Bags” didn’t cost a dime!  My plan was to start our evening festivities at 6:00, so I made a bag for each hour from 6:00 pm – Midnight.  I googled “free printable clock templates” and then added the clock hands to each one before printing them out onto white card stock.  I traced around a bowl to get perfect circles on the shiny blue and sparkly card stock behind the clocks.  A few finishing touches later, and the bags were done.

What was in each bag?  Each bag contained something that had to do with the activity for that hour.

6:00 pm: Time Capsule Printouts & A Mason Jar     We started a new tradition this year, and it was a huge hit!  I looked up some ideas for the time capsule template on Pinterest, and then created my own for our family.  We began our evening by sitting at the table together and filling in our favorites, reflections from 2016, & resolutions for 2017.  Then we read them to each other, rolled them up and placed them in a mason jar.  Our plan is to open them up on New Year’s Eve 2017, read them together, and then create a new time capsule.  I’m pretty sure this will continue to be a treasured tradition.

fullsizeoutput_d58dimg_53897:00 pm: Glow Sticks & Balloons     This was SO….MUCH….FUN!  We put glow sticks in balloons and then had an epic living room battle.  Boys vs. Girls with Dad as the DJ.  We turned off all the lights and made a line of glow sticks dividing the floor in half, girls on one side, boys on the other, with 6 glowing balloons on each side.  When Dad played the music, we would try to get all the balloons onto the opposing side.  When the music stopped the team with the least balloon on their side was the winner.  The girls started off strong, but after 5 rounds, the boys were the ultimate winners!  I’m telling you…I haven’t laughed that hard in a long time!     

img_53948:00 pm: Popcorn & A Red Box Movie     Popcorn and movie nights are a family favorite for us, and my kids really wanted to see the movie Storks!  Perfect for one of our New Year’s Eve activities!

img_54039:00 pm: Gummy Worms with a “Dessert Break” note attached     We took an intermission from the movie to get dessert.  This year, I made a delicious ice cream pie with a clock face.  I used gluten free Joe Joe’s cookies from Trader Joes to make an “oreo” crust, filled it in with vanilla bean ice cream, and poured homemade chocolate fudge frosting over the top.  While it was setting in the freezer, I made a clock on wax paper out of melted white chocolate and placed it on top of the frozen pie.  We also included gummy worms for the “non ice cream eater” in our family.

fullsizeoutput_d5bc10:00 pm: M&M’s, Marshmallows, and Straws     Game Time: I found this idea under “minute to win it” games on Pinterest.  I set the table with two paper plates for each player.  One plate contained M&M’s and marshmallows.  The other was empty.  Each player was given a straw (cut to about 3/4 size).  At my “GO” the players had to suck up the candies and mallows to make them stick to their straw and transfer them from one plate to the next.  The first player to get all of theirs transferred had to call out “Happy New Year!”  Micah for the win!

img_5413
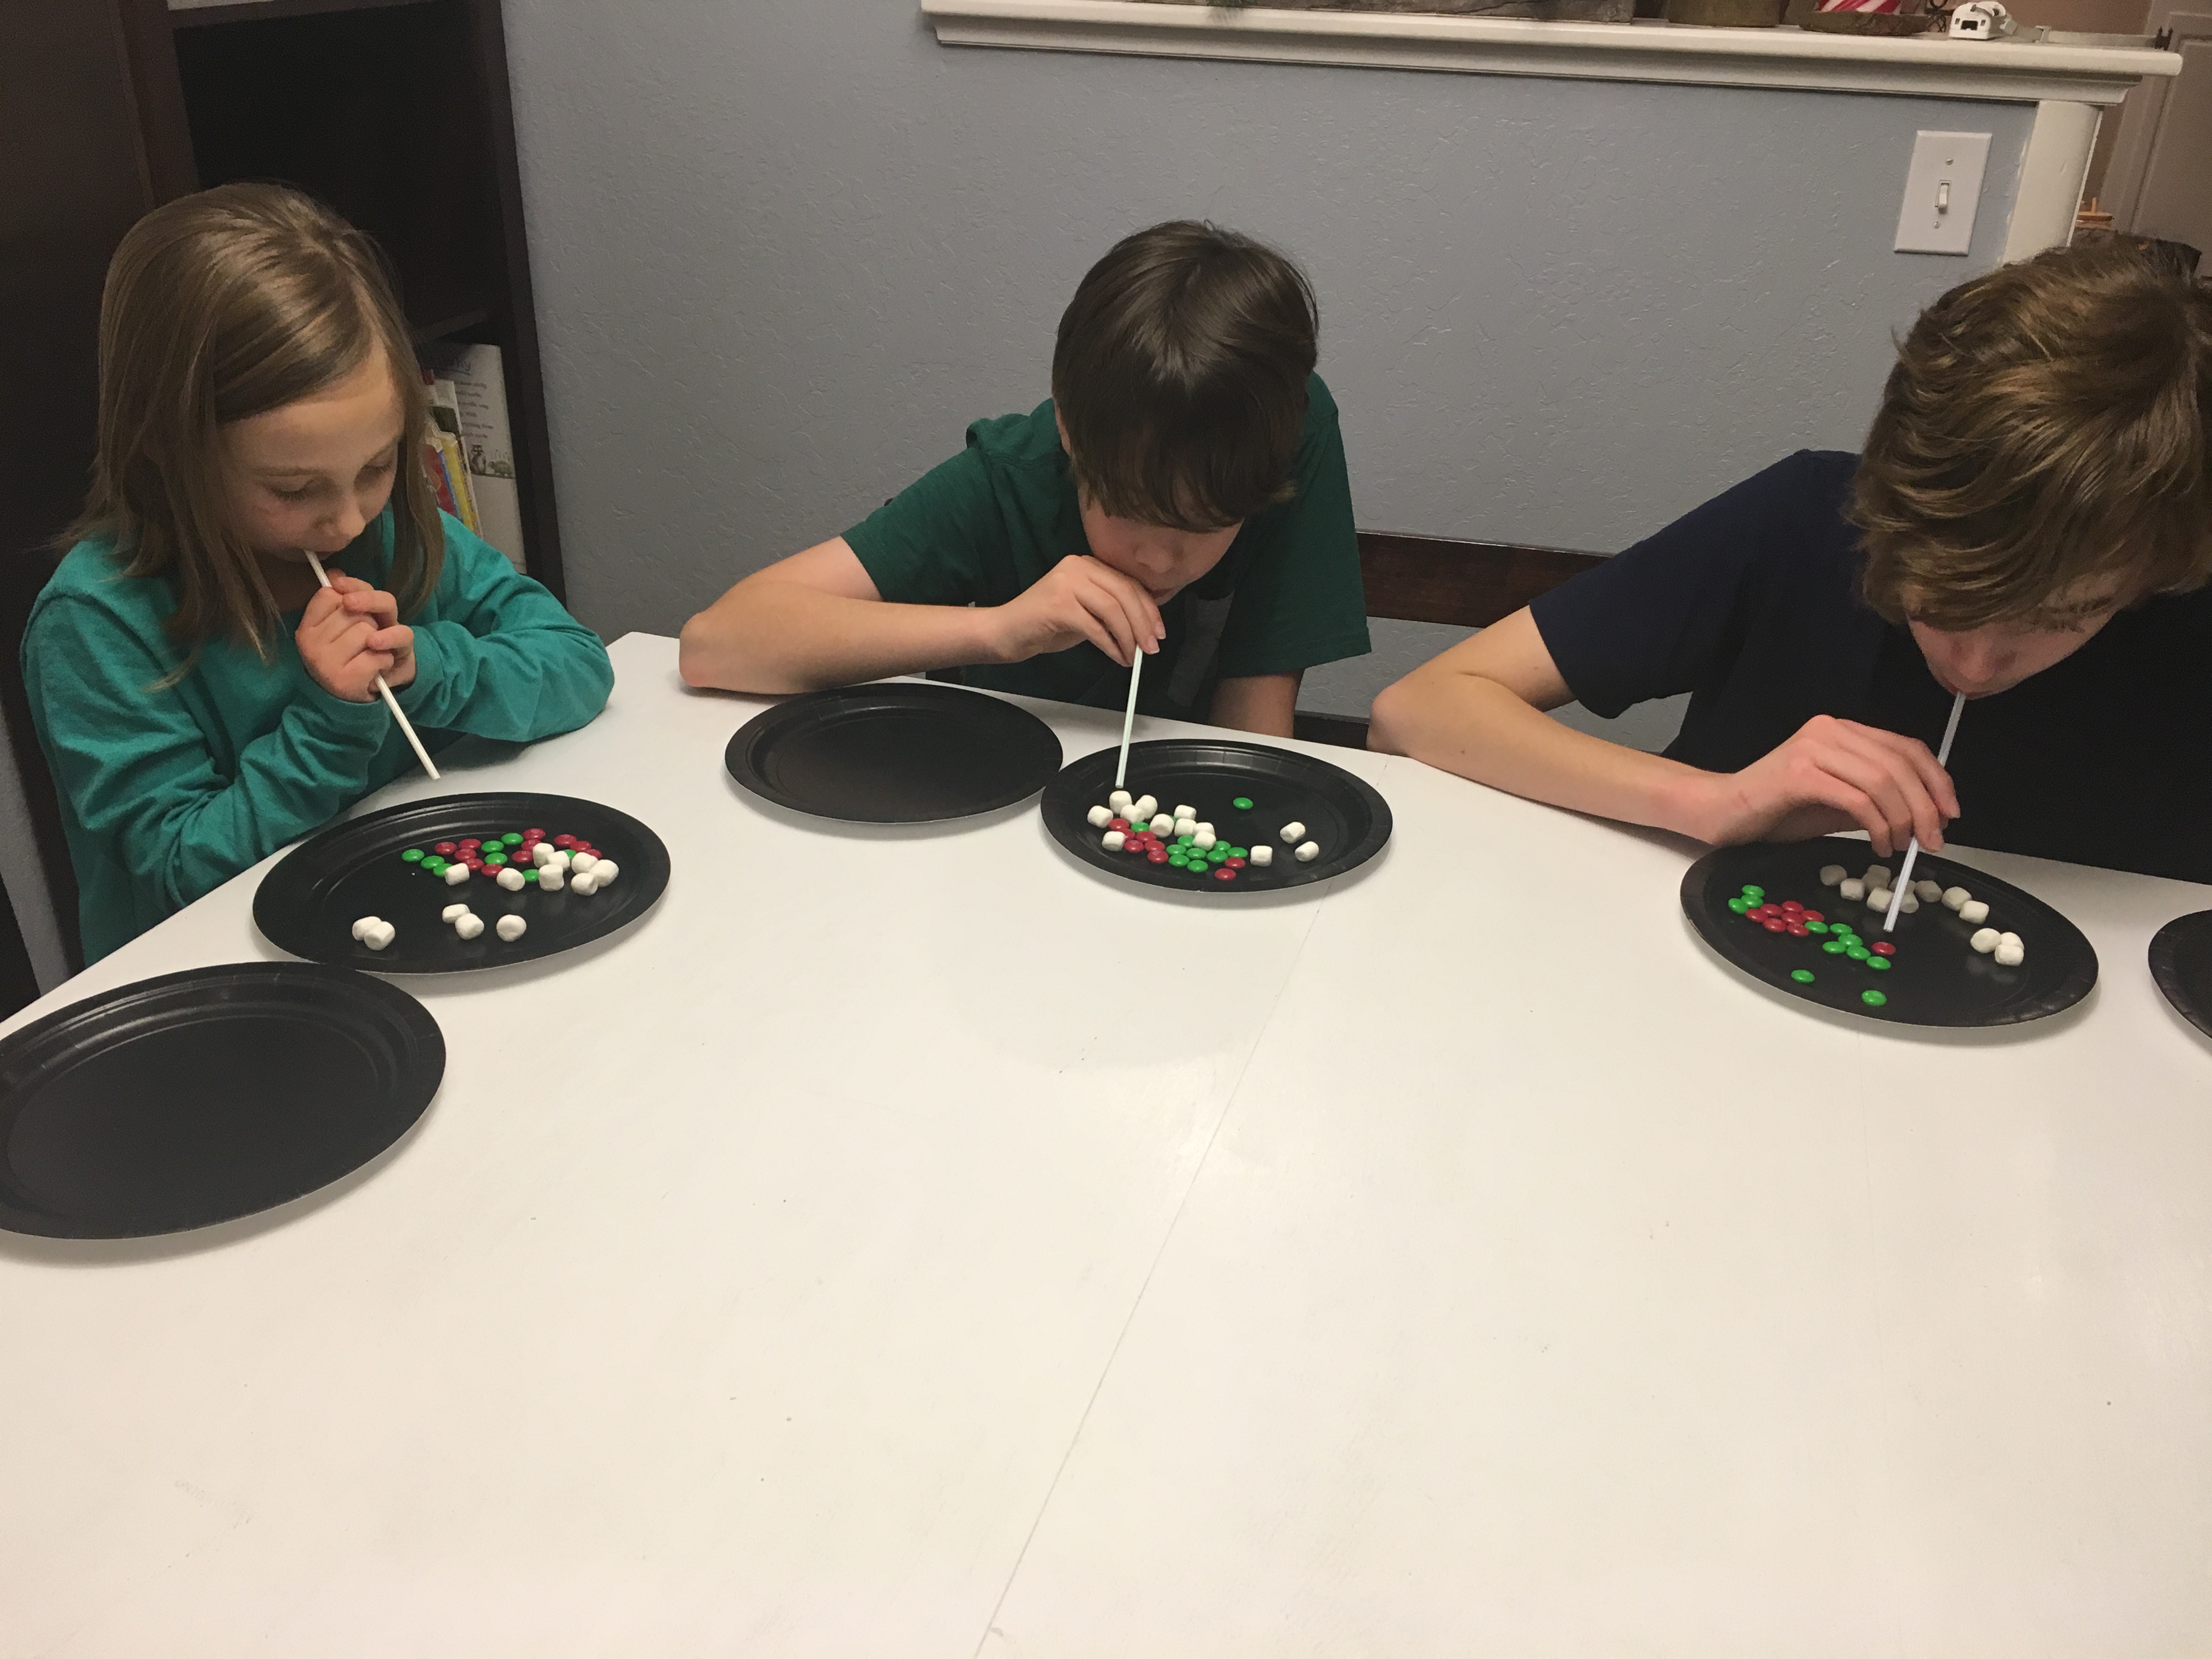
11:00 pm: A Big Bag of Skittles     Make a rainbow science experiment!  I had seen a couple of videos on youtube of this simple and fascinating science experiment, so I thought it would be a fun way to keep my tired children awake that last hour before the ball dropped.  Check out our “make a rainbow” video!

12:00 pm: Cups for Sparkling Cider and Party Horns     We opened our final bag about 10 minutes early.  Little Sister put on her party hat (she was the only one willing to wear one this year).  We filled our cups with cider and got ready to ring in the New Year!  We found a countdown on TV, and when the clock struck midnight, we ran outside yelling Happy New Year!!! Oh, and Micah finally got the chance to use that blow horn he got for Christmas! fullsizeoutput_d5ba

Dolphin Birthday Party

My daughter, Karis,  fell in love with dolphins after watching the Dolphin Tale movies last year.  The day after her 5th birthday party she declared that for her 6th birthday she wanted to have a dolphin party.  This was so much fun to plan!  With the help of the dollar store and Michael’s,  I was able to create all of the under the sea decor for under $20.   I used paper lanterns cut in half and ribbon to make 3 jellyfish. Crepe paper in two shades of green worked perfectly as seaweed.  White balloons in various sizes and thumb tacked to the wall formed a line of bubbles.  The net held several stuffed dolphins that my kids had won years ago at Circus Circus in Reno, NV.  The hula hoop and blow up dolphin were the perfect addition.  For the dolphin garlands I used card stock in several shades of blue and gray.  I cut these dolphins out by hand and then sewed them with a regular needle and thread.  These hanging dolphin garlands created a dramatic entry into our underwater experience.  I reused some circle and square garlands left over from my son’s birthday party the previous year because they looked a bit like floating bubbles.  I love when I get to reuse decorations from past events!   I decided to do mini cupcakes and marshmallow pops for dessert, and to go along with our dolphin theme, I created mini dolphins out of Wilton’s bright white candy melts.  I used Celebration Sixlets as pearls and Wilton’s white sugar pearl sprinkles as bubbles on the marshmallow pops.  I lined my round of styrofoam with a blue and white polka dotted ribbon and pinned on a sparkly blue dolphin.  I also glued a blue dolphin to a flat toothpick to place on top of the cupcakes.

Because the party was in June, and because we have a pool, the main event for Karis’ party was swimming.  I found 2 huge blow up dolphins for the kids to swim with, and although my daughter was hoping she would get to swim with a real dolphin, she was pretty happy with her two dolphin friends.  The kids had a blast and my big 6 year old girl was all smiles!  As the party was coming to an end, I brought out a crate of bubbles with a “thank you for coming to my party” note attached to each.  I would have to say that Karis’ dolphin swim party was a huge success! #CommissionsEarned

cropped-img_2677.jpgIMG_2684IMG_2665IMG_2768IMG_2765IMG_2667IMG_2688IMG_2698IMG_2701Version 2Version 2IMG_2663IMG_2690

For more fun birthday party ideas check out some of my other blogposts:

Moana Birthday Party

Adopt a Pet (Beanie Boo Cats & Dogs) Birthday Party

Art Themed (Zoom) Birthday Party

Science Experiment Party