

At the beginning of this summer, we spent a day at The Tech Museum of Innovation in San Jose, CA. If you’ve never been there, it is such a fun experience with tons of hands on exhibits. One of my daughter’s favorites was a wall with plastic magnetic tubes to create a “marble track” and little balls to test it out on. She spent quite awhile rearranging the tubes to make different tracks and trying them out. As I watched her, I started thinking about how I could make something similar at home, and this idea was born.
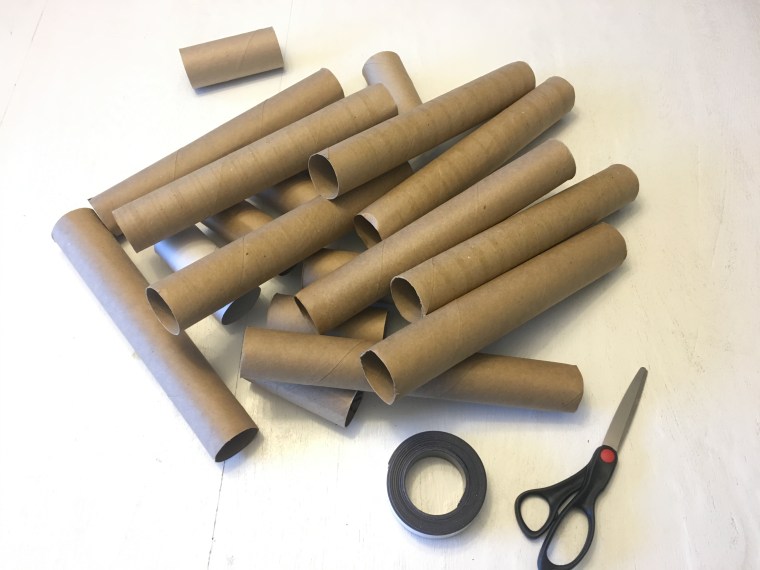
I began saving toilet paper and paper towel rolls and waiting for just the right time to create our DIY Magnetic Marble Track. This Saturday was the perfect day! My oldest was away at camp with his youth group and my two younger kids were having a pajama day. My husband was taking a nap and the kids were getting “bored,” so together we created this super fun “boredom buster!”
Check out my daughter’s “Craft Time With Karis” video tutorial (above) to learn how to make these with your own kids. It took some trial and error, but we figured out the best way to keep the tracks up and the best balls to use. Here are a couple of tips:
- make sure your magnets are strong enough…we tried some at first that would not hold
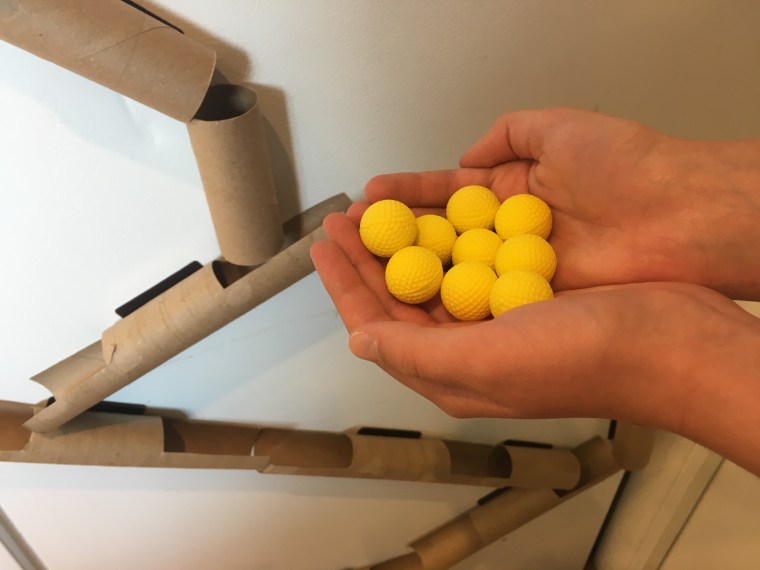
- use light weight balls: we found my son’s Nerf Rival Bullet Balls to be the perfect balls for this project. Small bouncy balls were a close second. Marbles were too heavy and knocked the tracks right off. Experimenting with different options is part of the fun!
- even though we used magnets that were sticky on one side, it is best to hot glue them as well for a stronger hold


For more “Craft Time With Karis” videos click on the following:
Tricky Hopscotch (with a twist)
Valentine Craft: Cookie Cutters & Paint
