DIY Kids Magnetic Puzzles

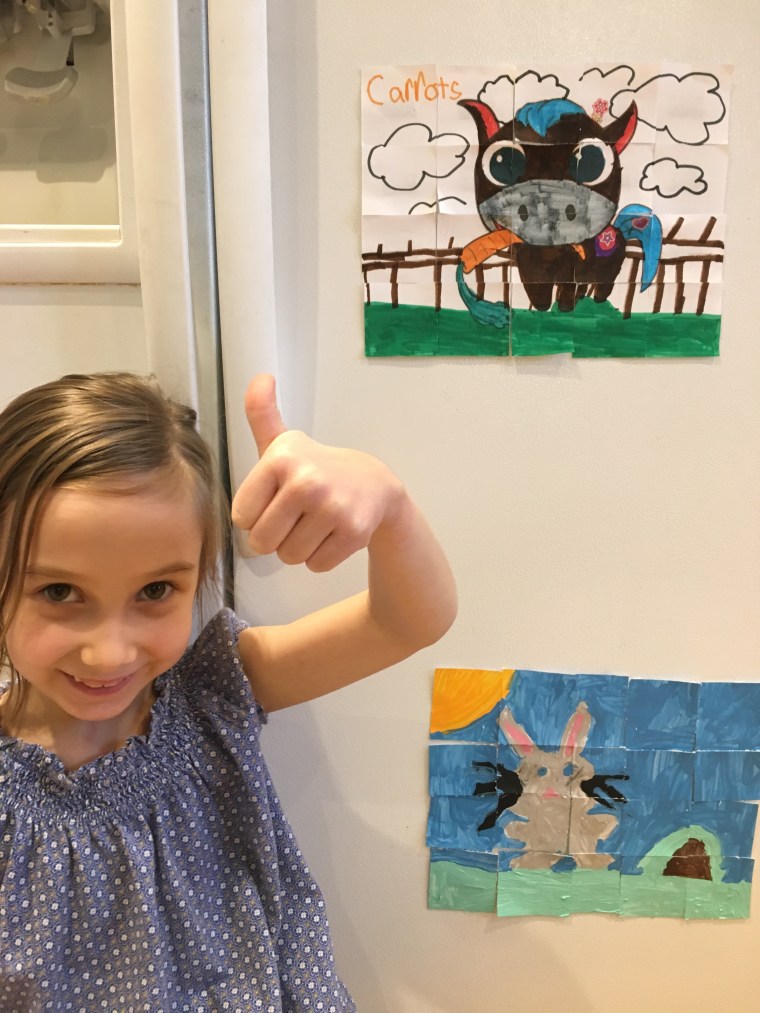
Coloring pages, painting, and puzzles…three things my girl loves, all combined into one  project.  This is a super simple craft that your kids can do at home and you only need a couple of items, most of which you probably already have.

To make DIY Magnetic Puzzles, you will need:

  • adhesive magnetic tape
  • white card stock
  • paint, crayons, or markers
  • scissors or a paper cutter

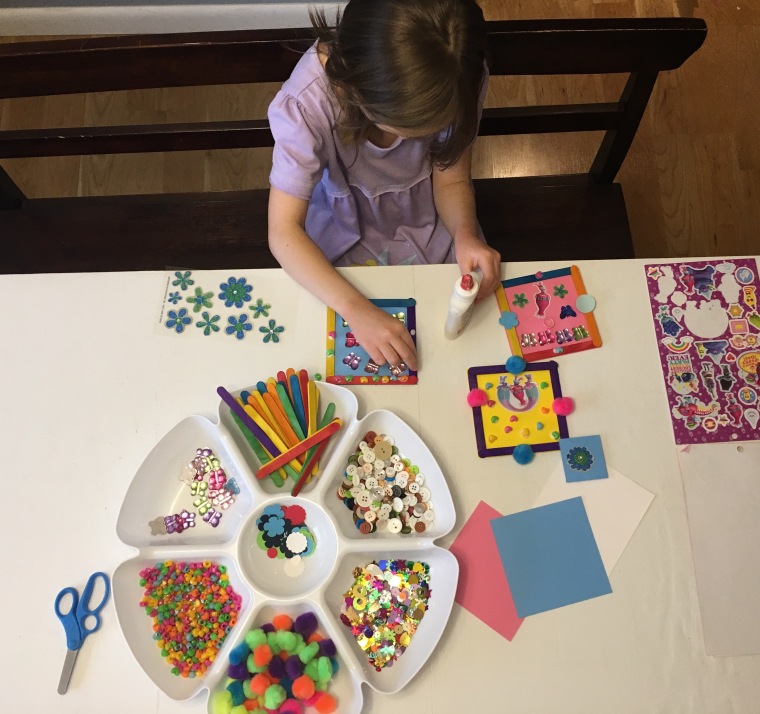
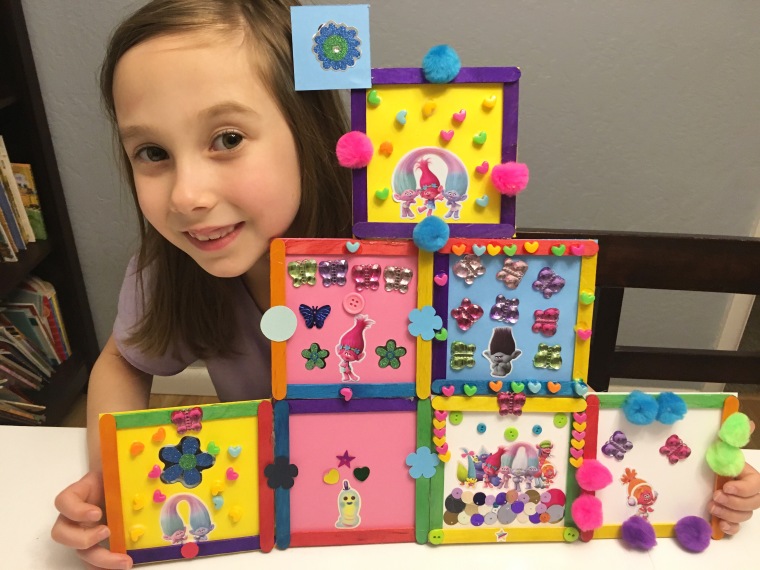
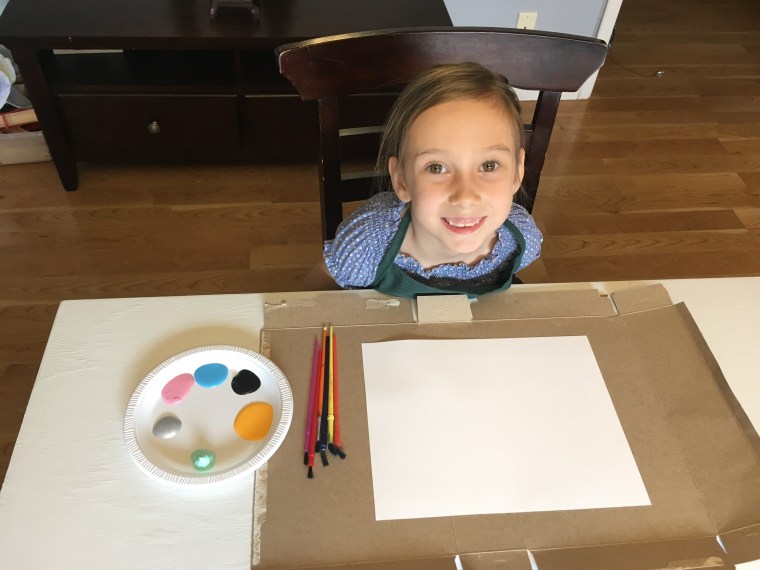
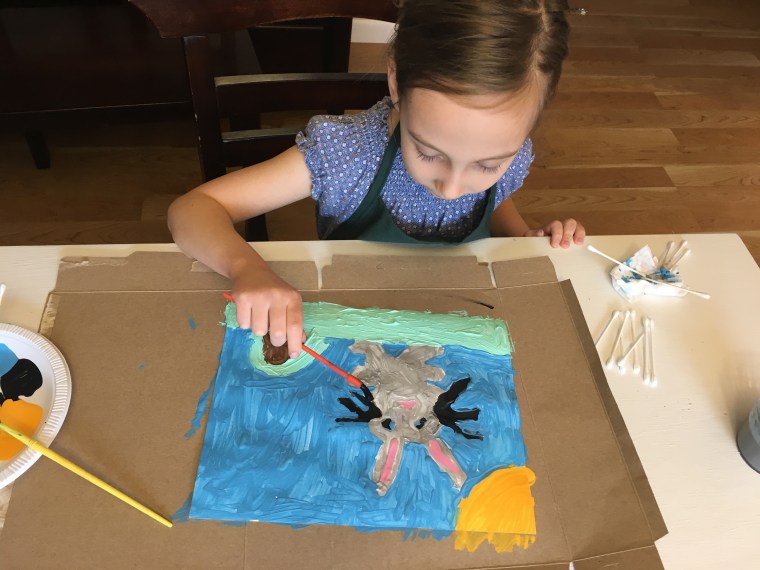
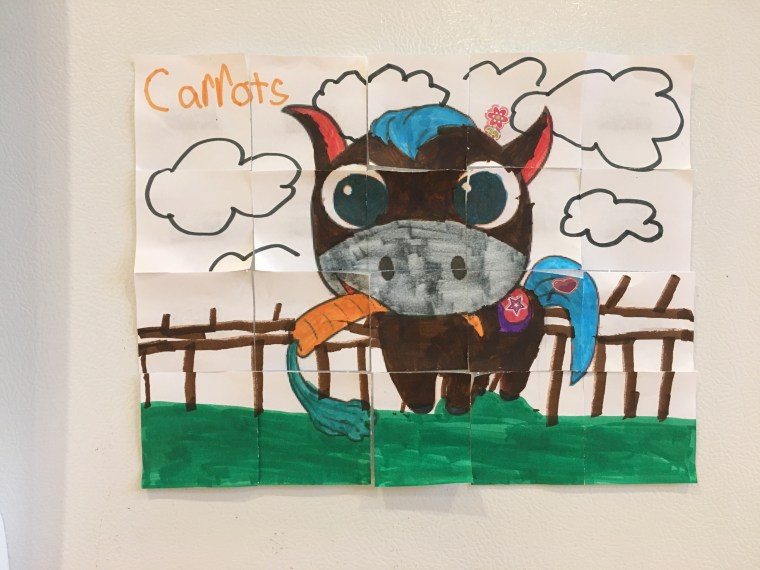
Your child can print a coloring page from the computer or create their own art.  The possibilities for unique puzzles are endless!  This activity can be modified for very young children by cutting fewer puzzle pieces, and can be made challenging for older children by cutting a variety of shapes.

Watch my daughter’s “Craft Time With Karis” tutorial (above) to learn how to make some DIY Magnetic Puzzles of your own.

IMG_7057IMG_7060IMG_7062IMG_7177IMG_7180IMG_7182

For more “Craft Time With Karis” fun, check out these other blog posts:

Colored (Rainbow) Rice

Tricky Hopscotch (With A Twist)

Valentine Craft: Cookie Cutters & Paint


Colored (RAINBOW) Rice

I love setting up sensory bins for my kids.  Over the years, we have done white rice,  beans, popcorn kernels, shaving cream, salt, and more, but we have never made rainbow colored rice.  I was pleasantly surprised at how easy it was to make!

This week, my kids are on Spring Break and the weather forecasted several rainy days.  Since we were staying home this week, I decided that I’d plan a couple of fun activities to keep us busy.  I picked up a large package of inexpensive white rice and some Wilton’s Gel Food Colors at Target and began looking at recipes for colored rice.  Some recipes called for rubbing alcohol, but I wanted to make ours without, so I found that vinegar was a great alternative for setting the colors without the alcohol.

My daughter and I had so much fun making this rice!  She actually made it almost all by herself!  We created this little video tutorial (below) as part of her kid’s series “Craft Time With Karis.”

In the past couple of days,  “Colored (rainbow) Rice” has provided hours of sensory and imaginary play.  Karis added some little bunnies and plastic eggs for Easter play.  She put plastic dolphins and other animals in too, and yesterday we included some cardboard  with holes cut out and a funnel for pouring rice.  This inspired Karis to create an imaginary town called “Flowerville” while she played with her animals and rainbow rice.

Watch our tutorial to learn how to make some “Colored (rainbow) Rice” with your kids!

IMG_7707IMG_7724IMG_7742fullsizeoutput_df84fullsizeoutput_df85fullsizeoutput_df87

More “Craft Time With Karis” Fun:

Tricky Hopscotch (with a twist)

Valentine Craft (Cookie Cutters & Paint)


Trolls Craft: Poppy’s Popsicle Stick Frames

You know that scene from the movie “Trolls,” when Poppy and Branch are on their way to rescue their friends from the Bergens, and they camp for the night?  Poppy sets up a collage of Popsicle Stick Frames with pictures of all the missing Trolls and it keeps expanding.  That was the inspiration behind this Trolls Craft.  As soon as I saw that scene, the first time we watched Trolls in the theater, I knew that my daughter and I would have to make a “Poppy Frame” of our own.  So I started gathering the supplies, and my plan was to have a special “Trolls night” with my girl as soon as the movie came out on DVD.

I found a set of Trolls stickers at Joann Fabrics.  The rest of the supplies we bought from the Dollar Tree.  I also picked up this amazing find, a plastic veggies and dip tray to hold all of our craft supplies.  I have reused this dollar store treasure many times since for other art and craft projects and sensory activities.

The week that Trolls hit the Red Box, I surprised my daughter with a special “Mommy/Sissy” Day.  We rented the movie, made our craft, and also created a yummy   treat to enjoy,  Trolls Marshmallow Pops.

My daughter thoroughly enjoyed her special day and spent a long time making her Poppy Popsicle Stick Frames with pictures of her favorite Trolls and tons of decorative embellishments.  Here’s what we used:

  • colored popsicle sticks
  • colored cardstock to back the frames
  • Trolls stickers
  • buttons
  • beads
  • sequins
  • paper cutouts (cut from my Cricut, left over from another project)
  • butterfly charms
  • pom poms
  • glue (I used a hot glue gun for the frames and my daughter used Elmer’s glue for the decorations)

Here’s a screen shot of Poppy’s Frames and some fun pictures of my daughter’s creation.

IMG_7305

IMG_7350fullsizeoutput_de46fullsizeoutput_dd85IMG_7351


Exploding Easter Egg Nerf Gun Targets

Today my 11 year old son had to stay home from school because he woke up with pink eye.  Bummer day…or so we thought!  Cleaning the house was at the top of my agenda, but then Micah started playing around with his newest Nerf Gun, the Nerf Centurion.  He grabbed some duct tape and popsicle sticks and rigged up a hanging target to shoot at.   Somewhere in the middle of house cleaning and target practice, Micah and I came up with this super fun activity that we like to call “Exploding Easter Egg Nerf Gun Targets.”

Did you know that some plastic Easter eggs have two little holes at the bottom?  Well these holes came in handy for today’s activity and so did the duct tape and little sister’s bag of sequins.  Check out our tutorial about how we made these explosive Easter eggs!  They may be messy…but they sure are fun!

Helpful Tip:  If your plastic eggs do not have holes (2 of ours did not), you can easily make holes by hammering a nail through the bottom of your eggs (from the inside) two times about 1/2 inch apart.  I used a wood block under my eggs while hammering so they didn’t crack.

For more Nerf Gun fun check out my blog post Nerf Target PracticeIMG_7626IMG_7601IMG_7619

DIY “My Little Pony” Capes Tutorial

My Little Pony Capes Template

This week I finally made the time to create a tutorial for the My Little Pony Capes that I make for my daughter’s ponies.   While she was in school the other day,  I made 3 new capes and when she came home she was thrilled!  Just a couple of scraps of material, some pretty embellishments, and a little bit of my time has led to hours of imaginary play with ponies the past 2 days.  Definitely time well spent!

To see more ideas for “My Little Pony” Capes, you can read my original post here.  To learn how to make some of these tiny capes for your child’s own My Little Ponies, watch my tutorial above.

fullsizeoutput_de76IMG_7466IMG_7469