
It’s hard to believe that Thanksgiving is just a couple of weeks away. And while some are ready to move onto Christmas the moment Halloween is over, I am not. I like to linger in Fall a bit longer, and in my house, the Christmas decorations absolutely do not come out until after Thanksgiving. Who’s with me?
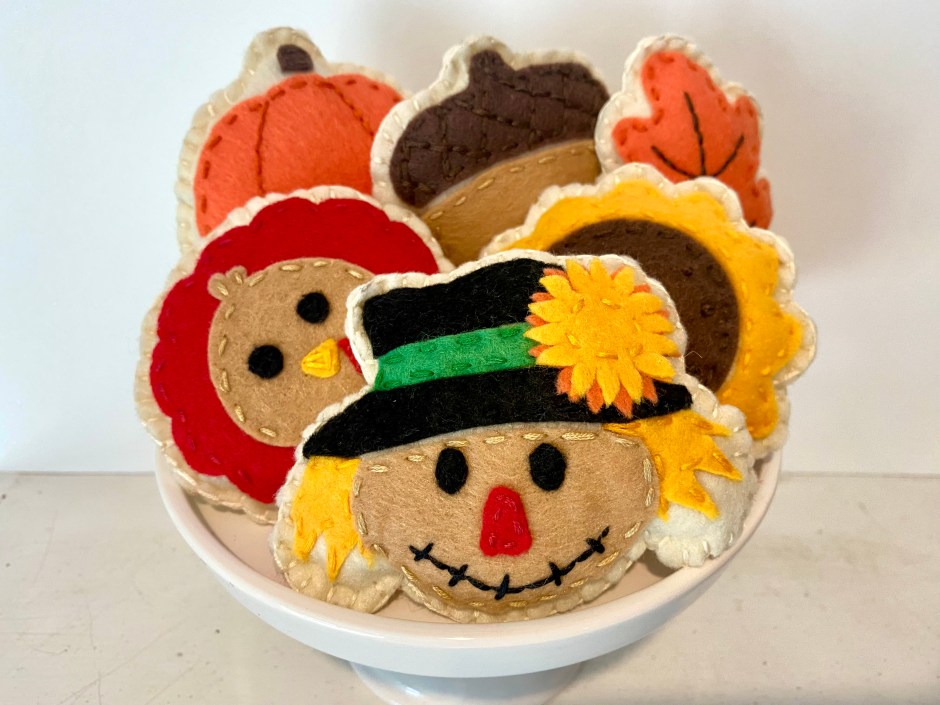
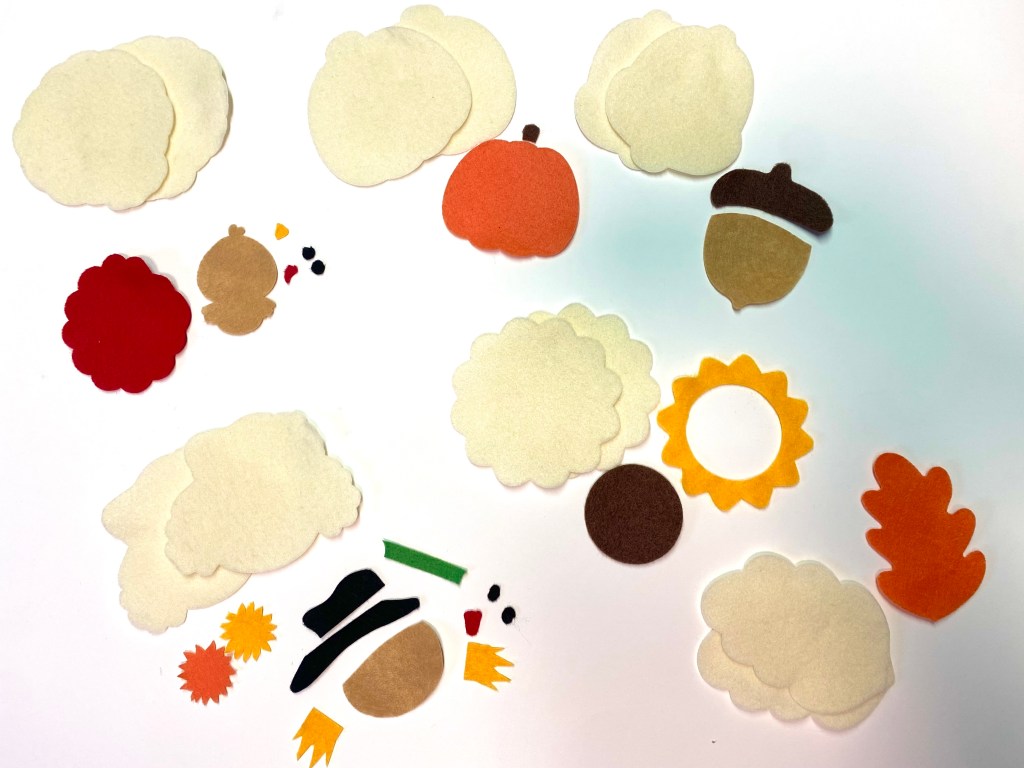
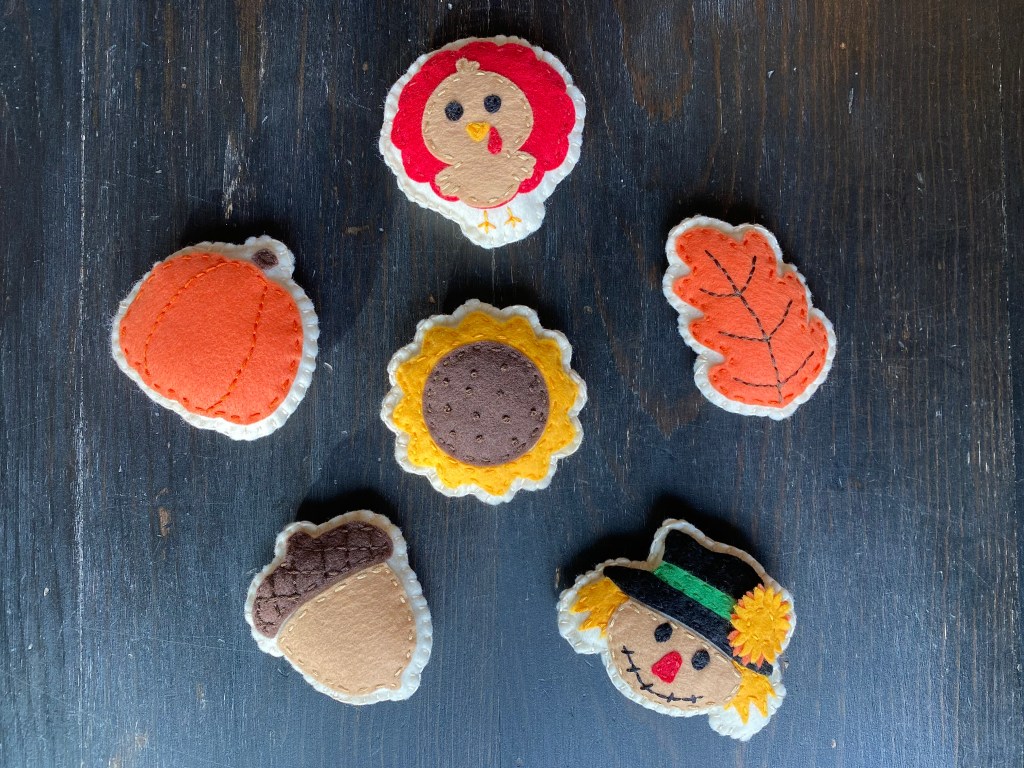
My kids may be getting older, but I am a sucker for adding a bit of whimsy to my home. So this week I went to work on this adorable felt sugar cookie set featuring all of your Fall favorites: a pumpkin, acorn, leaf, sunflower, scarecrow, and of course the turkey.
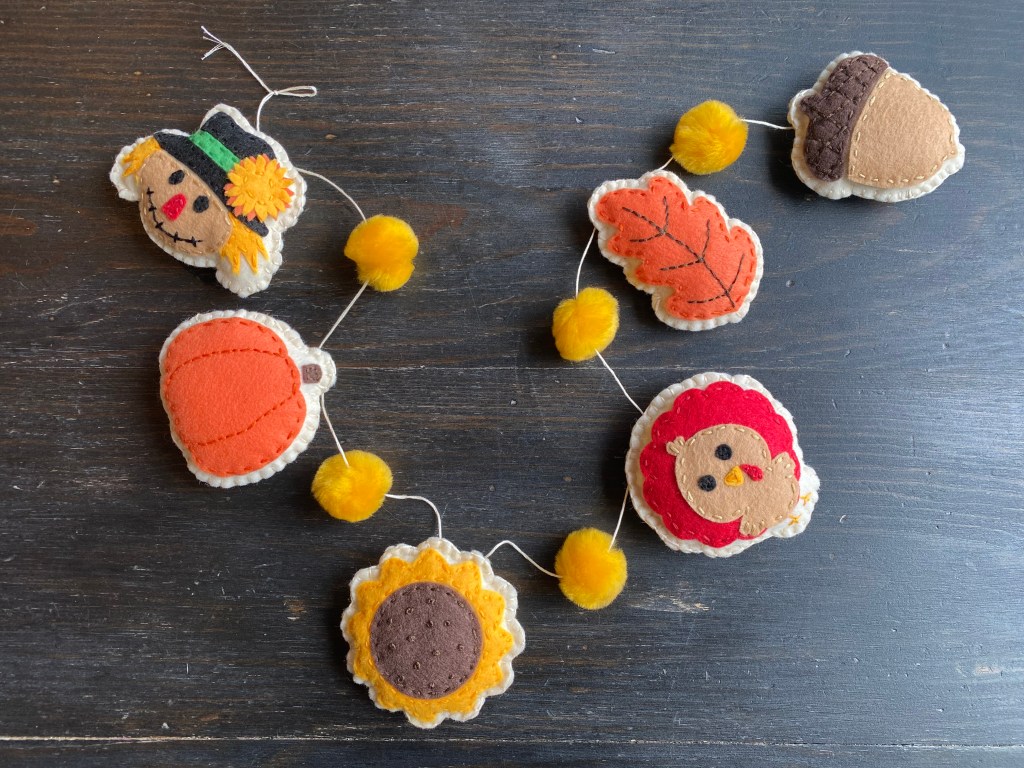
Not only does this set create the cutest opportunity for pretend play for littles, but it also can double as a garland to hang along your mantle. You can even include some poms or beads between each “cookie” to make an even more eye-catching piece.
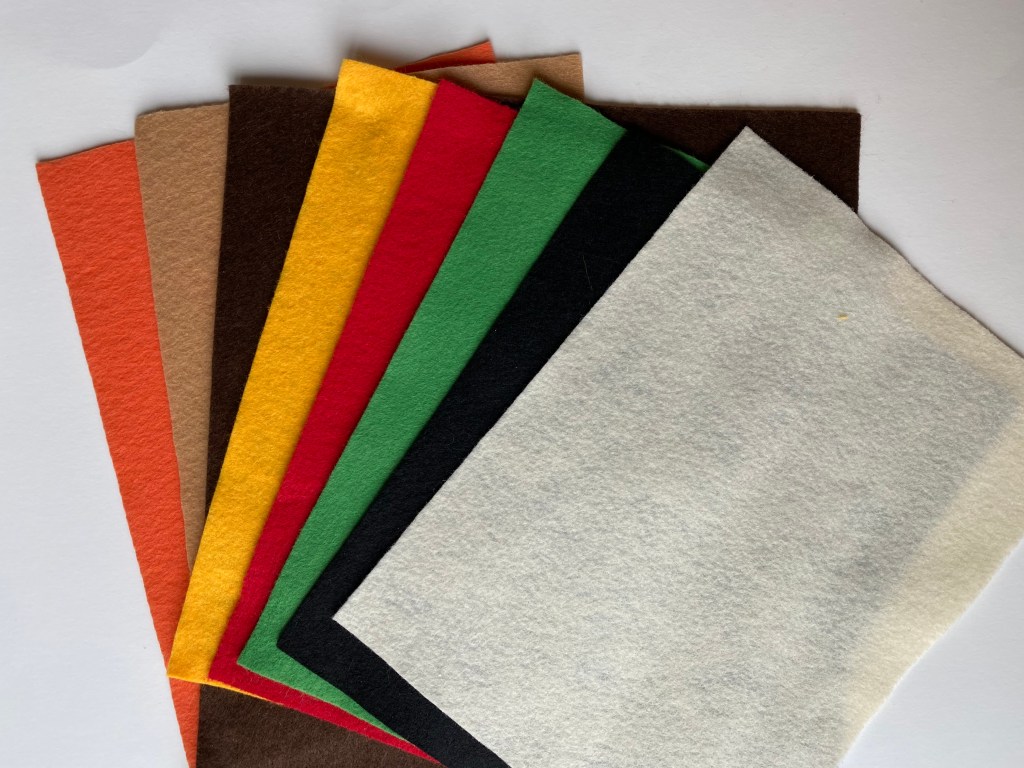
To make a cookie set of your own, you will need:
FALL FELT SUGAR COOKIE AND GARLAND PDF PATTERN (INSTANT DOWNLOAD)
embroidery thread to match your felt
heat n bond light (optional)
freezer paper (optional)
mini heat press or iron (optional)
water-soluble fabric pen (optional)
#commissionsearned


You will find detailed instructions on how to make this adorable set in my Etsy Shop. Click here to find the PDF Instant Download. Have fun crafting and be sure to leave a comment to let me know if you made a Fall garland or cookie set of your own.