Each year, I try to incorporate some type of Christmas craft into our Advent activities. When my kids were younger, we would often take nature walks and collect all sorts of natural treasures. My kids are older now, and nature walks are a distant memory, but this remains one of my favorite DIY Christmas crafts that we made together.
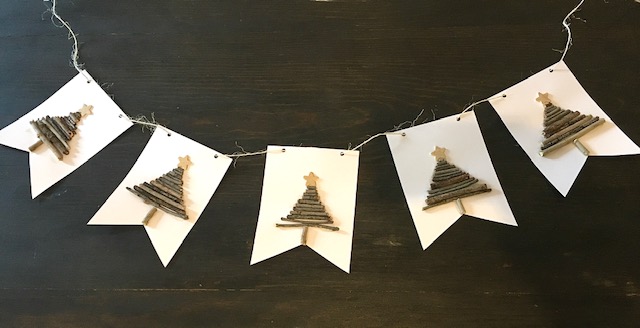
This simple and inexpensive Christmas Tree Banner will add a rustic touch to your holiday decor and kids will have so much fun collecting sticks and twigs to use for their creations. You will need to pre-cut white or off white card stock in rectangles or pendants and purchase some wooden stars, gold paint, twine, and glue. Before your nature walk, take a few minutes to paint your wooden stars with the gold paint. #CommissionsEarned
Bundle up, grab a bag, and go on a stick hunt. Look for sticks in a variety of lengths, but try to find ones in a similar width around. Once you get home, hand each child a piece of the pre-cut banner and let them sort through the sticks, breaking pieces off to for their Christmas Tree, and working their way from bottom to top, while leaving a bit of room for a star.
Glue the sticks in place, including a vertical twig for the trunk and add one of your gold stars to the top of each twig tree. Once all of your banner pieces have dried and you have hole punched the top, thread your twine through and find the perfect place to hang your rustic Christmas Tree Banner.
For more fun Christmas ideas check out the following blogposts:
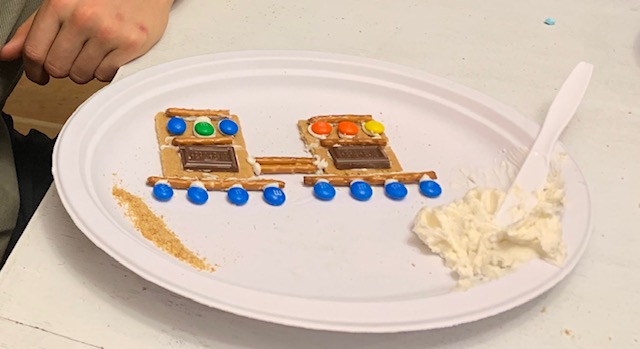
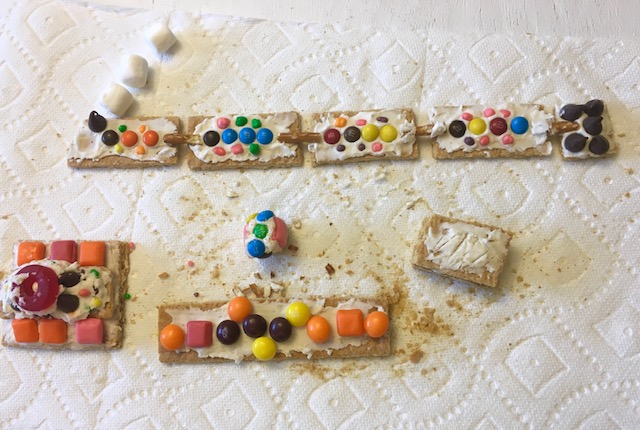
Traditions are my favorite! I love creating memorable experiences for my kids, and December is full of many anticipated events that we have done year after year. Watching The Polar Express and making graham cracker trains is one that my kids definitely look forward to. We always include this holiday tradition as one of our Advent activities.
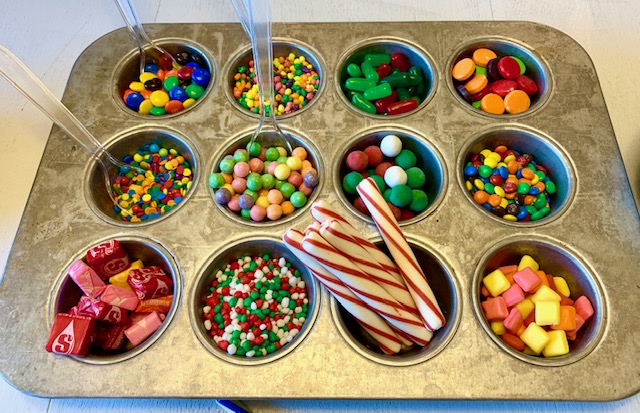
Each year, my kids invite a couple of friends to join them. I hit the candy aisle for mini M&M’s, Smarties, Gummy Lifesavers for wheels, mini Starbursts for windows, Nerds, Candy Canes, mini marshmallows and whatever else looks fun and festive. I get a couple of boxes of graham crackers and some vanilla frosting and have the table ready when friends arrive. I have found that muffin tins make the perfect holder for a variety of sweet treats. #CommissionsEarned
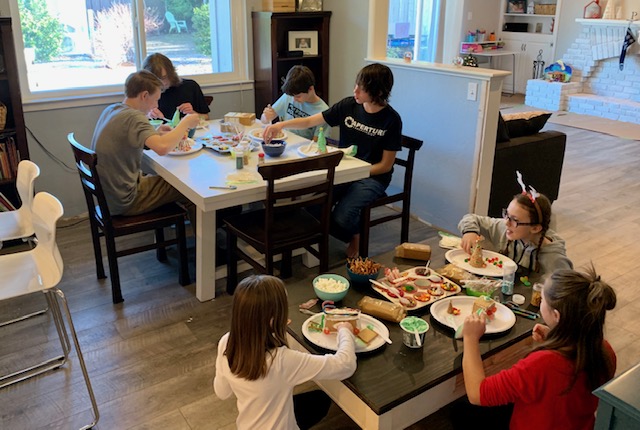
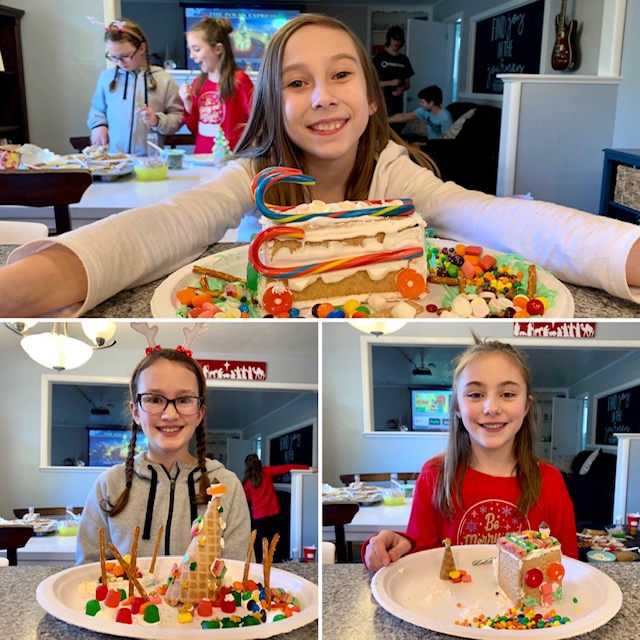
I tell the kids to create their train, but to hold off on eating until we start the movie. I love watching all of their creative ideas come to life. Some of their trains are simple and others make complex box cars with hidden compartments filled with candy. I like to include a few “healthier” snacks to put out with the movie as well, so that they are not leaving my house in the midst of a sugar crash.
I usually plan for about an hour for train making and two hours for the movie. Once the trains are complete, we throw on The Polar Express, which honestly is one of my all time favorite Christmas movies. I am pretty relaxed about kids eating in my living room, so I let everyone get comfy and enjoy their tasty creations while they watch.
For more fun Christmas ideas check out my other holiday blogposts:
Thanksgiving is just around the corner and I have been reflecting on the progression of our Thanksgivings over the years. This used to be the one holiday that my entire side of the family came together. We spent several days at my mom’s house baking, taking walks through the almond orchards in her town, playing games, bike riding, watching movies, and preparing for the big feast on Thanksgiving Day. When my mom passed away, 6 years ago, everything about this beloved holiday changed. We started getting together with my family the weekend after Thanksgiving for a non traditional meal, which has still made for some really fun memories, but some years, we have found ourselves at home on Thanksgiving Day, just the 5 of us.
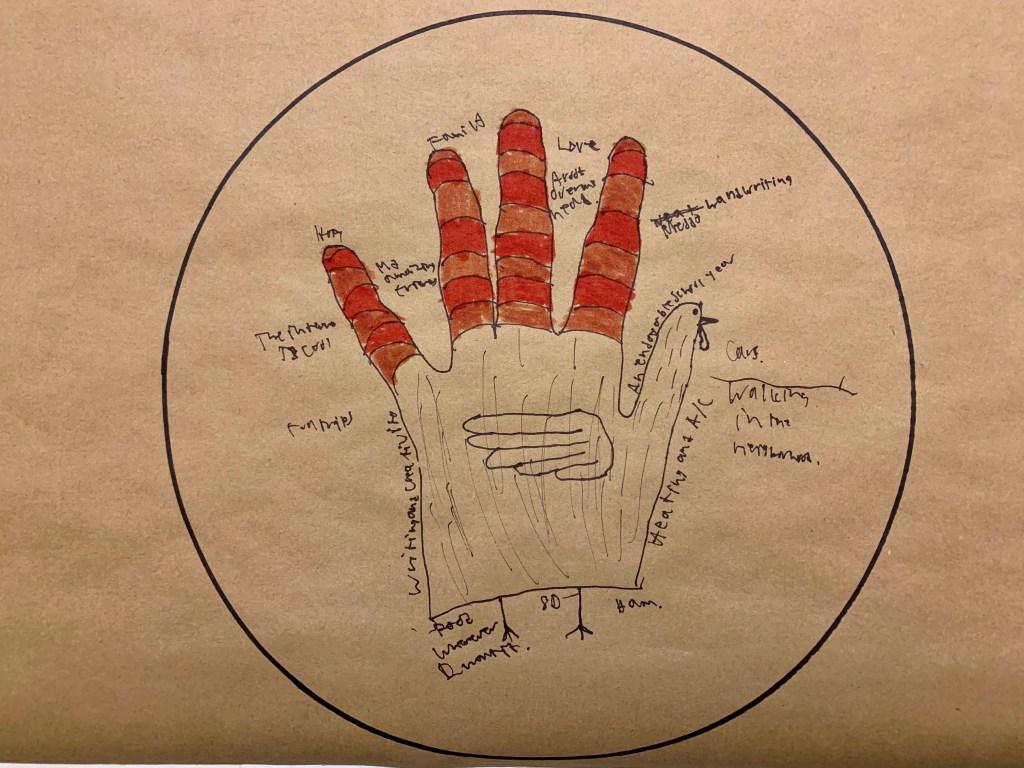
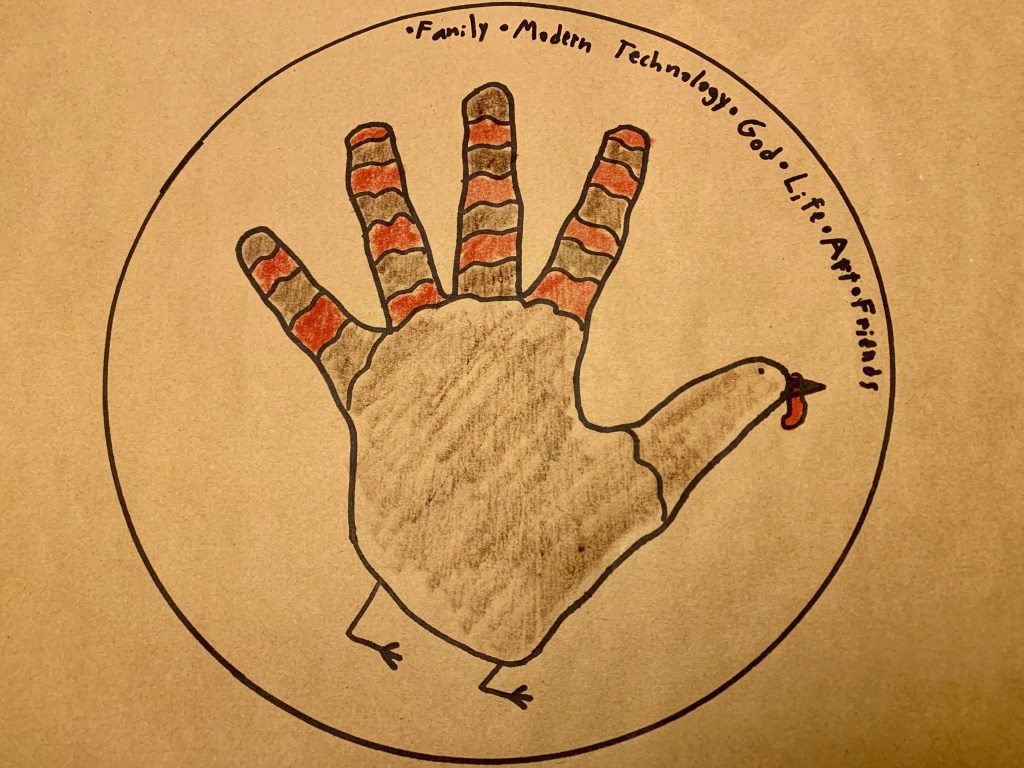
I love to create memories that my kids will look back on with joy when they have families of their own, so on those quiet Thanksgivings we started a new tradition. I purchased a roll of brown craft paper and used it as our table cloth. I grabbed a large bowl from the kitchen to use as a template to trace circles for each member of our family and put a bucket of markers in the middle of the table. At some point in the day, before our big feast, we all sit down and make “turkey handprints” in the circles and then write the things we are thankful for. The circles then become our dinner place settings. #CommissionsEarned
On Thanksgiving, like many families, we take some time to share what we are thankful for. This interactive table setting, provides plenty of content for a wonderful conversation about gratitude and gives each member of the family a chance to put their creativity on display.
You can even add to this activity by including some fun holiday stickers for the kids, as well as a beautiful thankful sticker to place along the center of your table. #CommissionsEarned
For more fun Thanksgiving ideas, check out these blogposts:
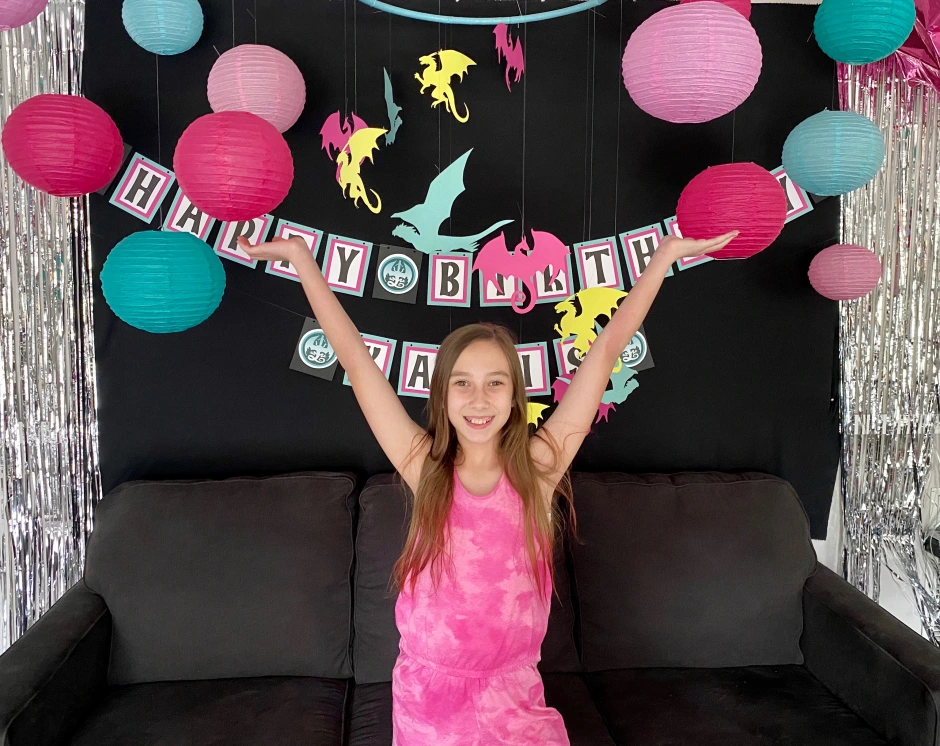
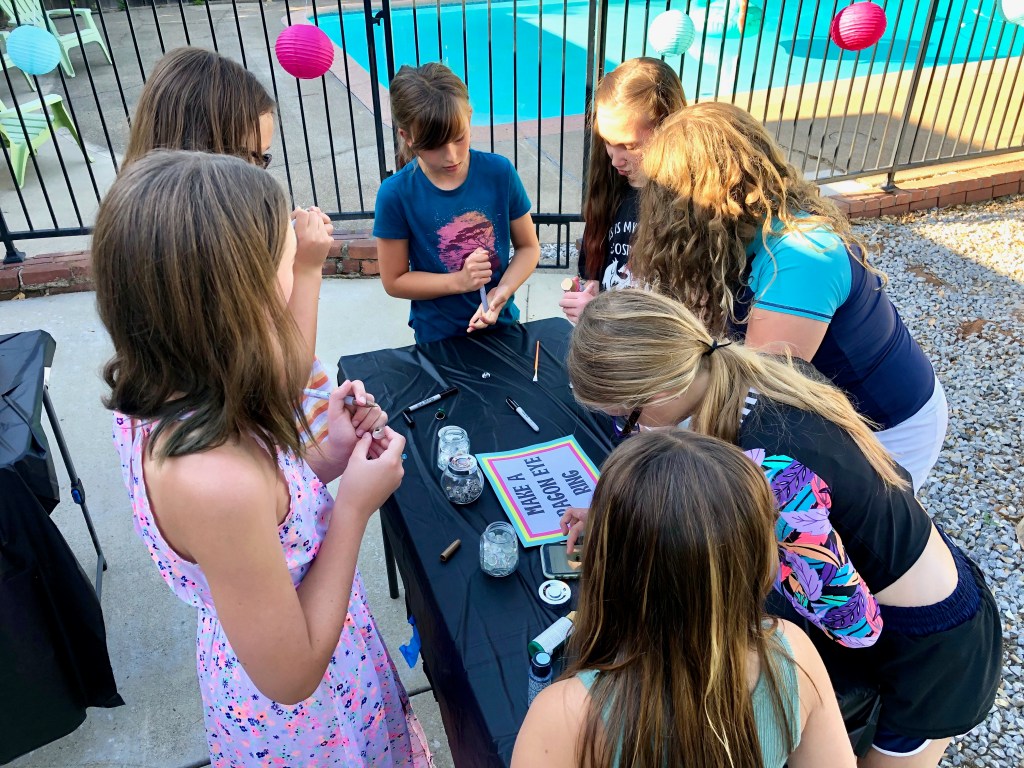
My sweet girl turned 11 last week, and what a joy it was to have an in person birthday party after last years Art Party over Zoom. Karis is a huge fan of the Wings of Fire book series, so we went with a dragon theme for her party. Pink, teal, and yellow may not be typical colors you think of if you are a Wings of Fire fan, but Karis loves Kinkajou the pink and yellow dragon…so she became our inspiration.
My first project was to create a dragon mobile. I already had an old hula hoop and some teal spray paint, so all I had to purchase was colored card stock and fishing line. After printing out a couple of different dragon silhouettes, I went to work tracing and cutting various dragons out and hung them along the painted hula hoop so that they cascaded down in a circle.
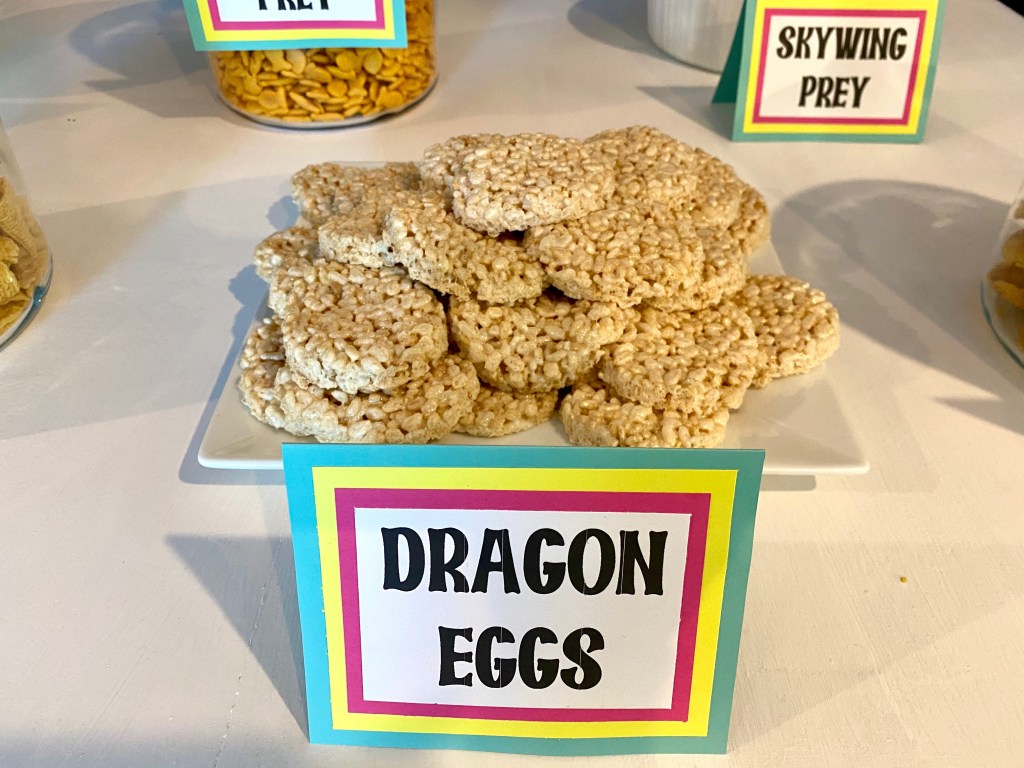
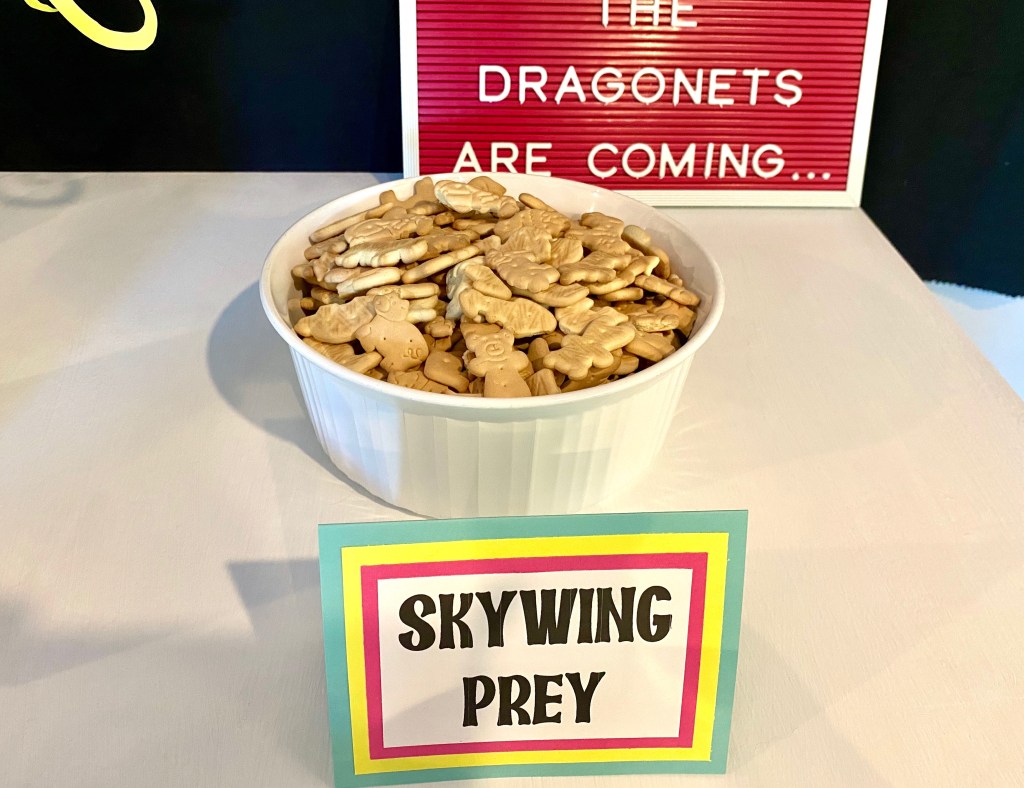
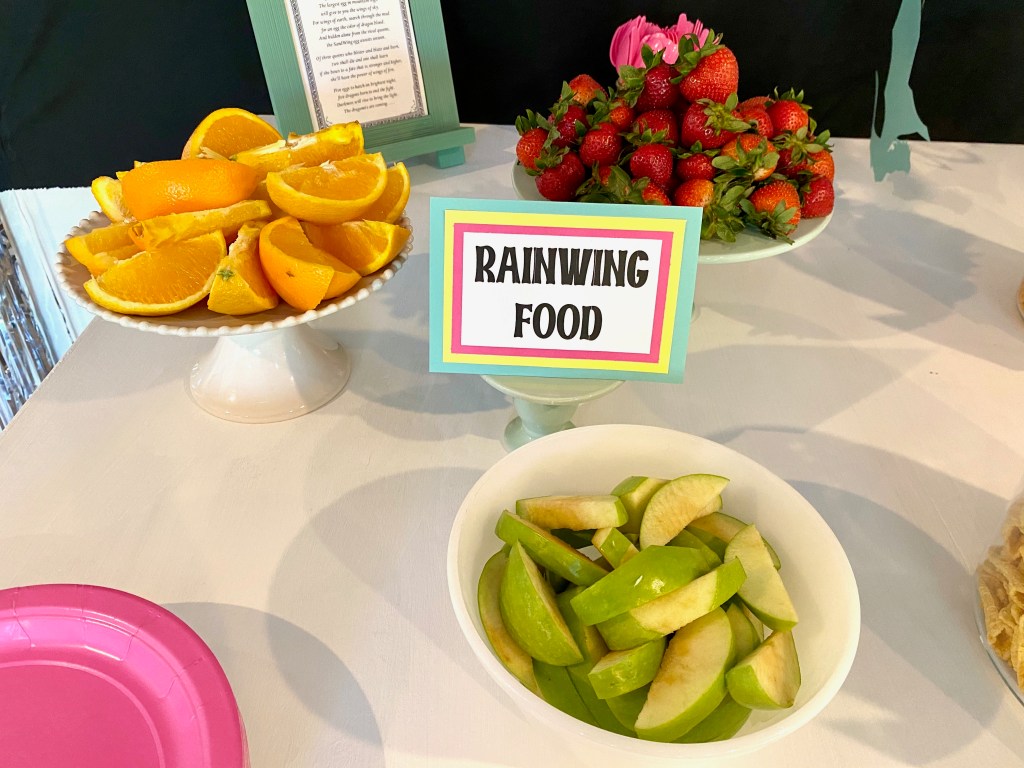
Karis and I browsed Pinterest for dragon themed food ideas and came up with some fun options including Dragon Egg rice crispy treats, Bugels as Dragon Claws, Dragon Scales (Fritos), and Goldfish Crackers for Seawing Prey. We cut up fruit for Rainwing Food and included animal cookies for the Skywing Prey. We also grilled up some hot dogs since her party was at dinnertime.
In addition to the dragon mobile, I lined a wall with a large black piece of material that I used for a previous New Years Eve photo booth, and because I keep everything…I already had the silver door streamers and the pink and teal lanterns to add to the backdrop. I made a birthday sign out of the left over cardstock from the dragon mobile and included a printout of the dragonet prophecy and a letterboard with the phrase “The dragonets are coming…” #CommissionsEarned
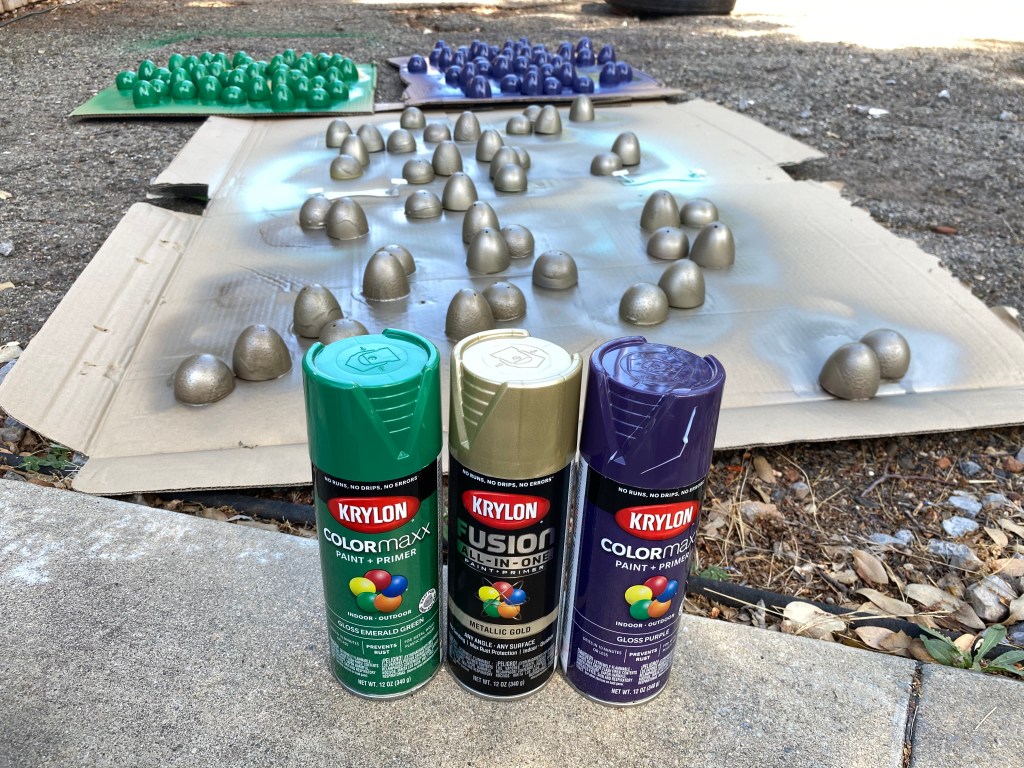
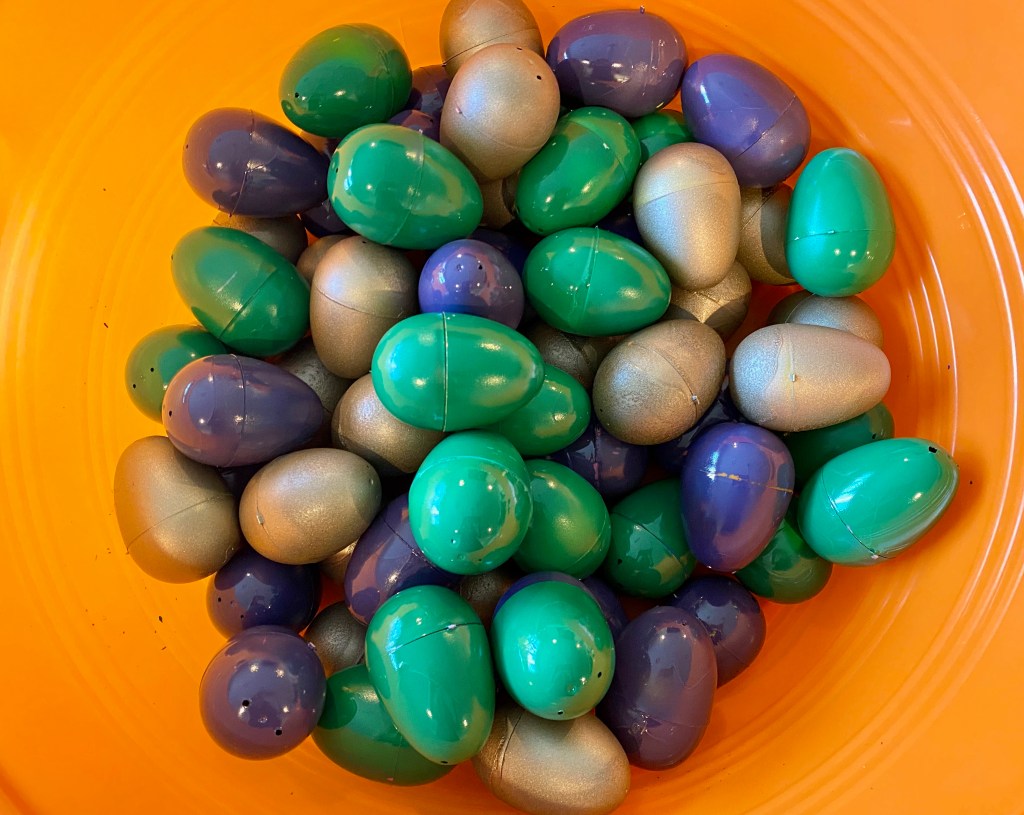
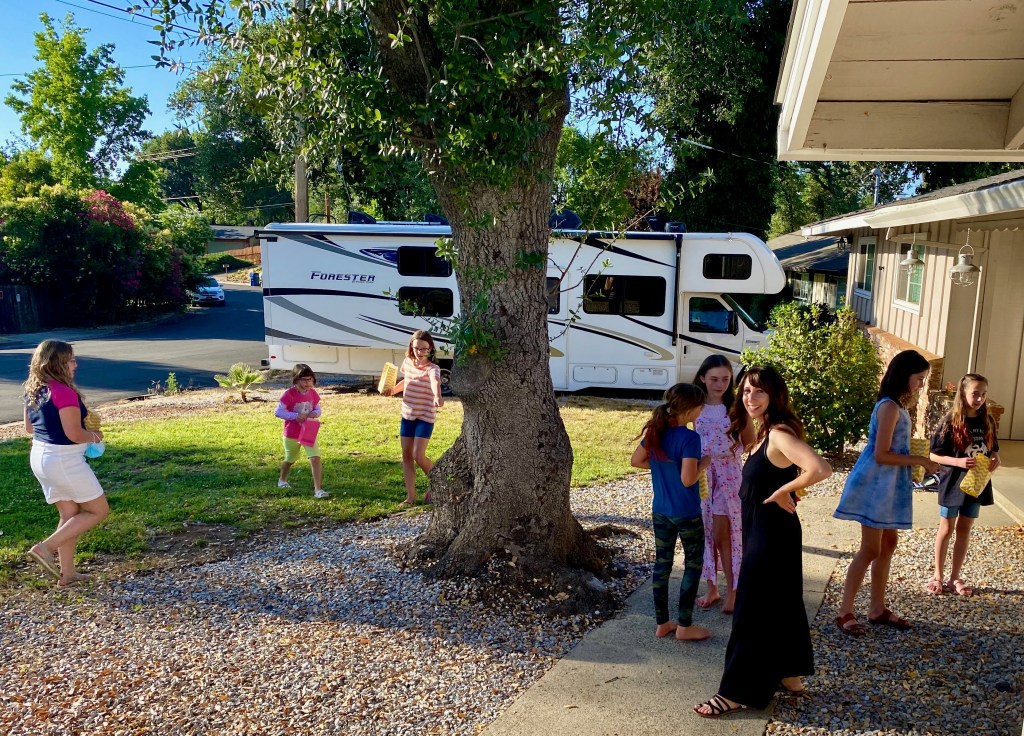
Karis loves art, and always wants to incorporate some crafty activities during her parties. We decided on three things 1. A dragon egg hunt 2. Make a dragon eye ring, and 3. Paint a dragon silhouette. We had a ton of old plastic Easter eggs that we turned into “dragon eggs” with the help of some spray paint. Karis’s friend came over to help her stuff over 60 eggs with candy and the kids loved going on an egg hunt in June.
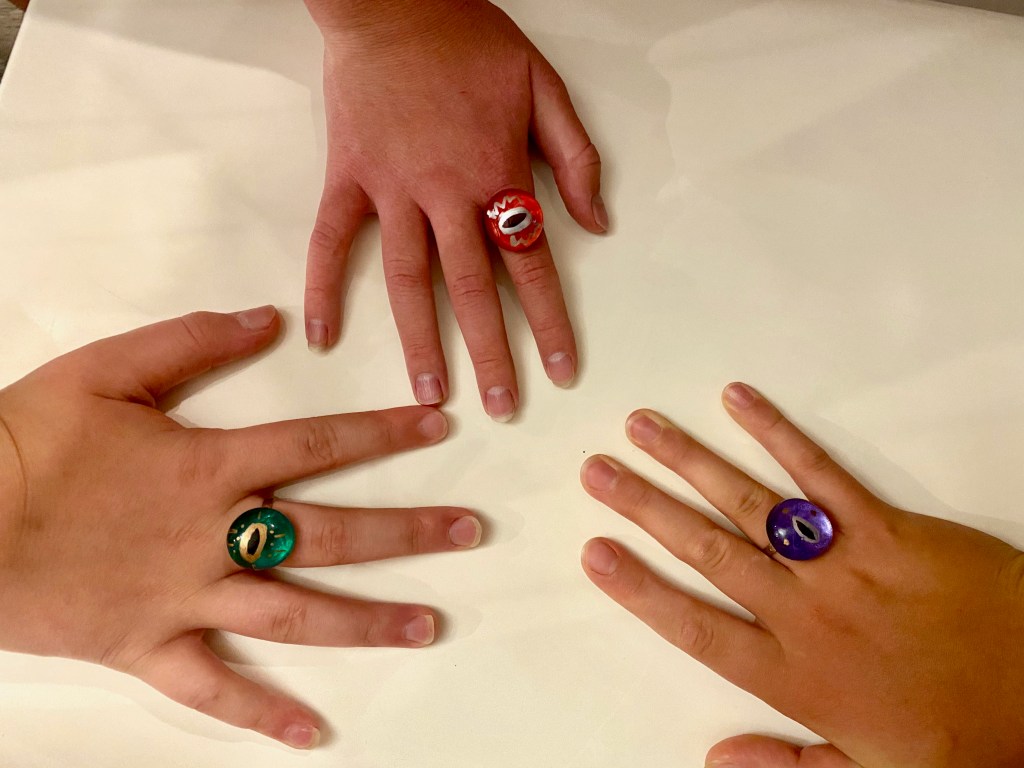
For the dragon eye rings, I purchased some clear beads, metallic paint and metallic sharpies, adjustable rings, and some jewelry bonding glue. The kids started out using a black sharpie to create a pupil on the round part of the bead, then added a metallic outline and flecks with the silver and gold sharpies. They painted over the flat part of the bead with a couple of coats of the paint color of their choice and let it dry for about an hour. Once dried, a dab of glue bonded it to the ring and they were able to go home with the coolest dragon eye rings.
I grabbed a couple of packs of canvases at a great price at Hobby Lobby and added a variety of new colors to my acrylic paint collection. I also invested in some paintbrushes. I cut several different sizes of dragon silhouettes out of cardstock and some castles as well, and I printed out a collection of pictures to use as inspiration. I rolled out a long line of painters paper to save our concrete and then let the kids go for it. Some used the silhouettes and others sketched their own pictures. Most of the party guests were Wings of Fire fans, so they were all happily chatting about what type of dragon they were painting. The only drawback to this project is that I should have planned for less activities or more time because it took a lot longer for them to paint than I anticipated and some brought home 1/2 finished canvases. #CommissionsEarned
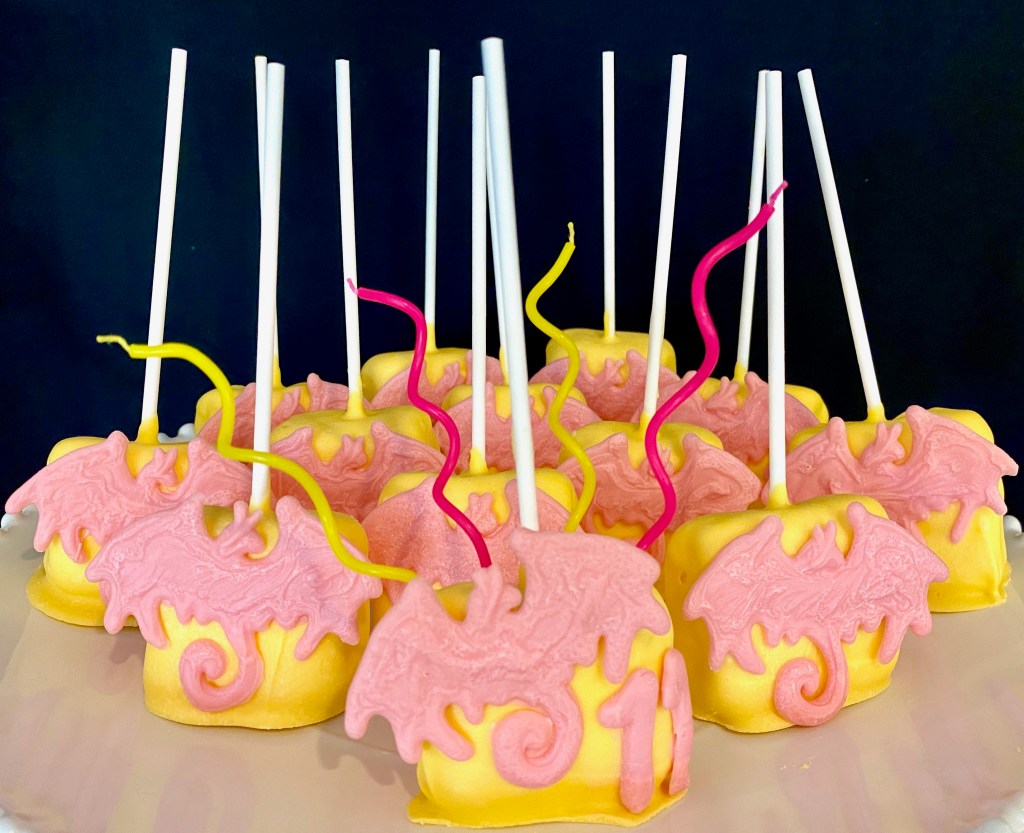
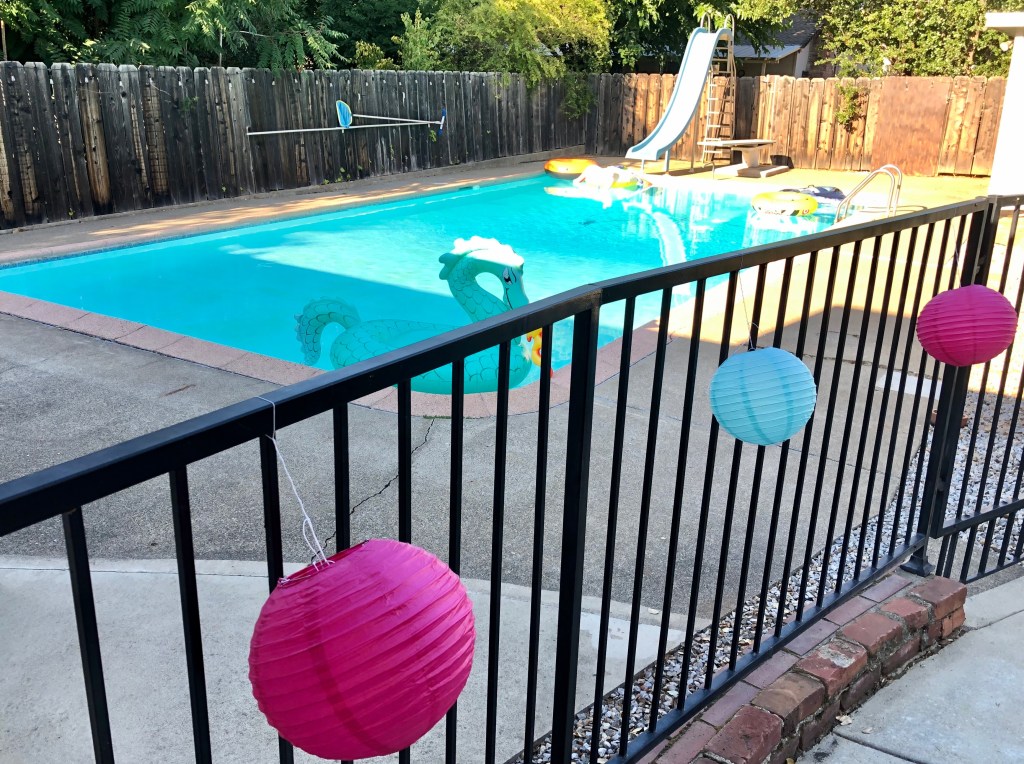
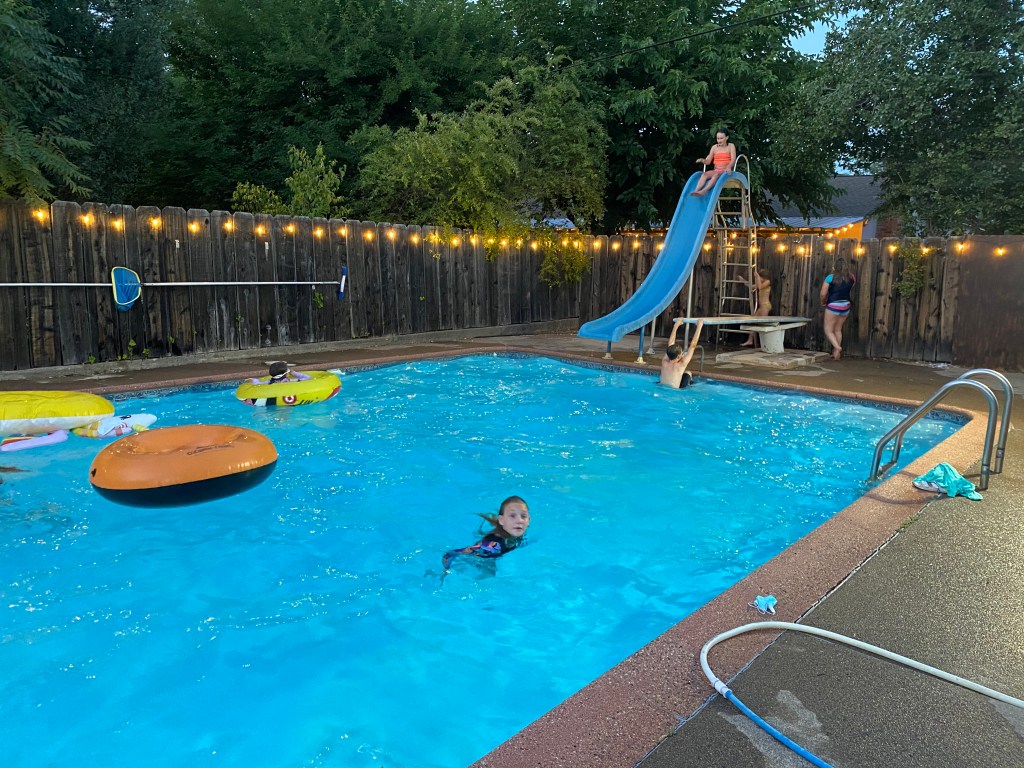
June weather can be hit or miss where we live, but on the day of Karis’s party it was over 100 degrees. We thought it would be fun and refreshing to end the evening with a night swim. I found the cutest dragon floaty at Target and decorated the pool fence with some more of the Dollar Tree paper lanterns in pink and teal. The kids were more than ready to cool off with a dip in the pool, but not before celebrating the birthday girl with her favorite treat, marshmallow pops with mini dragons made of Wiltons candy melts. #CommissionsEarned
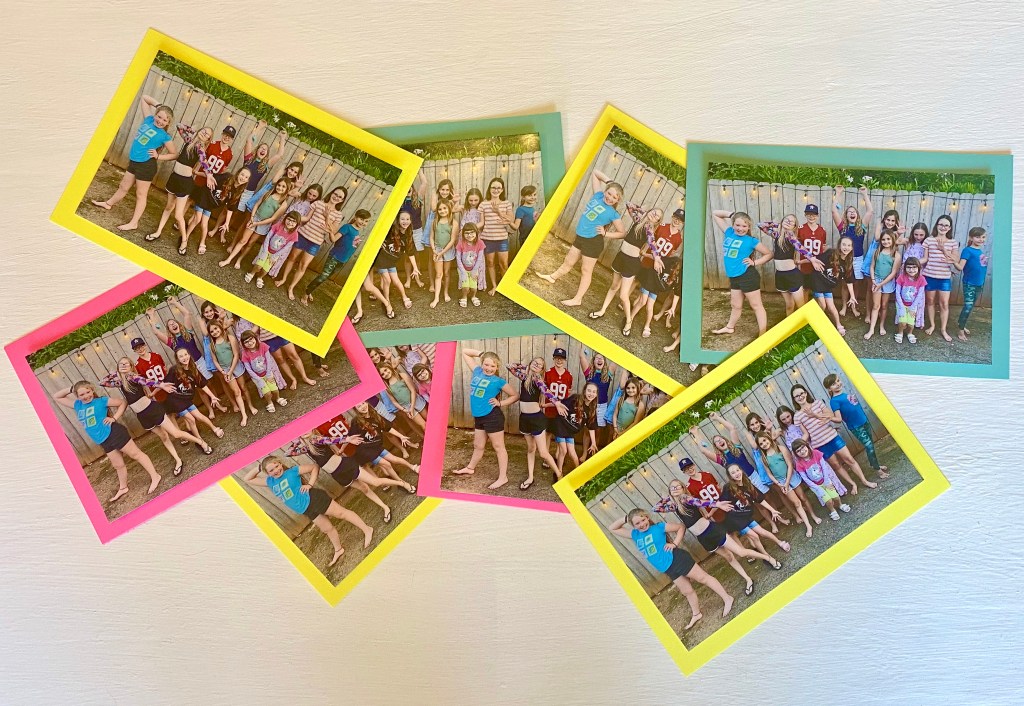
I made sure to snap a quick photo of all of the kids together before the night ended as this is my favorite way to make thank you cards. I order a set of prints from Shutterfly and back them with cardstock. Karis writes a little note to her friends, thanking them for the gift they got her and for coming to her party and they all have a cute photo capturing the fun they had.
Check out my newest blogpost Wings of Fire Dragon Costume (Kinkajou) to learn how to make this set of felt dragon wings for your favorite Wings of Fire fan.
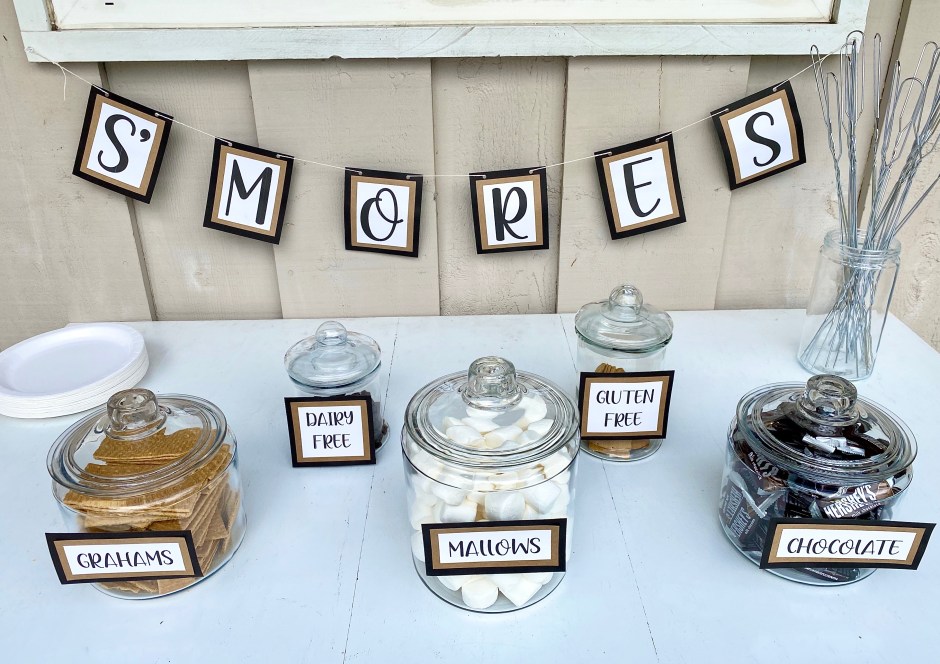
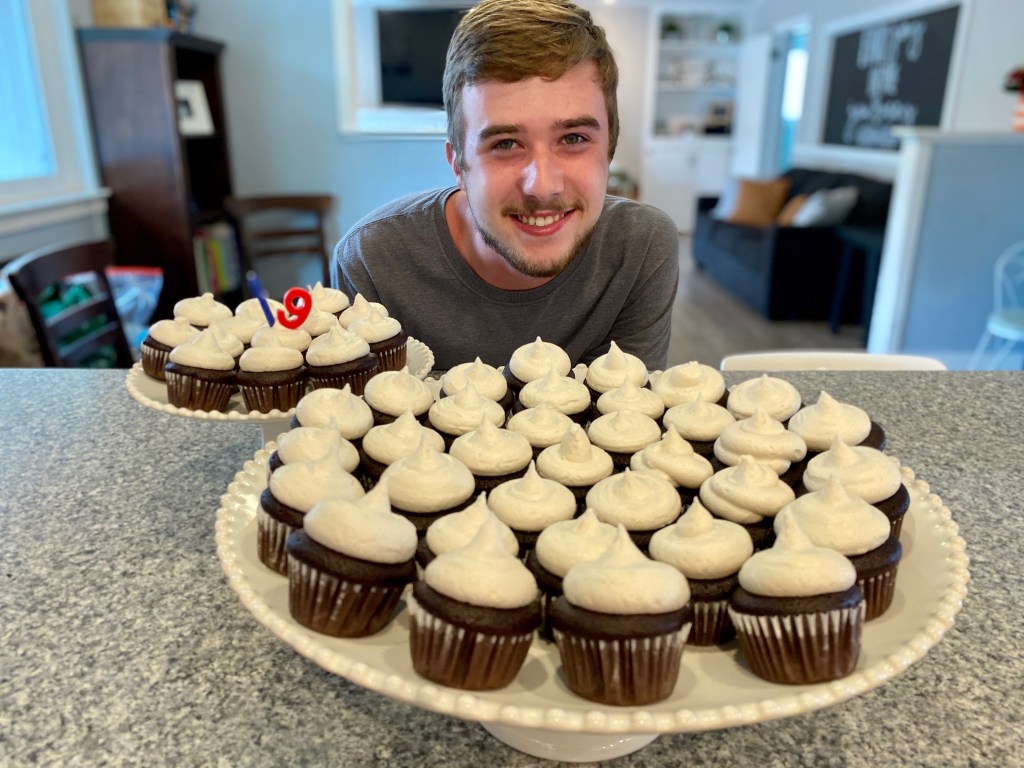
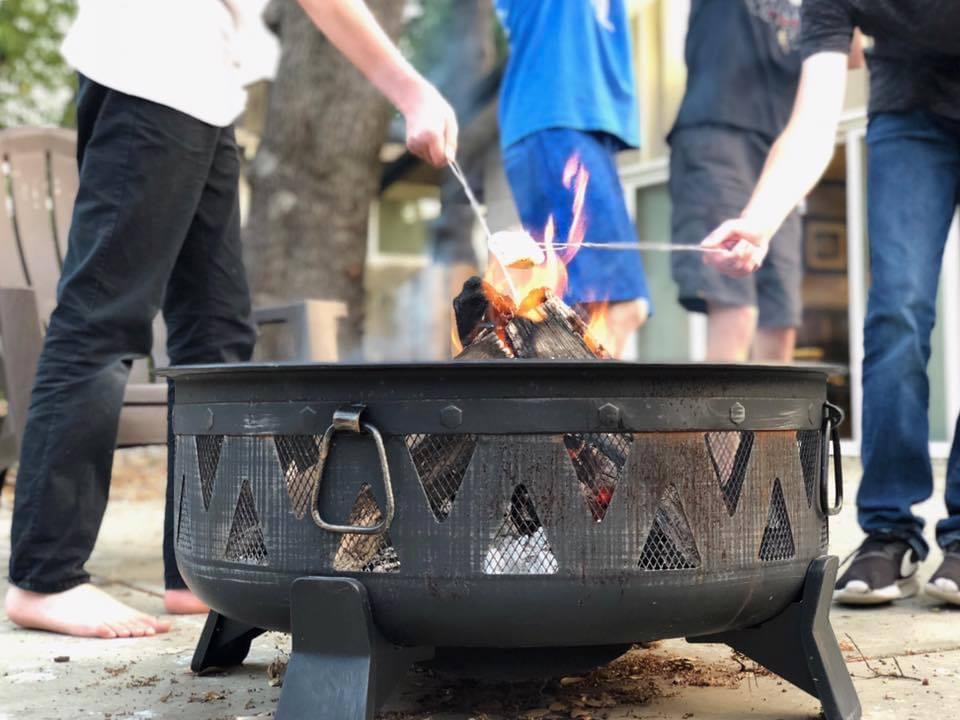
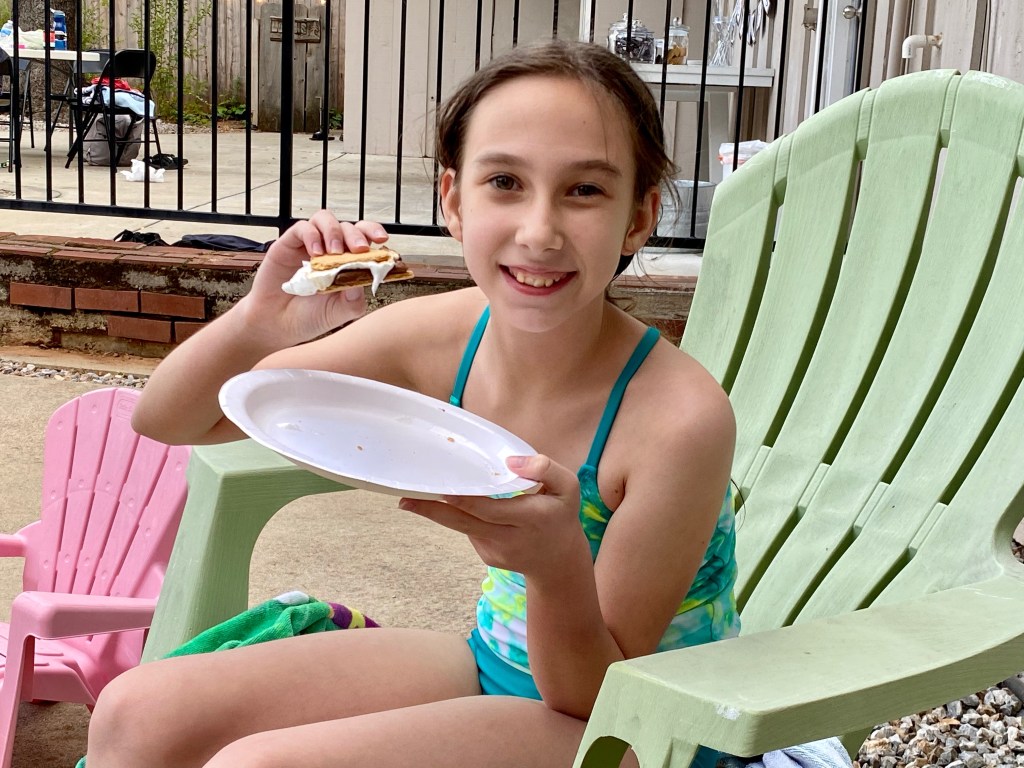
Summertime is almost here and you know what that means….backyard barbecues, swimming, camping, campfires, and of course s’mores! It’s just not summer without that delightful combination of crunchy grahams, gooey toasted mallows, and sweet melted chocolate. We had our first party of the season last week to celebrate my son’s 19th birthday, and for the main feature, I put together a simple but super fun s’mores station for everyone to indulge in throughout the night.
You can find a variety of sizes of glass storage jars and metal skewers on Amazon. I printed out letters for a “S’MORES” sign and some labels for the jars and then backed them with brown and black card stock. My son is gluten and dairy free, so I made sure to include gluten free graham crackers and dairy free chocolate options as well. #CommissionsEarned
I can imagine that I will reuse these stylish jars for many other social gatherings in the future, so I feel like they were great investments…and I know that this was just the first of many summertime s’mores nights at our house. #CommissionsEarned
Almost a year ago, we celebrated our 20th wedding anniversary. If you would have told me in the year 2000, when we said “I do,” that our 20th anniversary would be spent in quarantine in the midst of a worldwide pandemic, I would have thought you were crazy. I always pictured us spending our 20th in a tropical location, just the two of us, but in those early days of Covid, with the world pretty much shut down, we found ourselves sheltering in place with our little family of 5. Grocery stores were open and you could order take out from a restaurant, but that was about it.
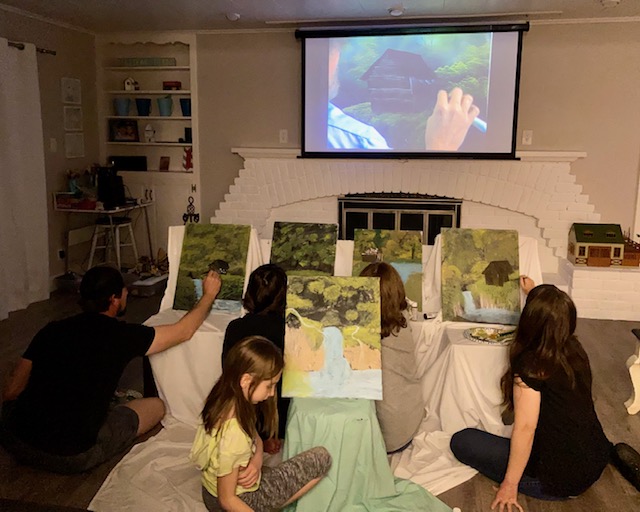
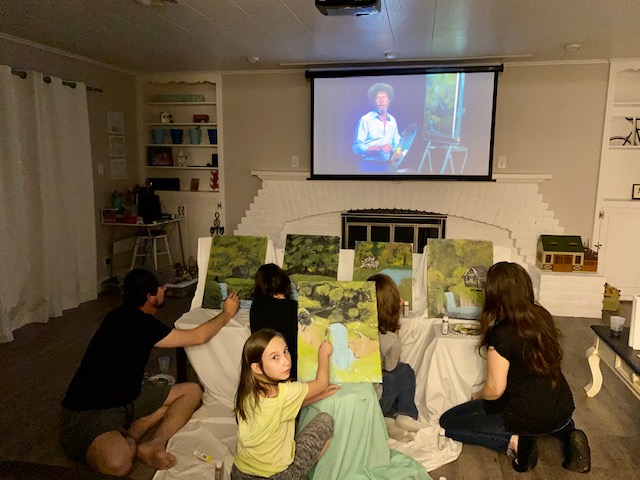
A few weeks before our 20th, we were scrolling through the TV trying to decide on something to watch as a family. We came across a video of Bob Ross painting and my kids were drawn in, watching him take a blank canvas and create a beautiful nature scene. I jokingly mentioned that sometime we should have a “Bob Ross Paint Night” and everyone seemed to like the idea. So as I was brainstorming quarantine anniversary options, that conversation came to mind and my wheels started turning.
I knew that Michael’s craft store had a curbside pick-up option, so I ordered an acrylic paint set, brushes, and canvases. I grabbed a couple of old sheets to drape over chairs, turned our living room into a makeshift art studio, and we celebrated the big 2 0 pandemic style, at home, painting along with Bob Ross. #CommissionsEarned
To be completely honest, I expected our paintings to look like five big black, brown, and green blobs. And about thirty minutes in, that is exactly what our works of art looked like. But somewhere along the way, waterfalls began to form, tiny cabins took shape, and Bob Ross taught amateurs like us how to create something more beautiful than we imagined. When it was all said and done, I was pleasantly surprised by the outcome and pretty darn proud of my family! Every canvas was different, but each one actually looked like a forest with a waterfall and a cabin. Bob Ross turned out to be quite the teacher 🙂 Today, our paintings line the hallway and when I walk by them, they make me smile.
Next week we celebrate 21 years of marriage. 21 years, 3 children, 2 states, 3 cities, 9 houses, and more vehicles than I can count. We have weathered the ups and downs of life, including a worldwide pandemic. It has not been easy. We have had seasons of joy and seasons of heartache, but this quote on our bedroom wall sums up my thoughts as we approach 21 years. “We may not have it all together, but together, we have it all.” Cheesy, but true!
We are currently soaking up any sunny day we get in the midst of this very rainy season. Sidewalk chalk has always been a favorite backyard activity for my kids and I recently introduced my daughter to hopscotch. We started with your traditional, schoolyard, 10 space hopscotch, but my girl wanted to make a bigger one. Over time, we developed a super fun “Tricky Hopscotch with a Twist” that we would like to share with you.
Check out my daughter’s second “Craft Time with Karis” video where she shares her ideas on how to create a “Tricky Tricky Hopscotch.” Karis adds silly spaces in the middle of the basic numbered squares. In some, she acts like a cat, or a dog, in others she will dance or dab. The best part about this, is that kids use their imaginations and creativity to come up with their own unique hopscotch. This one simple activity combines art, writing numbers, counting, imaginary play, and exercise.
Leave Karis a comment and let her know if you made a “Tricky Tricky Hopscotch” of your own and what creative spaces you added to yours!
What is St. Patrick’s Day really all about? Is it about leprechauns, shamrocks, rainbows, and pots of gold? Who was St. Patrick anyway? Every year, on March 17th we celebrate St. Patrick’s Day, but as I began thinking about some fun things I could do with my kids this year, I realized that I didn’t know anything about St. Patrick. So I did a little reading, and what I discovered gave me a whole new perspective on this Irish holiday.
Patrick (Patricius) was a teenage boy living in Britain when he was kidnapped and put on a slave ship headed for Ireland. He spent 6 years as a slave and it was in those years that he encountered God and received Jesus Christ as his Savior. One day he had a dream that he was going back to his own country and he heard a voice say, “see your ship is ready.” Patrick escaped and returned home. Sometime later, he had another dream that he was to return to Ireland as a missionary.
St. Patrick was a man of God who brought the gospel of Jesus Christ to a very Pagan country. In 432 A.D. he built the first Christian church in Ireland. Over the course of 29 years, St. Patrick planted 300 churches and baptized over 120,000 Irishmen.
According to legend, he used the three leaf clover to explain the trinity. He used the one plant with three leaves as an analogy for the Father, Son, and Holy Spirit.
With all of this in mind, I had an idea for a St. Patrick’s Day Treasure Hunt for children that would highlight the God who St. Patrick lived for. I’m all about good old fashioned holiday fun! We always wear green on St. Patrick’s Day so we don’t get pinched 🙂 and for the last couple of years, we have celebrated by making these Rainbow Fruit Kabobs. But I love an opportunity to teach my children about their identity in Christ. I love to create fun experiences for them to learn Biblical truths. So I think we have started a new St. Patrick’s day tradition in our house!
Here’s How the Treasure Hunt Works:
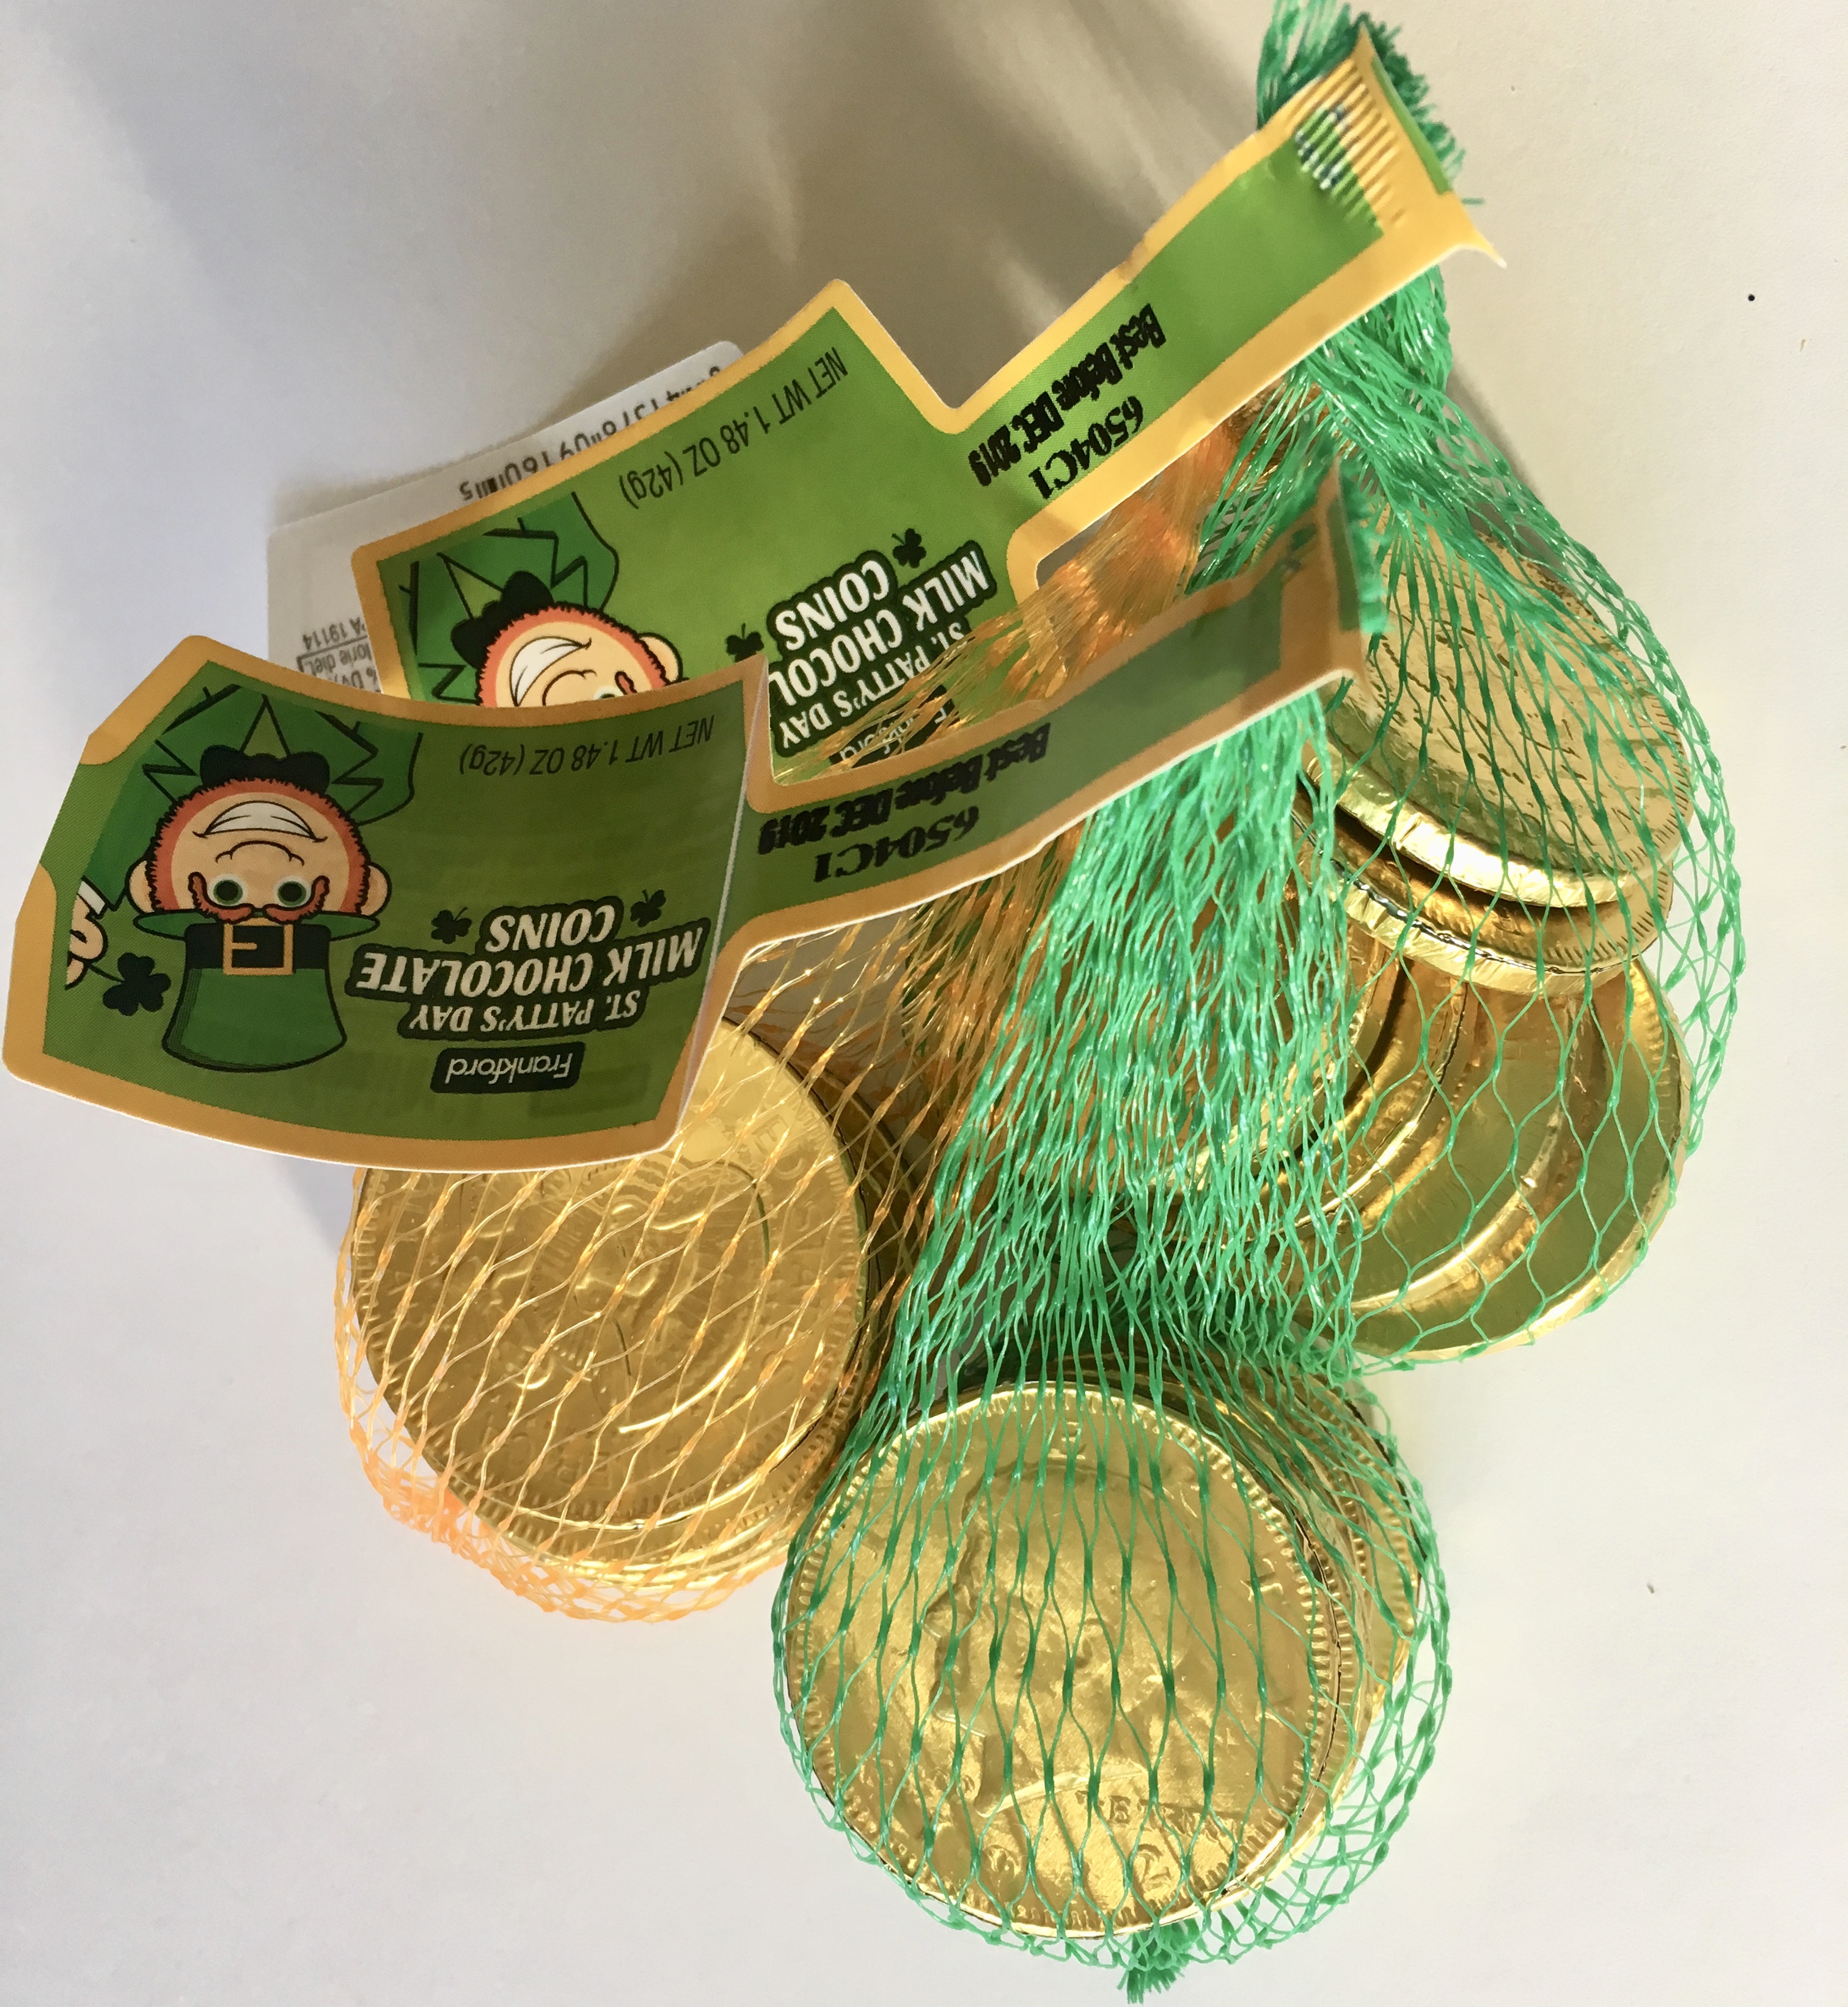
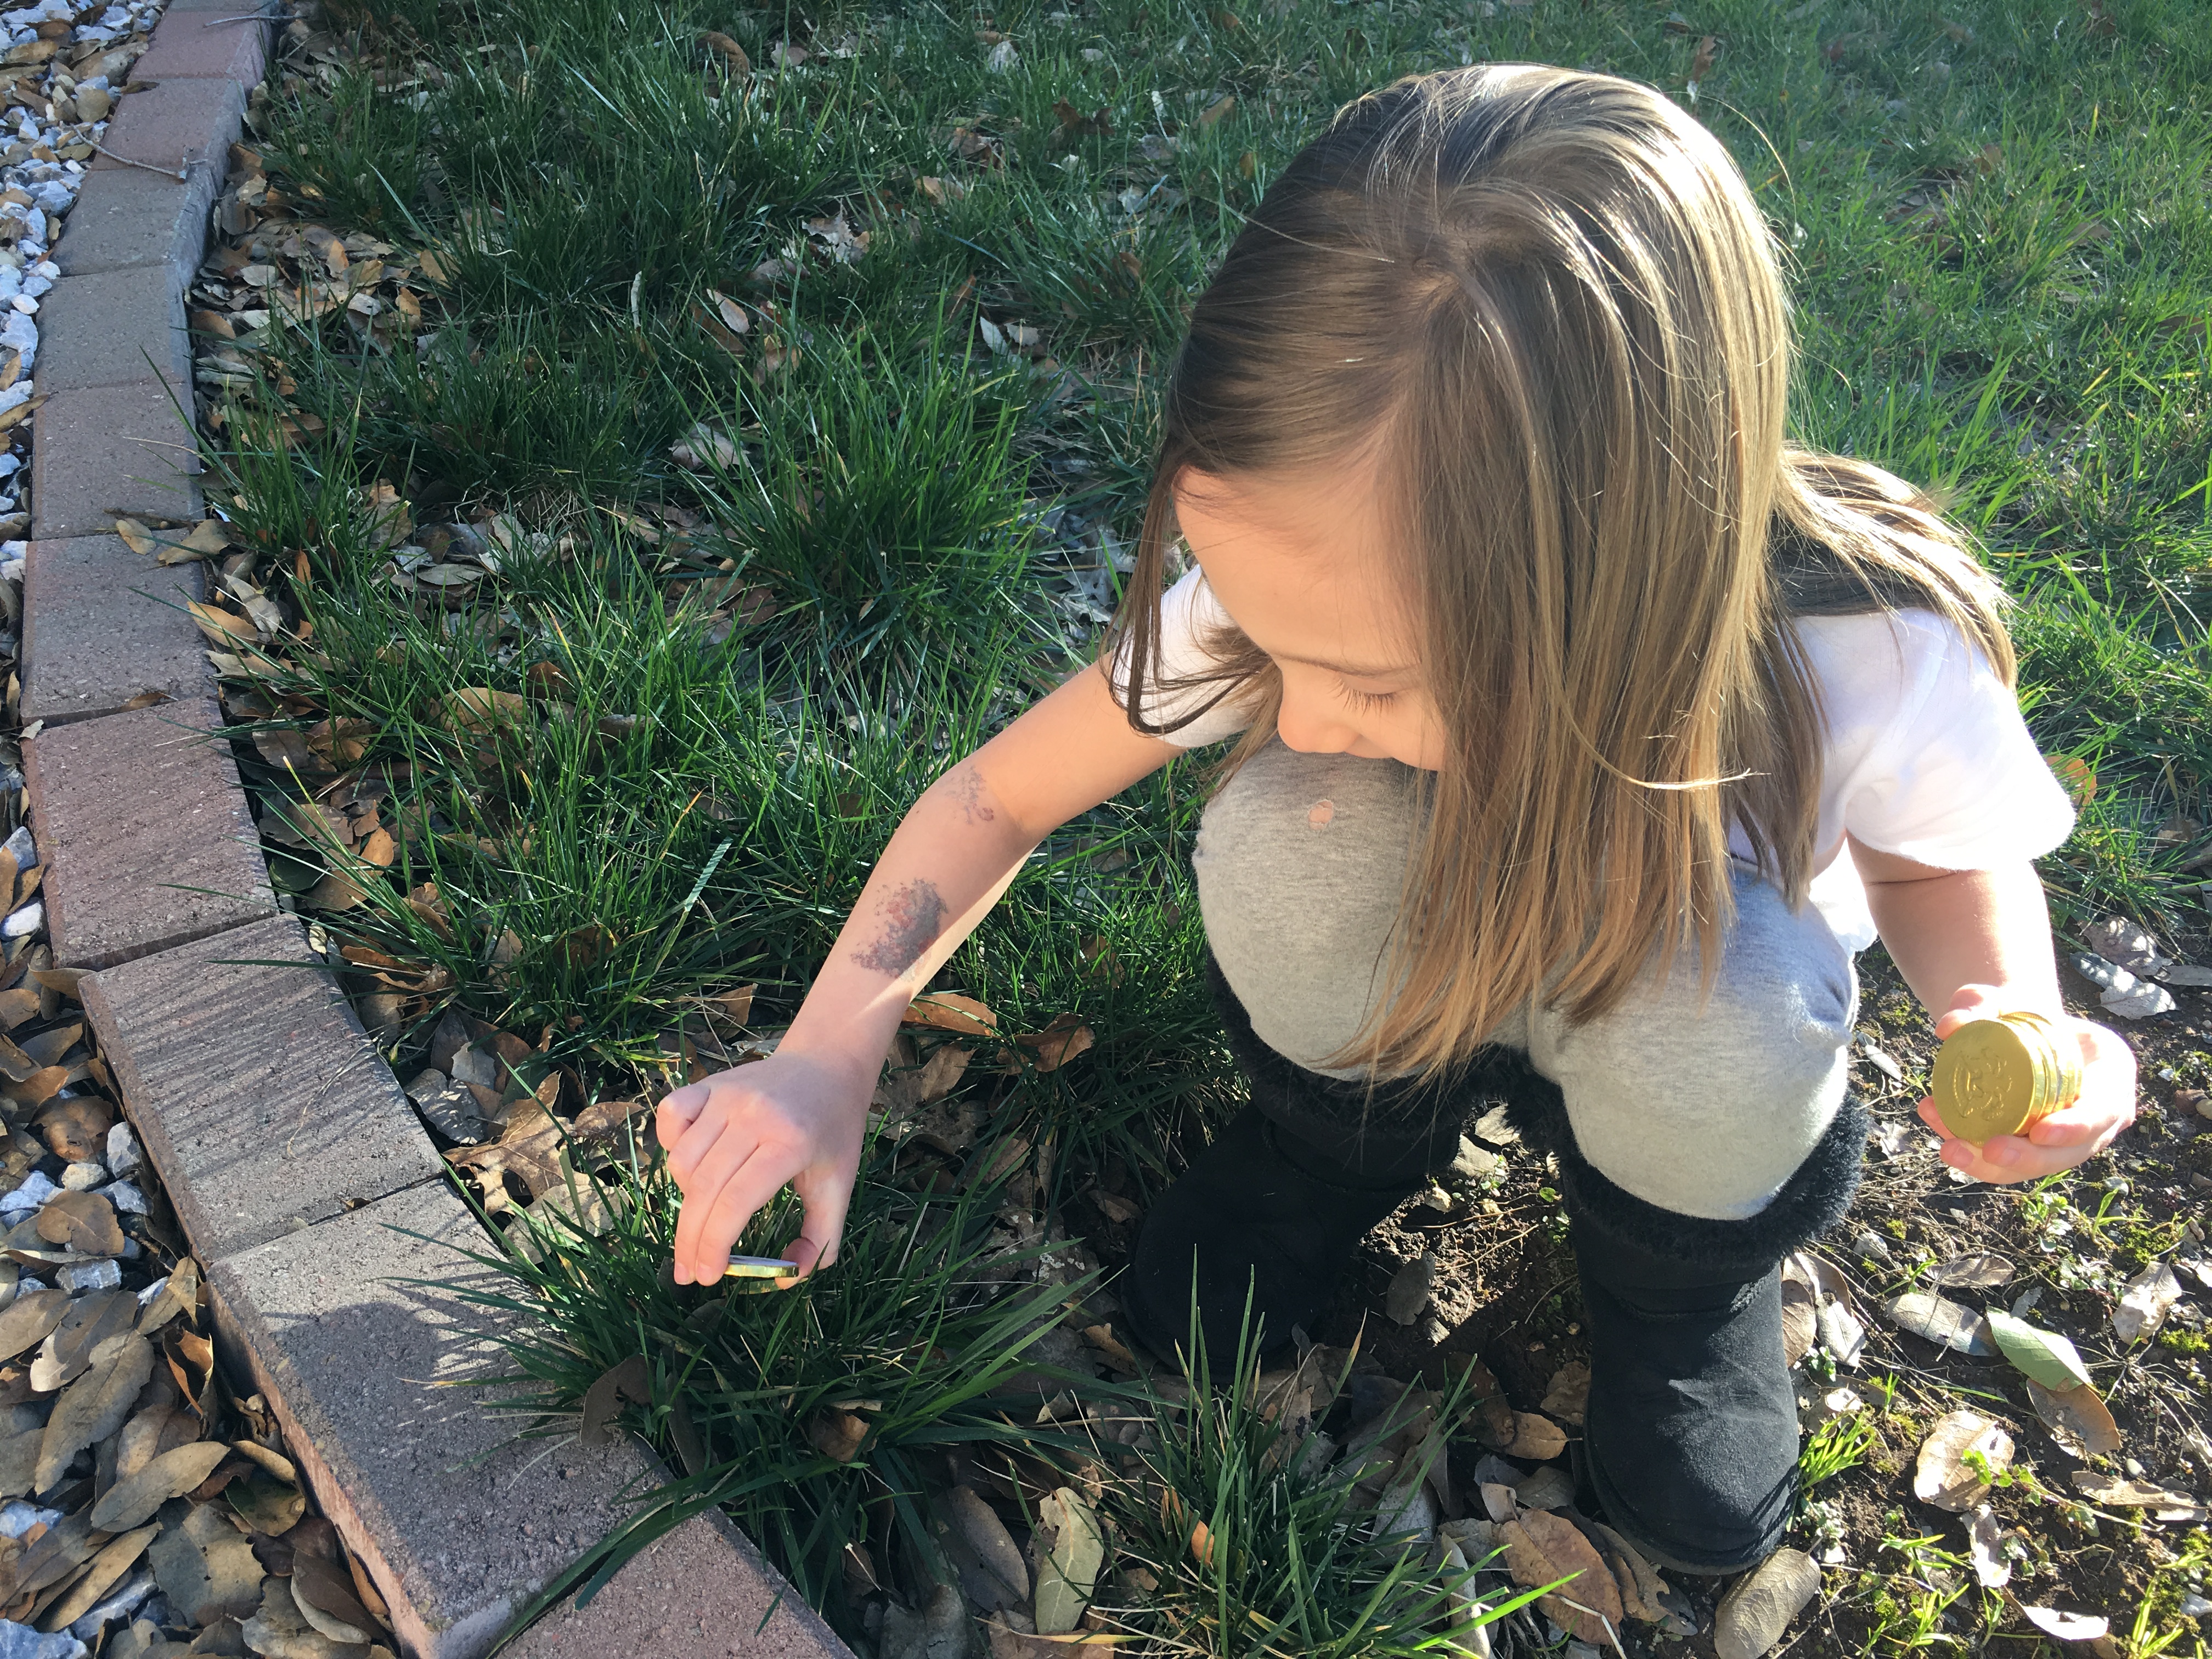
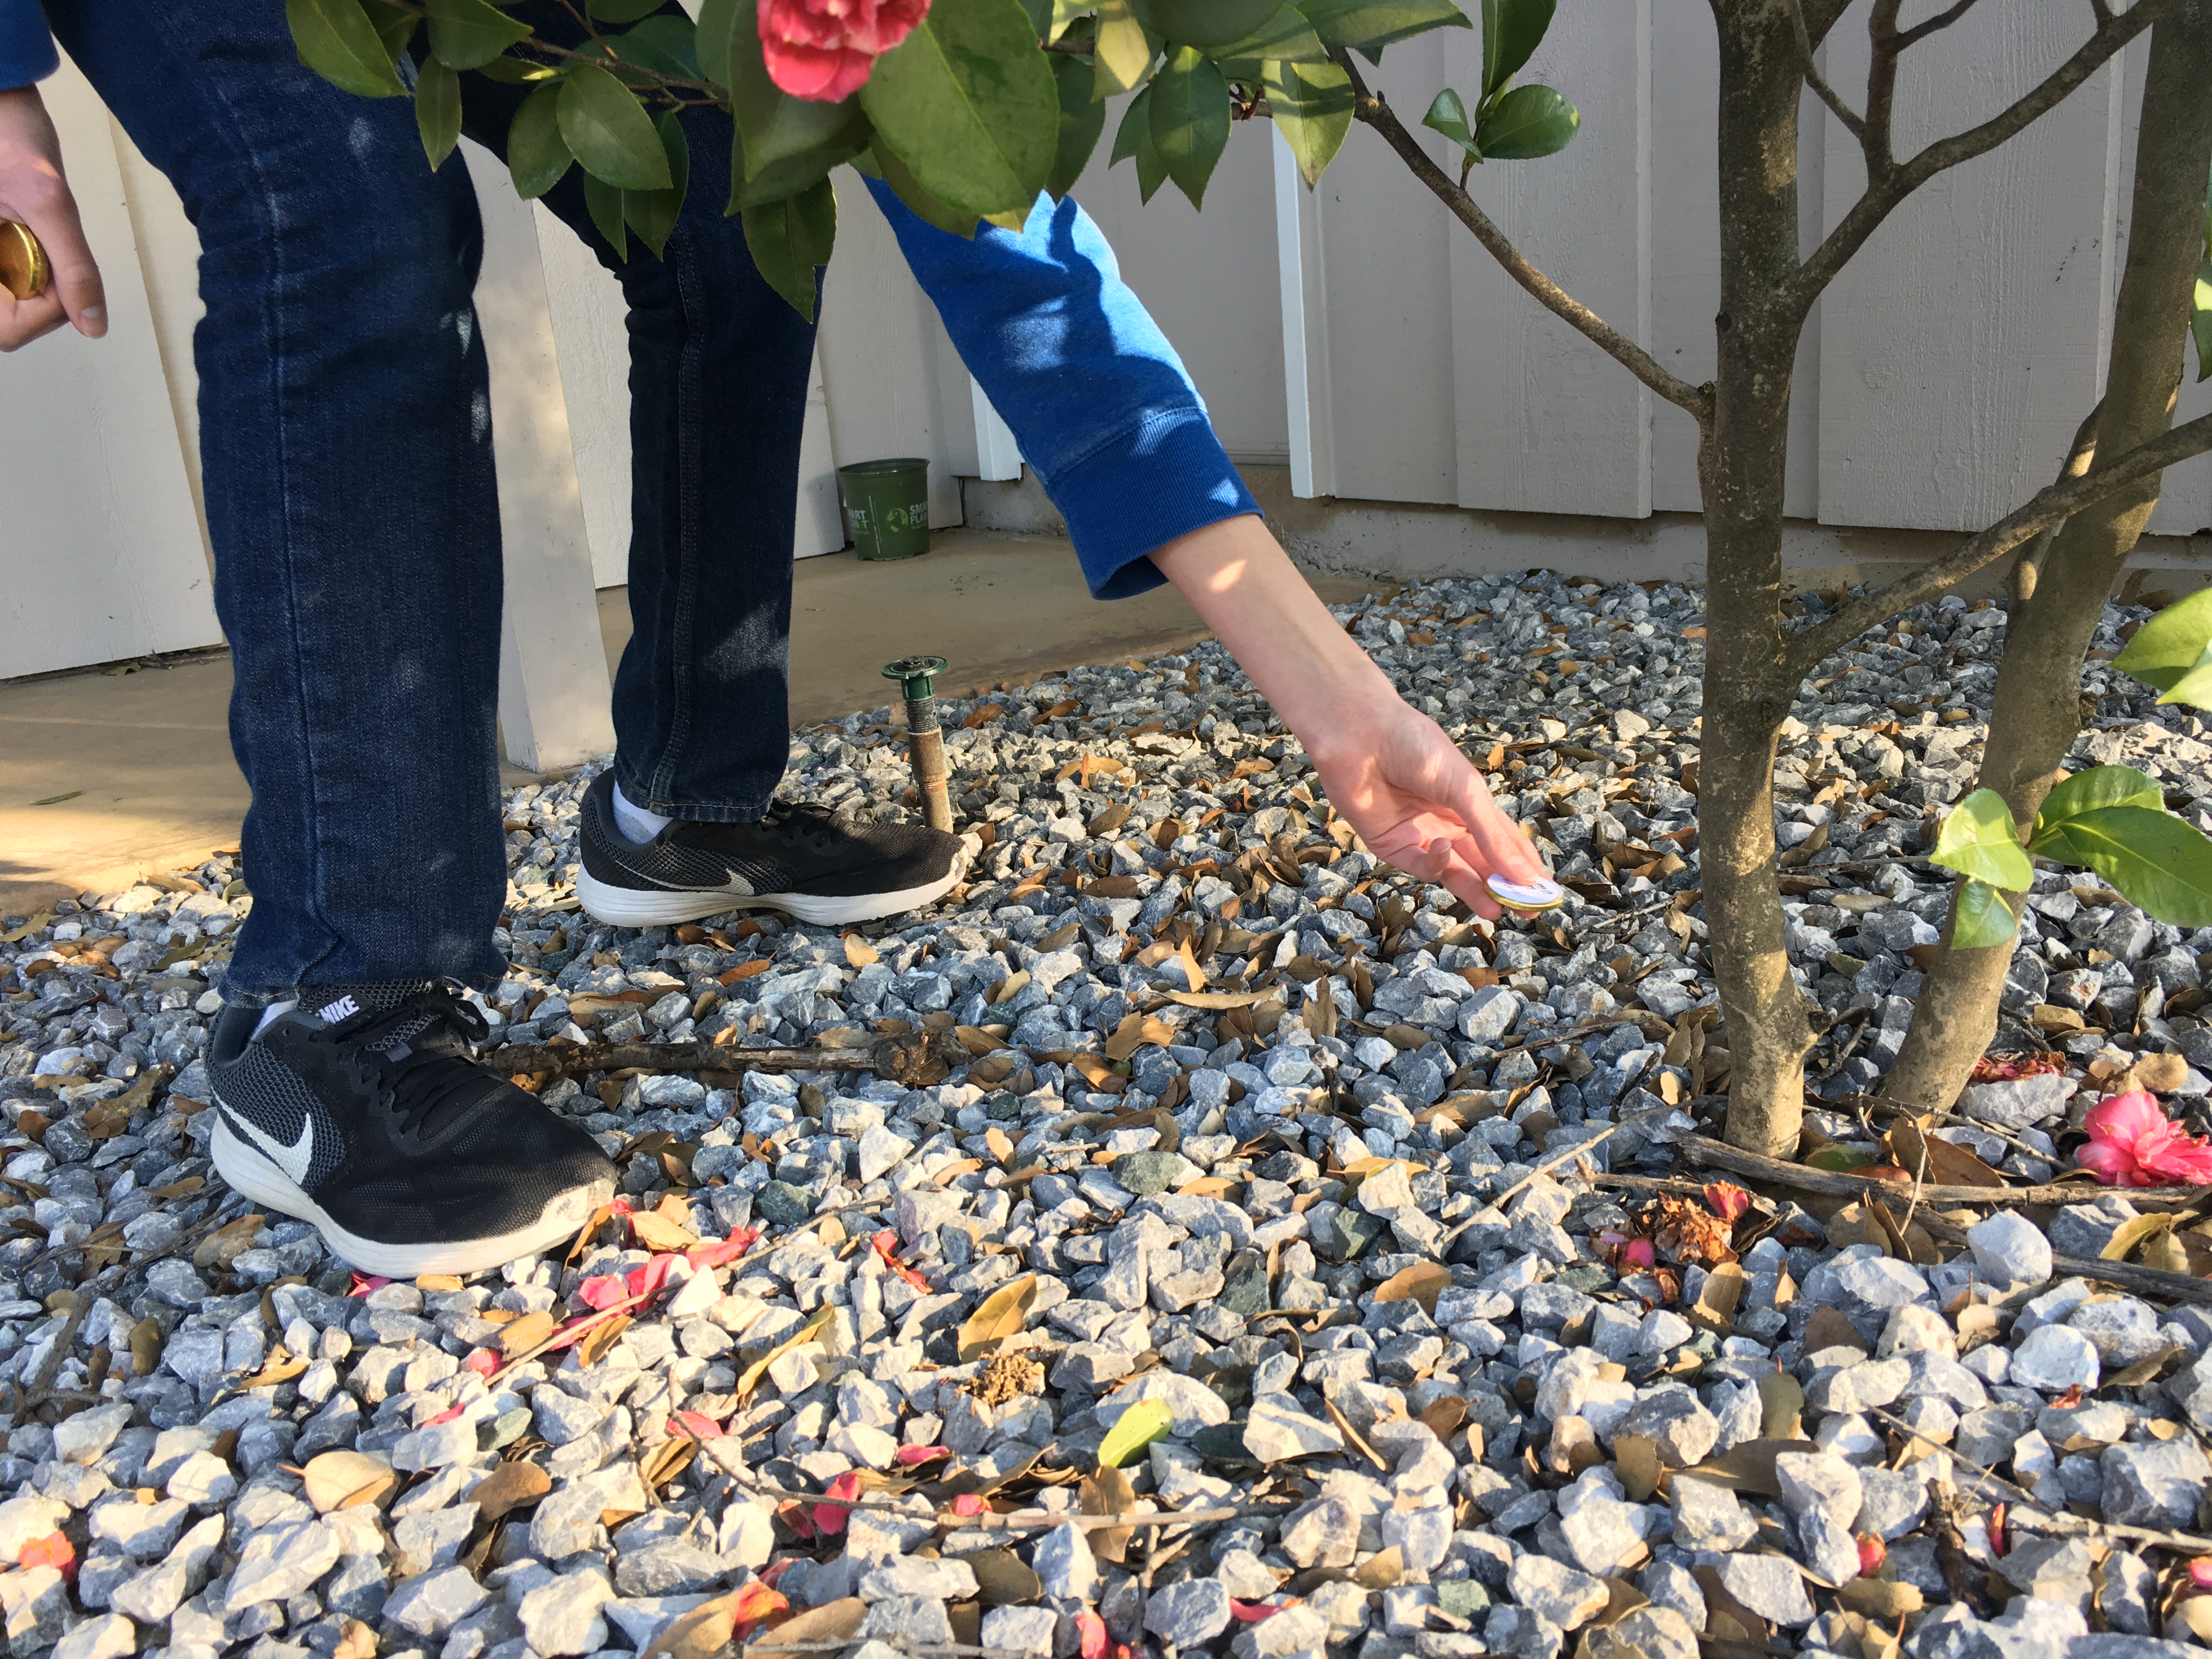
Print out the free templates I have included (at the end of this post) for the Gold Coins and the Bible Verse Cards. Cut out the circles and use a glue stick to attach them to the chocolate coins. I found my coins in the dollar section at Target, but you can purchase them online as well. Cut out the Scripture Cards and have them ready. Hide your gold coins out in your yard (or inside if it’s a rainy day). Gather your kids and tell them that you are sending them on a treasure hunt. Have them each collect the same number of gold coins. Bring them inside, sit down together at the table and lay out the scripture cards. Now your kids can match up their coins with the cards that have the same scripture references. Have your kids take turns reading the verses that they found. This fun experience will give kids the opportunity to discover the treasure of who they are in Christ. As you wrap up your time together indulge in a little chocolatey goodness! #CommisssionsEarned
Here are some pictures and a video of our family enjoying our St. Patrick’s Day Treasure Hunt.
Who doesn’t love a good old fashioned Nerf Battle? My 10 year old son was who I had in mind when I added Nerf Wars and Target Practice to our Advent activities this year. But let’s be honest…this is fun for any age…even the grown ups!
We started our evening by creating these spinning targets, which were a big “hit!” I prepared everything ahead of time by cutting circles out of empty food boxes and setting out markers, tape, two circles per person, large craft sticks, straws cut to size, pennies to weigh the spinners down at the bottom, a piece of string, and a couple of push pins. Then we sat down at our coffee table to create. Check out my tutorial to see how we made the spinners.
Next we each selected our Nerf Gun, grabbed a couple of soft bullets and had target practice. We also stacked up some red cup pyramids to shoot down and then ended our evening with a boys vs. girls living room Nerf Battle, using a jump rope to divide the room in half. The last one standing was the winner. Want to know who the epic champion of the night was? You guessed it…little sister for the win! #CommissionsEarned
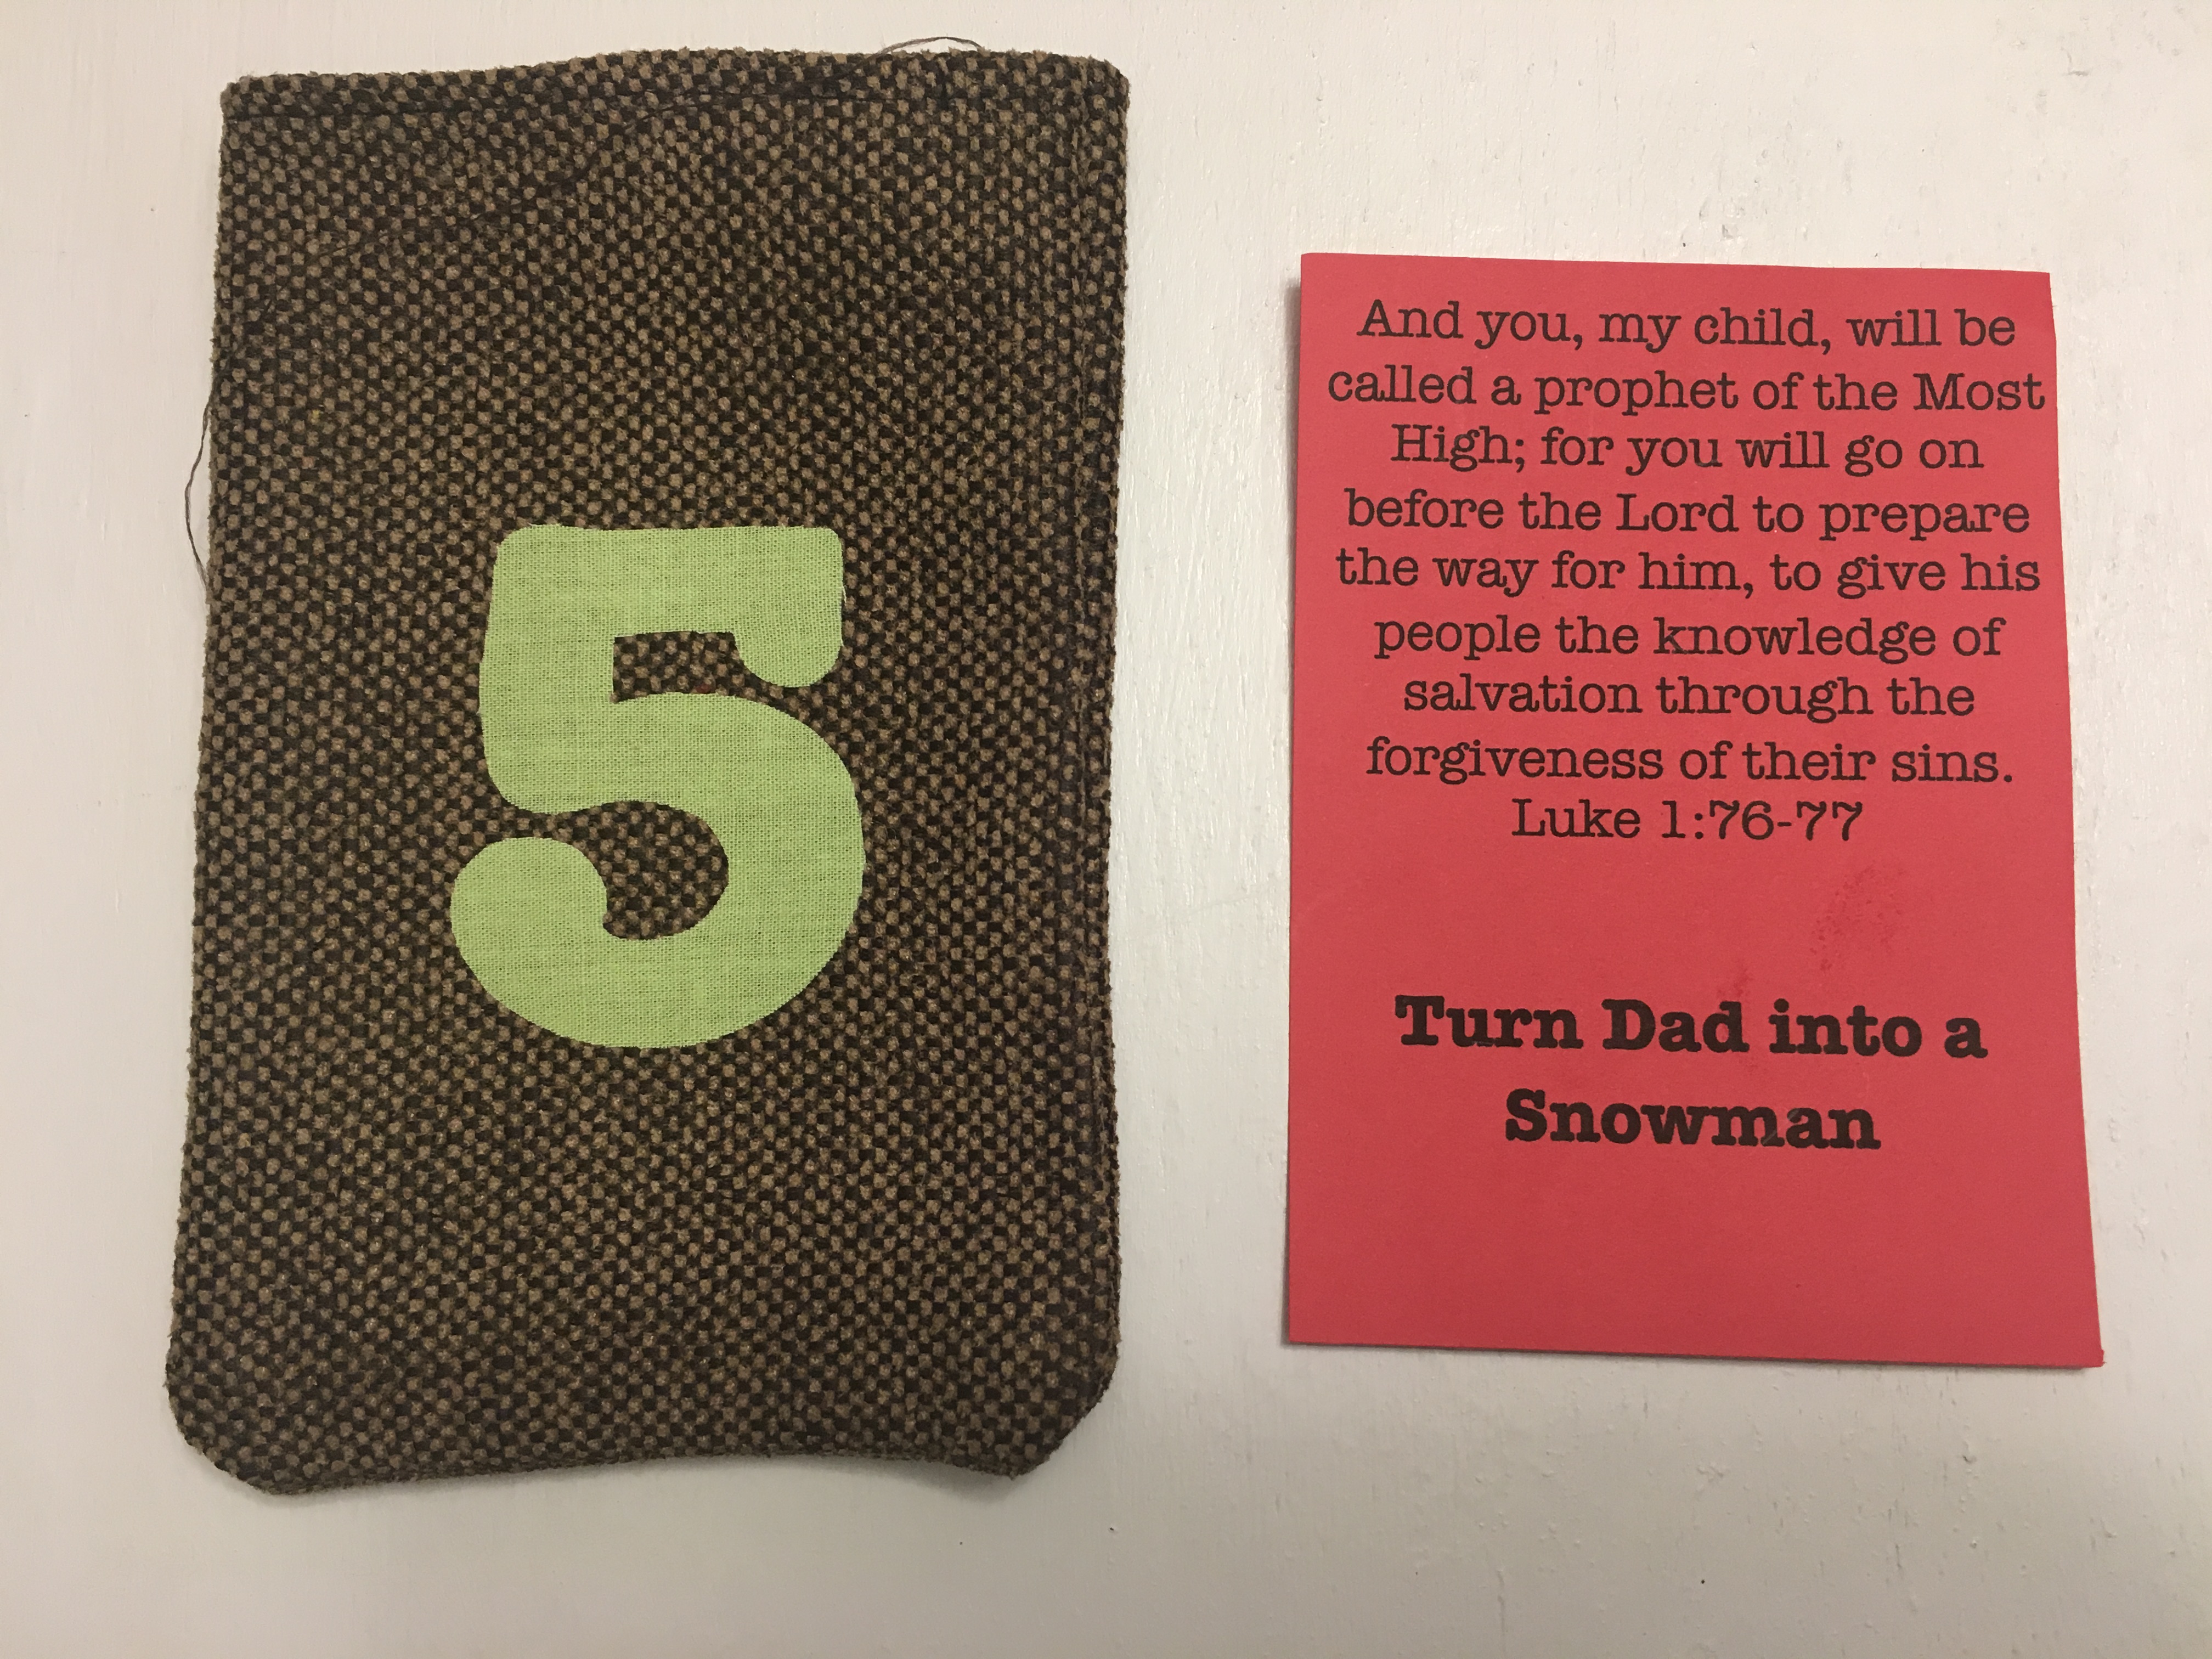
Turning Dad into a snowman has become one of the most anticipated Advent activities for our children. We started this tradition 3 years ago and it’s always sure to bring out tons of laughter and joy for all of us! The kids squealed with delight this morning, when they opened the Advent bag and read that this was the day to make a Dad “snowman!”
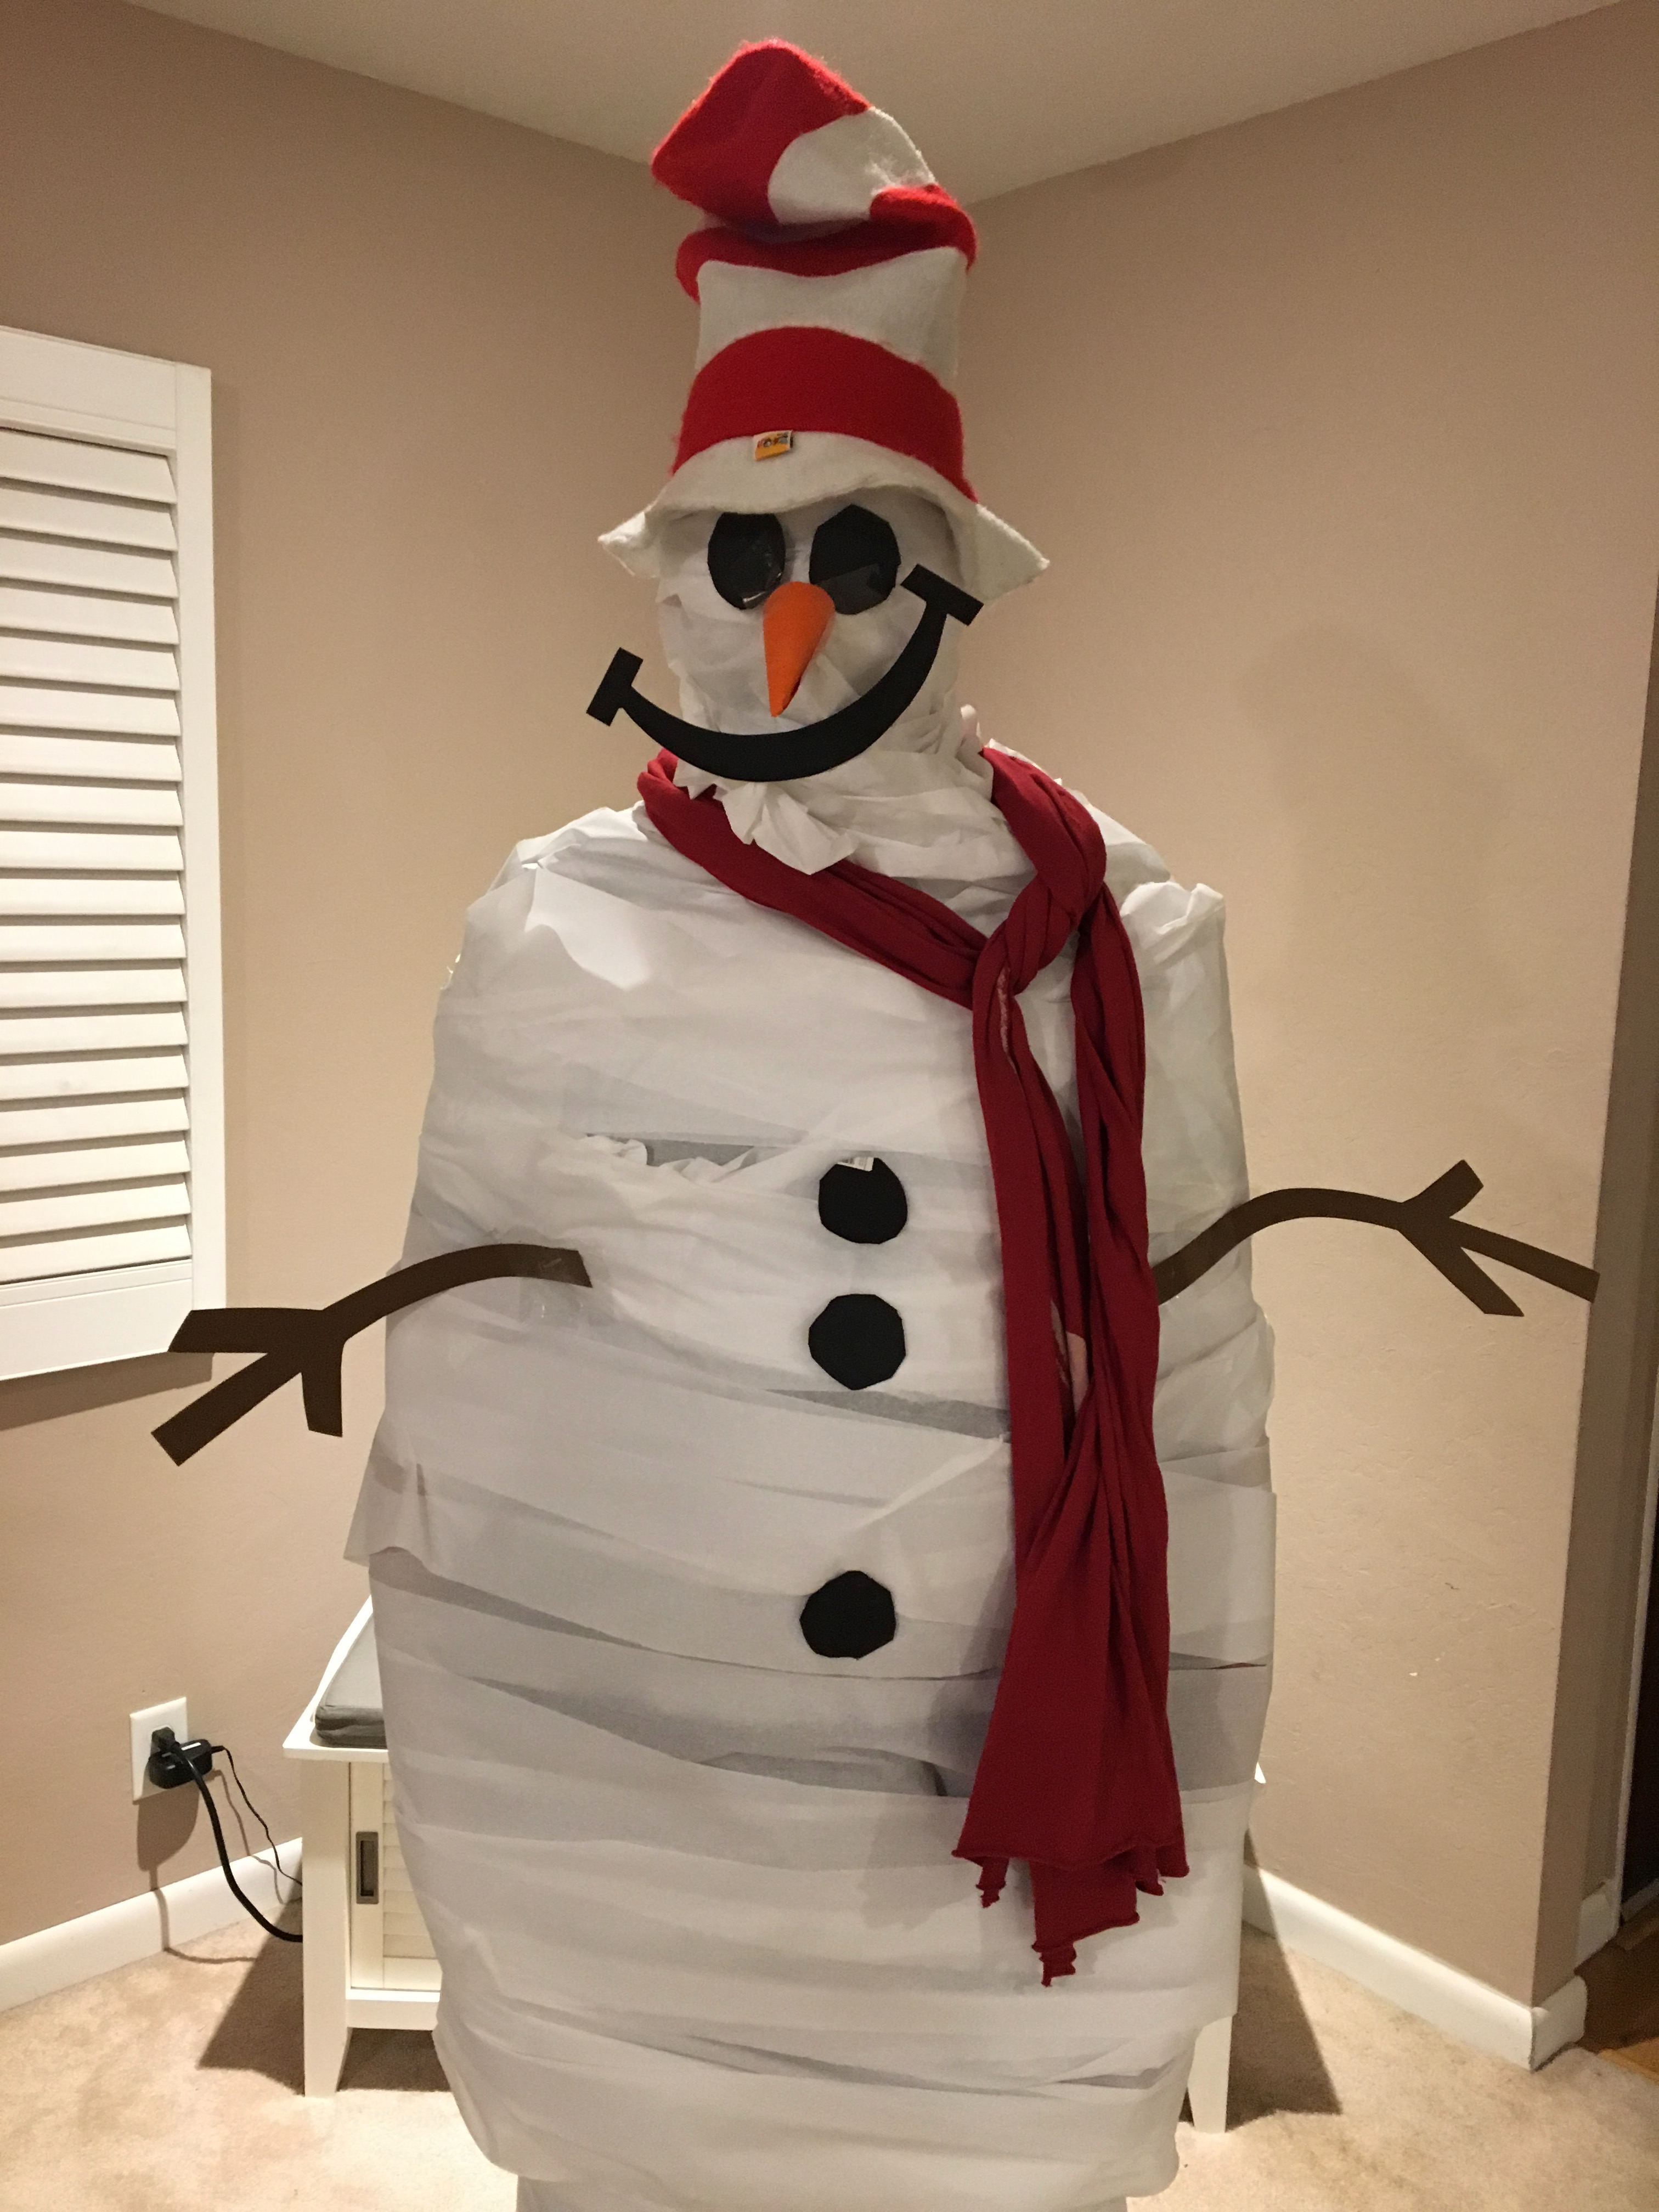
The best part of this activity, besides the crazy amount of laughter, is that it is free! Just gather what you have around the house. We used a couple of rolls of toilet paper, some scrapes of cardstock for the eyes, coal buttons, nose, mouth, and arms. I grabbed a scarf out of my closet and a hat out of the kid’s dress up box. Have some scotch tape handy and you are ready to go.
Last year, by accident, my husband got some toilet paper in his mouth, which made for a hilarious few minutes of giggles for the kids. So of course, this year, there was the expectation that he would make this happen once again. He did not disappoint! Make sure to watch our video to the very end to see the grand finale!
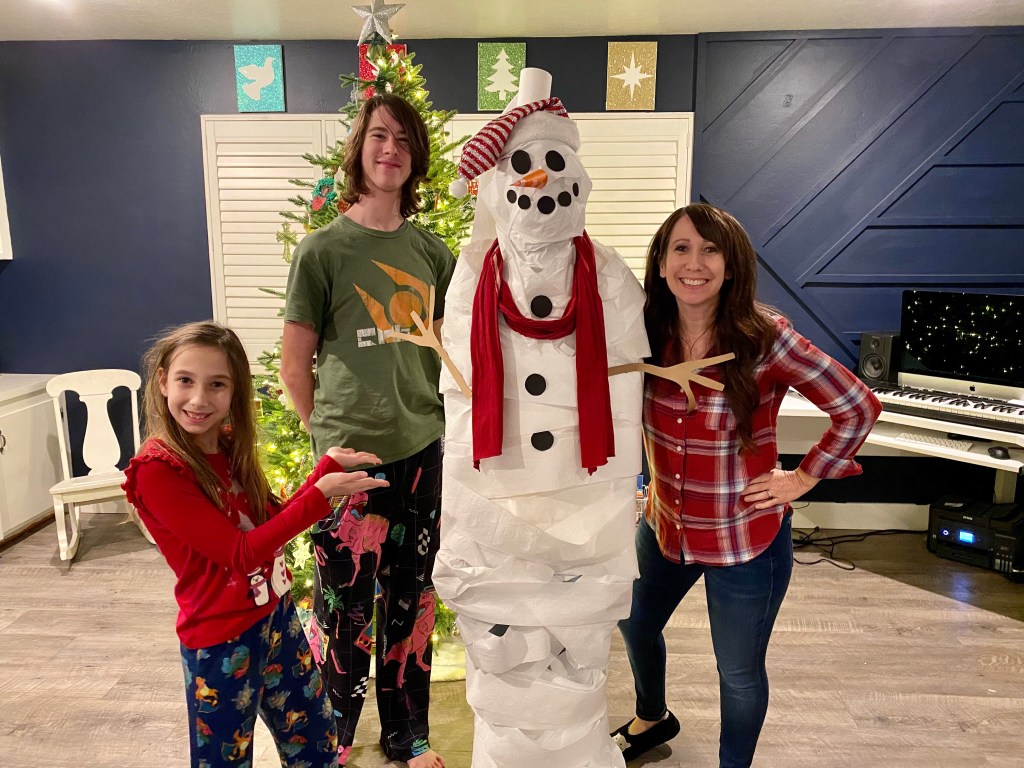
Over the last several years, we have switched things up a bit. So far all but one of us has been the snowman. The kids were delighted the year that they opened the advent bag and found the card that said “turn MOM into a snowman!” From that point on, every year we have chosen a different person to be the snowman. Here are a few pics of this silly tradition.
For more Christmas Fun check out the following blogposts: