Christmas came and went, and while I had great intentions to add some new holiday posts to my blog, I was too busy enjoying all of the fun activities to get to the blogging part. I guess these little Hot Cocoa Mug Marshmallow Pops can be tucked away on a Pinterest board for next Christmas 🙂
The past couple of years, our church has done a drive-thru Christmas Caroling event. My friend asked me to make cookies to pass out, but festive mallow pops are more fun than baking cookies for me, so I set out to make some really cute and Christmassy pops. These little guys were a bit trickier to make than I expected, but I think they turned out pretty cute.

Here’s what you will need to make your own Hot Cocoa Pops: peppermint candy canes (the ones I used were in between the typical big and small size), Jet Puffed Marshmallows, pretzels (broken up to create handles), candy melts in milk chocolate and bright white, Kraft Mallow Bits, various holiday sprinkles, parchment paper, and a Wilton’s squeeze bottle. #CommissionsEarned

STEP 1: LAY EVERYTHING OUT ON PARCHMENT PAPER SO YOU HAVE AN EASY WORKSPACE
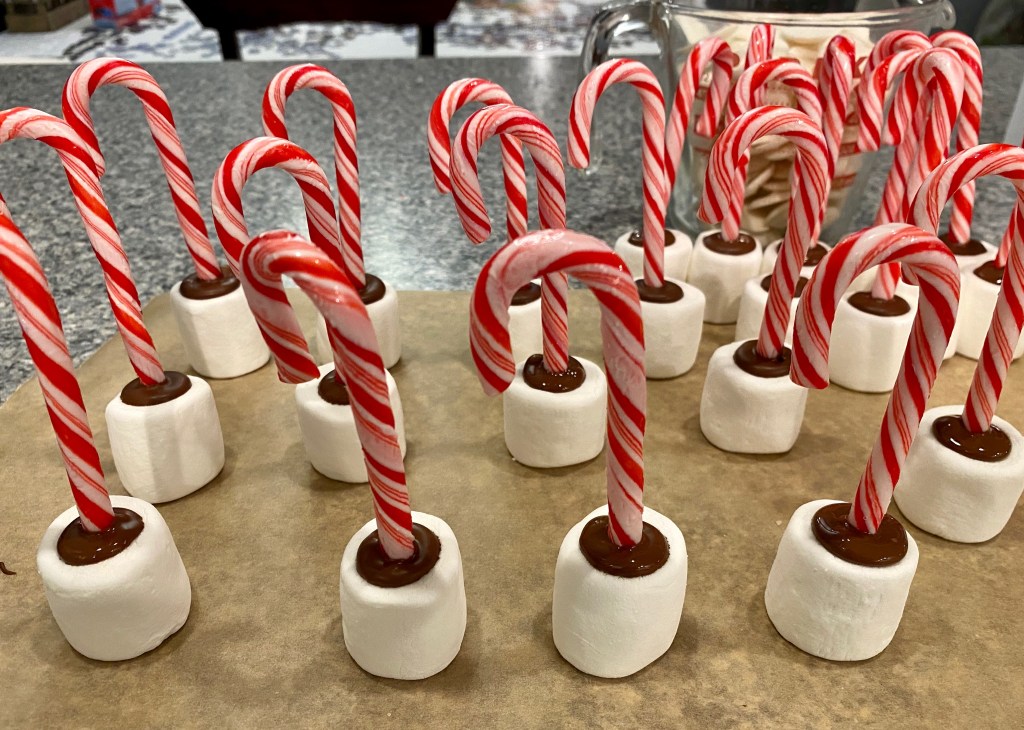
STEP 2: MELT A SMALL AMOUNT OF THE CHOCOLATE CANDY MELTS. DIP A CANDY CANE IN THE CHOCOLATE AND PUSH INTO THE CENTER OF THE MARSHMALLOW. REPEAT

STEP 3: MELT A SMALL AMOUNT OF THE WHITE CANDY MELTS. DIP THE ENDS OF THE BROKEN PRETZEL IN THE WHITE MELTED CANDY AND SECURE TO THE SIDE OF THE MARSHMALLOW. REPEAT.

STEP 4: MELT THE REMAINDER OF THE WHITE CANDY MELTS. DIP EACH MARSHMALLOW, MAKING SURE TO COAT ALL THE WAY UP TO THE TOP OF THE MARSHMALLOW AND COVERING THE PRETZEL HANDLE. YOU MAY NEED TO WIPE OFF SOME OF THE DRIPS FROM THE BOTTOM BEFORE PLACING ON THE PARCHMENT PAPER TO DRY.
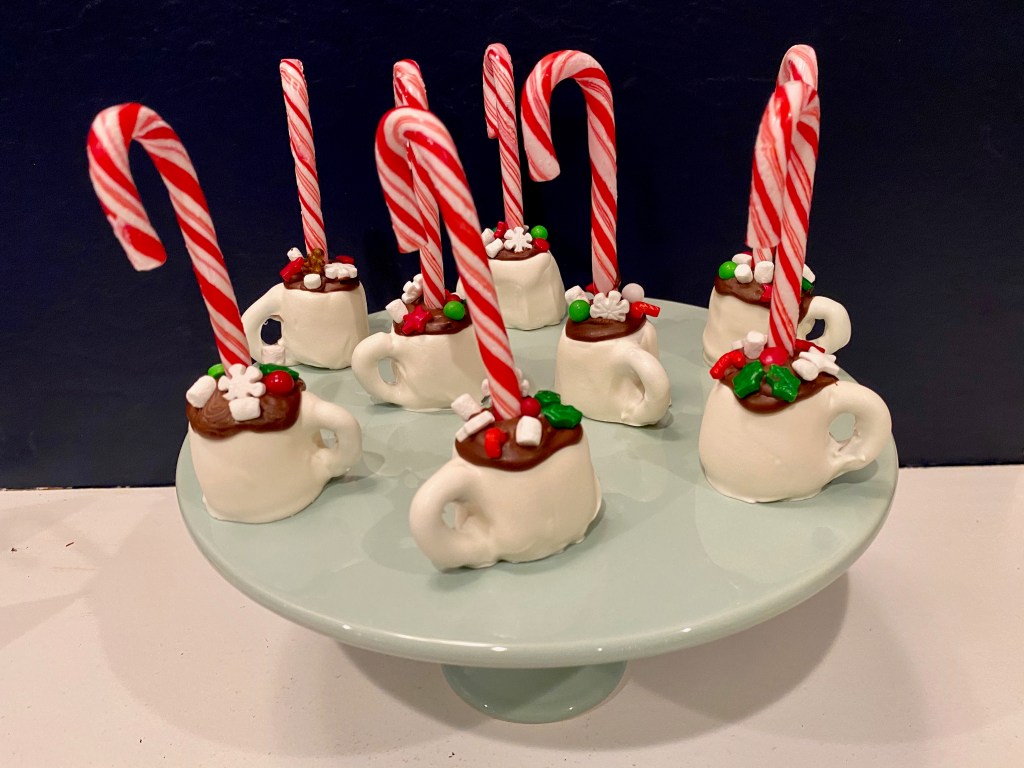
STEP 5: MELT THE REMAINDER OF THE MILK CHOCOLATE CANDY MELTS AND TRANSFER TO A SQUEEZE BOTTLE. WORKING QUICKLY, BEFORE THE CANDY MELTS SOLIDIFY, DRIZZLE MILK CHOCOLATE ALONG THE TOP OF EACH POP AND ADD A FEW FESTIVE SPRINKLES AND MALLOW BITS. THIS IS WHERE THE TRICKY PART COMES IN BECAUSE IT’S DIFFICULT TO ADD THE TOPPINGS AFTER THE CHOCOLATE HAS SET, SO YOU HAVE TO WORK FAST.
STEP 6: ENJOY!!!
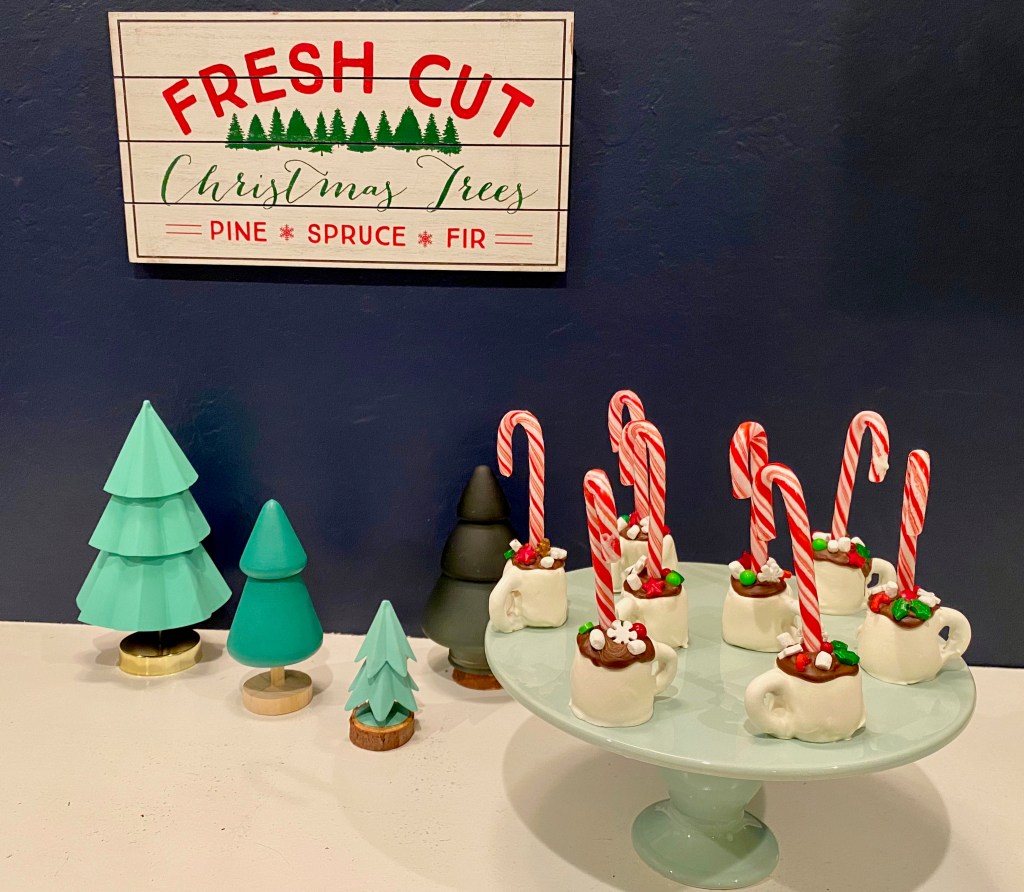
These little Christmassy Pops are perfect for your holiday party or for adding to your plate of Christmas treats. I used a pretty cake platter in mint green next to my display of mini Christmas trees for some photos and then sent them off to be handed out at the Drive-Thru caroling event. #CommissionsEarned
For more fun Christmas Ideas check out the following blogposts:
Polar Express & Graham Cracker Trains
Graham Cracker Gingerbread Houses