Back to School Word Bracelets

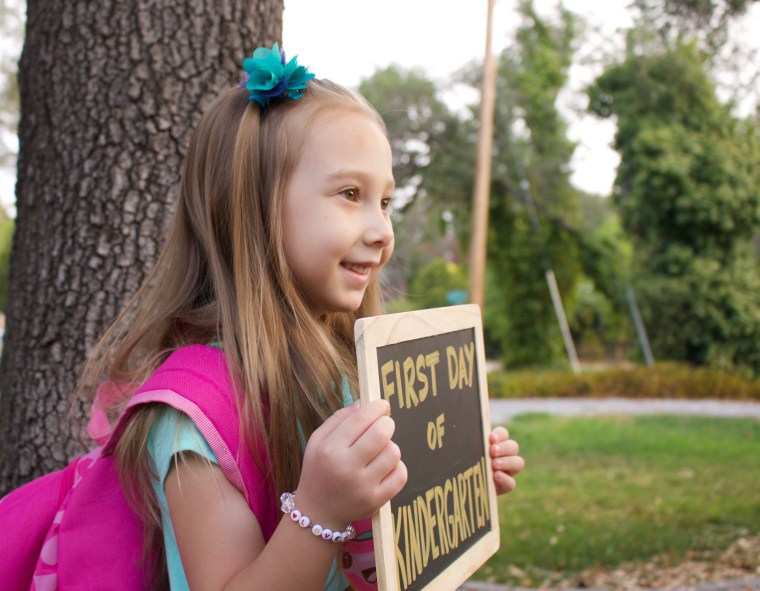
My daughter starts 2nd grade this week and she is beyond excited to go back to school.  She can’t wait to see all of her friends and meet her new teacher.  She is full of confidence and joy and counting down the days.

But this was not the case two years ago when she started Kindergarten.  She was scared.  She was starting at a new school.  She didn’t know any of the kids in her class, and she had never been away from me for that many hours a day.  In pre-school, her teacher let her bring a stuffed animal to school that she could snuggle with if she felt sad or missed mommy, but I knew that we couldn’t expect that to be ok in Kindergarten.  That is where the “word bracelets” idea came from.

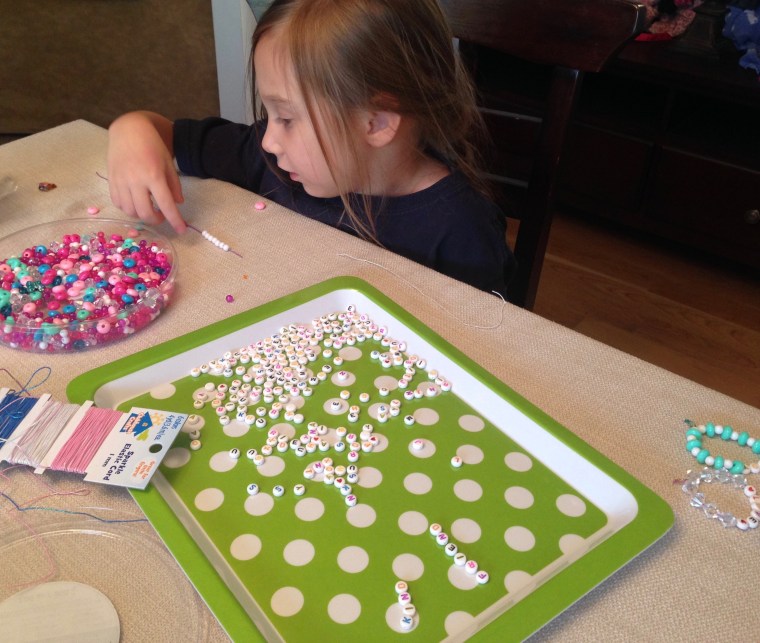
I told Karis that we would sit down and create some bracelets that she could wear to help her remember that mommy loved her and would pick her up right after school.  We talked about how when she felt sad or missed me, she could touch the bracelet and be reminded of my love.  The idea sparked more conversation about what other things she might want to remember at school, so we brainstormed other words and these are what we came up with…

  • love
  • joy
  • confidence
  • kindness
  • brave
  • peace
  • calm

These words provided great conversation for kindergarten preparation as we talked about what each word meant. I told her that she could choose one or more bracelet to wear each day depending on what she felt she needed to be reminded of.

I wish I could say that the first few weeks of school were a breeze for Karis, but it was not an easy transition for her.  Thankfully, she had a very kind teacher and sweet classmates who helped her to become comfortable at her school.  And I’m sure her word bracelets also helped to reassure her in those sad moments of missing her family.

Maybe you have a child starting a new school and you are looking for something to help them with that transition.  Or maybe there is a word that would help your child with a character trait that they are working on.  Pick up some plastic beads, letter beads, and stretchy string and spend time making bracelets with your child.  Not only with they love their creations, but they will also love the quality time spent with you.

IMG_9992 2IMG_4660 2IMG_4250

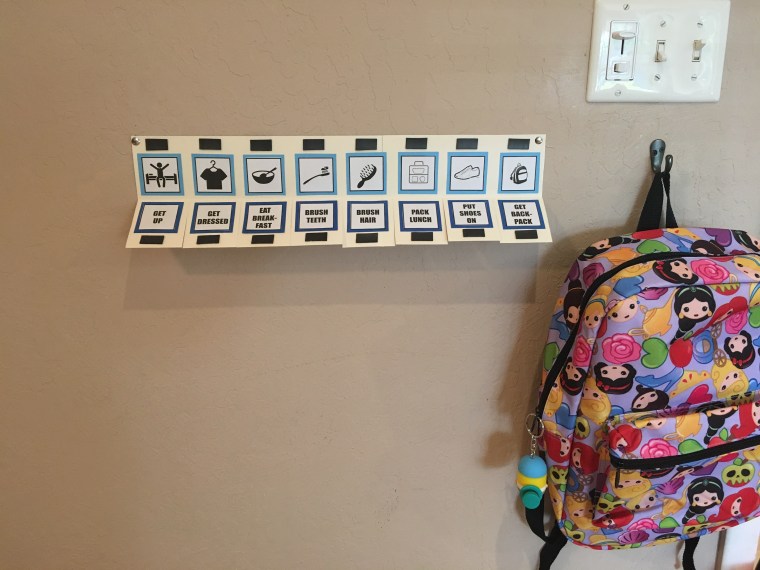
For another “Back to School” idea, check out my post:  DIY Visual Schedule For Kids

Advertisement

DIY Visual Schedule For Kids

School starts next week and we are so not ready!  Summer seems like it has flown by and we are savoring these precious last days of sleeping in, staying in pajamas well into the afternoon, swimming, and staying up late.  This really is the first summer that all of my kids have slept in…and by sleeping in, I mean, not getting up until after 7:30.  I am a night owl, so that extra hour and a half in the morning is glorious for this mama!

The last couple of weeks, I have been taking little steps to prepare for the upcoming school year, cleaning out clothes that are too small and shopping for new clothes and shoes.  But I know that the hardest part for my kids will be the transition from lazy summer mornings to the “get up and go” school morning routine.  So this week, I created this simple and inexpensive visual schedule to help my 7 year old daughter adjust to the new norm.

Watch my tutorial to learn how to create one of your own.  I’m including the template that I used with the morning routine icons and the words that go with each.  The video gives you step by step instructions.  Here’s a list of what you will need…

#CommissionsEarned

IMG_9288fullsizeoutput_eb57fullsizeoutput_eb58

I would love to hear some of your best tips for helping your kids transition from summer to a new school year.

The Amazing Race Birthday Party

Birthday parties are challenging for teen boys.  The past couple of years my son Jacob has not wanted a theme or decorations, so we have just had a few friends over for movies and board games.  But this year, for his 15th birthday, we decided to do something unique.  The idea was sparked by a conversation we had about the youth group I attended as a teen and some of the fun events we got to do.  My favorite was called “The Torture Rally,” a 24 hour car rally around our city with clues to solve and challenges, definitely one of the highlights of my teen years.  I described it to Jacob as a sort of youth group Amazing Race, and the idea for pulling of a birthday party like this was birthed.  We kept the party small and just had one team…so they were essentially competing against themselves, but they had so much fun and it was well worth all the hours of prep that I put in to plan all the clues and challenges.

Here is a list of what we did for Jacob’s AMAZING RACE PARTY!

  1.  PULL 50 MARBLES OUT OF A TUB OF ICE WATER USING ONLY YOUR TOES

IMG_8240

2. MEMORIZE THIS POEM.  FIND THE MAN IN RED ACROSS THE PARK AND RECITE IT PERFECTLY.  IF YOU MESS UP, GO BACK AND TRY AGAIN

Spaghetti, spaghetti, all over the place, Up to my elbows – up to my face, Over the carpet and under the chairs, Into the hammock and wound round the stairs, Filling the bathtub and covering the desk, Making the sofa a mad mushy mess.  The party is ruined, I’m terribly worried, The guests have all left (unless they’re all buried).  I told them, “Bring presents.”  I said, “Throw confetti.”  I guess they heard wrong ’cause they all threw spaghetti! – Shel Silverstein 

IMG_7387

3.  (set up in someones front yard) MEMORIZE THE ORDER Of THESE TRIBAL PRINTED CARDS.  NOW RECREATE THIS EXACTLY IN THE BACKYARD.  YOU MAY RETURN AS MANY TIMES AS NECESSARY BUT CANNOT BRING CARDS WITH YOU.

fullsizeoutput_e3c9

4.  (part 1) WEAR CRAZY PARTY HATS AND MARDI GRAS NECKLACES IN PUBLIC (WALK ACROSS THE BRIDGE) (part 2) CHALLENGE…WITH STRING TIED TO YOUR WRISTS AND CONNECTED TO A PARTNER, FIND YOUR WAY APART (it’s actually quite simple but seems very complicated)

IMG_7404IMG_7418

5.  MAKE MARSHMALLOW SHOOTERS.  NOW SHOOT MALLOWS INTO A BUCKET THAT IS HELD ON YOUR TEAMMATES HEAD (MAKE 5 MALLOWS EACH)

IMG_7421IMG_7425            
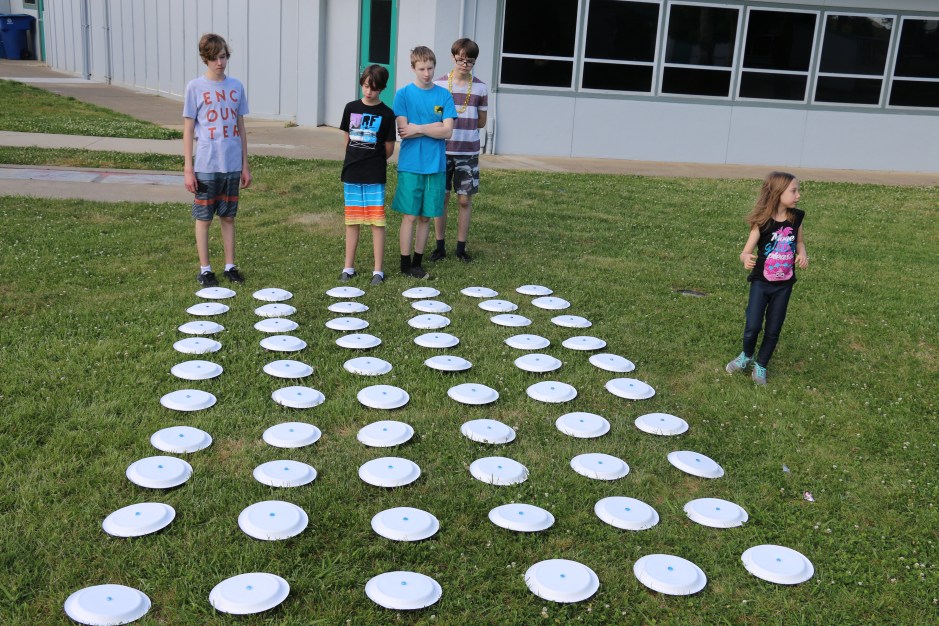
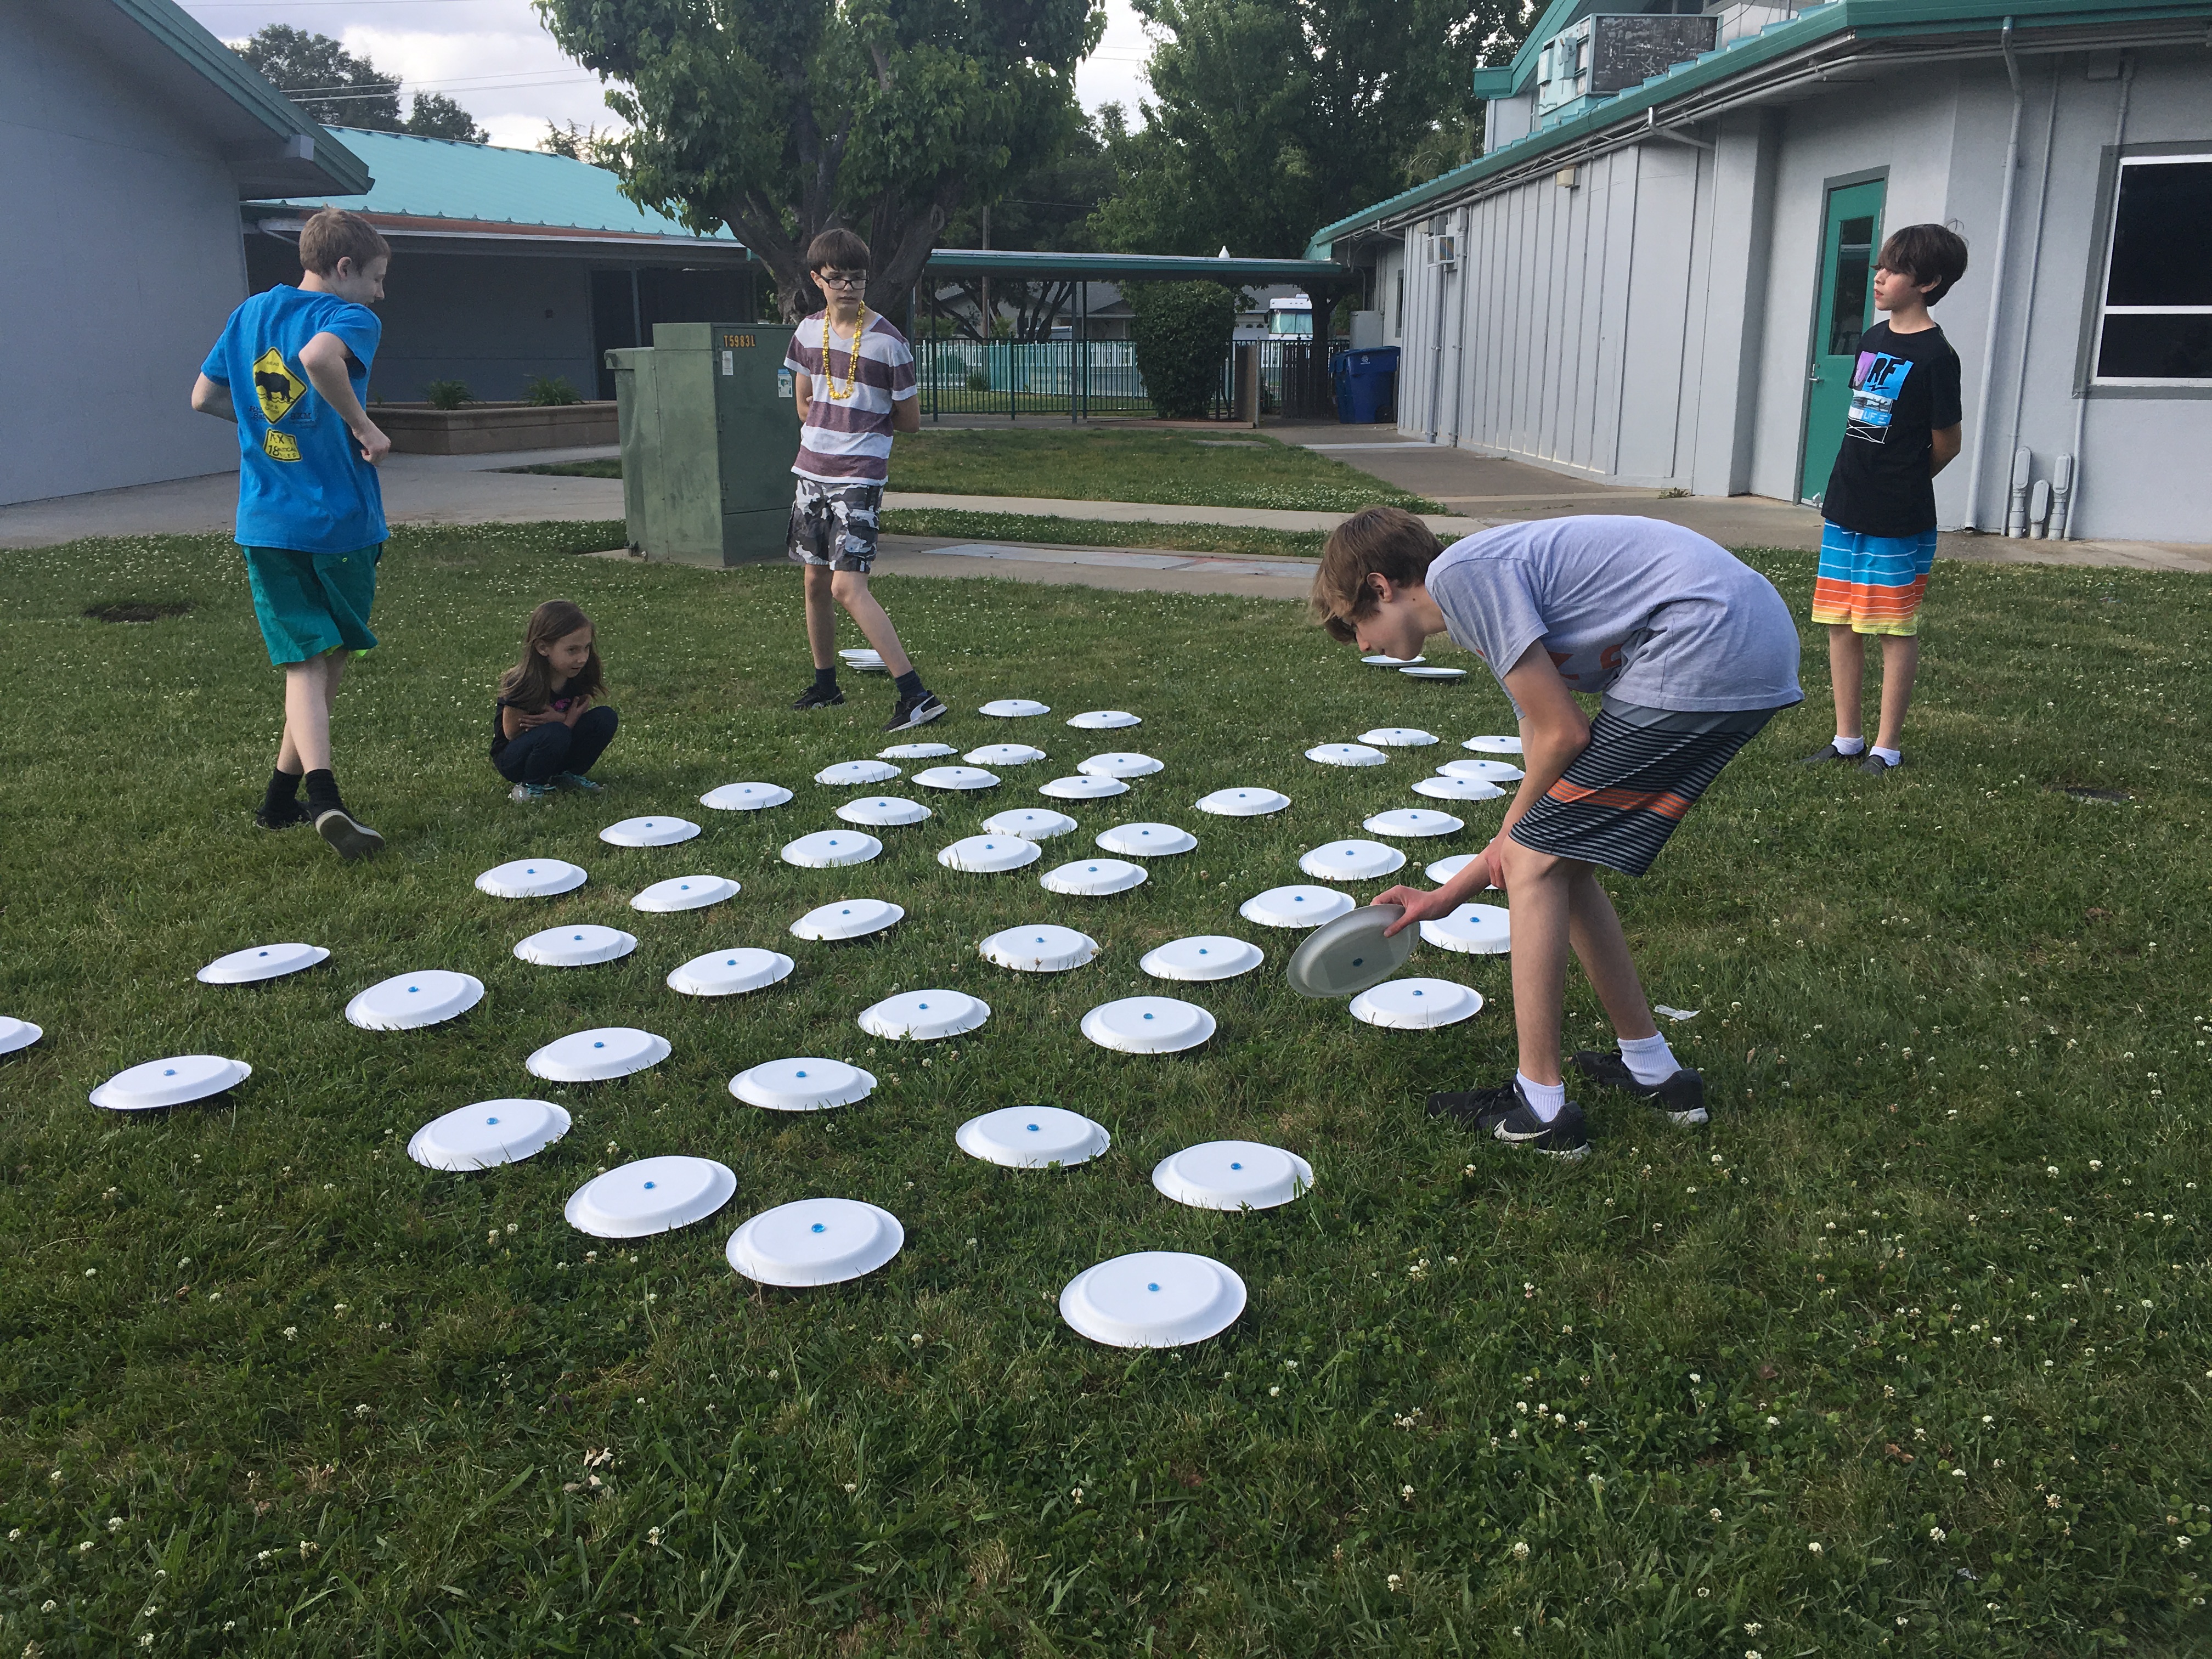
6.  PLAY A GIANT GAME OF MEMORY: BOARD GAME STYLE (game made out of heavy paper plates, printed boardgame photos, and weighed down with flat marbles)

IMG_8069IMG_8072IMG_8074

IMG_8116

7.  FIND THE PIECES OF THE WOODEN PUZZLE HIDDEN IN THE PLAY STRUCTURE.  NOW PUT THE PUZZLE TOGETHER. (much more challenging than it looks)

IMG_7443

8.  GO TO BARNES AND NOBLE AND ANSWER THE FOLLOWING QUESTIONS…

  1. HOW MANY BOOKS ARE THERE IN THE BIBLE?
  2. WHAT IS THE TITLE OF A BOOK WRITTEN BY OUR PRESIDENT?
  3. HOW MANY BOOKS ARE IN “THE DIARY OF A WHIMPY KID” SERIES?
  4. NAME 3 “NON-BOOK” ITEMS YOU CAN PURCHASE HERE
  5. FIND AND NAME 2 BOOKS BY THE CHILDREN’S AUTHOR ERIC CARLE 

IMG_7446

9.  GO TO THE MALL.  FIND THE PHOTO BOOTH.  TAKE A PHOTO WITH YOUR WHOLE TEAM IN THE BOOTH AT THE SAME TIME.

IMG_7454IMG_8146

10.  USING SIDEWALK CHALK, DRAW AN ACCURATE DIAGRAM OF THE SOLAR SYSTEM, PLACING EACH PLANET IN ORDER STARTING WITH THE SUN

IMG_8137

IMG_7460

11.  DIVE INTO THE POOL AND RETRIEVE THE GOLF BALLS AT THE BOTTOM.  EACH HAS A LETTER WRITTEN ON IT.  UNSCRAMBLE THE LETTERS TO DECODE THE MESSAGE

IMG_7482IMG_7490IMG_8144

IMG_7504

FINISH THE NIGHT WITH PIZZA AND CUPCAKES AND OF COURSE AN EPISODE OF THE AMAZING RACE!!!IMG_8150IMG_8223

The Amazing Race Birthday Party lasted for about 5 hours total (the race itself was 4 of those hours which included a “pit stop” for snacks about half way through).  Be sure to come prepared with bottles of water to keep everyone hydrated, especially during the summer.  For more Amazing Race Birthday Party footage check out this fun video of the highlights from Jacob’s party and you can find more race style party products on Amazon! #CommissionsEarned 

For another fun birthday party idea for teen boys, check out my latest blogpost:

Retro Video Game (ARCADE) Game Room for Teens

DIY Tablecloth Curtains

A couple of years ago we rented the cutest little house in an older neighborhood.  The street was lined with big trees, the neighbors were friendly, and the backyard was filled with a variety of fruit trees.  The house itself had a lot of character, including a wall covered in shiplap, a large window with a view of a train trestle, glass doorknobs, and old light fixtures.  The master bedroom, however, needed a bit of help.  Because we were renting, I didn’t want to invest a ton of money into bedroom decor, as we knew we wouldn’t be living there very long.

One afternoon my husband decided to take the kids to see a movie and he left me with a couple of glorious hours home alone.  I had purchased two rectangular tablecloths at Target a couple of days before, so I went right to work on creating some curtains to brighten up my bedroom.  The windows truly were the best feature of that room, so I wanted to highlight them.

I can’t believe how easy it was to sew these simple curtains!  By the time my family came home, I was finished and my bedroom had a completely new look.   Here’s my tutorial on how to make simple curtains out of a rectangular table cloth.

I would love to hear from you.  Leave me a comment and tell me about your favorite DIY project and of course show me a picture if you make some tablecloth curtains of your own!


Dr. Seuss (Cat In The Hat) Birthday Party

Dr. Seuss’ birthday is March 2nd.  When my boys were little, they LOVED Dr. Seuss books.  The Cat in the Hat was one of their favorites!  Several years in a row I made cupcakes for my oldest son’s class for Dr. Seuss’ Birthday.  Then when Jacob turned 7, he decided to have a Cat In The Hat Themed Birthday Party.

Jacob will be 15 in May.  Time sure flies!  But sometimes I look at him and I still see that sweet little 7 year old running around in his Cat in the Hat, red and white, striped hat.  Thankfully he’s still just as sweet, almost 8 years later, but we are well past the age of themed birthday parties.

So today I am taking a few minutes to reminisce.  With Dr. Seuss’ birthday  just a few weeks away, I decided that I would look through our archives of photos and share some of my memories with all of you.   The quality of photos isn’t the greatest.  I had no thought of starting a blog back then…just of keeping up with two busy little boys, but I’m sure there are some fun ideas for those of you who are thinking of hosting a Cat in the Hat Party or just looking for something fun to do on Dr. Seuss’ birthday.

For Jacob’s party, he wanted to watch some classic Dr. Seuss cartoons, so we made our house into a mini movie theater including a “red carpet” entrance made out of a red plastic table cloth.  Our snack bar included popcorn, red vines, water bottles, and m&ms.  We gave each of the kids some pretend money to “purchase” their snack items and ushered them into a curtained off room, lit only with white lights around the perimeter of the floor. We projected the movie onto a wall to make it feel like a movie theater and set up some cozy seating along the other wall.

DSC04597.JPGDSC04571.JPG

I decorated with a display of our own Dr. Seuss books and some cardboard cut outs that I purchased online.  For the cake, I bought a white plate and turned it upside down for the base.   I made 5 cake rounds and stacked them one on top of the other.  I frosted every other white and red and piped a bit of black frosting for the lines.

DSC04569.JPGDSC04568.JPGDSC04573.JPGDSC04575.JPG

The cupcakes featured are the ones I brought to Jacob’s class.  For the toppers, just layer white lifesavers and round cinnamon hard candies with frosting in between to “glue” them together.  Place the candy toppers in the refrigerator to harden before putting them on the cupcakes.  Frost the cupcakes blue and then add a circle of white in the middle before placing the candy hats in the center.  The white frosting becomes the base of the hat.

dsc05909

I filled a basket with Dr. Seuss pencil and eraser sets for each of the kids to take home as a “thank you for attending my party” gift.  This was definitely a fun and memorable birthday party for my oldest boy!

DSC04576.JPG

Nerf Wars Birthday Party

My kids all love to play with Nerf guns!  When my son was turning 7, all he wanted was a giant Dart Tag Nerf Gun.  This gave me the idea to plan a Nerf Wars Birthday Party for Micah and his friends.  I gathered several large cardboard boxes from some local appliance stores and got right to work.  I projected several Nerf logos and targets on the sides of the boxes and got the kids to help me paint them.  I also made a couple of felt targets to hang on the trees in our backyard so that the dart tag bullets would stick to them.  I made a simple pendant banner with the words “NERF WARS” also out of felt and hung it from some trees.  I told the kids to bring a nerf gun with them, but I also bought some cheap little guns at Target and a bunch of extra nerf bullets for the most epic Nerf War ever!

The day of the party, my husband staged the backyard with our homemade barriers and hideouts.  He also cut lookouts out of some of the extra boxes.   We threaded a line of balloons across the width of the yard for target practice and we were ready for the party to begin.  The kids came, they played for hours, and even some of the grown ups joined in.  Micah was not disappointed!  He got his beloved Dart Tag Nerf Gun and he got to battle with his best buddies in his very own backyard.  This party is one that he will fondly look back on for years to come.

IMG_4846IMG_4851IMG_4857IMG_4858IMG_4840IMG_4841IMG_4844IMG_4843IMG_4837
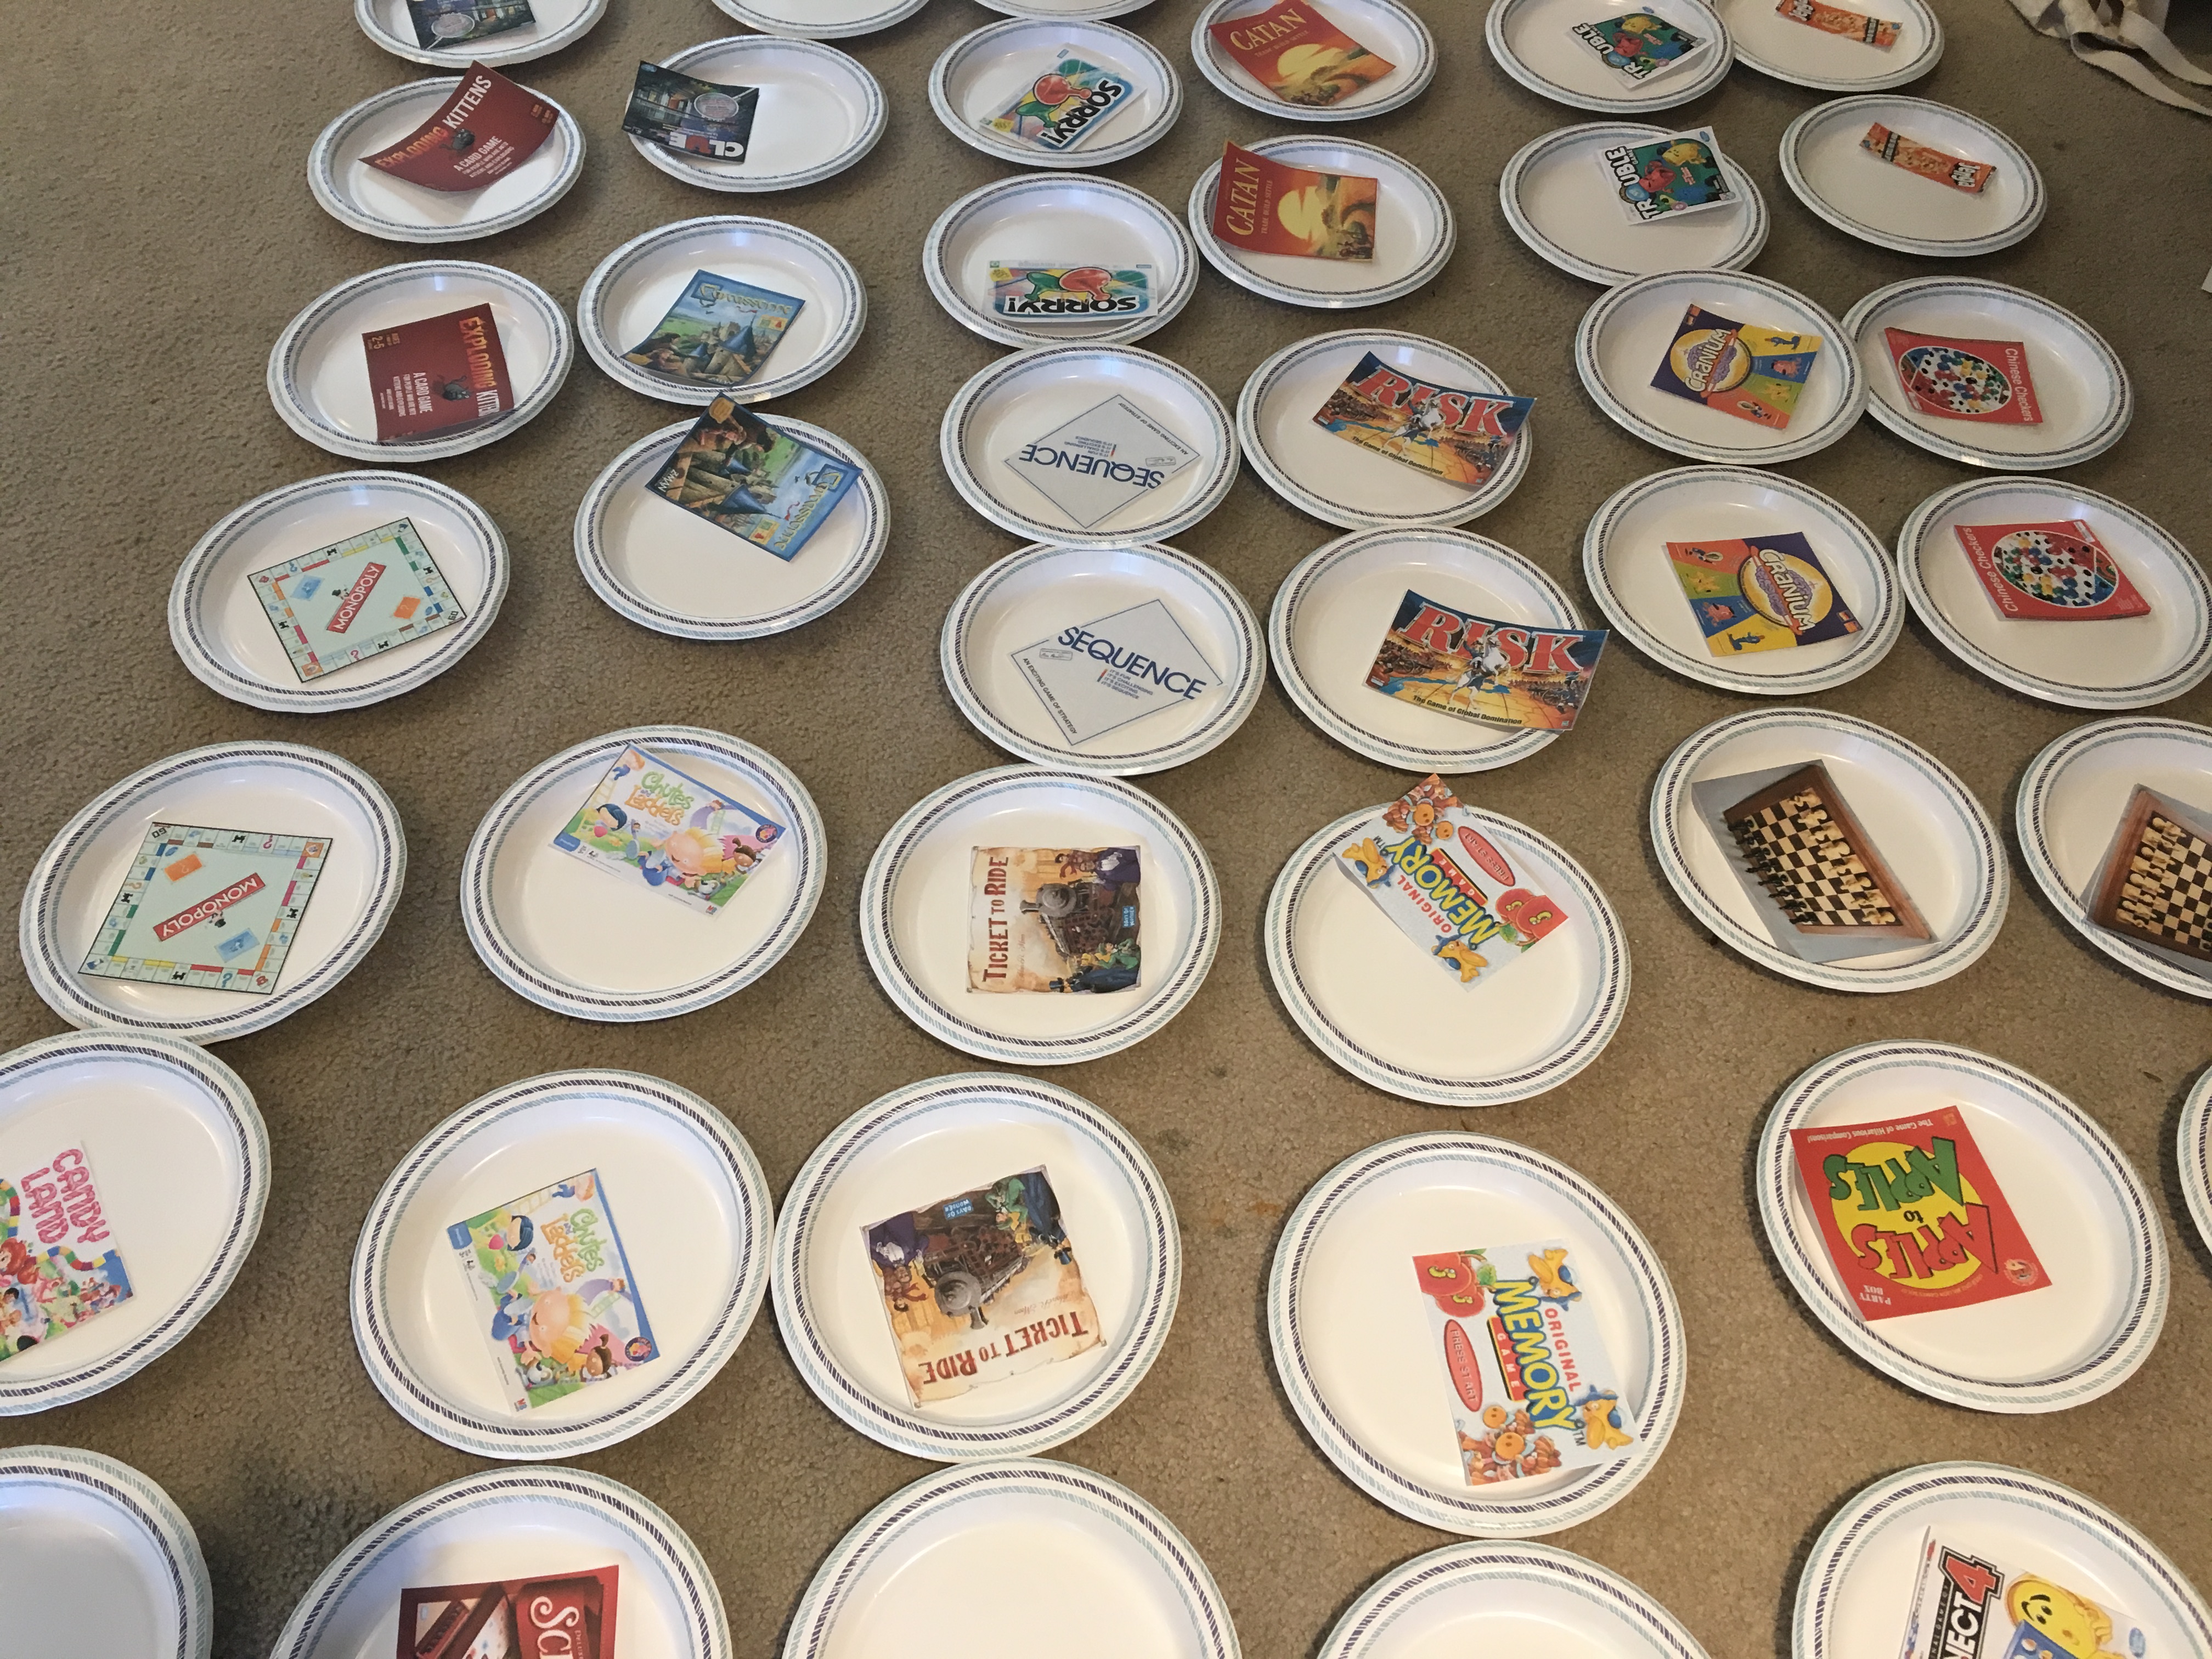
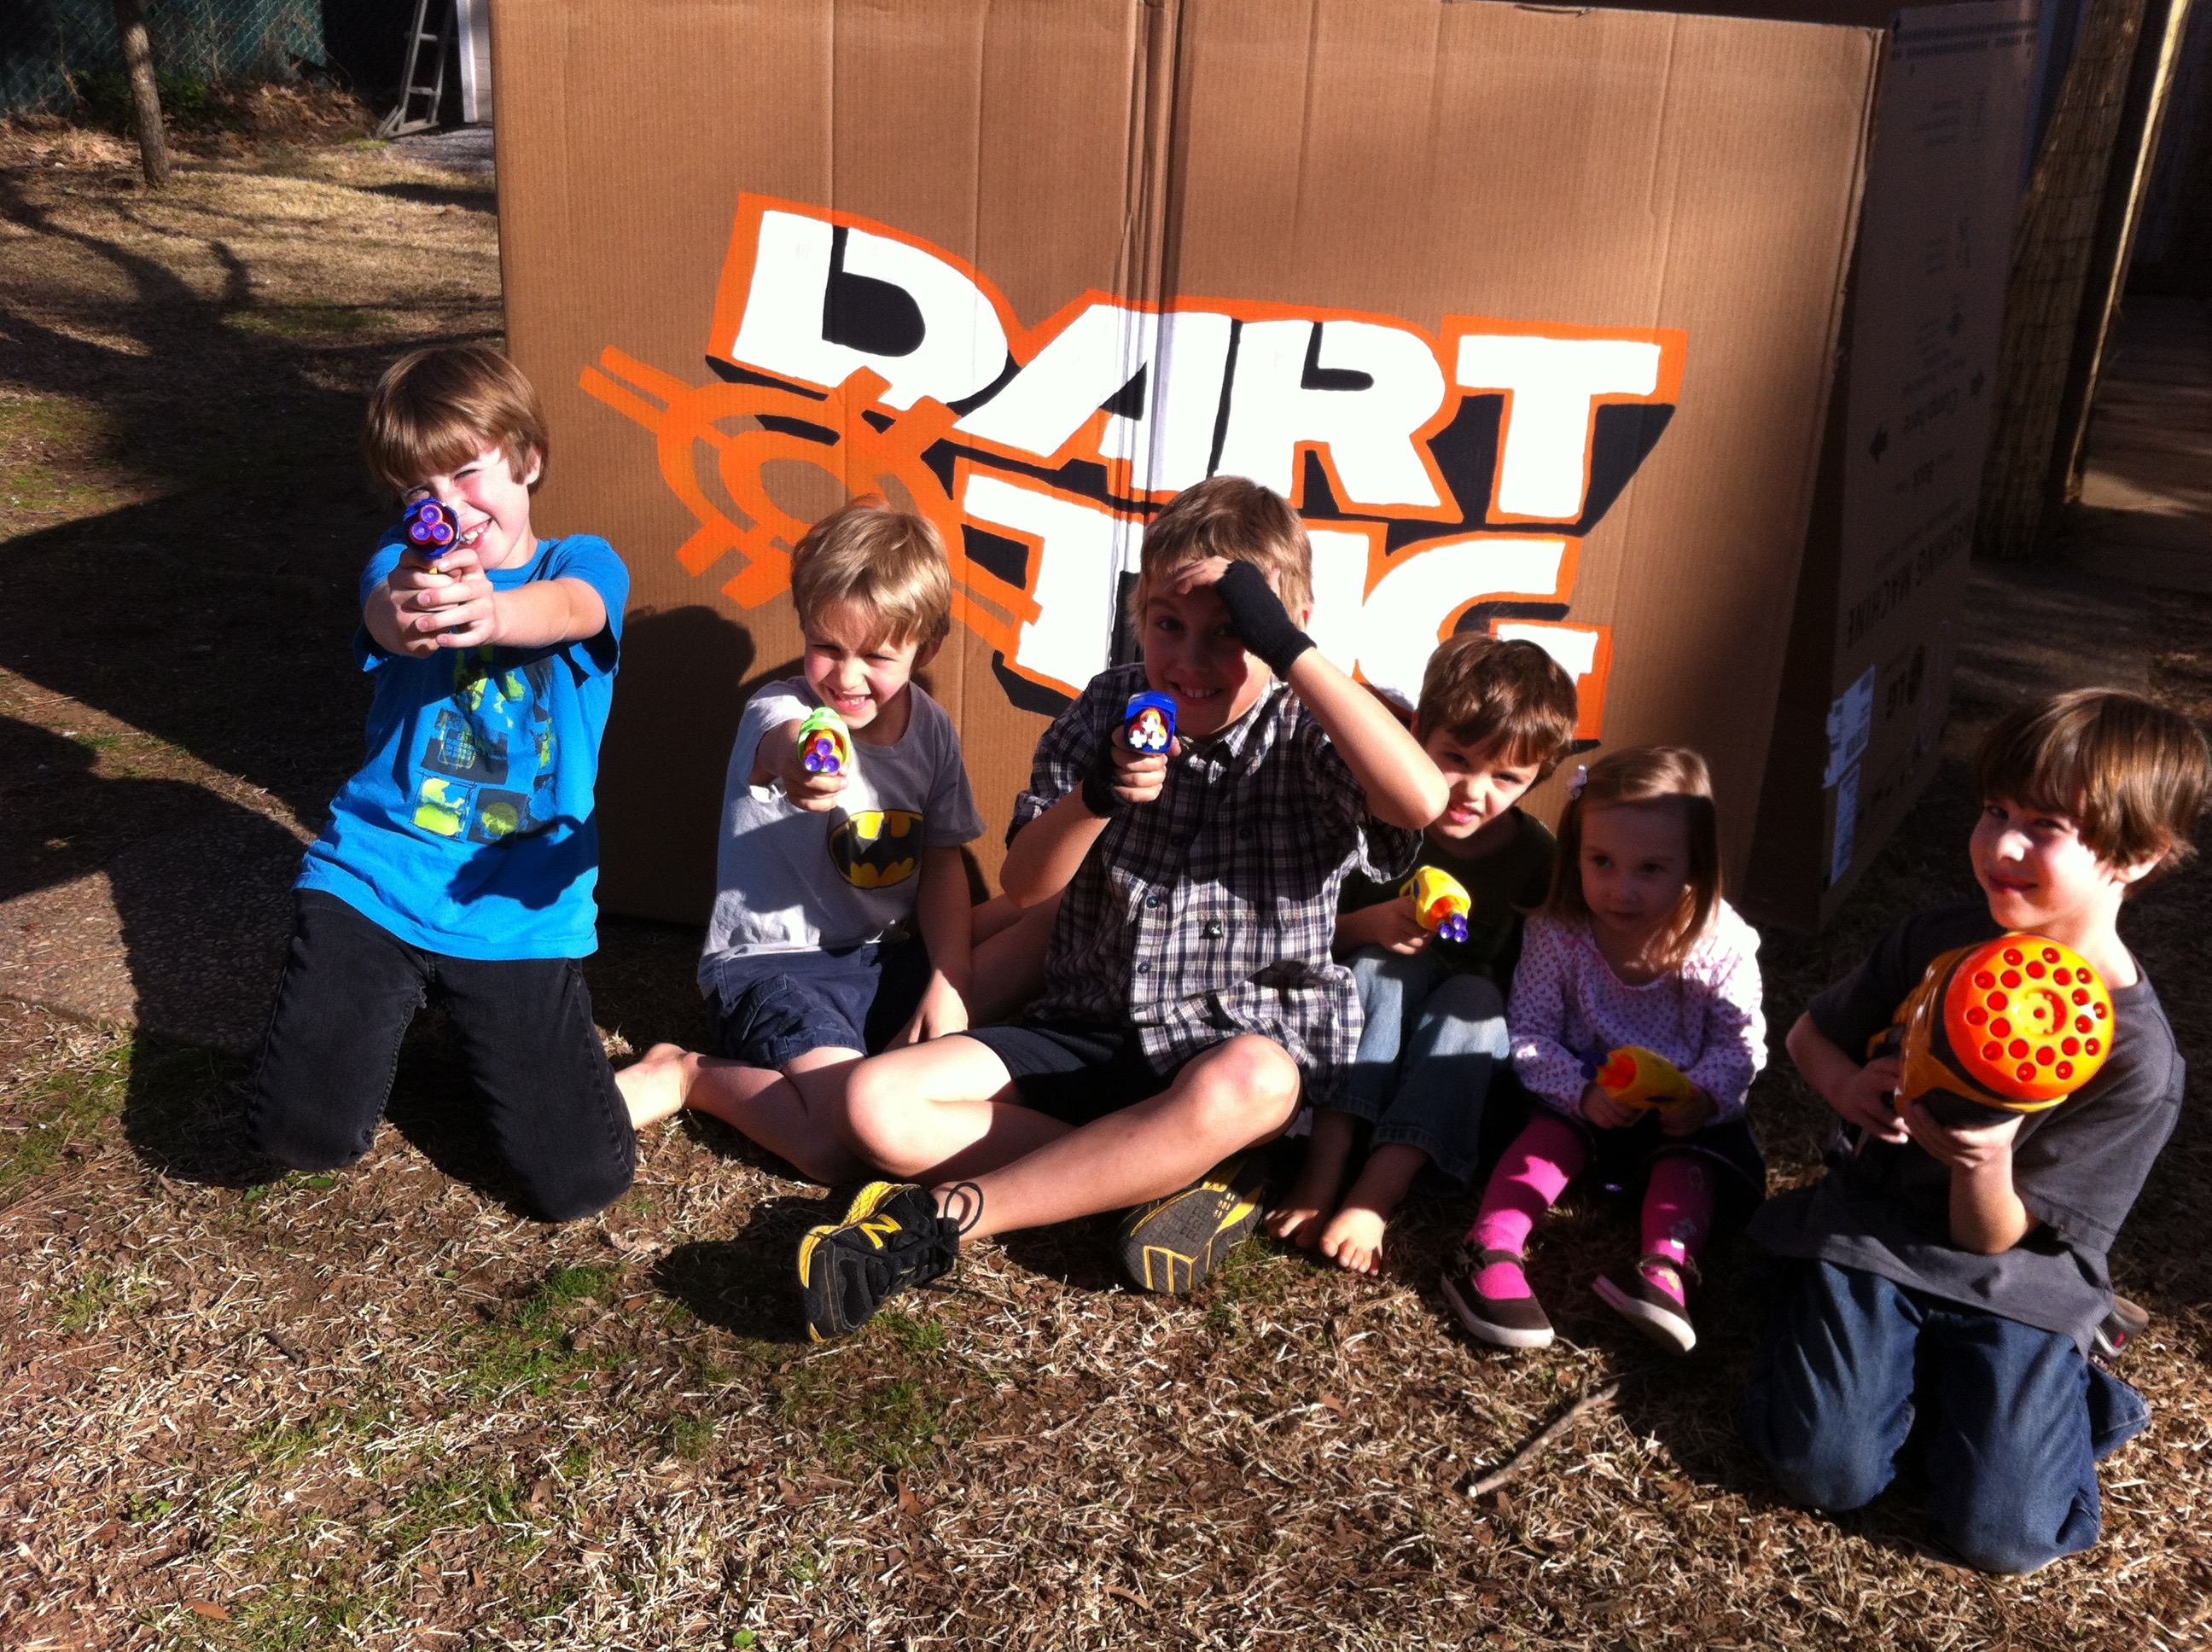
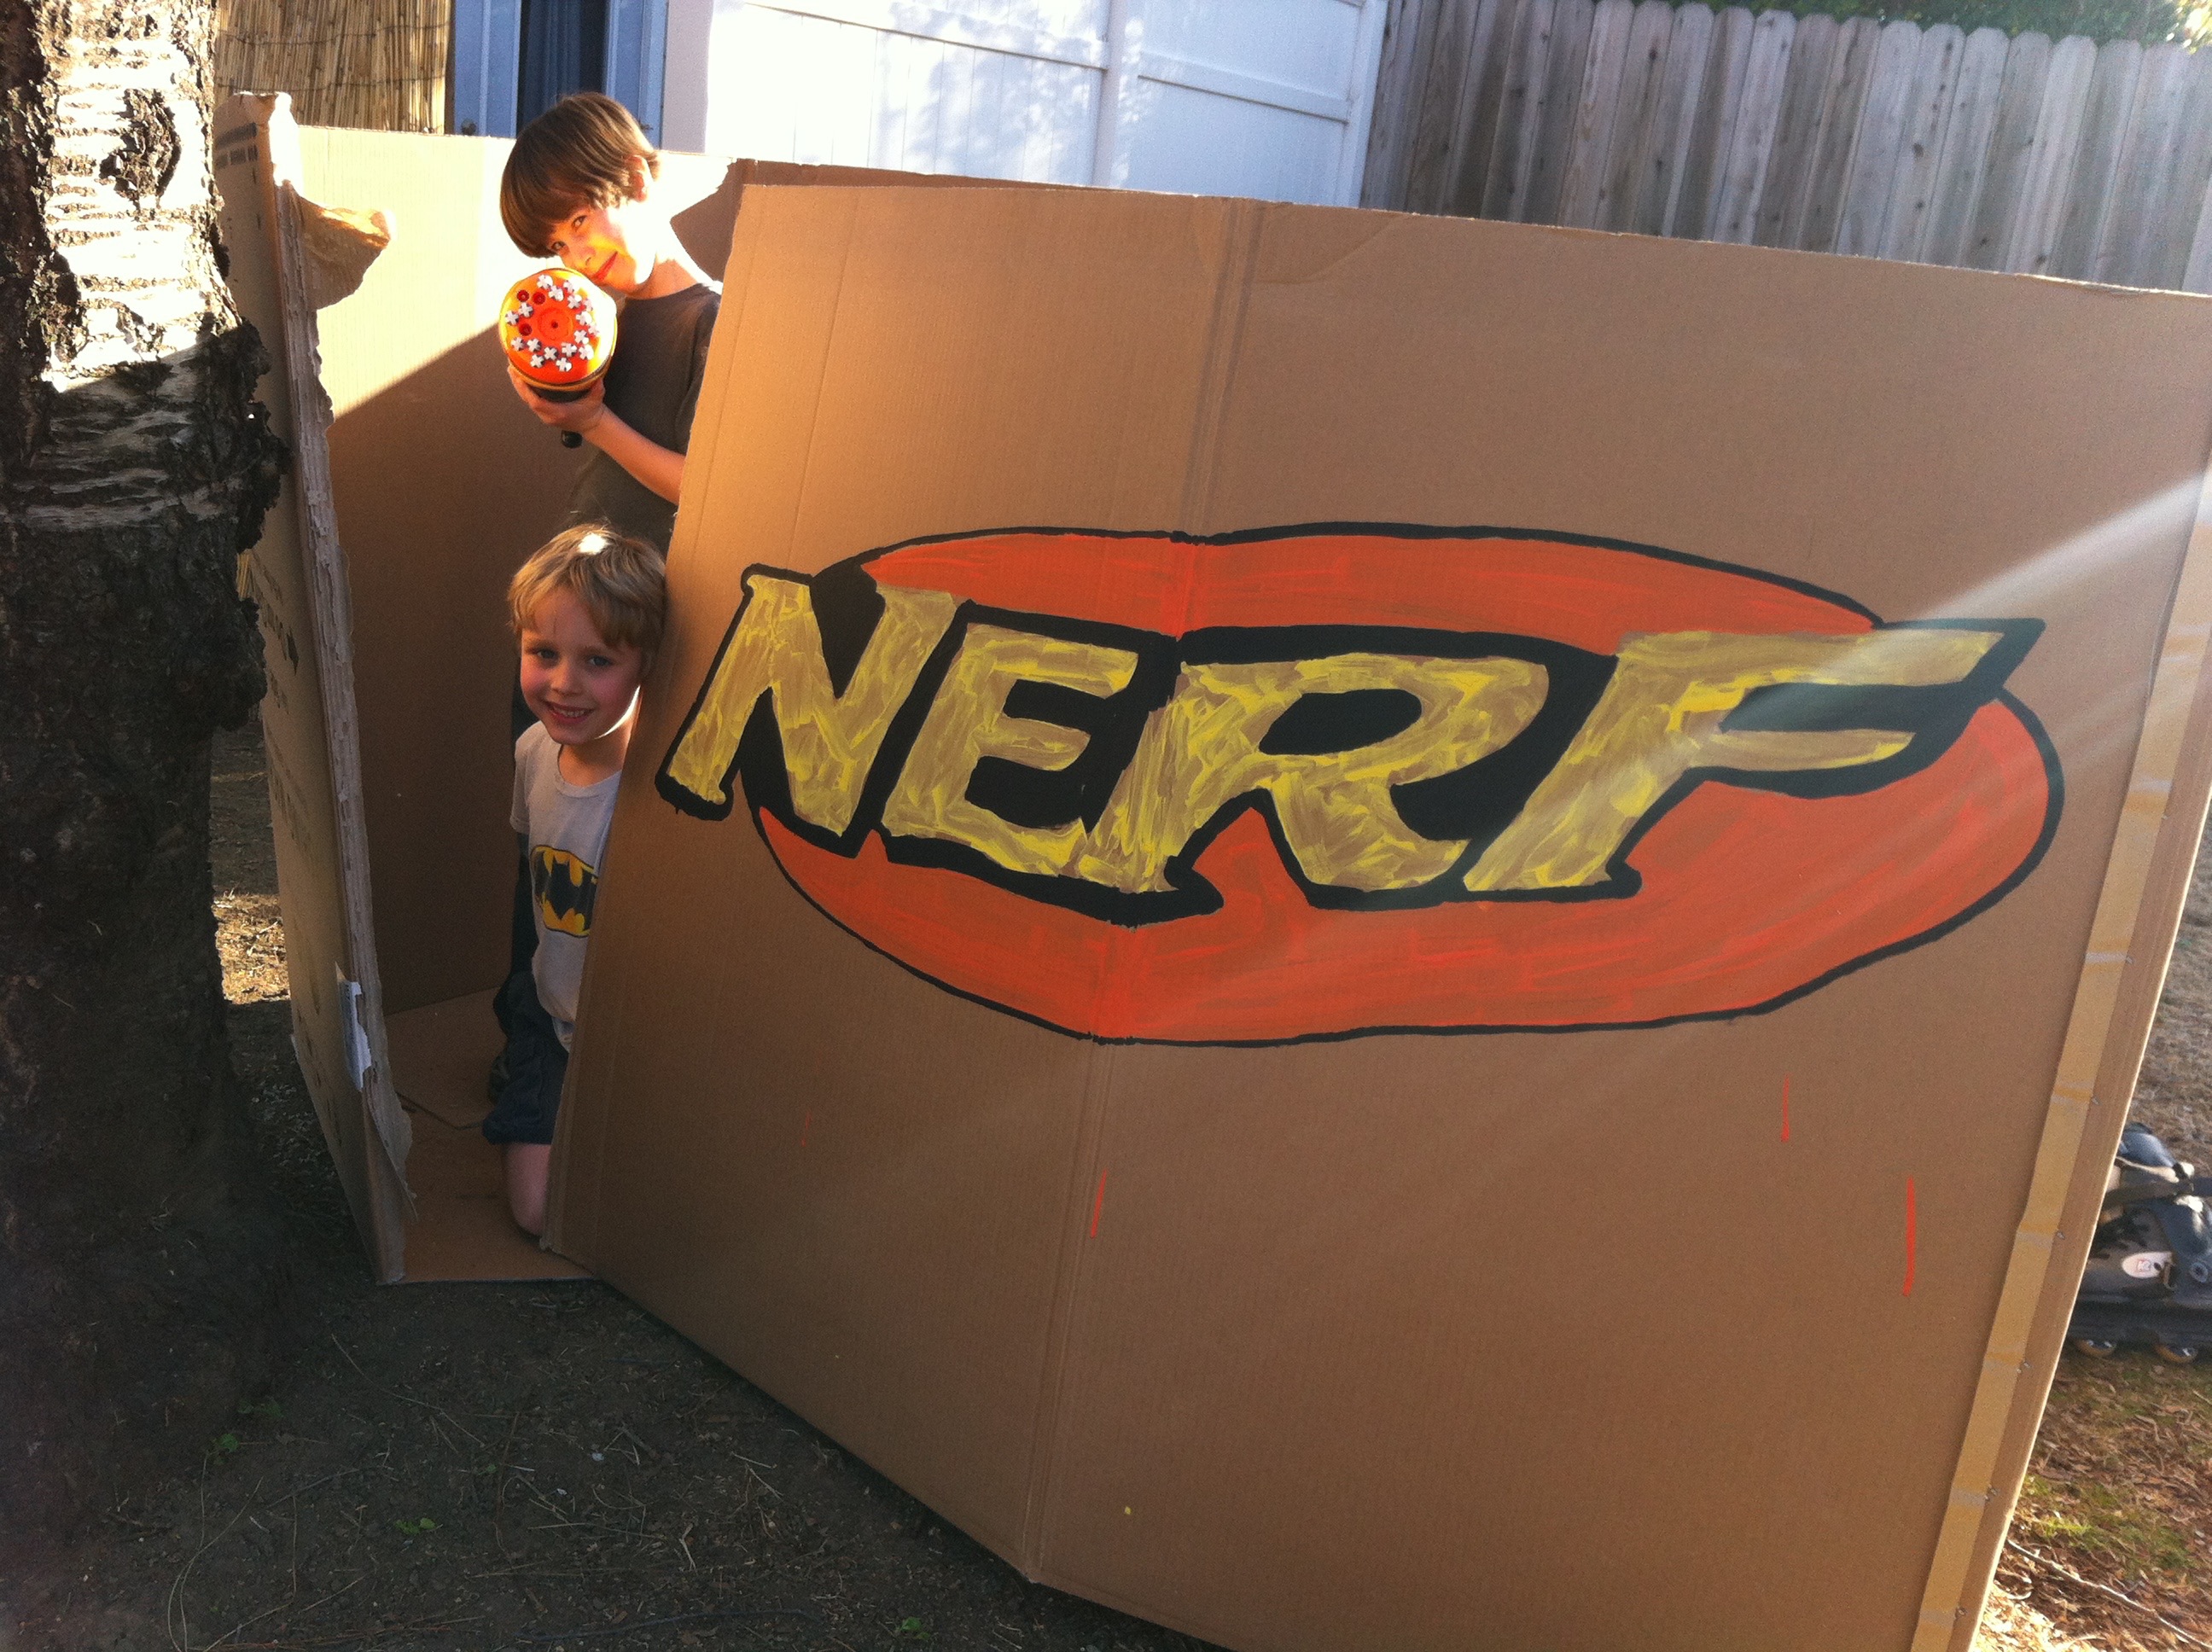
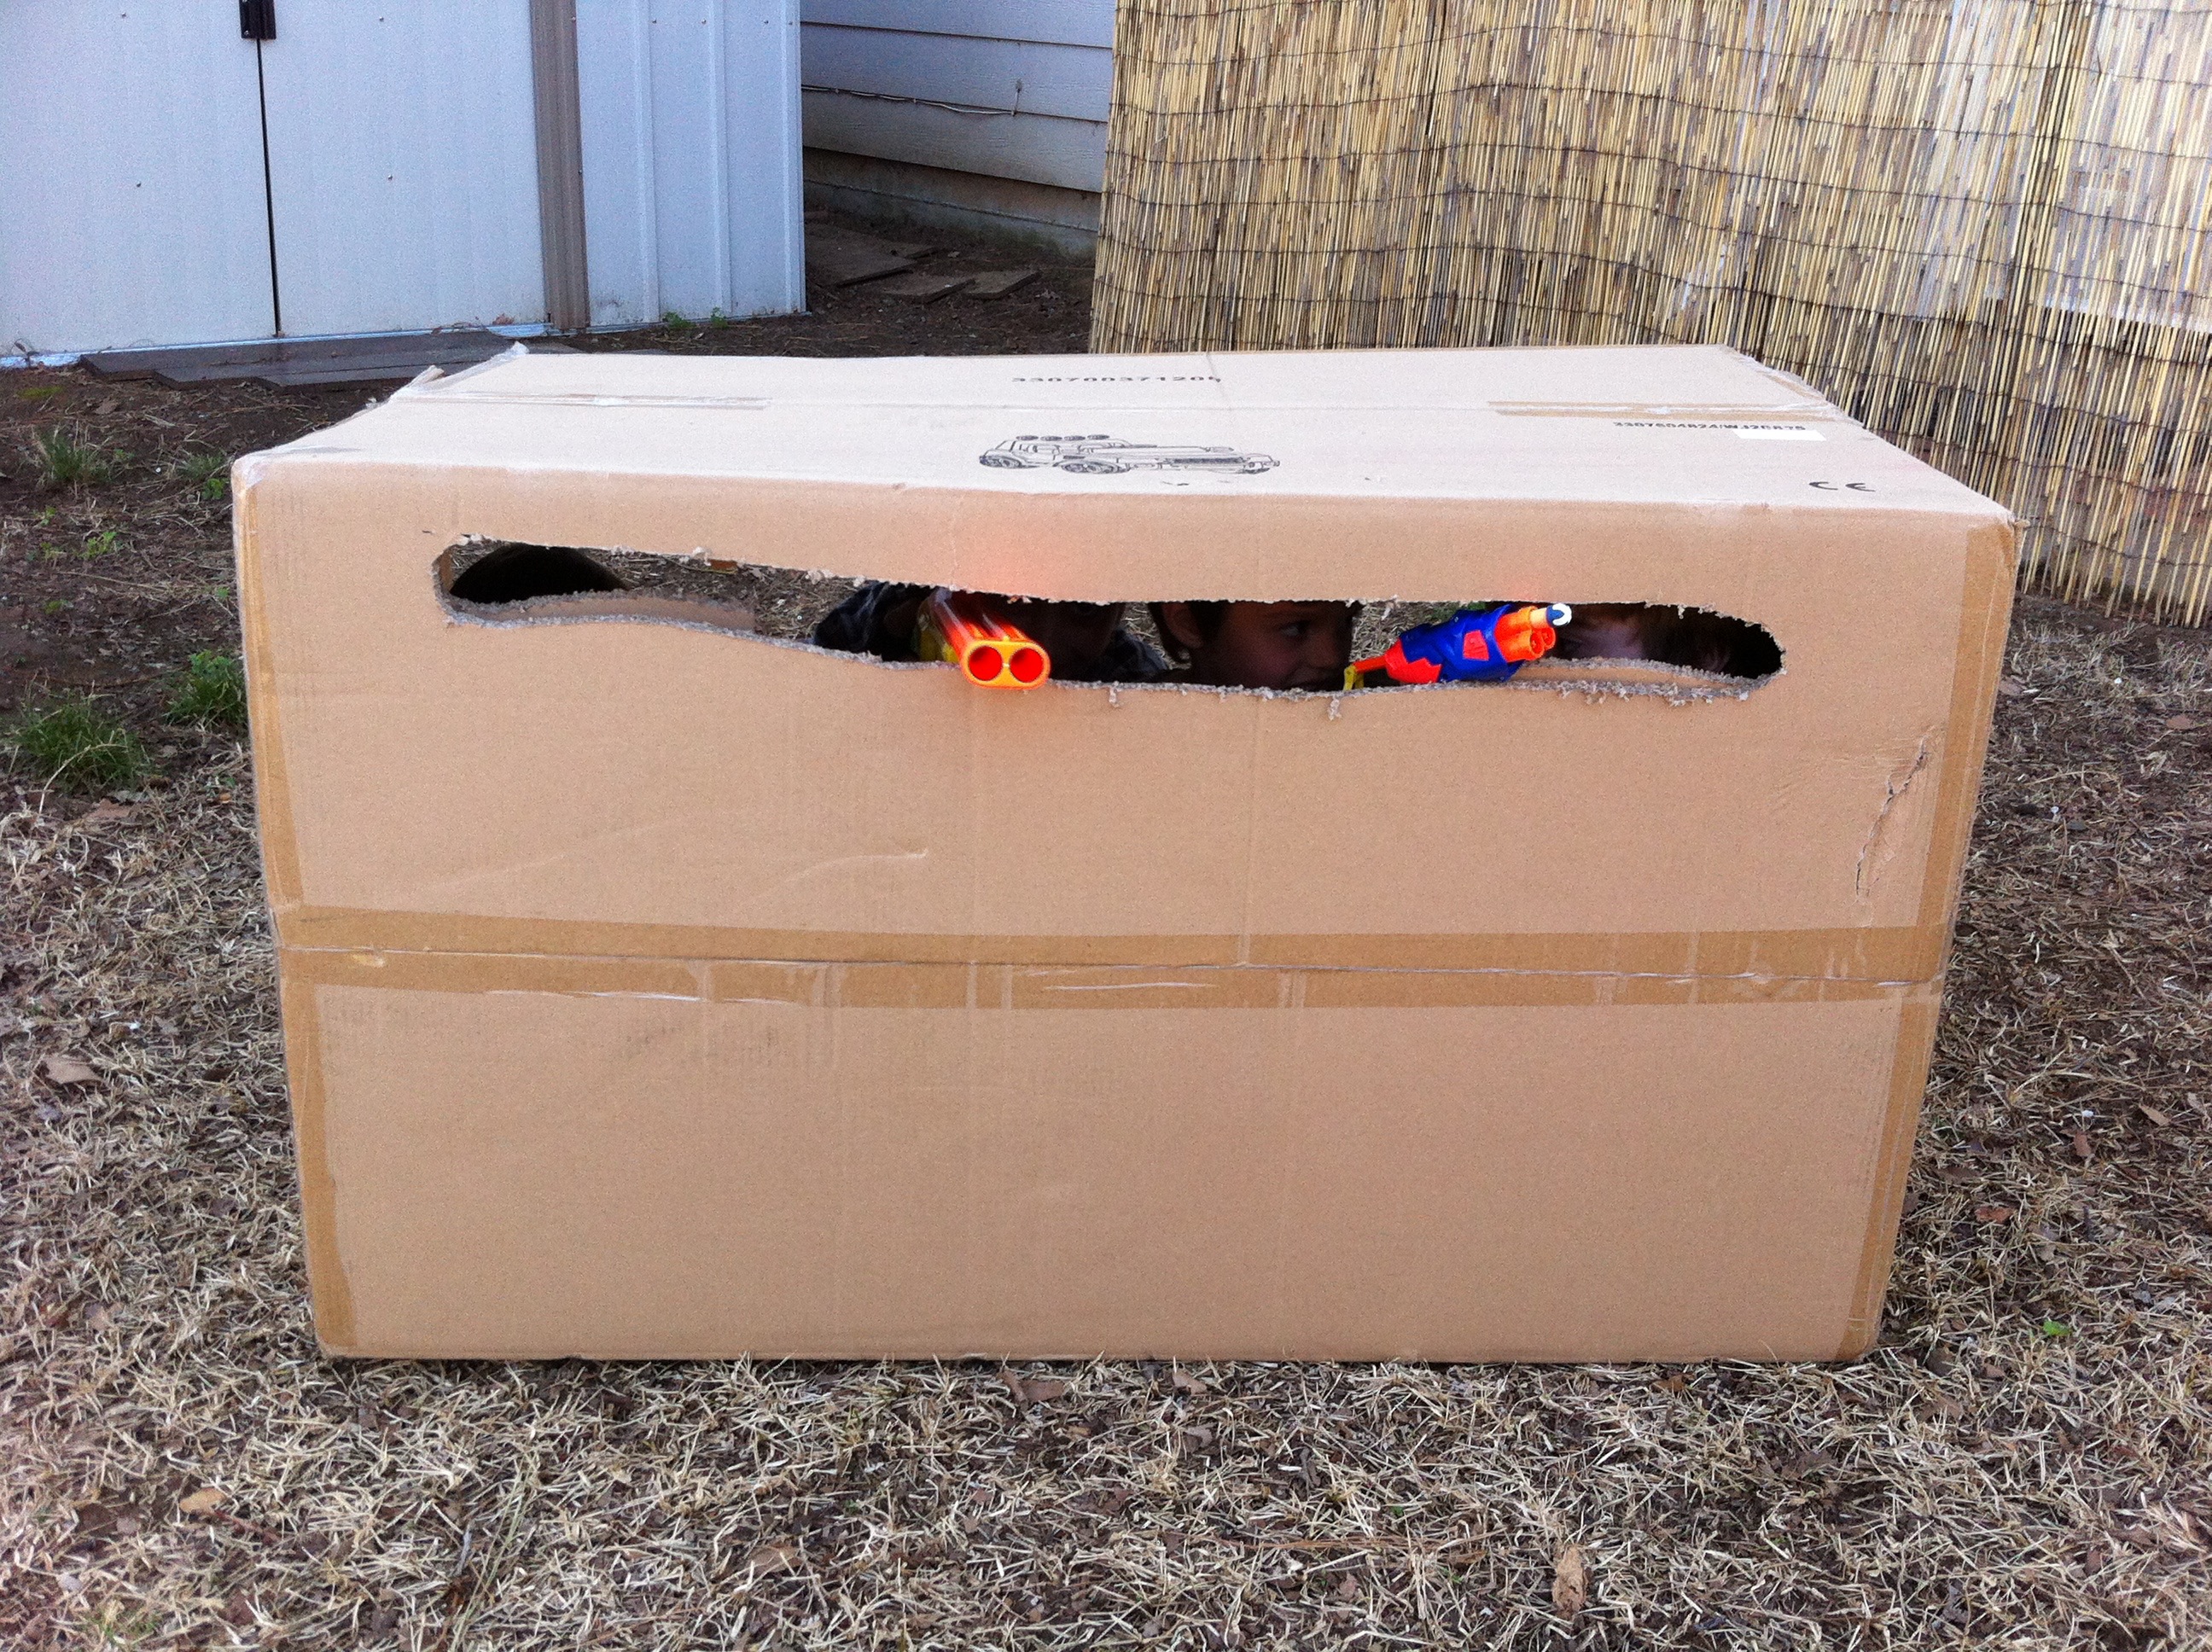
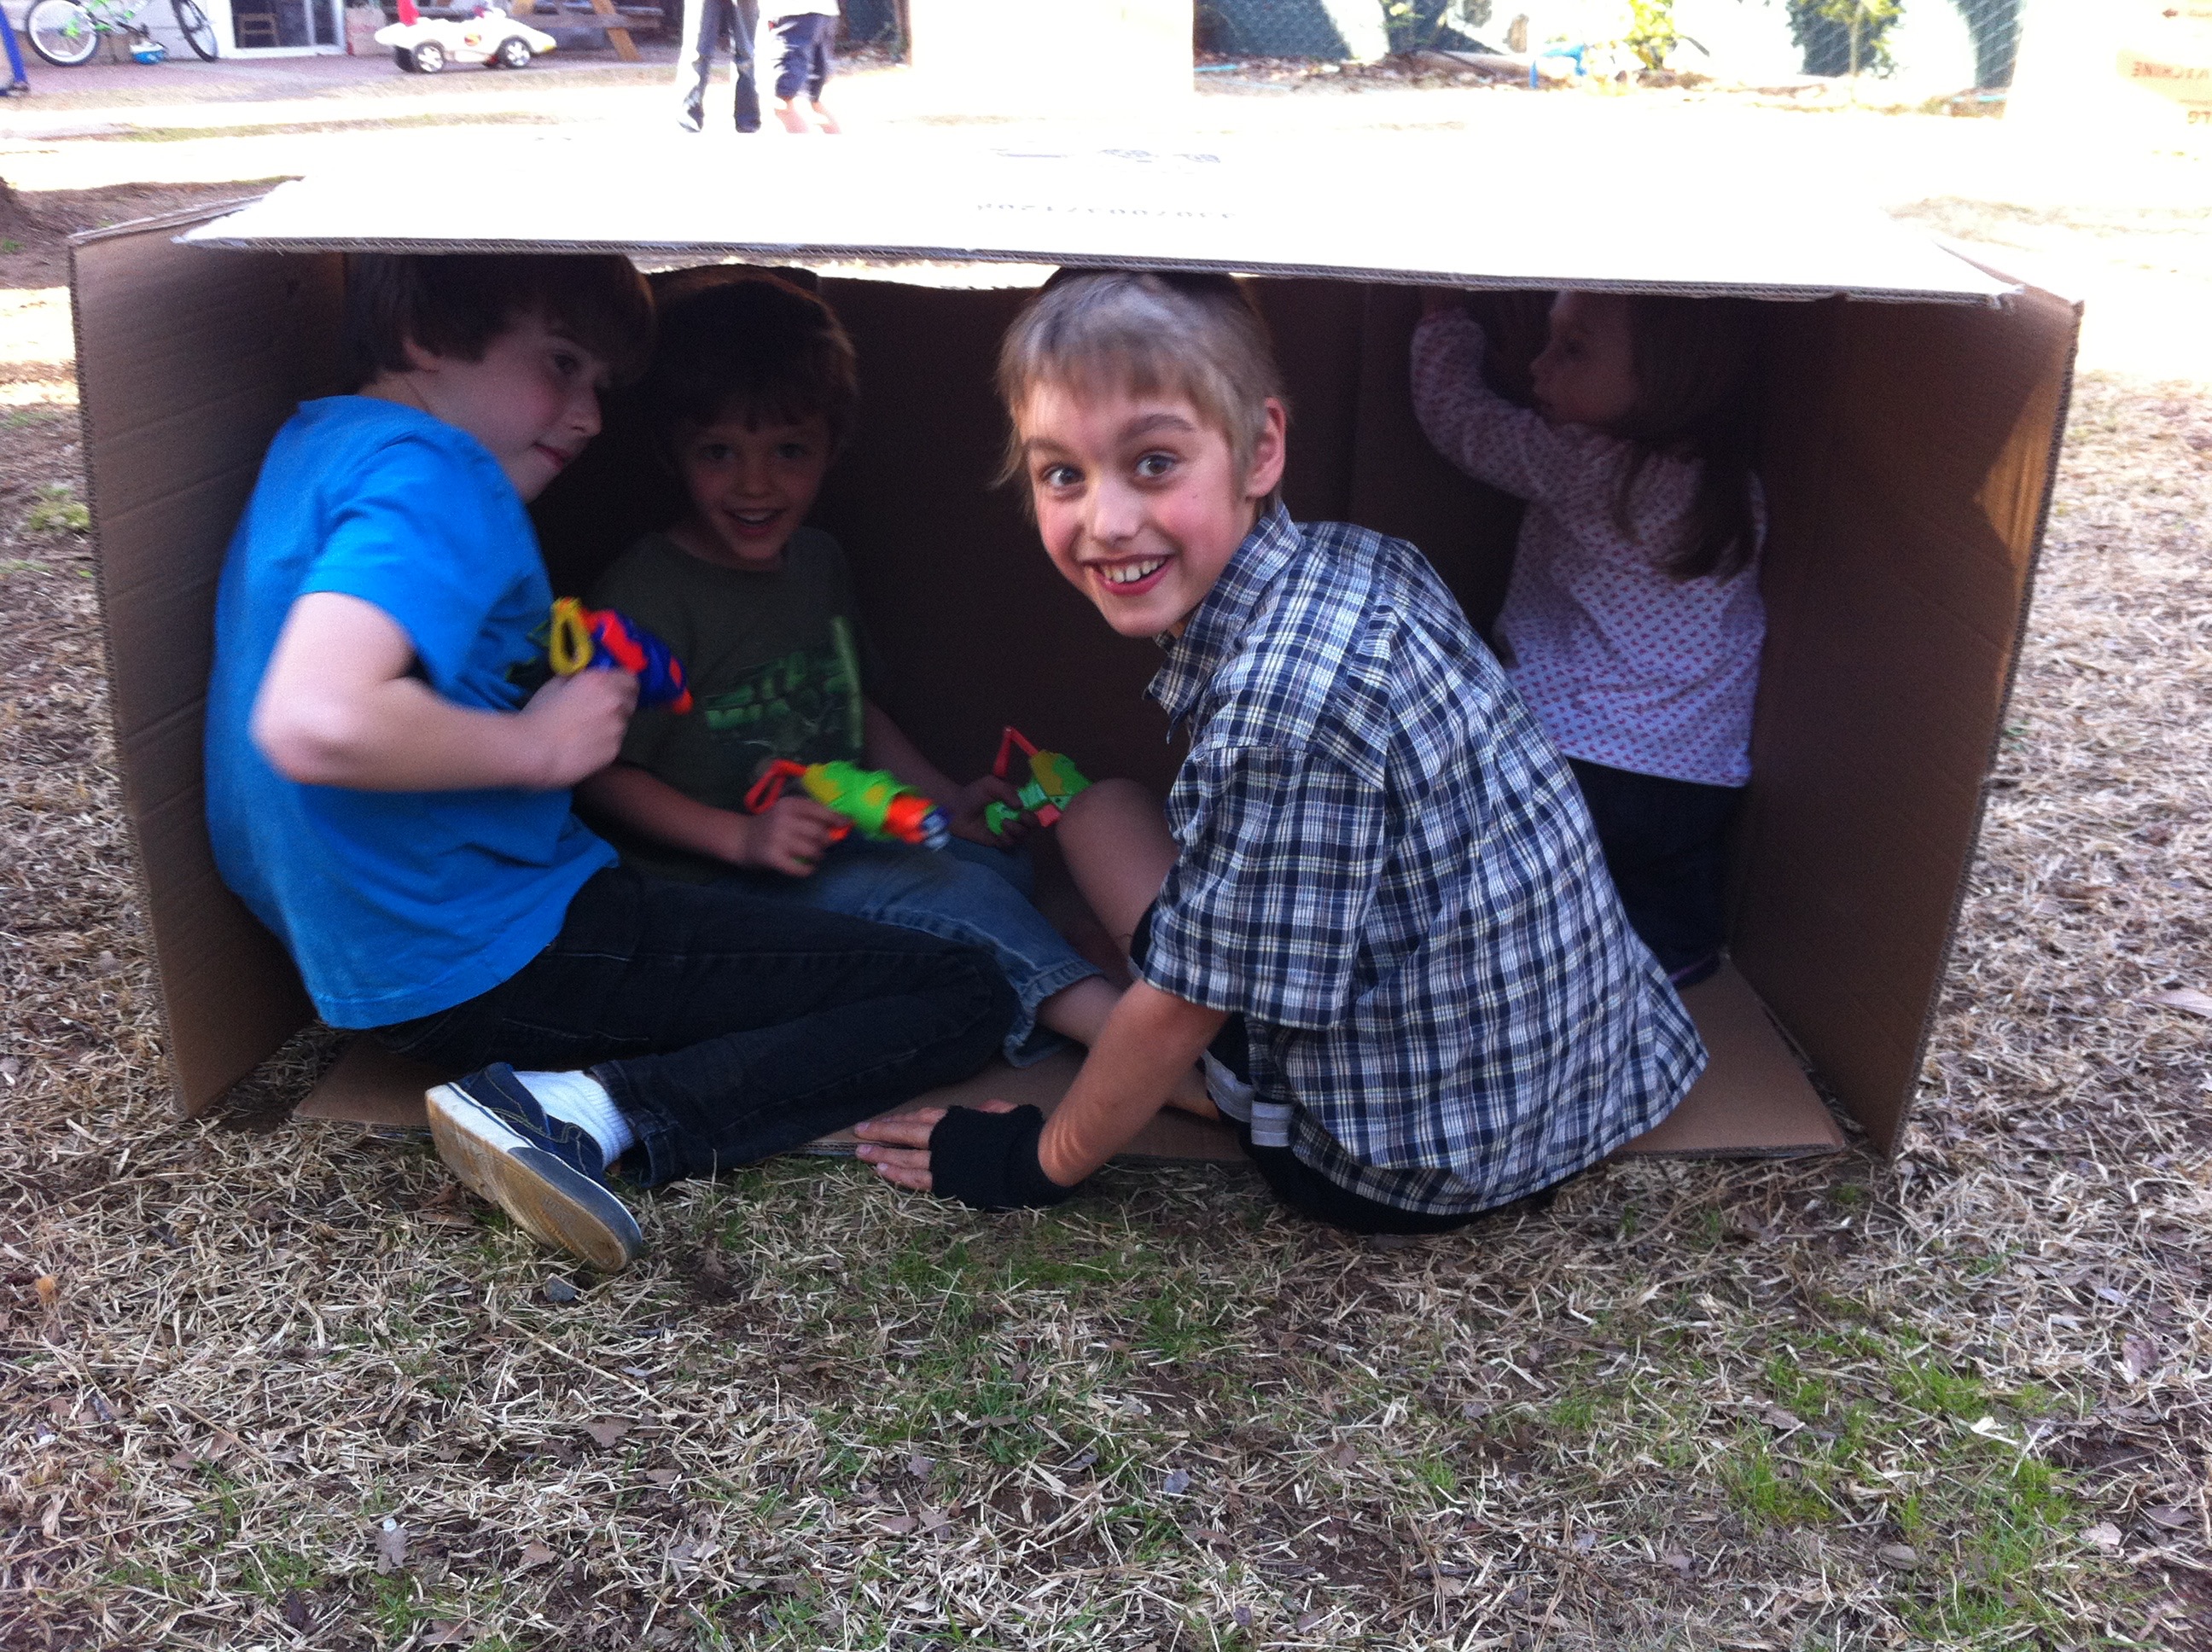
If you are looking for more Nerf ideas click here for my latest tutorial on how to create really fun spinning targets to use for target practice with Nerf guns.

Chocolate Covered Strawberries

Strawberries and Chocolate…the perfect combination.  When my husband asked me to come up with a dessert to pass out to the moms of our church for Mother’s Day, I knew exactly what to make.  Chocolate covered strawberries are delicious on their own, but when you add a drizzle of white chocolate across the top they are even better!  I have to admit, that I didn’t quite know what I was getting into when I said yes to dipping 500 chocolate covered strawberries for Mother’s Day at the Stirring.  I may or may not have stayed up until 2 AM finishing these tasty little treats!  Lesson learned, next time, I will ask for help 🙂

Here are a few tips to make the perfect chocolate covered strawberries.  First of all, choose berries with pretty stems.  They look much more appetizing.  Use white cupcake holders to place your dipped berries on so they each have their own holder.  Rinse your strawberries and dry them on paper towels.  Do not skip this step!  It’s essential to dry each strawberry completely before dipping or the chocolate will not set correctly.

Once your berries are dry you are ready to dip.  Melt your chocolate.  I used Wilton’s candy melts in dark cocoa for the dipping and in bright white for the drizzles.  Dip each strawberry and place on a individual cupcake holder to set.  Once your dark chocolate has hardened, you can melt the white.  I used a spoon to drizzle the white chocolate over each berry.   In no time at all, you can have a platter of delicious chocolate covered strawberries to serve at your next party, or to just enjoy with your family.

Marshmallow Pops (with Nerds)

It sounds like a an interesting combination, marshmallows, chocolate, gummy lifesavers, and nerds, but my kids request these just about every year for their birthdays.  I have found these marshmallow pops to be the perfect treat to bring to my kids classrooms on their birthdays.  One bag of marshmallows makes about 50 pops, and after making them a few times, I can whip out a batch in about an hour.  They are always a huge hit and my kids are thrilled to pass them out to all of their friends.  They are easy enough to create, that you can involve your children in the process, which makes it all the more fun!

For 50 pops you will need one bag of Kraft Jet-Puffed marshmallows, 50 lollipop sticks, 2 bags of Wilton’s chocolate candy melts (I have used both dark cocoa and light cocoa), 2 packages of  LifeSavers Gummies, 3 (movie candy sized) boxes of rainbow Nerds candy, and wax paper. Check back soon for my video tutorial on how to make these tasty little treats and be sure to make a few extra to keep at home.   Take my word for it, you may end up liking them just as much as your kids do! IMG_7152

Mario Kart Birthday Party

Mario Kart has been a favorite game for our whole family.  For my oldest son’s 7th birthday, he wanted a Mario Kart party.  My husband worked hard on this party, making it a very memorable one for Jacob.  He set up a Mario Kart Wii gaming center in our garage so that Jacob and his friends could race on huge screens.

The cake and decorations were my department.  I made a simple happy birthday banner out of blue and red card stock and letters printed off of the computer.  I drew Mario in his cart on a piece of poster board and colored it with markers.  You could also project an image onto your poster board if you don’t want to draw it free hand.

For the cake, I baked two 8 inch cakes and placed them side by side on a piece of white foam core board.  This provided a sturdy foundation for decorating and displaying a figure 8 racetrack.  The best way to color your frosting black, without using too much food coloring, is to use dark chocolate icing and add a small amount of black food coloring until you have reached your desired color.  I used Wilton’s gel icing color in black.  The lines in the road are cut rectangles of white Air Heads candy.  You could get a similar look using white frosting or fondant. The “sand” lining the race track is made of graham cracker crumbs, which can be found in the baking section of any grocery store.  Next, I tinted white frosting green, using Wilton’s gel icing color in leaf green.  The grass look was very easy to achieve by using Wilton’s #233 multi-opening decorating tip.  The Mario Kart banner, mushroom, star, cloud, and turtle shell are just pictures printed off the internet and glued to toothpicks.  A thick black and white checkered strip of ribbon wrapped around the cake gave the edges a clean look.  The finishing touch was placing the Mario Kart mini figures (purchased online) around the figure 8 race track.  This cake was almost too cute to eat!

DSC06221

DSC06249DSC06280

Embellished Clothes Pins

Teacher gifts can get expensive, especially when you have 3 children and each has several teachers and classroom aides.  Last school year I decided to make my own teacher gifts.  I designed these embellished clothes pins and gave each teacher about 10 of them.  I packaged them in festive mason jars with straw lids.  I loved them so much that I had to make a few for myself as well.

I used my Cricut machine to cut card stock in several shapes for the paper embellishments.  I bought patterned scrapbook paper to line the clothes pins with.  This was the most tedious part.  I had to trace the shape of the clothes pin on the back of the scrapbook paper and cut them out using my small paper cutter.  I then used Mod Podge to glue the paper to the clothespin.  After they were dry, I used an exacto knife to trim the excess off of the edges.  Then I painted a coat of Mod Podge over the surface of the paper to seal them in.  I bought a package of tiny buttons and a sheet of glittery rhinestone stickers at Michael’s to use in the center of the embellishments.  Tacky glue worked perfectly to hold all of the tiny pieces together to form each decorated clothespin.

These gifts can be used in the classroom or in the home and will certainly add a pop of color to whatever they are holding in place.  IMG_8675IMG_8668IMG_8669