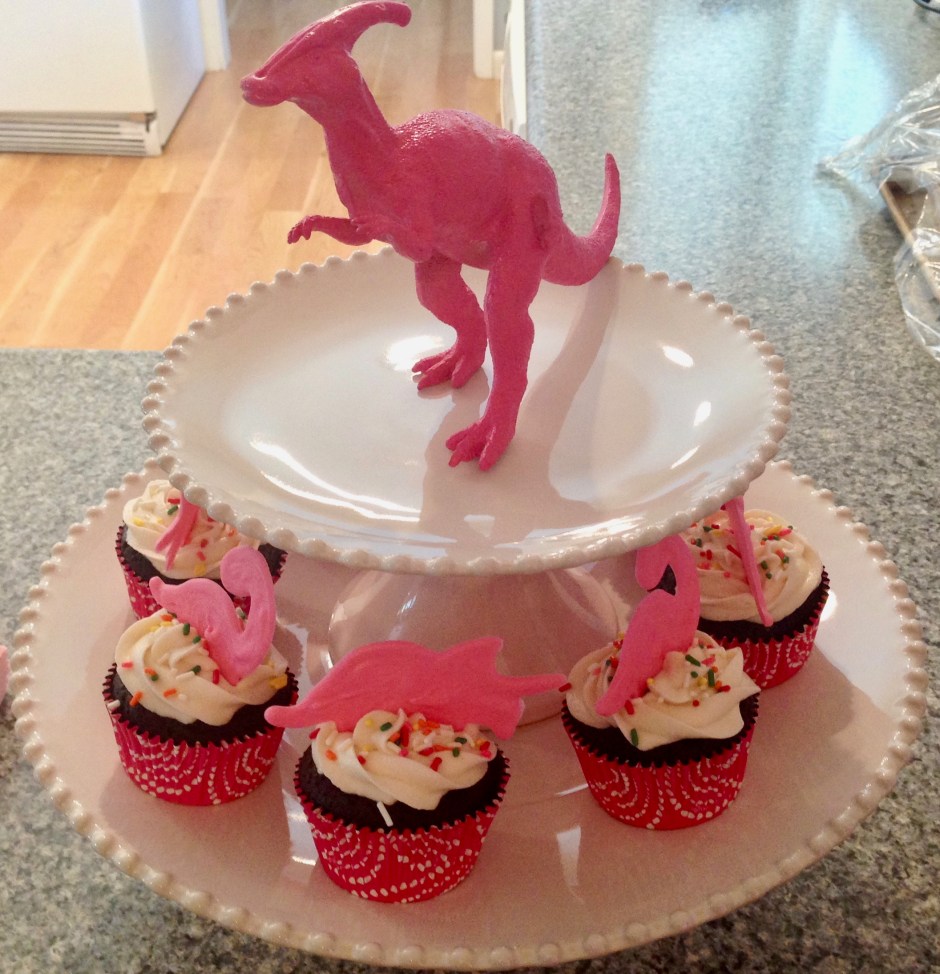
For my daughter’s 5th birthday, she wanted a pink dinosaur party. Not your common theme…dinosaurs, yes… pink ones, no! Dollar store and spray paint to the rescue! I found 7 good sized plastic dinosaurs at the Dollar Tree and spray painted them bright pink. You can find similar dinosaurs here and then use this spray paint that bonds to plastic. I used card stock in several shades of pink to create most of the other decorations. Did you know that you can sew paper? I discovered this recently, and have been making the cutest and most cost effective decorations even since. I used my Cricut machine to cut circles and flower shapes in the various colors and then sat in front of my sewing machine with little stacks of these cut outs. In no time at all, I had 6 paper garlands to hang as the backdrop for the food table. I also used larger flower shapes cut from my Cricut in shades of pink and patterned scrapbooking paper to create a festive birthday banner for my girl. I found the pink dinosaur by googling “pink dinosaur” images online. Pink ribbon tied into bows held each individual letter together. #CommissionsEarned
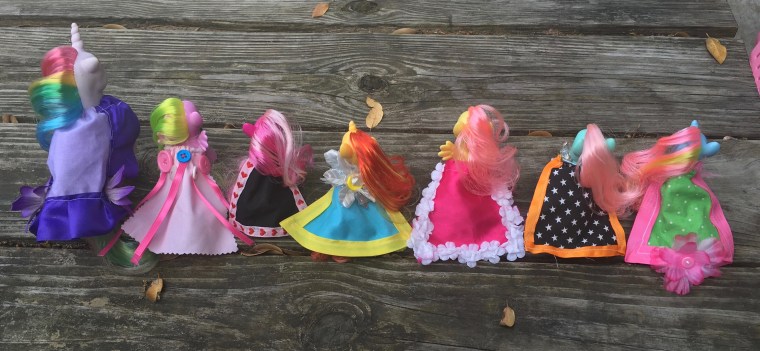
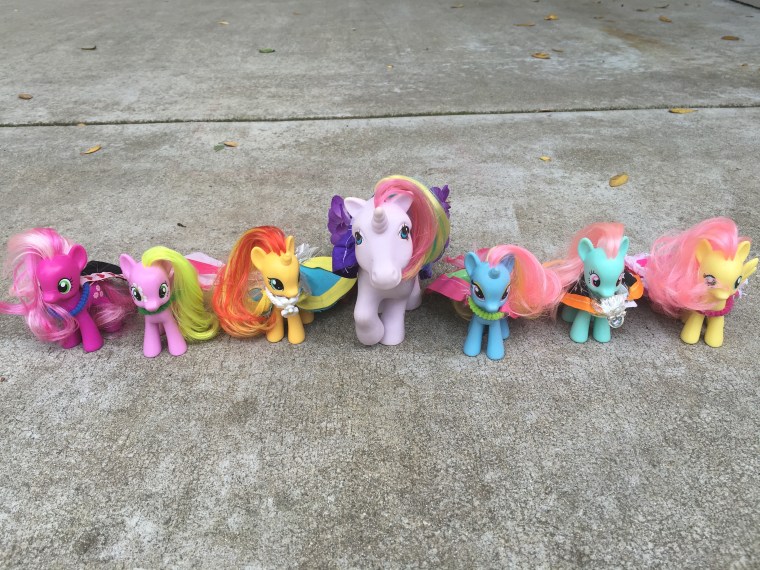
Edible cupcake toppers are one of my favorite things to create. You can pretty much make a topper for any theme simply by printing a silhouette of it from the internet. I used Wilton’s candy melts in pink for the dinosaur silhouette toppers and for the pink marshmallow pops as well. Check out my blogpost on My Little Pony (Rainbow Dash) Marshmallow Pops for an edible cupcake topper tutorial.
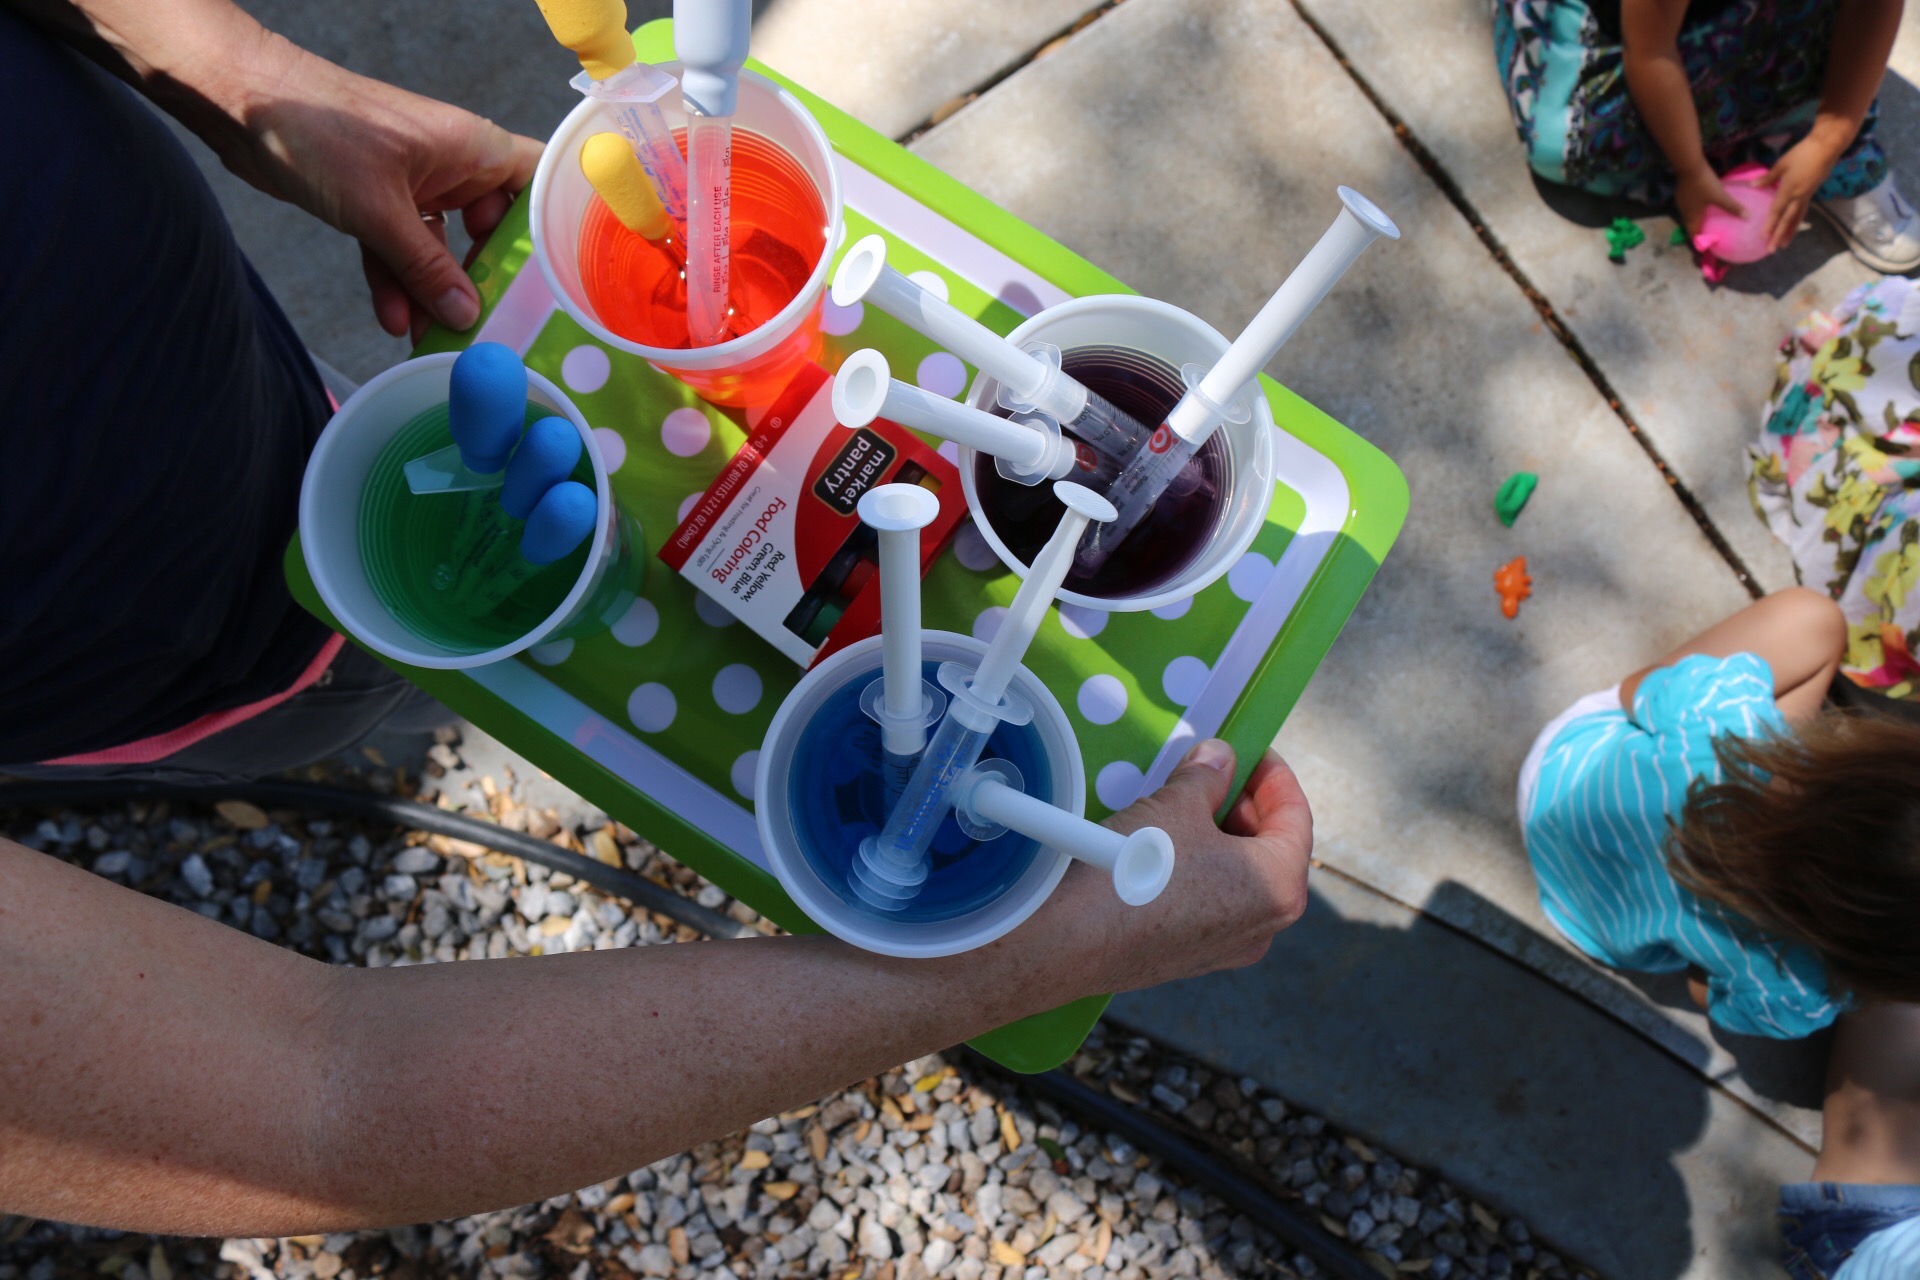
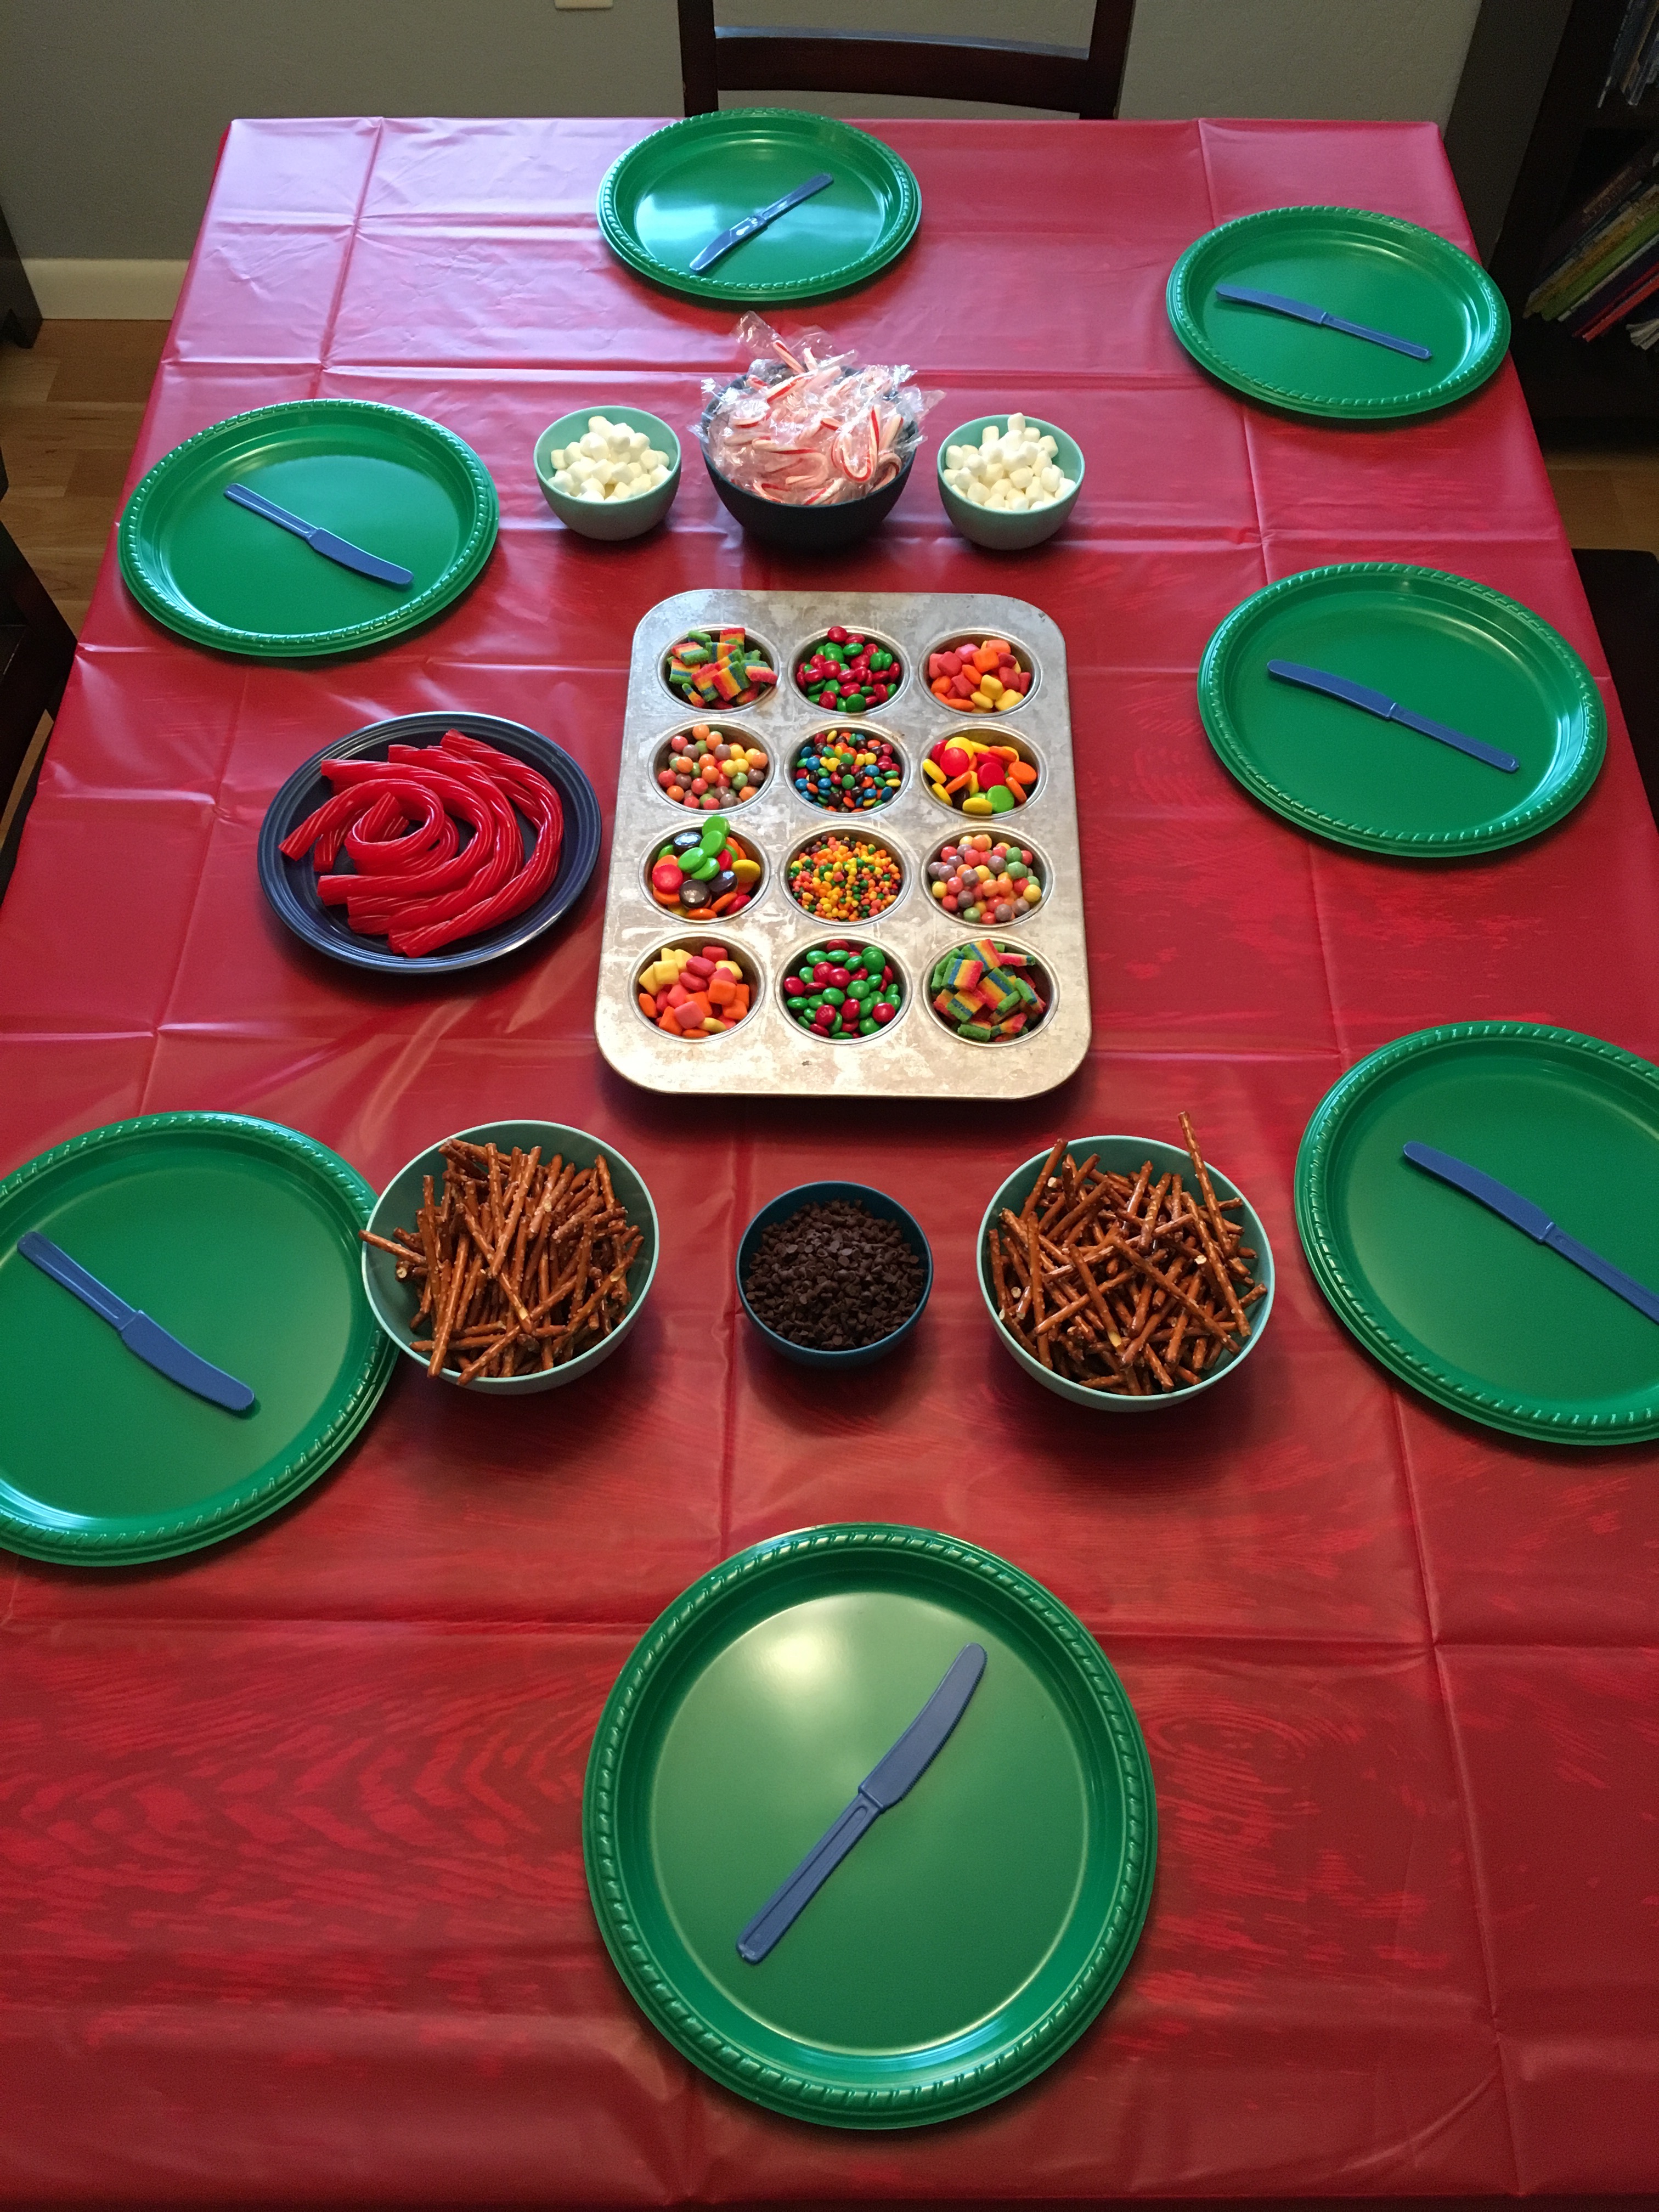
My daughter wanted to do some dinosaur activities at her party. Her number one request was “pin the horn on the dinosaur.” I used a projector to trace a cute pink dinosaur onto a piece of poster board. I colored it pink and cut out a stack of horns for the kids to pin on. I also set up a water table outside with a bunch of plastic dinosaurs floating inside. Water play is always a big hit with preschoolers. Our picnic table became the craft table. I cut large dinosaur shapes out of card stock and put out glue, sequins, plastic beads, and googly eyes for the kids to decorate. My favorite activity of all was “make the dinosaur hatch.” A couple of days before the party, I filled water balloons with plastic dinosaurs and water. I tied them off and froze them. I brought out these frozen “dinosaur eggs” and handed one to each child. I gave them each a medicine dropper, added food coloring to cups of water and had the kids make their dinosaur hatch. They peeled the balloon off of the “ice egg” (some needed a little help from parents with this part). Then they took the colored water and squirted it over their egg until their little plastic dinos hatched out. #CommissionsEarned
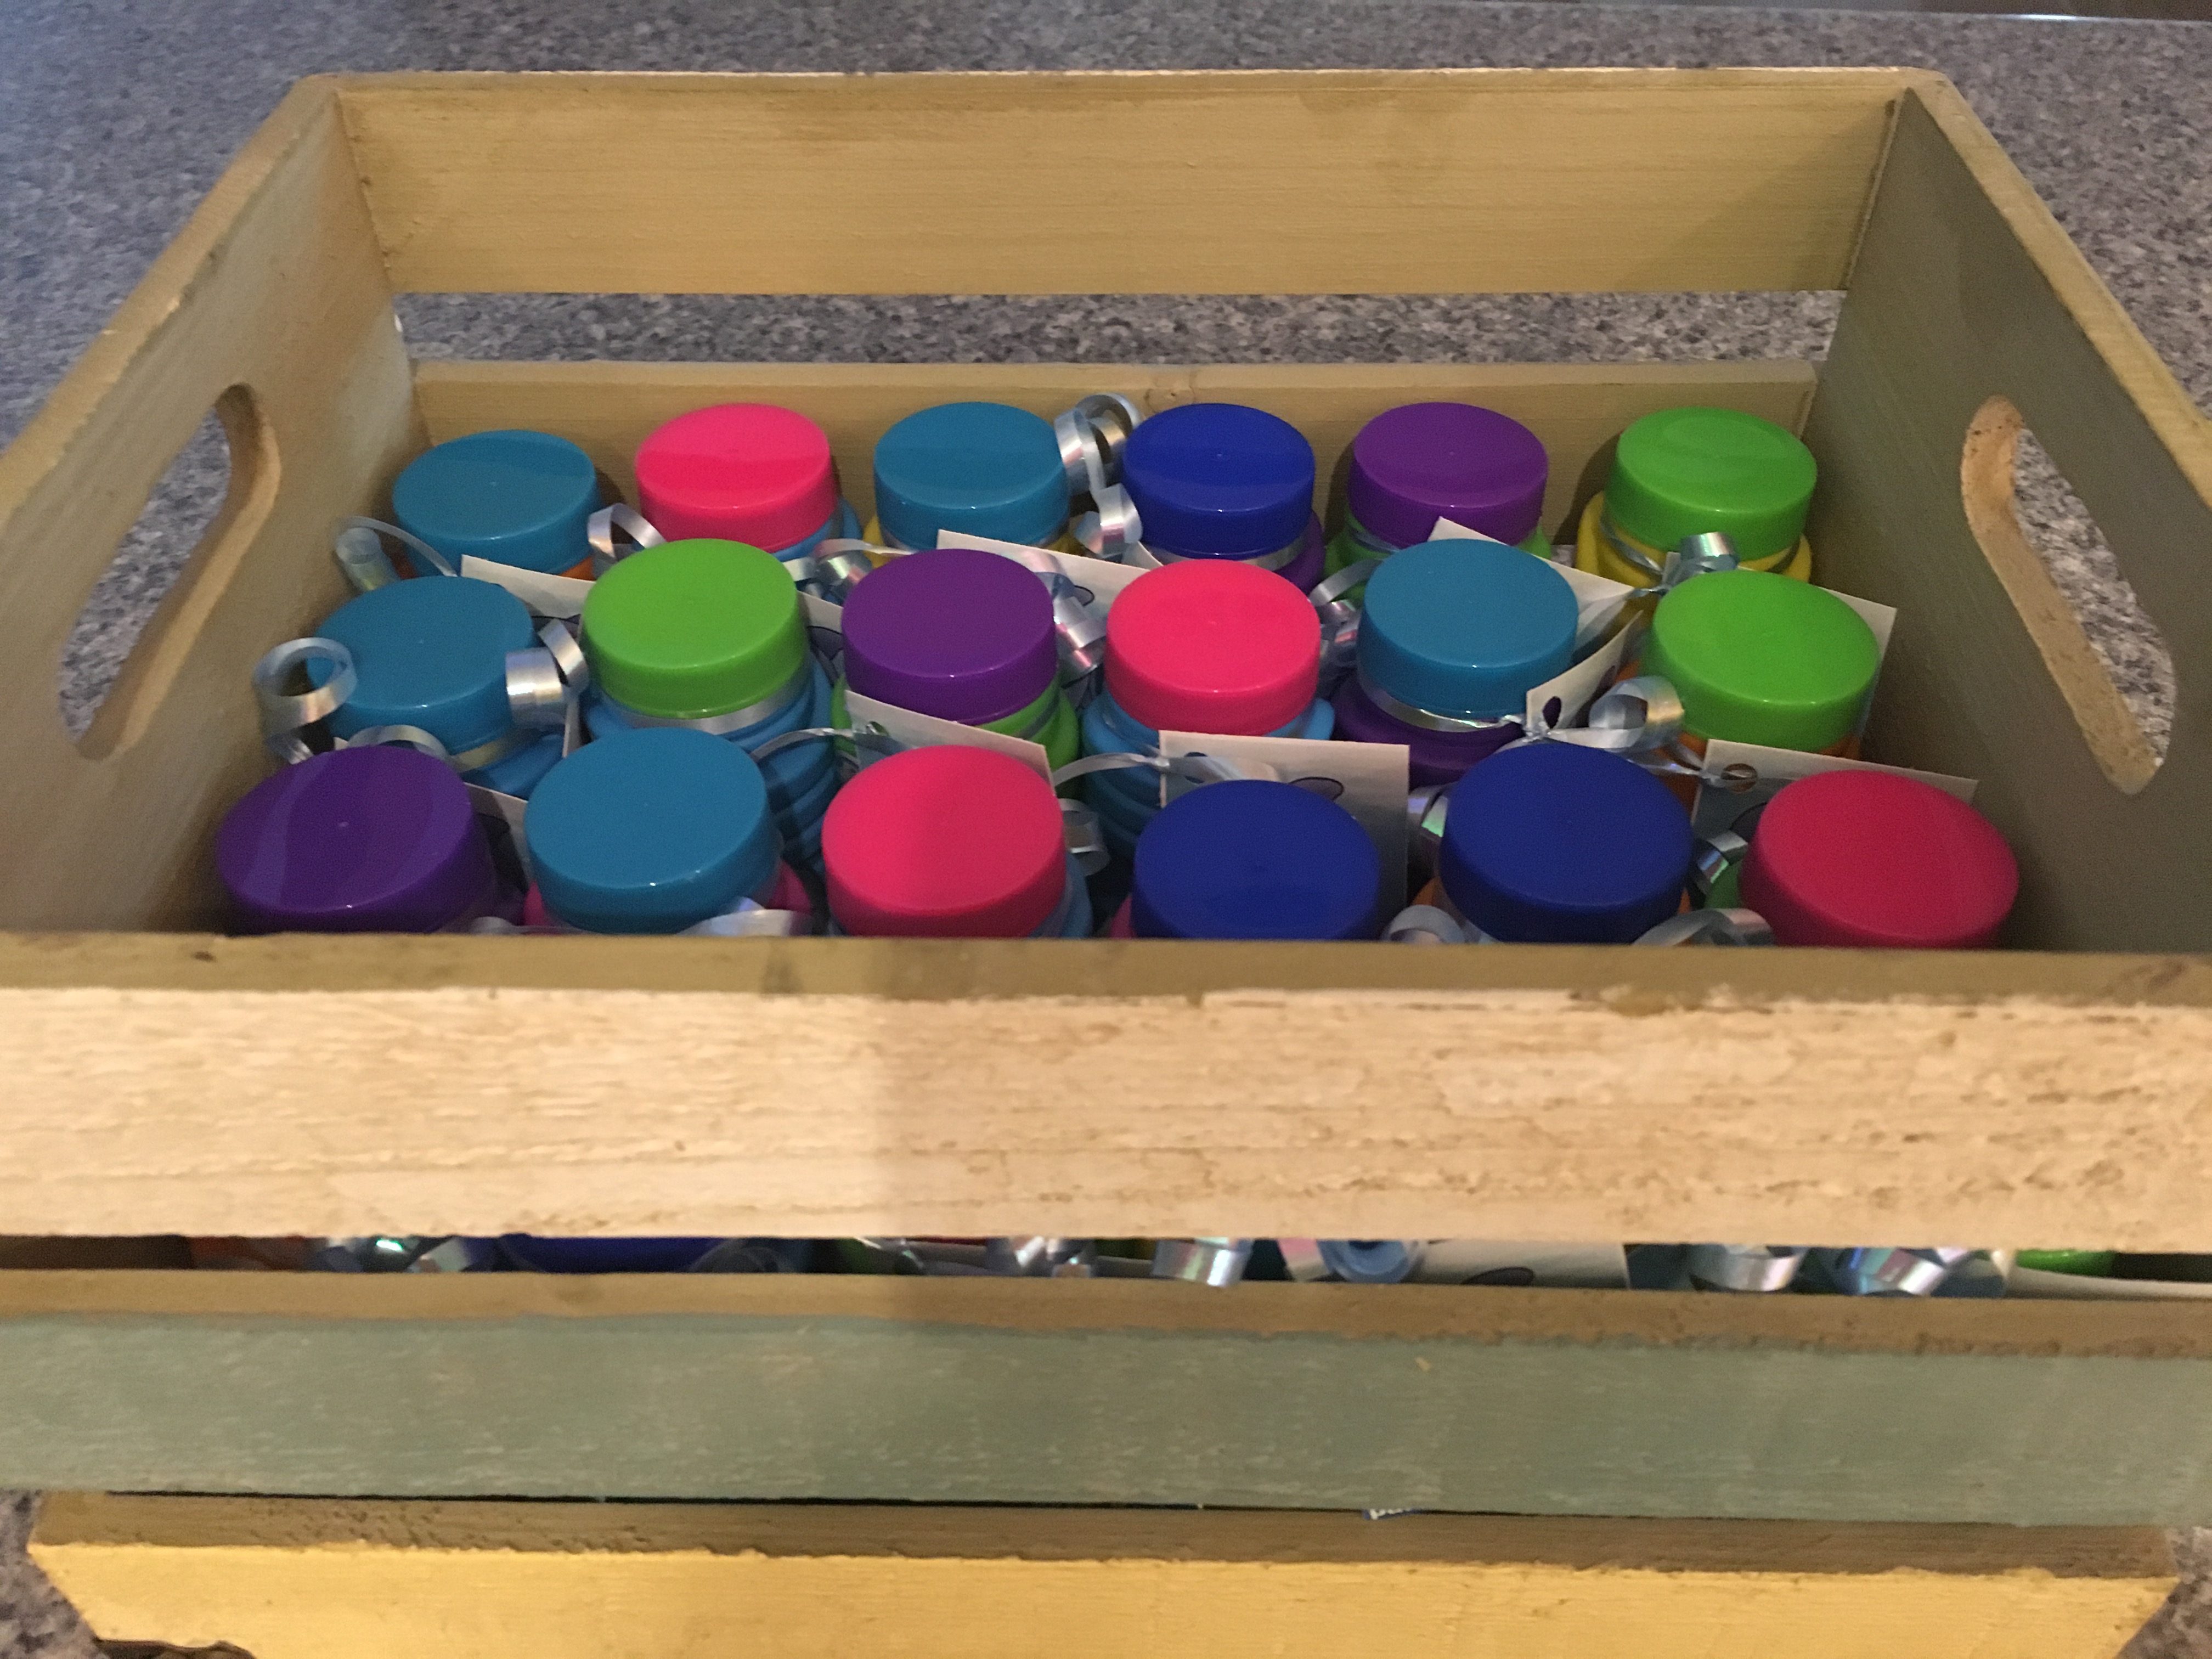
Once again, the dollar store came through for the “thank you for coming” gifts. I was able to buy dinosaur eggs with a mini plastic dinosaur surrounded by pink and blue slime. To make them coordinate with our theme, I covered the back with a rectangle of pink card stock and made a front cover with the little pink dinosaur image and the words, “thank you for coming to my party.” My 5 year old girl was absolutely thrilled with her pink dinosaur party, and so was I. You can find a similar dinosaur egg party favor here.


For more kid friendly birthday party ideas check out some of my other blogposts:
Moana Birthday Party
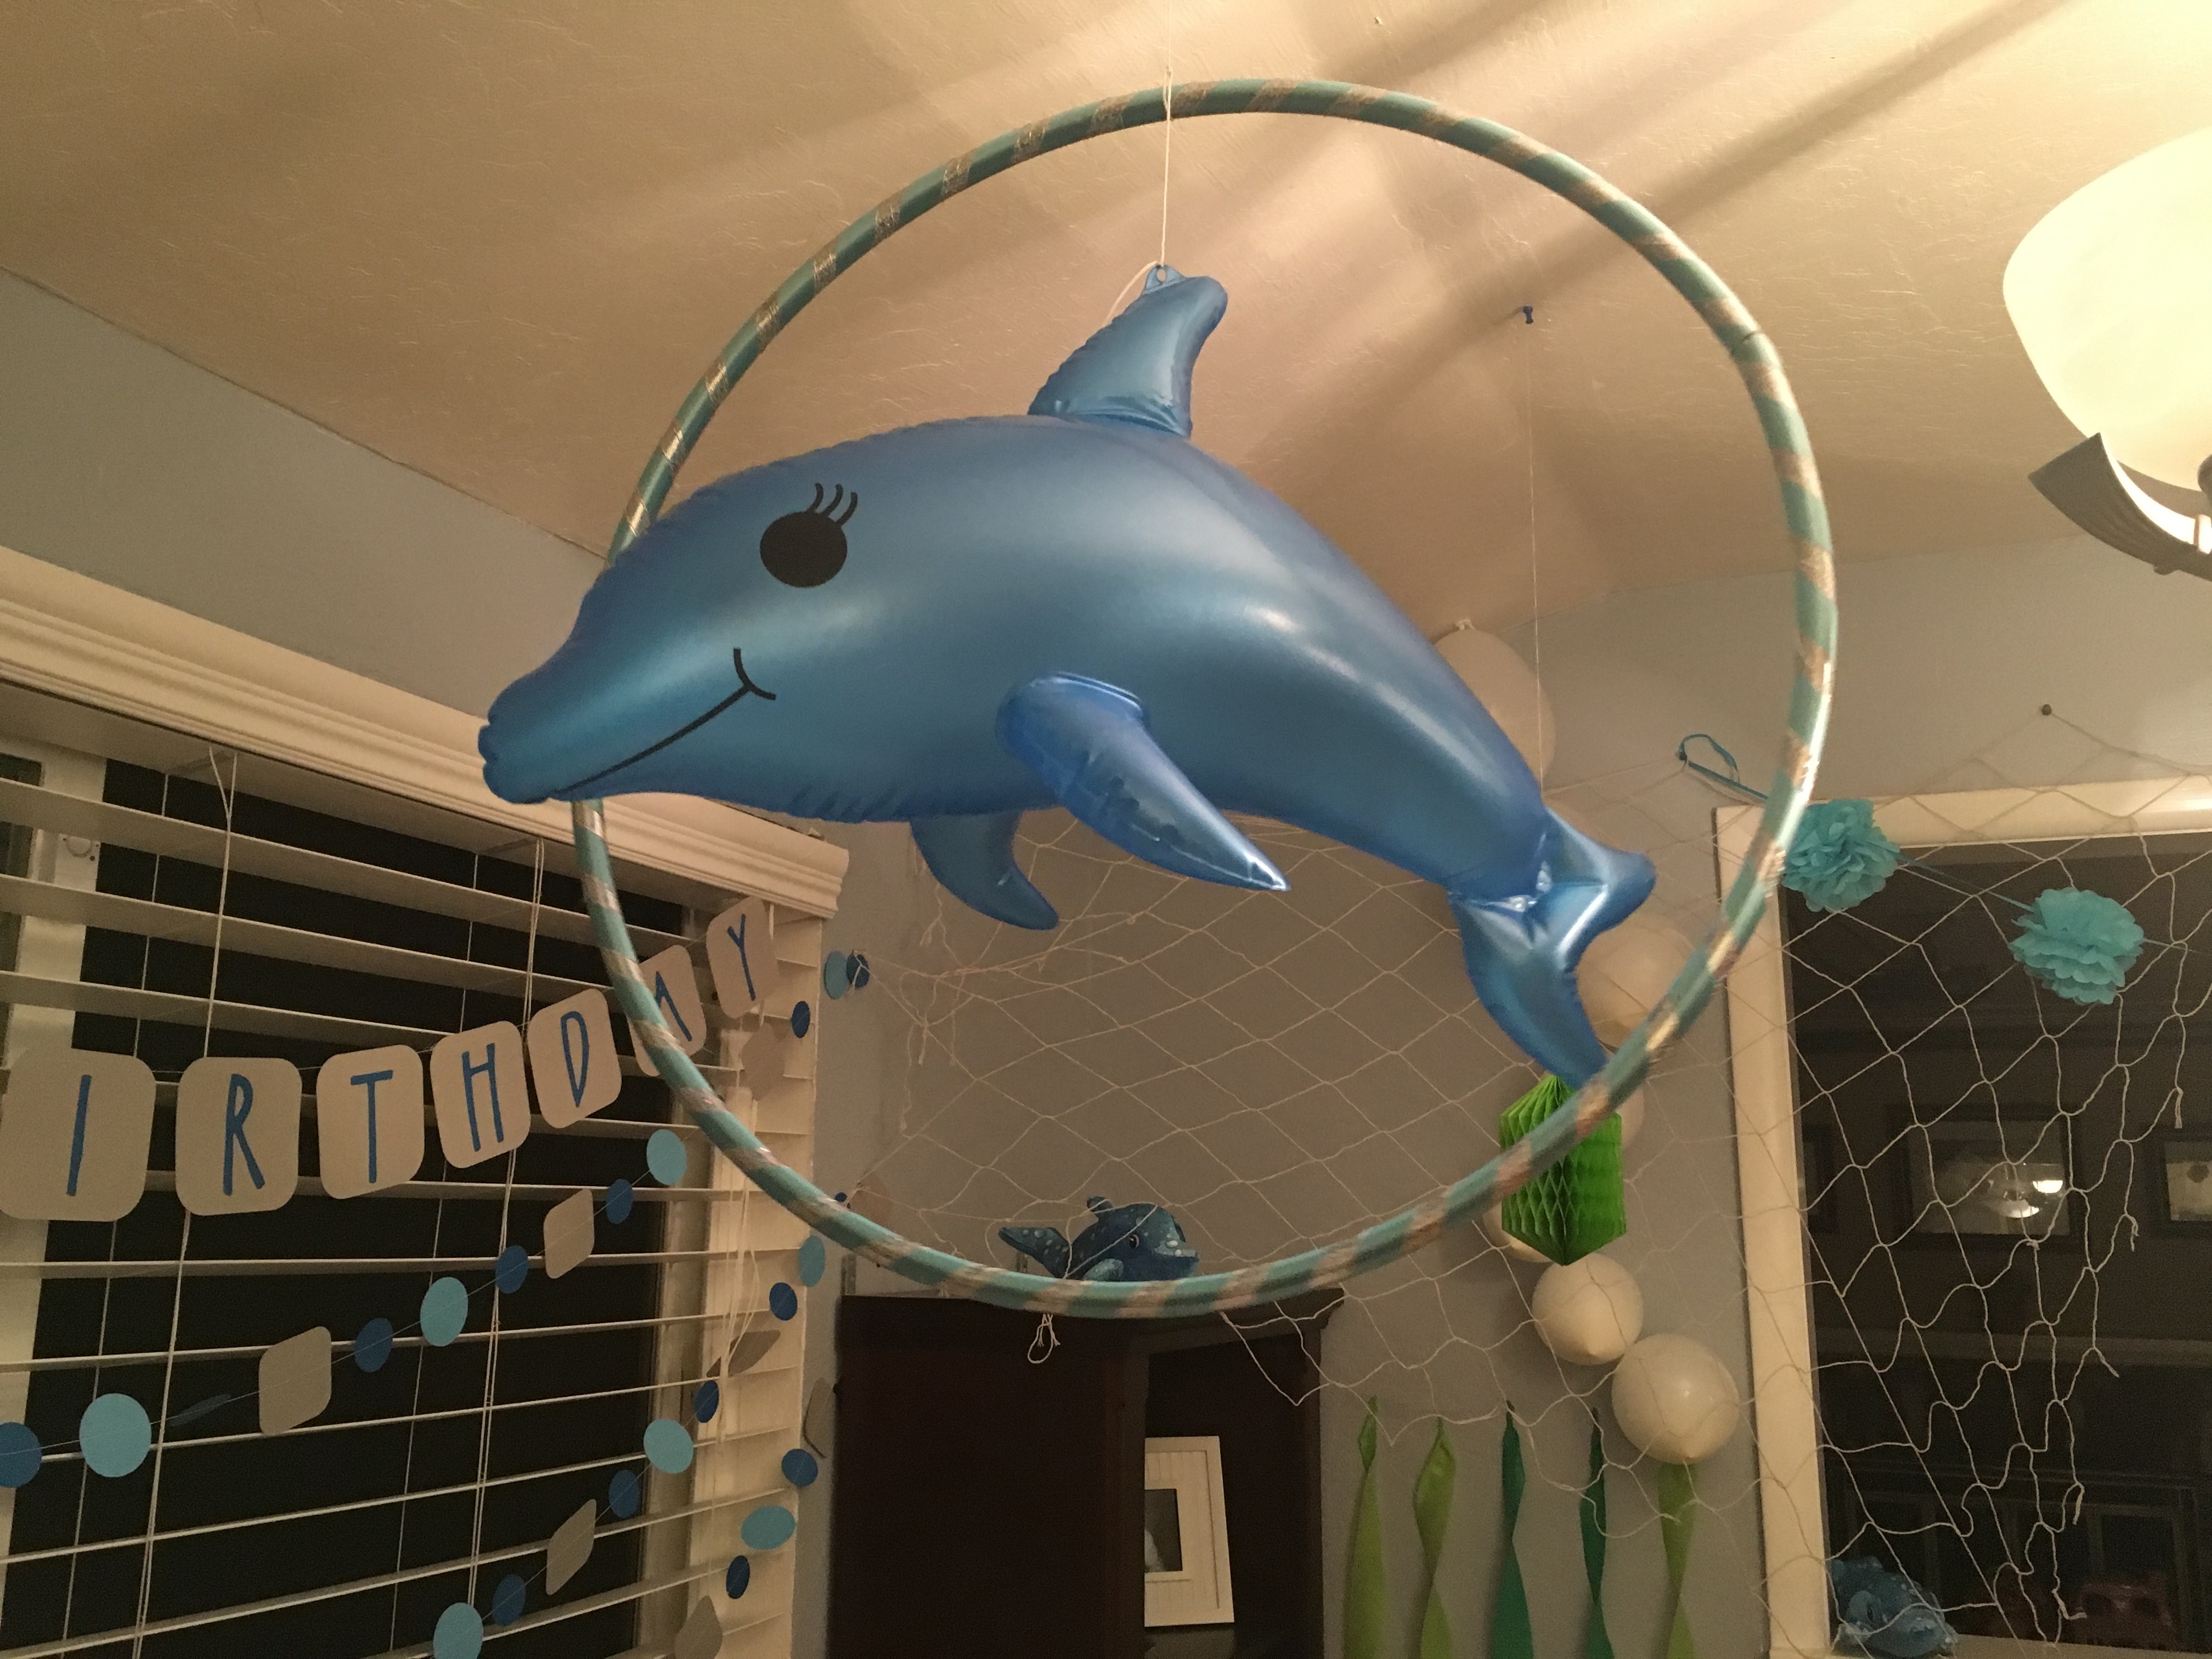
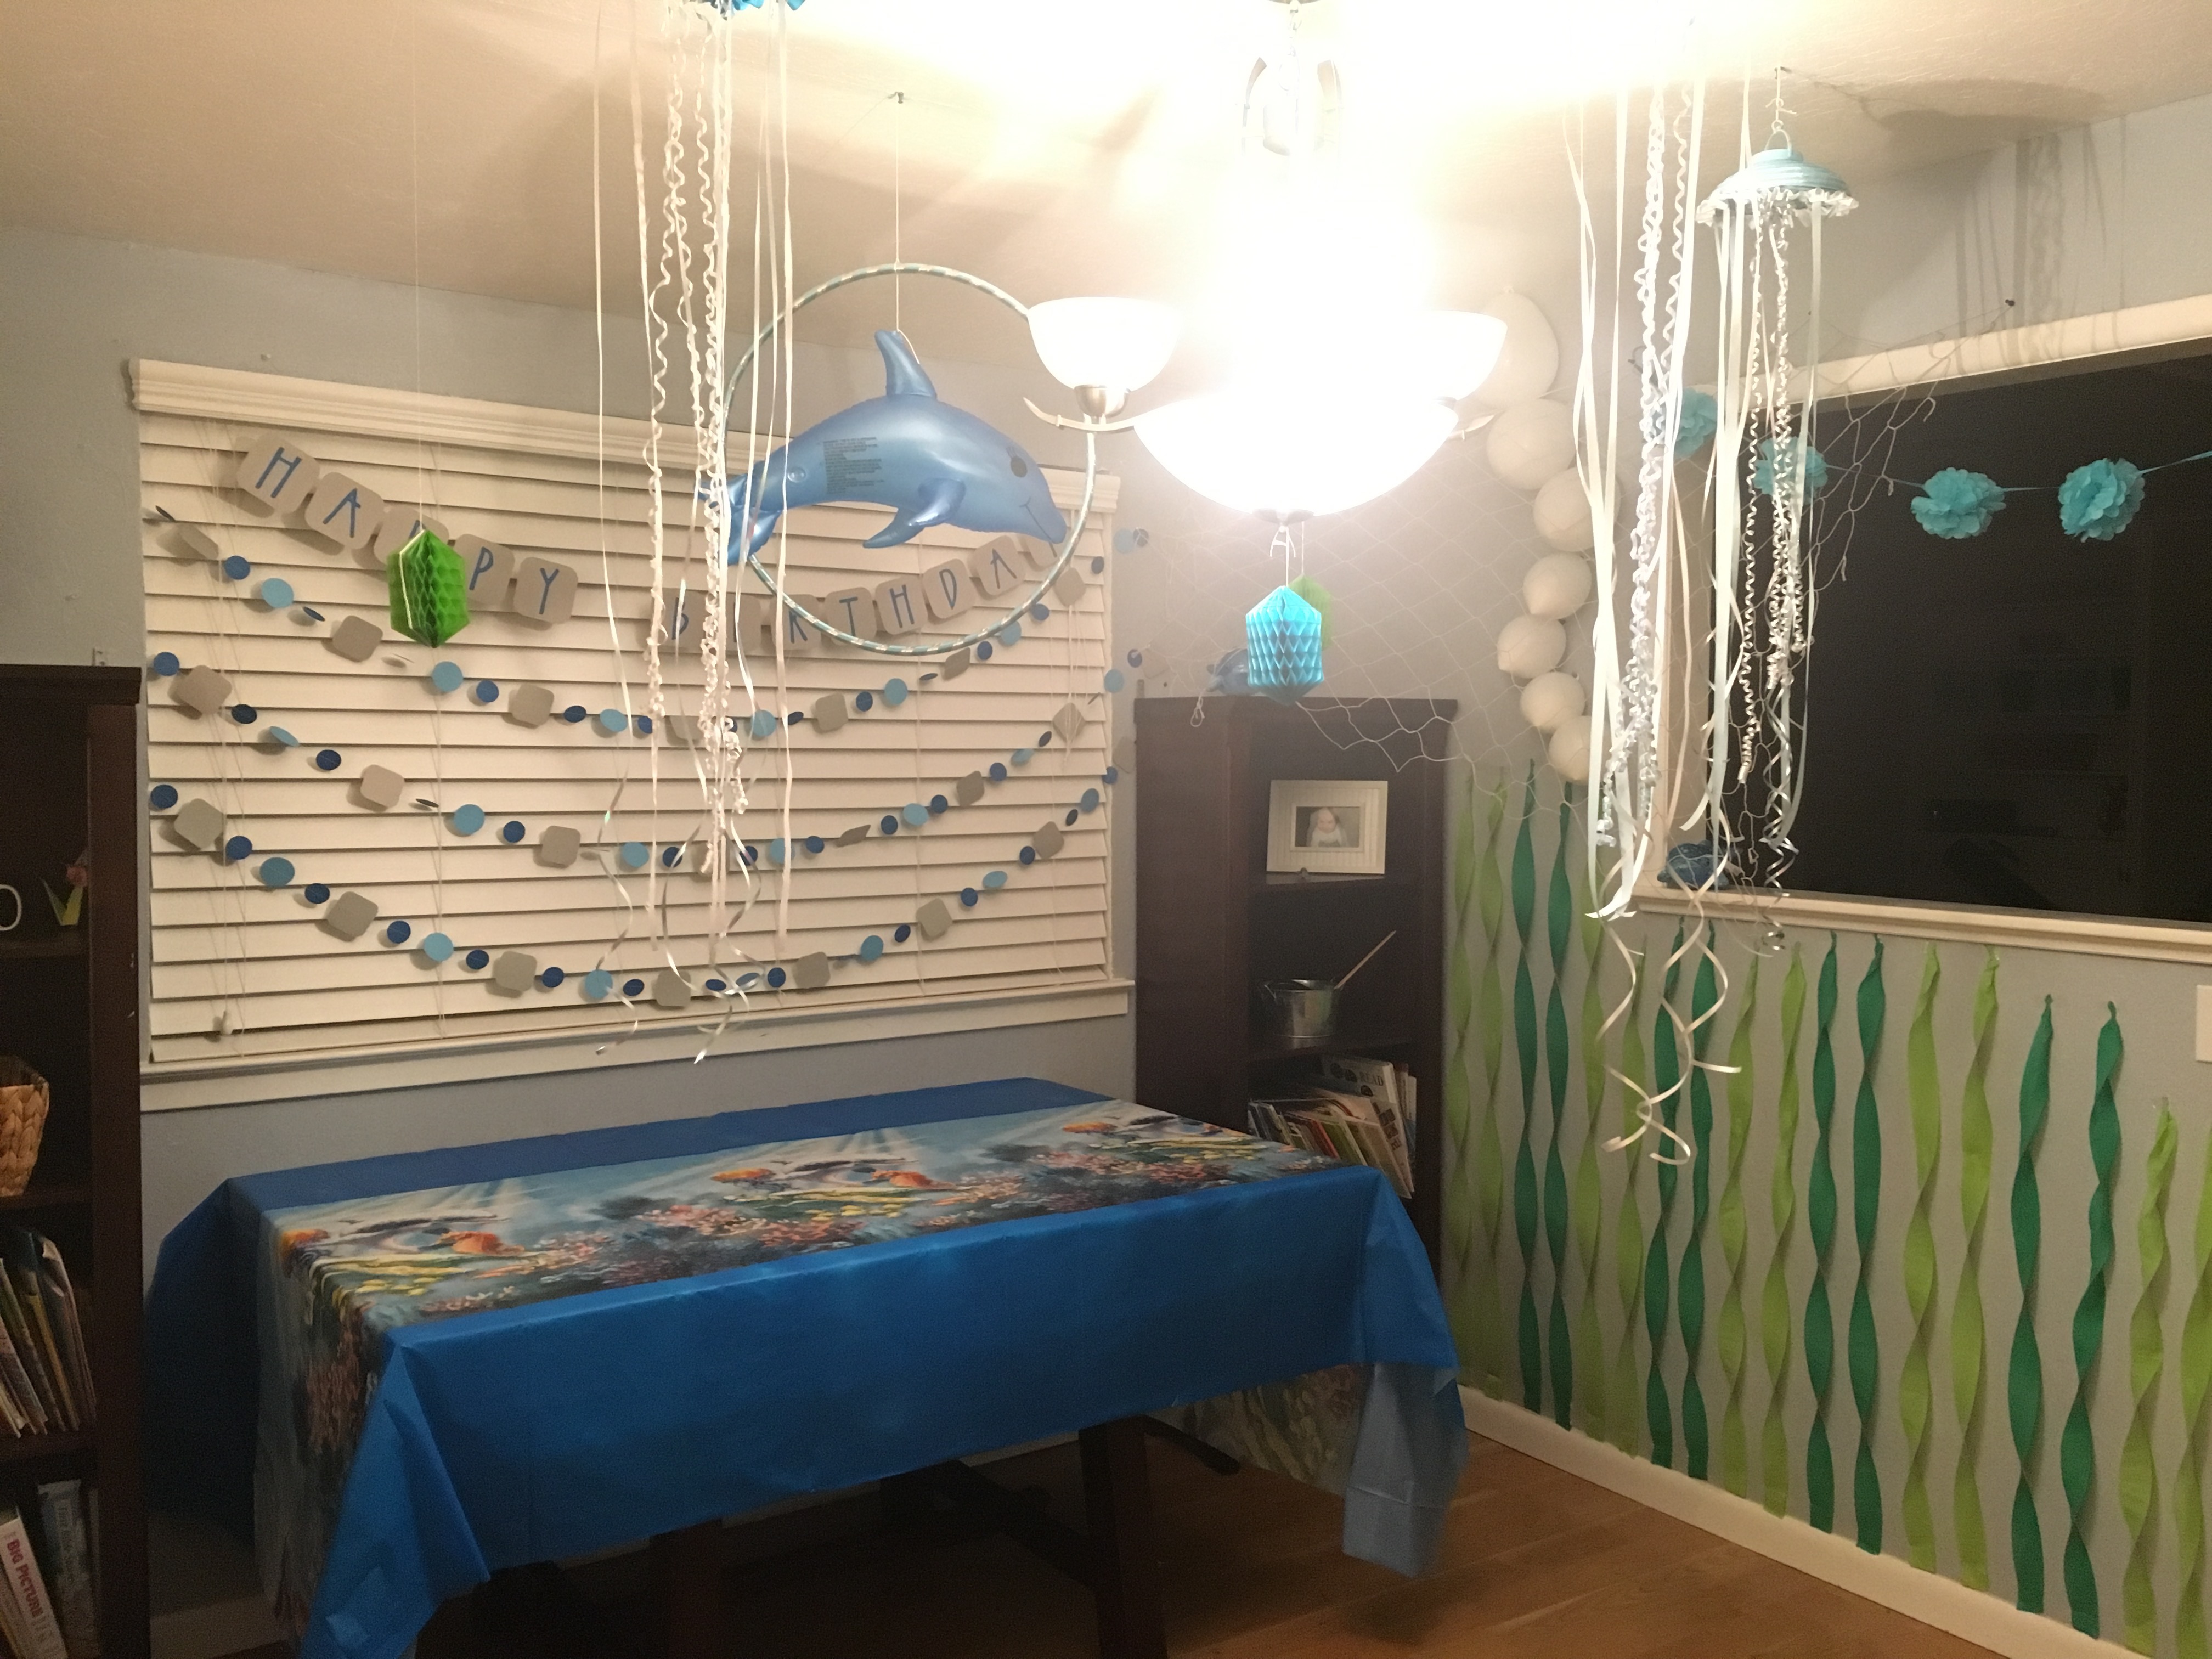
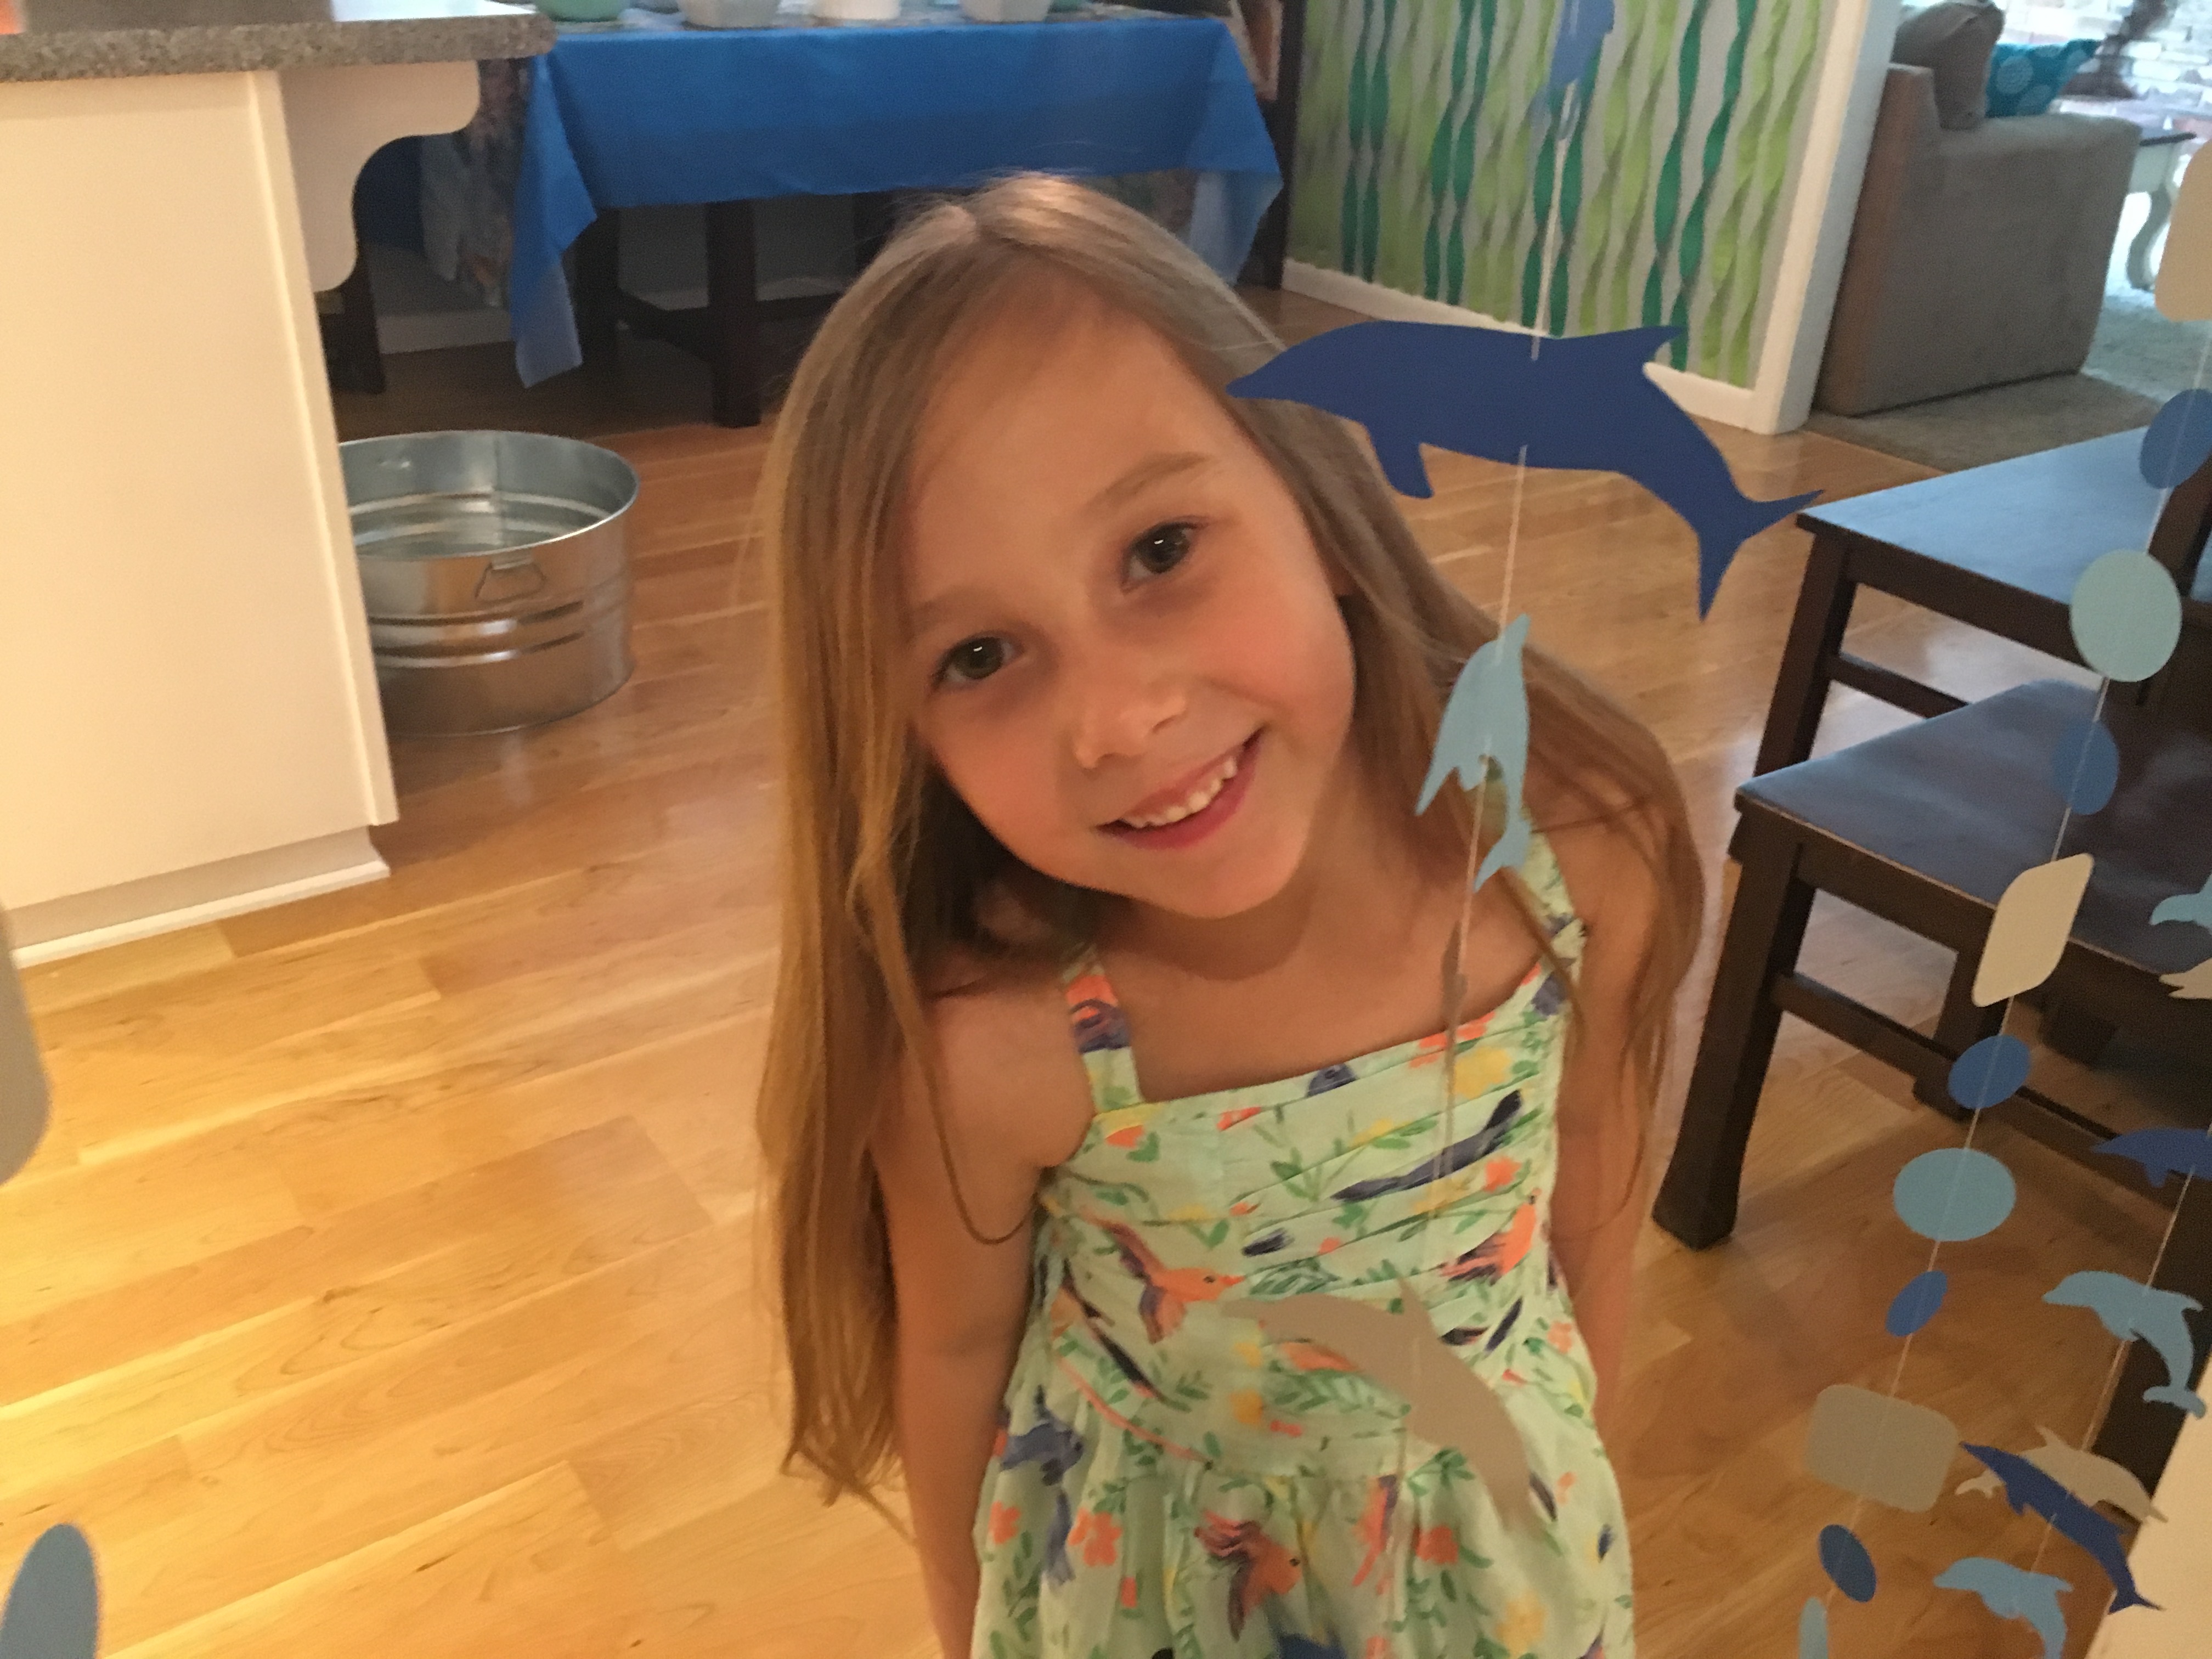
Dolphin Birthday Party
Wings of Fire Birthday Party
Warriors Birthday Party
Art Themed (Zoom) Birthday Party


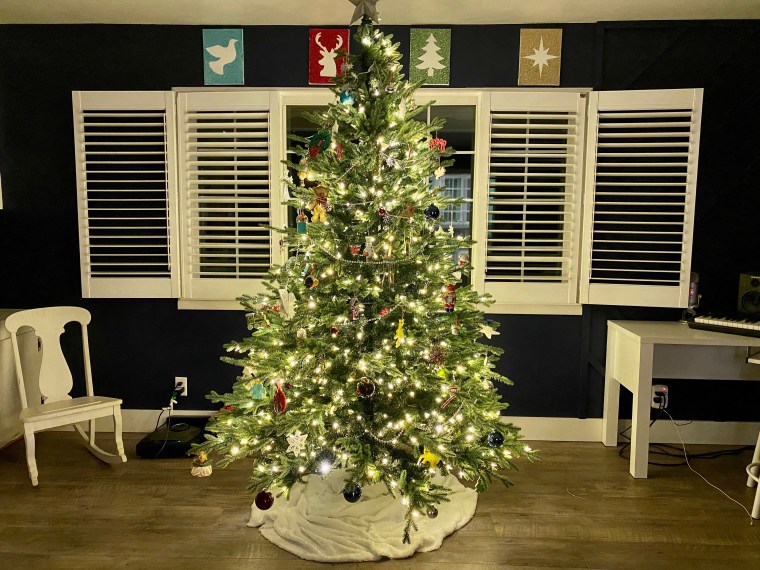
 Google Christmas silhouettes online and find four that you want to use. Size them to fit in the center of your canvas with enough space around each for the glitter. Try and make all 4 about the same size. Print out your silhouettes and cut them to use as templates.
  Trace your silhouettes on the back of your adhesive-backed vinyl. Cut them out to create four stickers.
 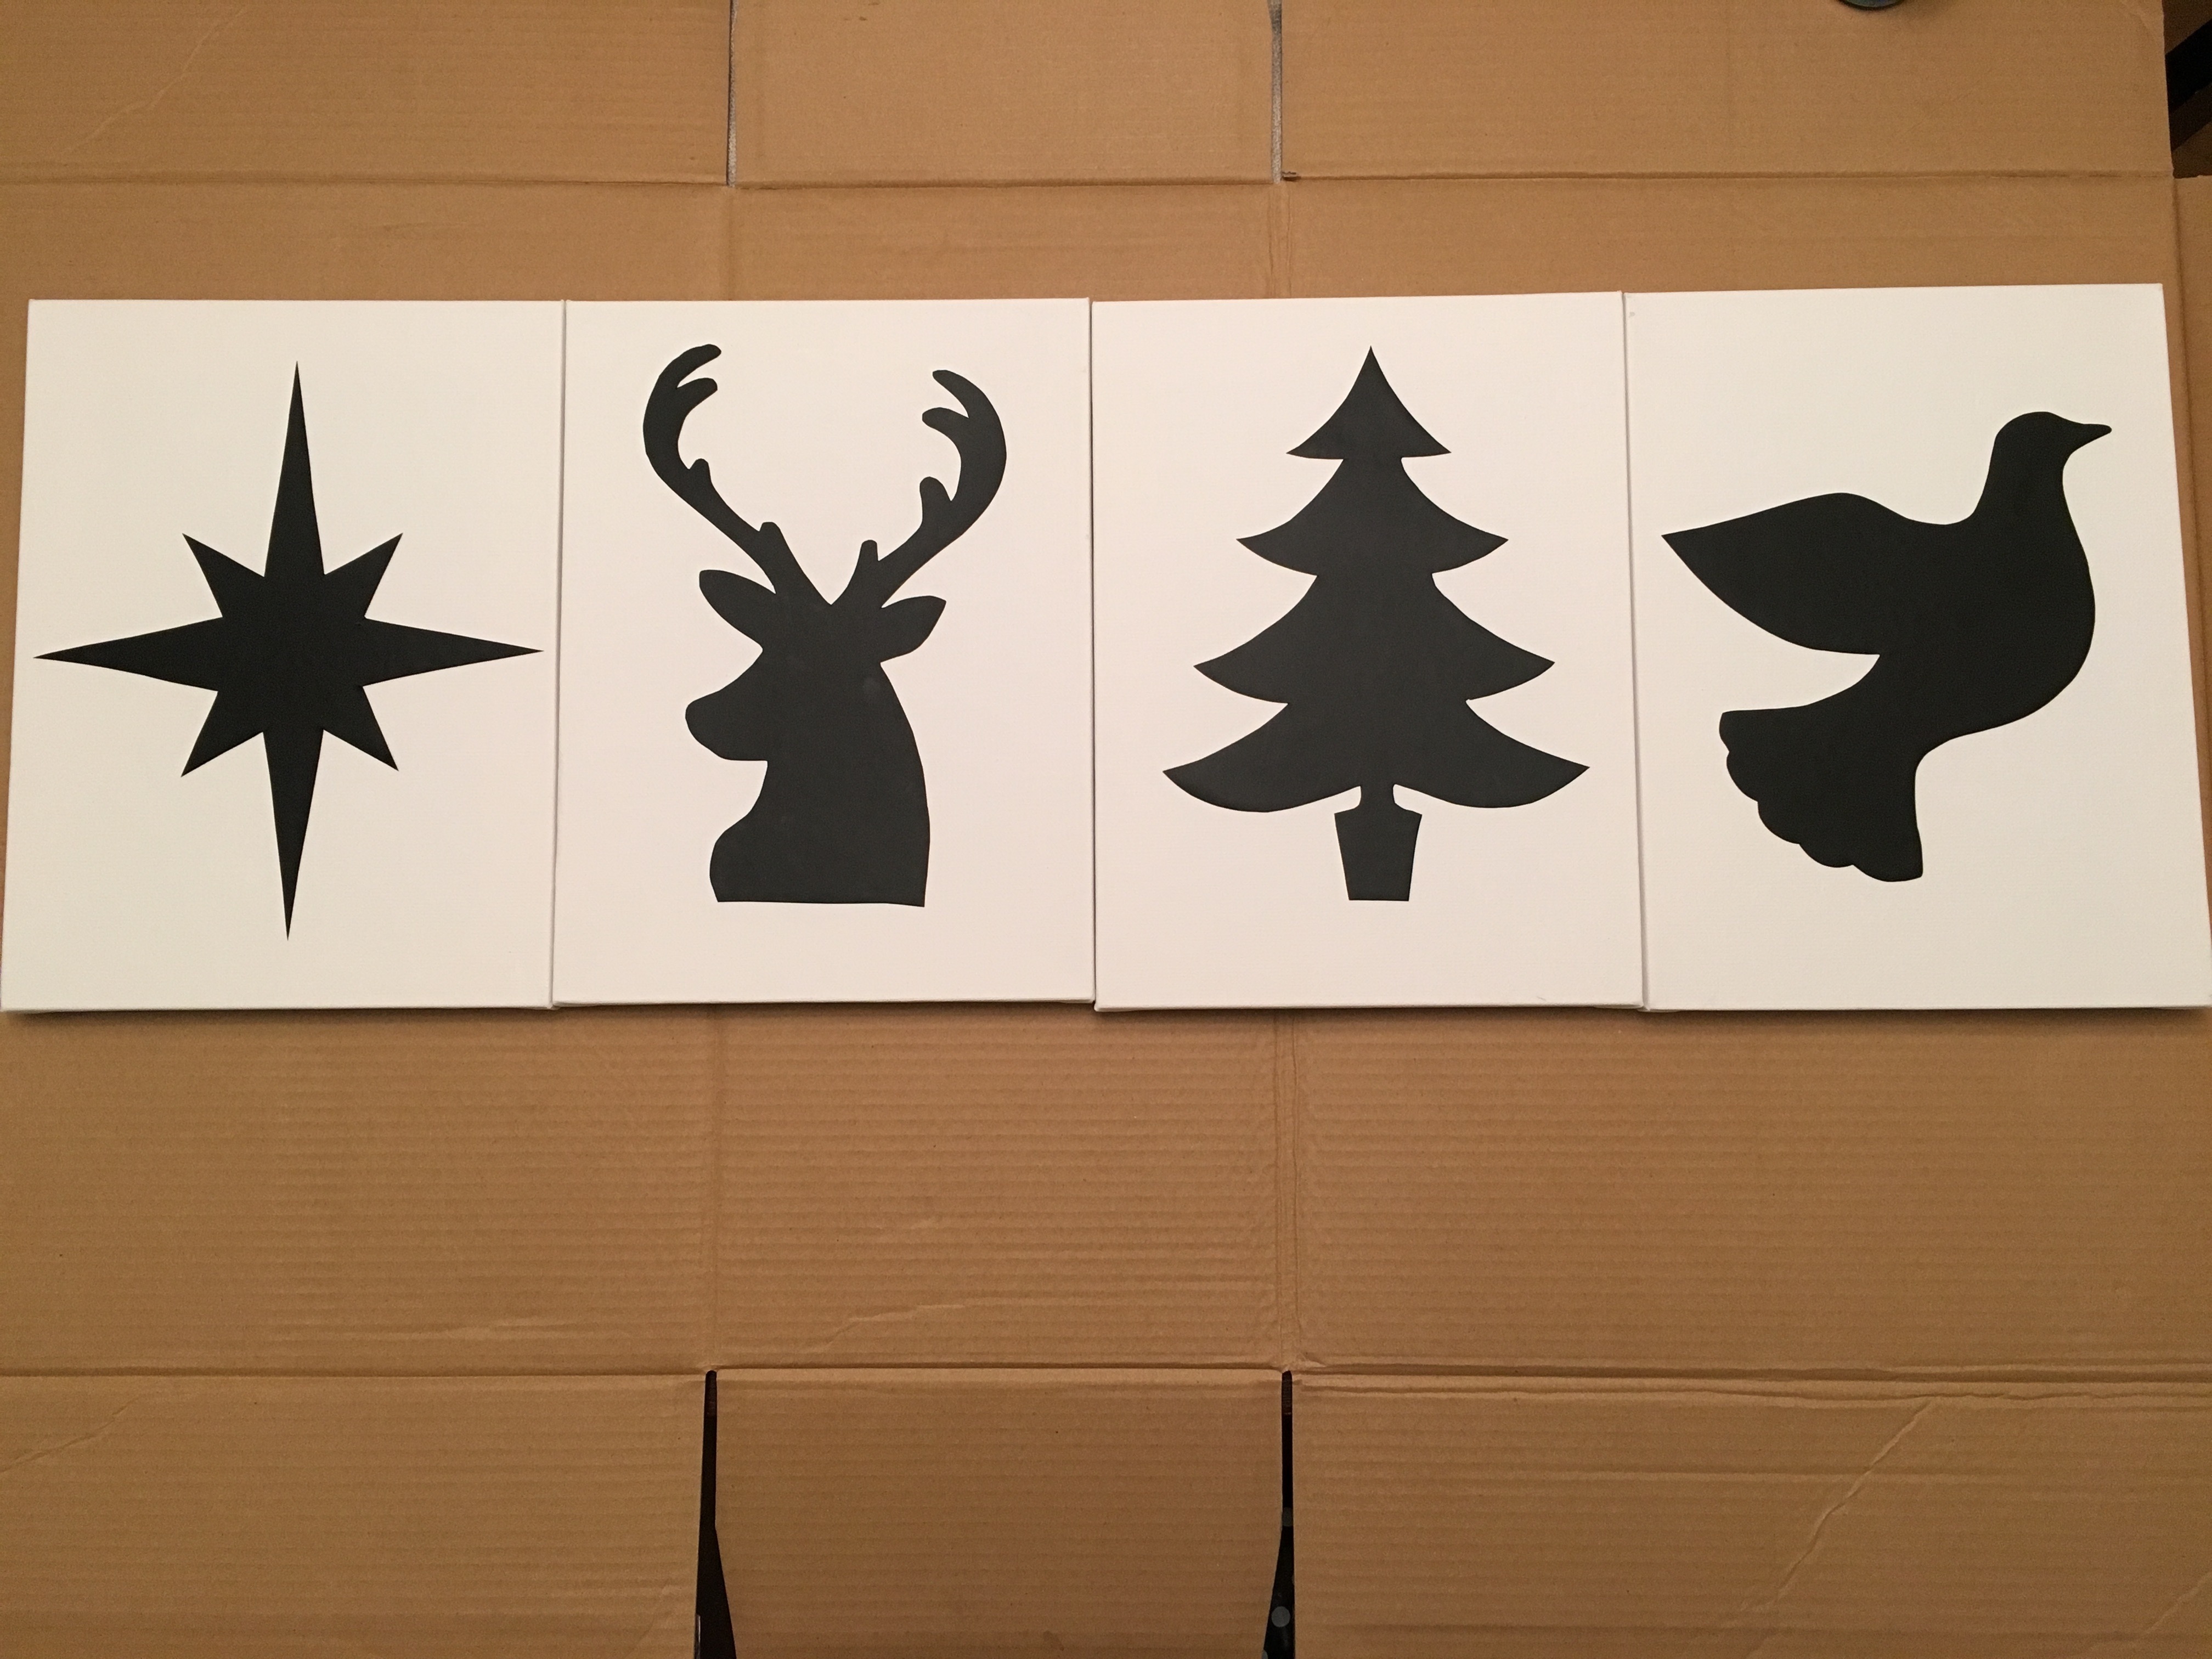 Place one “sticker” on each canvas.
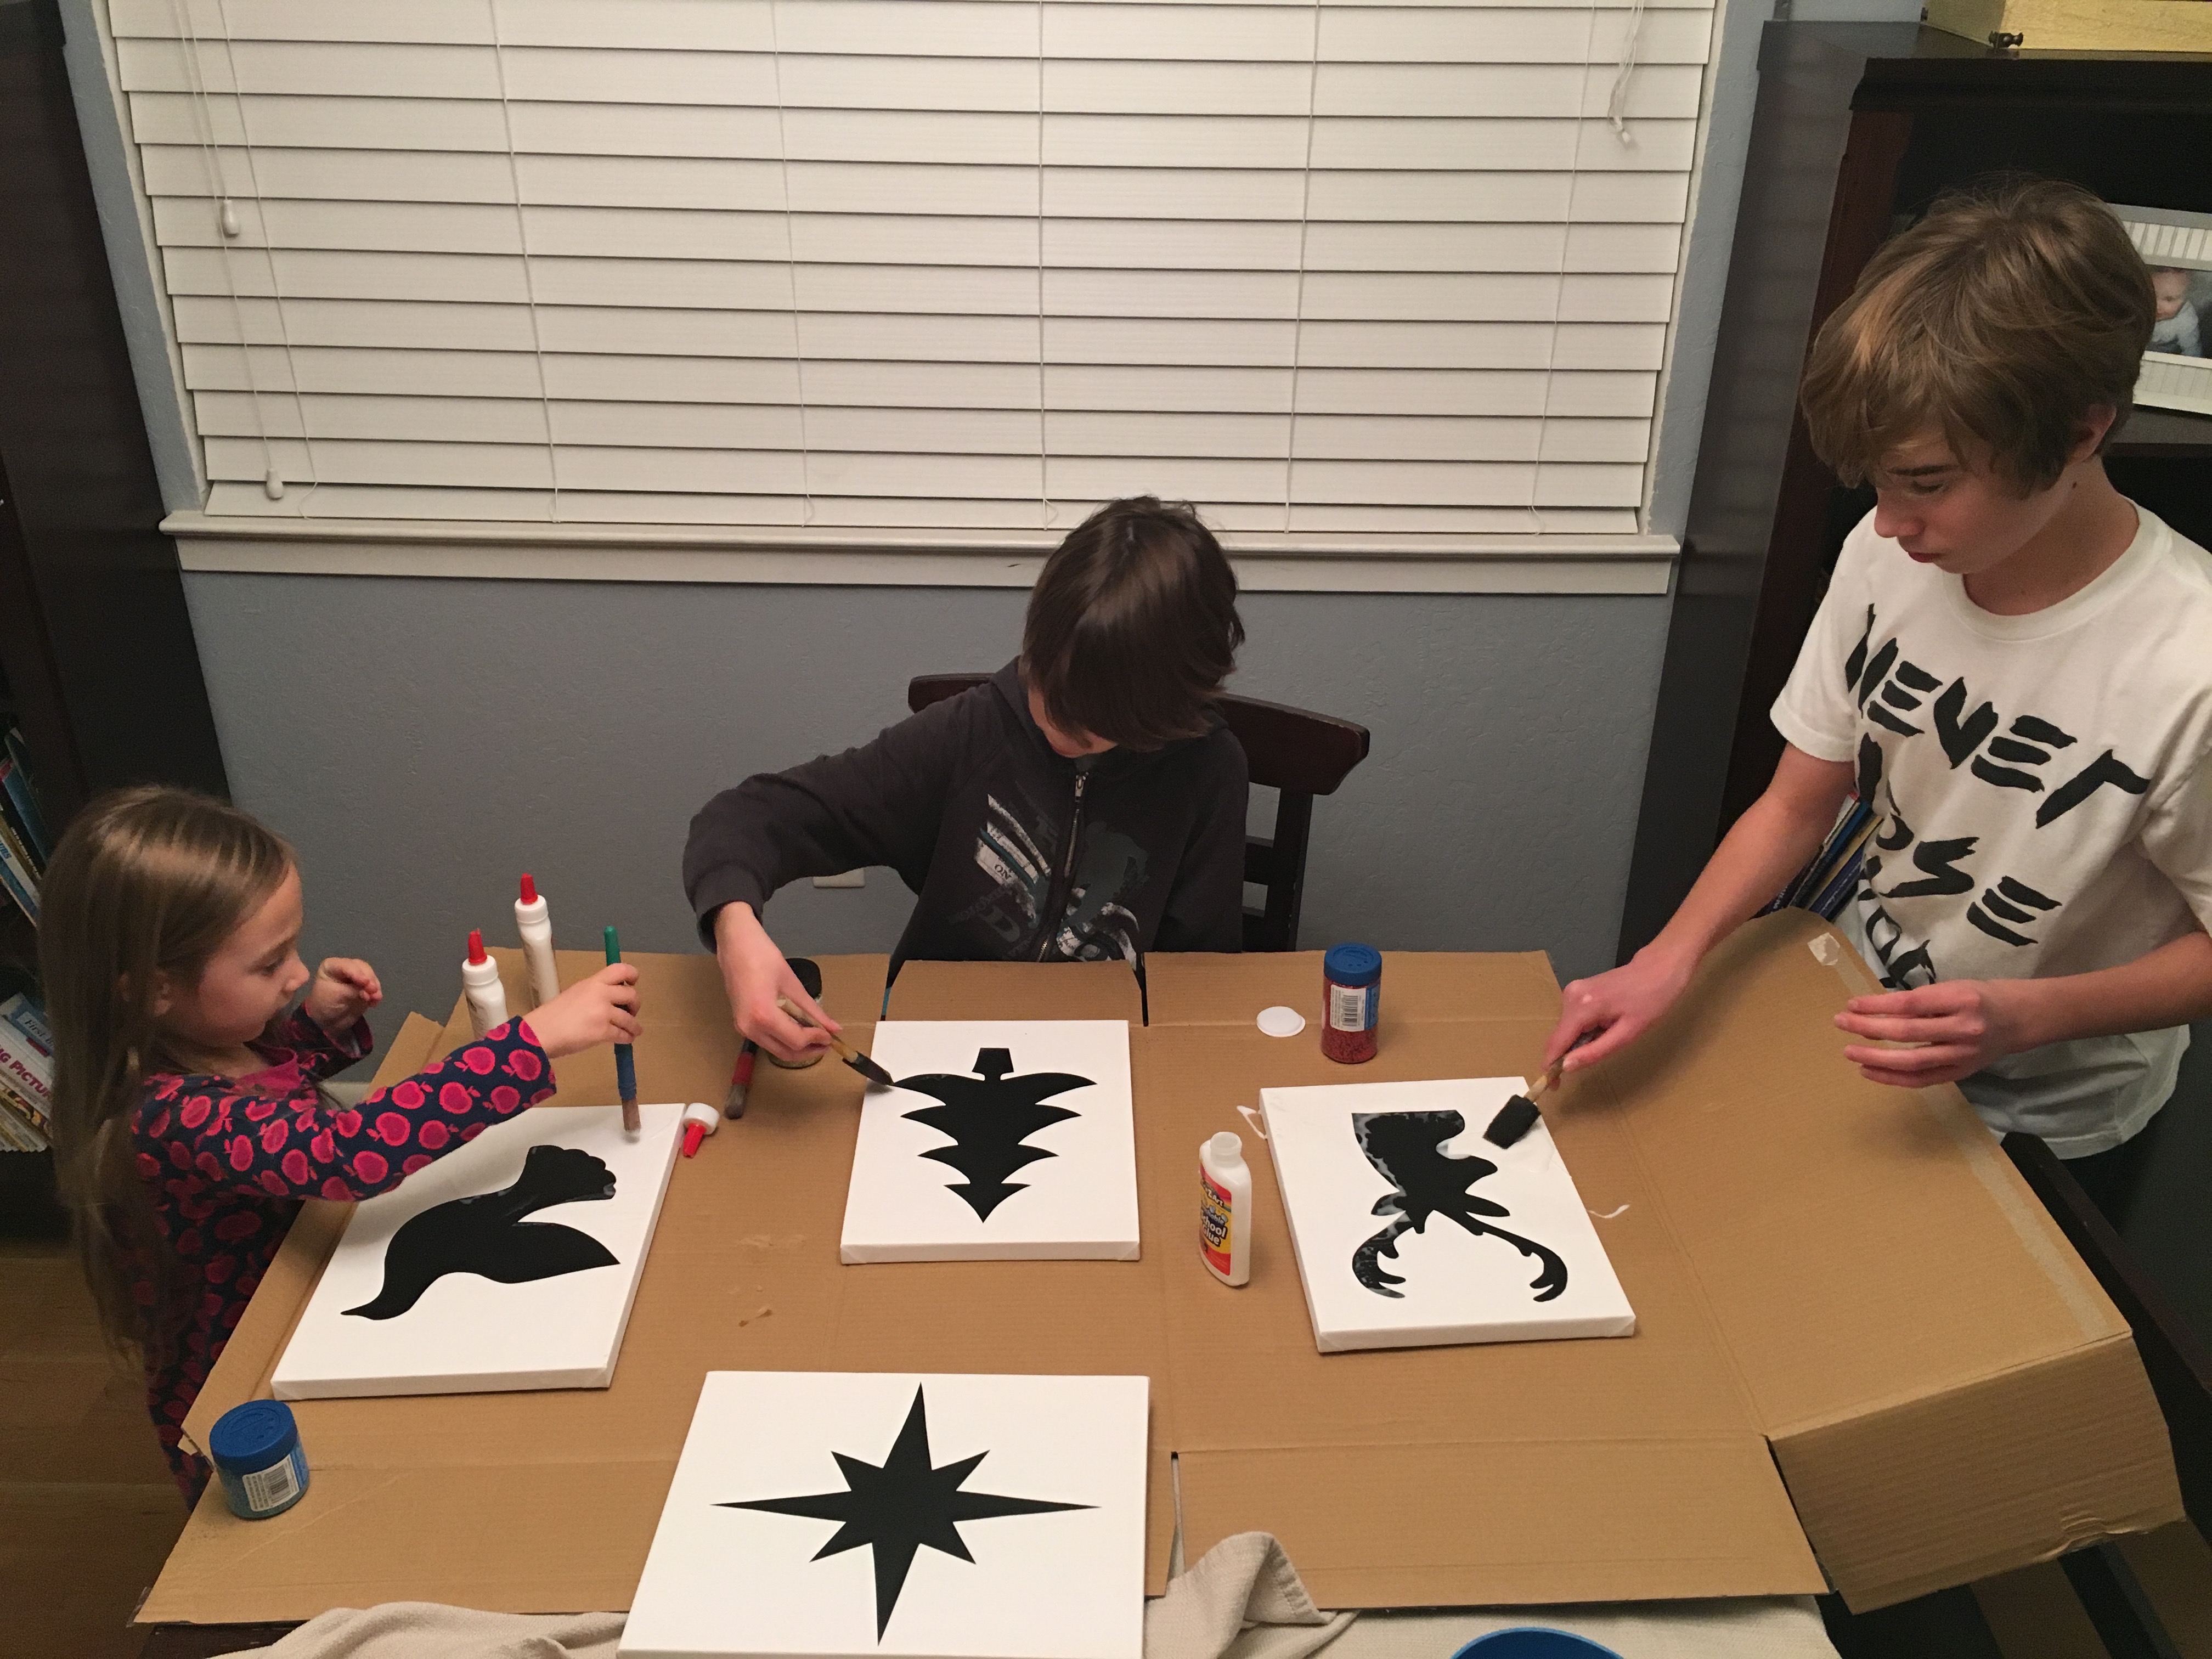 Paint glue evenly all over the white parts of your canvas. It’s ok to get a bit of glue on the stickers, but try to keep it to a minimum so that you can see the outline for when you peel it off later.
  Sprinkle glitter all around your silhouette and be sure to go over the edges a bit to make sure you create a nice line all around each image.
 Wait about 45 minutes. You will want to peel your stickers before the glue and glitter completely dry. This will create a cleaner line.
  Allow your canvases to dry completely. Shake the glitter off. Then paint over them one more time with white school glue. This will seal the glitter in so that it doesn’t fall off everywhere when you they are hanging up on your wall. Let them dry overnight.
 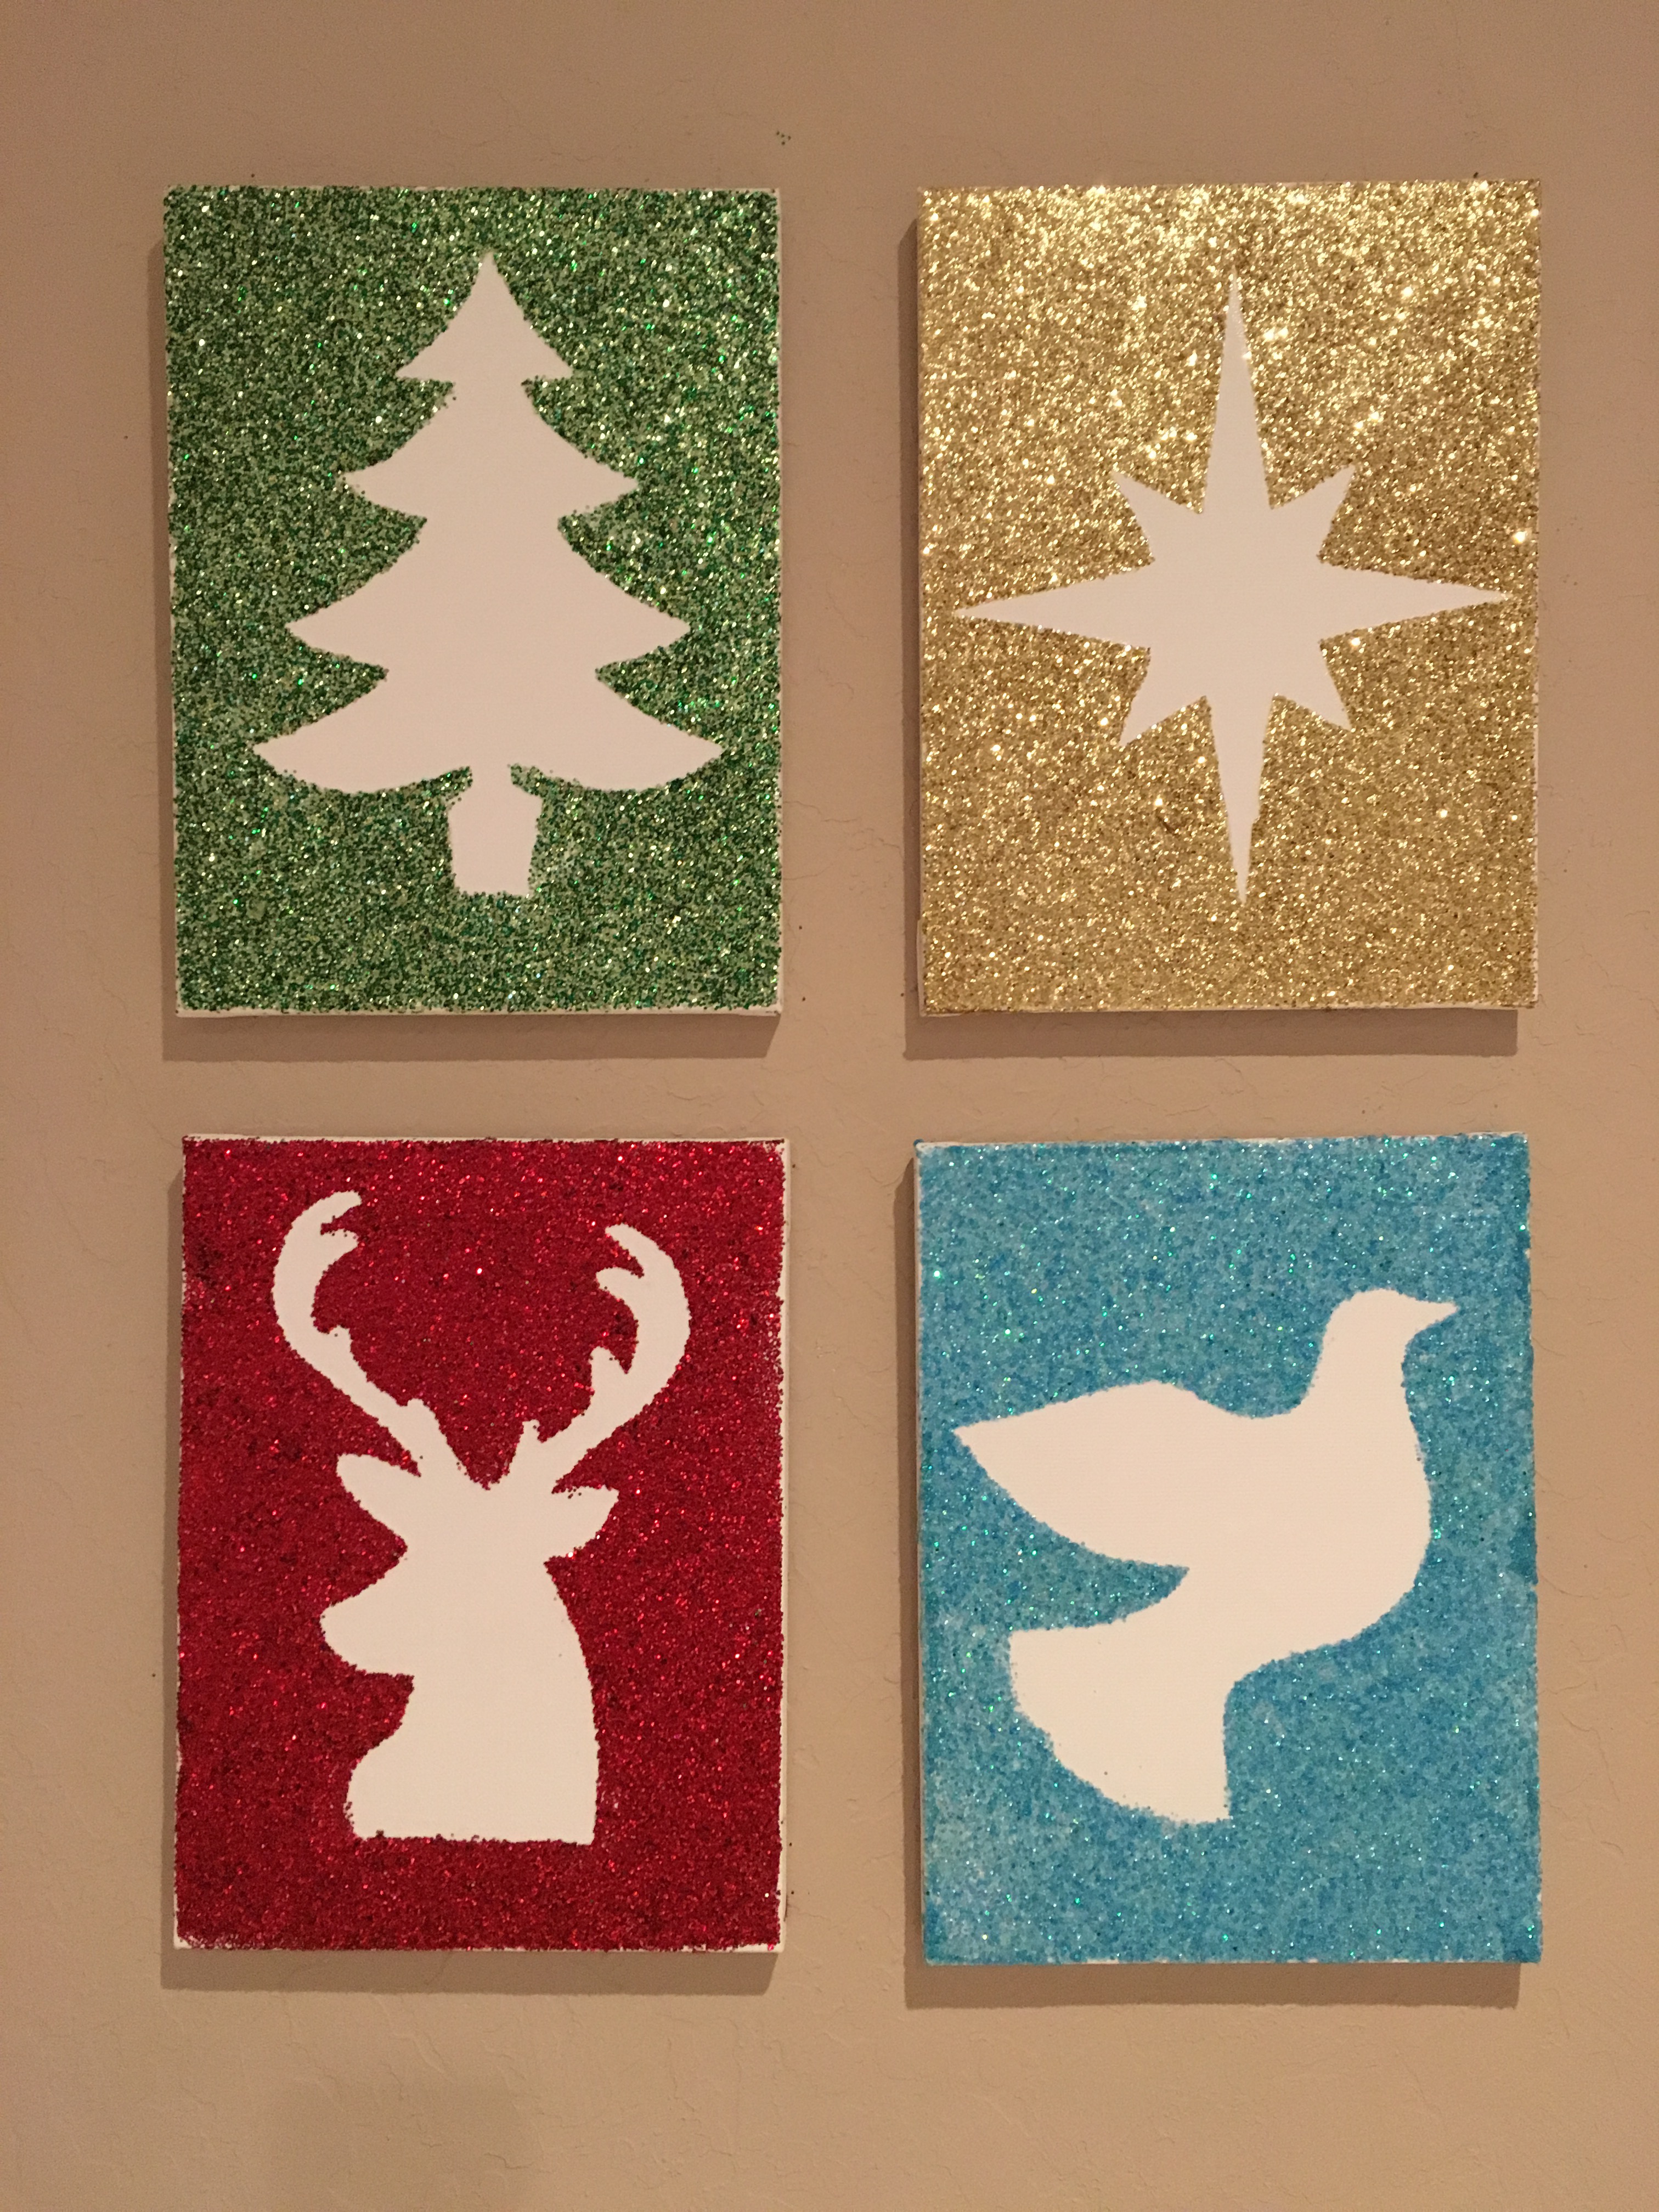 Hang up and admire your beautiful Glittery Christmas Silhouettes!