This past Monday was the first day of Spring, and boy am I ready for some sunshine! This weekend, in anticipation of the arrival of the new season, I made this simple “Book Page Banner” and I absolutely love the way it turned out! Book Page Banners are great, because they are so inexpensive to make and you can modify them to fit any occasion.
For this Bunny Rabbit and Carrot Banner you will need…
pages out of an old book (I got mine from the dollar store)
bunny & carrot template (google bunny silhouette & carrot silhouette to find ones you like and size them to fit your book pages)
white, orange, and green card stock
scissors
ruler
pencil
paper cutter
glue stick
scotch tape
twine
Watch my tutorial above to make your own Spring Book Page Banner.
My son Micah is that kid who is always trying to figure out “how things work.” He absorbs information like no one I know and often amuses us with the most off the wall, interesting facts that he “read somewhere in a book.” He also loves science and technology. We always say that he’s going to be a famous inventor someday!
For the last couple of years, Micah would often say, “Mom, I wish I had a workshop of my very own! I wish I had a place that I could just go and build stuff.” Whenever he said this, I was left feeling like I didn’t even know where to begin, so I’d look up a project on Pinterest or try to get him engaged in a creative activity. I never really thought it would be possible to make his dream a reality.
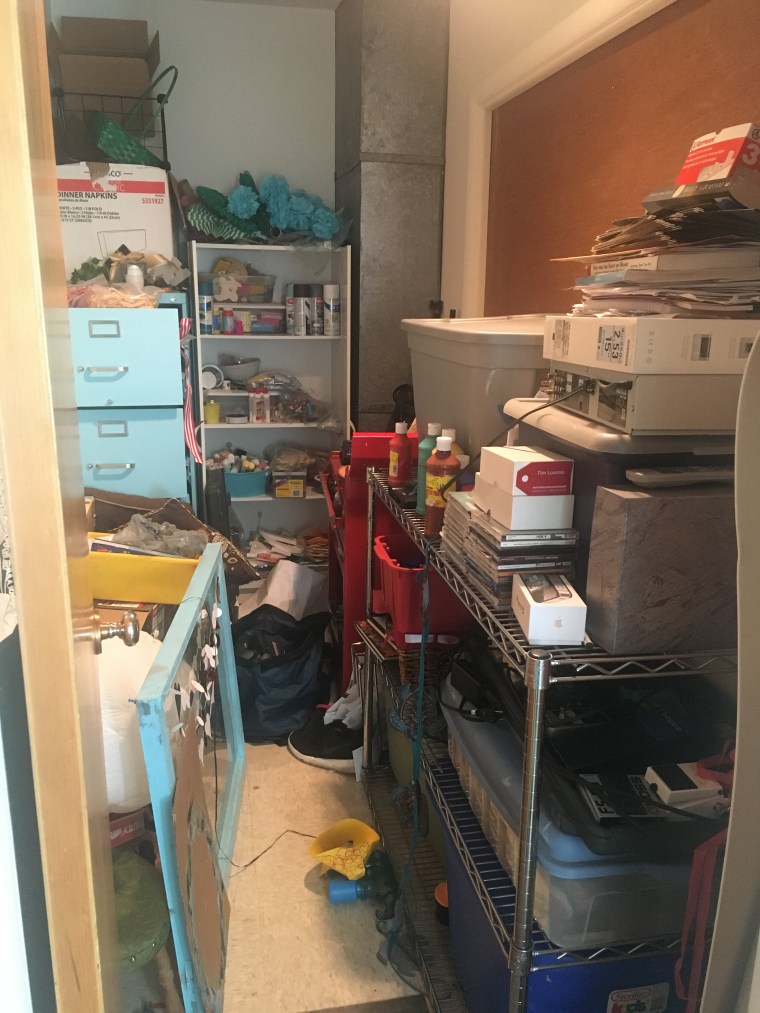
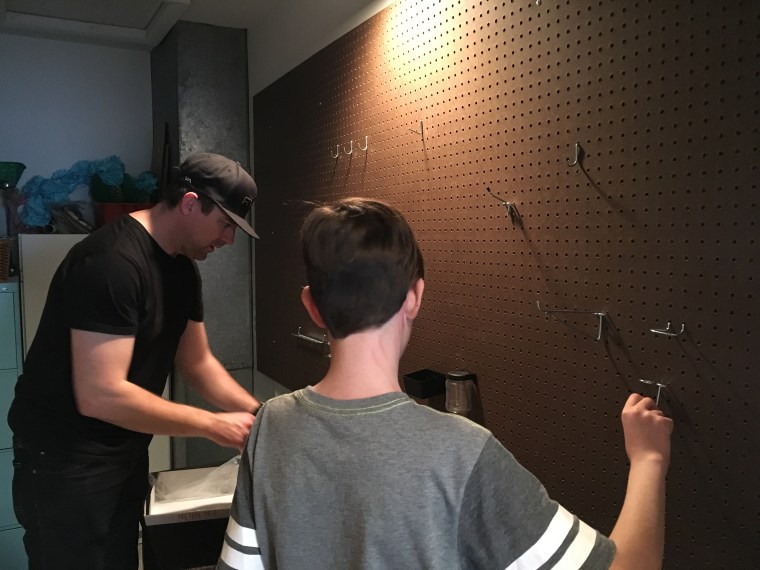
Recently, I started talking to Micah about what he wanted for his 11th birthday. He didn’t have a specific gift in mind. Then inspiration struck! I started dreaming about how we could make a special workshop just for Micah in our house. We have this random, small utility room between our living room and garage that had basically become a storage space for all kinds of random things. I realized that this could become a perfect tinkering space for Micah.
I knew that I wanted to start with large pegboard on one wall, so we took a trip to Lowe’s to see what we could find. In a matter of days, Micah’s workshop came together, and I was very pleased that we were able to keep the cost down to under $60 by using a bunch of thing we already had in our garage and in our house.
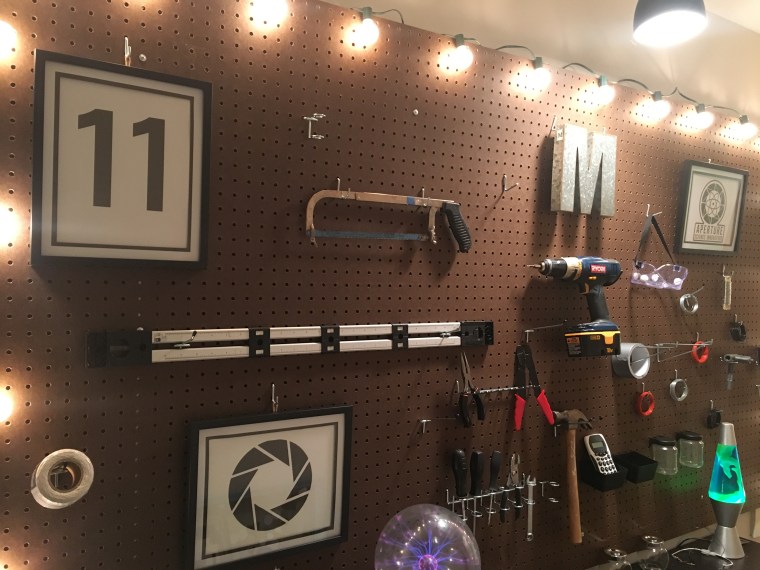
I put together this little video (below) of “The Making of Micah’s Tinkering Workshop” which includes a cost breakdown and a few fun moments with Micah too! Micah is thoroughly enjoying his “place to go build stuff.” The first day it was finished, he spent over 4 hours in there working on building a robotic arm that was given to him by a friend.
BEFORE
AFTER
We would love to hear from you! If you know of any cool building projects for kids or ideas of what Micah could do in his workshop, leave us a comment and let us know!
Portal and Portal 2 are popular video games. Truthfully, I’ve never played either of them, but according to my son they are the “best video games ever!” Here’s a bit about the games according to my son Micah…”In Portal, you are a test subject in a huge underground facility called Aperture Science that is supposedly under Michigan. You go through the tests (which are puzzles), solving them, and they get harder and harder along the way. At a certain point in the game, you acquire a tool which makes portals that objects and you yourself can pass through. This tool is official called the Aperture Science Handheld Portal Device, but is more commonly referred to as the Portal Gun.”
Micah’s 11 birthday was March 3rd and he wanted a Portal Themed Birthday Party! Micah chose to have his party at a Fun Center in our city so that we could play laser tag and ride go carts, so the cake became the main thing that represented the Portal Theme.
In Portal there is a gigantic robot named GLaDOS at the center of the facility. GLaDOS runs everything and she promises you cake at the end of the test, but it turns out that she’s lying. She actually puts you on a platform headed towards a fire pit. In the game, there is a message written on a wall in a secret room, written by a scientist that says, “the cake is a lie!” Here are a couple of images from the actual game.
This was a super fun cake to create! You can watch my tutorial to learn how to make one of your own. This cake is definitely NOT a lie! I used Pillsbury devil’s food cake mix, Hershey’s chocolate bars for the chocolate shavings on the outside of the cake, vanilla and chocolate frosting, cherry gumballs, and a white candle. #CommissionsEarned
For more Portal Birthday Party fun, check out my blogpost from the party. You’ll find links to free printables for “repulsion gel” and “propulsion gel” as well as an awesome tutorial on how to make Portal Cookie Pops.
For another fun teen boy birthday party idea check out my latest blogpost:
A couple of years ago we rented the cutest little house in an older neighborhood. The street was lined with big trees, the neighbors were friendly, and the backyard was filled with a variety of fruit trees. The house itself had a lot of character, including a wall covered in shiplap, a large window with a view of a train trestle, glass doorknobs, and old light fixtures. The master bedroom, however, needed a bit of help. Because we were renting, I didn’t want to invest a ton of money into bedroom decor, as we knew we wouldn’t be living there very long.
One afternoon my husband decided to take the kids to see a movie and he left me with a couple of glorious hours home alone. I had purchased two rectangular tablecloths at Target a couple of days before, so I went right to work on creating some curtains to brighten up my bedroom. The windows truly were the best feature of that room, so I wanted to highlight them.
I can’t believe how easy it was to sew these simple curtains! By the time my family came home, I was finished and my bedroom had a completely new look. Here’s my tutorial on how to make simple curtains out of a rectangular table cloth.
I would love to hear from you. Leave me a comment and tell me about your favorite DIY project and of course show me a picture if you make some tablecloth curtains of your own!
I love books! In this day in age when so many are reading books on Kindles, Nooks, and iPads, you will find me curled up in a cozy spot in my house with a traditional paper book. The library just so happens to be one of my very favorite places on the Earth! I think that is why my eyes are drawn to creative projects made from book pages.
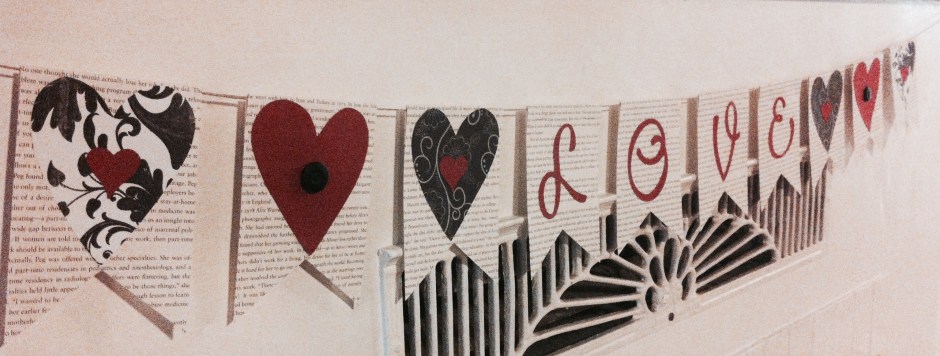
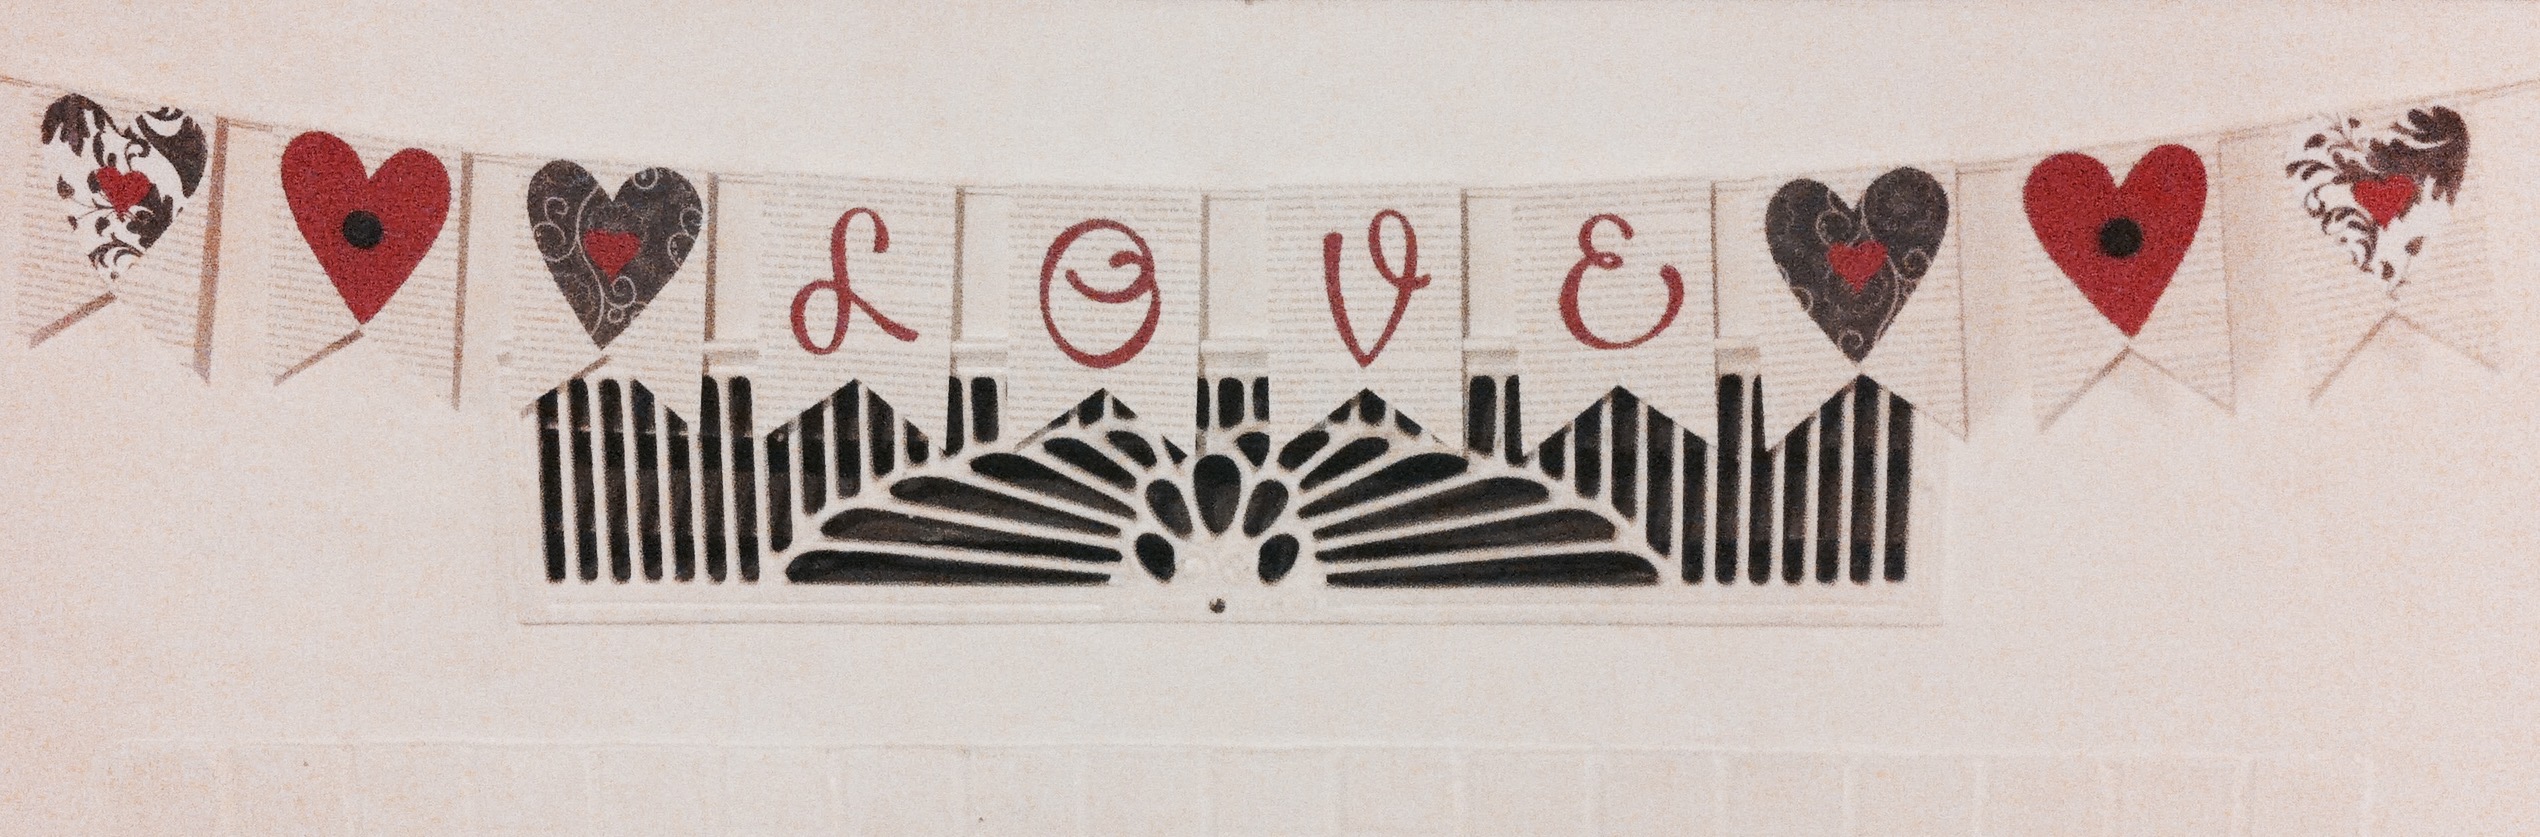
Several years ago I made this pretty little book page banner to hang across my mantle for Valentine’s Day and I have reused it several years in a row because I love it so much! To make one of your own, you will need a book that you don’t mind cutting up (I bought mine from the Dollar Tree). You will also need scrapbooking paper in several colors or patterns. I went with a black, red, and off white theme. Grab a couple of buttons and some twine and you are all set.
I used my Cricut Expression 2 to cut the L O V E letters, but made my own template for the large and small hearts. The book pages are 6 inches long by 4 inches wide. This gives you enough length to fold the top over to hang them on the twine and to cut a 1 1/2 inch triangle out of the bottom of each. For my banner, I stapled the individual book page pieces over the twine and then glue the hearts on after to cover the stapes. For the LOVE portion, I lined the staples up with one of the words to “hide” it as much as possible.
Paper garlands have become one of my absolute favorite DIY decorations. They are simple to create, inexpensive, and they are perfect for everything from holiday decor to birthday parties. These elegant heart and circle garlands will add a little bit of love to your home for Valentine’s Day. Watch my tutorial for some tips on how to make some of your own.
For my hearts and circles, I used the Cricut Expression 2, but if you do not have a Cricut, you can simply cut hearts and circles out of card stock. I used 3 different colors of card stock, plain white, and a shiny gold & red that I purchased from the Dollar Tree. Sometimes, when I make paper garlands, I use my sewing machine, but for these, I just used a needle and white thread. I wanted to be able to space them out, so this gave me the option to slide them along the thread and place them where I wanted to. #CommissionsEarned
Some friends of mine gave me this beautiful old window, which made the perfect backdrop to display a collection of Valentine Paper Garlands. Happy Valentine’s Day from Kerri Creates!
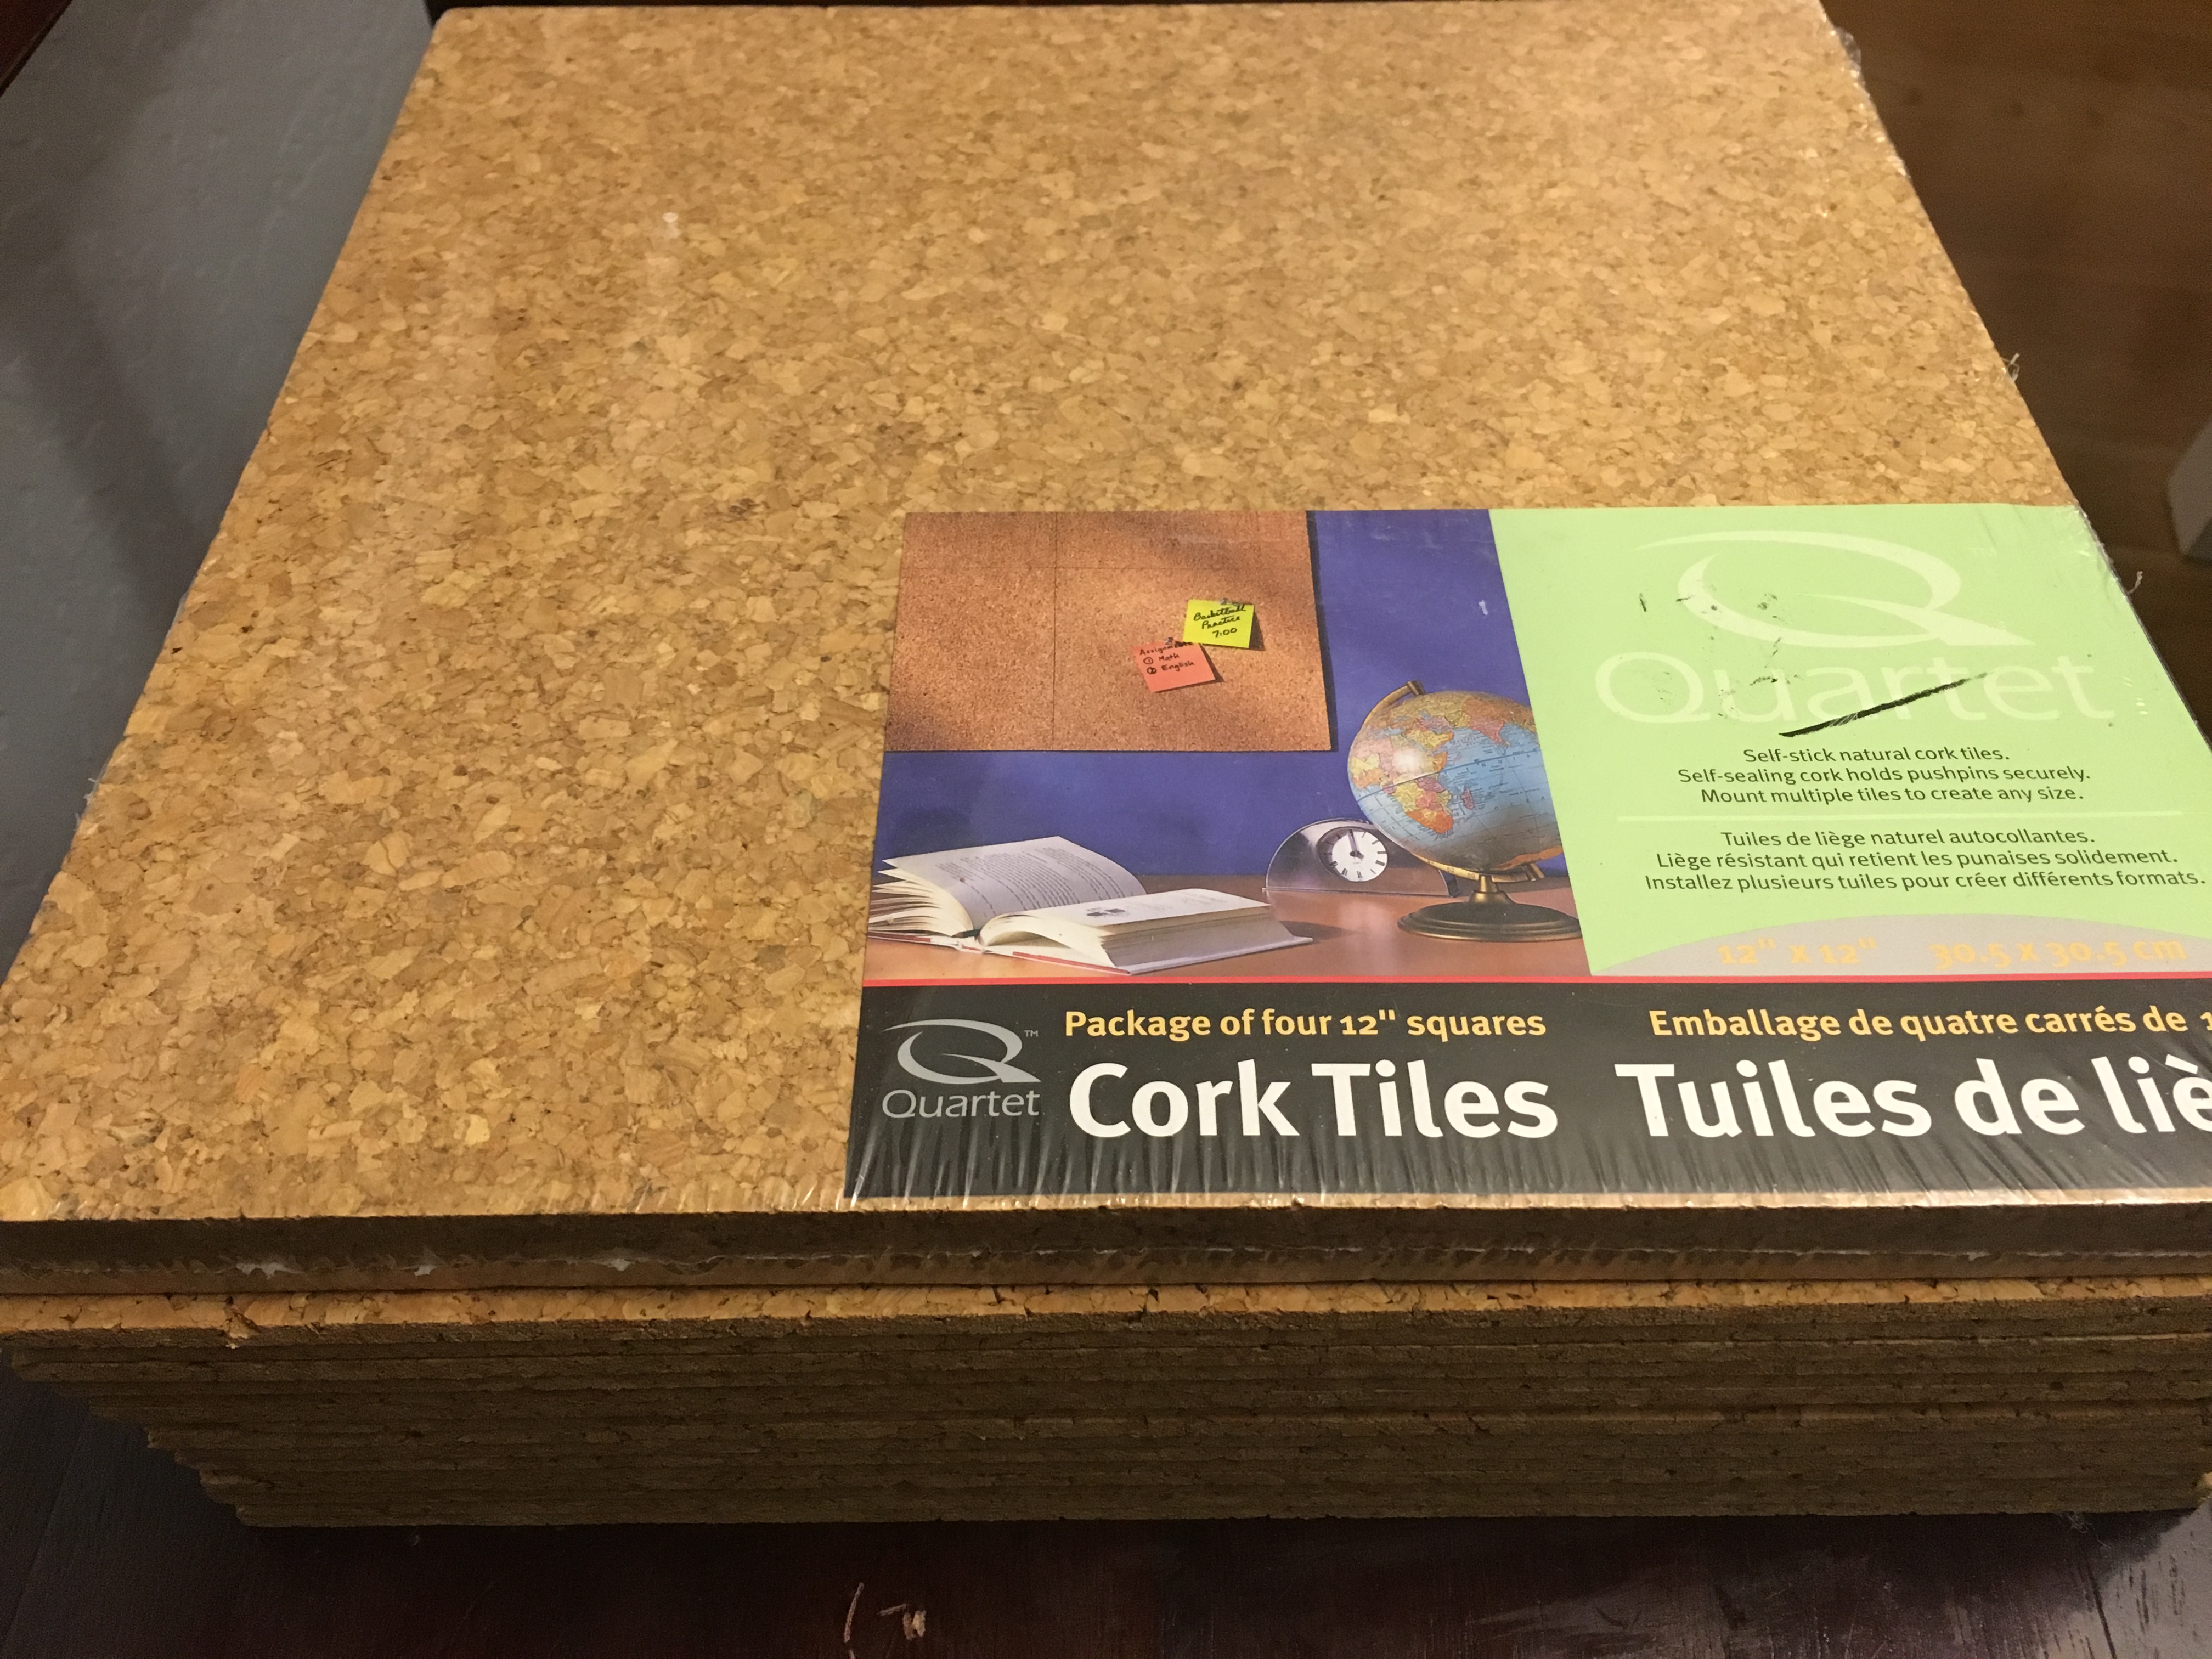
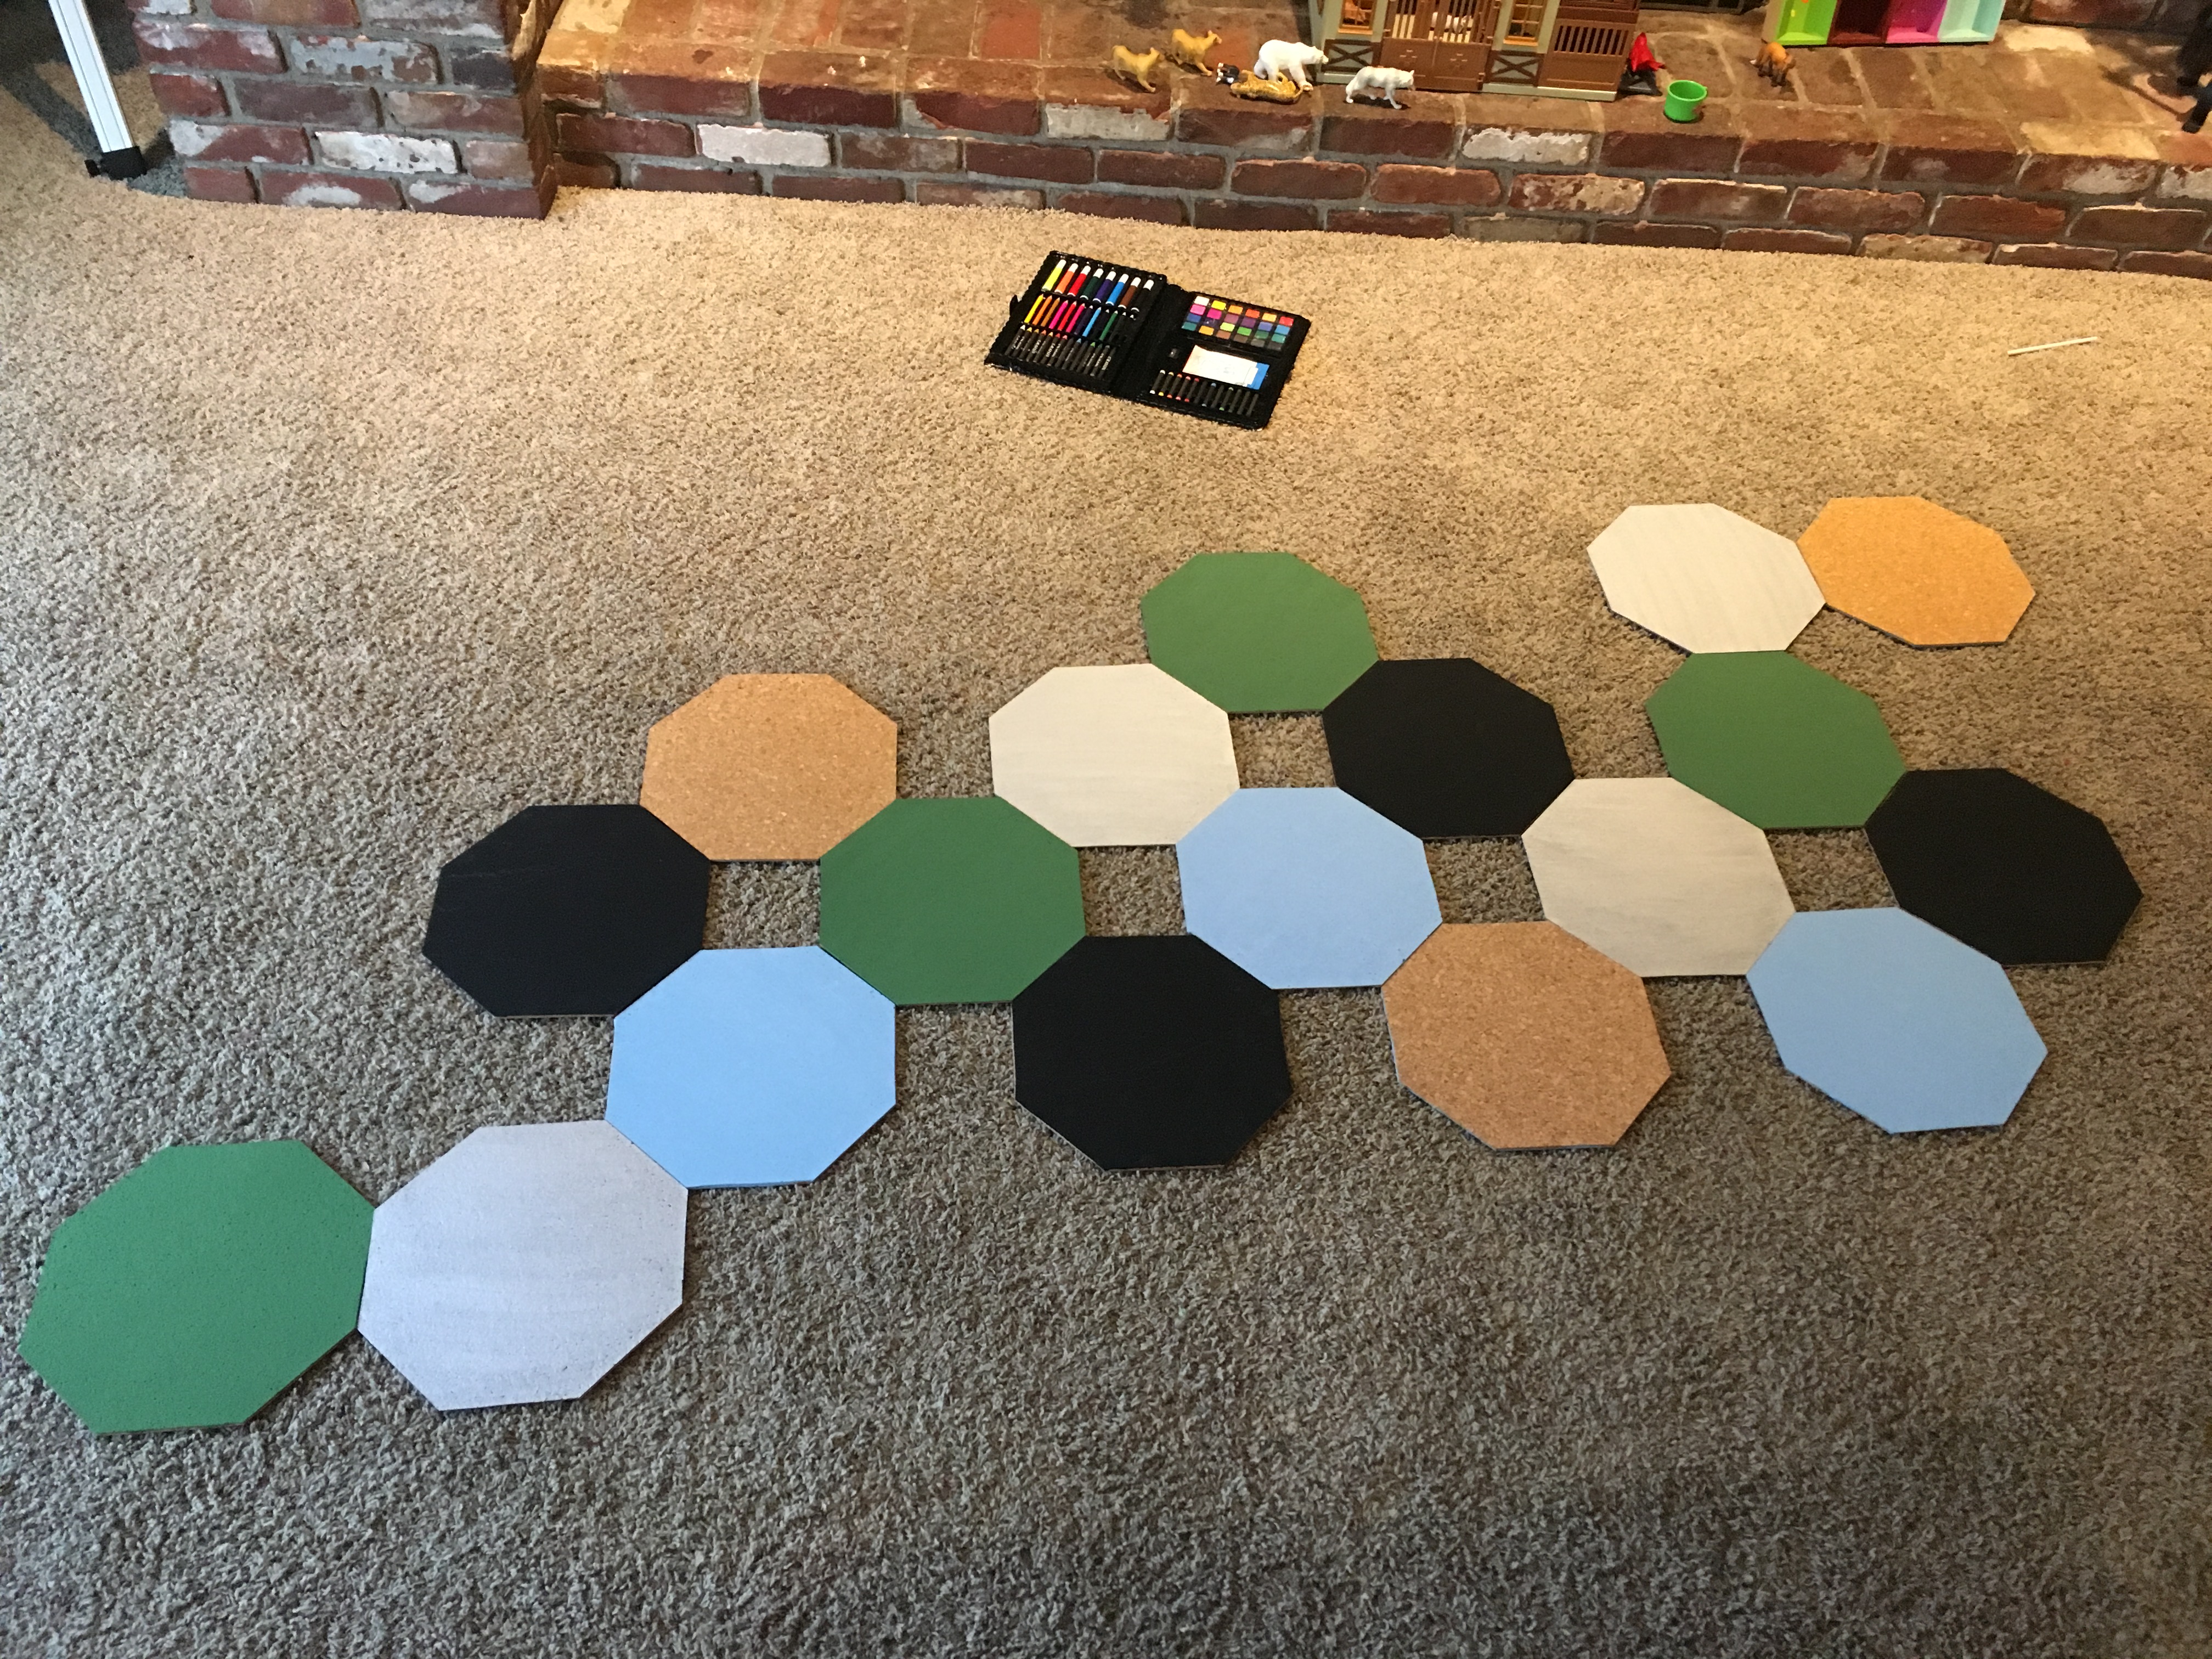
I have had this huge stack of cork tiles in my son’s room for several years… just sitting there… taking up space! So this week, I finally decided to do something fun with them! I created a geometric bulletin board for my 10 year old son’s bedroom wall and I am so happy with the way it turned out. It was a bit tricky getting the right cut to create the octagons, but with a little help from my husband, (who measured and cut the template for me) I was on my way. A couple of coats of paint and some command strips later, and these cork tiles became a really cool memo board for my son to pin up a “few of his favorite things.”
Watch my tutorial on how to create your own Octagon Memo Board. This would be perfect in a bedroom, a dorm room, or an office.
Here are a couple of tips:
Use different textures of paint for contrast
Paint at least 2 coats on each octagon
Leave some octagons unpainted
Lay out your tiles on the ground and play around with different configurations before hanging them up
Use command strips to hang each tile on the wall
Also featured in this video is a collection of my son’s amazing origami creations, strung up across the top of the Octagon Bulletin Board. He has spent hours making these incredible creations, one intricate fold after another. I love seeing them all on display in his bedroom. For those of you who love origami, check out MicahsToyReviews to learn how to make some origami creations of your own.
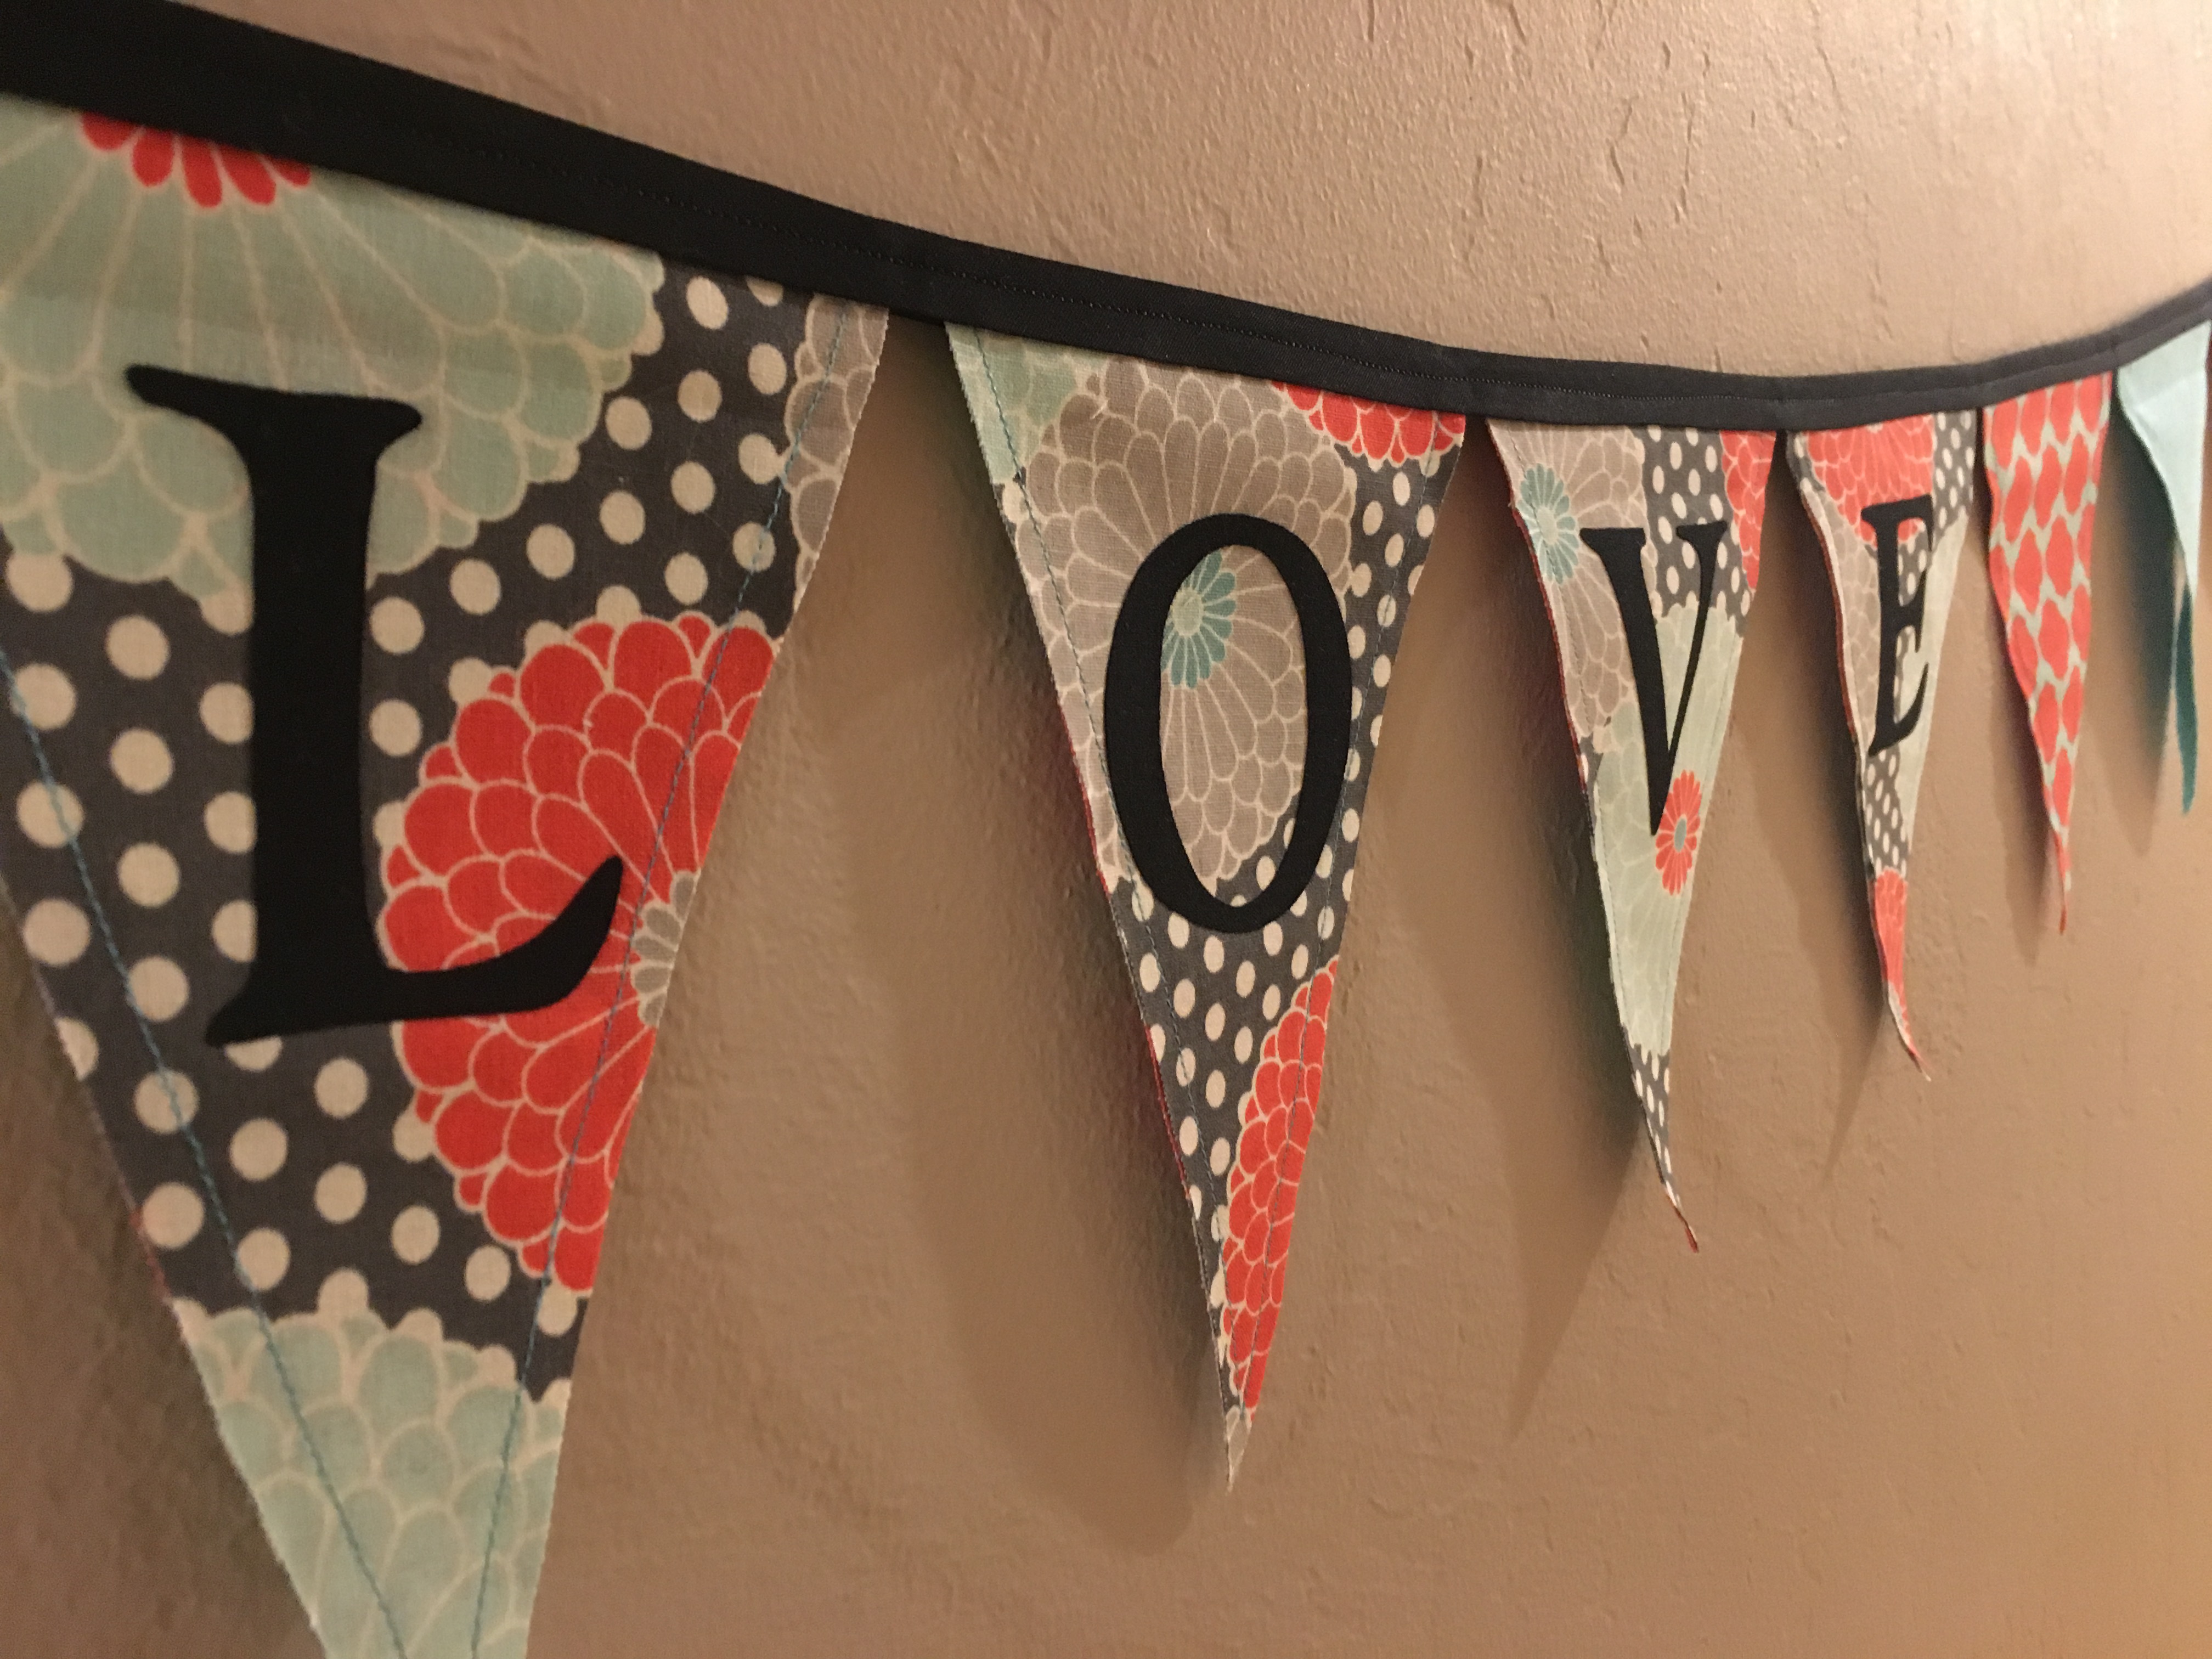
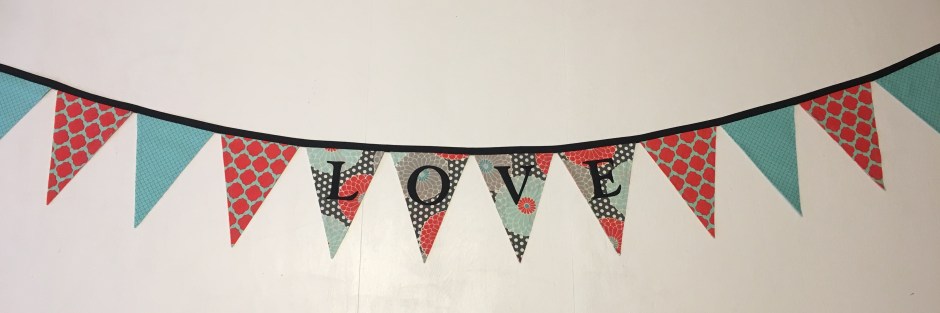
Pennant Banners are one of the most simple sewing projects and can add pops of color to any room or front porch. They can be used as a party decoration, on a mantle or mirror during the holidays, or in a child’s room. They can be made out of paper, material, or burlap. The possibilities are endless! I have made various kinds of pennant banners for many occasions. For this post, I’m featuring the most recent one I made for a friend of mine, but I’m also including one of my most popular youtube video tutorials on how to make a pennant banner.
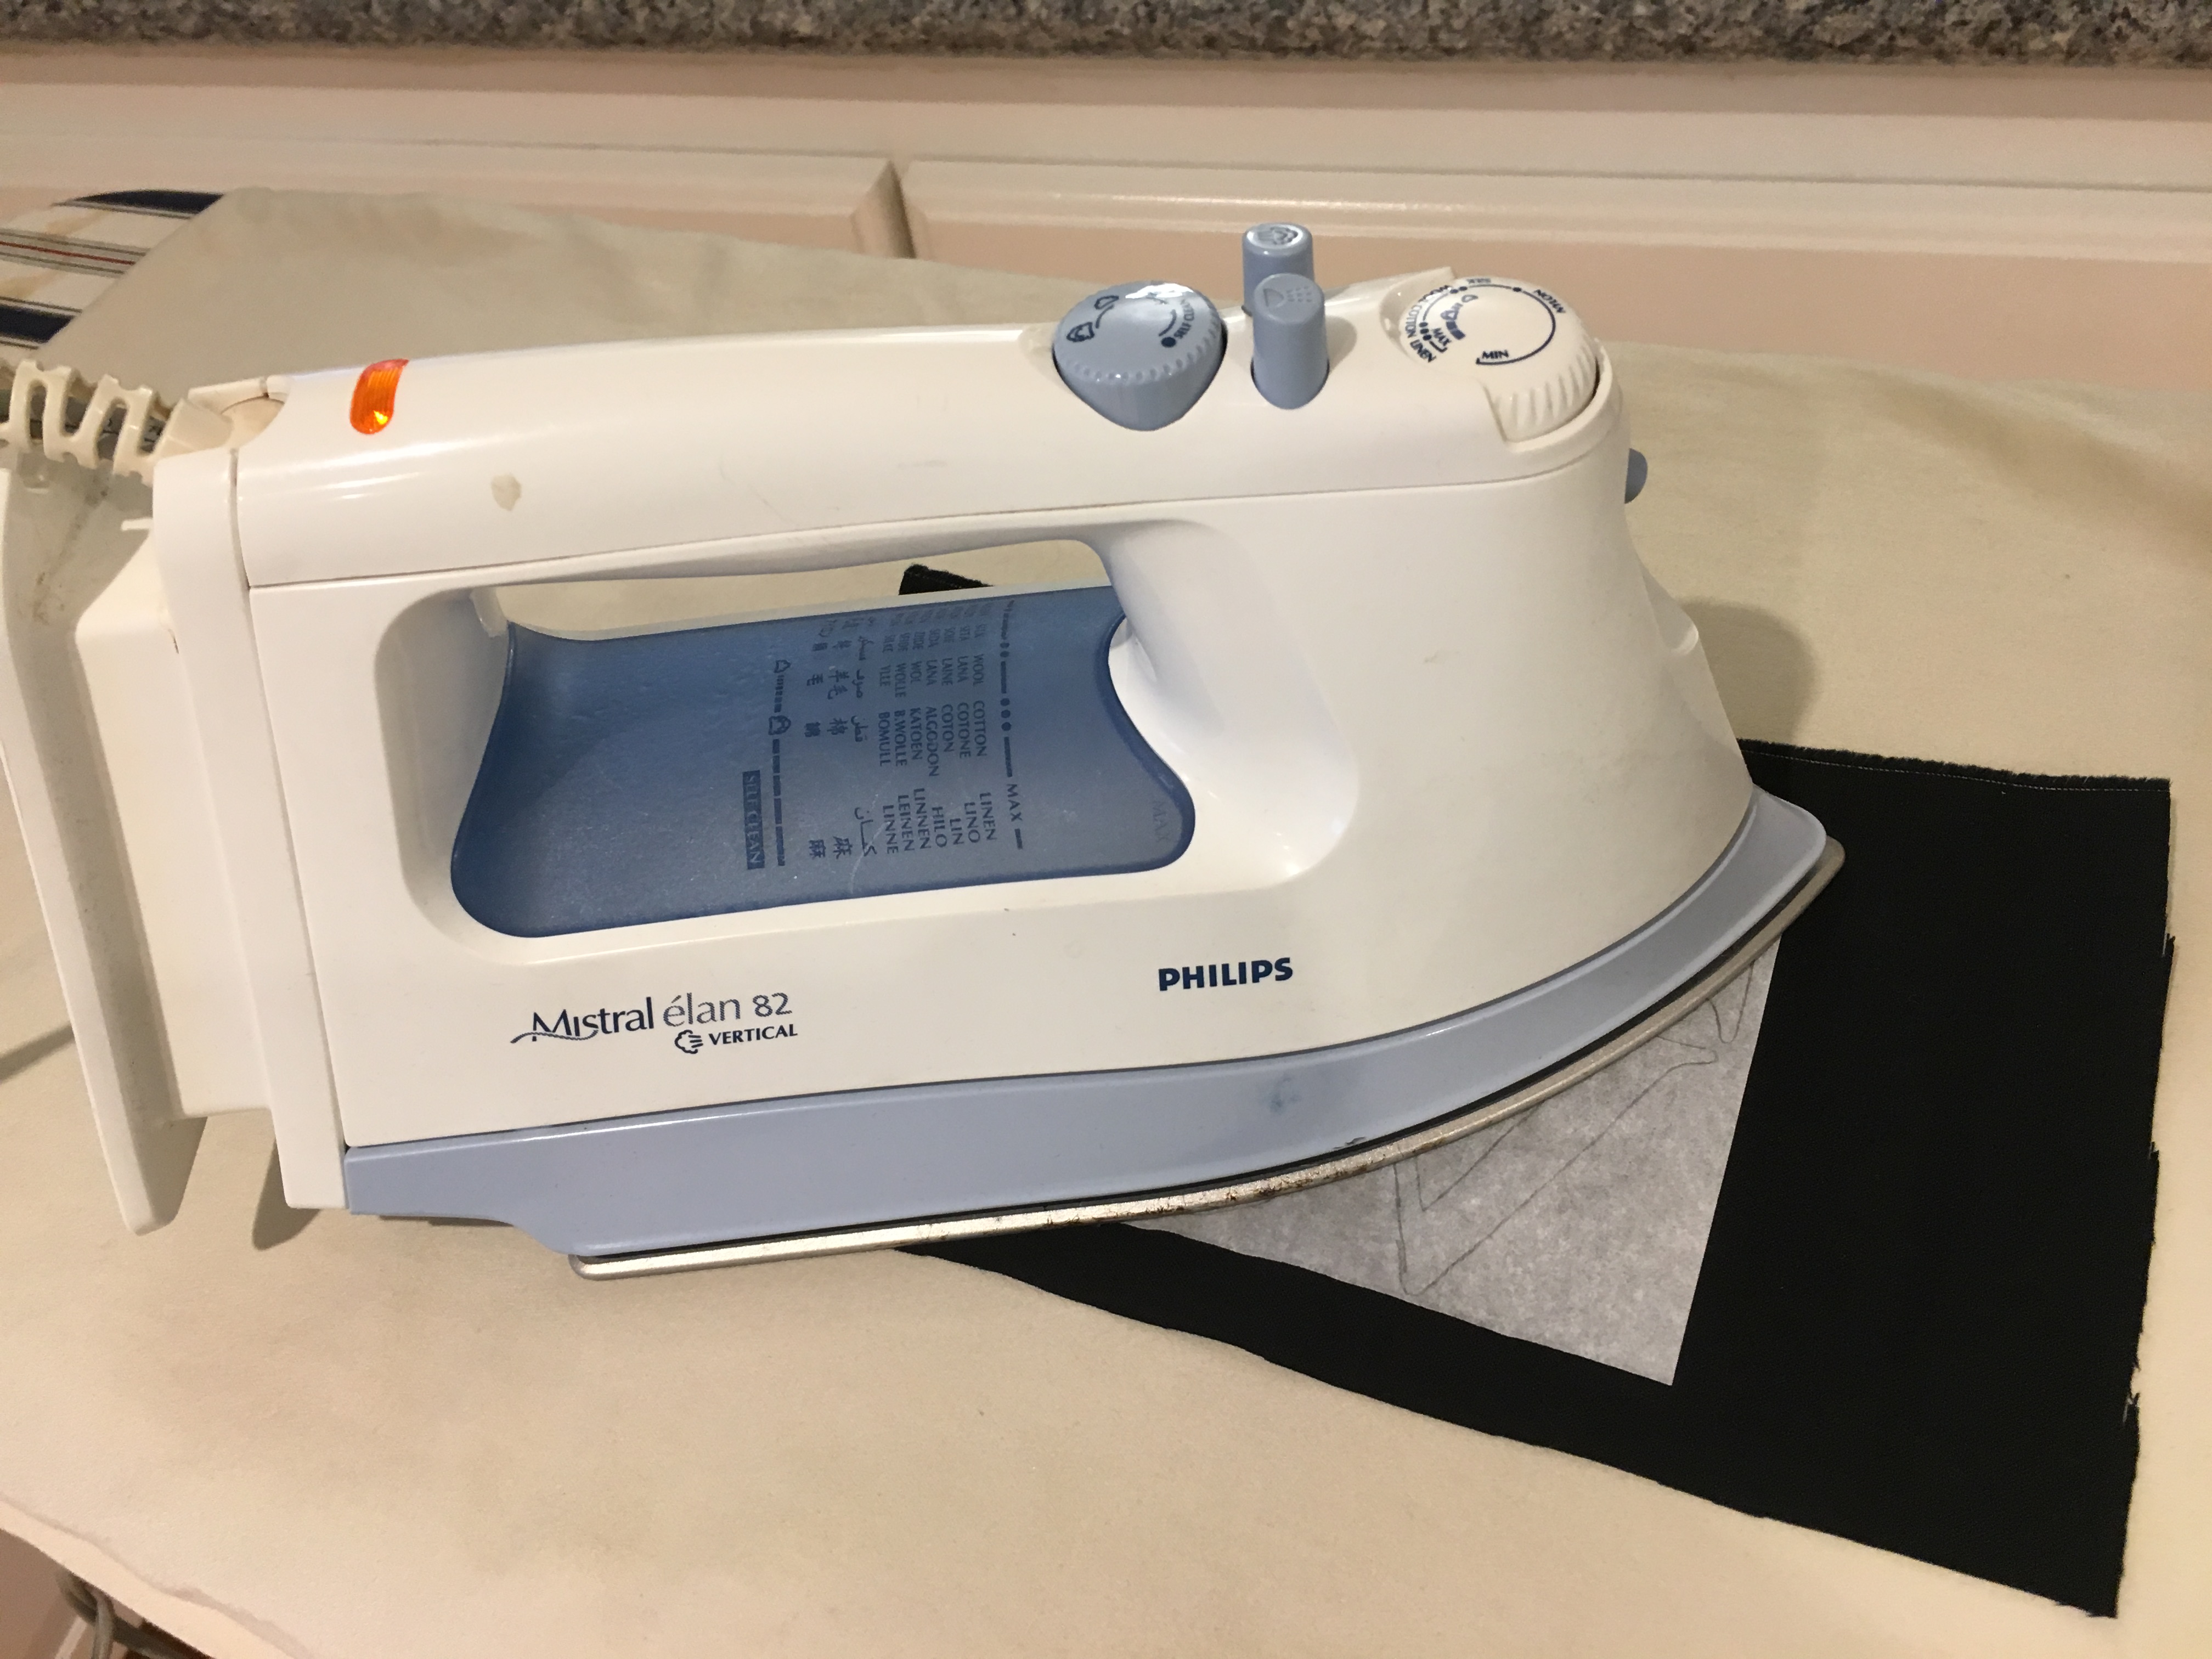
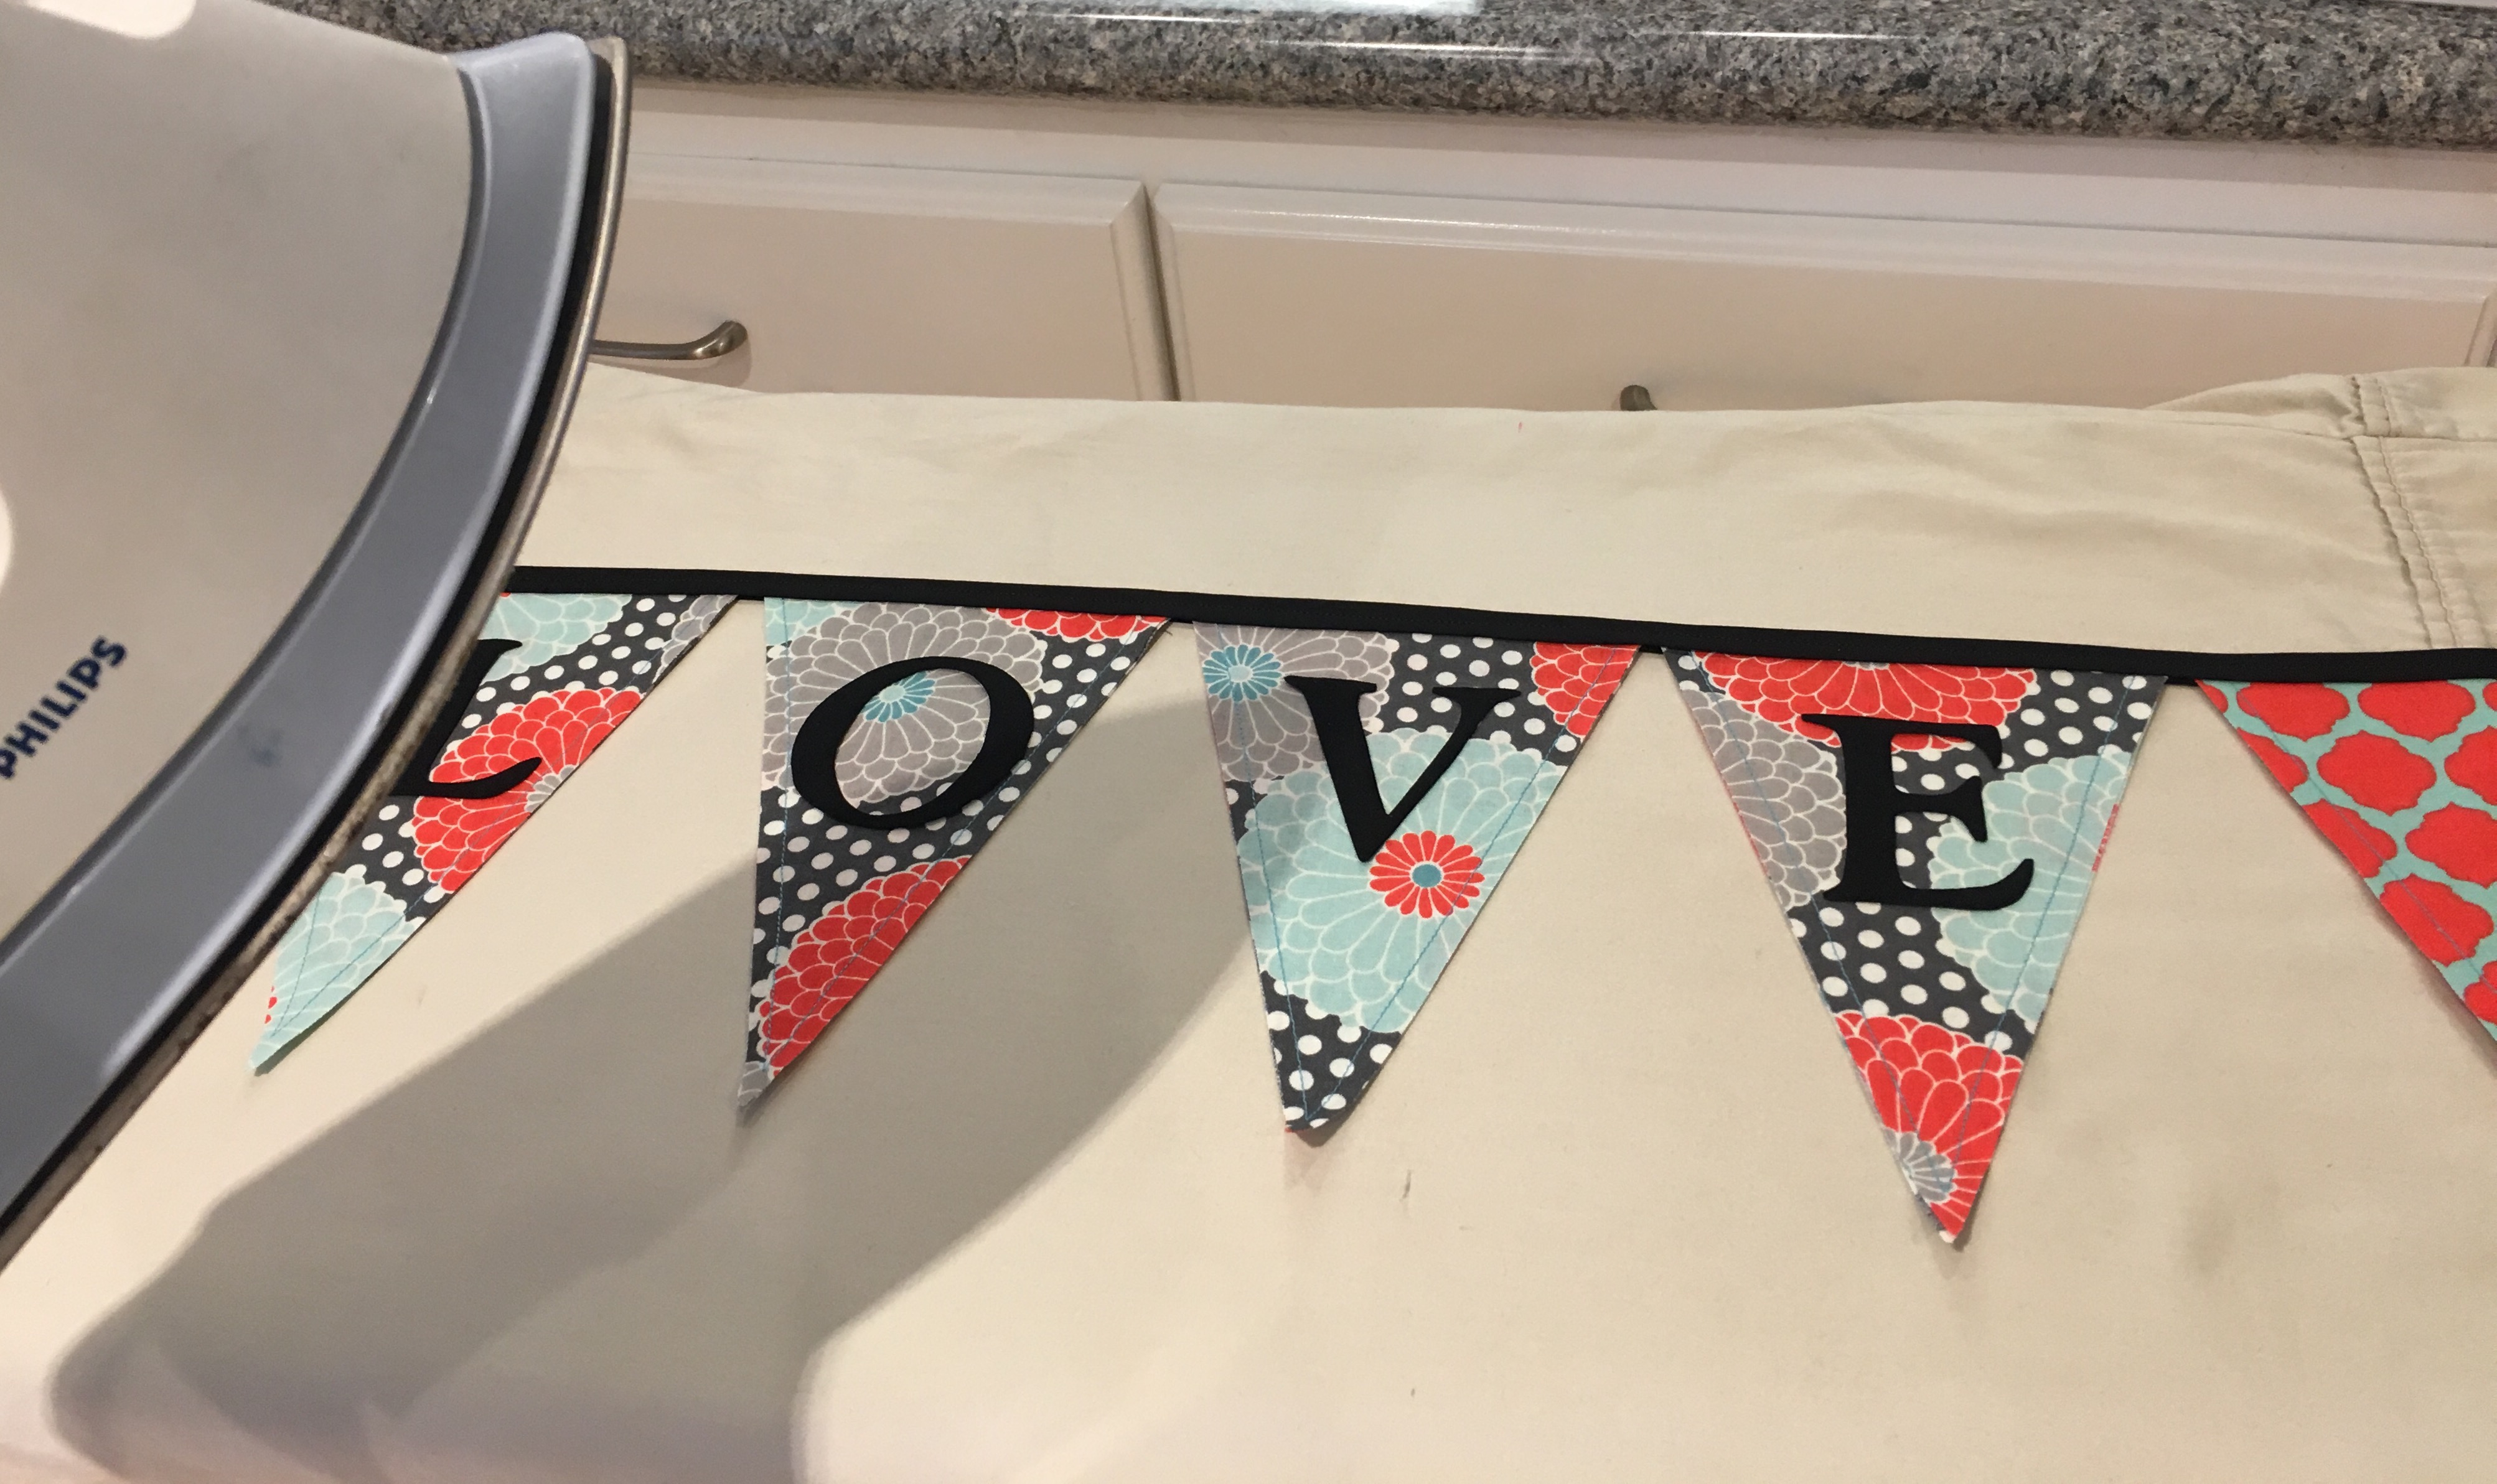
With Valentine’s Day only a couple of weeks away, you may want to make your own version of this LOVE Pennant Banner to hang on your mantle! After watching my tutorial on How to Make A Pennant Banner, you will need a couple of additional steps to add letters to your banner.
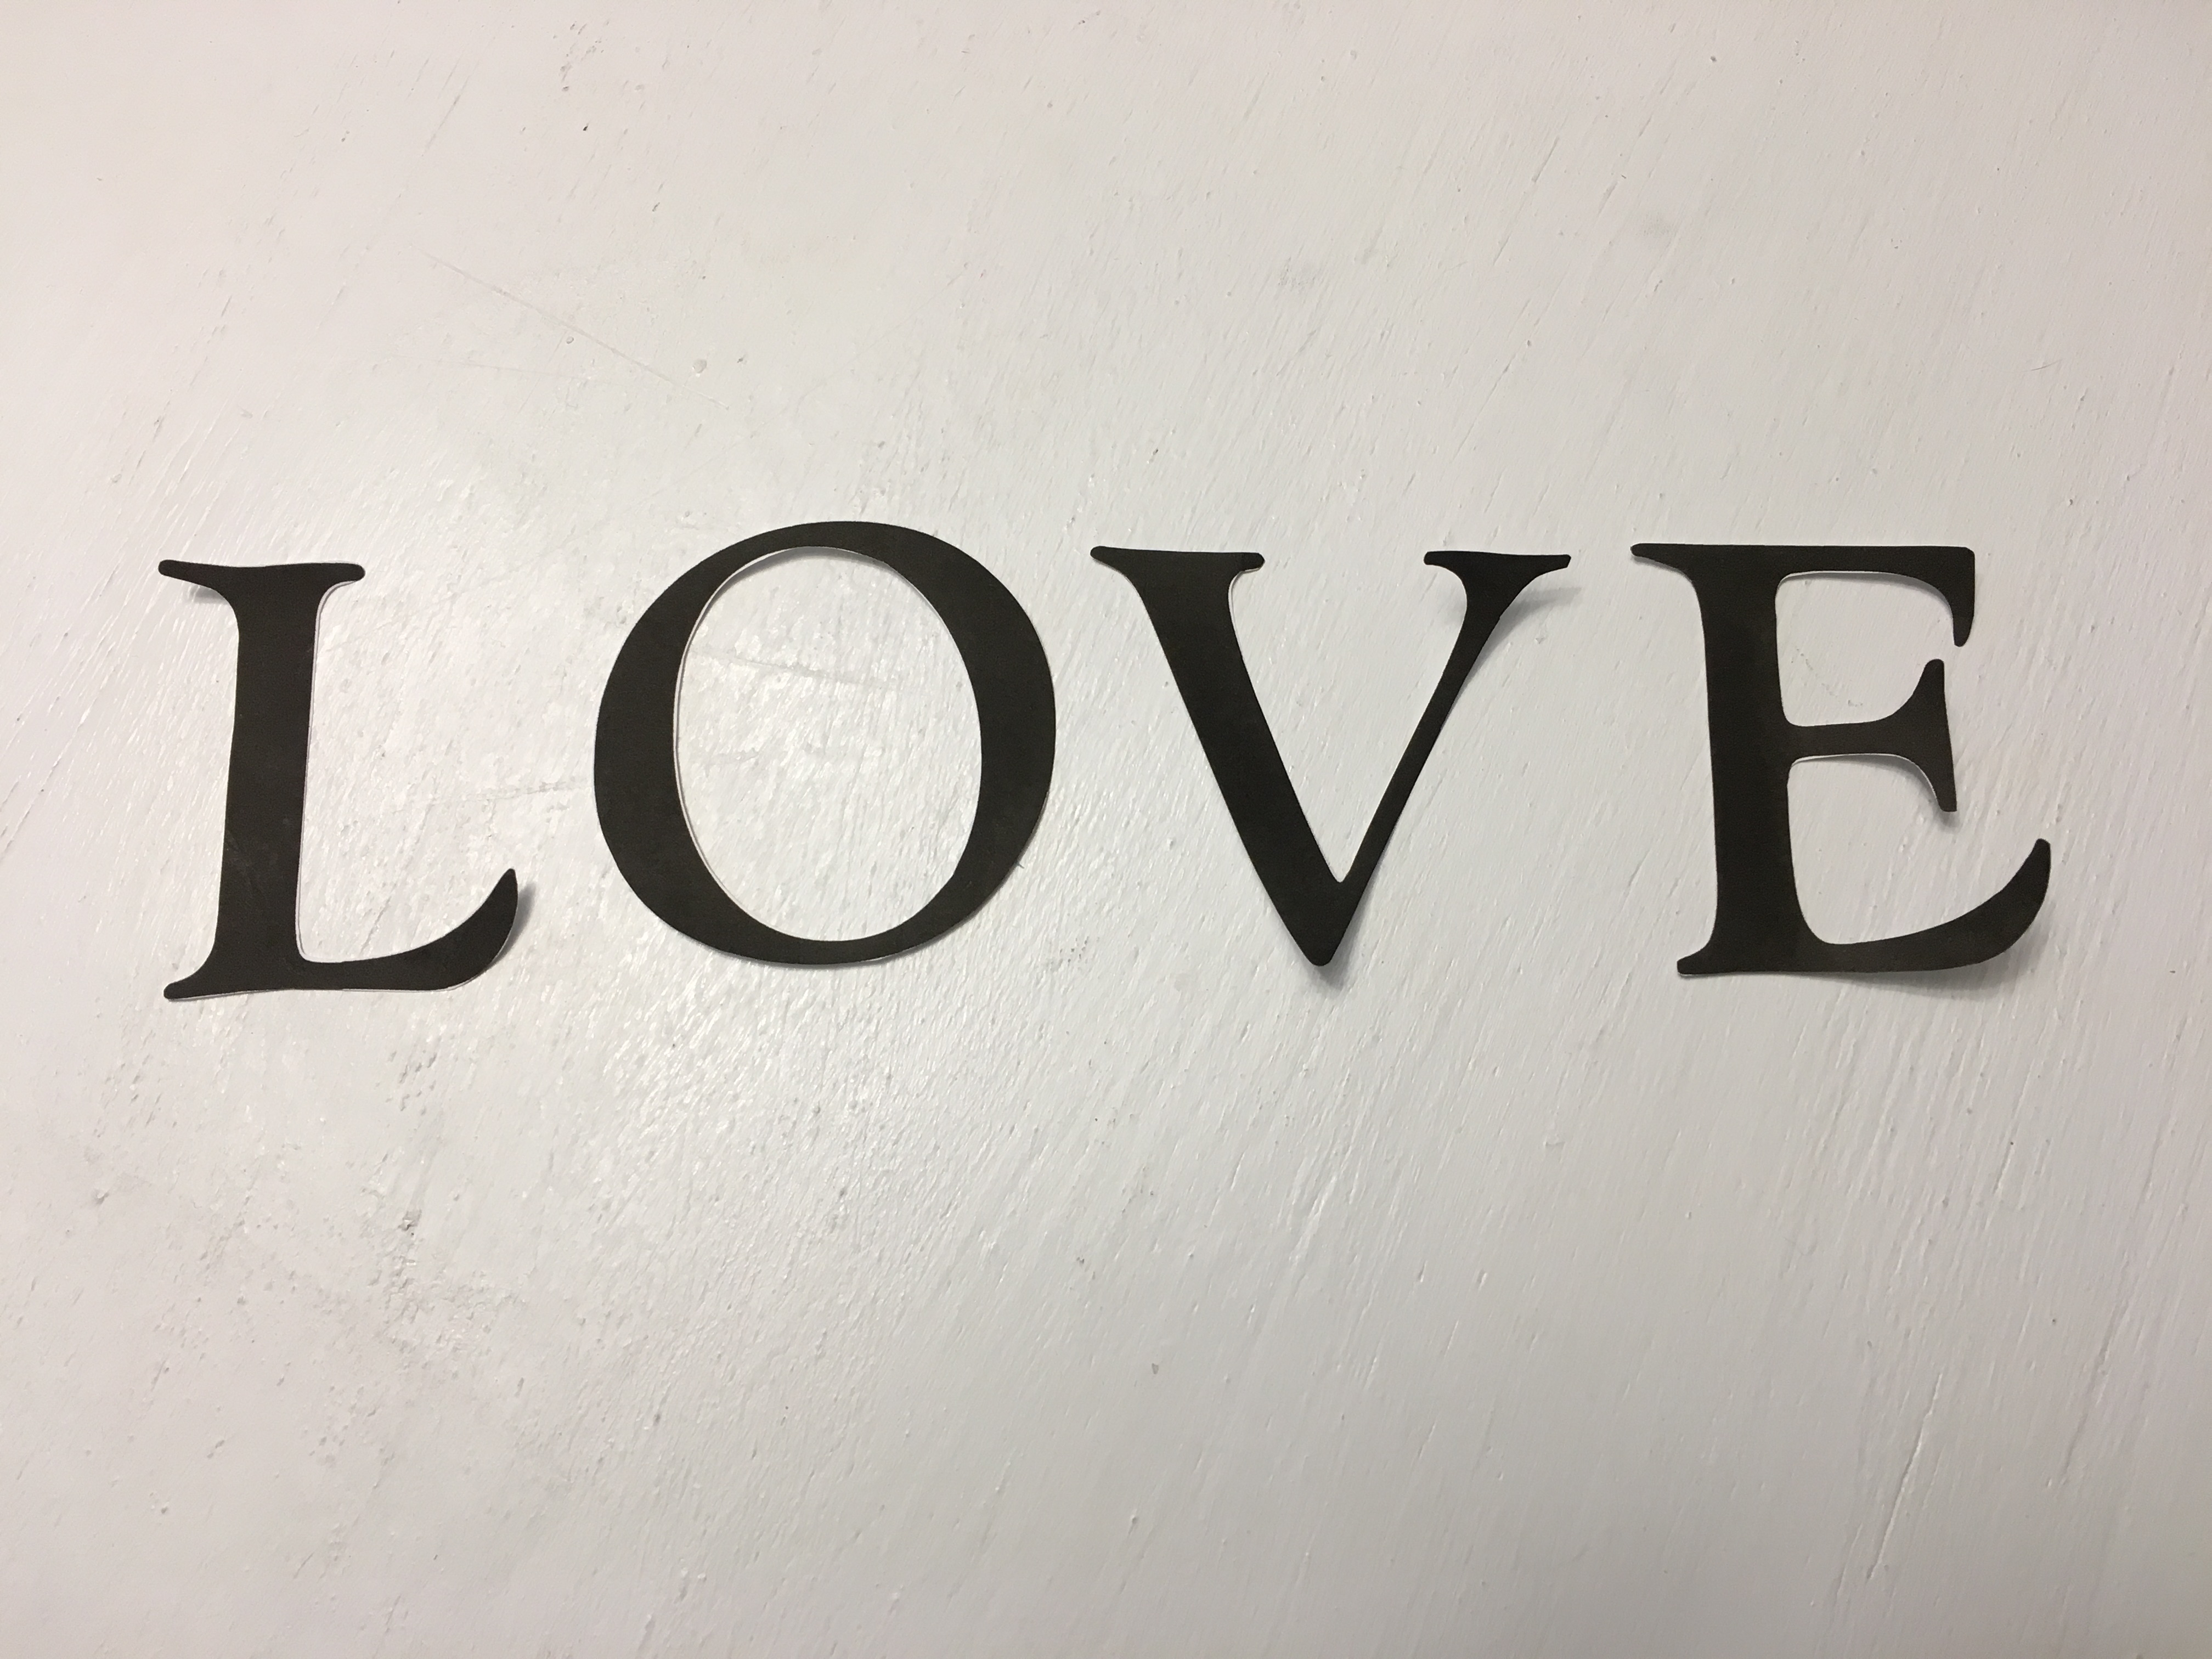
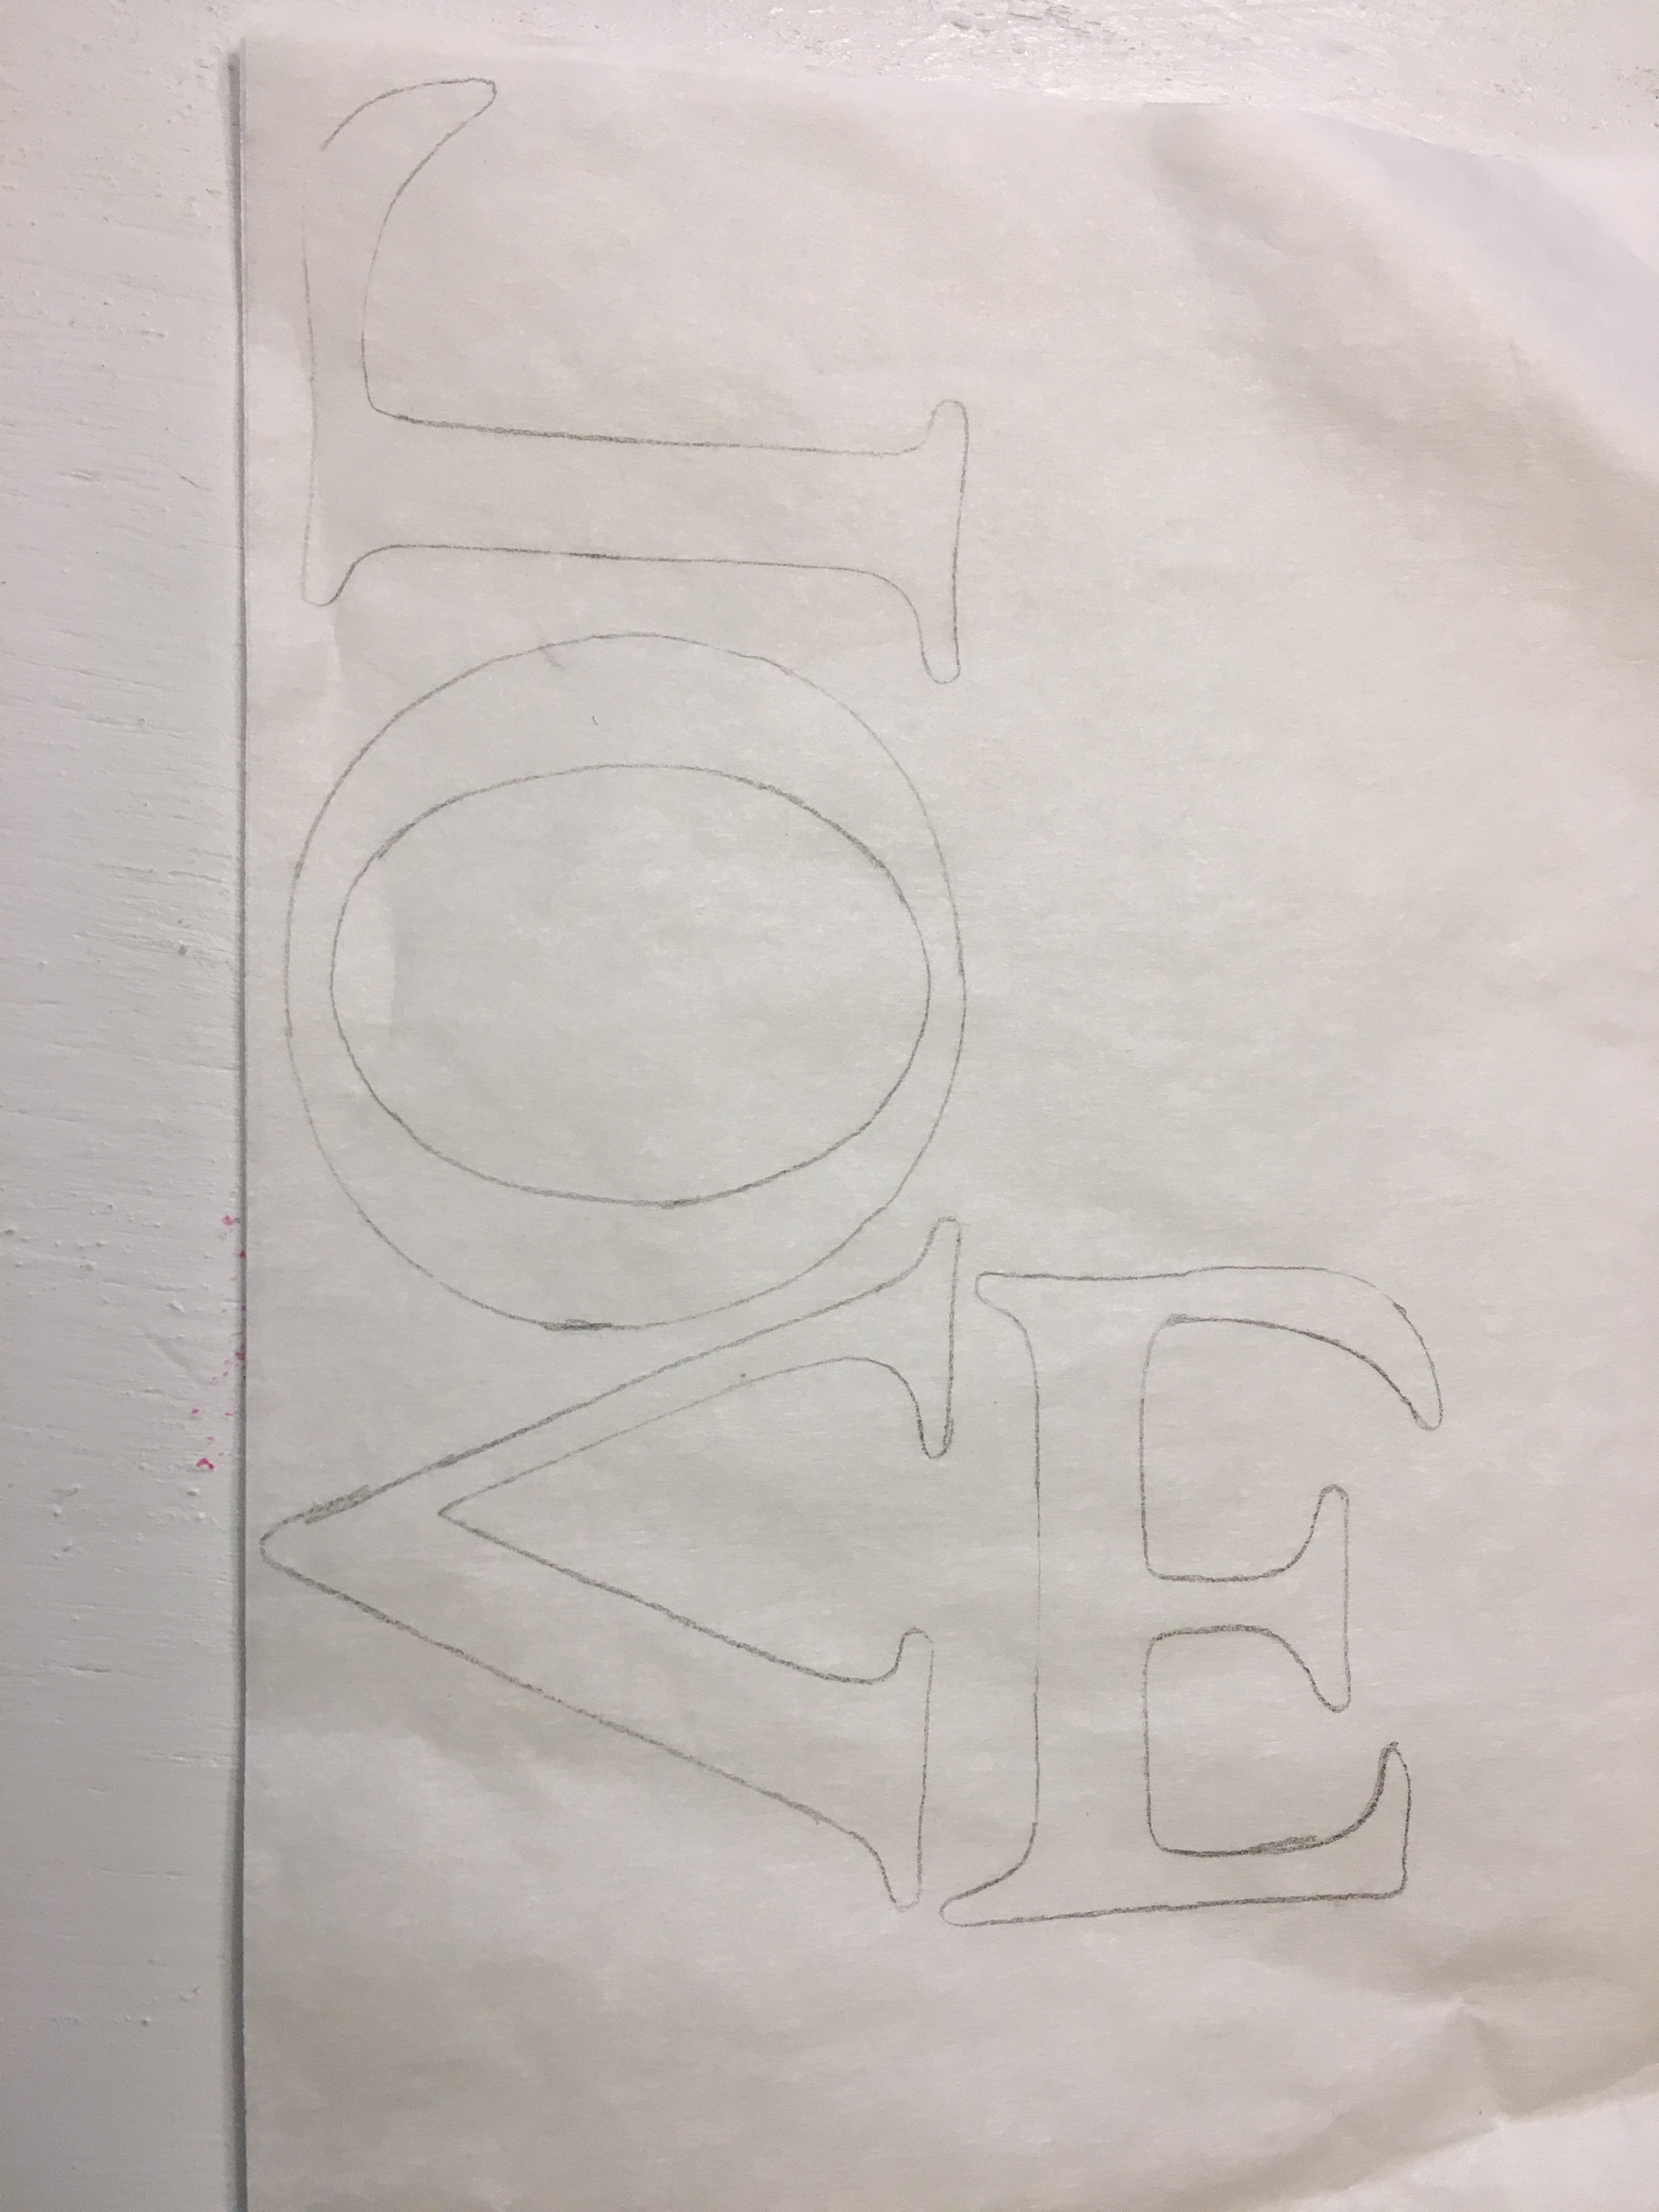
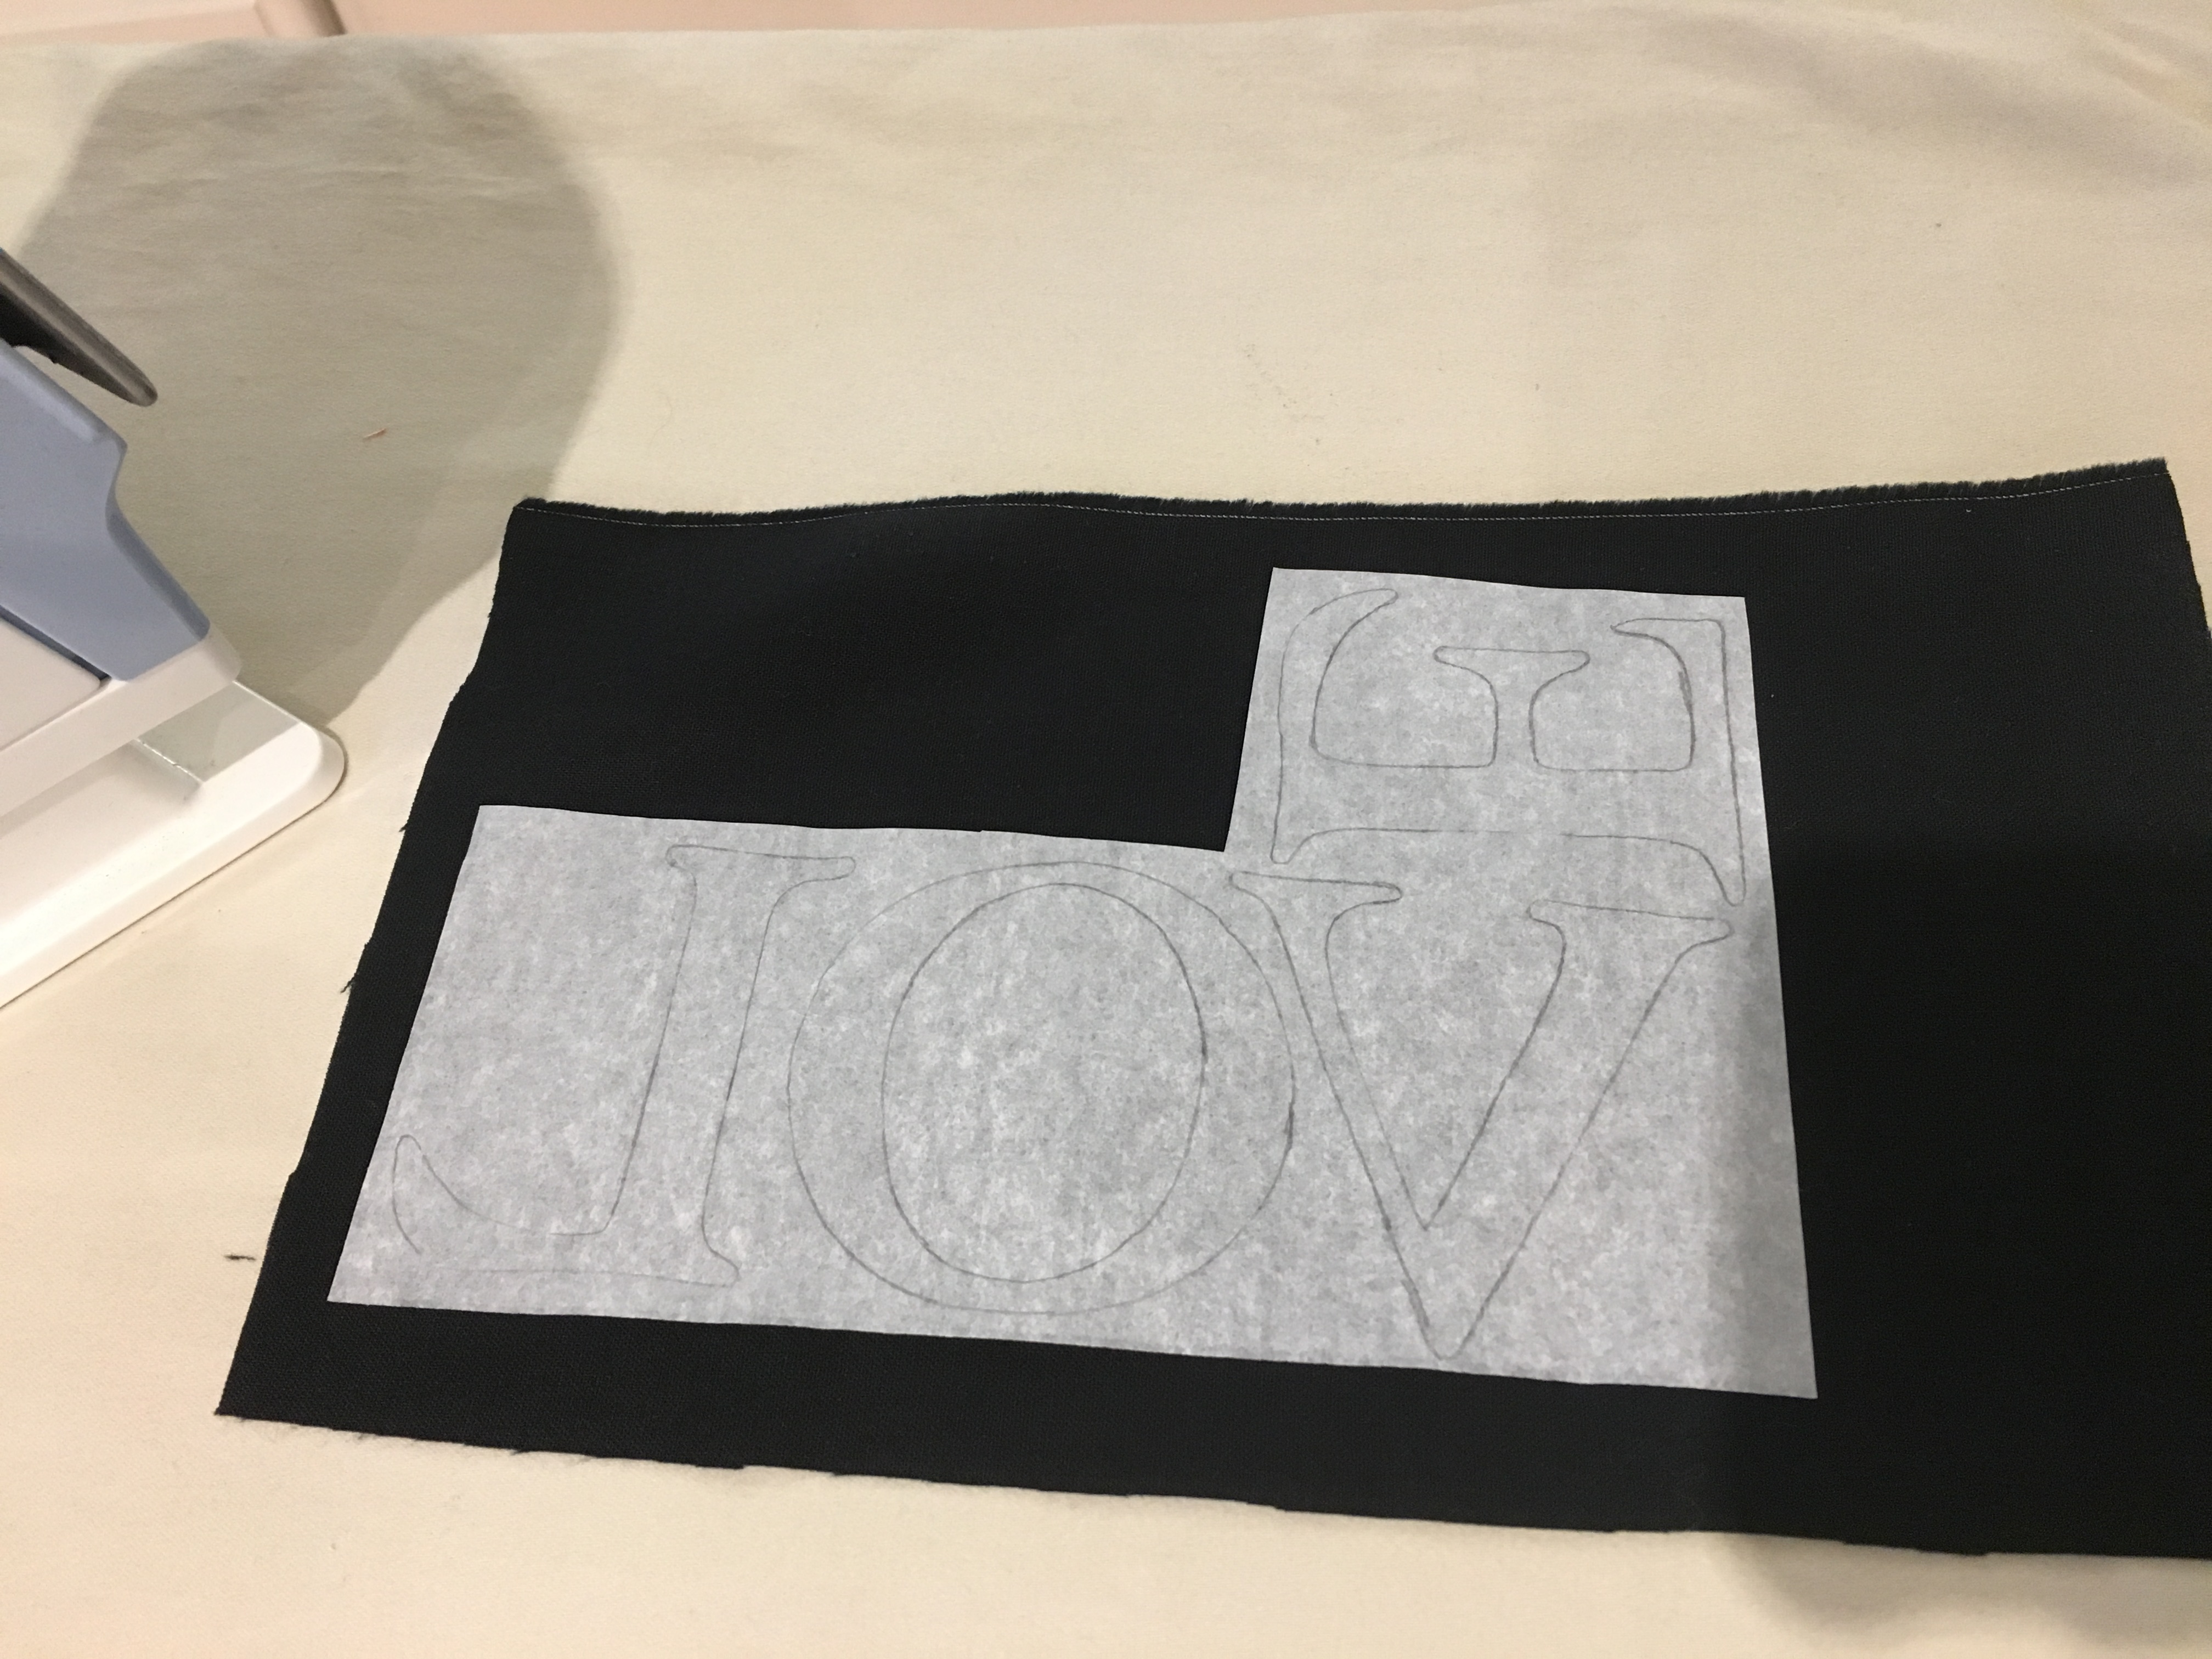
You will need to purchase a package of light Seam A Seam 2 from your local fabric store. Find a font you like on your computer. Print your letters in the size you want them to be on your banner. Cut out the letters. Turn your letters over and trace them onto a sheet of the Seam A Seam. Peal the bottom off and adhere to the fabric you have chosen for your letters. Iron over the top to attach the Seam A Seam to your fabric. Cut out the letters, following the lines you initially traced. Peel the backing off. Your fabric letters should now be slightly tacky on the back. Position them on your banner exactly as you want them. Iron them for about 20 -30 seconds one at a time. Your banner is now complete. For a more in depth tutorial on how to use the Seam A Seam to attach letters to fabric, watch my Advent Bags Tutorial.
My friend decided to use this pennant banner for her daughter’s nursery. It just so happened to work perfectly with the colors she chose and I am so thrilled to see it hanging up in this precious baby girl’s bedroom.
Who doesn’t love a good old fashioned Nerf Battle? My 10 year old son was who I had in mind when I added Nerf Wars and Target Practice to our Advent activities this year. But let’s be honest…this is fun for any age…even the grown ups!
We started our evening by creating these spinning targets, which were a big “hit!” I prepared everything ahead of time by cutting circles out of empty food boxes and setting out markers, tape, two circles per person, large craft sticks, straws cut to size, pennies to weigh the spinners down at the bottom, a piece of string, and a couple of push pins. Then we sat down at our coffee table to create. Check out my tutorial to see how we made the spinners.
Next we each selected our Nerf Gun, grabbed a couple of soft bullets and had target practice. We also stacked up some red cup pyramids to shoot down and then ended our evening with a boys vs. girls living room Nerf Battle, using a jump rope to divide the room in half. The last one standing was the winner. Want to know who the epic champion of the night was? You guessed it…little sister for the win! #CommissionsEarned
Are you looking for a quick and inexpensive Halloween costume? Or maybe you are attending an 80’s themed party. Well, look no further! Recently, my daughter had “time warp” day at school and we decided she would dress up in 80’s attire. This brought back many memories of my childhood…jelly bracelets, leg warmers, crimped hair, side ponytails, charm bracelets. I could almost hear Michael Jackson’s “Thriller” playing in the background as I made this shirt and reminisced. I was the same age as my daughter is now when that album was released, and it was the first record I ever owned!
Fortunately, I had all of what I needed on hand, so this time warp outfit did not cost a thing! I pulled an old “too small” t-shirt out of my son’s drawer and went to work. In less than an hour, my daughter was all ready for her fun dress up day at school.
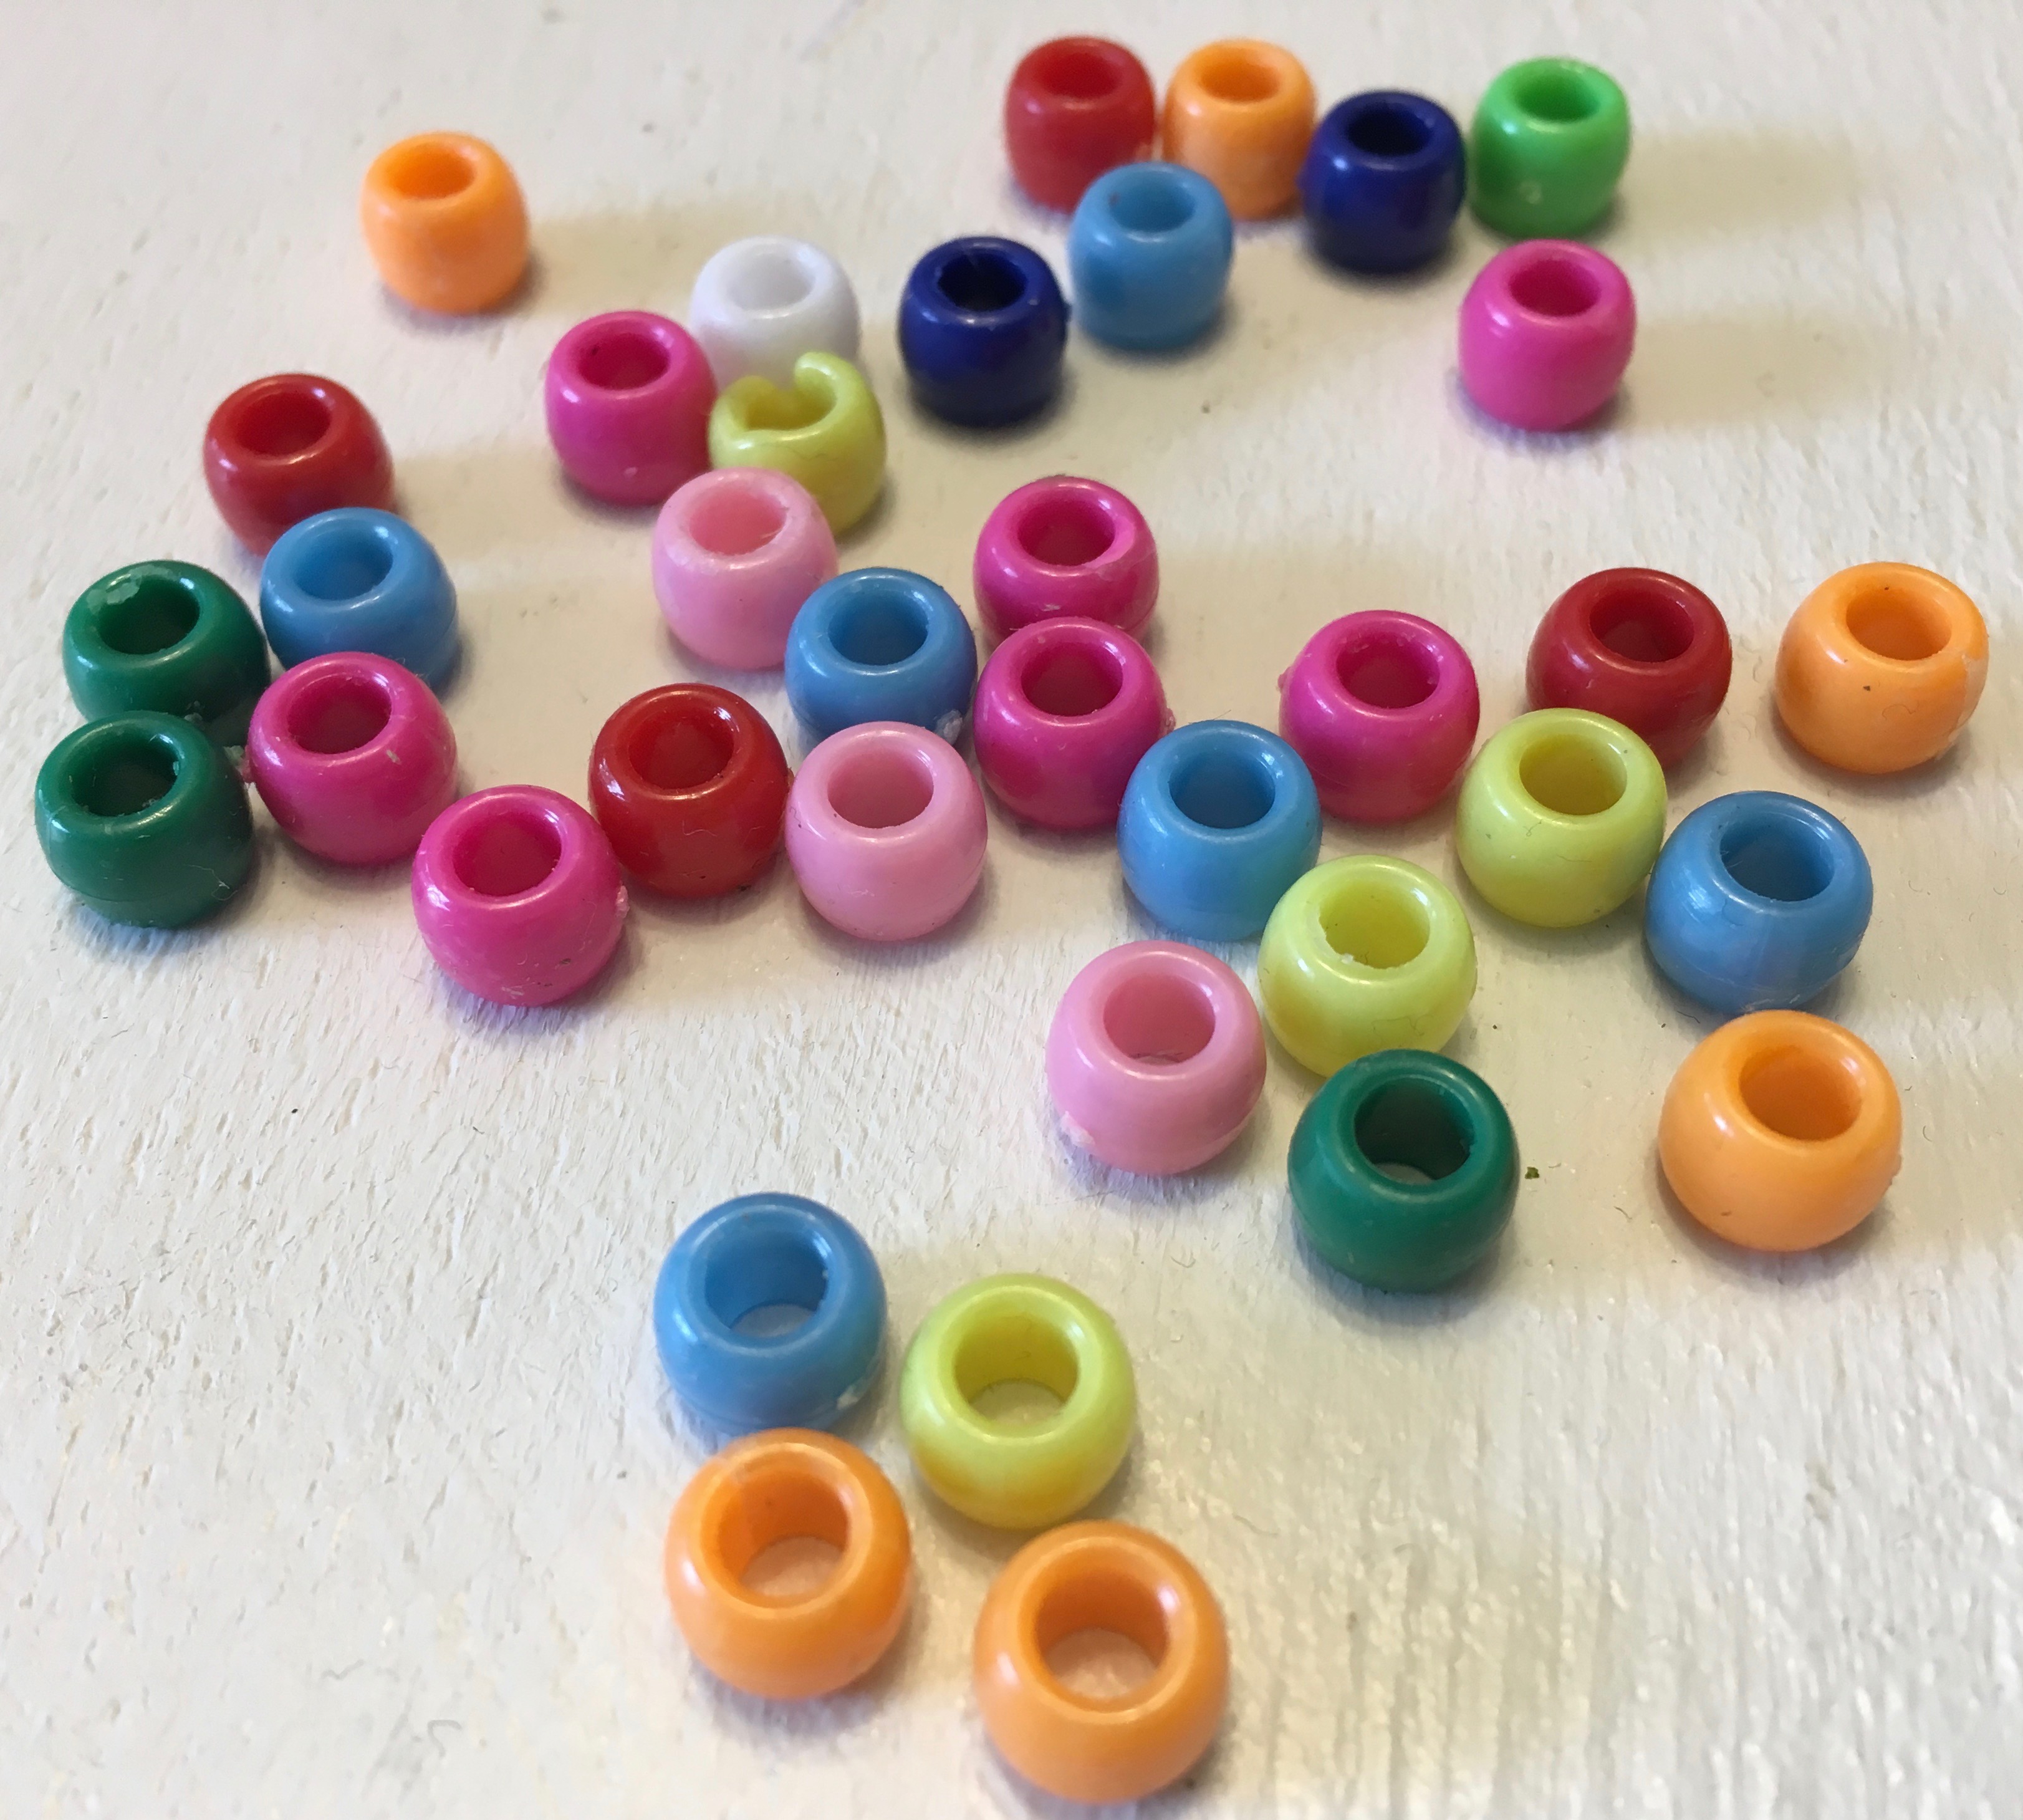
Here’s what you will need: An old t-shirt, pony beads, and scissors #CommissionsEarned
Enjoy my tutorial on how to create the neckline and fringes on this totally 80’s shirt.
For more easy costume ideas check out the following blogposts:


 AFTER
AFTER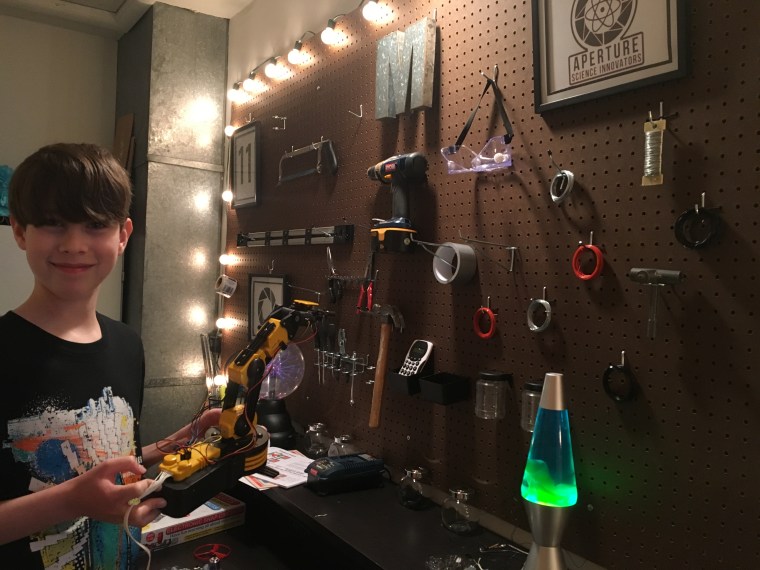


 Pennant Banners are one of the most simple sewing projects and can add pops of color to any room or front porch. They can be used as a party decoration, on a mantle or mirror during the holidays, or in a child’s room. They can be made out of paper, material, or burlap. The possibilities are endless! I have made various kinds of pennant banners for many occasions. For this post, I’m featuring the most recent one I made for a friend of mine, but I’m also including one of my most popular youtube video tutorials on how to make a pennant banner.