

Dr. Seuss’ birthday is March 2nd. When my boys were little, they LOVED Dr. Seuss books. The Cat in the Hat was one of their favorites! Several years in a row I made cupcakes for my oldest son’s class for Dr. Seuss’ Birthday. Then when Jacob turned 7, he decided to have a Cat In The Hat Themed Birthday Party.
Jacob will be 15 in May. Time sure flies! But sometimes I look at him and I still see that sweet little 7 year old running around in his Cat in the Hat, red and white, striped hat. Thankfully he’s still just as sweet, almost 8 years later, but we are well past the age of themed birthday parties.
So today I am taking a few minutes to reminisce. With Dr. Seuss’ birthday just a few weeks away, I decided that I would look through our archives of photos and share some of my memories with all of you. The quality of photos isn’t the greatest. I had no thought of starting a blog back then…just of keeping up with two busy little boys, but I’m sure there are some fun ideas for those of you who are thinking of hosting a Cat in the Hat Party or just looking for something fun to do on Dr. Seuss’ birthday.
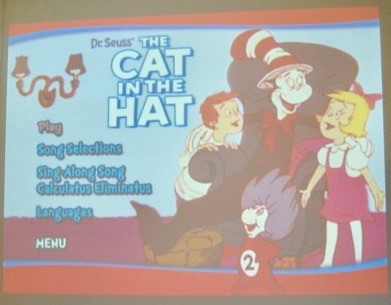
For Jacob’s party, he wanted to watch some classic Dr. Seuss cartoons, so we made our house into a mini movie theater including a “red carpet” entrance made out of a red plastic table cloth. Our snack bar included popcorn, red vines, water bottles, and m&ms. We gave each of the kids some pretend money to “purchase” their snack items and ushered them into a curtained off room, lit only with white lights around the perimeter of the floor. We projected the movie onto a wall to make it feel like a movie theater and set up some cozy seating along the other wall.


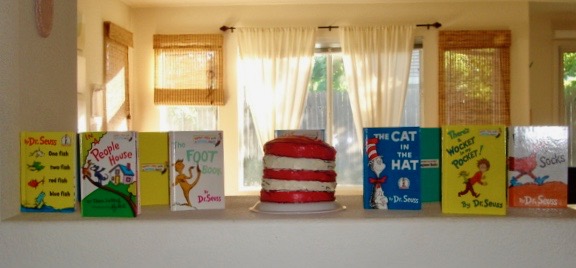
I decorated with a display of our own Dr. Seuss books and some cardboard cut outs that I purchased online. For the cake, I bought a white plate and turned it upside down for the base. I made 5 cake rounds and stacked them one on top of the other. I frosted every other white and red and piped a bit of black frosting for the lines.


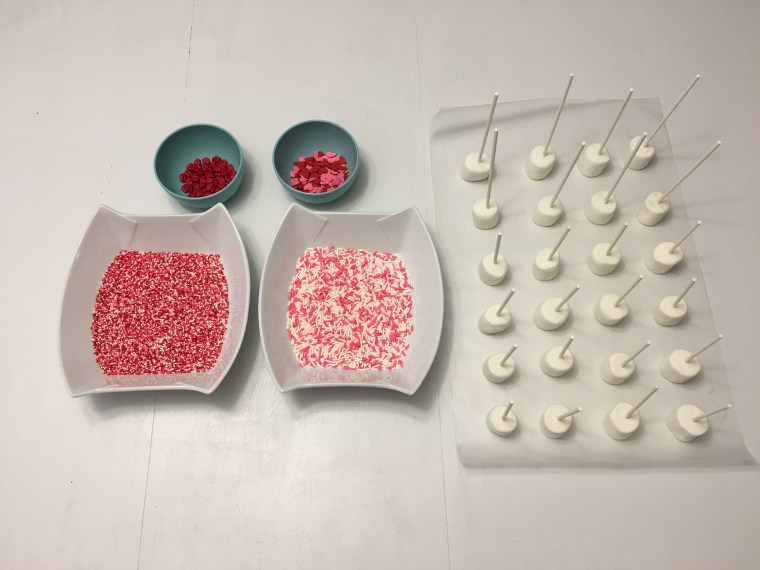
The cupcakes featured are the ones I brought to Jacob’s class. For the toppers, just layer white lifesavers and round cinnamon hard candies with frosting in between to “glue” them together. Place the candy toppers in the refrigerator to harden before putting them on the cupcakes. Frost the cupcakes blue and then add a circle of white in the middle before placing the candy hats in the center. The white frosting becomes the base of the hat.

I filled a basket with Dr. Seuss pencil and eraser sets for each of the kids to take home as a “thank you for attending my party” gift. This was definitely a fun and memorable birthday party for my oldest boy!


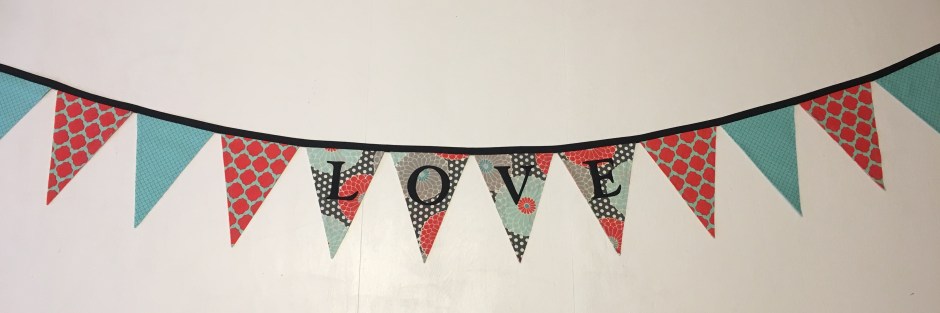
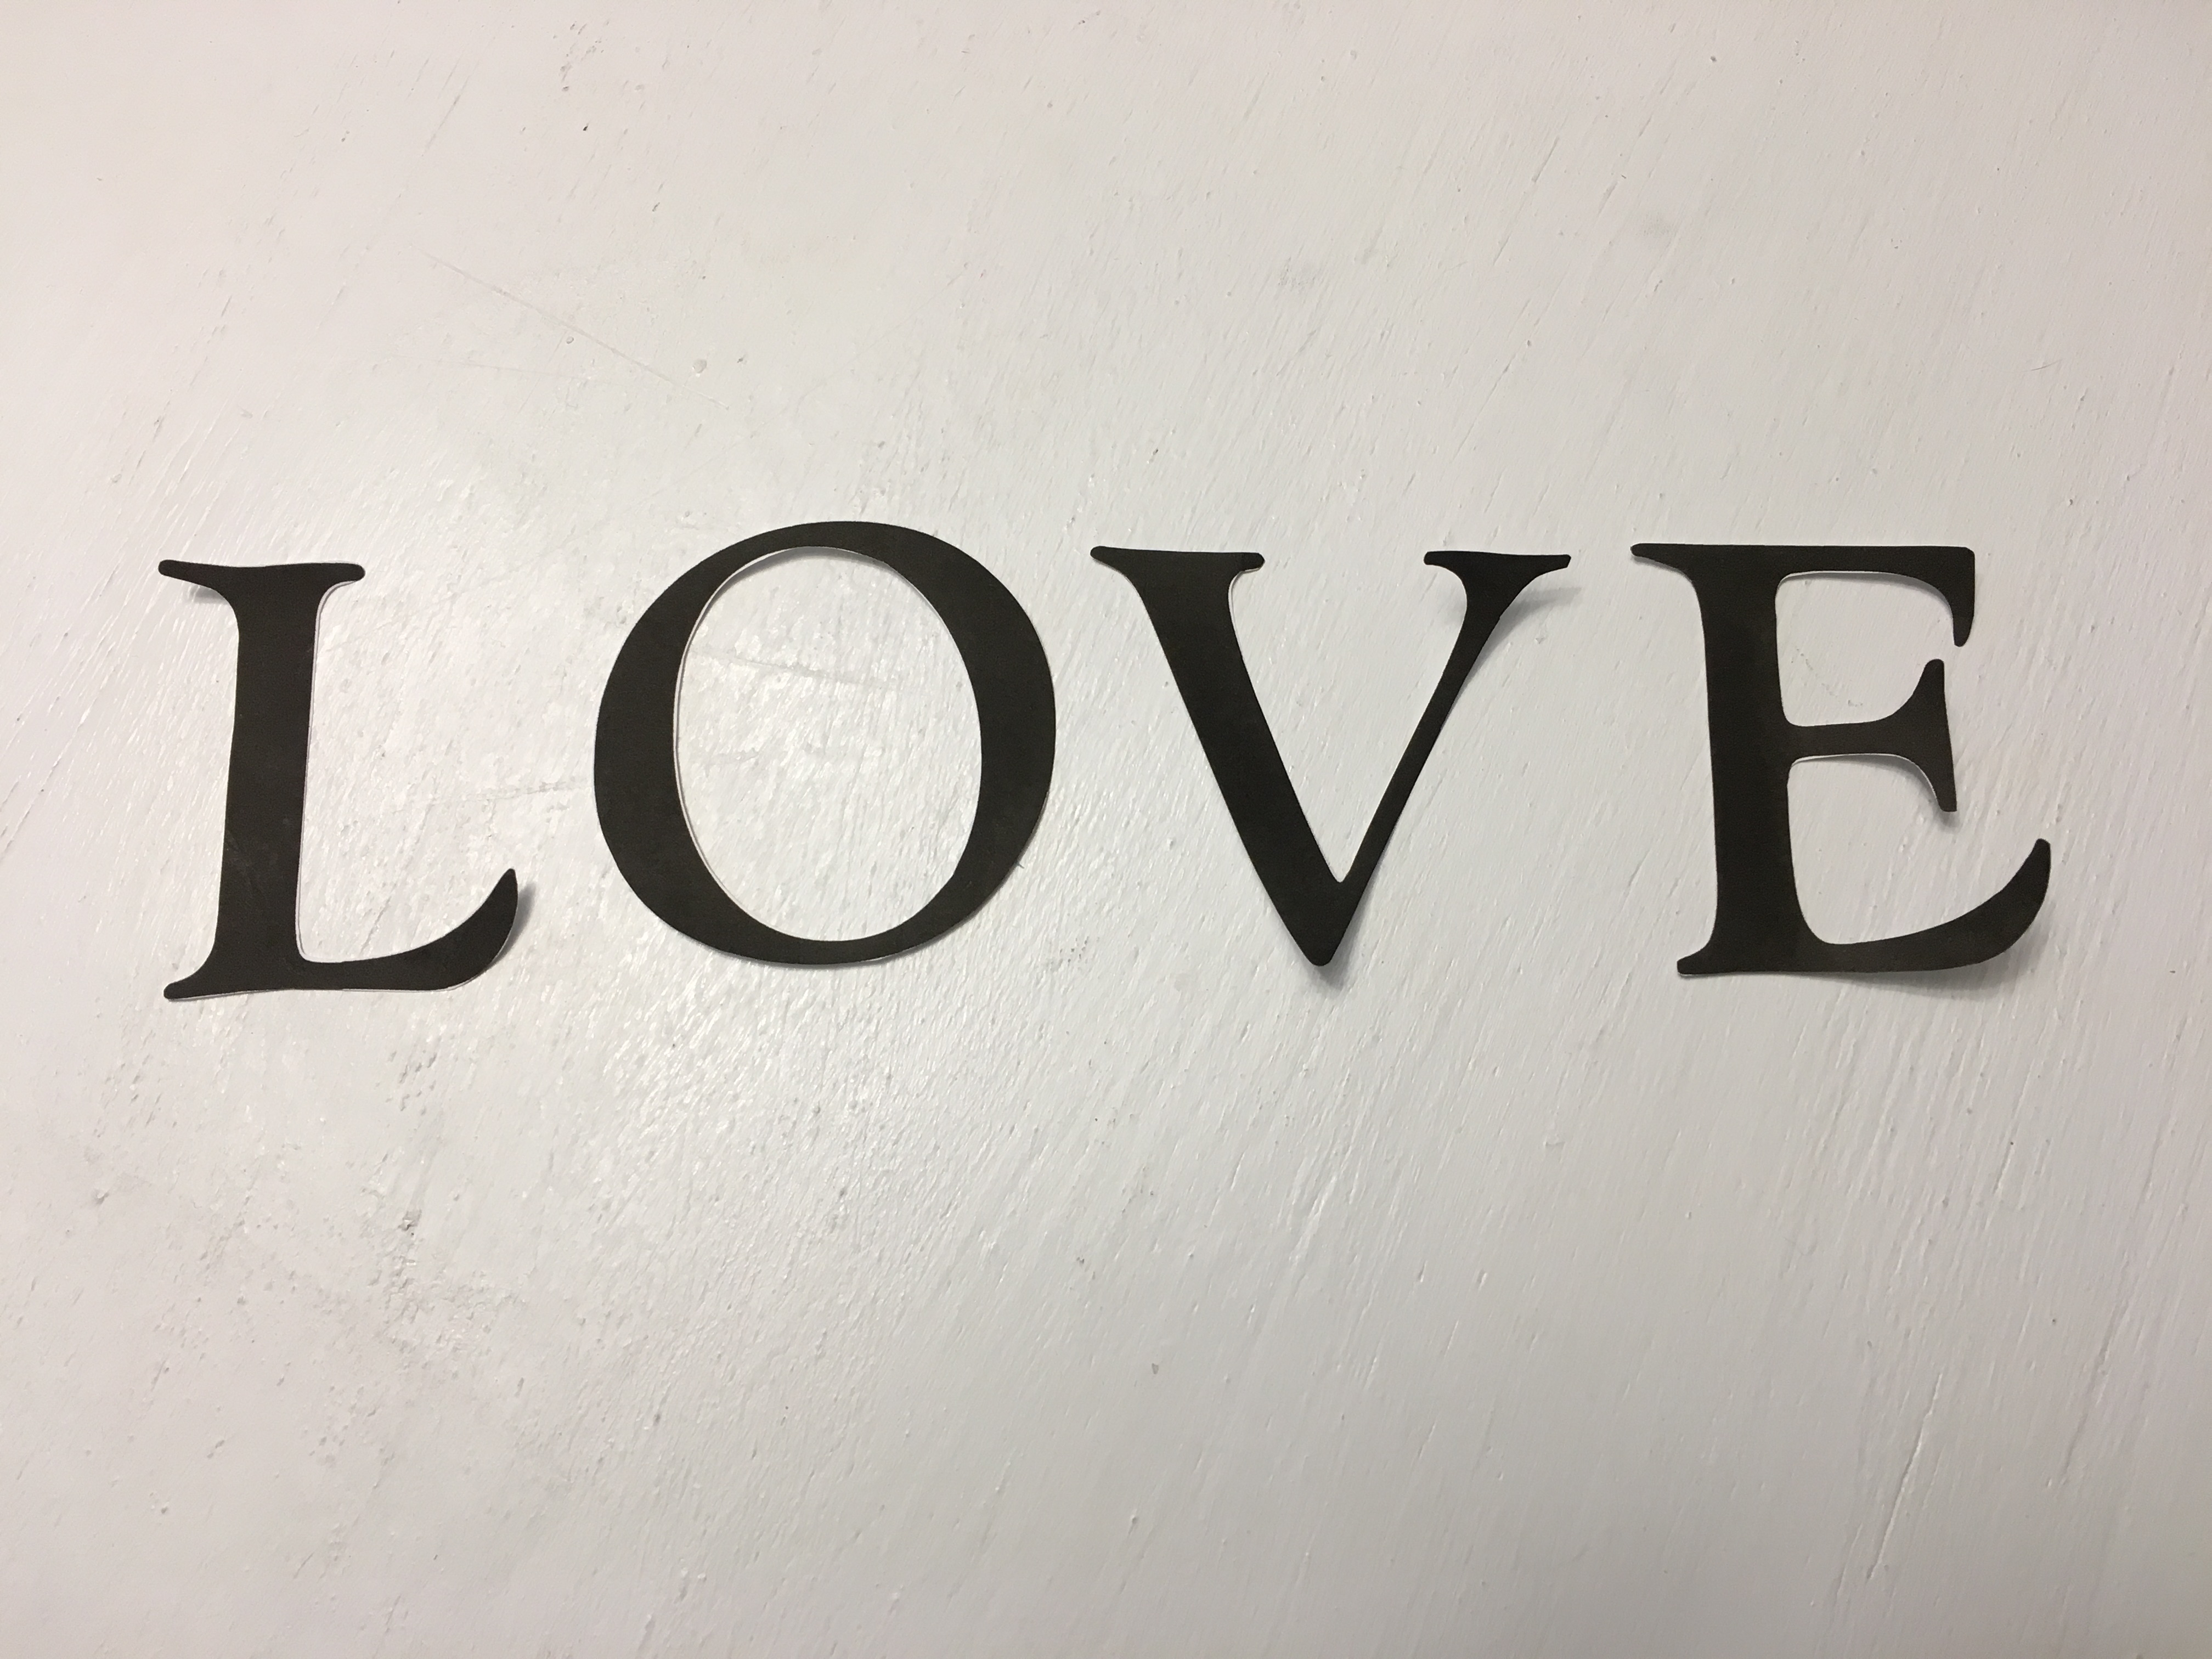
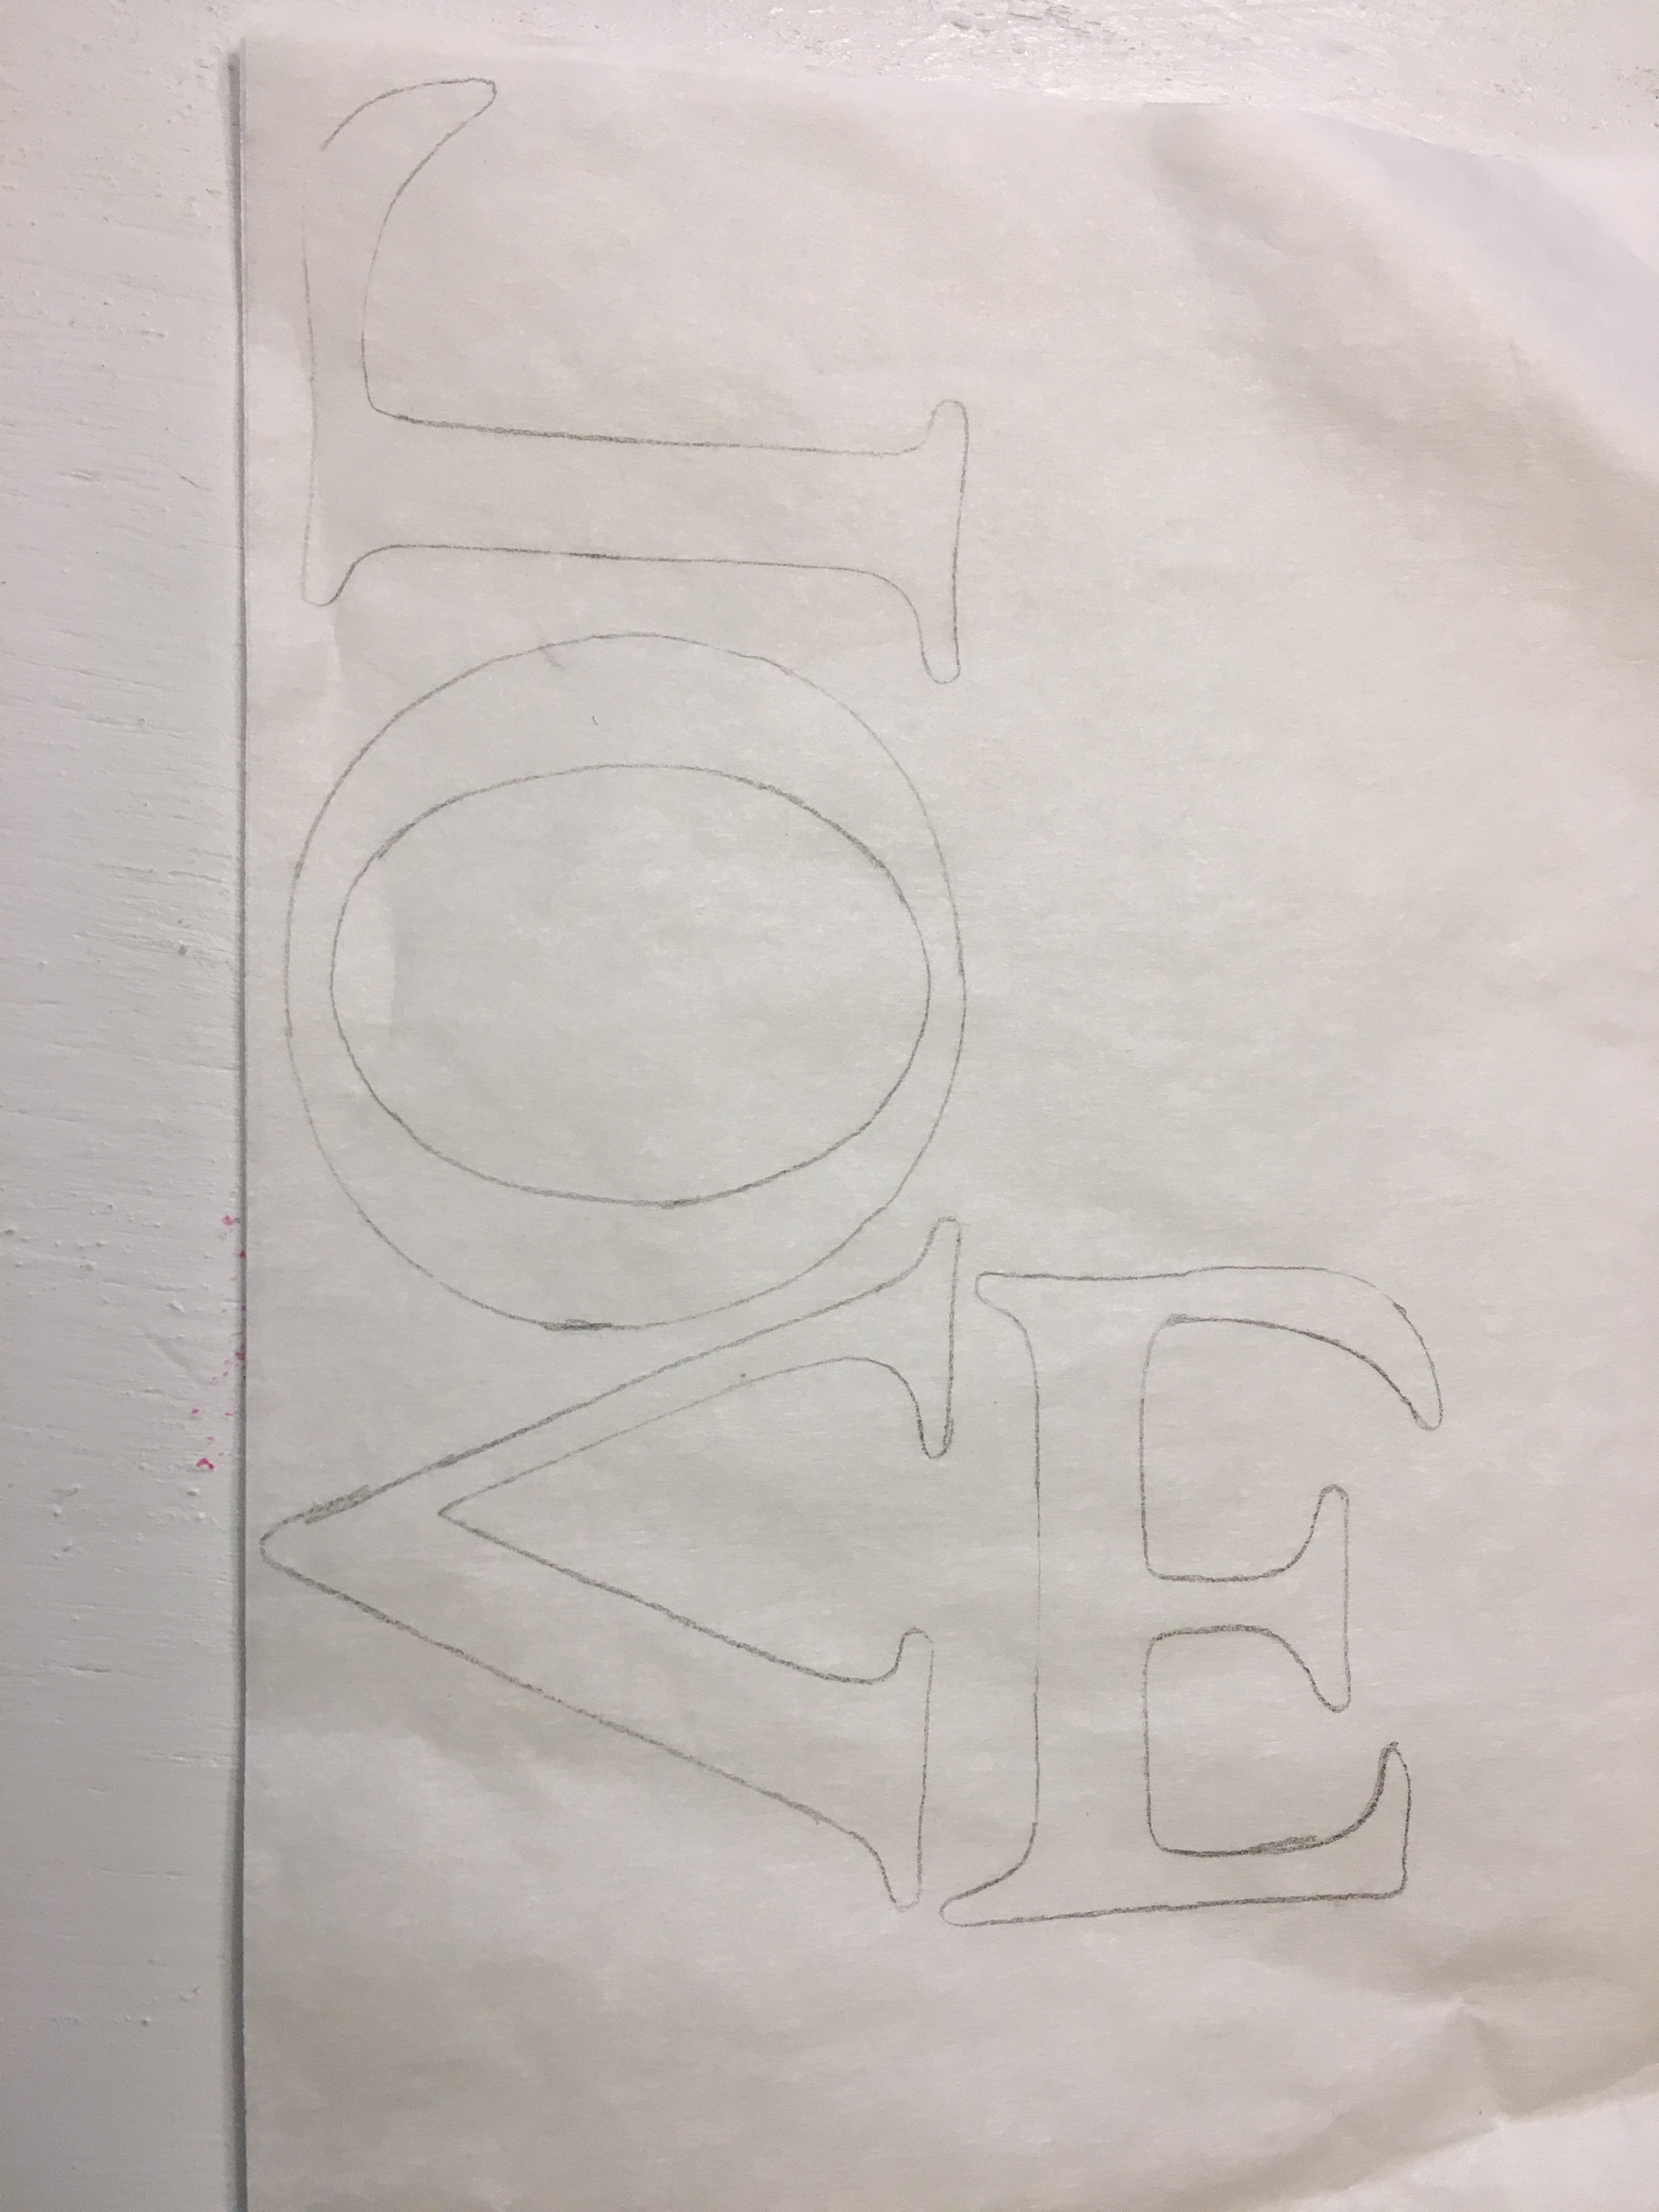
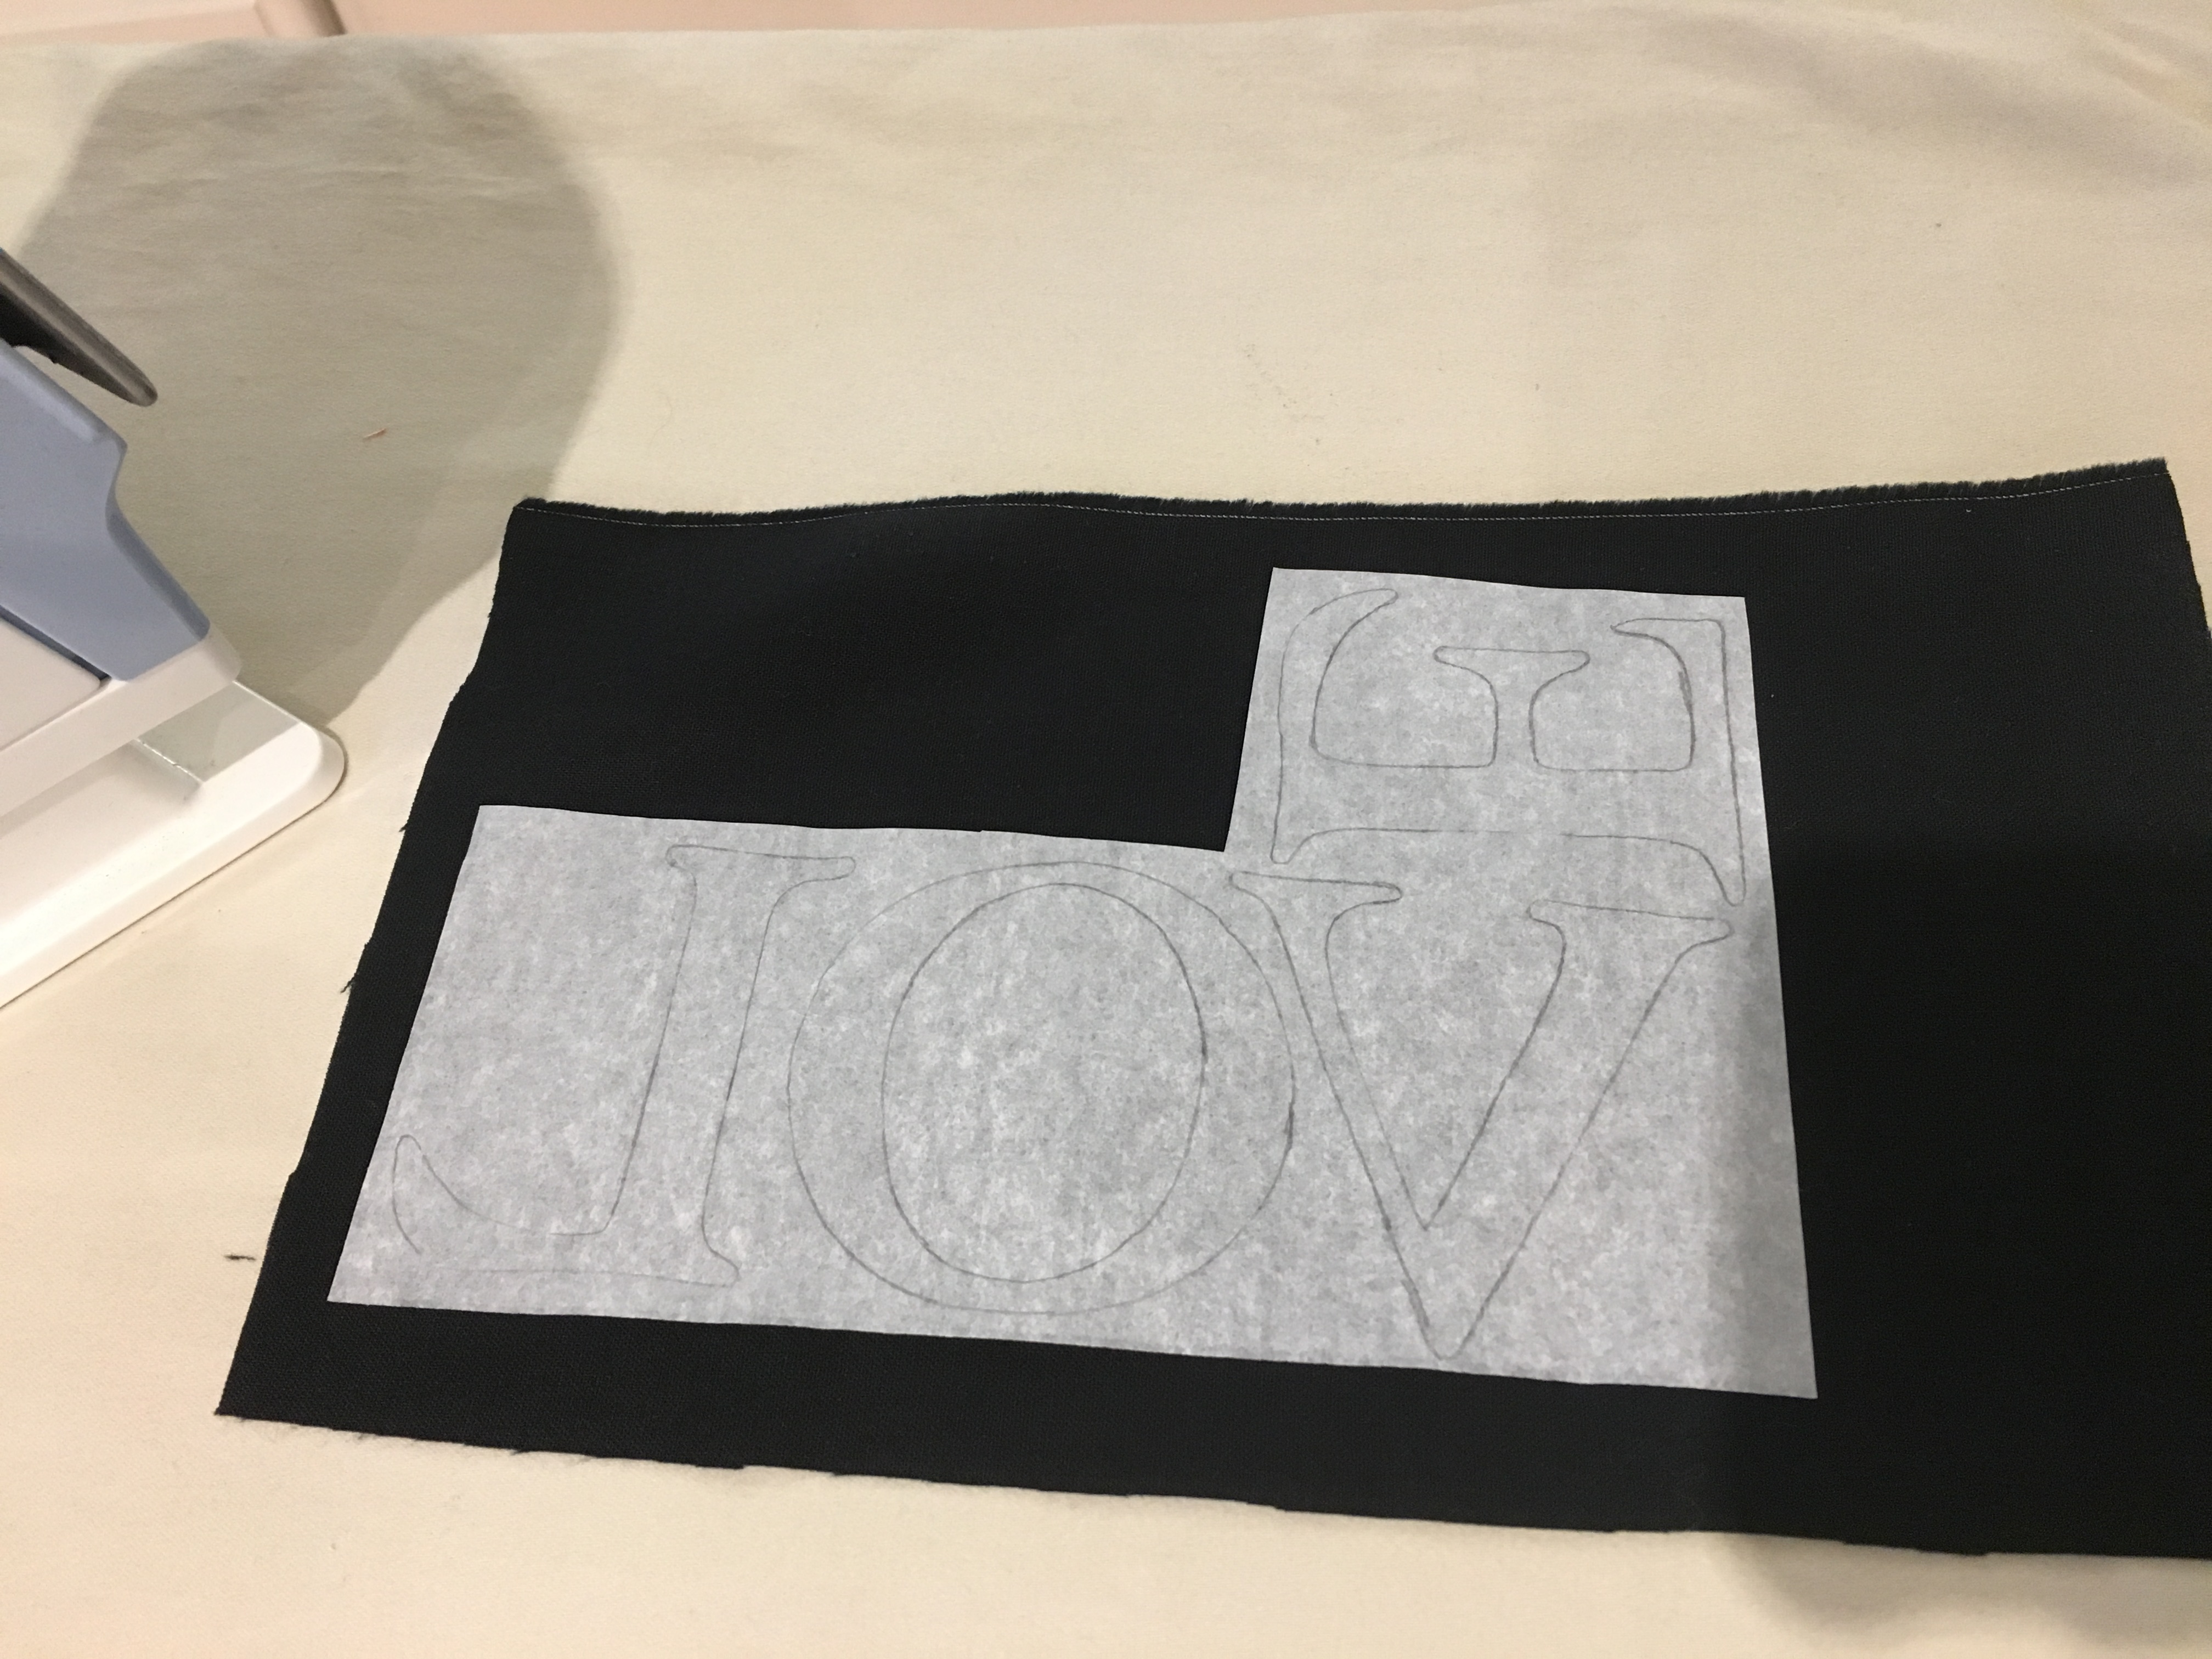
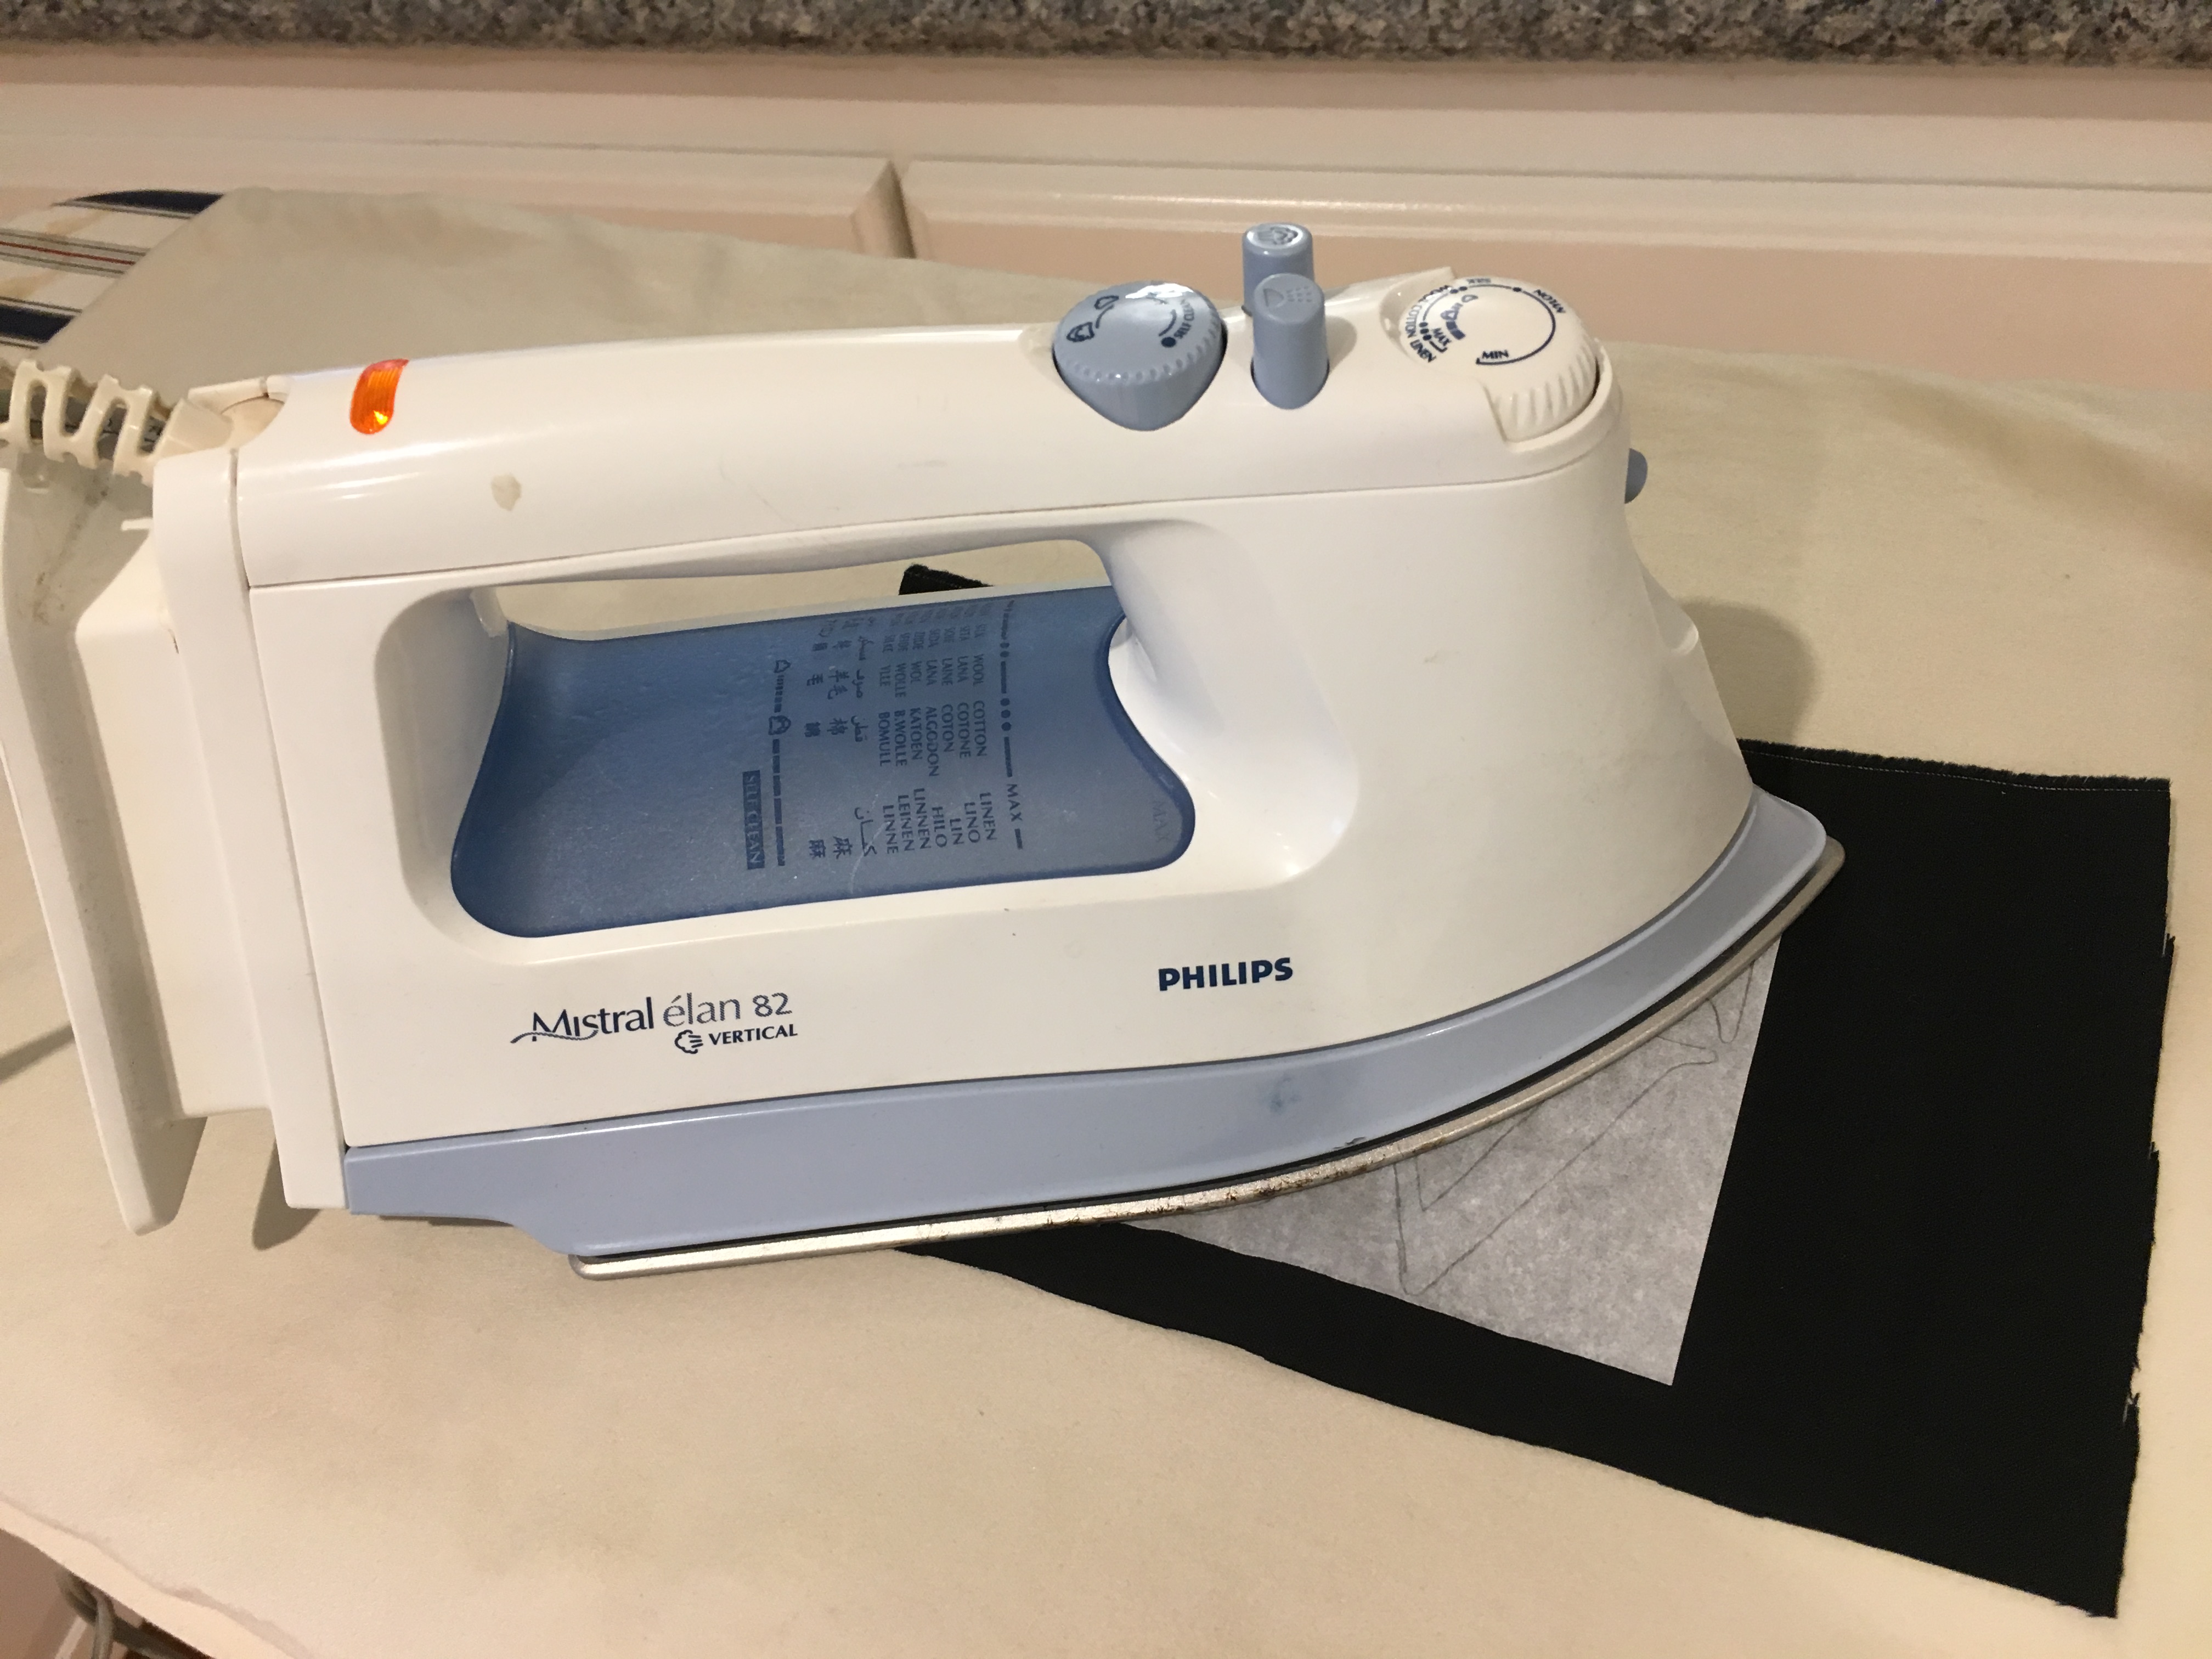
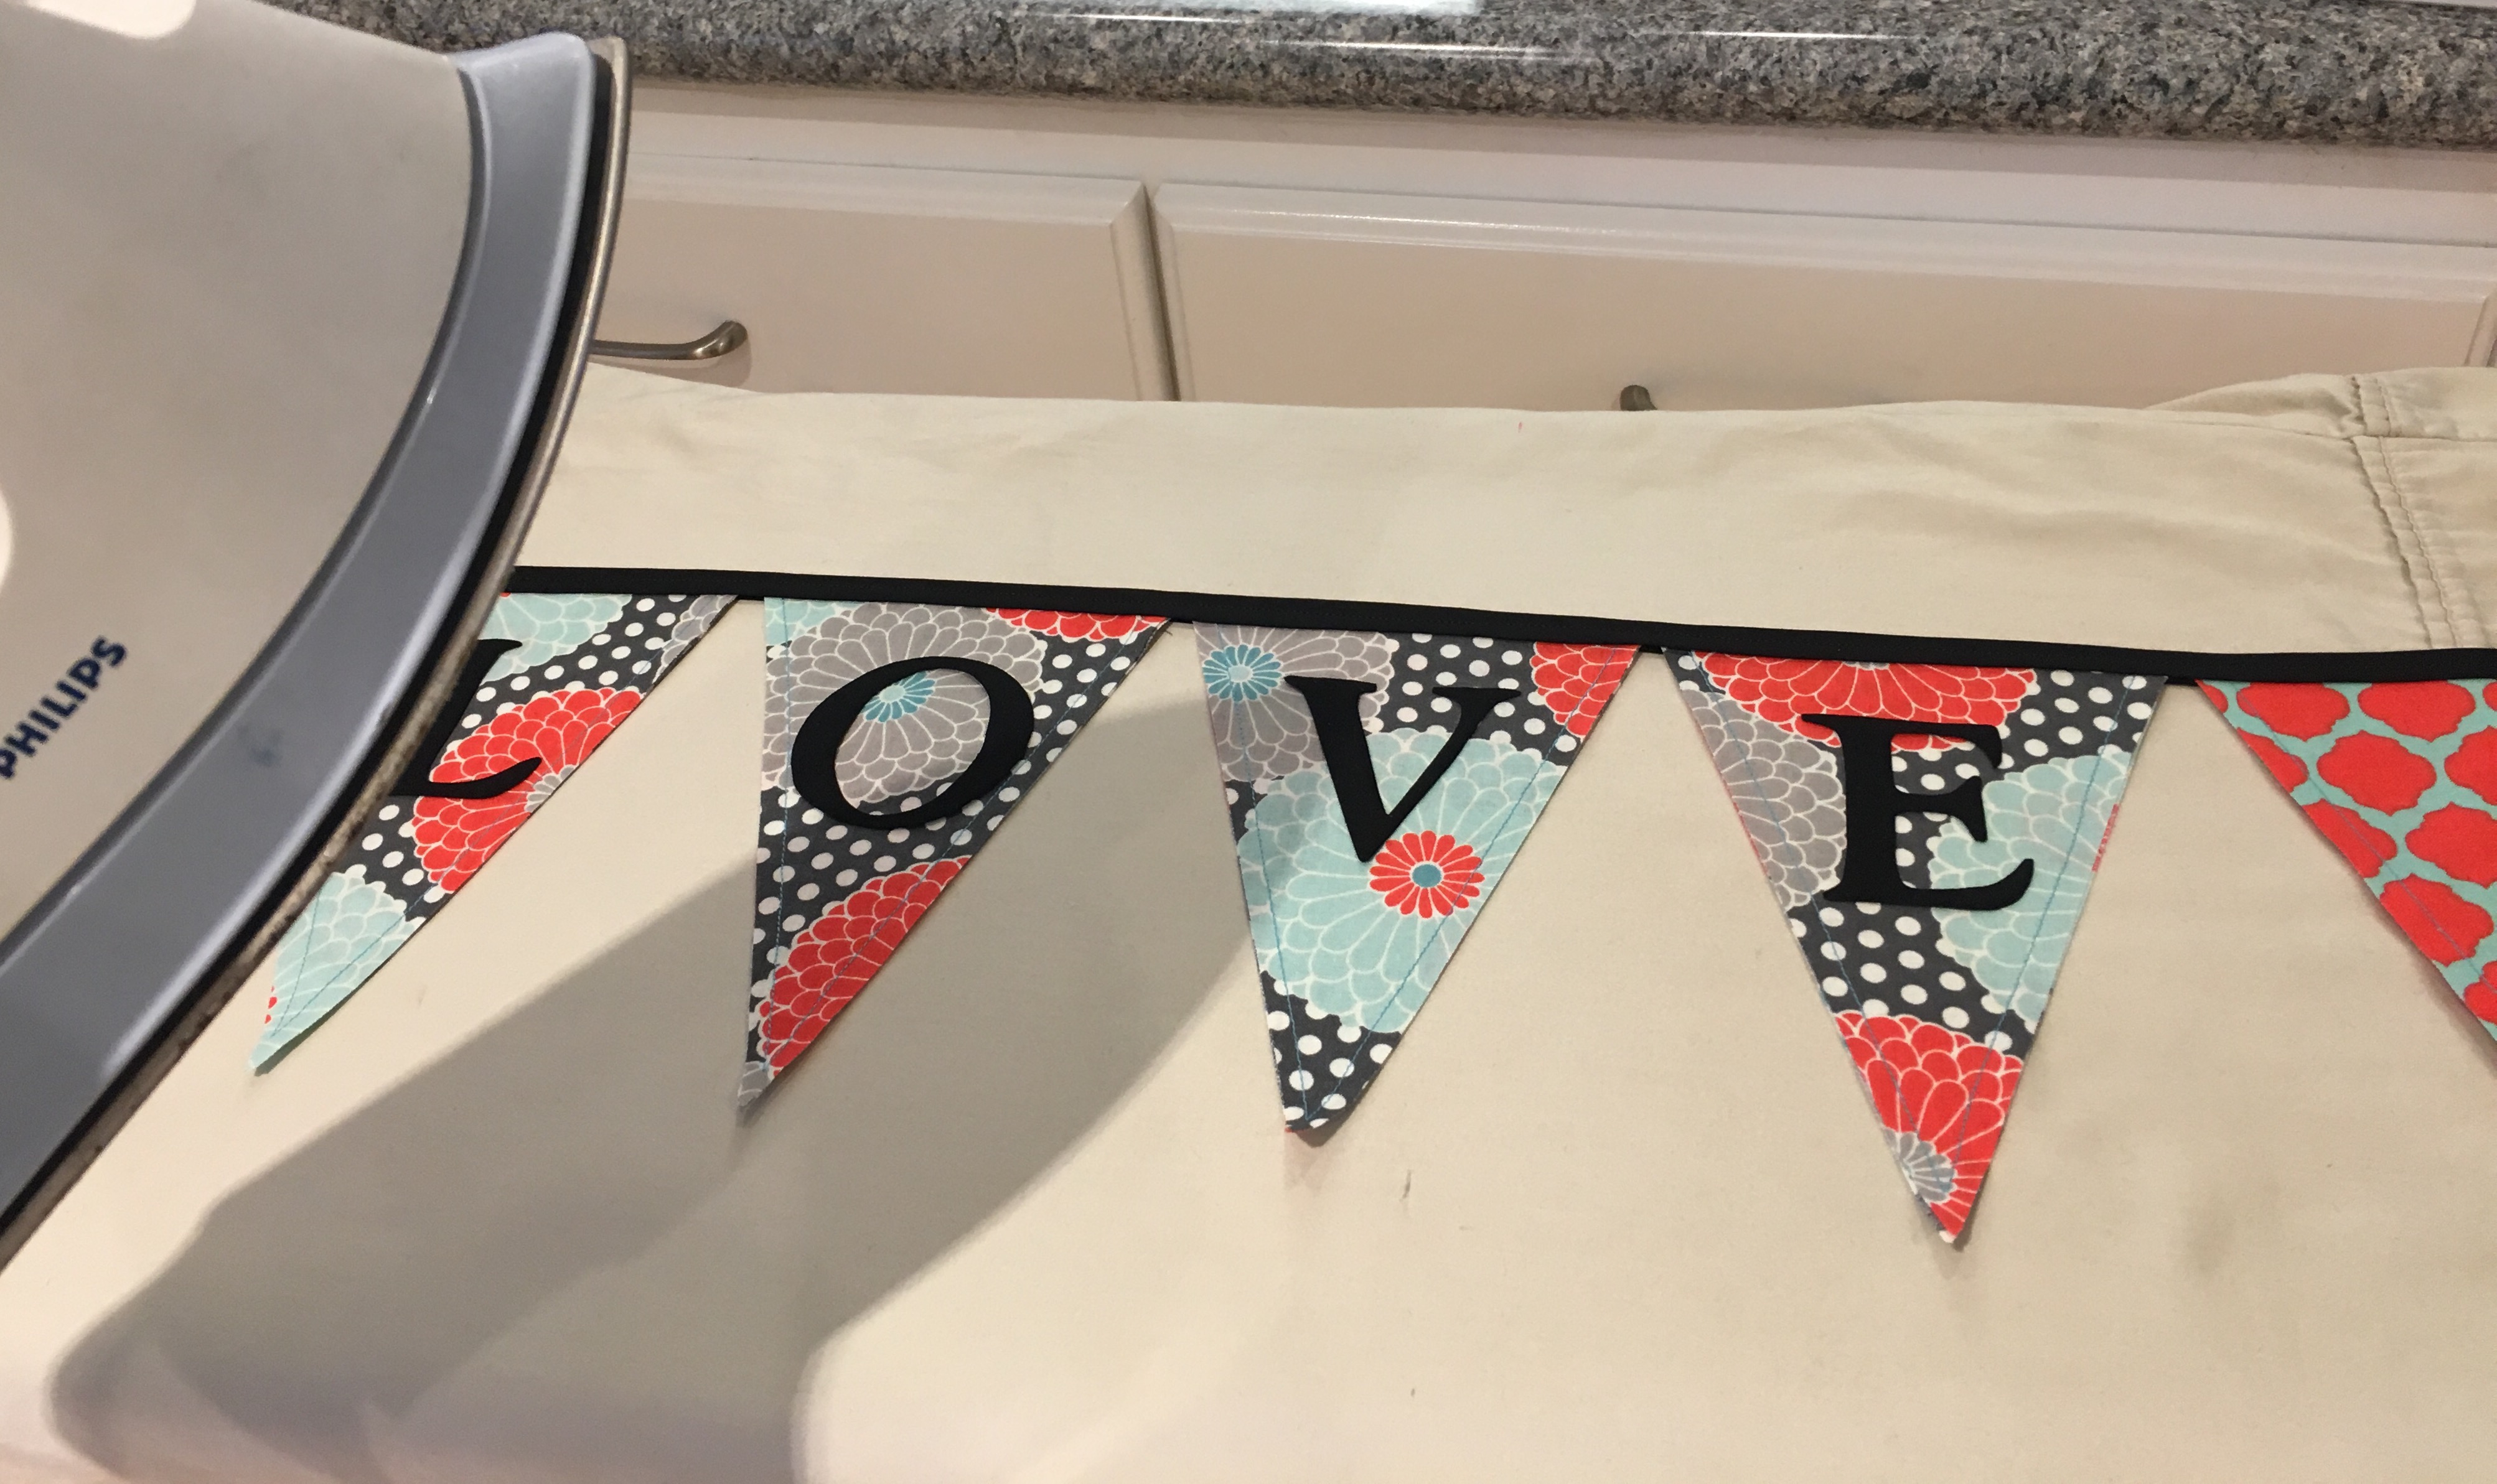
 Pennant Banners are one of the most simple sewing projects and can add pops of color to any room or front porch. They can be used as a party decoration, on a mantle or mirror during the holidays, or in a child’s room. They can be made out of paper, material, or burlap. The possibilities are endless! I have made various kinds of pennant banners for many occasions. For this post, I’m featuring the most recent one I made for a friend of mine, but I’m also including one of my most popular youtube video tutorials on how to make a pennant banner.
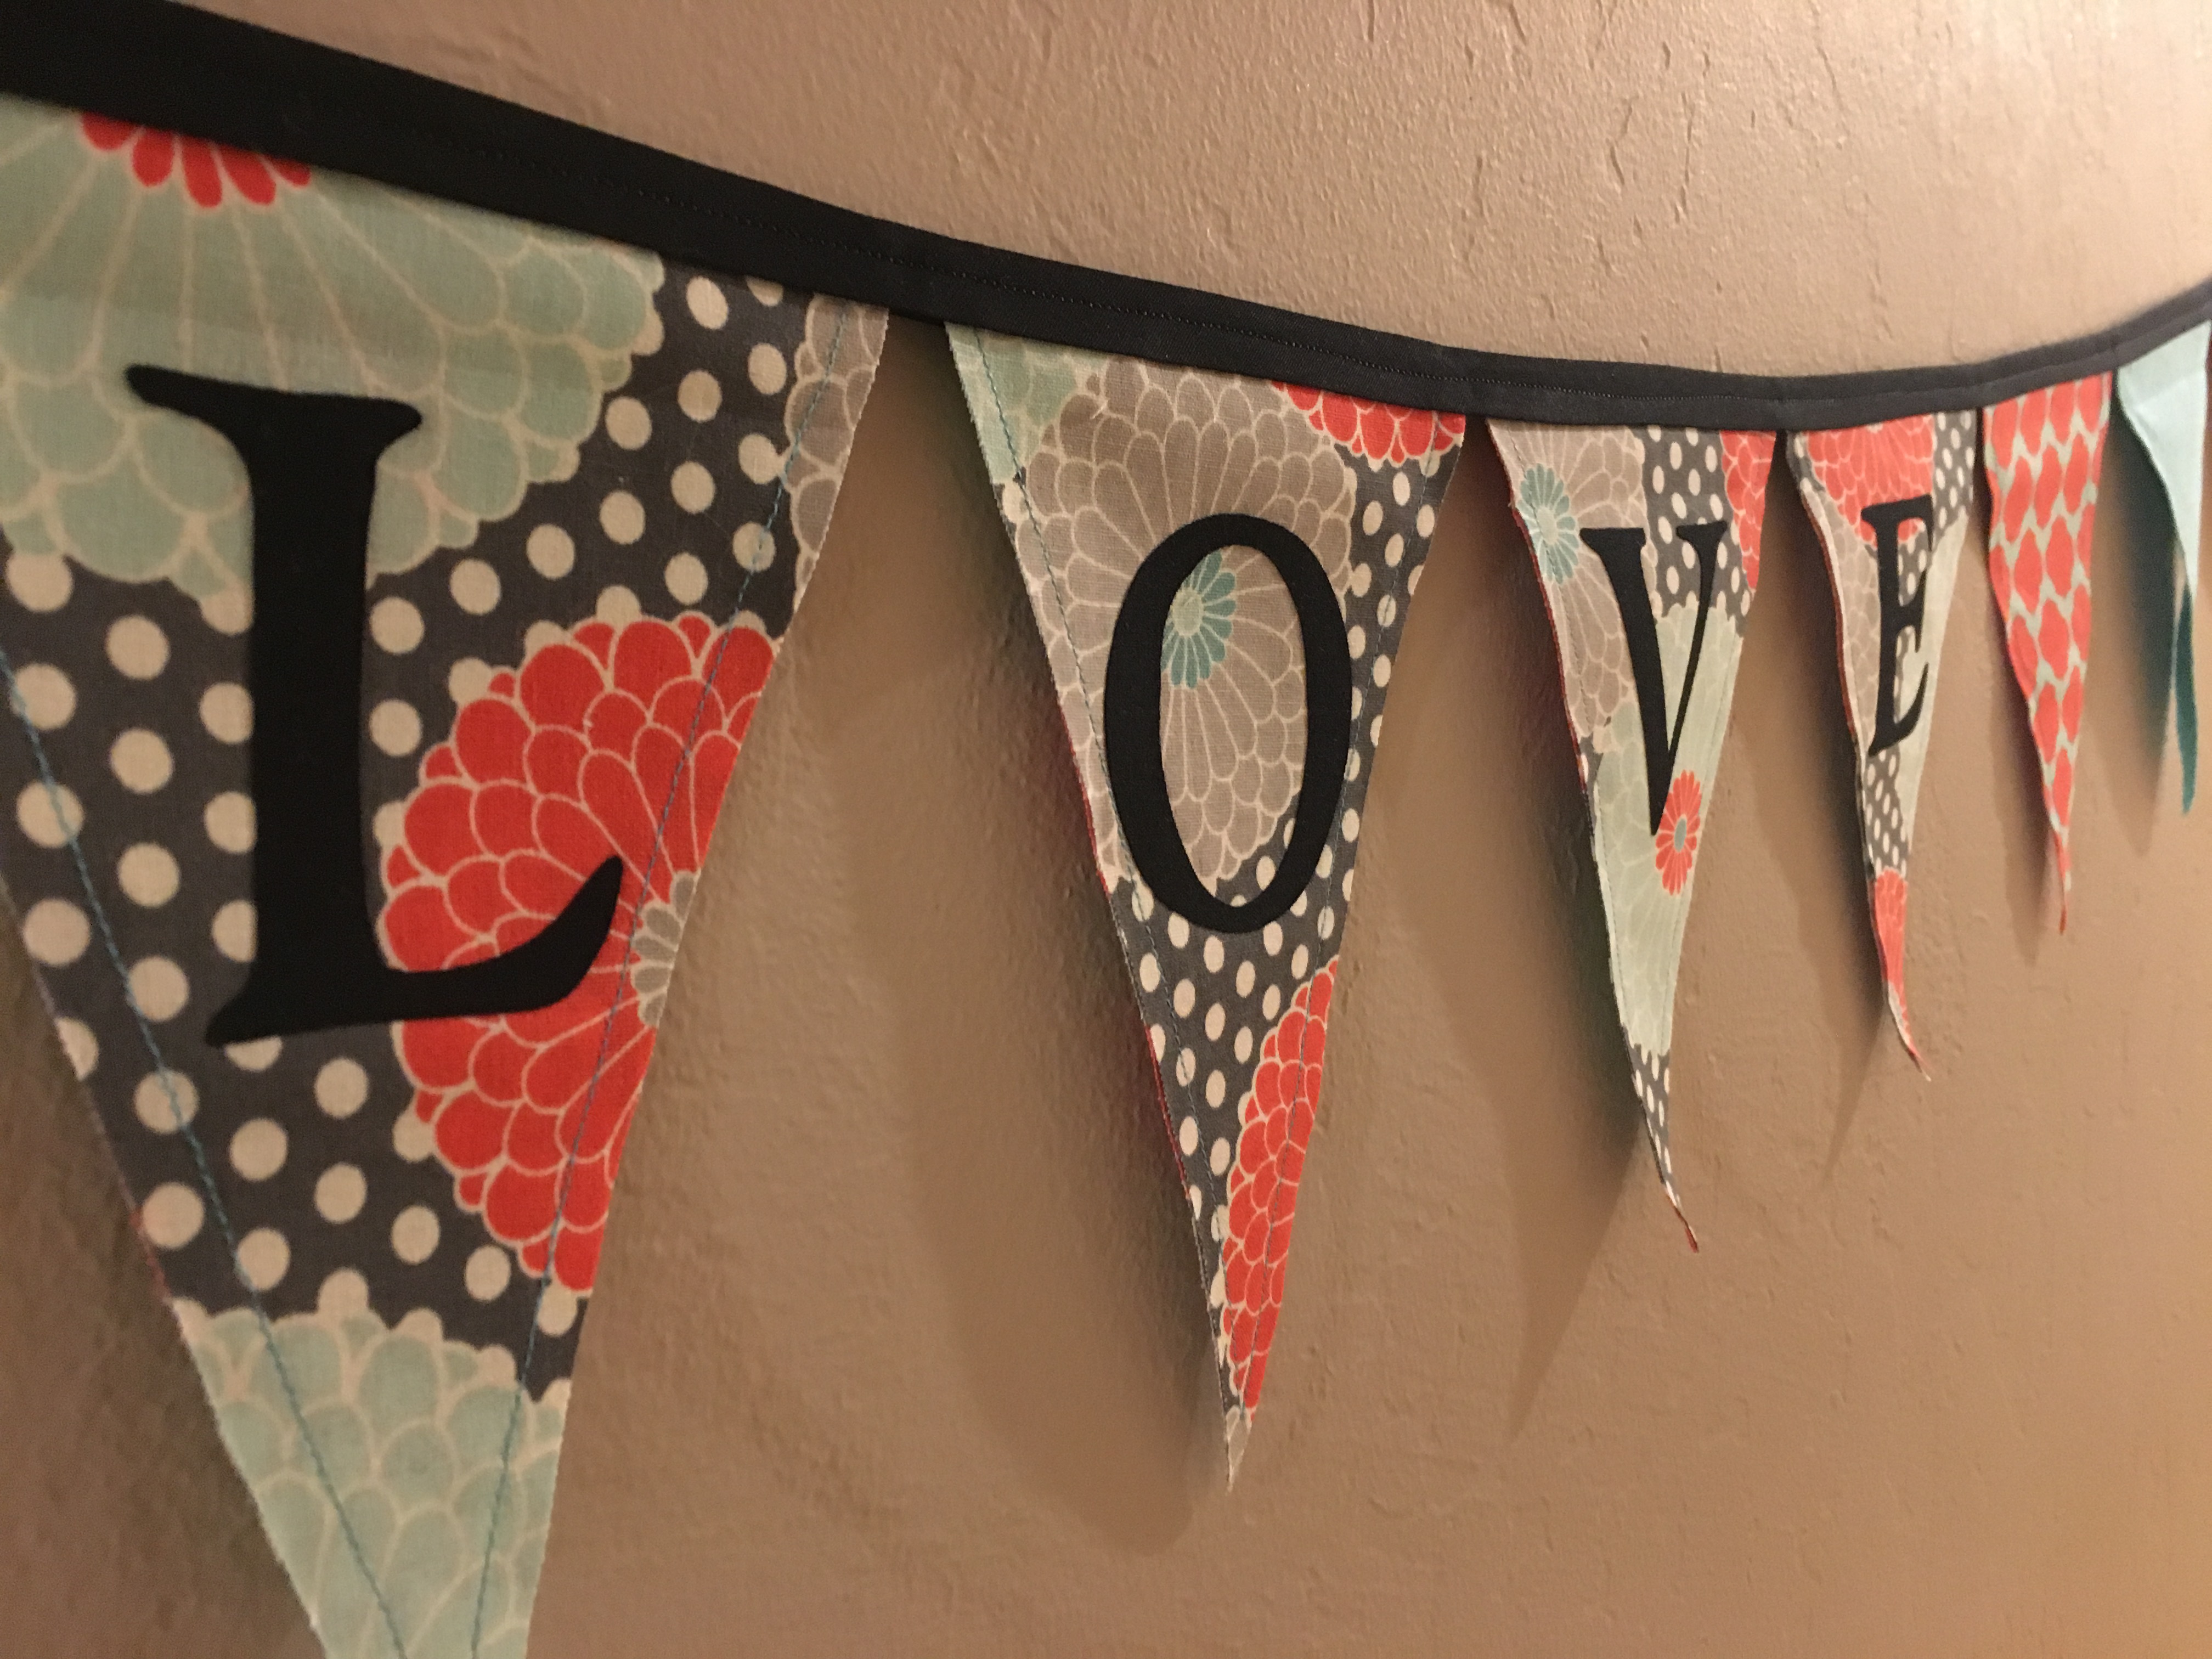


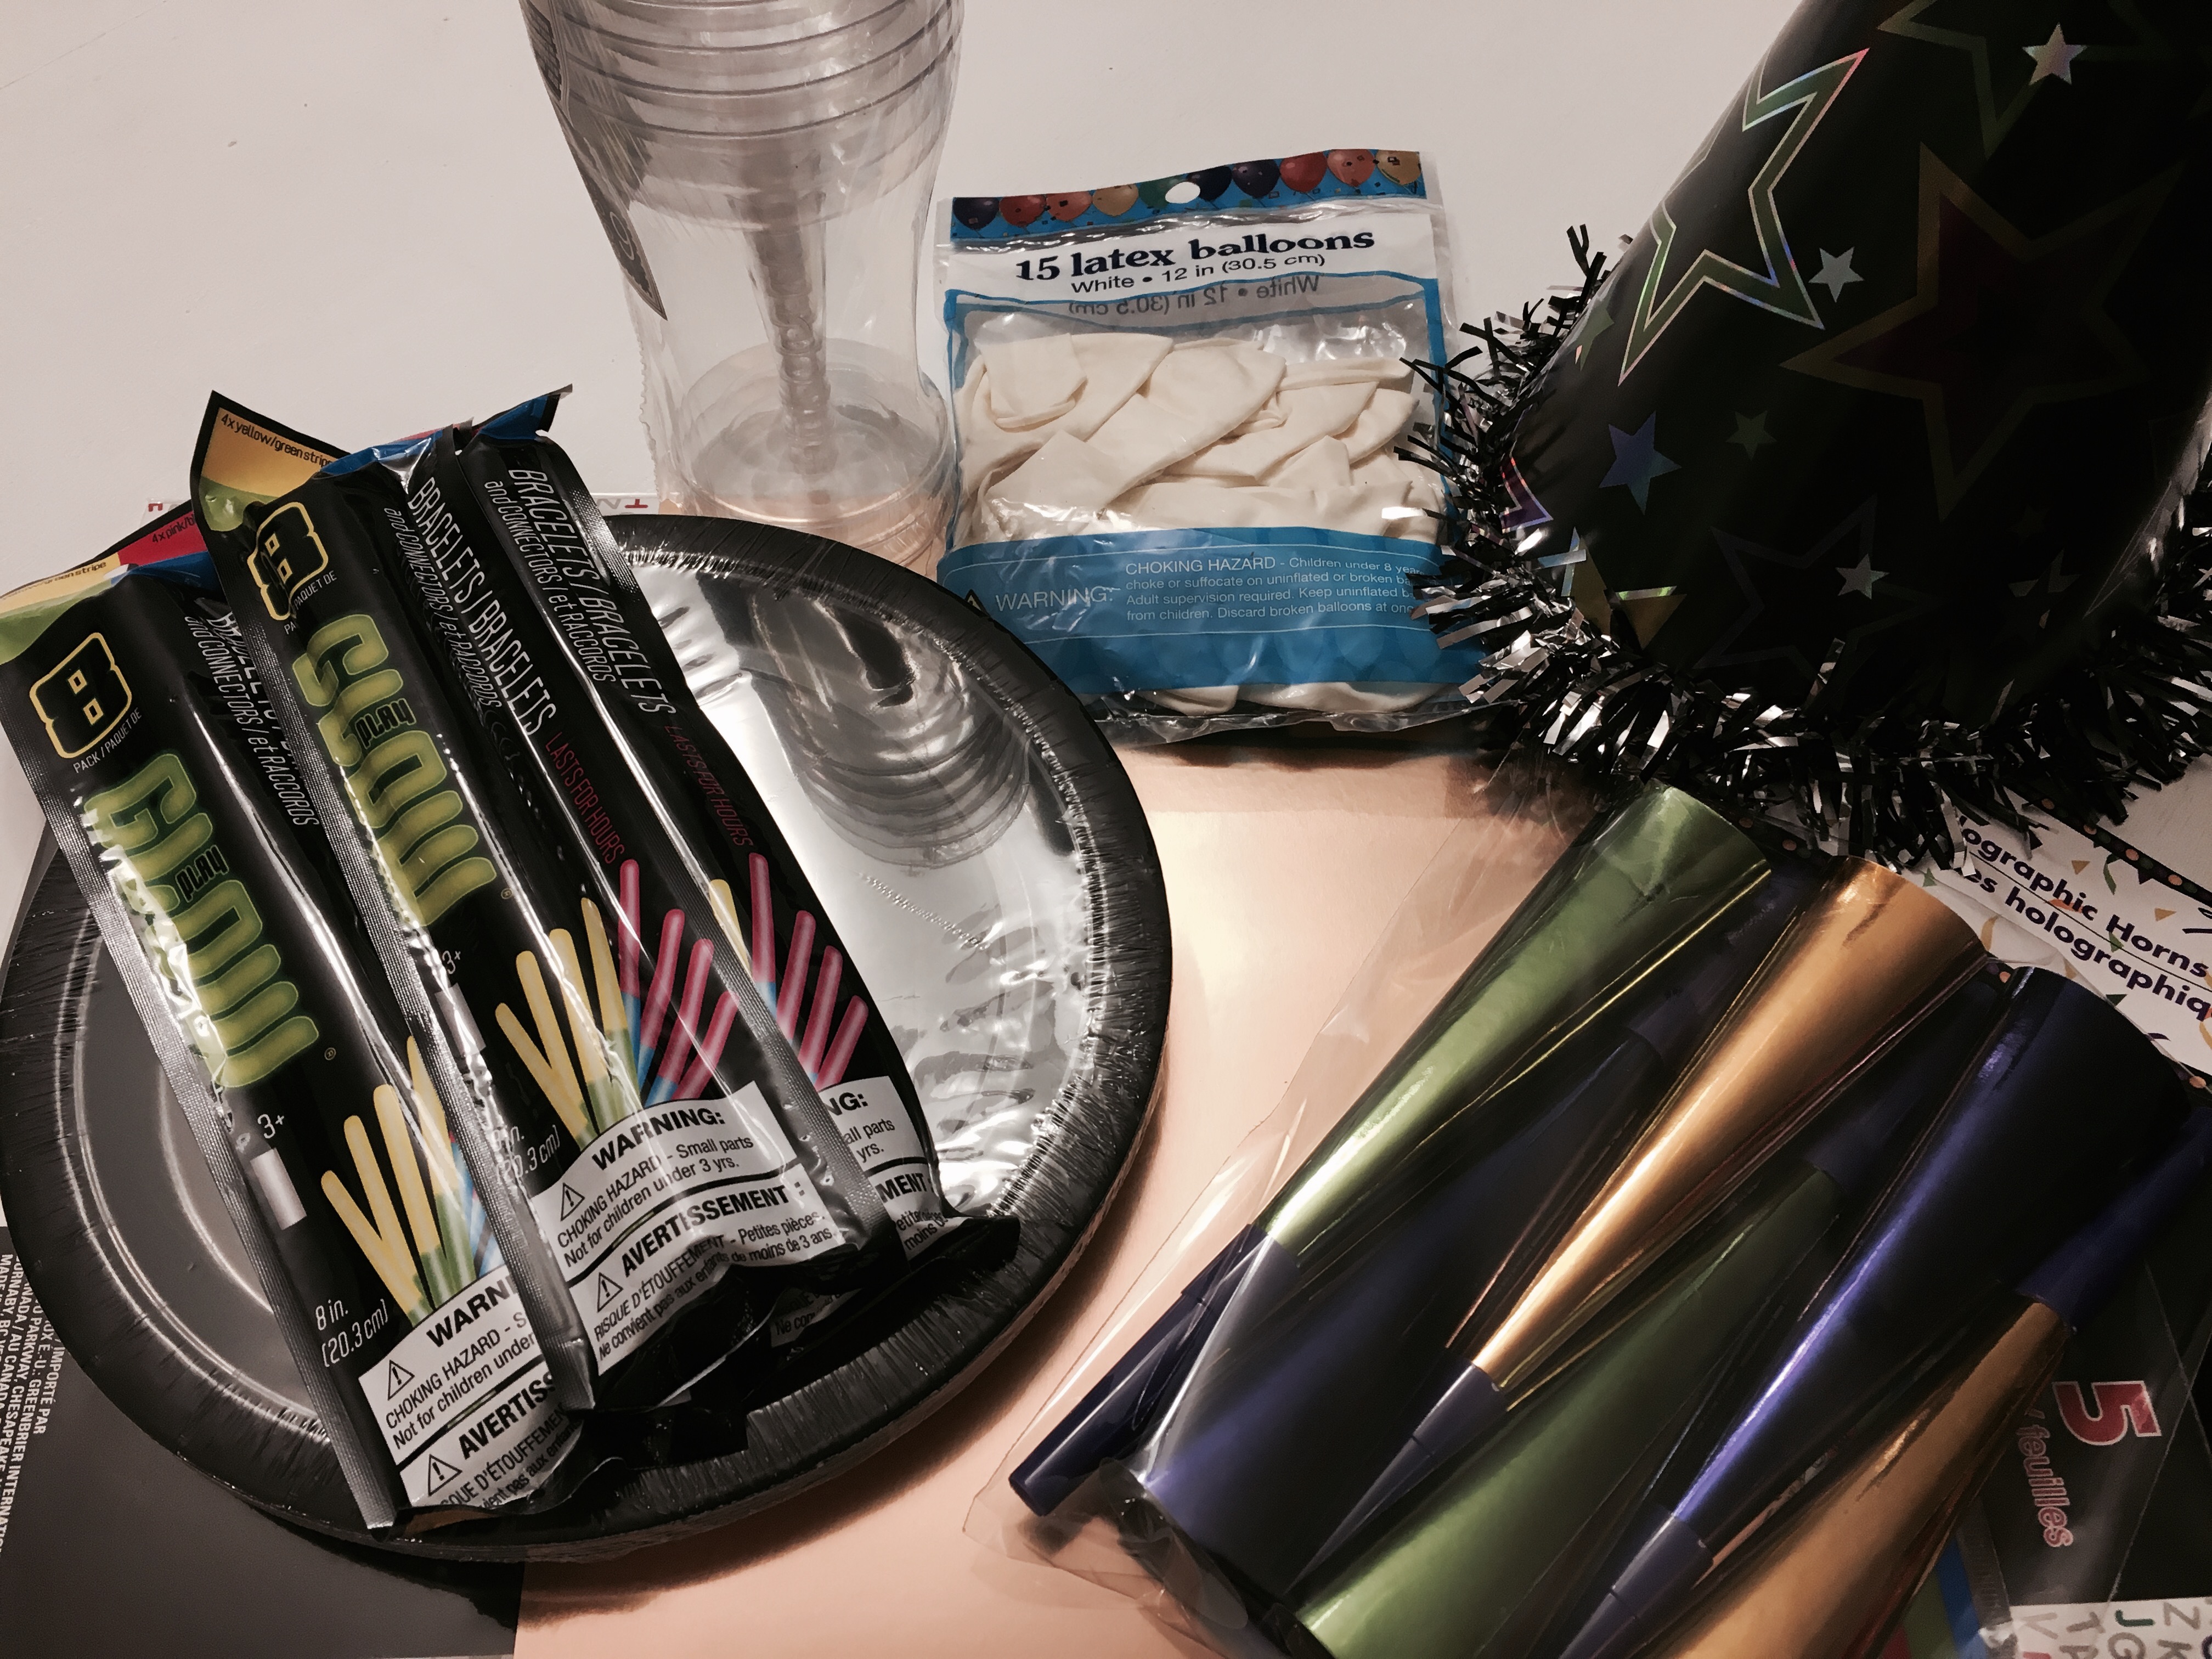 I kept things inexpensive by hitting up our local Dollar Tree for supplies, and then I went to work. I already had paper bags, card stock, and glue sticks, so our “On the Hour Bags” didn’t cost a dime! My plan was to start our evening festivities at 6:00, so I made a bag for each hour from 6:00 pm – Midnight. I googled “free printable clock templates” and then added the clock hands to each one before printing them out onto white card stock. I traced around a bowl to get perfect circles on the shiny blue and sparkly card stock behind the clocks. A few finishing touches later, and the bags were done.
 7:00 pm: Glow Sticks & Balloons This was SO….MUCH….FUN! We put glow sticks in balloons and then had an epic living room battle. Boys vs. Girls with Dad as the DJ. We turned off all the lights and made a line of glow sticks dividing the floor in half, girls on one side, boys on the other, with 6 glowing balloons on each side. When Dad played the music, we would try to get all the balloons onto the opposing side. When the music stopped the team with the least balloon on their side was the winner. The girls started off strong, but after 5 rounds, the boys were the ultimate winners! I’m telling you…I haven’t laughed that hard in a long time!
  8:00 pm: Popcorn & A Red Box Movie Popcorn and movie nights are a family favorite for us, and my kids really wanted to see the movie Storks! Perfect for one of our New Year’s Eve activities!
 9:00 pm: Gummy Worms with a “Dessert Break” note attached We took an intermission from the movie to get dessert. This year, I made a delicious ice cream pie with a clock face. I used gluten free Joe Joe’s cookies from Trader Joes to make an “oreo” crust, filled it in with vanilla bean ice cream, and poured homemade chocolate fudge frosting over the top. While it was setting in the freezer, I made a clock on wax paper out of melted white chocolate and placed it on top of the frozen pie. We also included gummy worms for the “non ice cream eater” in our family.
 10:00 pm: M&M’s, Marshmallows, and Straws Game Time: I found this idea under “minute to win it” games on Pinterest. I set the table with two paper plates for each player. One plate contained M&M’s and marshmallows. The other was empty. Each player was given a straw (cut to about 3/4 size). At my “GO” the players had to suck up the candies and mallows to make them stick to their straw and transfer them from one plate to the next. The first player to get all of theirs transferred had to call out “Happy New Year!” Micah for the win!
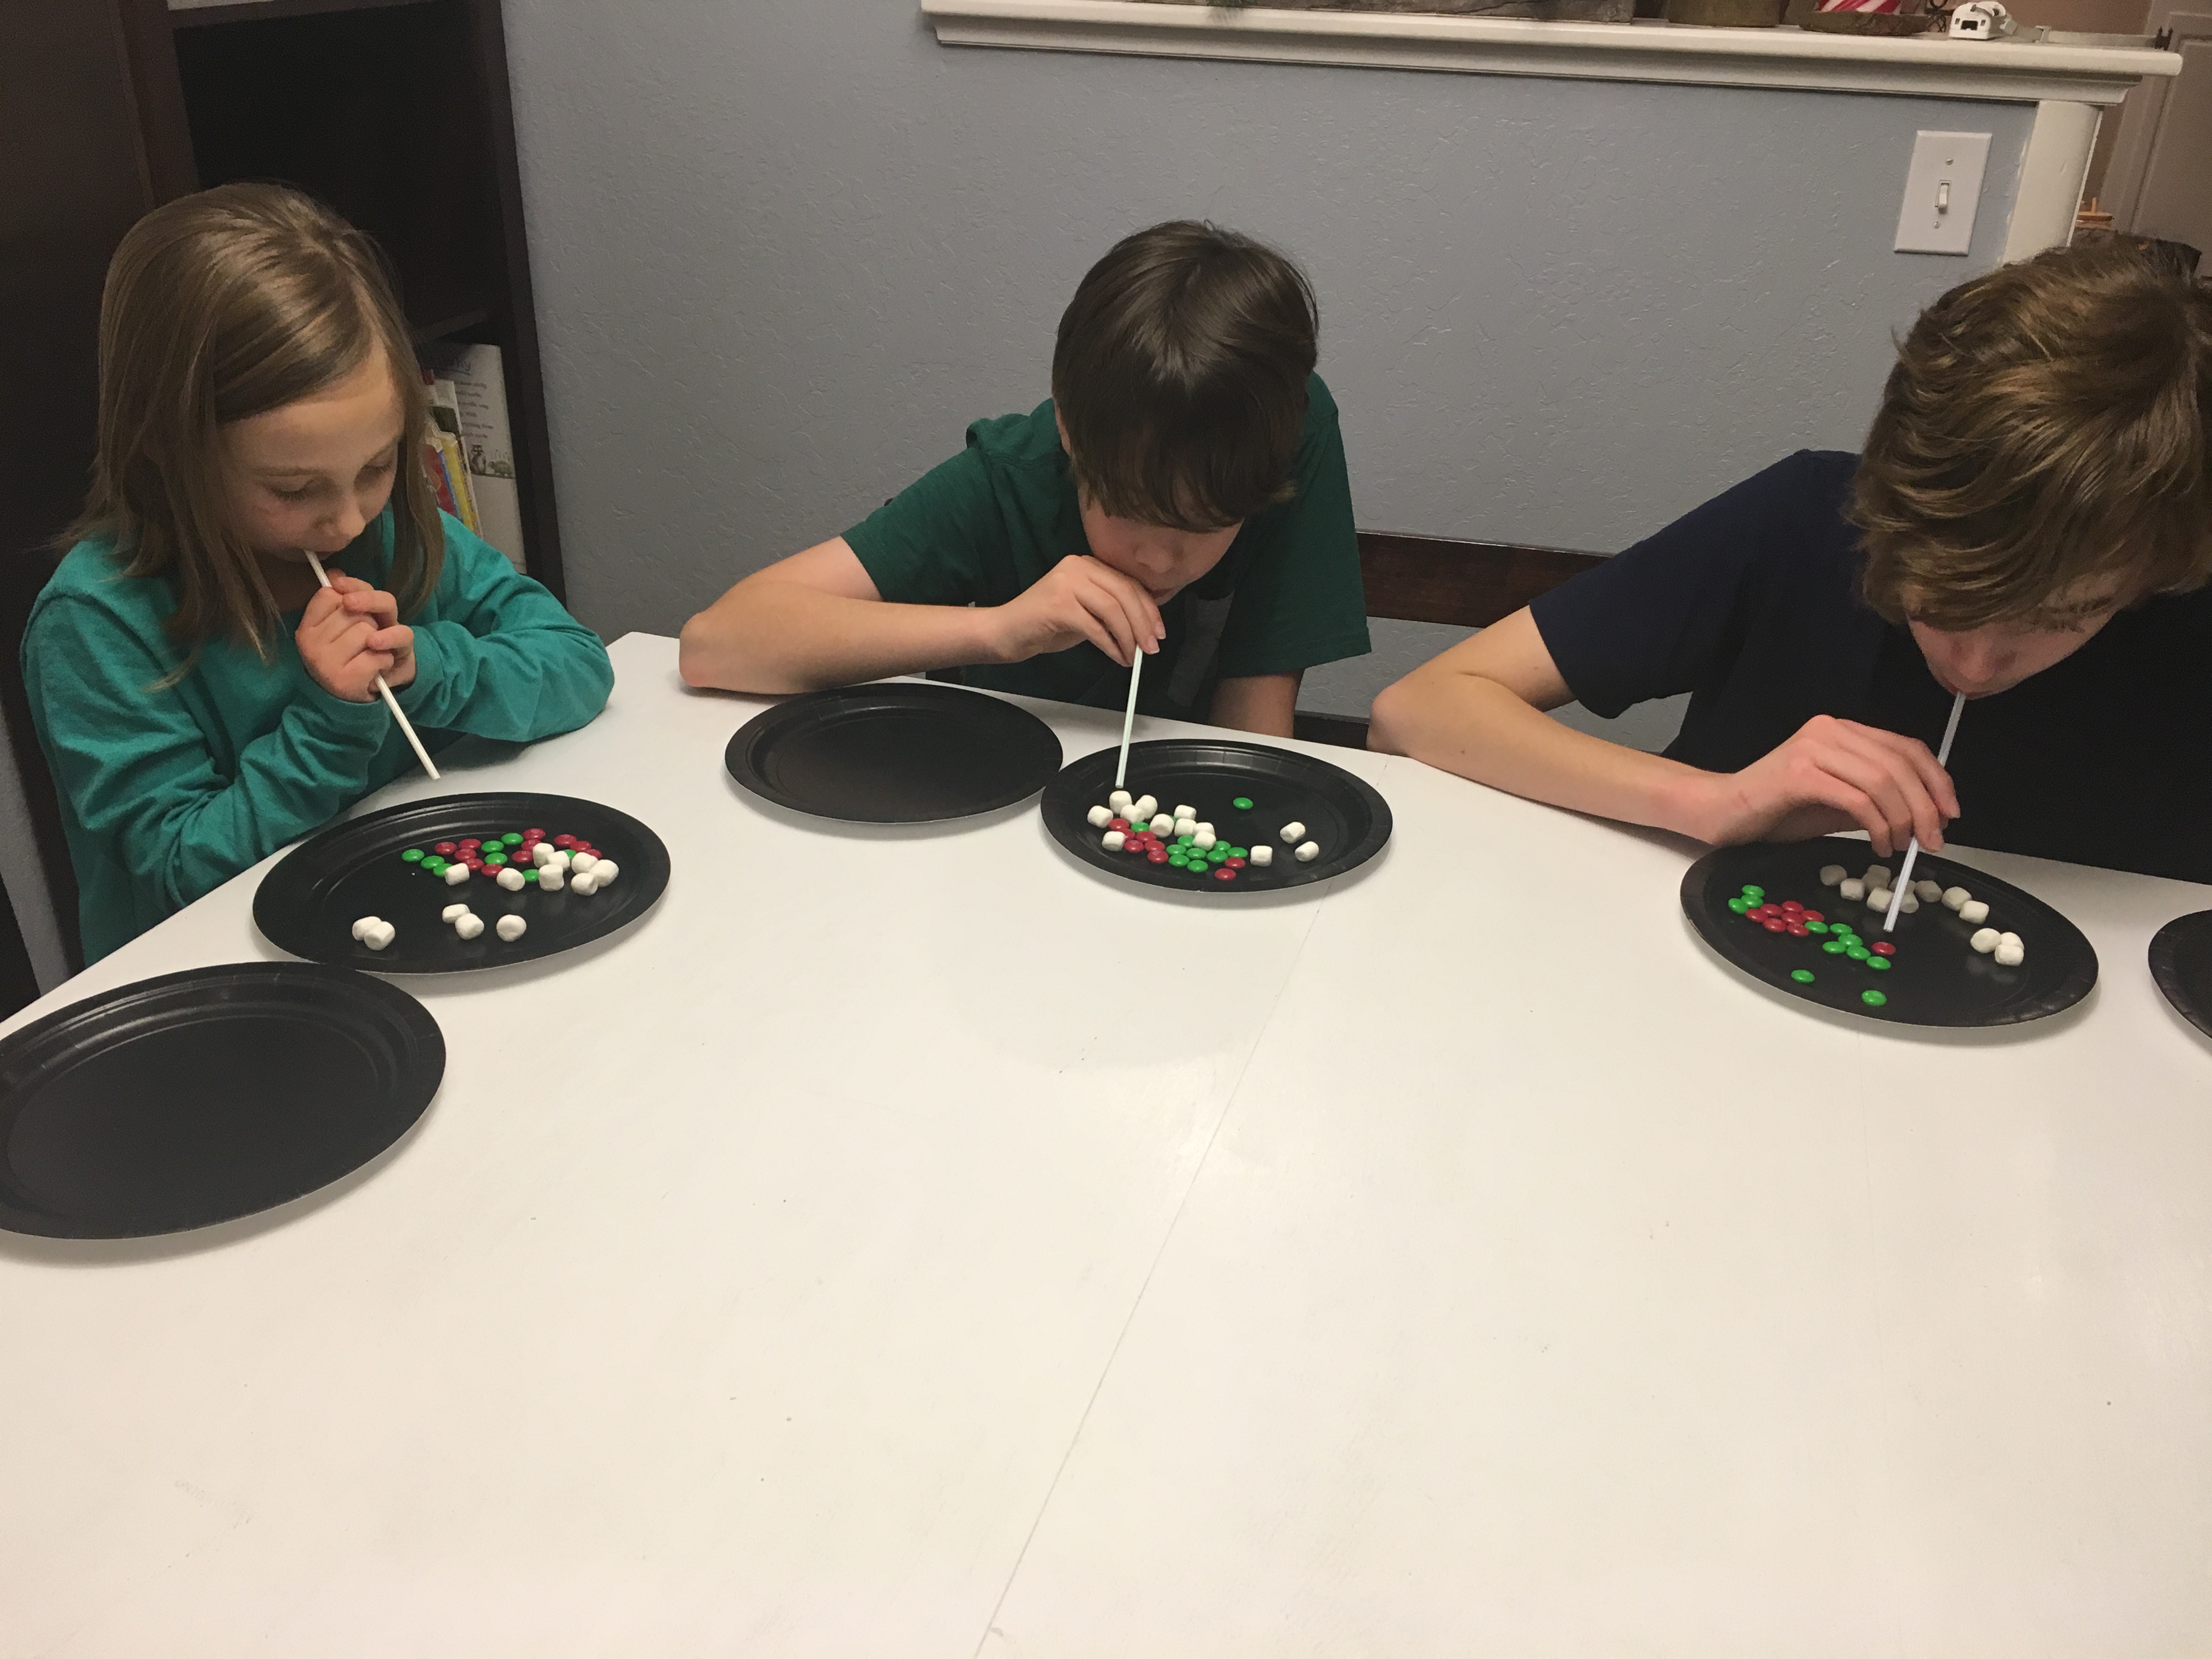 11:00 pm: A Big Bag of Skittles Make a rainbow science experiment! I had seen a couple of videos on youtube of this simple and fascinating science experiment, so I thought it would be a fun way to keep my tired children awake that last hour before the ball dropped. Check out our “make a rainbow” video!
