Wings of Fire Birthday Party

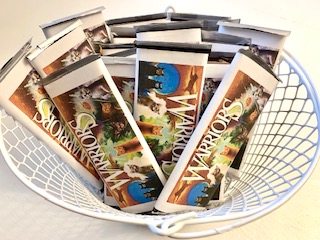
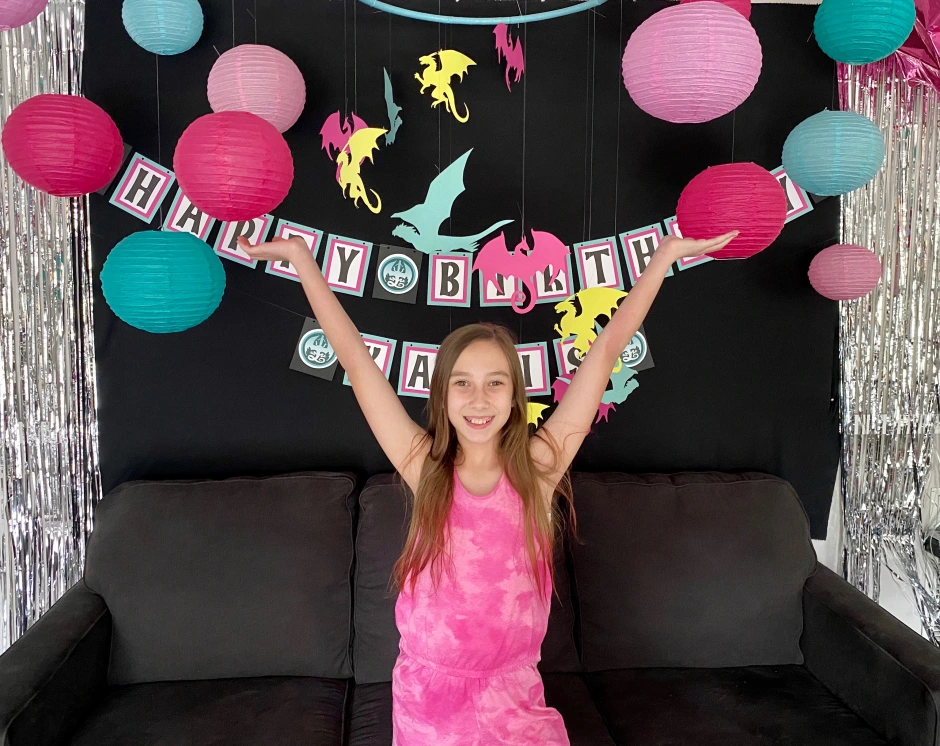
My sweet girl turned 11 last week, and what a joy it was to have an in person birthday party after last years Art Party over Zoom. Karis is a huge fan of the Wings of Fire book series, so we went with a dragon theme for her party. Pink, teal, and yellow may not be typical colors you think of if you are a Wings of Fire fan, but Karis loves Kinkajou the pink and yellow dragon…so she became our inspiration.

My first project was to create a dragon mobile. I already had an old hula hoop and some teal spray paint, so all I had to purchase was colored card stock and fishing line. After printing out a couple of different dragon silhouettes, I went to work tracing and cutting various dragons out and hung them along the painted hula hoop so that they cascaded down in a circle.

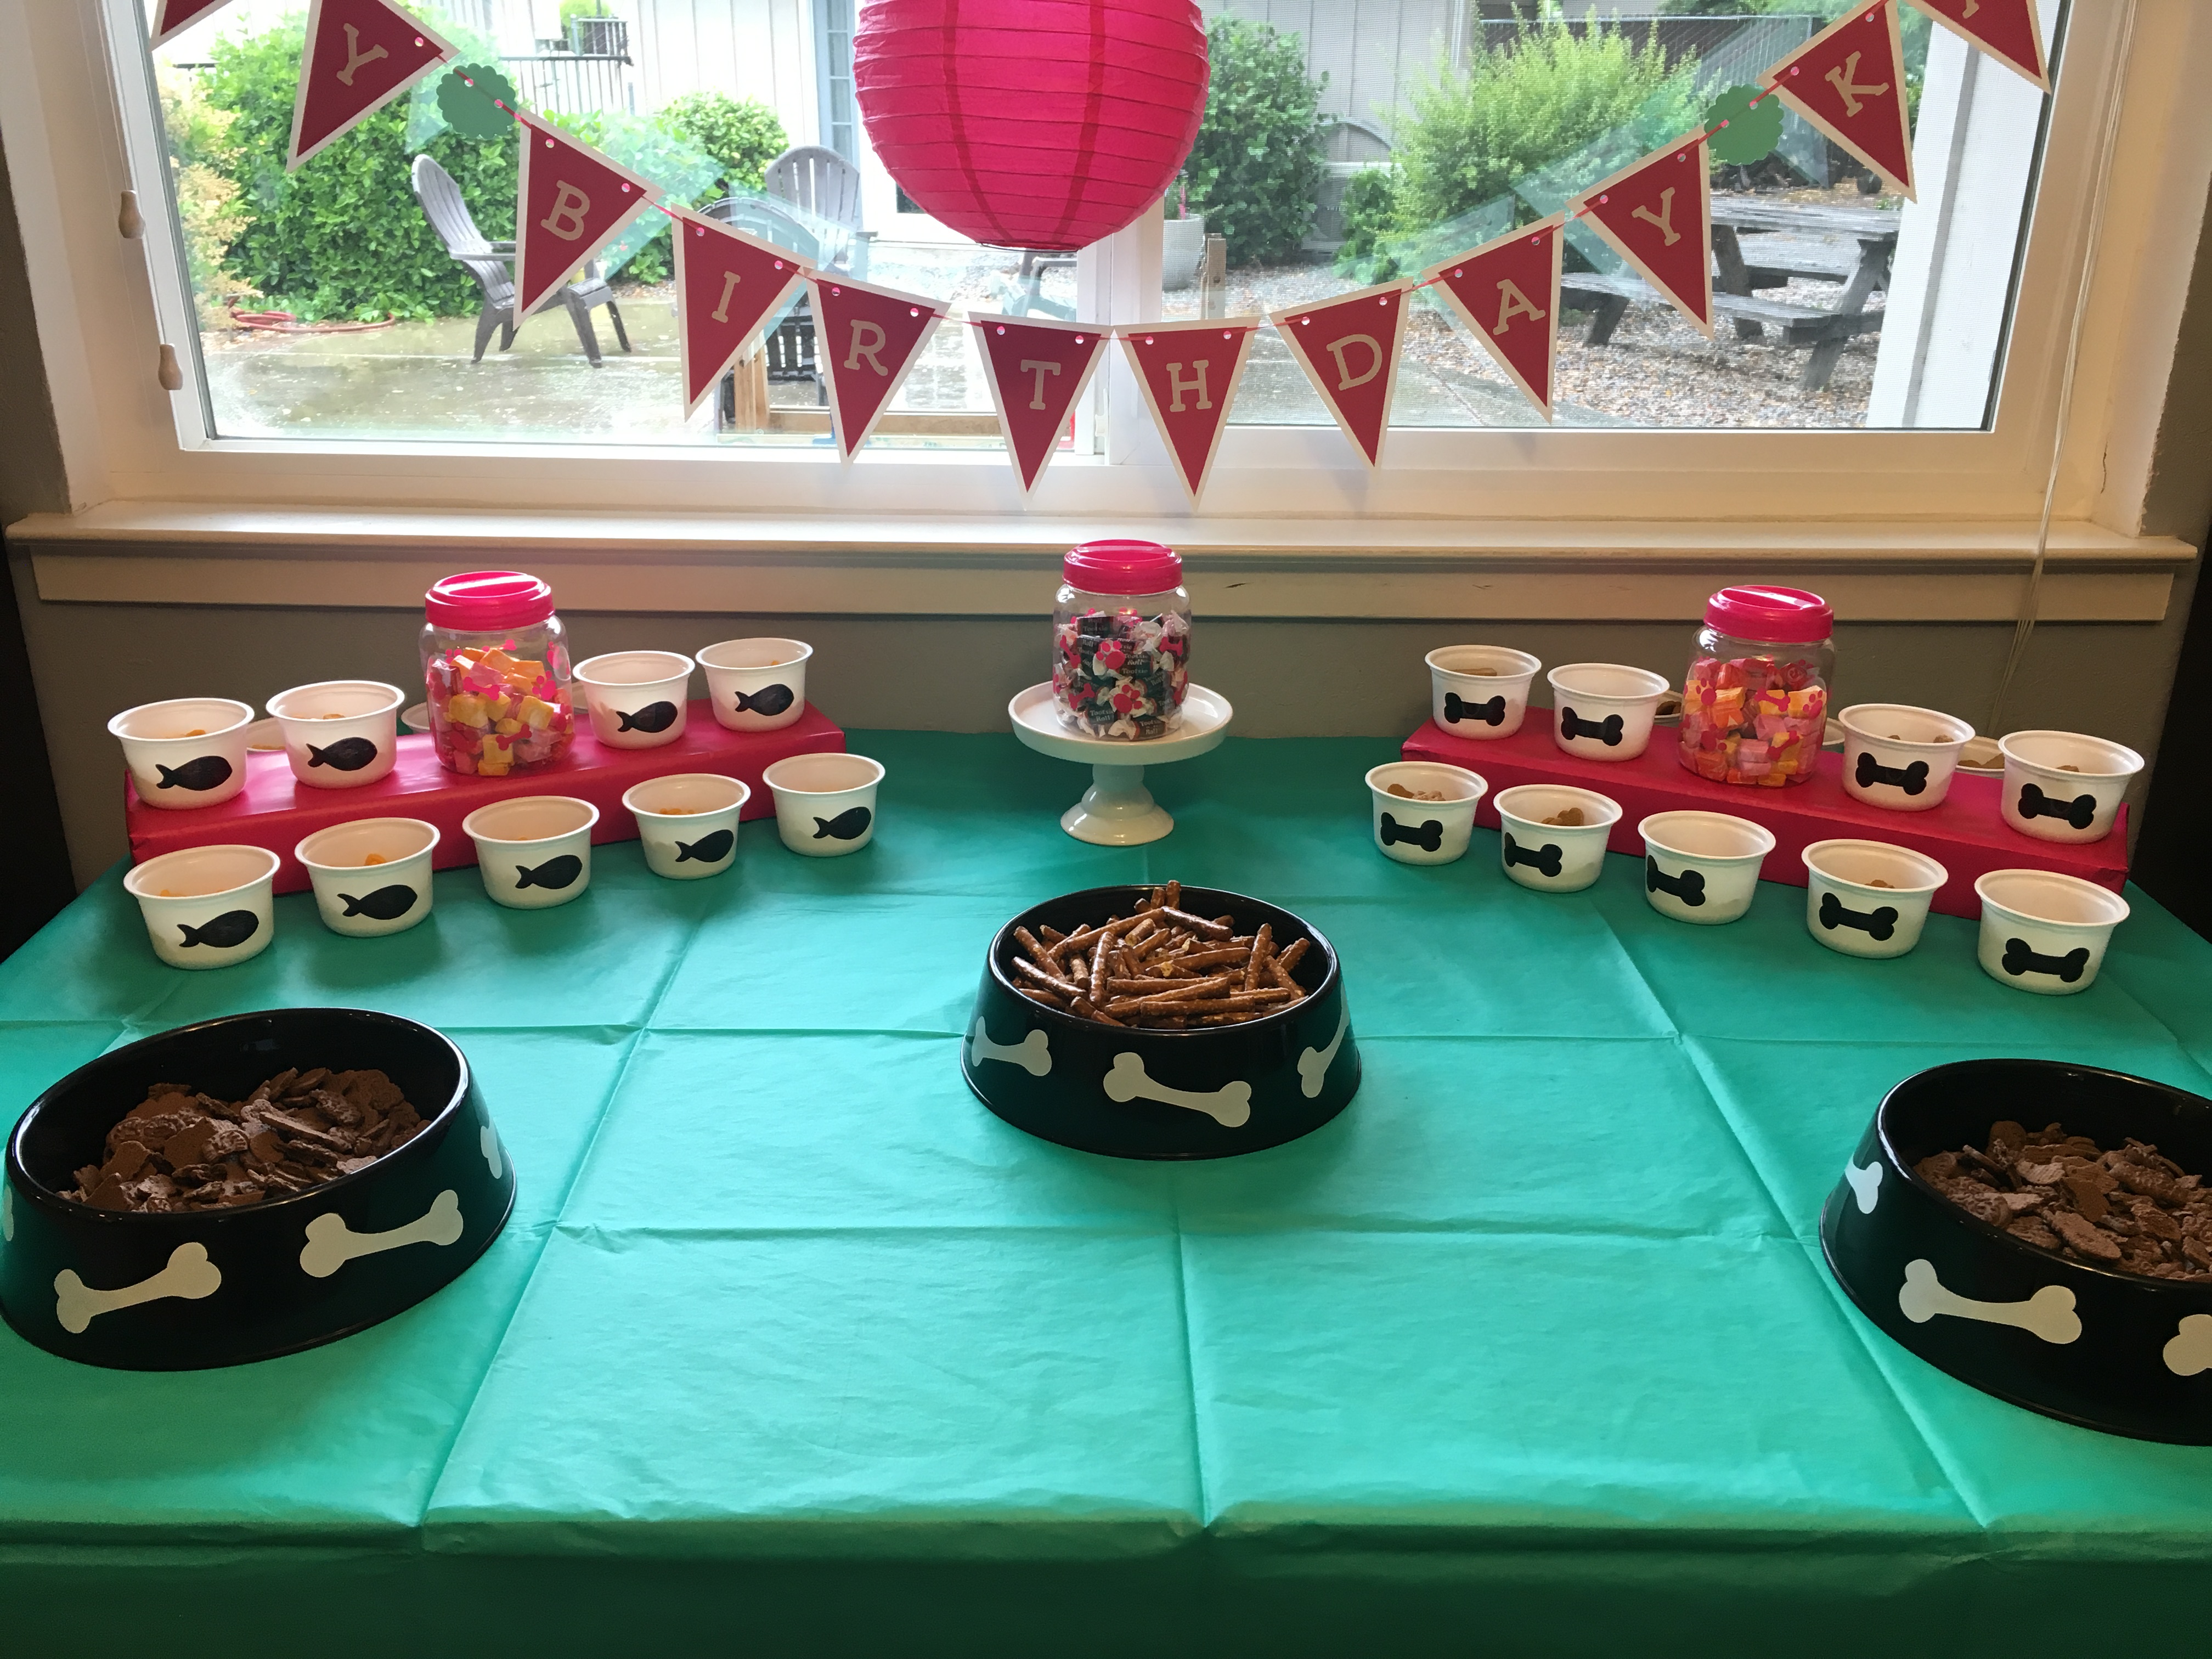
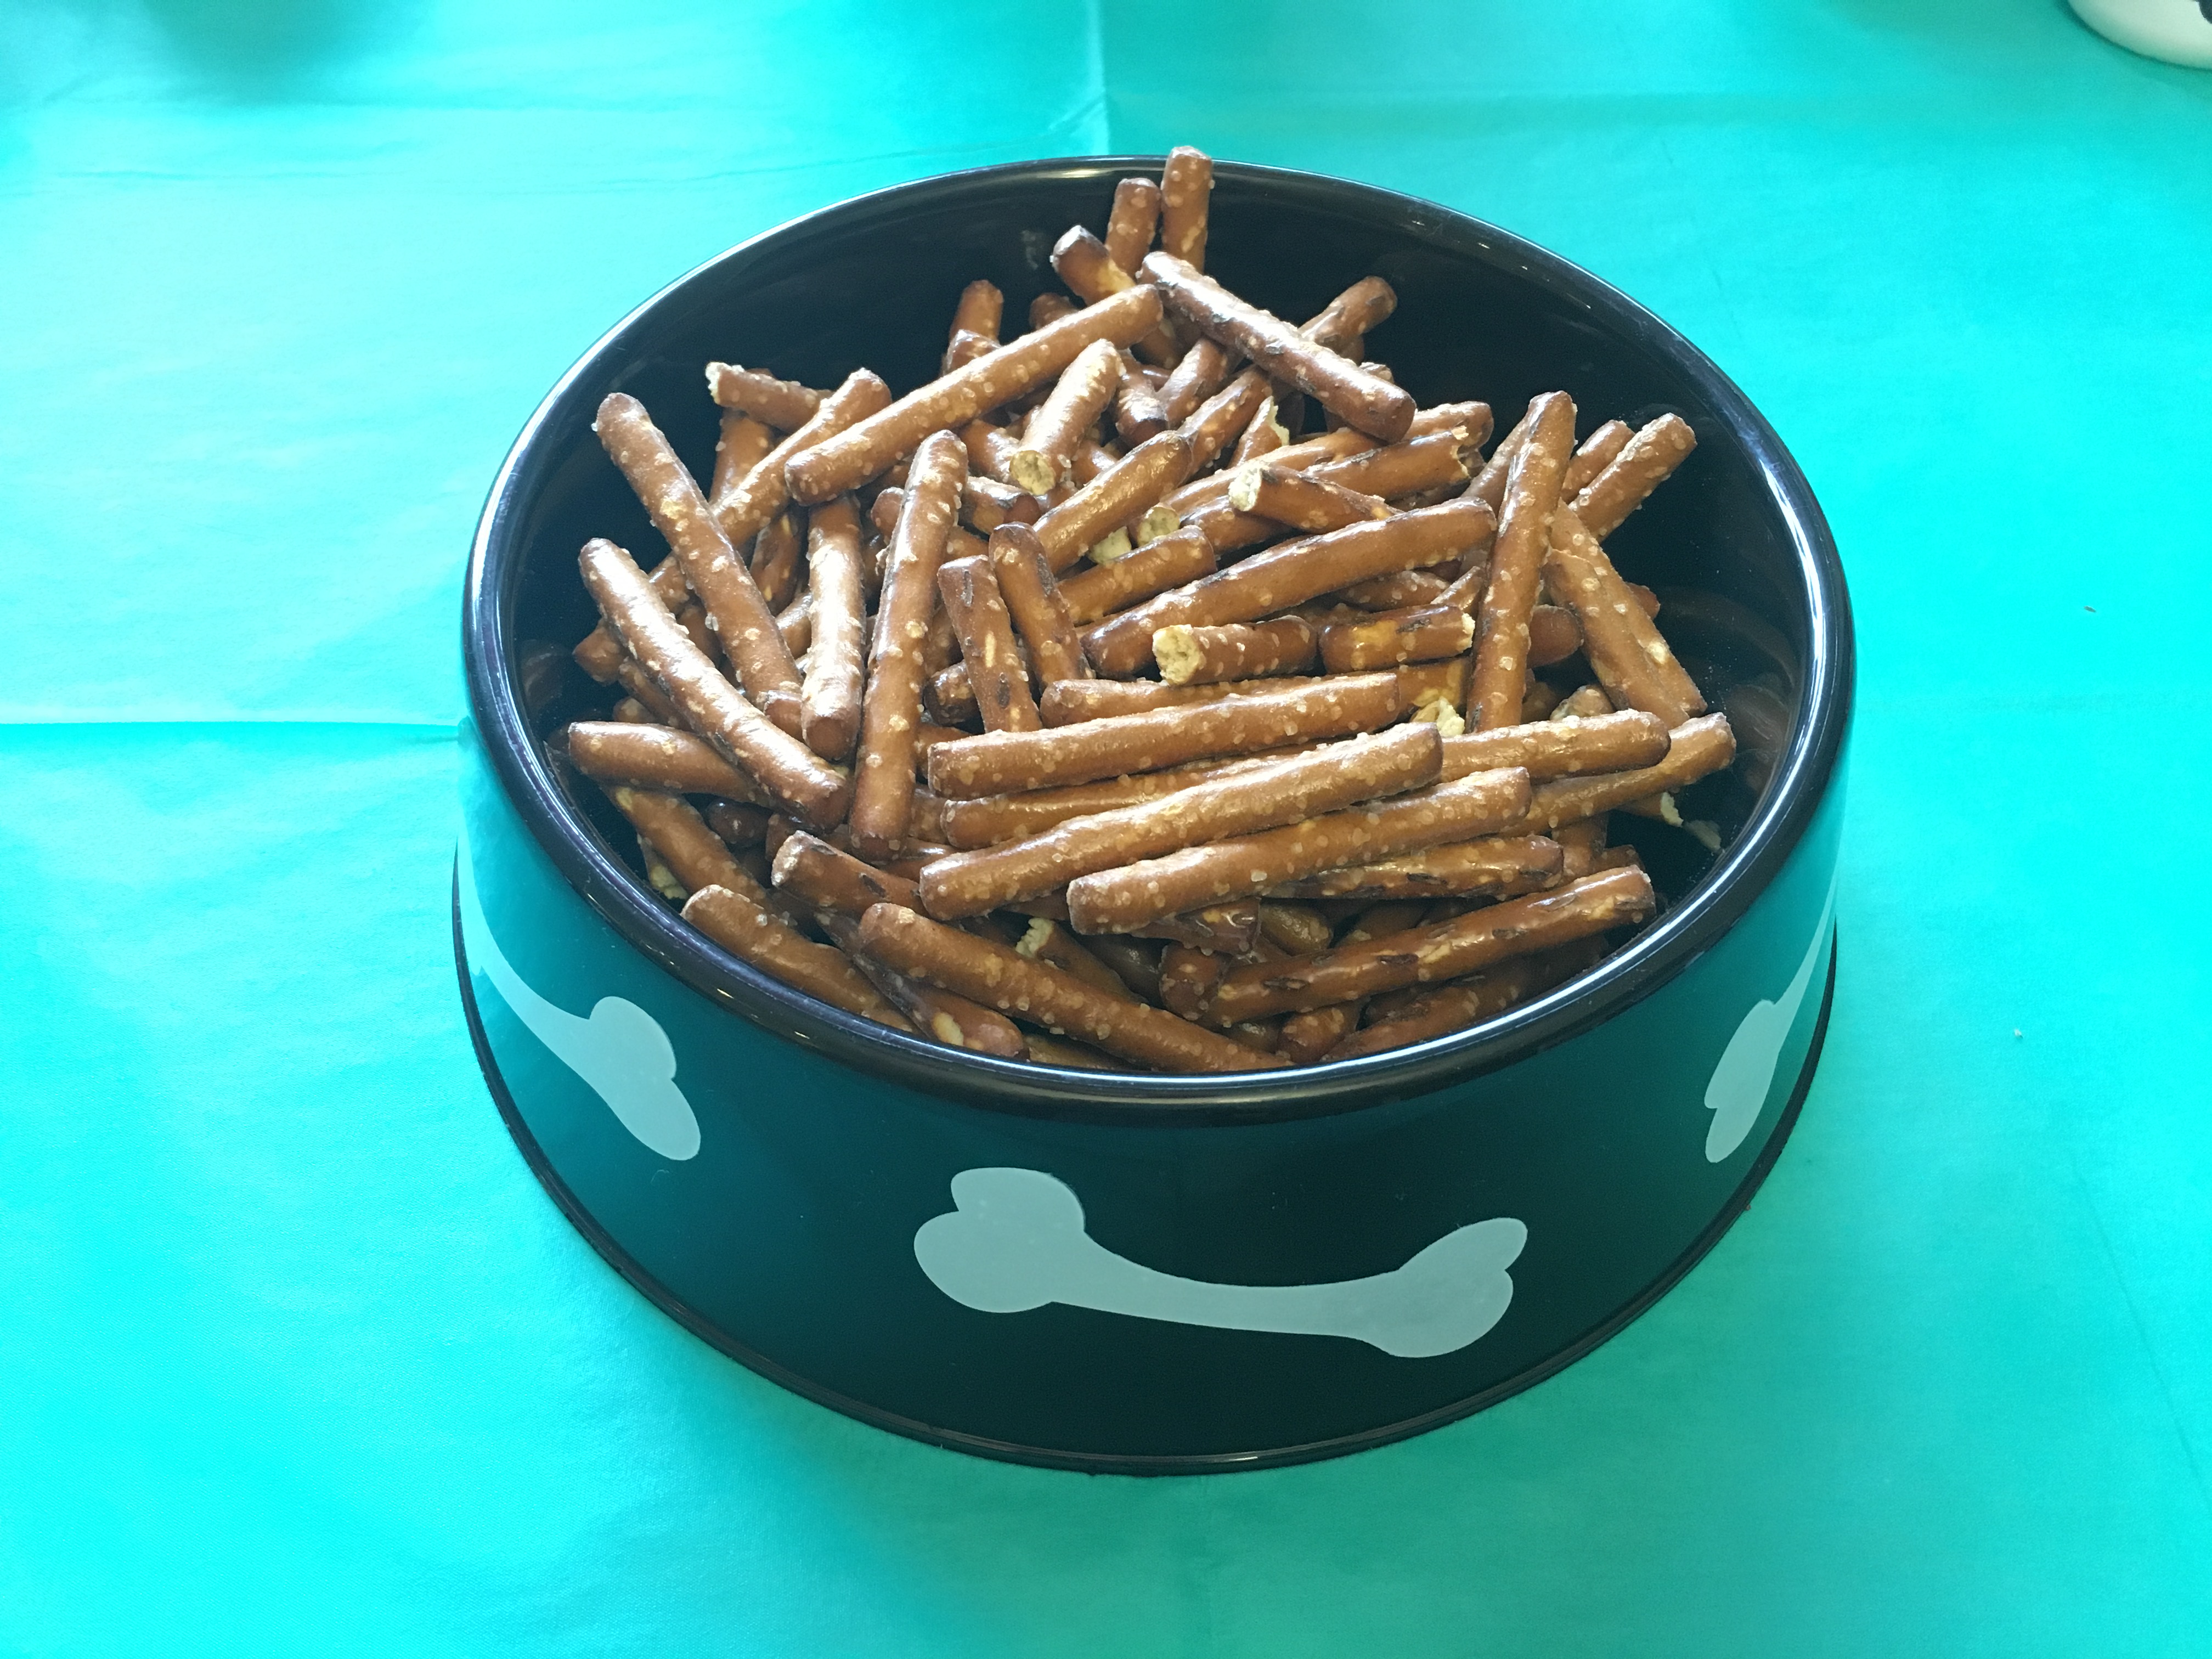
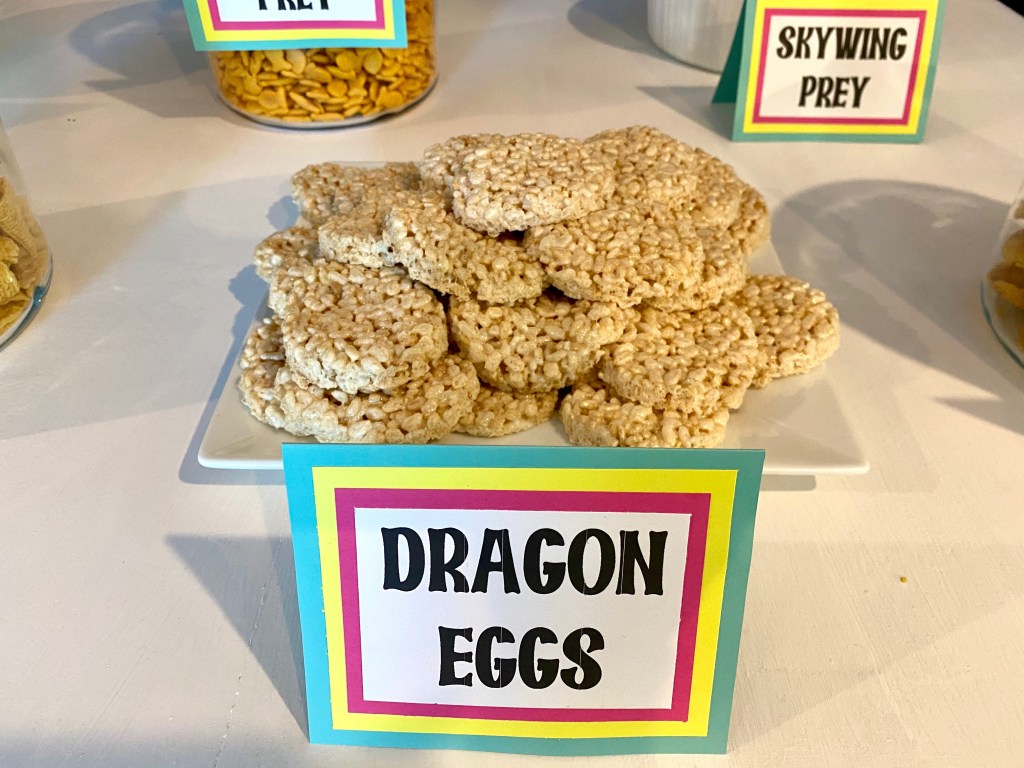
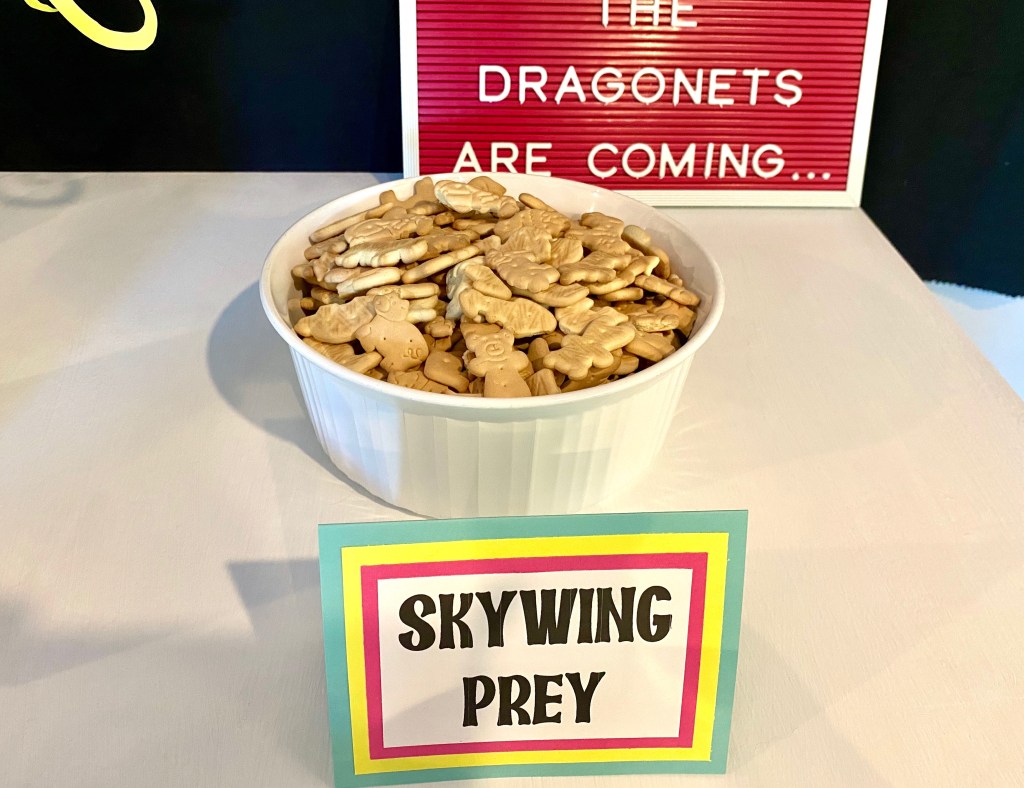
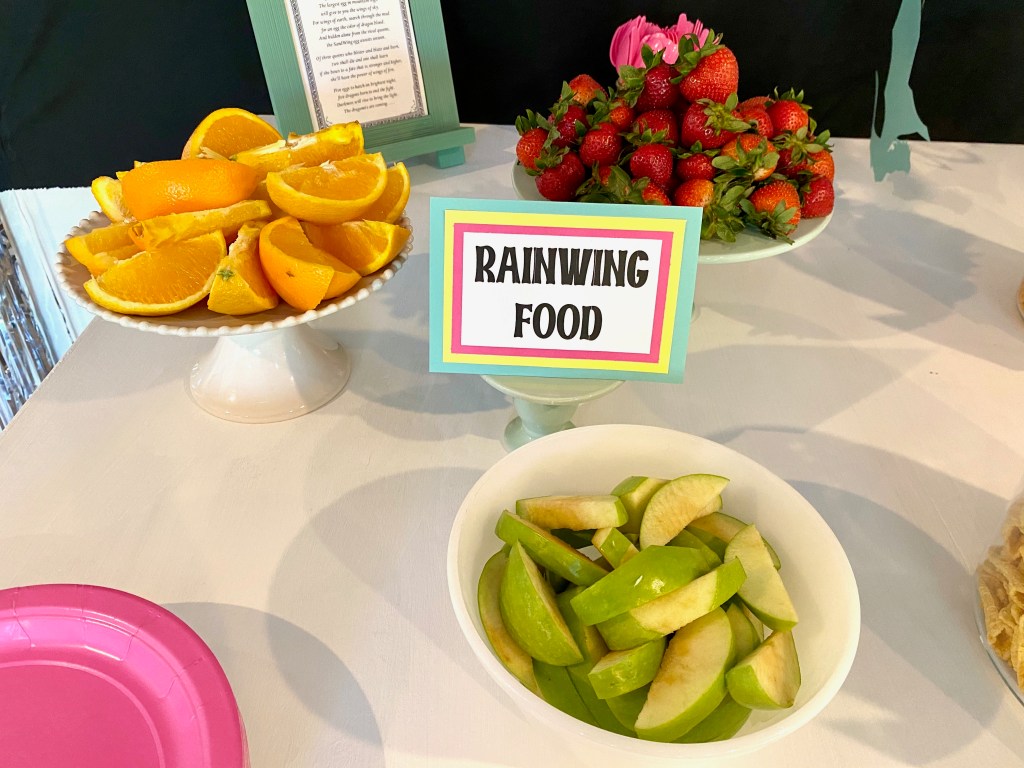
Karis and I browsed Pinterest for dragon themed food ideas and came up with some fun options including Dragon Egg rice crispy treats, Bugels as Dragon Claws, Dragon Scales (Fritos), and Goldfish Crackers for Seawing Prey. We cut up fruit for Rainwing Food and included animal cookies for the Skywing Prey. We also grilled up some hot dogs since her party was at dinnertime.

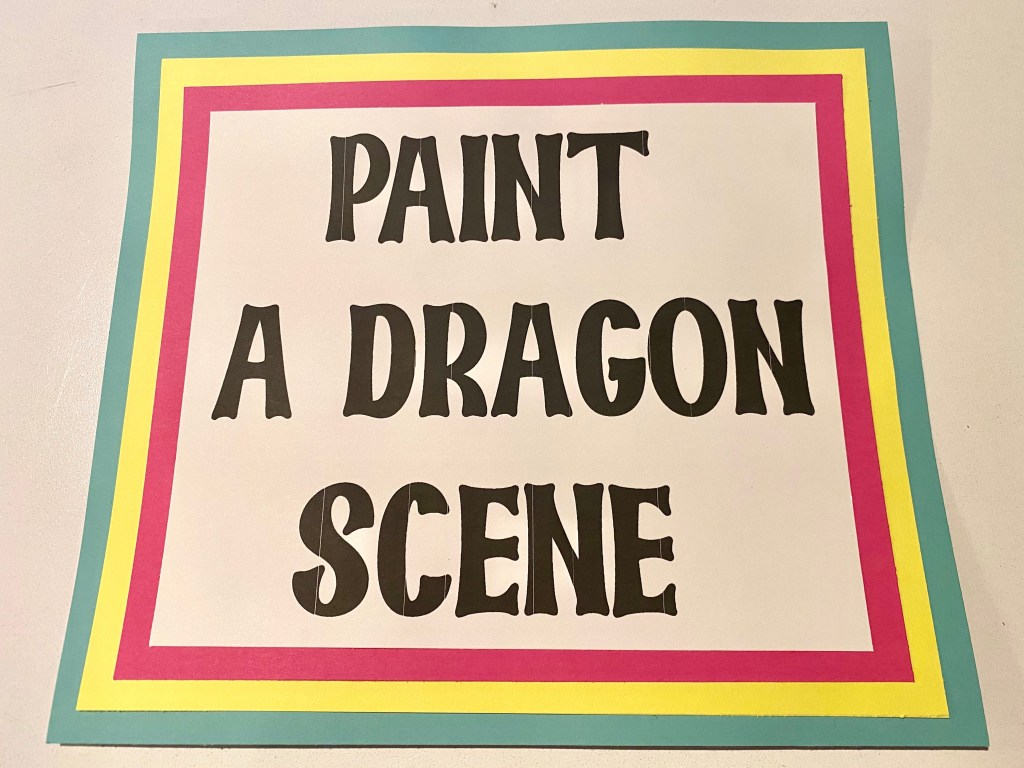
In addition to the dragon mobile, I lined a wall with a large black piece of material that I used for a previous New Years Eve photo booth, and because I keep everything…I already had the silver door streamers and the pink and teal lanterns to add to the backdrop. I made a birthday sign out of the left over cardstock from the dragon mobile and included a printout of the dragonet prophecy and a letterboard with the phrase “The dragonets are coming…” #CommissionsEarned

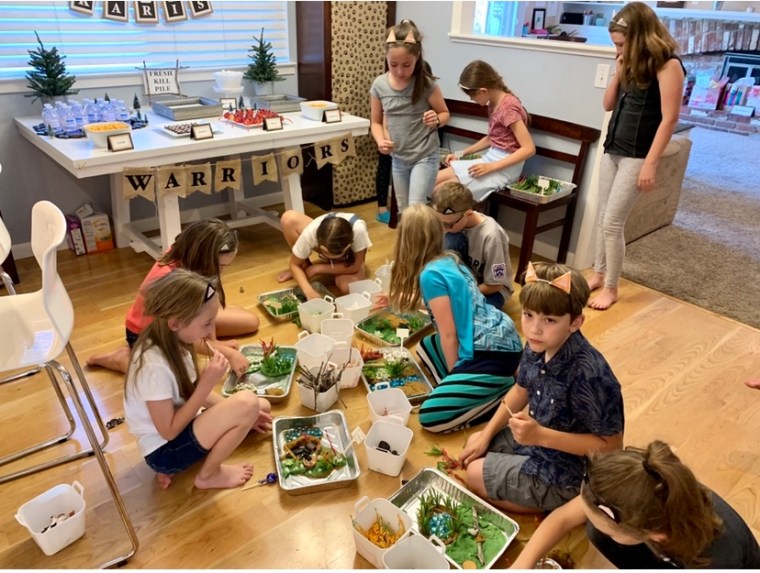
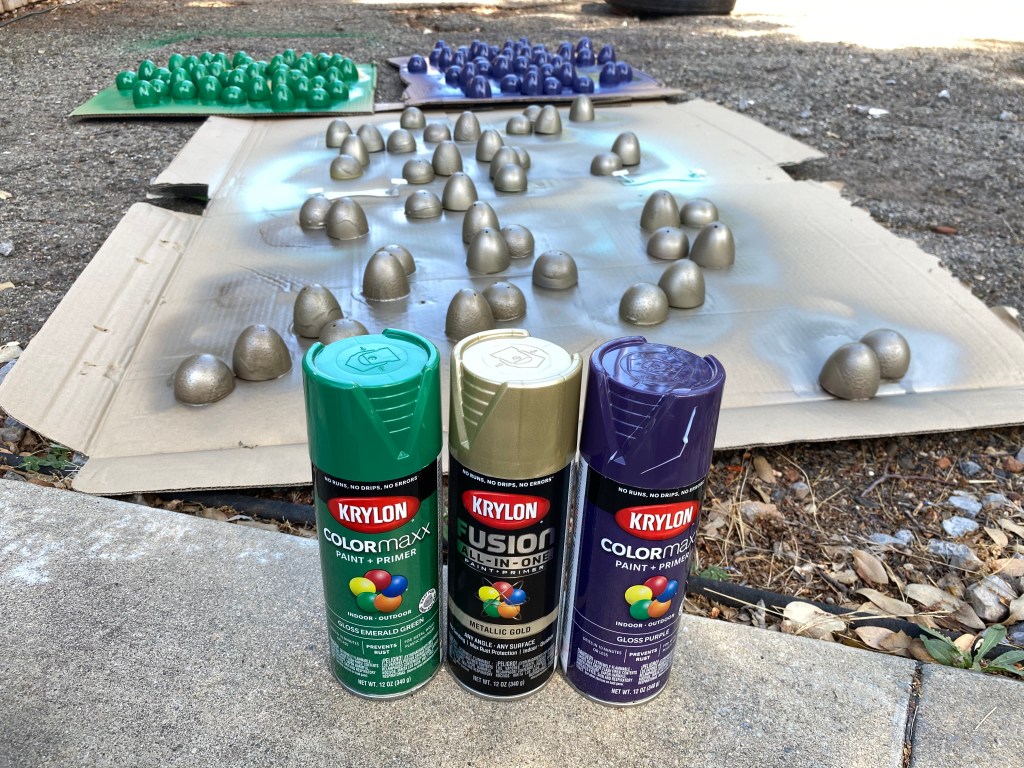
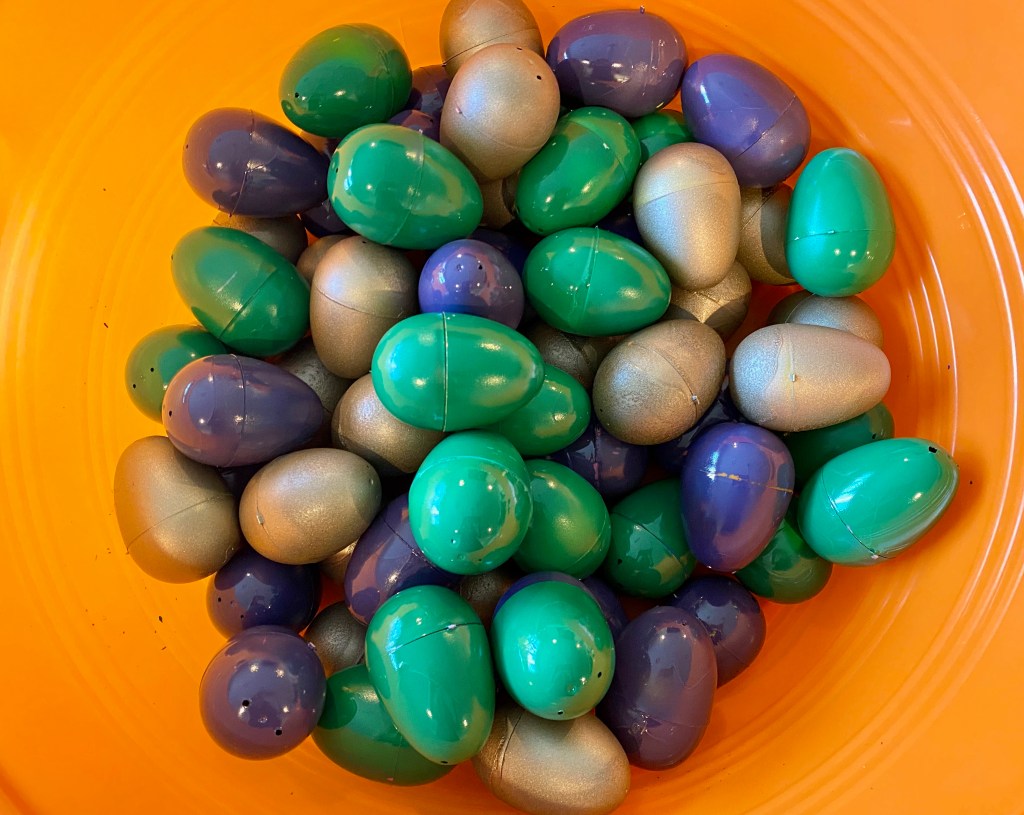
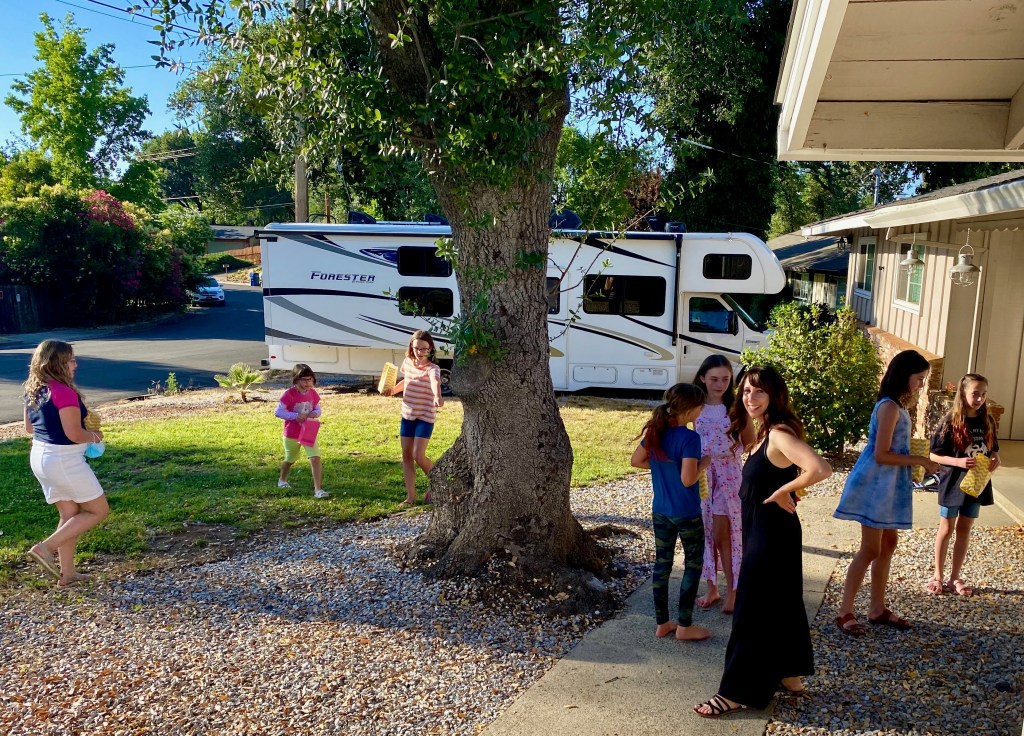
Karis loves art, and always wants to incorporate some crafty activities during her parties. We decided on three things 1. A dragon egg hunt 2. Make a dragon eye ring, and 3. Paint a dragon silhouette. We had a ton of old plastic Easter eggs that we turned into “dragon eggs” with the help of some spray paint. Karis’s friend came over to help her stuff over 60 eggs with candy and the kids loved going on an egg hunt in June.

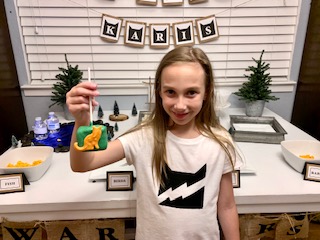
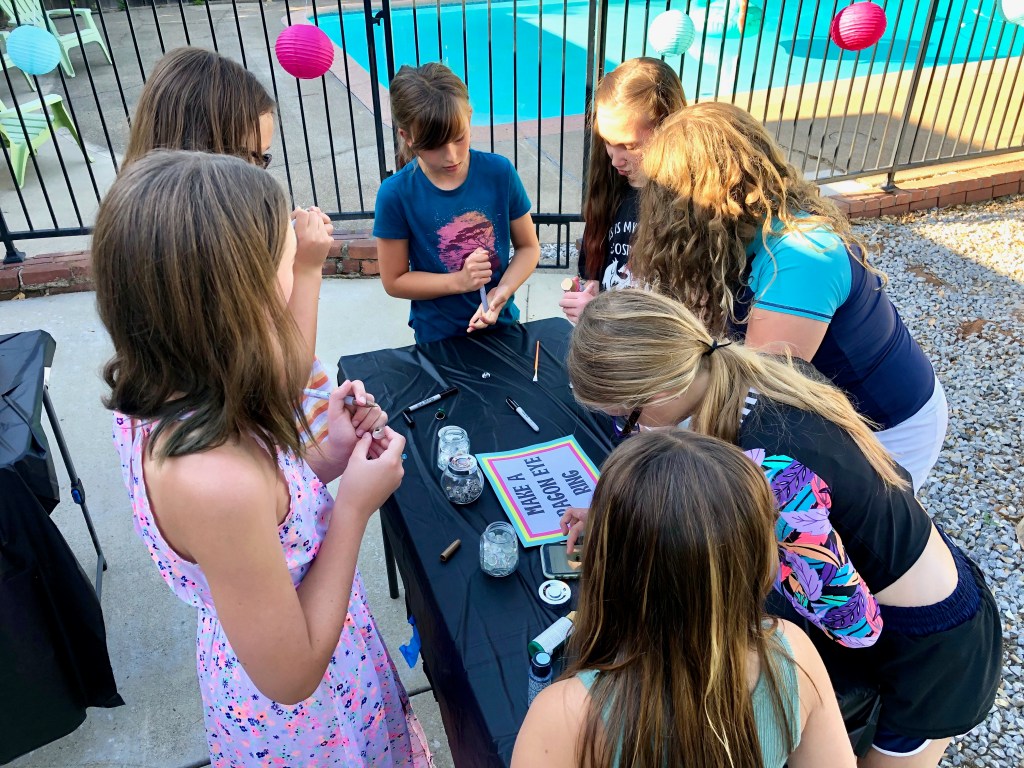
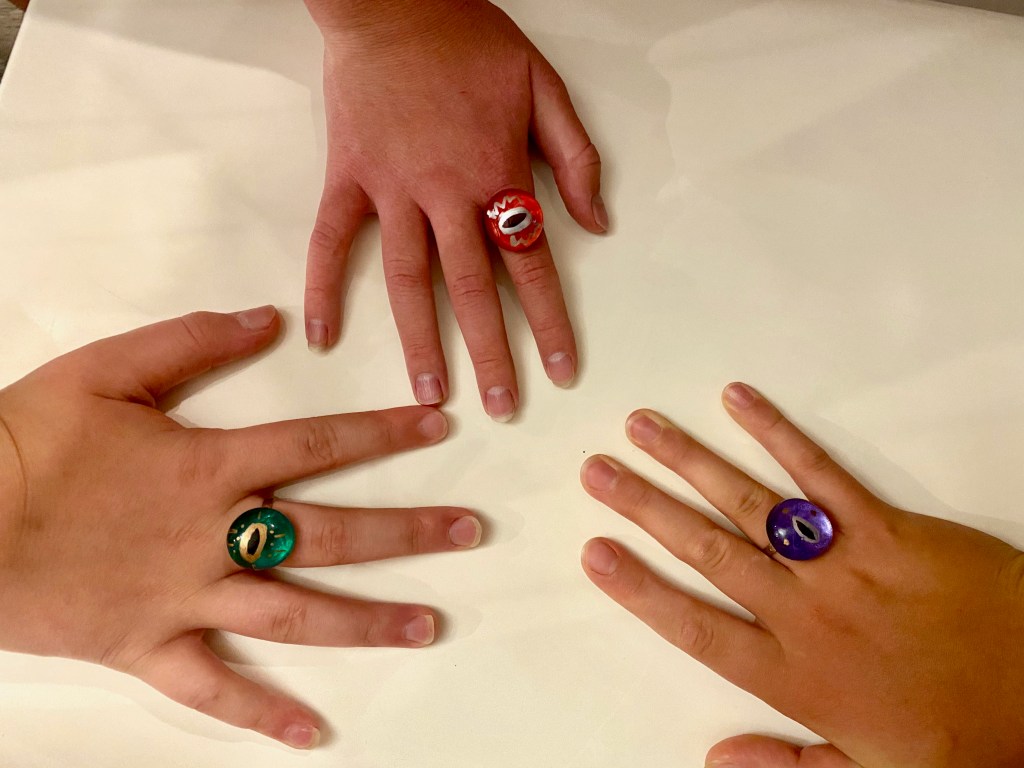
For the dragon eye rings, I purchased some clear beads, metallic paint and metallic sharpies, adjustable rings, and some jewelry bonding glue. The kids started out using a black sharpie to create a pupil on the round part of the bead, then added a metallic outline and flecks with the silver and gold sharpies. They painted over the flat part of the bead with a couple of coats of the paint color of their choice and let it dry for about an hour. Once dried, a dab of glue bonded it to the ring and they were able to go home with the coolest dragon eye rings.

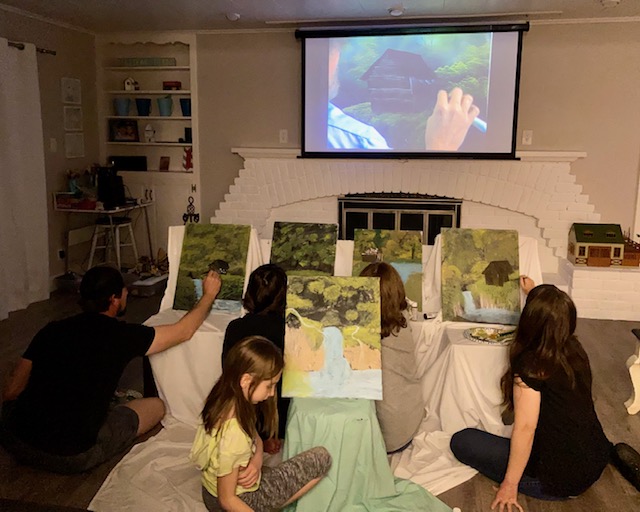
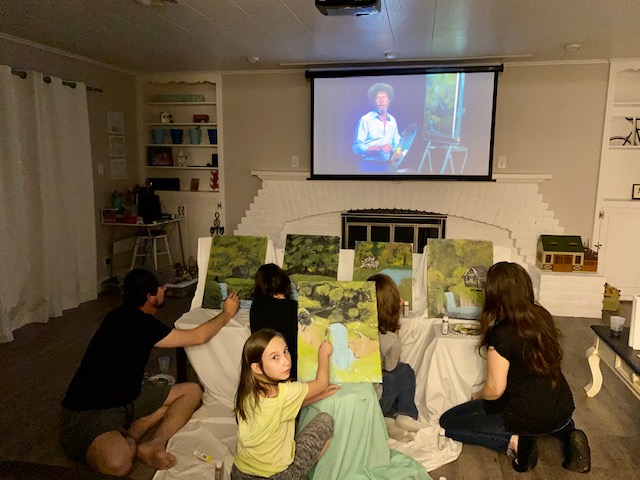
I grabbed a couple of packs of canvases at a great price at Hobby Lobby and added a variety of new colors to my acrylic paint collection. I also invested in some paintbrushes. I cut several different sizes of dragon silhouettes out of cardstock and some castles as well, and I printed out a collection of pictures to use as inspiration. I rolled out a long line of painters paper to save our concrete and then let the kids go for it. Some used the silhouettes and others sketched their own pictures. Most of the party guests were Wings of Fire fans, so they were all happily chatting about what type of dragon they were painting. The only drawback to this project is that I should have planned for less activities or more time because it took a lot longer for them to paint than I anticipated and some brought home 1/2 finished canvases. #CommissionsEarned

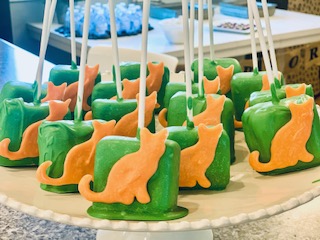
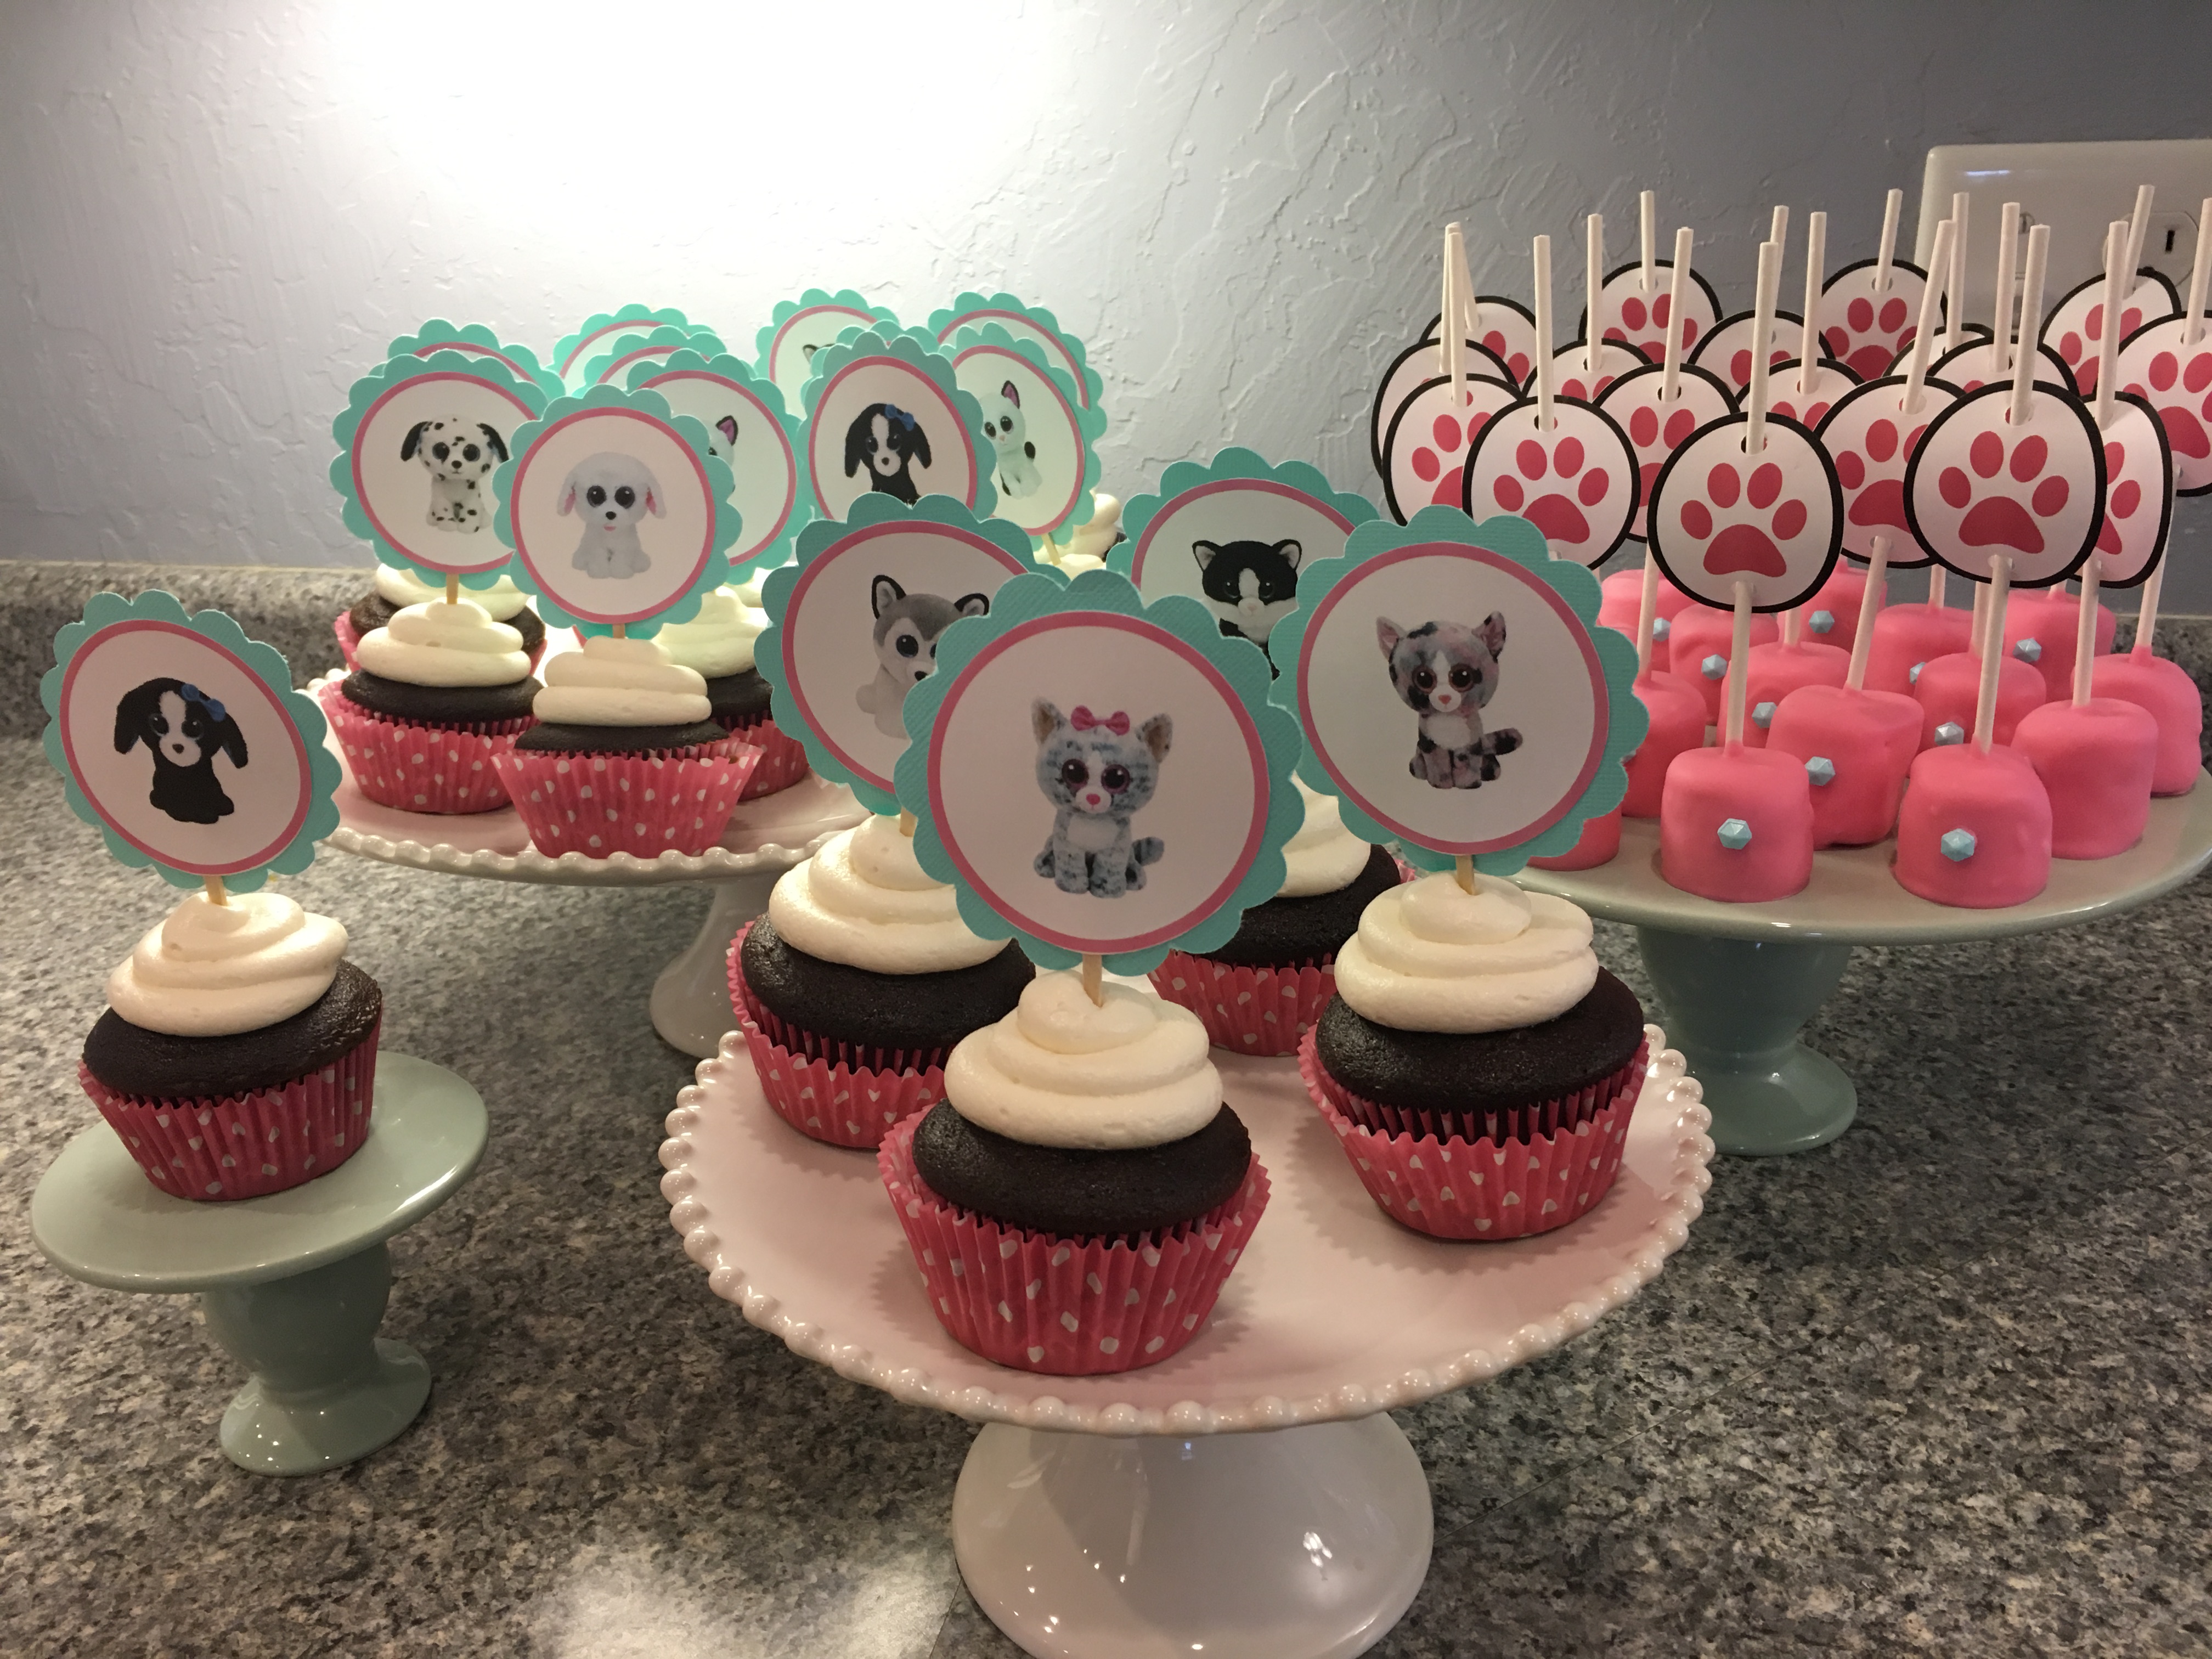
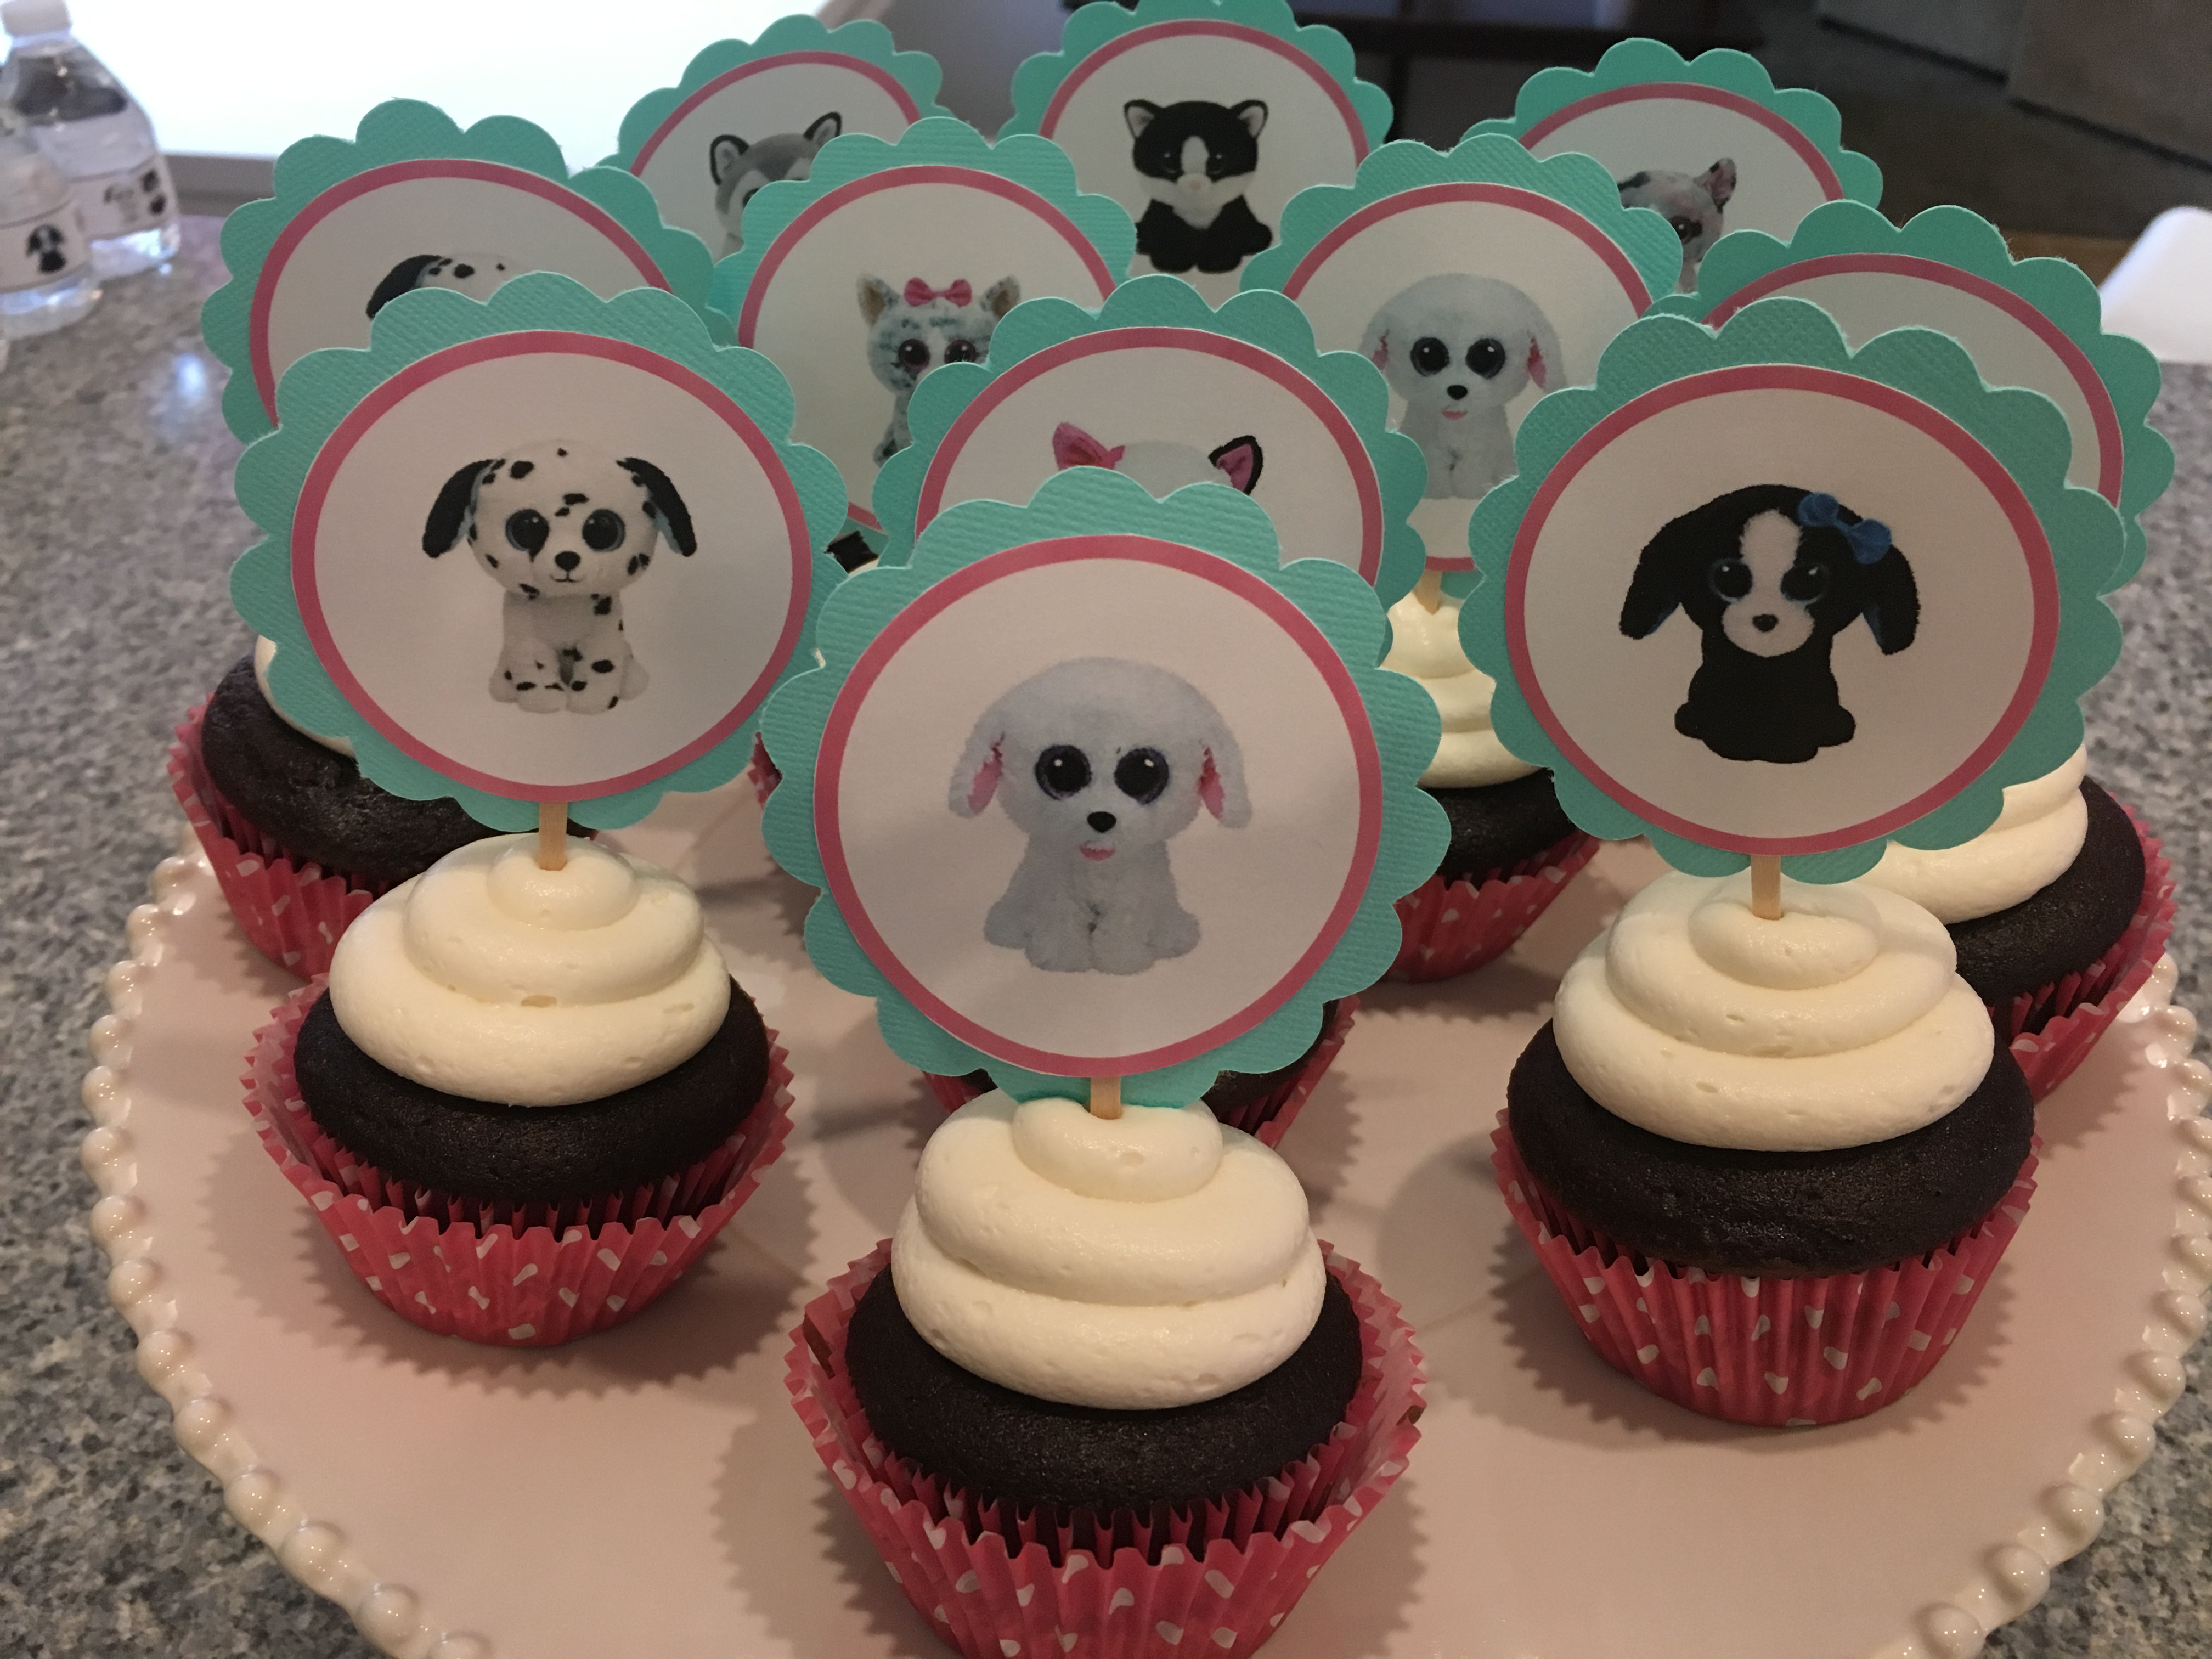
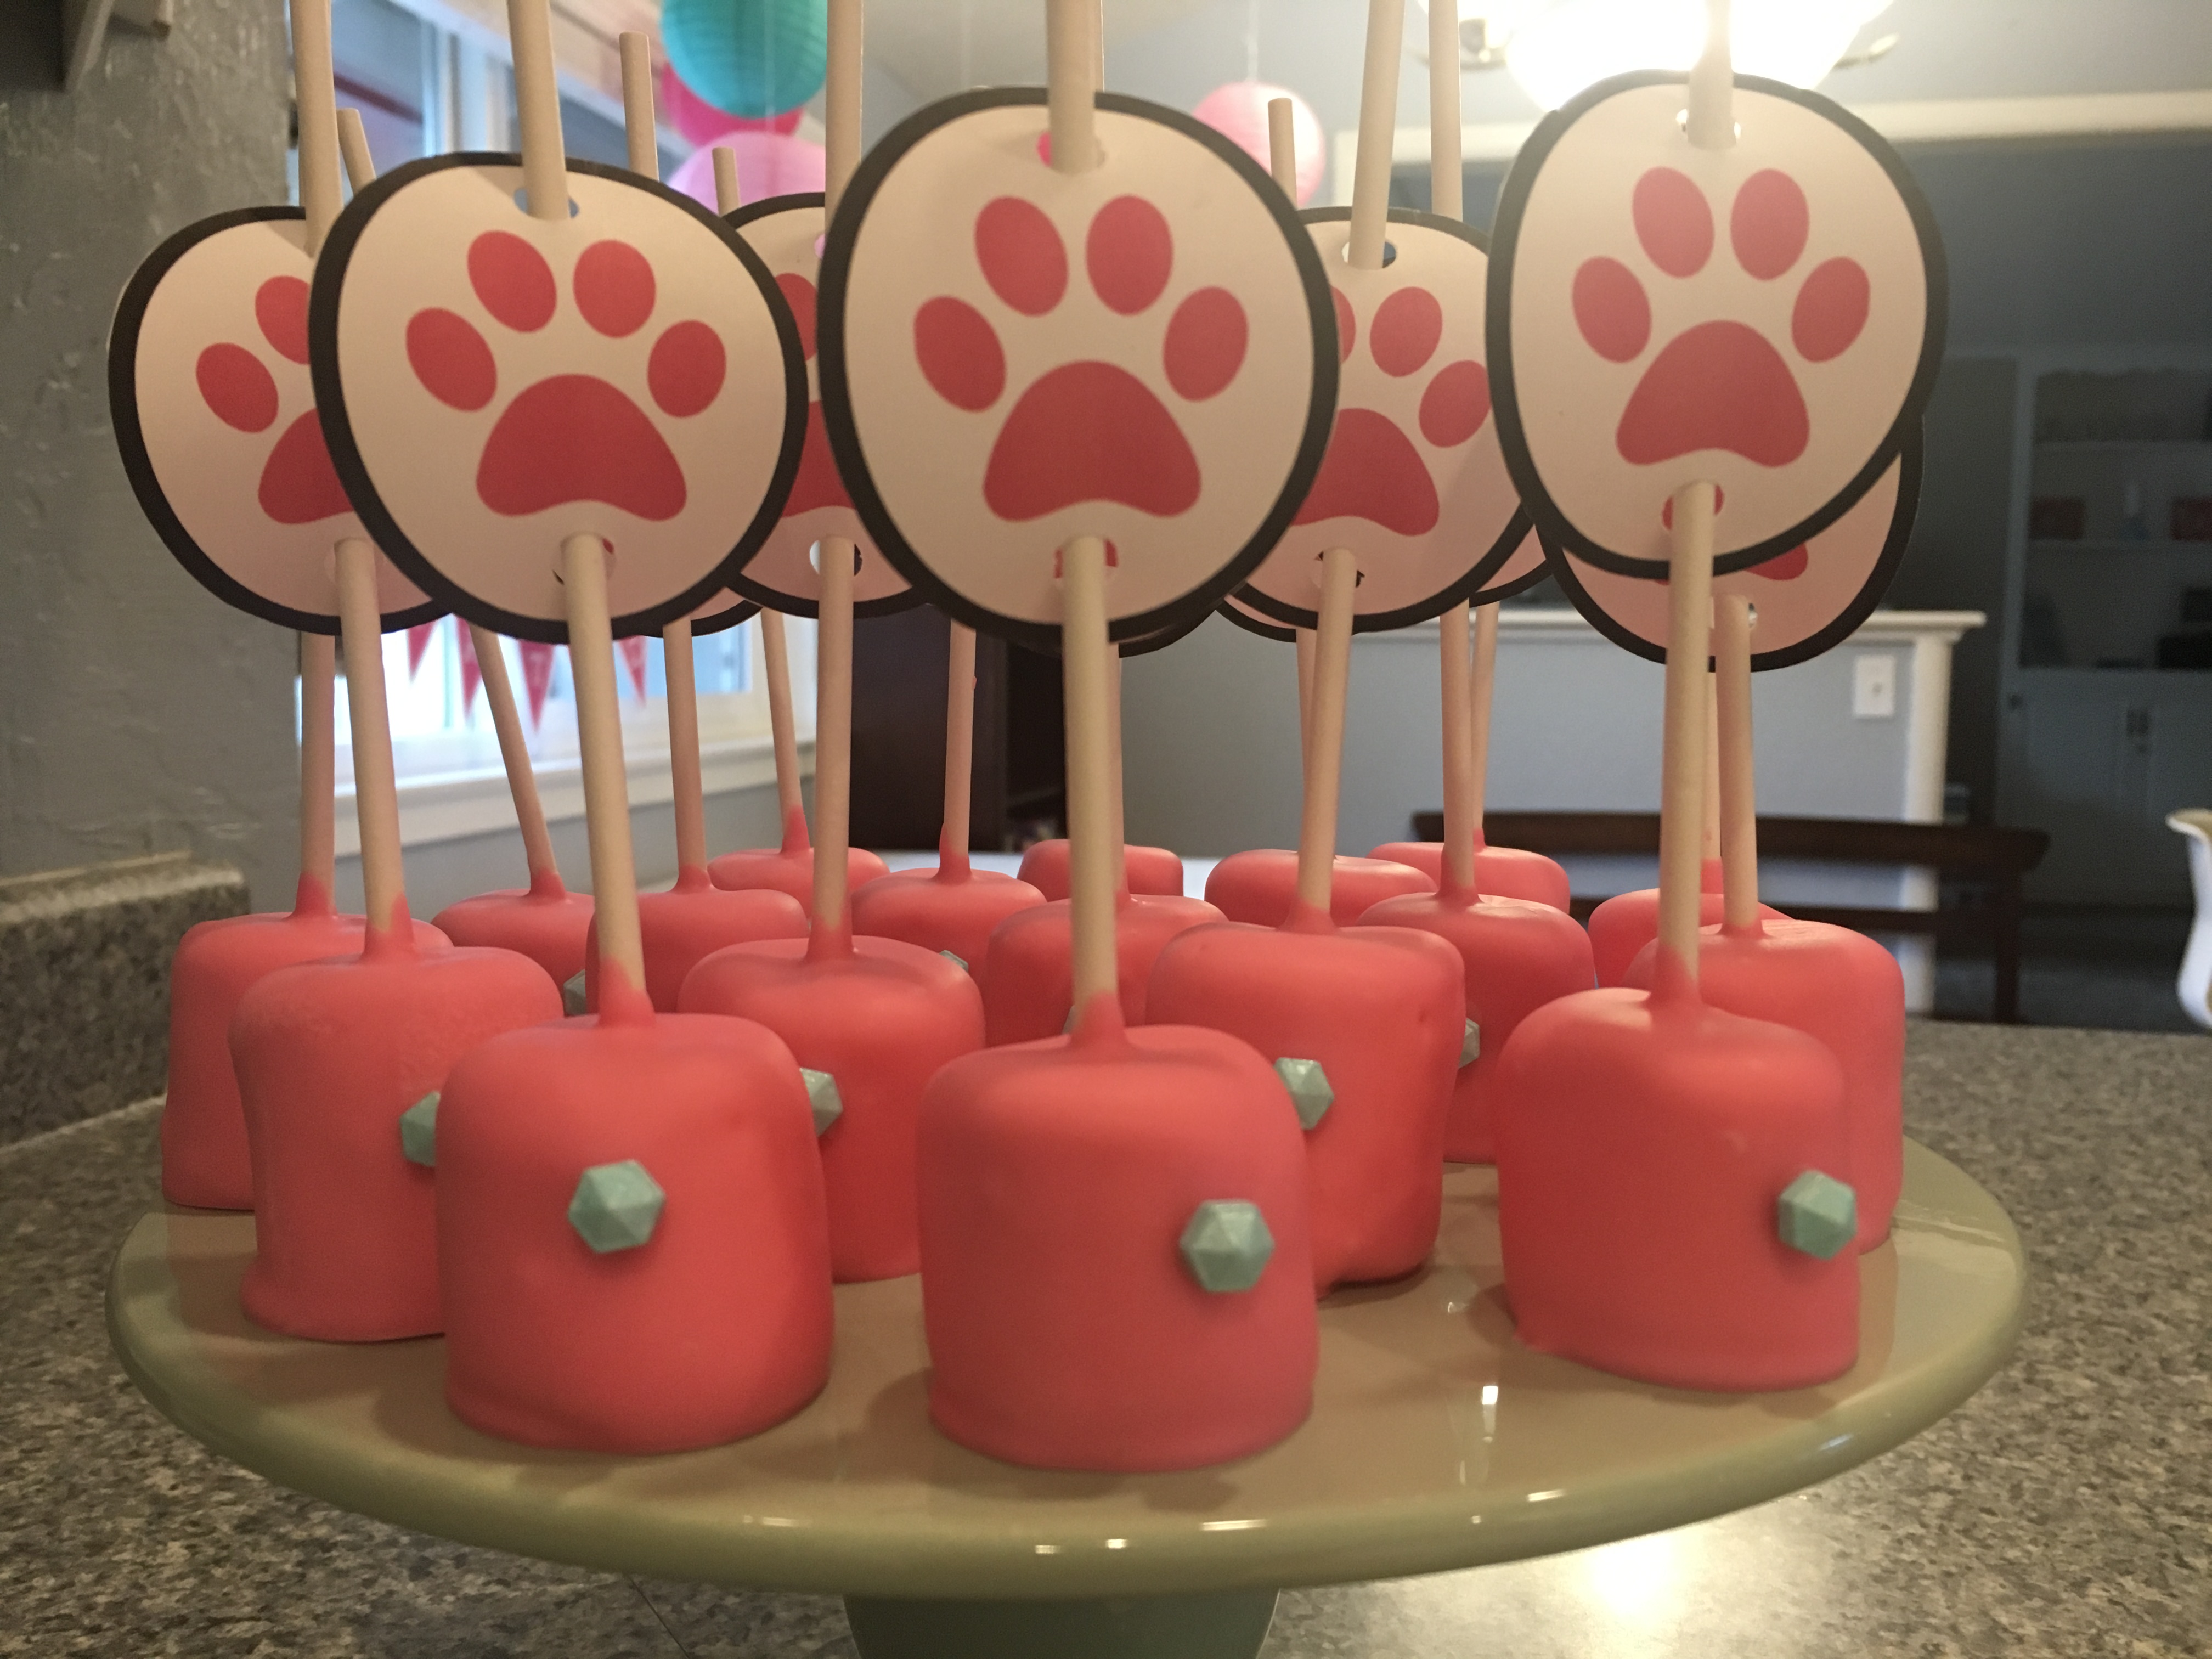
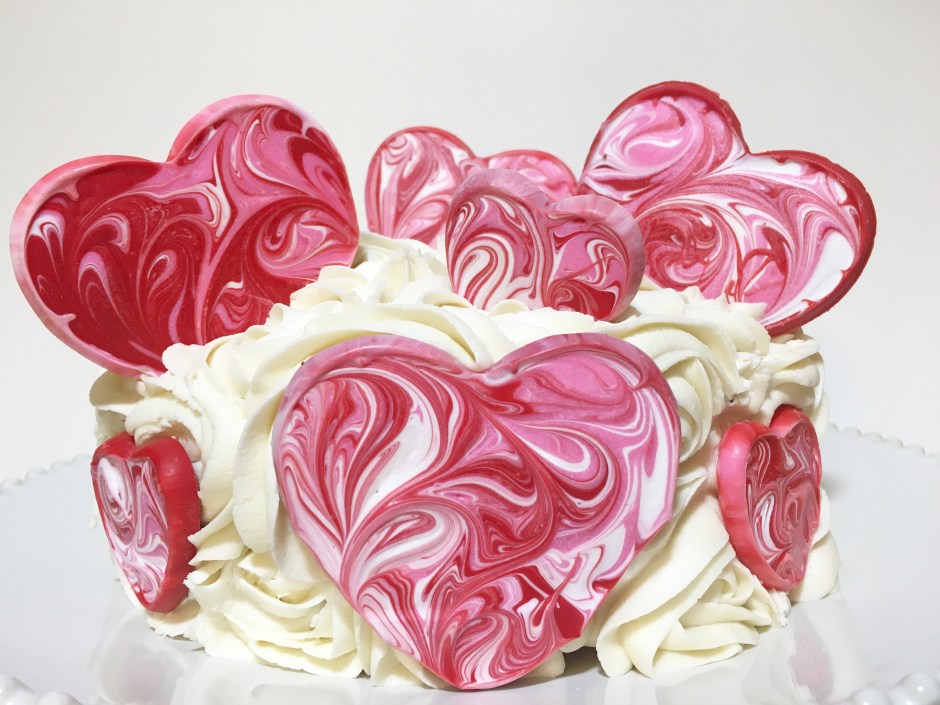
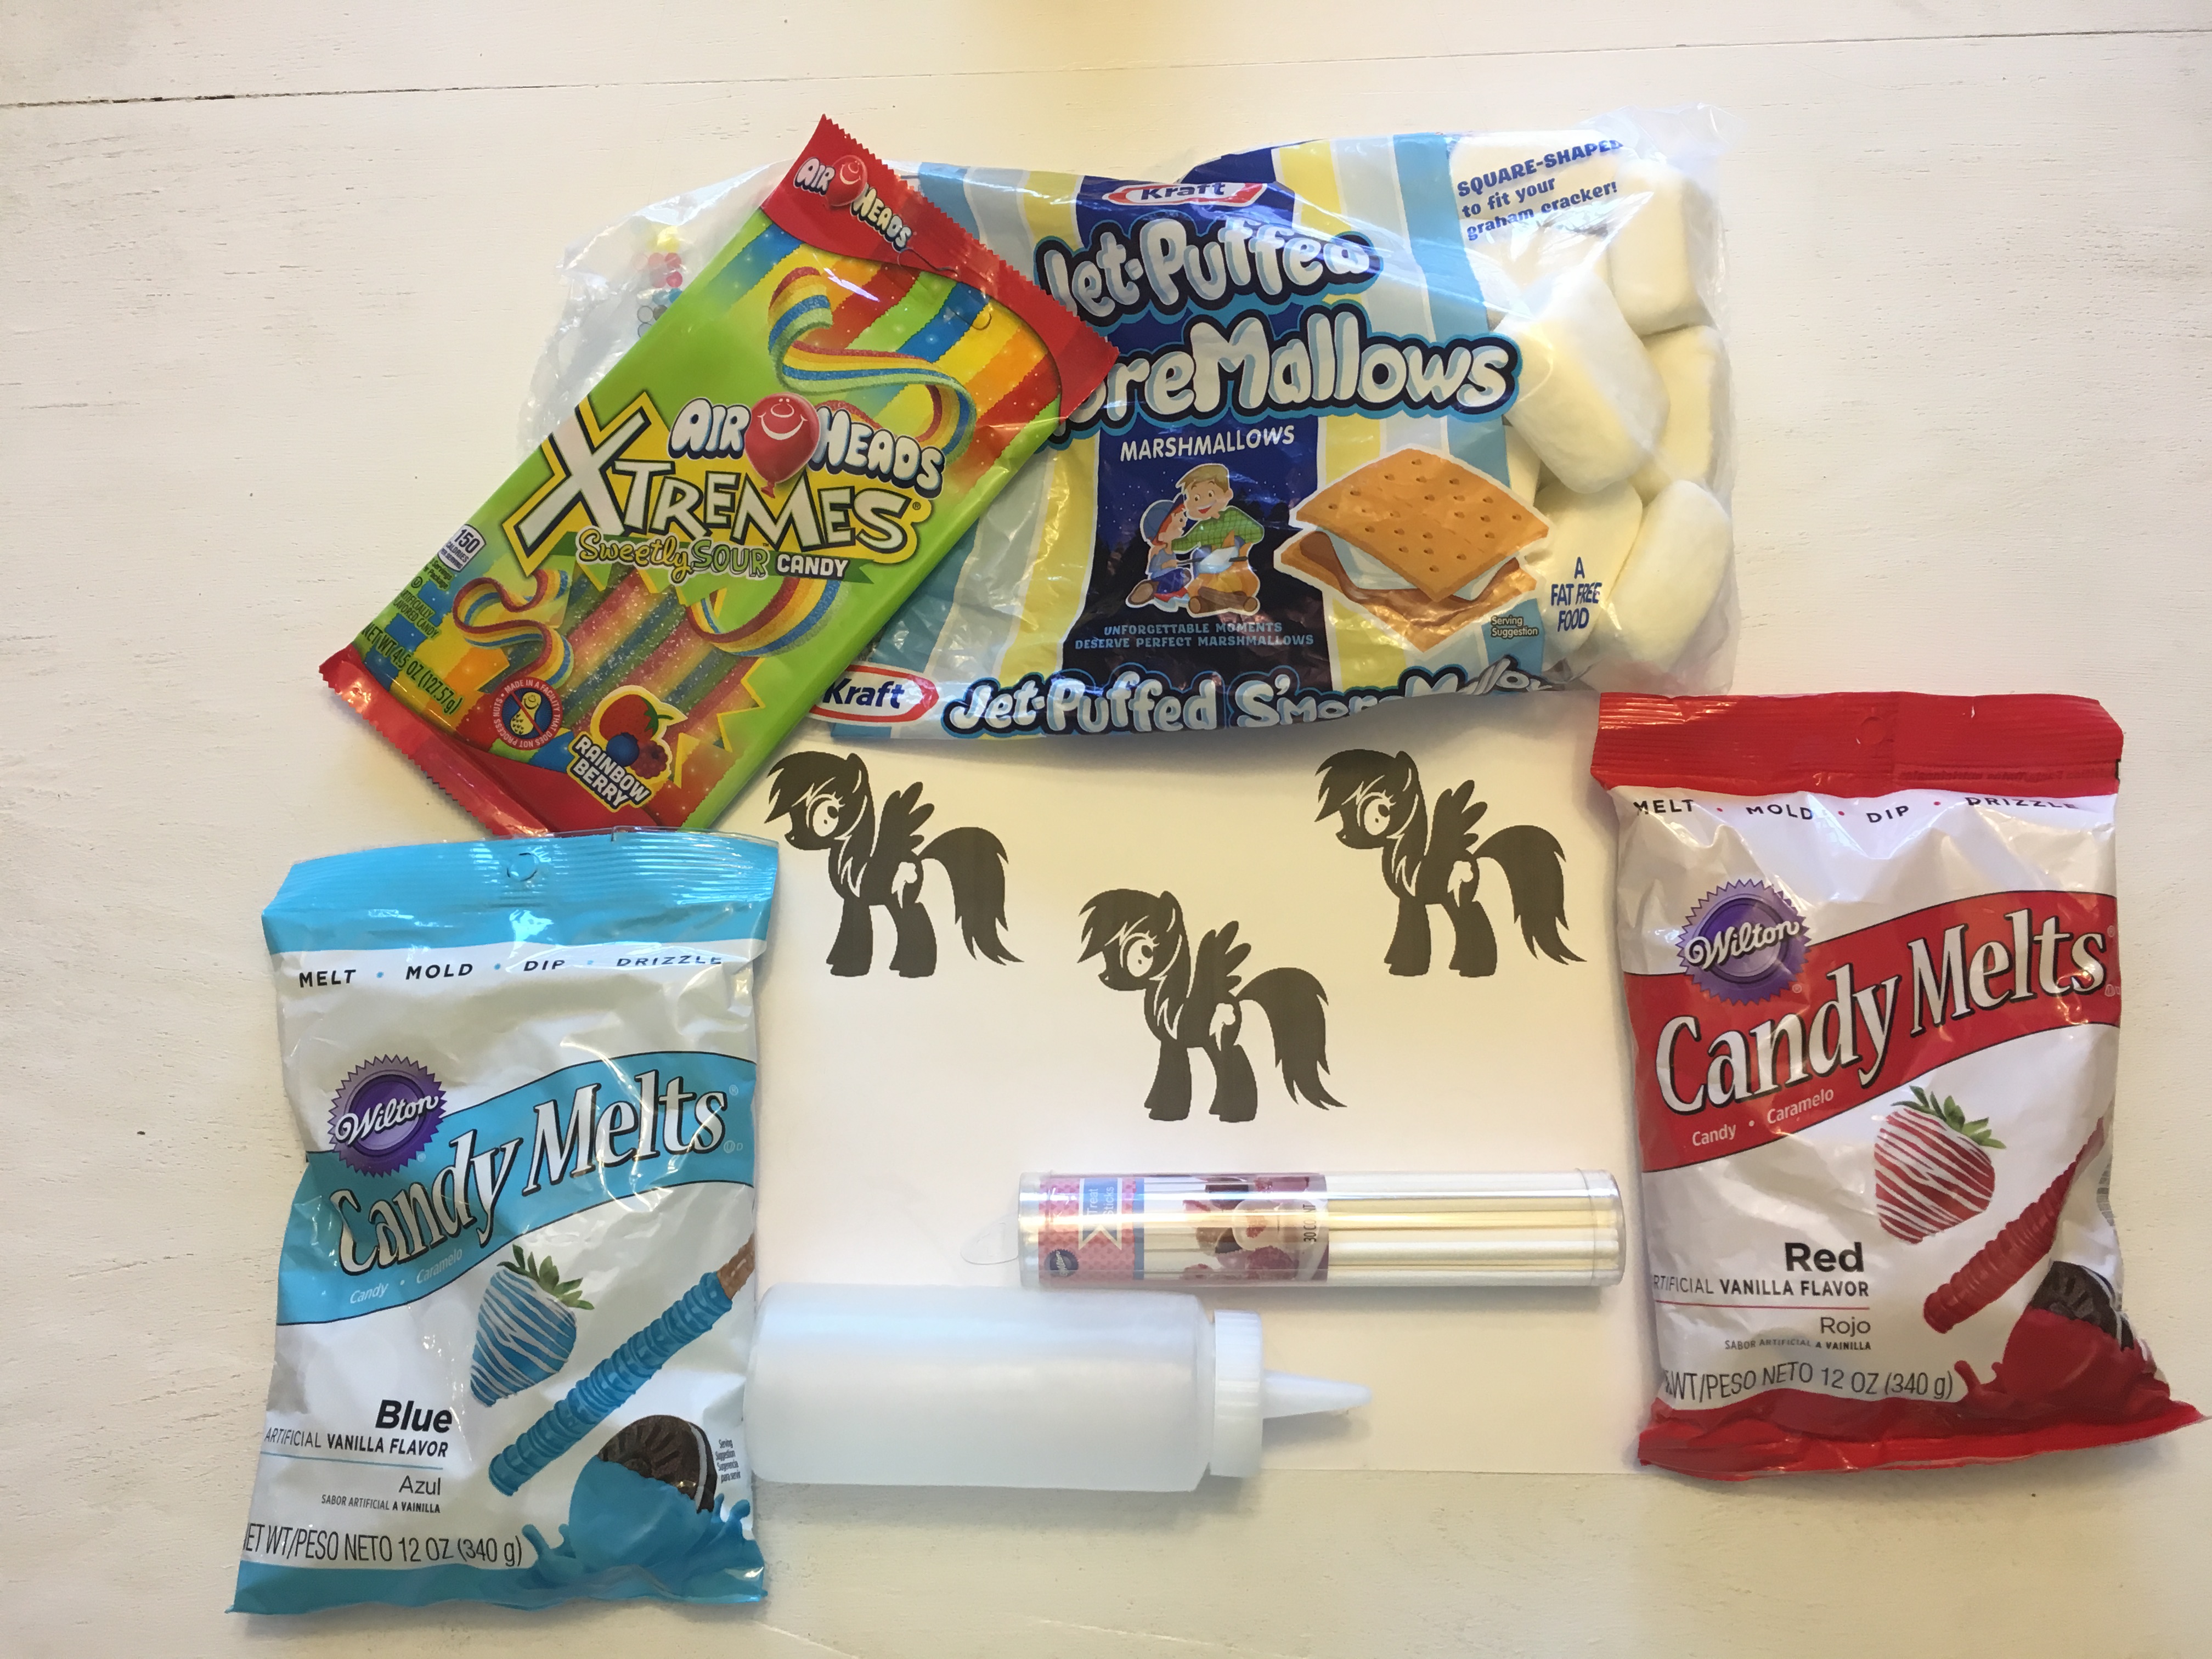
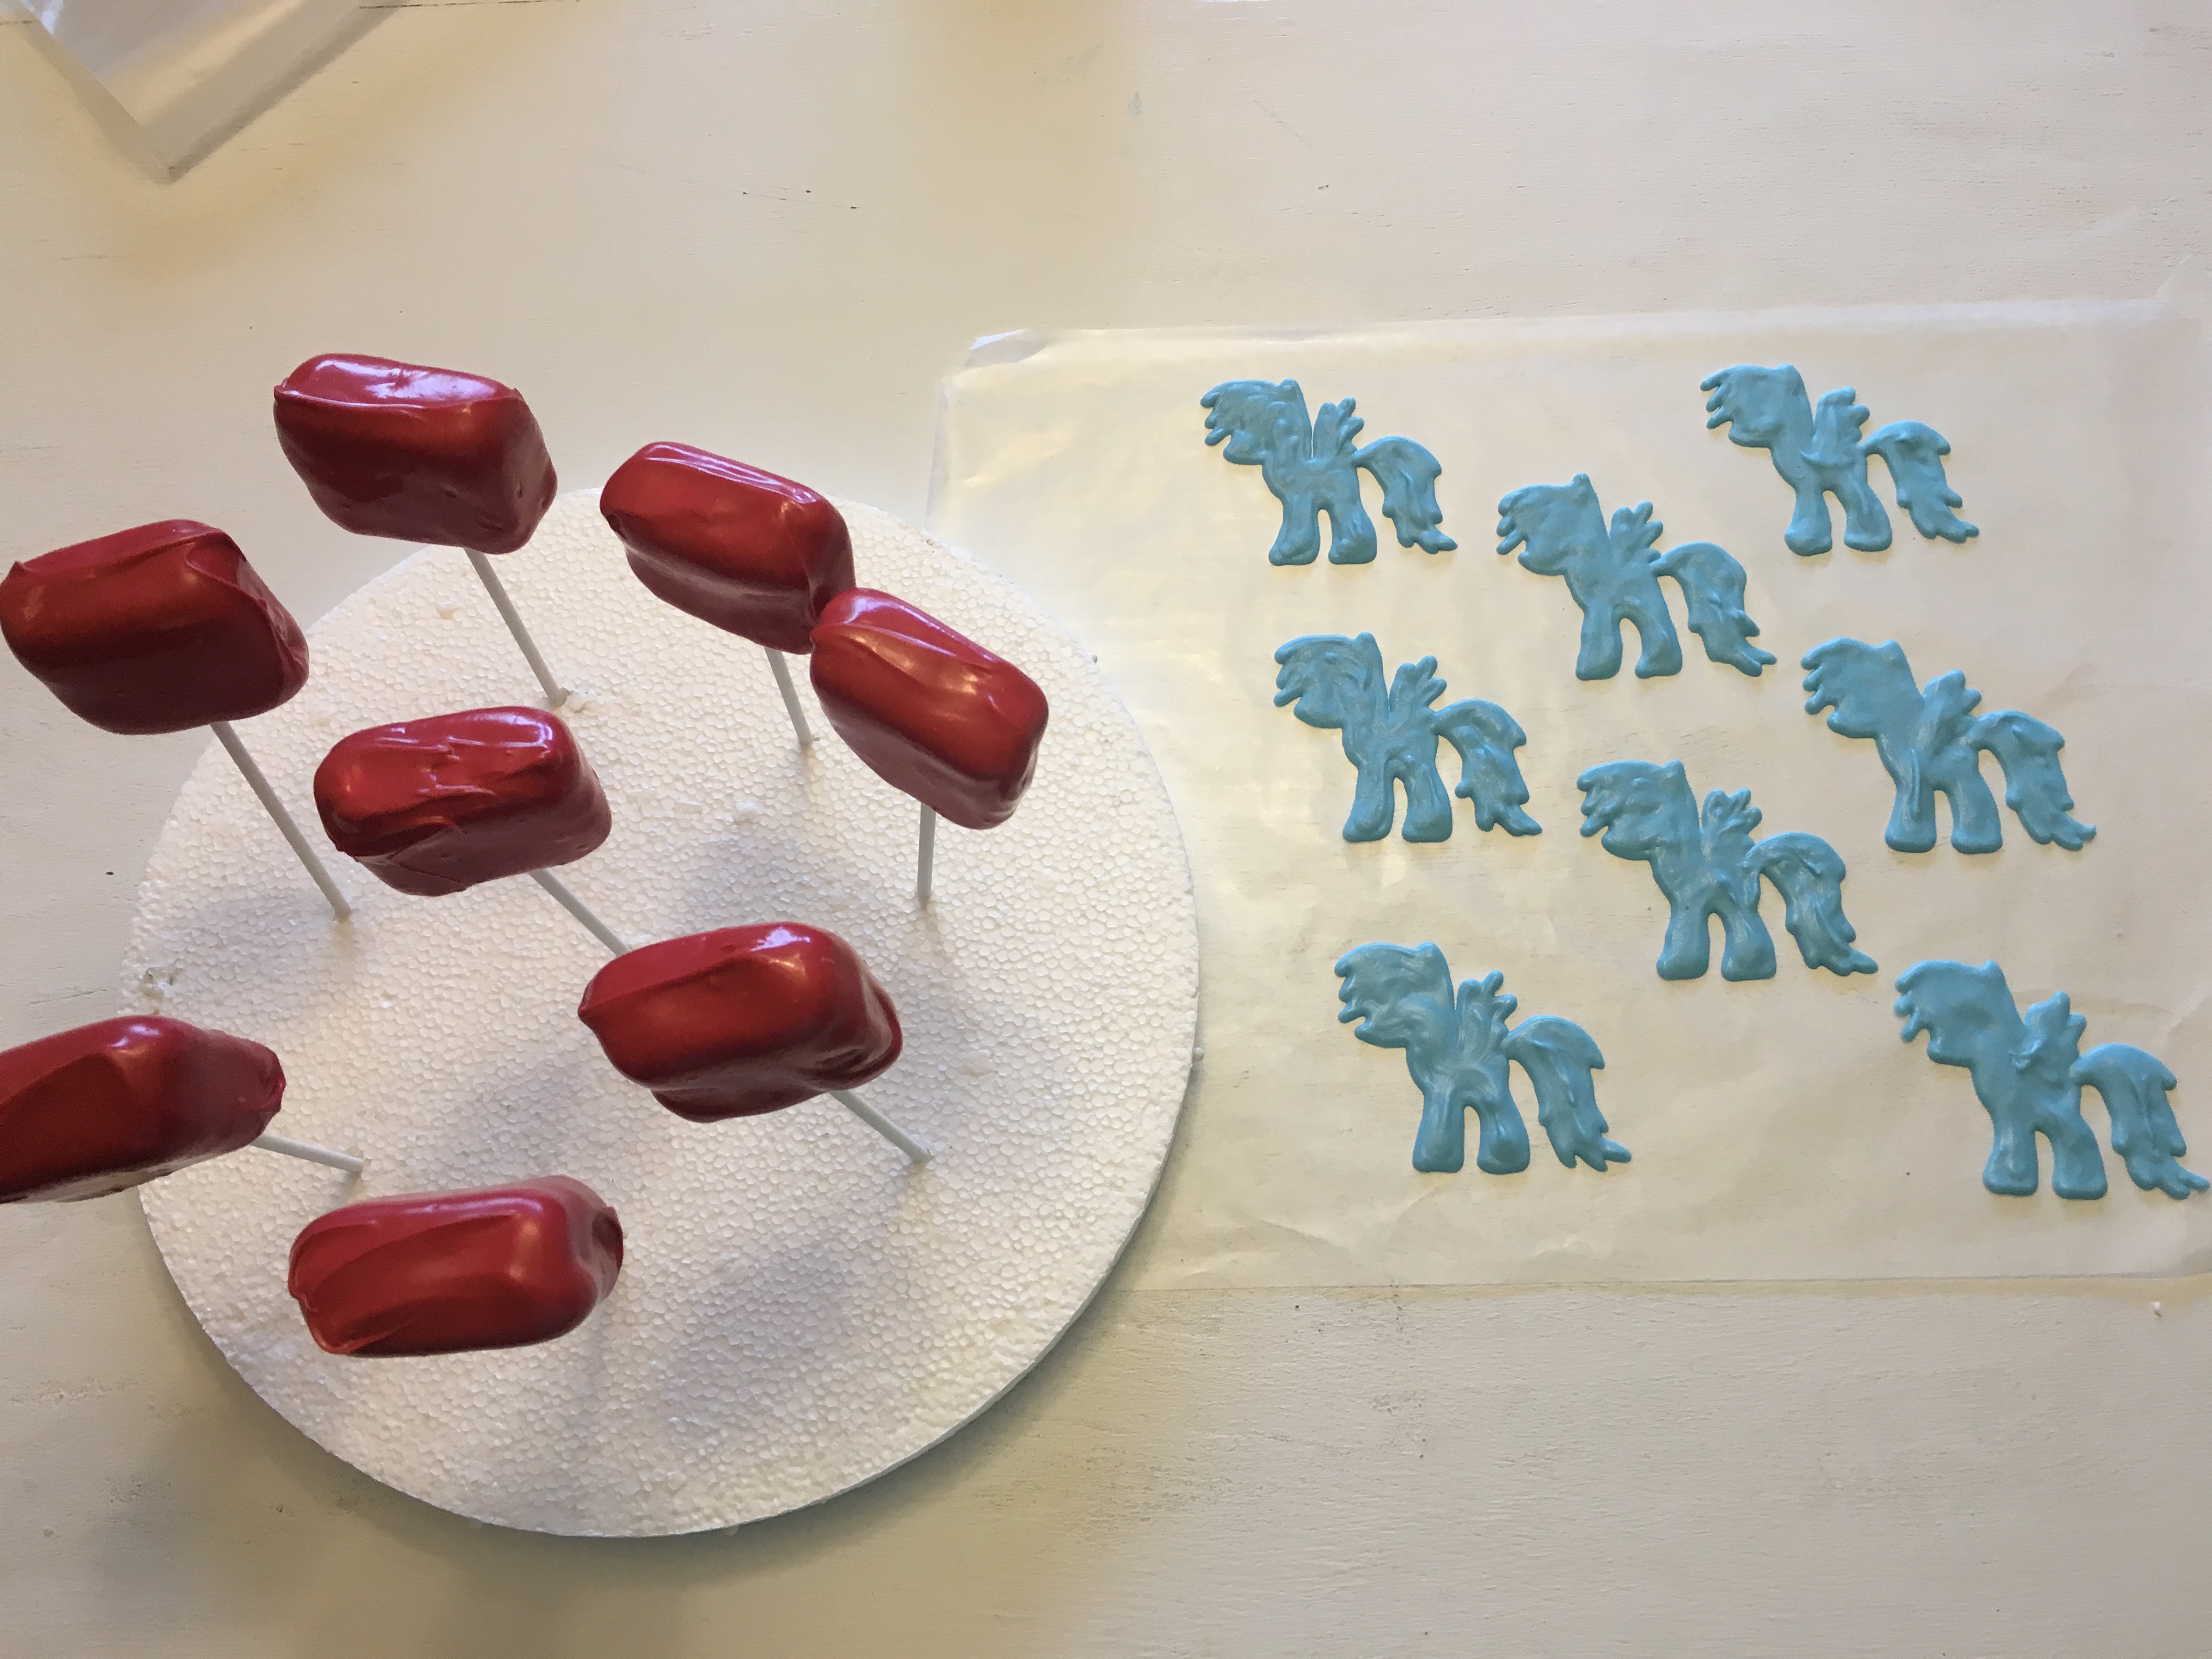
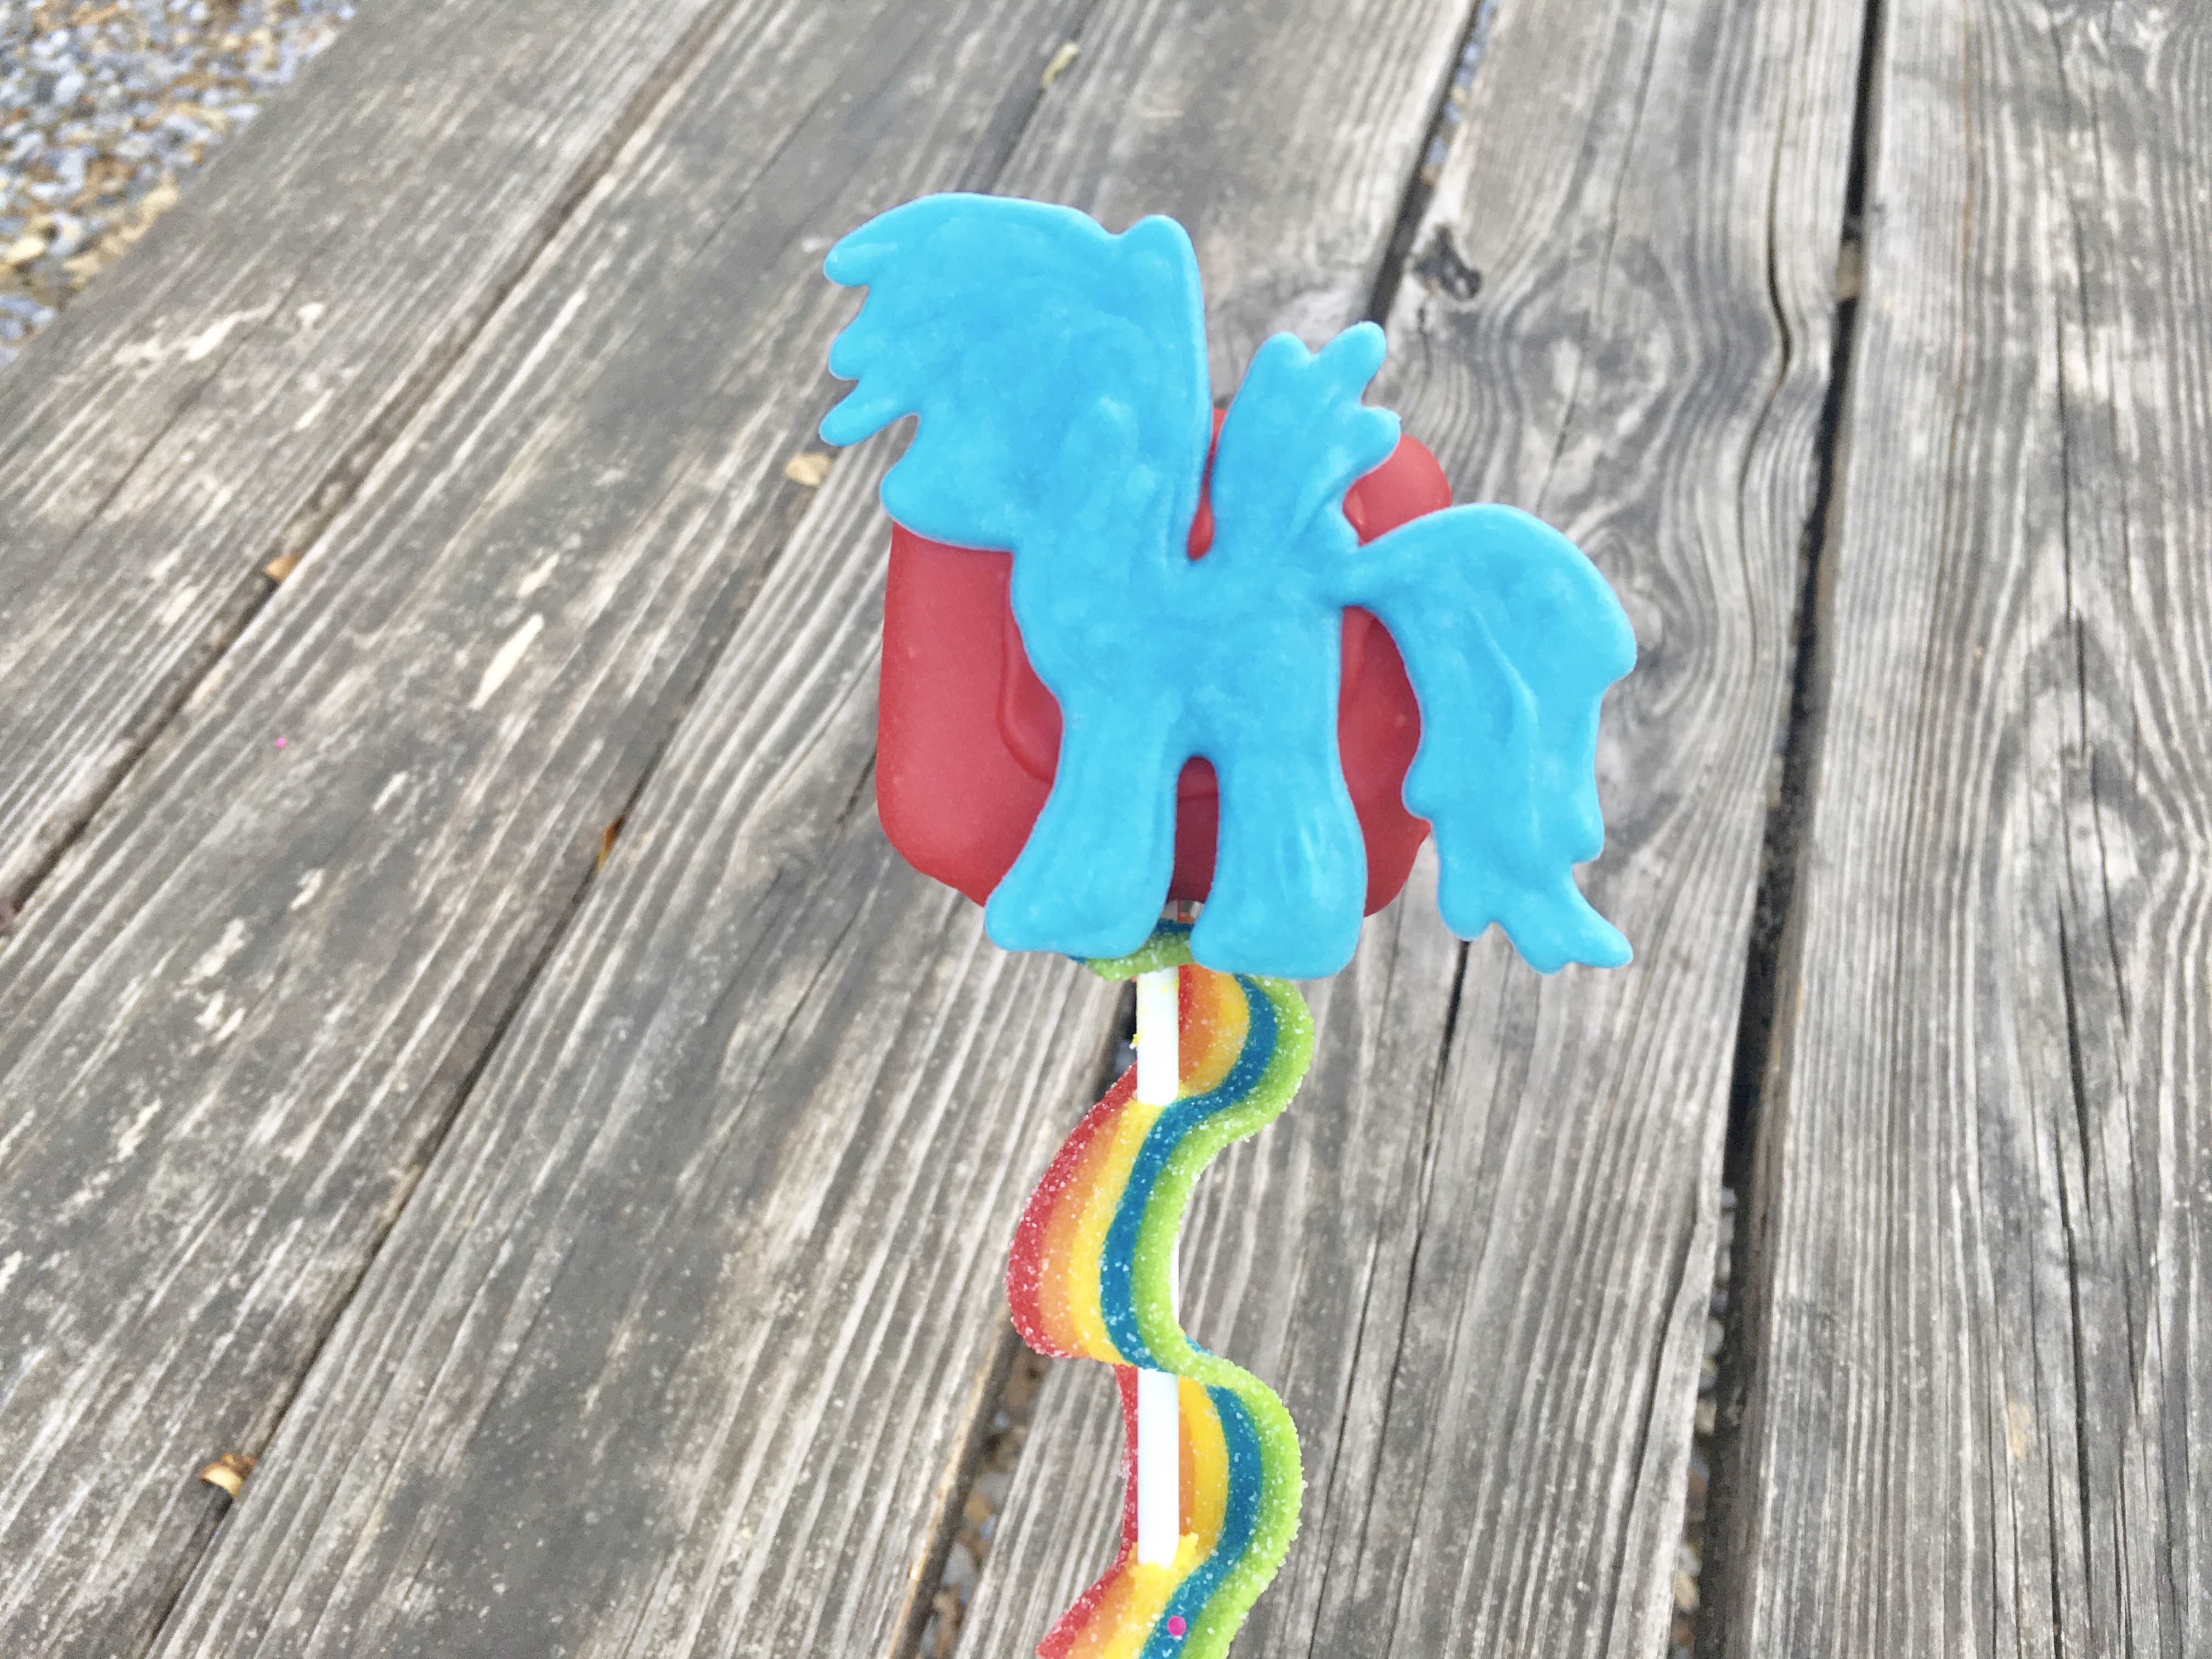
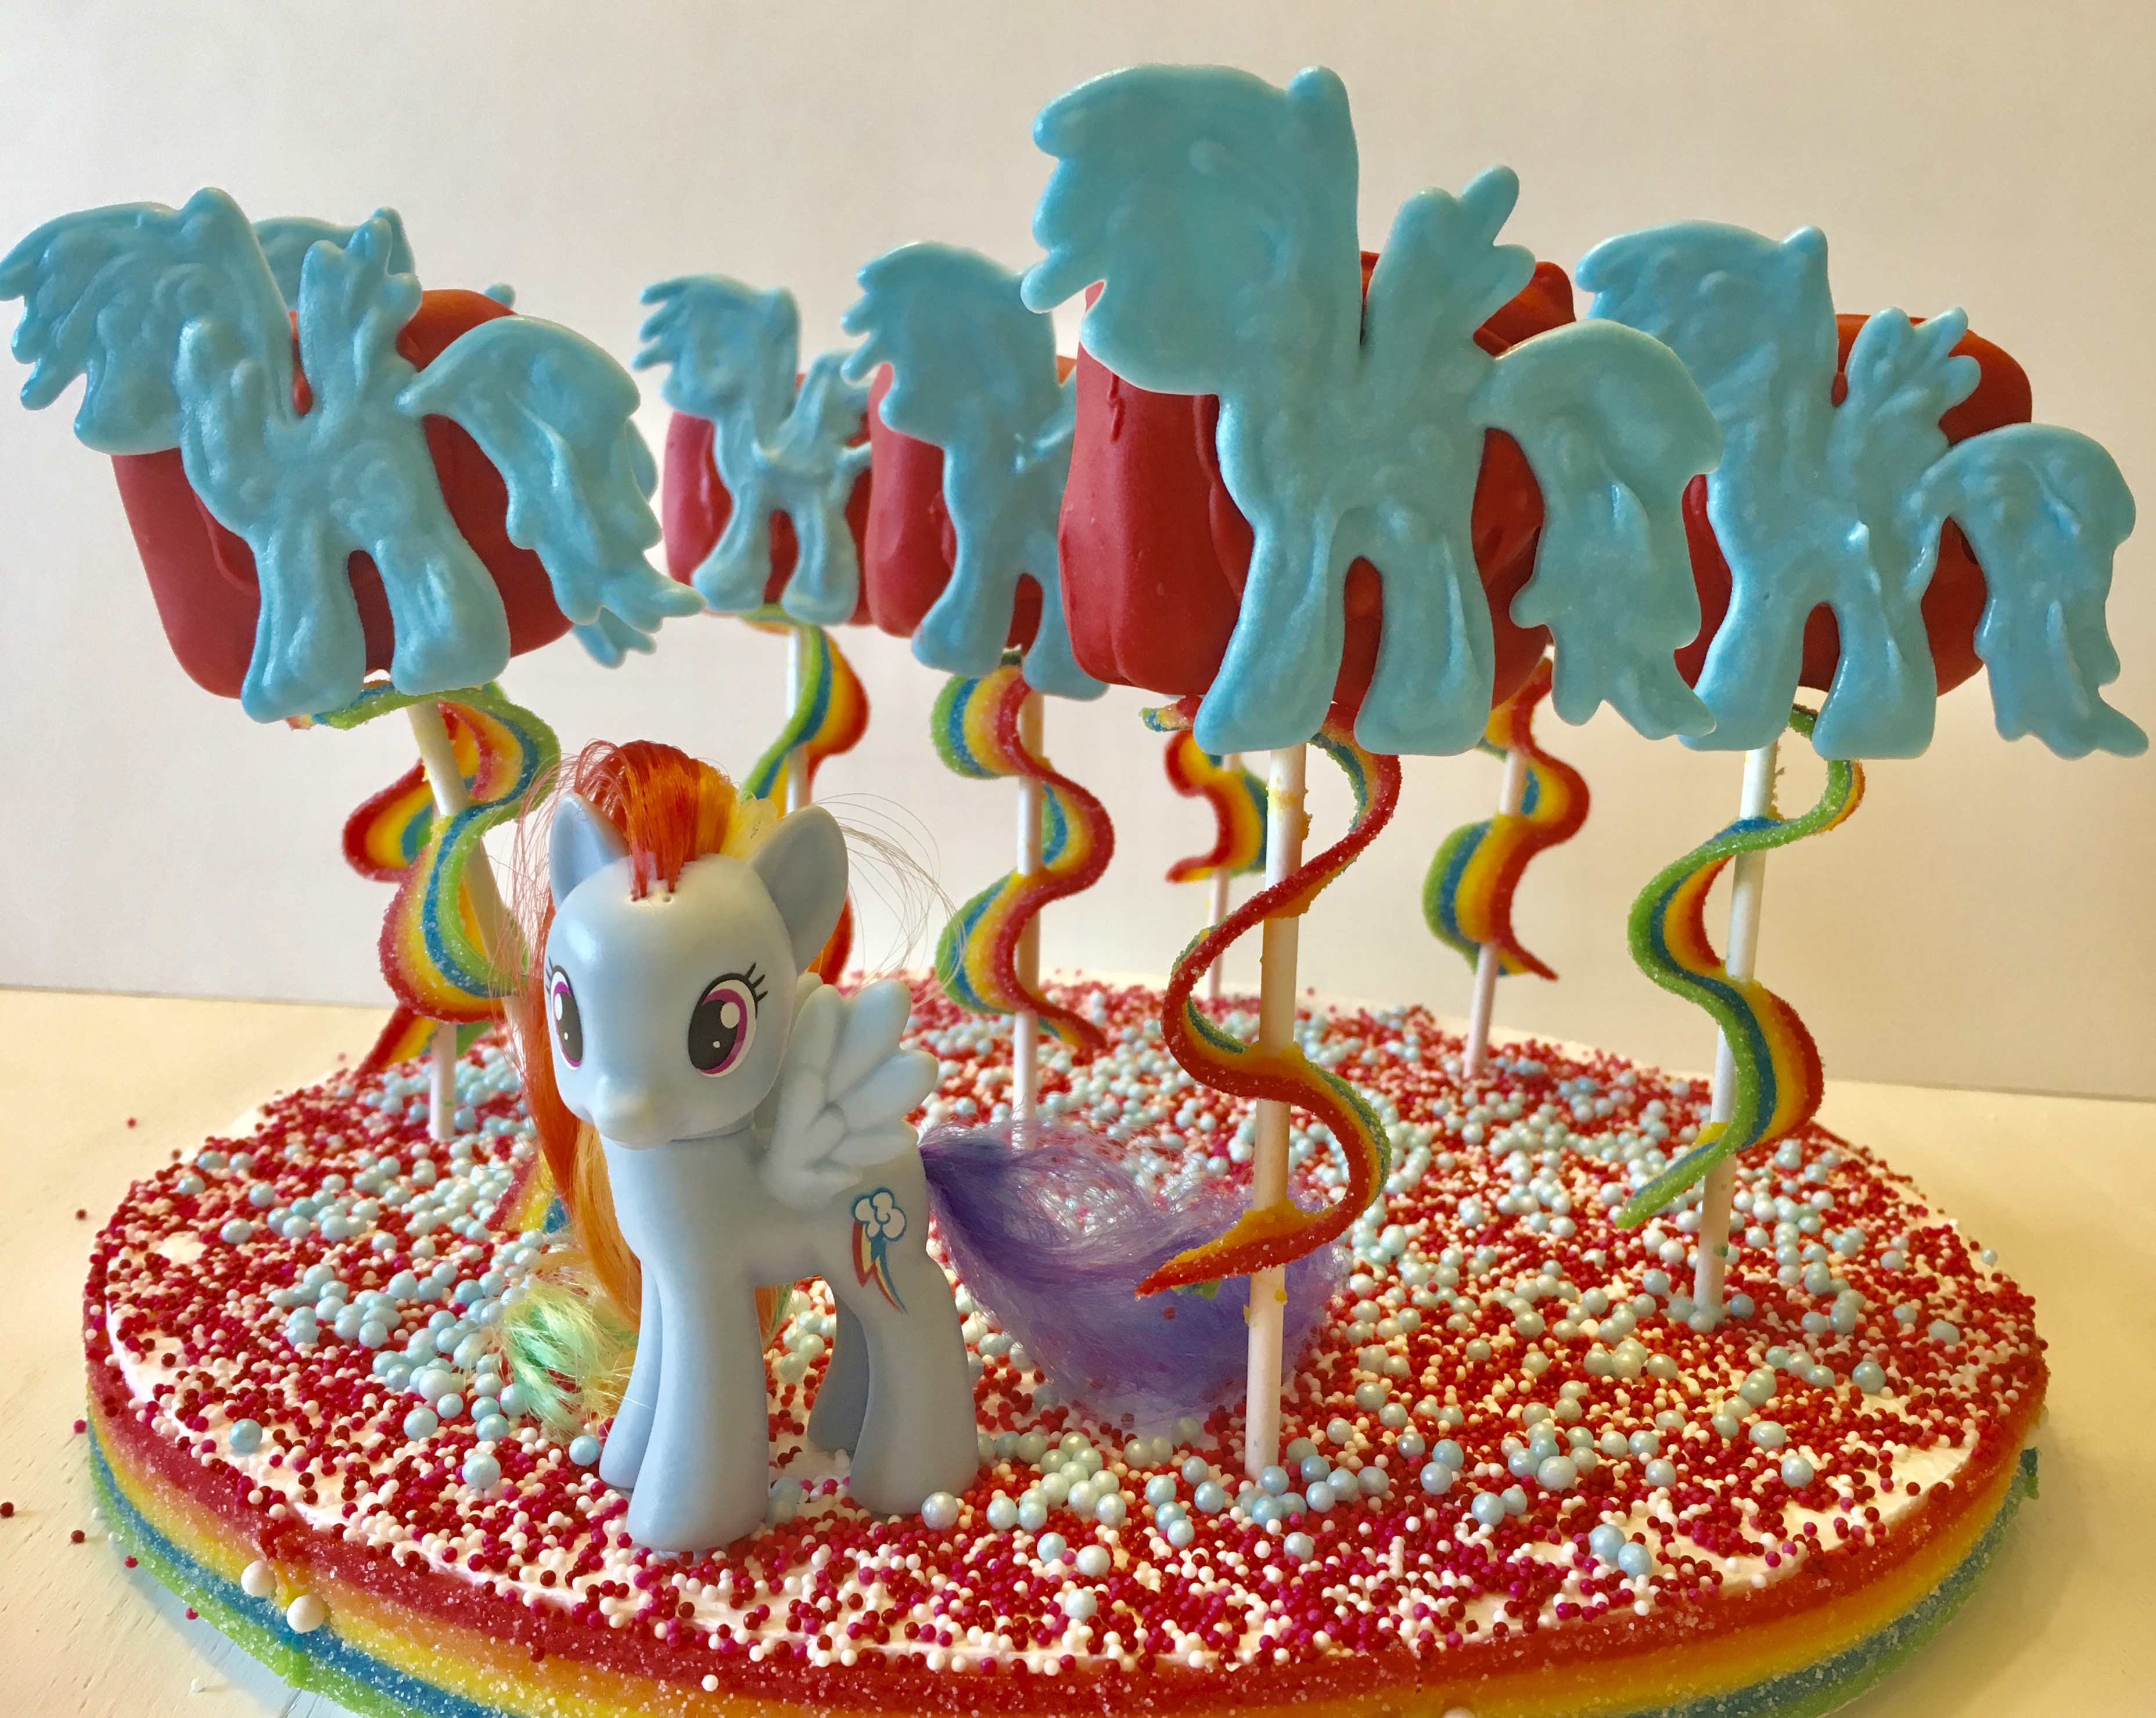
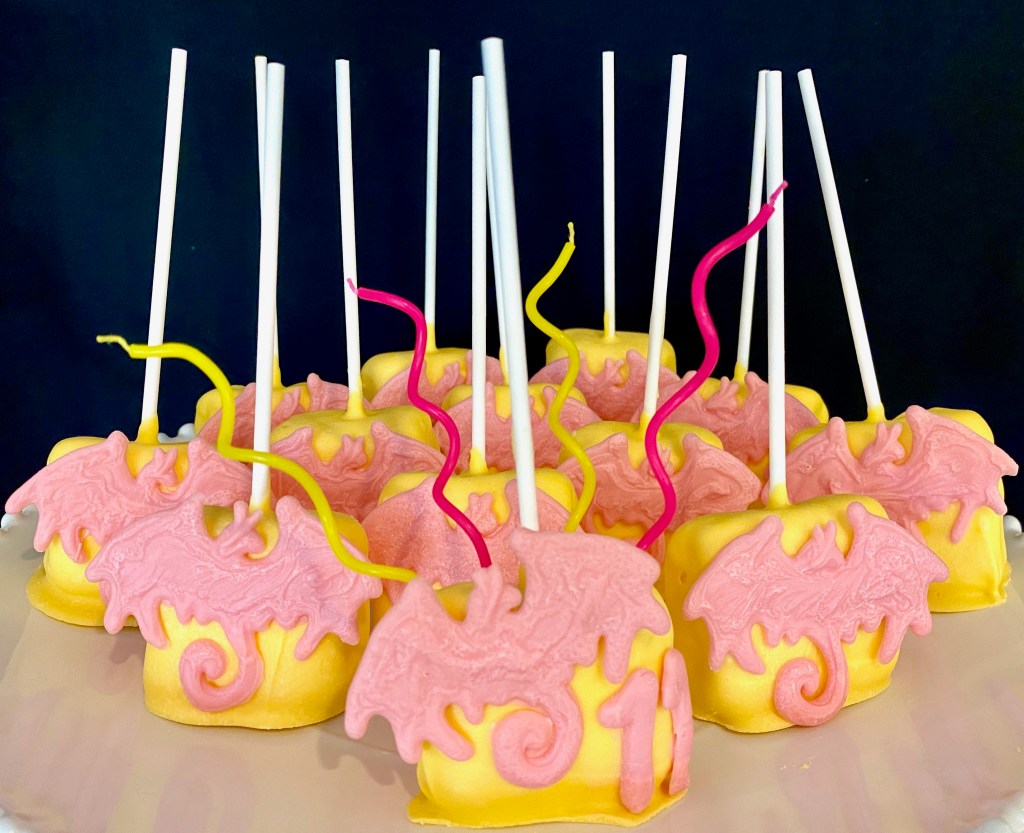
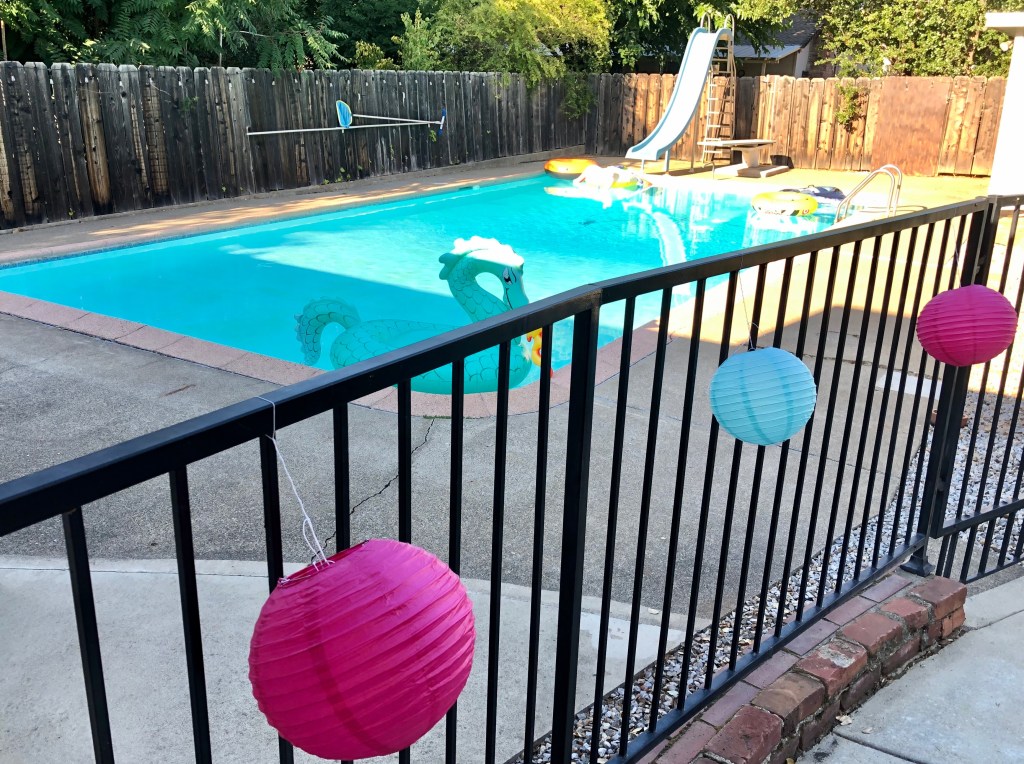
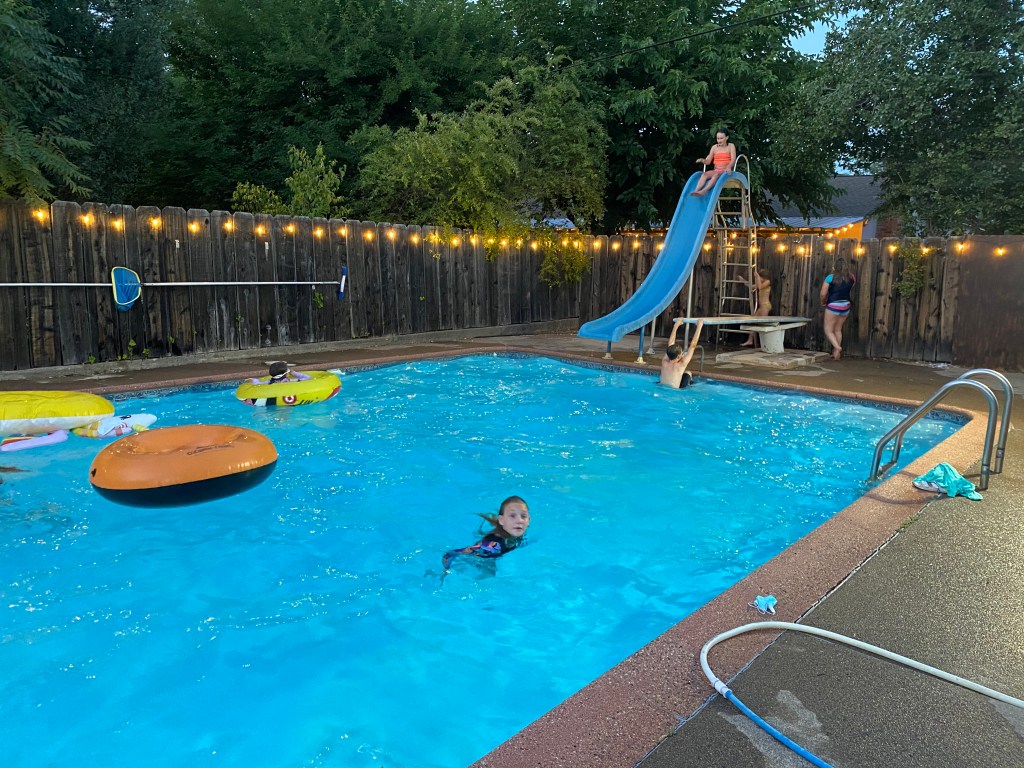
June weather can be hit or miss where we live, but on the day of Karis’s party it was over 100 degrees. We thought it would be fun and refreshing to end the evening with a night swim. I found the cutest dragon floaty at Target and decorated the pool fence with some more of the Dollar Tree paper lanterns in pink and teal. The kids were more than ready to cool off with a dip in the pool, but not before celebrating the birthday girl with her favorite treat, marshmallow pops with mini dragons made of Wiltons candy melts. #CommissionsEarned

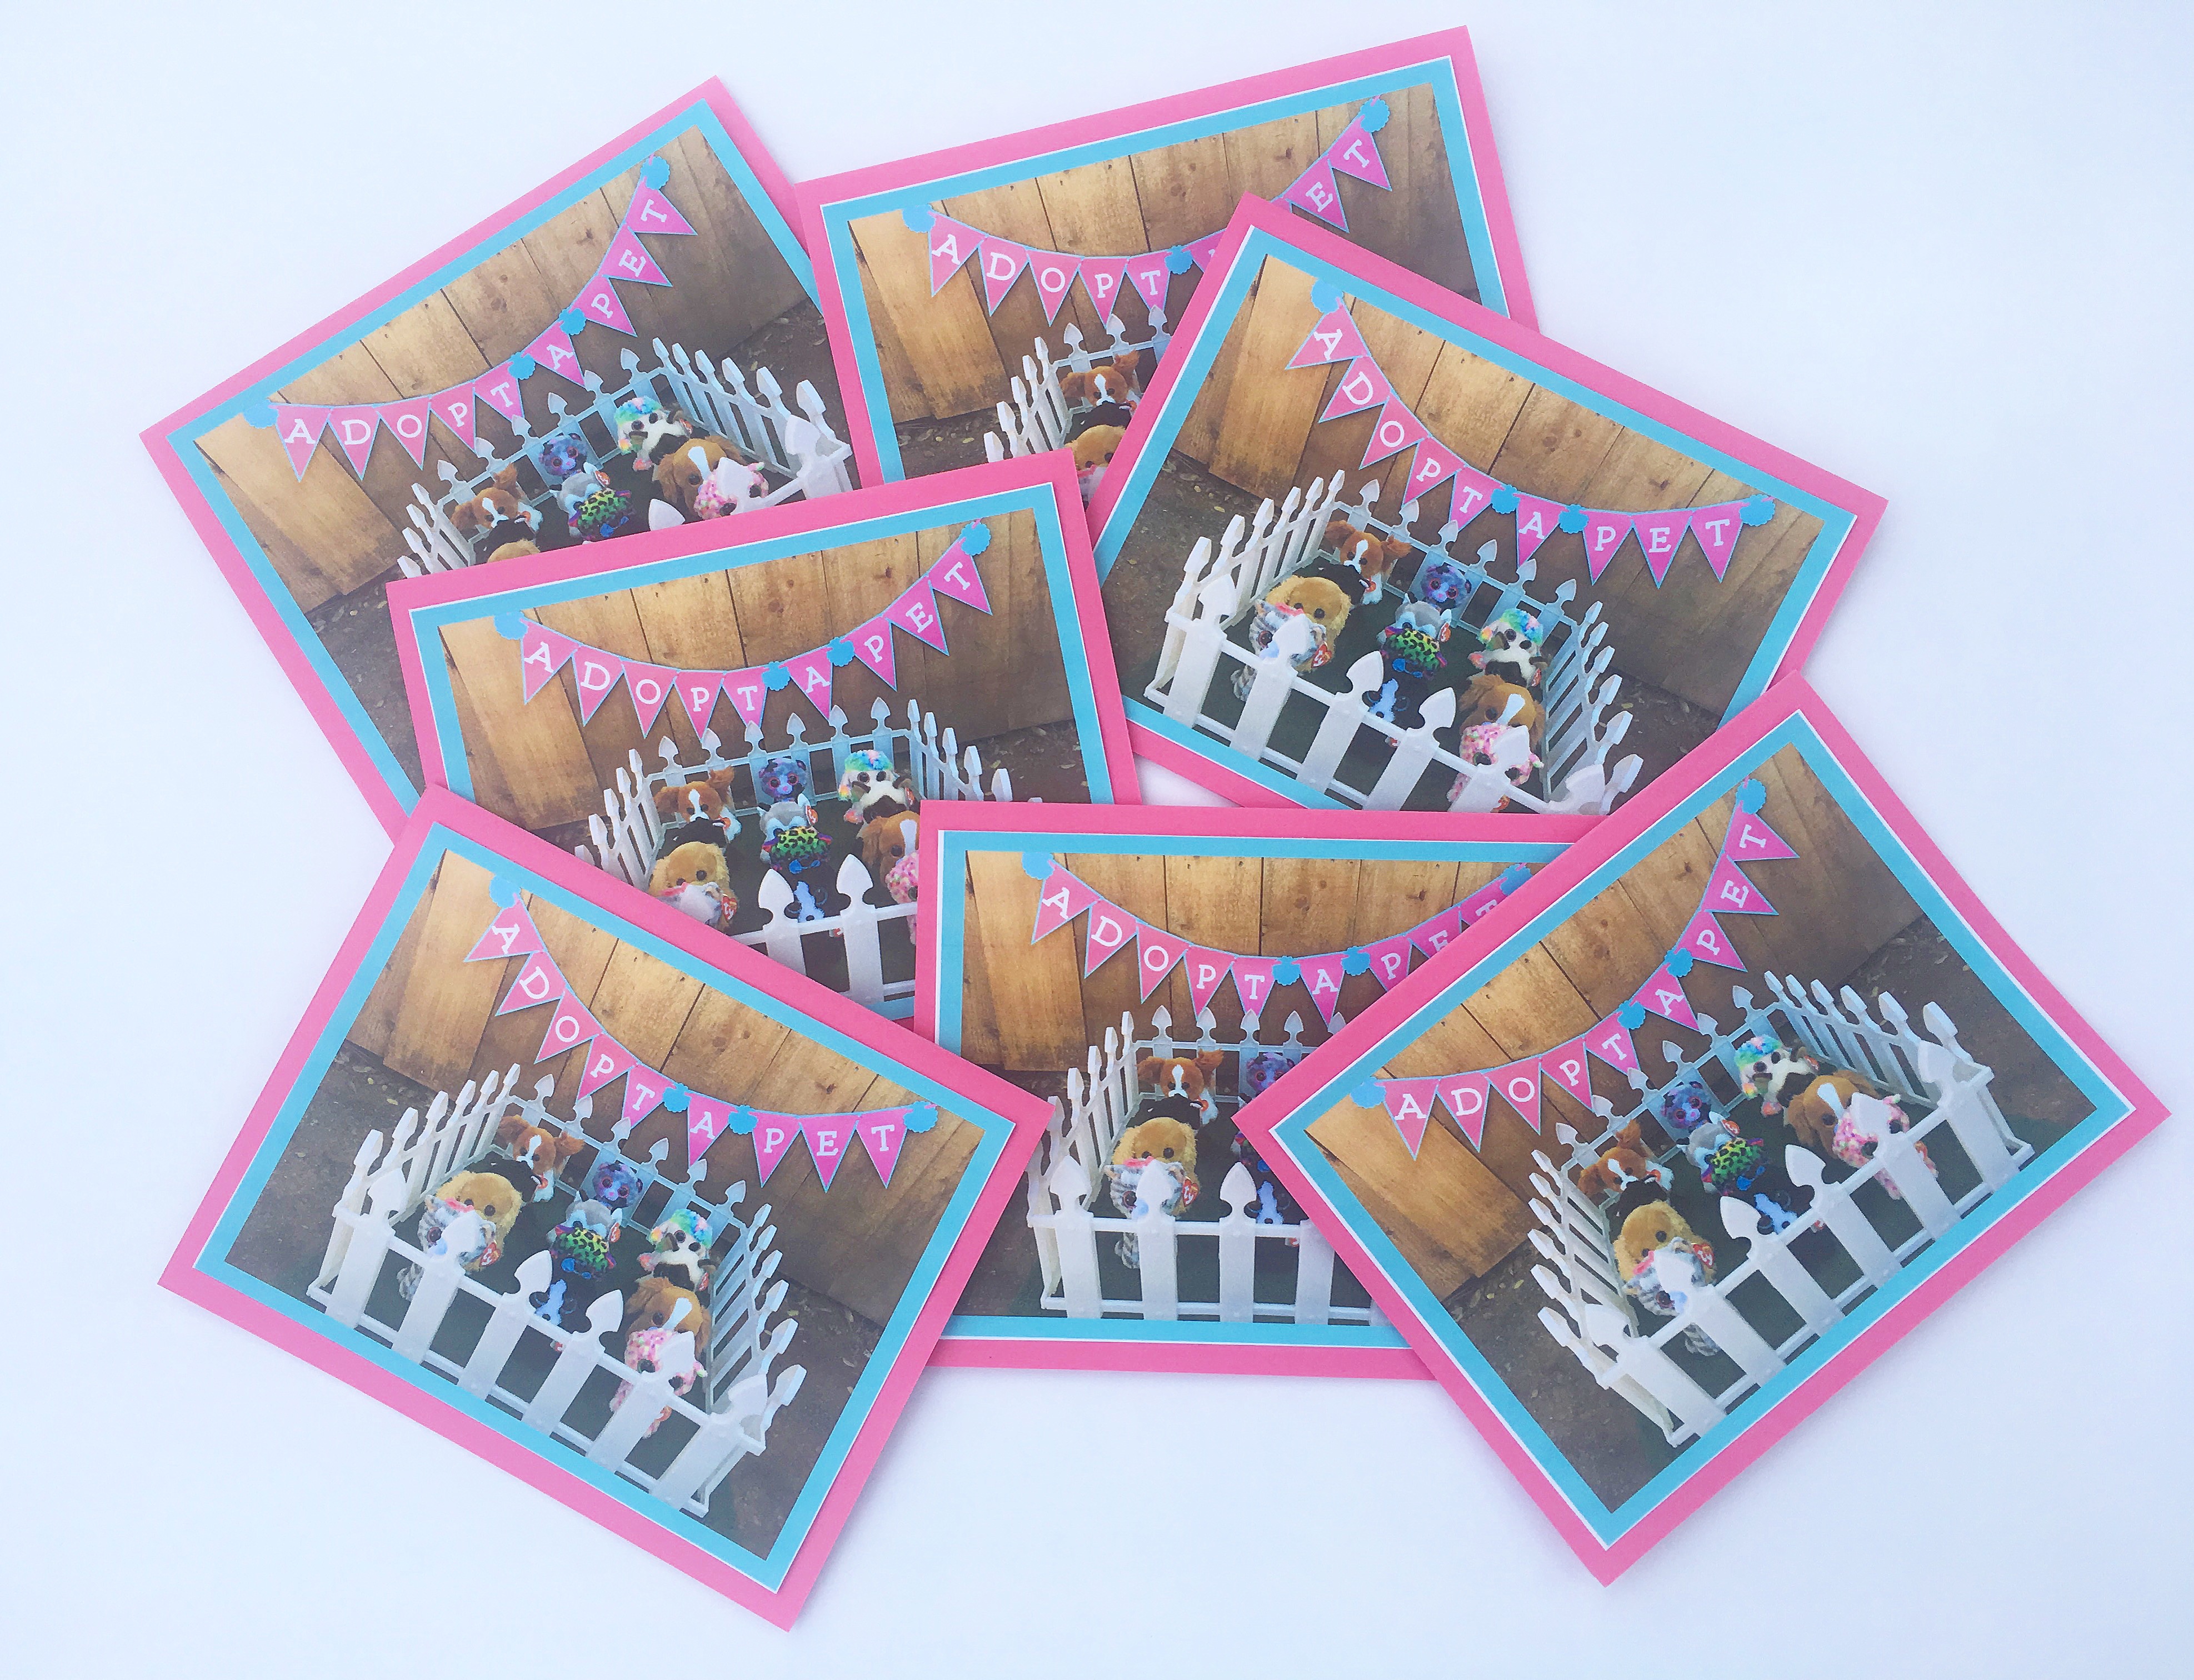
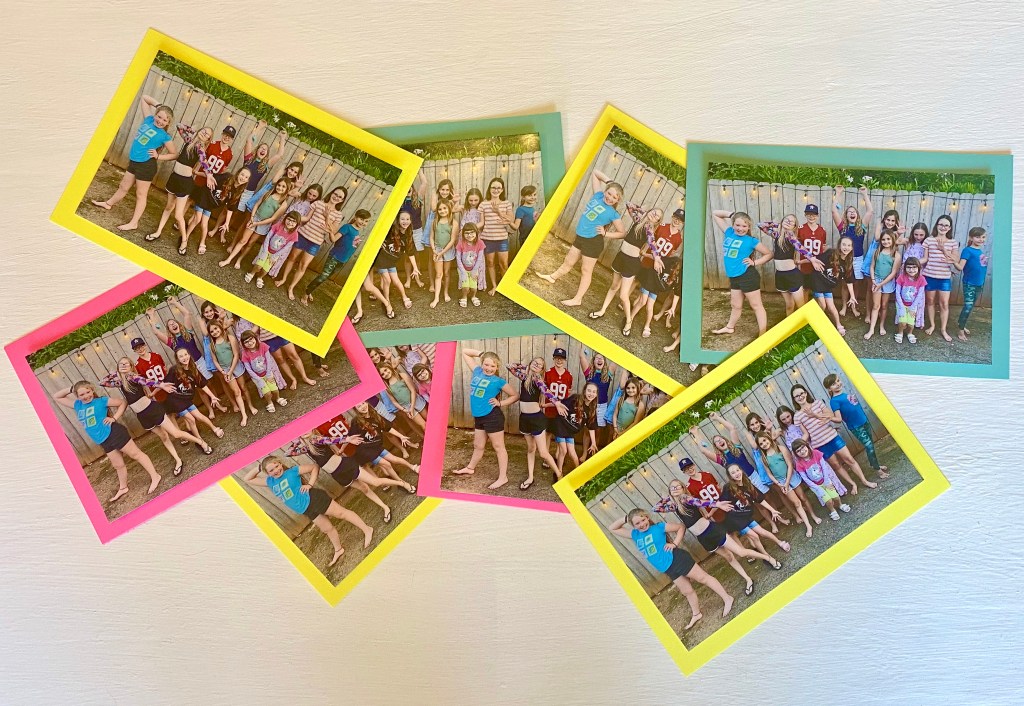
I made sure to snap a quick photo of all of the kids together before the night ended as this is my favorite way to make thank you cards. I order a set of prints from Shutterfly and back them with cardstock. Karis writes a little note to her friends, thanking them for the gift they got her and for coming to her party and they all have a cute photo capturing the fun they had.

Check out my newest blogpost Wings of Fire Dragon Costume (Kinkajou) to learn how to make this set of felt dragon wings for your favorite Wings of Fire fan.

S’mores Station

Summertime is almost here and you know what that means….backyard barbecues, swimming, camping, campfires, and of course s’mores! It’s just not summer without that delightful combination of crunchy grahams, gooey toasted mallows, and sweet melted chocolate. We had our first party of the season last week to celebrate my son’s 19th birthday, and for the main feature, I put together a simple but super fun s’mores station for everyone to indulge in throughout the night.

You can find a variety of sizes of glass storage jars and metal skewers on Amazon. I printed out letters for a “S’MORES” sign and some labels for the jars and then backed them with brown and black card stock. My son is gluten and dairy free, so I made sure to include gluten free graham crackers and dairy free chocolate options as well. #CommissionsEarned

I can imagine that I will reuse these stylish jars for many other social gatherings in the future, so I feel like they were great investments…and I know that this was just the first of many summertime s’mores nights at our house. #CommissionsEarned

Warrior Cats Birthday Party

My daughter has been obsessed with the Warrior Cats Saga for the last several years. She is making her way through all 80 books and even creates her own short stories and artwork based on the characters. So, naturally, for her 9th birthday, she chose “Warriors” as her theme and we had so much fun scrolling Pinterest for ideas and coming up with the food, games, activities, and decor for her party.

Warriors is a series about 4 clans of cats who live in a forest. The first arc is about a house cat named Rusty who goes into the woods and meets a clan cat. As the series progresses, Rusty becomes the Warrior known as Fireheart. He fights evil and protects his clan’s borders from rogues who stray into their territory and from other clans. Each arc features a different cat and sometimes a different clan.

Warriors eat their food from a “Fresh Kill Pile.” Our food table was inspired by things the Warrior cats would catch and devour. I included signs for the birds, bones, fish, rabbits, and mice. The birds were chocolate dipped pretzels with an M&M nose, mini chocolate chip ears, and Wilton’s candy eyeballs. Slide mini marshmallows on the end of stick pretzels and then dip in white candy melts to create “bones.” For the mice we used strawberries, twizzlers candy, mini chocolate chips, and small circles of chocolate candy melts (left over from the birds) for the ears. We used blue jello and Swedish fish candies, as well as Goldfish crackers because we all know how much cats love fish, and our rabbits were Annie’s Cheddar Bunnies crackers. Since the party was at dinnertime I made some PB&J sandwiches cut in the shape of cats. in the Warriors books, there is a sacred place on the hills called the “Moonpool,” so we replaced water labels with ones reading “Moonpool Water” and surrounded them with rocks to resemble a pond. #CommissionsEarned

The games and activities kept these Warriors Fans entertained for the majority of the party. We started out with a silly game of “Scoop the Poop.” Fill a tub with Rice Crispy cereal and add some mini Tootsie Rolls to the tub. You will be surprised at how difficult it is to feel those tiny Tootsie Rolls with a blind fold on. The kids took turns “scooping the poop” from our Rice Crispy litter box and of course giggled their way through the game at the same time. We gave them 30 seconds to find as many “nuggets” as they could and they got to keep what they found. I added more tootsie rolls as the game went on.

Cats like to hunt for prey, so our second game was an animal scavenger hunt in the front yard. I created signs with the names of the 4 Warriors Clans and the kids got to choose their clan. I picked up some tiny forest animals at the dollar store and had my older son hide them before the party started. The Clans took off to hunt for rabbits, birds, and little hedgehogs that they would later trade in for candy. We used the mini animals in the next activity as well.

My favorite part of this party was “create your own Warriors scene.” Karis and I spent some time making multiple batches of green and brown play dough in the days prior to her party. We picked up some aluminum tins from the Dollar Tree and a bunch of nature materials. At the Dollar Tree we found blue glass beads to use as water, mossy rocks, leaves, fake flowers and plants, and a variety of rocks. I grabbed some wood rounds and plastic cats from Michael’s and collected twigs from the yard and let the kids use their imaginations to create their very own Warriors scene. They used the brown play dough as dirt and the green as a base for grass and built from there. Each one was unique and they all turned out amazing. I even picked up some little plastic garden signs so that they could name their creations. #CommissionsEarned

My daughter isn’t a huge fan of cake, so we always make marshmallow pops for her birthday treat. This year, I bought the big square mallows that you can use for s’mores and covered them in green Wilton’s candy melts. I used orange candy melts to create little cat silhouettes and put them on the front for the tastiest birthday treats. And in case you are wondering where we got Karis’s ThunderClan T-shirt, I made it using a photocopied image as a template that I printed off from the computer and a small piece of black material. I then used Seam-A-Seam 2 light to iron it onto a white cotton tee after cutting it out of the black fabric. She has worn it many times since her party and it has held up really well.

We always like to send our party guest off with a little thank you and my girl loves Hershey’s chocolate bars. I created Warriors themed wrappers to replace the Hershey ones with a little thank you note on the back for Karis to hand to each of her friends at the end of the party. #CommissionsEarned

Maybe you have a little Warriors fan of your own who would enjoy a Warriors Themed Birthday Party. I hope that this blogpost has made your planning a bit easier and inspired some fun ways for you to celebrate. As the Warriors like to say, “may StarClan light your path!”

Warrior Cats fans will also love this…

Wings of Fire Birthday Party

Bob Ross Paint Night

Almost a year ago, we celebrated our 20th wedding anniversary. If you would have told me in the year 2000, when we said “I do,” that our 20th anniversary would be spent in quarantine in the midst of a worldwide pandemic, I would have thought you were crazy. I always pictured us spending our 20th in a tropical location, just the two of us, but in those early days of Covid, with the world pretty much shut down, we found ourselves sheltering in place with our little family of 5. Grocery stores were open and you could order take out from a restaurant, but that was about it.

A few weeks before our 20th, we were scrolling through the TV trying to decide on something to watch as a family. We came across a video of Bob Ross painting and my kids were drawn in, watching him take a blank canvas and create a beautiful nature scene. I jokingly mentioned that sometime we should have a “Bob Ross Paint Night” and everyone seemed to like the idea. So as I was brainstorming quarantine anniversary options, that conversation came to mind and my wheels started turning.

I knew that Michael’s craft store had a curbside pick-up option, so I ordered an acrylic paint set, brushes, and canvases. I grabbed a couple of old sheets to drape over chairs, turned our living room into a makeshift art studio, and we celebrated the big 2 0 pandemic style, at home, painting along with Bob Ross. #CommissionsEarned

To be completely honest, I expected our paintings to look like five big black, brown, and green blobs. And about thirty minutes in, that is exactly what our works of art looked like. But somewhere along the way, waterfalls began to form, tiny cabins took shape, and Bob Ross taught amateurs like us how to create something more beautiful than we imagined. When it was all said and done, I was pleasantly surprised by the outcome and pretty darn proud of my family! Every canvas was different, but each one actually looked like a forest with a waterfall and a cabin. Bob Ross turned out to be quite the teacher 🙂 Today, our paintings line the hallway and when I walk by them, they make me smile.

Next week we celebrate 21 years of marriage. 21 years, 3 children, 2 states, 3 cities, 9 houses, and more vehicles than I can count. We have weathered the ups and downs of life, including a worldwide pandemic. It has not been easy. We have had seasons of joy and seasons of heartache, but this quote on our bedroom wall sums up my thoughts as we approach 21 years. “We may not have it all together, but together, we have it all.” Cheesy, but true!

Art Themed (Zoom) Birthday Party

Birthday parties have been tricky this year, and all of us have had to find creative ways to celebrate the milestones of our loved ones. My daughter, Karis, turned 10 this summer and planning her birthday parties has always been a big event for my girl and I. She was devastated to not be able to get together in person with her friends. I wanted to make her day super special and involve her friends somehow. School had just wrapped up for the year and her classmates had become pros at using Zoom, so we took advantage of that platform.

We decided on an art theme and went to work creating a super fun and colorful backdrop for her Zoom Birthday. I purchased a couple of clean empty paint buckets, some plastic table cloths and rainbow balloons. Karis painted a bunch of paintbrush handles for a garland and we shopped online for art supplies and treats for goodie bags for each of her party guests.

About a week before the party, we put together the party bags. We added two plaster animals for each child to paint, a set of paints, a paintbrush, a mini easel that we made out of popsicle sticks, a tiny canvas, some candy, and a personalized note from the birthday girl. Then a few days before the party we drove around and dropped the goodie bags off at each child’s house.

On party day, we set the table with a plastic tablecloth for easy clean-up and laid out all of the art supplies for Karis to use. Her friends were doing the same thing at their own homes. They all logged into the Zoom call at the same time and spent a couple of hours painting, creating, laughing, and eating treats. They sang “Happy Birthday” and she even got to open some presents from friends who had either mailed them or handed them to her when we dropped off the goodie bags.

2020 has not been an easy year. We have all had to adjust in more ways than we would like and have grieved many losses. Our kids have suffered in countless ways, and as I write this, we are still in the middle of this worldwide pandemic that we didn’t expect to last as long as it has. I know that this is not the “in person” party that my sweet girl dreamed of, but I hope that when she looks back at her 10th birthday party, she will be filled with joyful memories and she will appreciate the gift of friends who love her and celebrate her in creative ways. #CommissionsEarned

DIY Lemonade Stand

My daughter has been asking to have a lemonade stand since last summer, so it was a must on our 2018 Summer Bucket List.  I saw some cute DIY ideas using wooden crates and thought that we would give it a go.  I found the best deal for wooden crates at our local Michael’s Store.  My husband had a 36″ x 10″ board cut at The Home Depot.  I purchased two different sizes of nails,  1-1/4 inches for the thicker parts and 3/4 inches for the thinner wood slats, and went to work.  You can watch my video tutorial for more details on the building process. #CommissionsEarned

Hobby Lobby recently had a huge clearance on their summer stock, so I was able to get two giant yellow pinwheels for just $4 each.  They made the cutest sides to hang a LEMONADE banner on.  I used my Cricut Expression 2 to cut out the letters for the banner and hung it with twine.  A few material scraps cut into triangles made for a mini pennant banner to hang along one of the crates.  I created an “Ice Cold Lemonade” sign, a price list for some treats that we made, and lemon cupcake toppers that you can print off here  Lemonade Stand Printables PDF

My daughter loves to dance, and every summer her dance studio holds a week long dance camp.  We decided that selling lemonade & treats would be a great way for her to earn the $125 tuition for camp.  On a Friday evening, we made a batch of cupcakes and marshmallow pops.  I have included the lemon template I used for the candy melt lemons.  Lemon Template pdf  (See some of my marshmallow pop videos for instructions on how to create themed mallow pops)

On Saturday and Sunday, my girl held lemonade stands in our driveway, and not only did she have the best time selling lemonade and sweet treats, she earned $129 in two mornings thanks to the generosity and support of our amazing friends and neighbors.  I will never forget the joy on her face when she walked into the dance studio on that Monday morning and paid her entire tuition in full with money she had earned herself.  Lemonade stand success!!!

I am so pleased with the way our DIY Lemonade Stand turned out, and have been thinking of other uses for it.  Of course she can always use it for imaginary play, but I’m sure we will also use it for birthday parties in the future, bake sales, donuts and juice during our garage sale, and of course, many many more lemonade stands.

fullsizeoutput_d081fullsizeoutput_d082IMG_3019IMG_3020fullsizeoutput_d096IMG_3026IMG_3037fullsizeoutput_d0b4IMG_3045CpohFBkzScqu%hG4tm4PggIMG_3044IMG_3047IMG_1231

IMG_30577516772496_IMG_7966IMG_31407516772496_IMG_79637516772496_IMG_7977IMG_3065

Adopt A Pet (Beanie Boo Cats & Dogs) Birthday Party

My daughter just turned 8, and this year we decided on an Adopt A Pet (Beanie Boo Cats & Dogs) theme for her birthday party.  I’m not sure what was more fun, preparing for the party, or the party itself.  My daughter and I spent so much quality time planning and crafting together in the months before.  Be sure to watch my video compilation (above) of the party.

Beanie Boos can be expensive so I started purchasing these little kittens and puppies early, taking advantage of the 60% off coupons from Michael’s as often as possible.  We picked out 6 kittens and 6 puppies and then I set out to find a fence and fake grass.  I used my Circut Expression 2 to make the “Adopt A Pet” banner and then did a little photo shoot to use as the cover of the invitations. #CommissionsEarned

IMG_2183

I wanted to plan a fun activity for the beginning of the party while the guests were arriving, so I created a super fun game of Beanie Boo Bingo.  I have included the pdf below if you want to print out this game to use for your child’s party.

IMG_2413

Beanie Boo Bingo pdf

Once all of the girls arrived, I let them choose their pet to adopt.  I was a little nervous about this part because each animal was different and I wasn’t sure if the girls would get their hearts set on one and be disappointed.  I asked them to think about 2 or 3 that they would love to adopt and then said we would draw numbers to see what order they would choose.  We let the birthday girl have the first choice and then went from there.  Thankfully it all worked out and everyone was happy with their pet.

fullsizeoutput_ed5nkITFz5mRmGvL0sK2hHf7wuo0Sv4uBQ%mQ+22BkOByMw

The girls got to sign an adoption certificate to make it official.

IMG_2370

Here is the link for you to use.    pet adoption certificate pdf

I purchased a dozen white gable boxes to use as pet houses, cut a hole in each for a door, and the girls got to decorate a house for their pet. This was such a fun activity and I love watching all of their creativity as they designed a sweet little space for their pet to live in. #CommissionsEarnedIMG_2424IMG_2425IMG_2426IMG_2491IMG_2492

I set up another station for the girls to make a collar for their pet using pipe cleaners and beads.  These Dollar Tree veggie trays were perfect for holding craft supplies.  I have used them over and over for several projects and they have held up really well.  Amazon has a wonderful assortment of pony beads and letter beads.  #CommissionsEarned

IMG_2458IMG_2496

I also made leashes and blankets for each of the pets.  Click the links to purchase paw print ribbon and gold rings and clips.  One spool of ribbon made 12 leashes.  1 yard of paw print fabric, 1/2 yard of puppy fabric, and 1/2 yard of kitty fabric made 12 small blankets about the size of a baby burp cloth. #CommissionsEarned

IMG_2391IMG_2450IMG_2453

We played a couple of fun games.  “Give The Dog A Bone” and “Pin The Tail On The Kitty.”  I used poster boards to draw a Kitten and Puppy.  Then I made three bone shaped bean bags, mounted the puppy on one of our corn hole pieces and cut a hole for the bean bags.  These old fashioned party games were so much fun!

IMG_2397IMG_2398IMG_2521IMG_2522IMG_2446shMGGGevT82awKz2f0dqwAIMG_0717

I kept the food pretty simple because we also had hot dogs and fruit for dinner.  I collected yogurt cups in the months leading up to the party, then used a sharpie to draw a “fish” on half of them and a “bone” on the other half.  I filled the cat dishes with Goldfish Crackers and the dog dishes with Scooby Doo bone shaped graham crackers.  I covered two pieces of styrofoam with pink wrapping paper to display them on.  The Dollar Tree was a goldmine for decorations and pet themed items.  I found the large black dog dishes there and filled one with pretzels (sticks) and the other two with Trader Joe’s chocolate Cat’s Cookies.  I also purchased three paw print jars from the Dollar Tree and filled them with candy, but you can find similar jars here.  #CommissionsEarned The pink and teal hanging paper lanterns were 2 for a dollar as well, making the table setting very affordable.  I have included a pdf of the cupcake toppers, activity signs, and “DIG IN” sign for you to print off from home.  (see below)

IMG_2476IMG_2535IMG_2536IMG_2479IMG_2480IMG_2520IMG_2474IMG_2470IMG_2421IMG_2465IMG_2410

IMG_2416

beanie boo cupcake toppers pdf

dig in party sign pdf

IMG_2366

cats & dogs party signs pdf

A month later, my girl is still saying that her Adopt A Pet party was the “funnest birthday party ever!”  I would definitely have to agree!

IMG_2486IMG_2483IMG_2488IMG_2517IMG_0713IMG_0705

“Sweet 16” Candy Bouquet

My oldest turned 16 last month!  S I X T E E N ! ! ! I can’t believe I have a child who is old enough to drive.  As far as teenagers go, we scored!  Jacob is a great kid… kind, thoughtful, funny, responsible, trustworthy.  I am so grateful!  When I asked him what he wanted for his 16th birthday, he jokingly said, “candy!”  I had wanted to make something fun for him to wake up to on his special day, and this sparked an idea.  I went to work making him a “SWEET 16” candy bouquet in a galvanized bucket.  I found the bucket at Walmart and I loved that it had a chalkboard label already on it, but you can find a similar one on Amazon.  I used my Cricut Expressions 2 to cut the letters on white vinyl, purchased a package of wooden dowels, a piece of floral foam, a ton of candy, and a 1 and 6 balloon.  I grabbed my glue gun and went to work.  Check out this simple tutorial (below) to make one of your own. #CommissionsEarned

IMG_2241IMG_2302fullsizeoutput_eddIMG_0517

Valentine Hearts Cake

Wilton’s Candy Melts are one of my favorite gems to use for fun holiday treats.  Last year I used them to make a batch of yummy Valentine Marshmallow Pops.  This year I picked up three bags from Michael’s in red, pink, and white to use for Valentine’s Day, and got to work creating these fun and festive swirly heart cake toppers for our family Valentine Cake.  I love how they turned out, and my family (kids especially) loved eating the oversized candy hearts!  Check out my simple tutorial to learn how to make these cuties using cookie cutters as templates.  I’m excited to try them for other holidays too.  Imagine green 4 Leaf Clovers for St. Patrick’s Day, pastel eggs for Easter, patriotic colored stars for the 4th of July.  The possibilities are endless!  You can use them to top a cake like I did, make smaller ones for cupcakes and cookies, or even top a cup of fruit with whipped cream for a healthier version.

For more Valentine Fun, check out these other links:

Valentine Words of Affirmation for Kids 

Valentine Craft: Cookie Cutters & Paint

Valentine Paper Garlands 

My Little Pony (Rainbow Dash) Marshmallow Pops

This week, the much anticipate My Little Pony movie comes out in theaters.  My girl and I have been waiting for this day ever since we saw the preview several months ago.  To celebrate, I created these fun My Little Pony Rainbow Dash Marshmallow Pops, which according to my kids, are delicious!  Whether you are planning a My Little Pony party or just want to make a fun treat on movie day, these Rainbow Dash pops are sure to be a huge hit!

I’ve included my video tutorial, above, with step by step instructions on how to make these tasty mallow pops, and below you will find the free printable Rainbow Dash template for the candy pony silhouettes.  I’ve also added Rainbow Dash’s cutie mark in case you’d like to make some for your own pops.  You will need white, blue, yellow, and red candy melts and four Wilton’s squeeze bottles to create the cloud and rainbow lightning bolt cutie marks. Square marshmallows are the perfect size for these pops and the rainbow Airhead Extremes are the perfect addition to represent her rainbow tail.  Don’t forget to grab a package of lollipop sticks and you will have all that you need to make your own Rainbow Dash mallow pops.  #CommissionsEarned

Rainbow Dash Template PDF

IMG_9814IMG_9826fullsizeoutput_ee68fullsizeoutput_ee64fullsizeoutput_ee66fullsizeoutput_ee65fullsizeoutput_ee67

For more My Little Pony fun, check out my DIY My Little Pony Capes tutorial.