Micah is our little scientist. He loves all things science, so naturally, when he was about to turn 10, we began to plan the ultimate Science Experiment Birthday Party. The vision started to take shape one afternoon when we bought a slab of dry ice for Micah to “play” with. He literally spent over 4 hours experimenting with it. I decided then and there that dry ice experiments would be the main event of the party. I wanted to include a couple of other simple activities as well. A Coke and Mentos demonstration, cornstarch and water play, and build your own edible molecules made this an unforgettable birthday party!
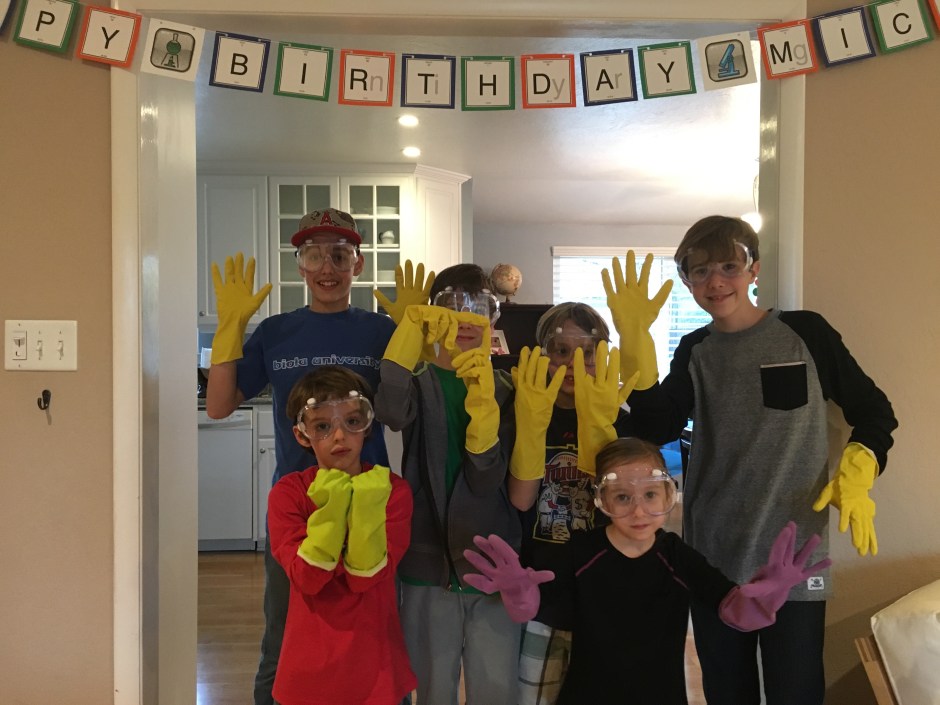
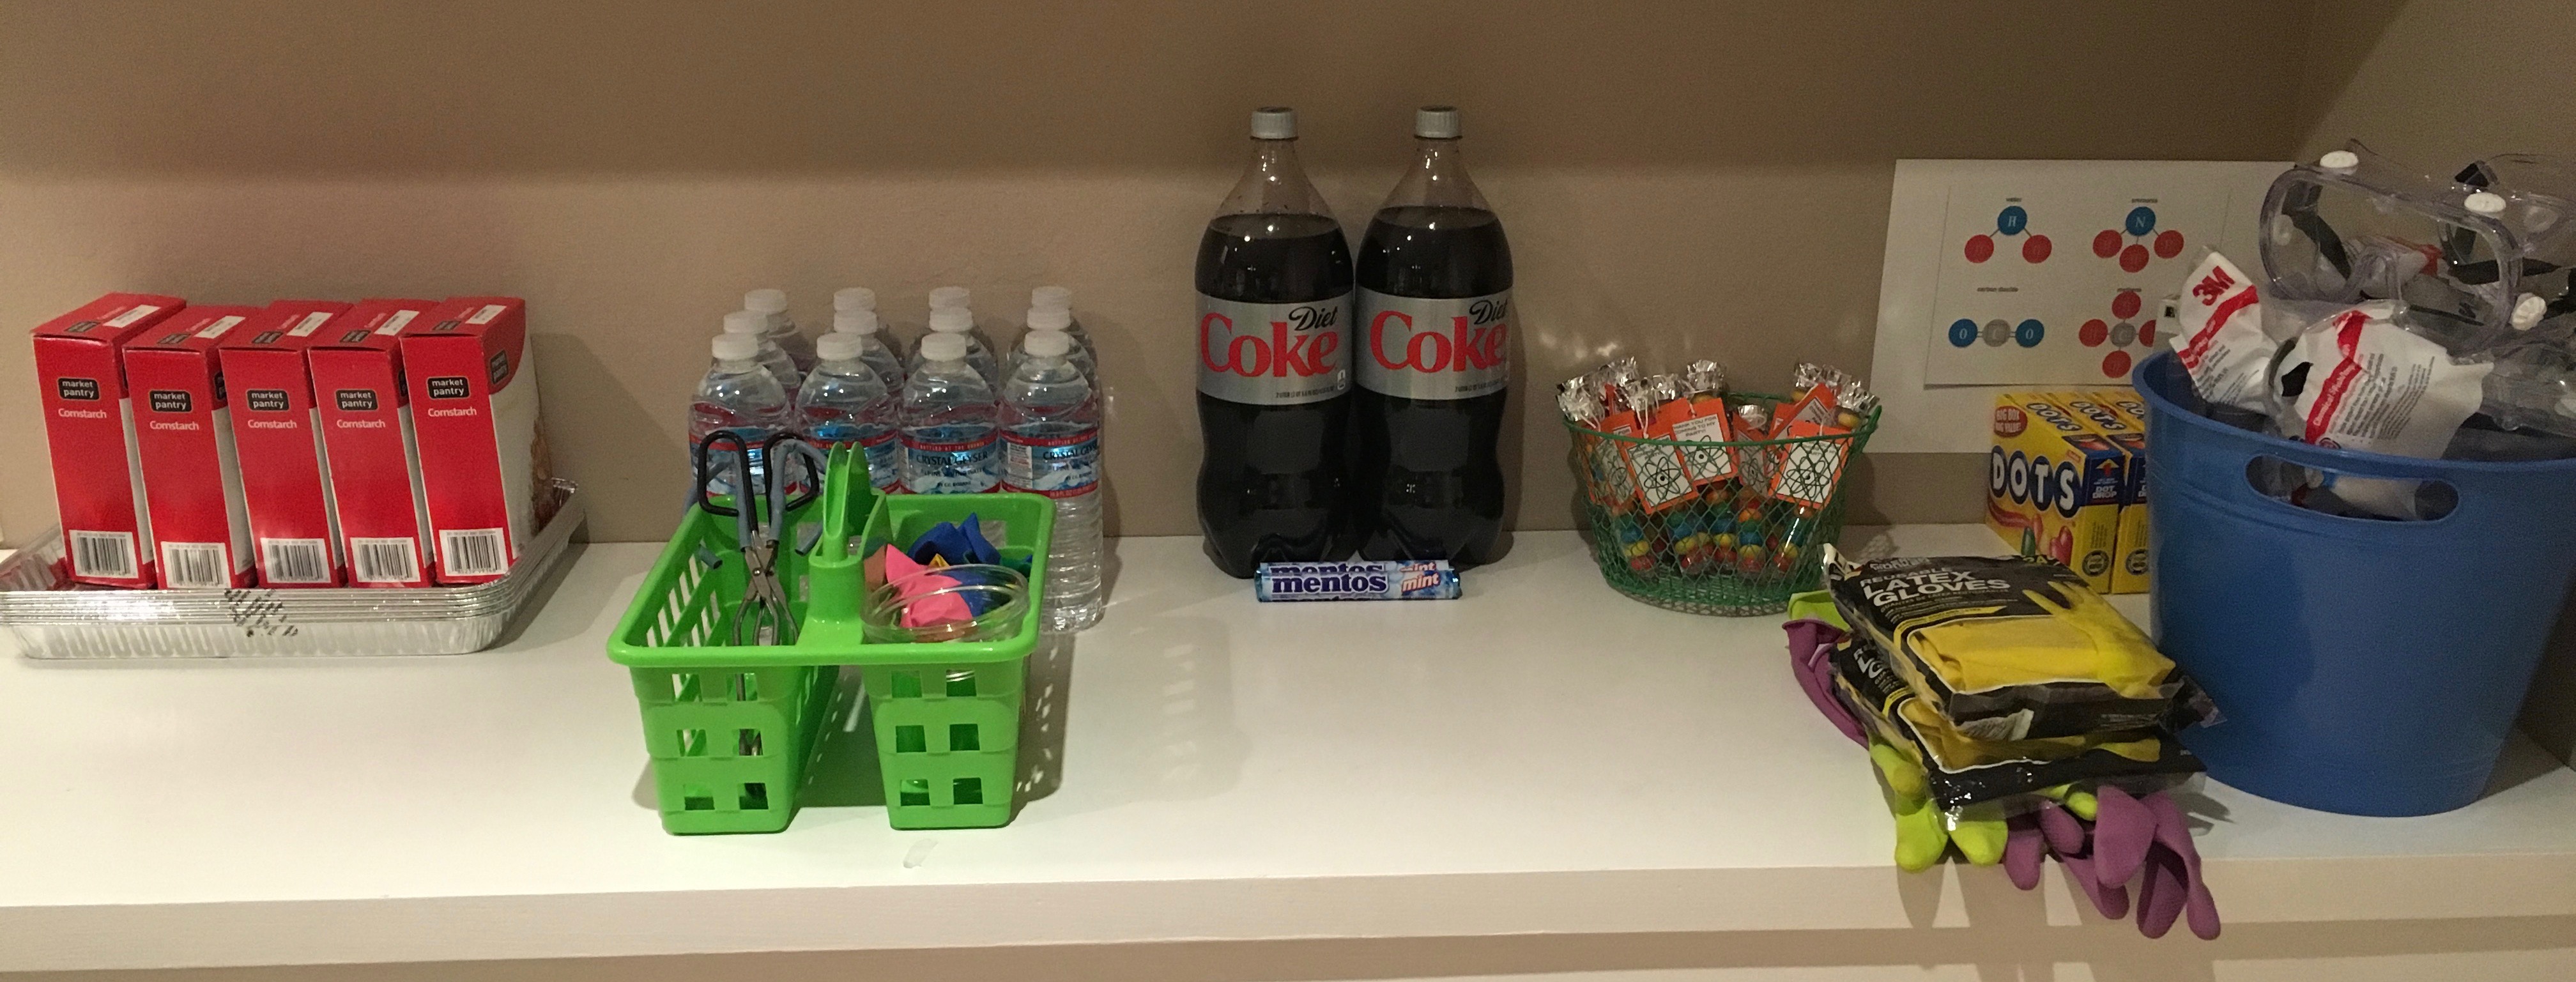
The decorations were quite simple, since most of our time was spent on the science activities. I created a really fun “Happy Birthday Micah” banner using letters from the periodic table and a couple of science symbols. My cricut came in handy for most of the homemade decorations. I used an old toy microscope as our centerpiece and placed Micah’s plasma ball near the food area. I used a black sharpie to draw lines and numbers on clear plastic cups to make them resemble beakers. I lined our counter with everything needed for the party, so that it was quickly accessible to keep things moving along.
We read up on the proper safety precautions needed when handling dry ice, so we were well prepared to host a party of this kind. In the birthday invitations, I asked that a parent be present to help supervise their own child/children and asked the kids to come dressed in long sleeves, long pants, and close toes shoes. We provided gloves and safety goggles for each person handling the dry ice and when the kids arrived we were all ready to go. #CommissionsEarned


Water mixed with dry ice in some mason jars makes for some pretty awesome smoke, but when you add a couple of drops of dish soap, you take it to a whole new level. What kid doesn’t like to create a giant mass of bubbles that turns to smoke when popped!?! 
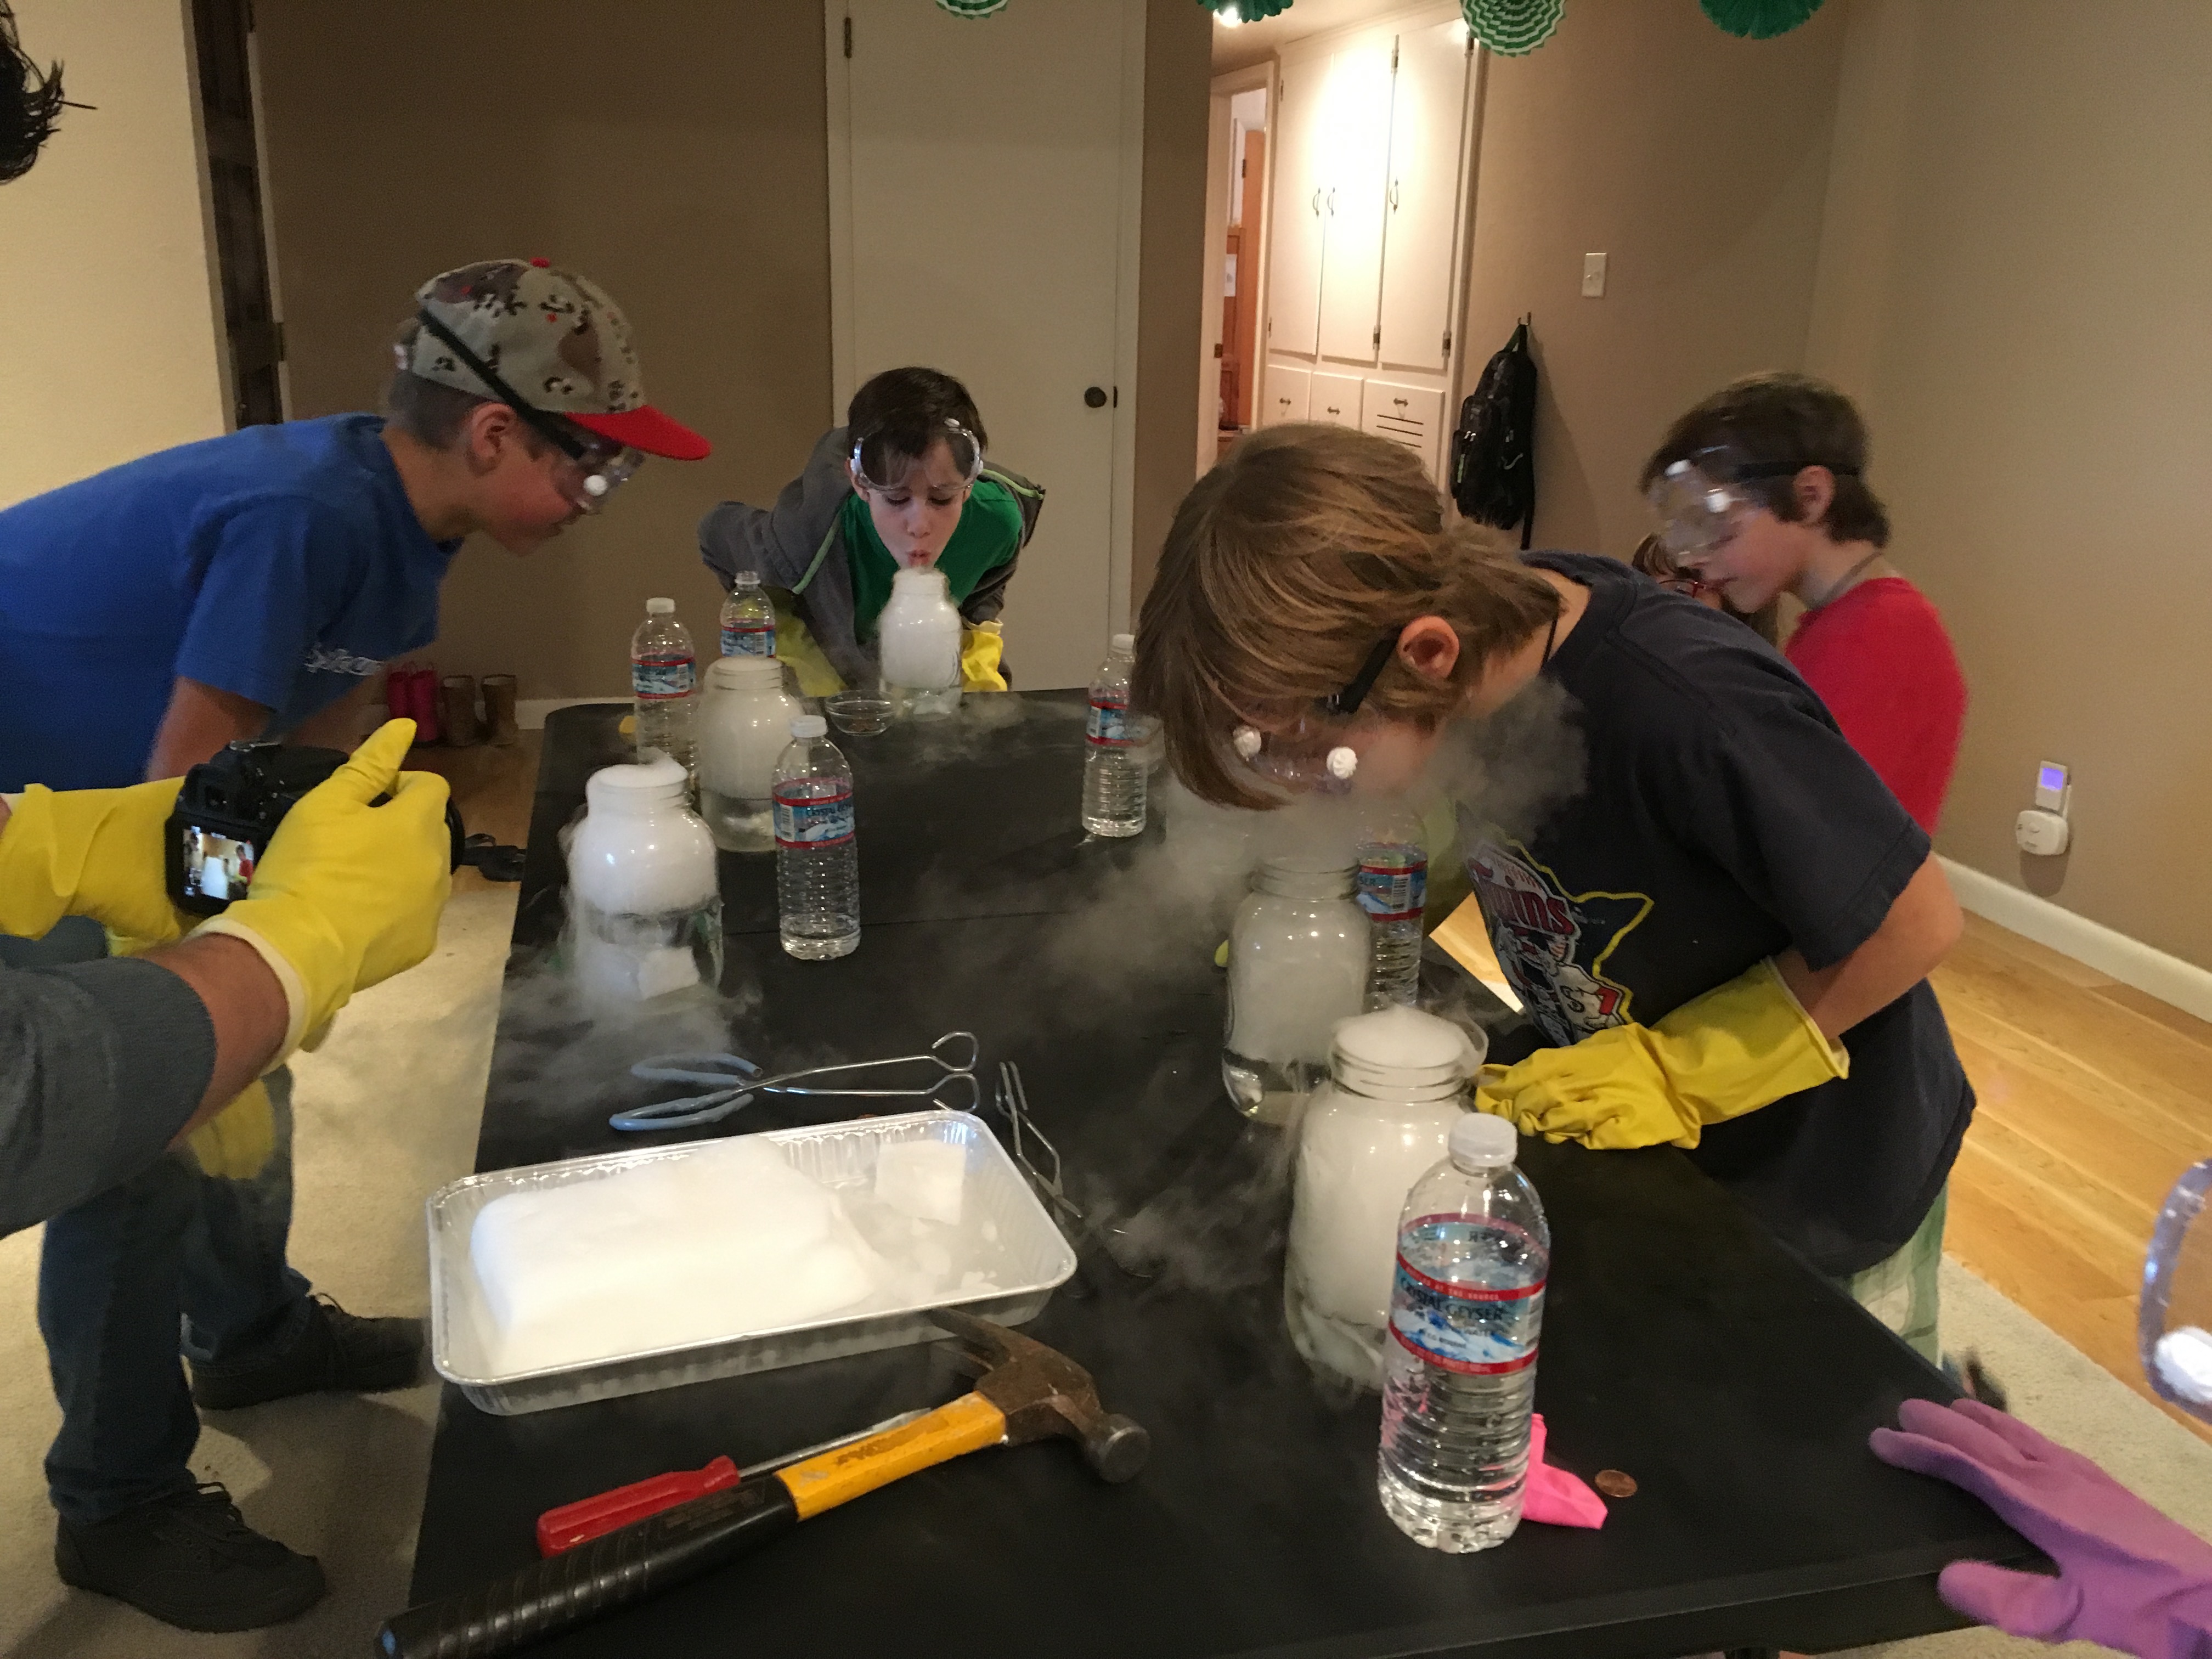

Did you know that you can blow up a balloon by placing it over a water bottle with a small chunk of dry ice inside? But why stop there, a rubber glove pulled over a mason jar will work as well…and it’s pretty awesome to let it fill up so much that it pops off all on it’s own. 
Time to get messy. Cornstarch mixed with water makes for such a great hands on experience. You can actually shape the mixture into a solid ball, open up your hand, and then watch it melt before your very eyes and turn back to liquid form. And what kid doesn’t enjoy getting a little bit messy just for fun!?! #CommissionsEarned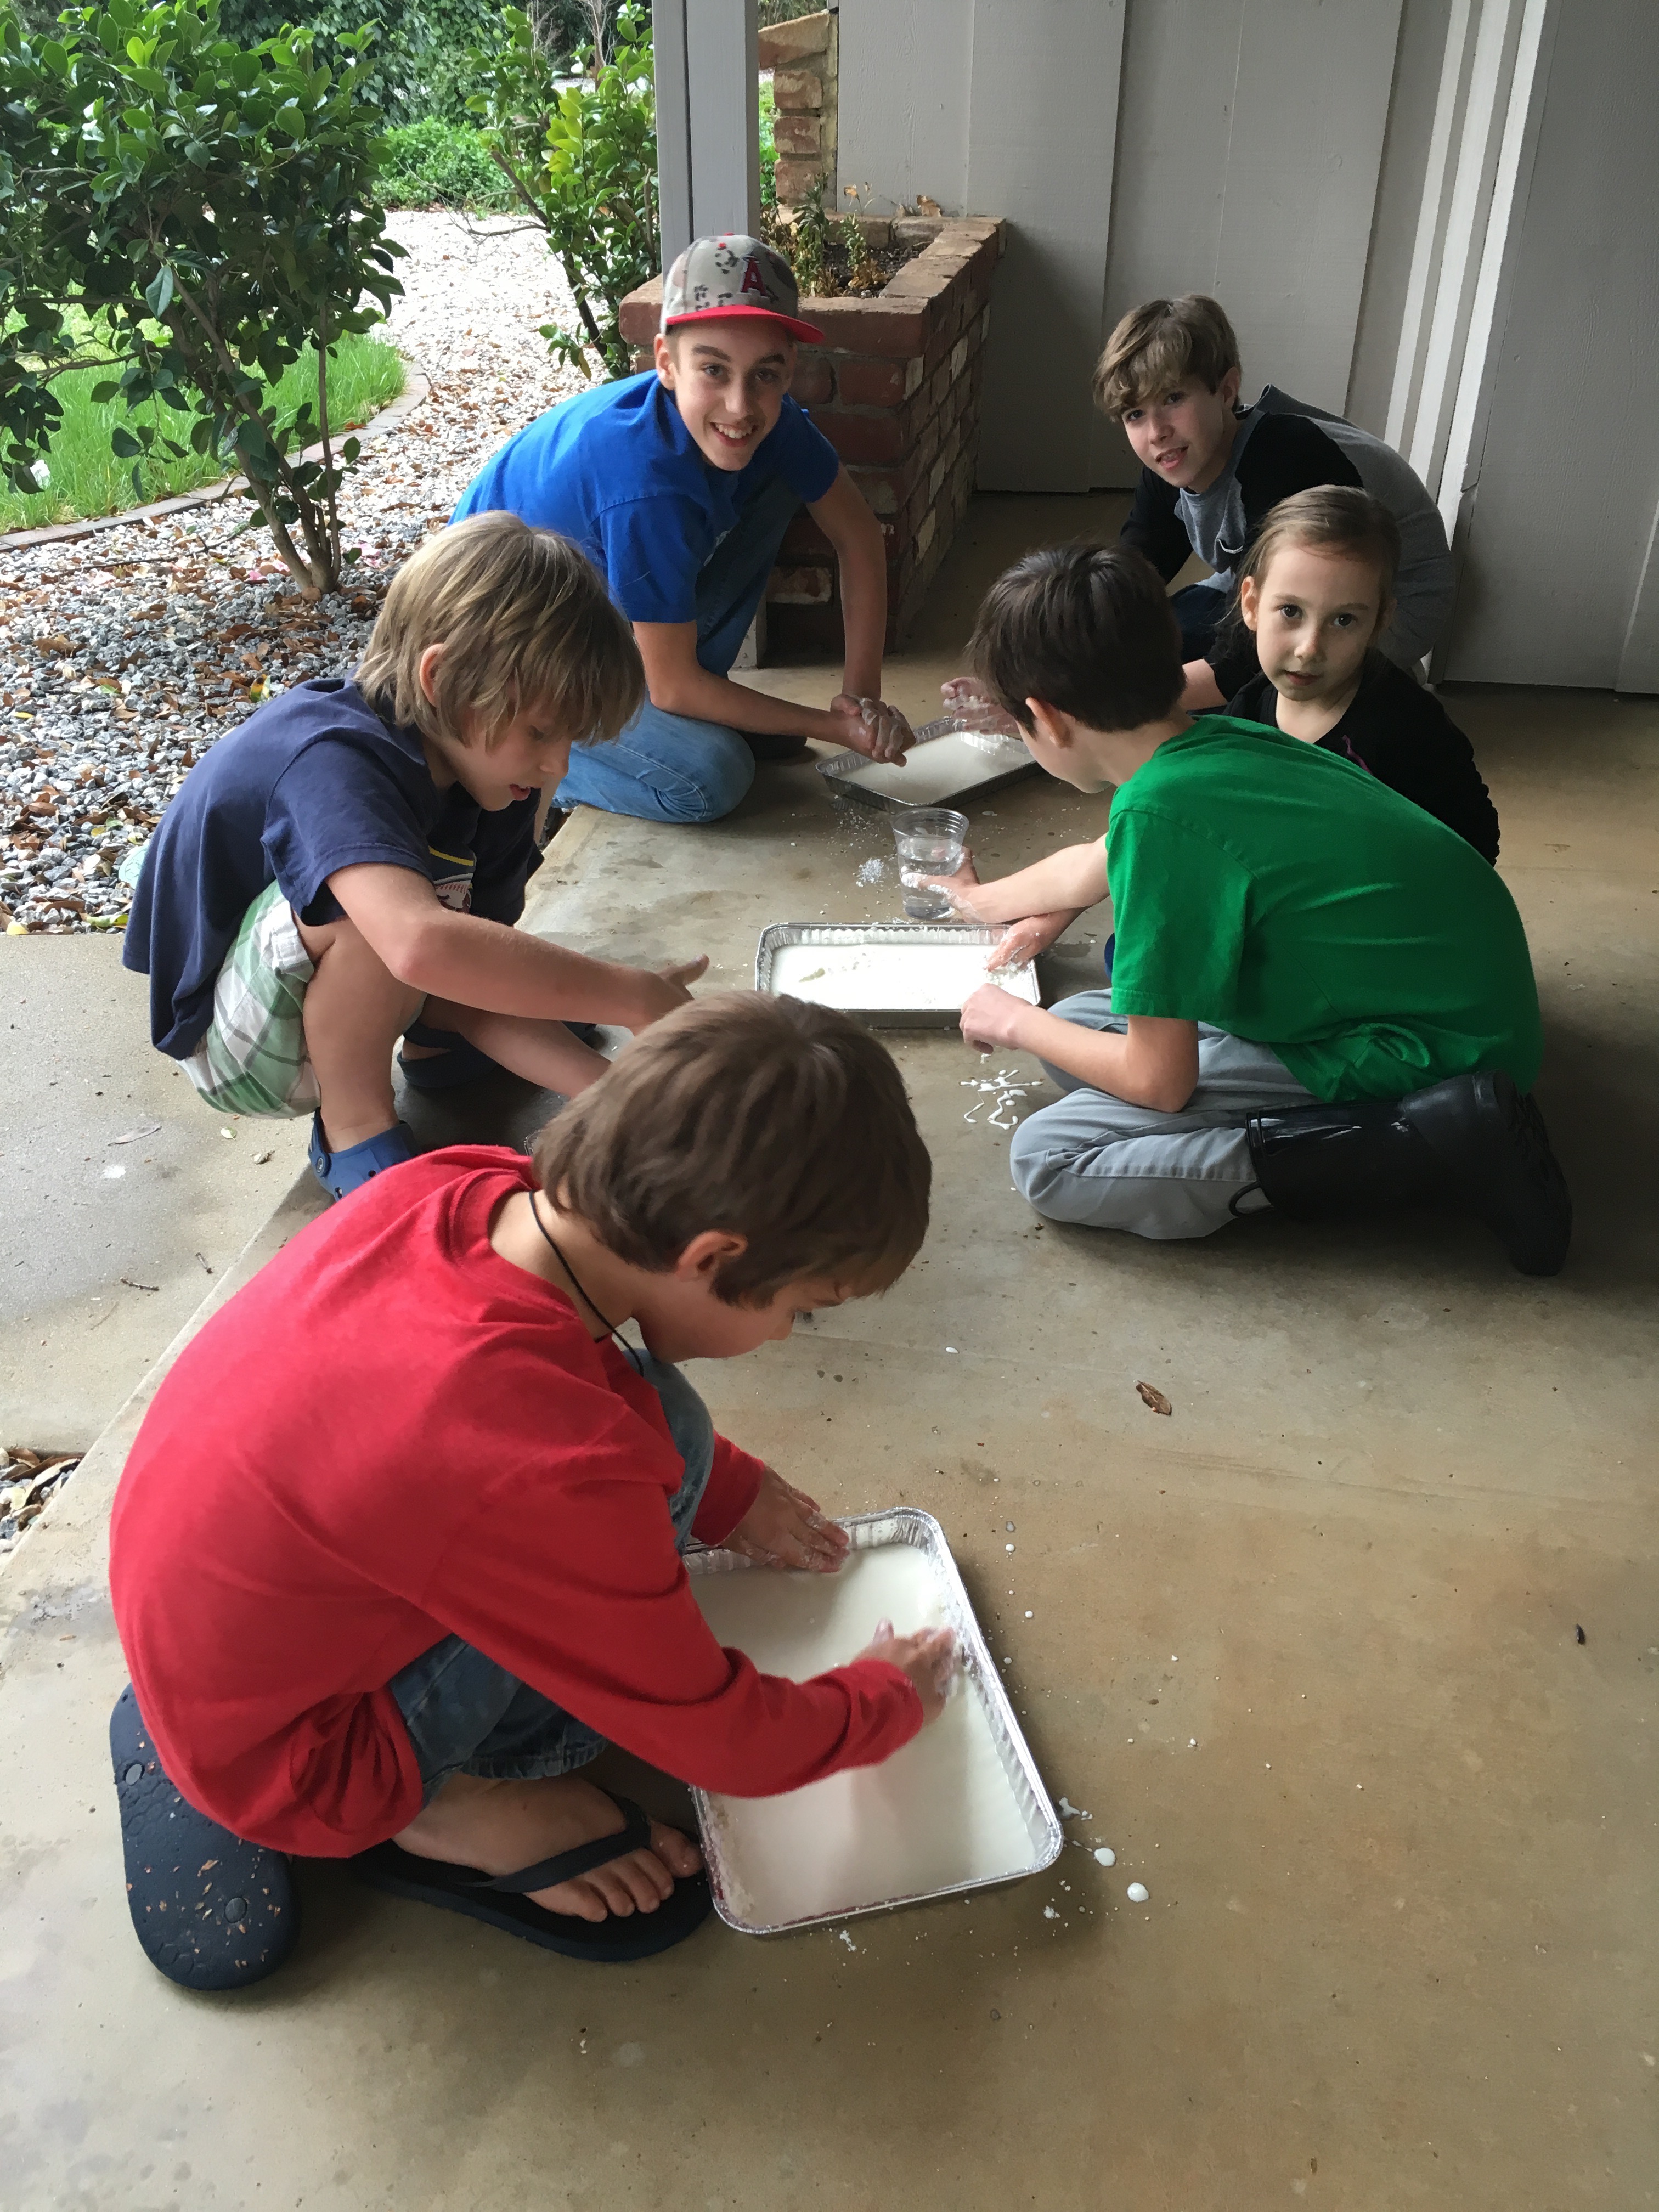

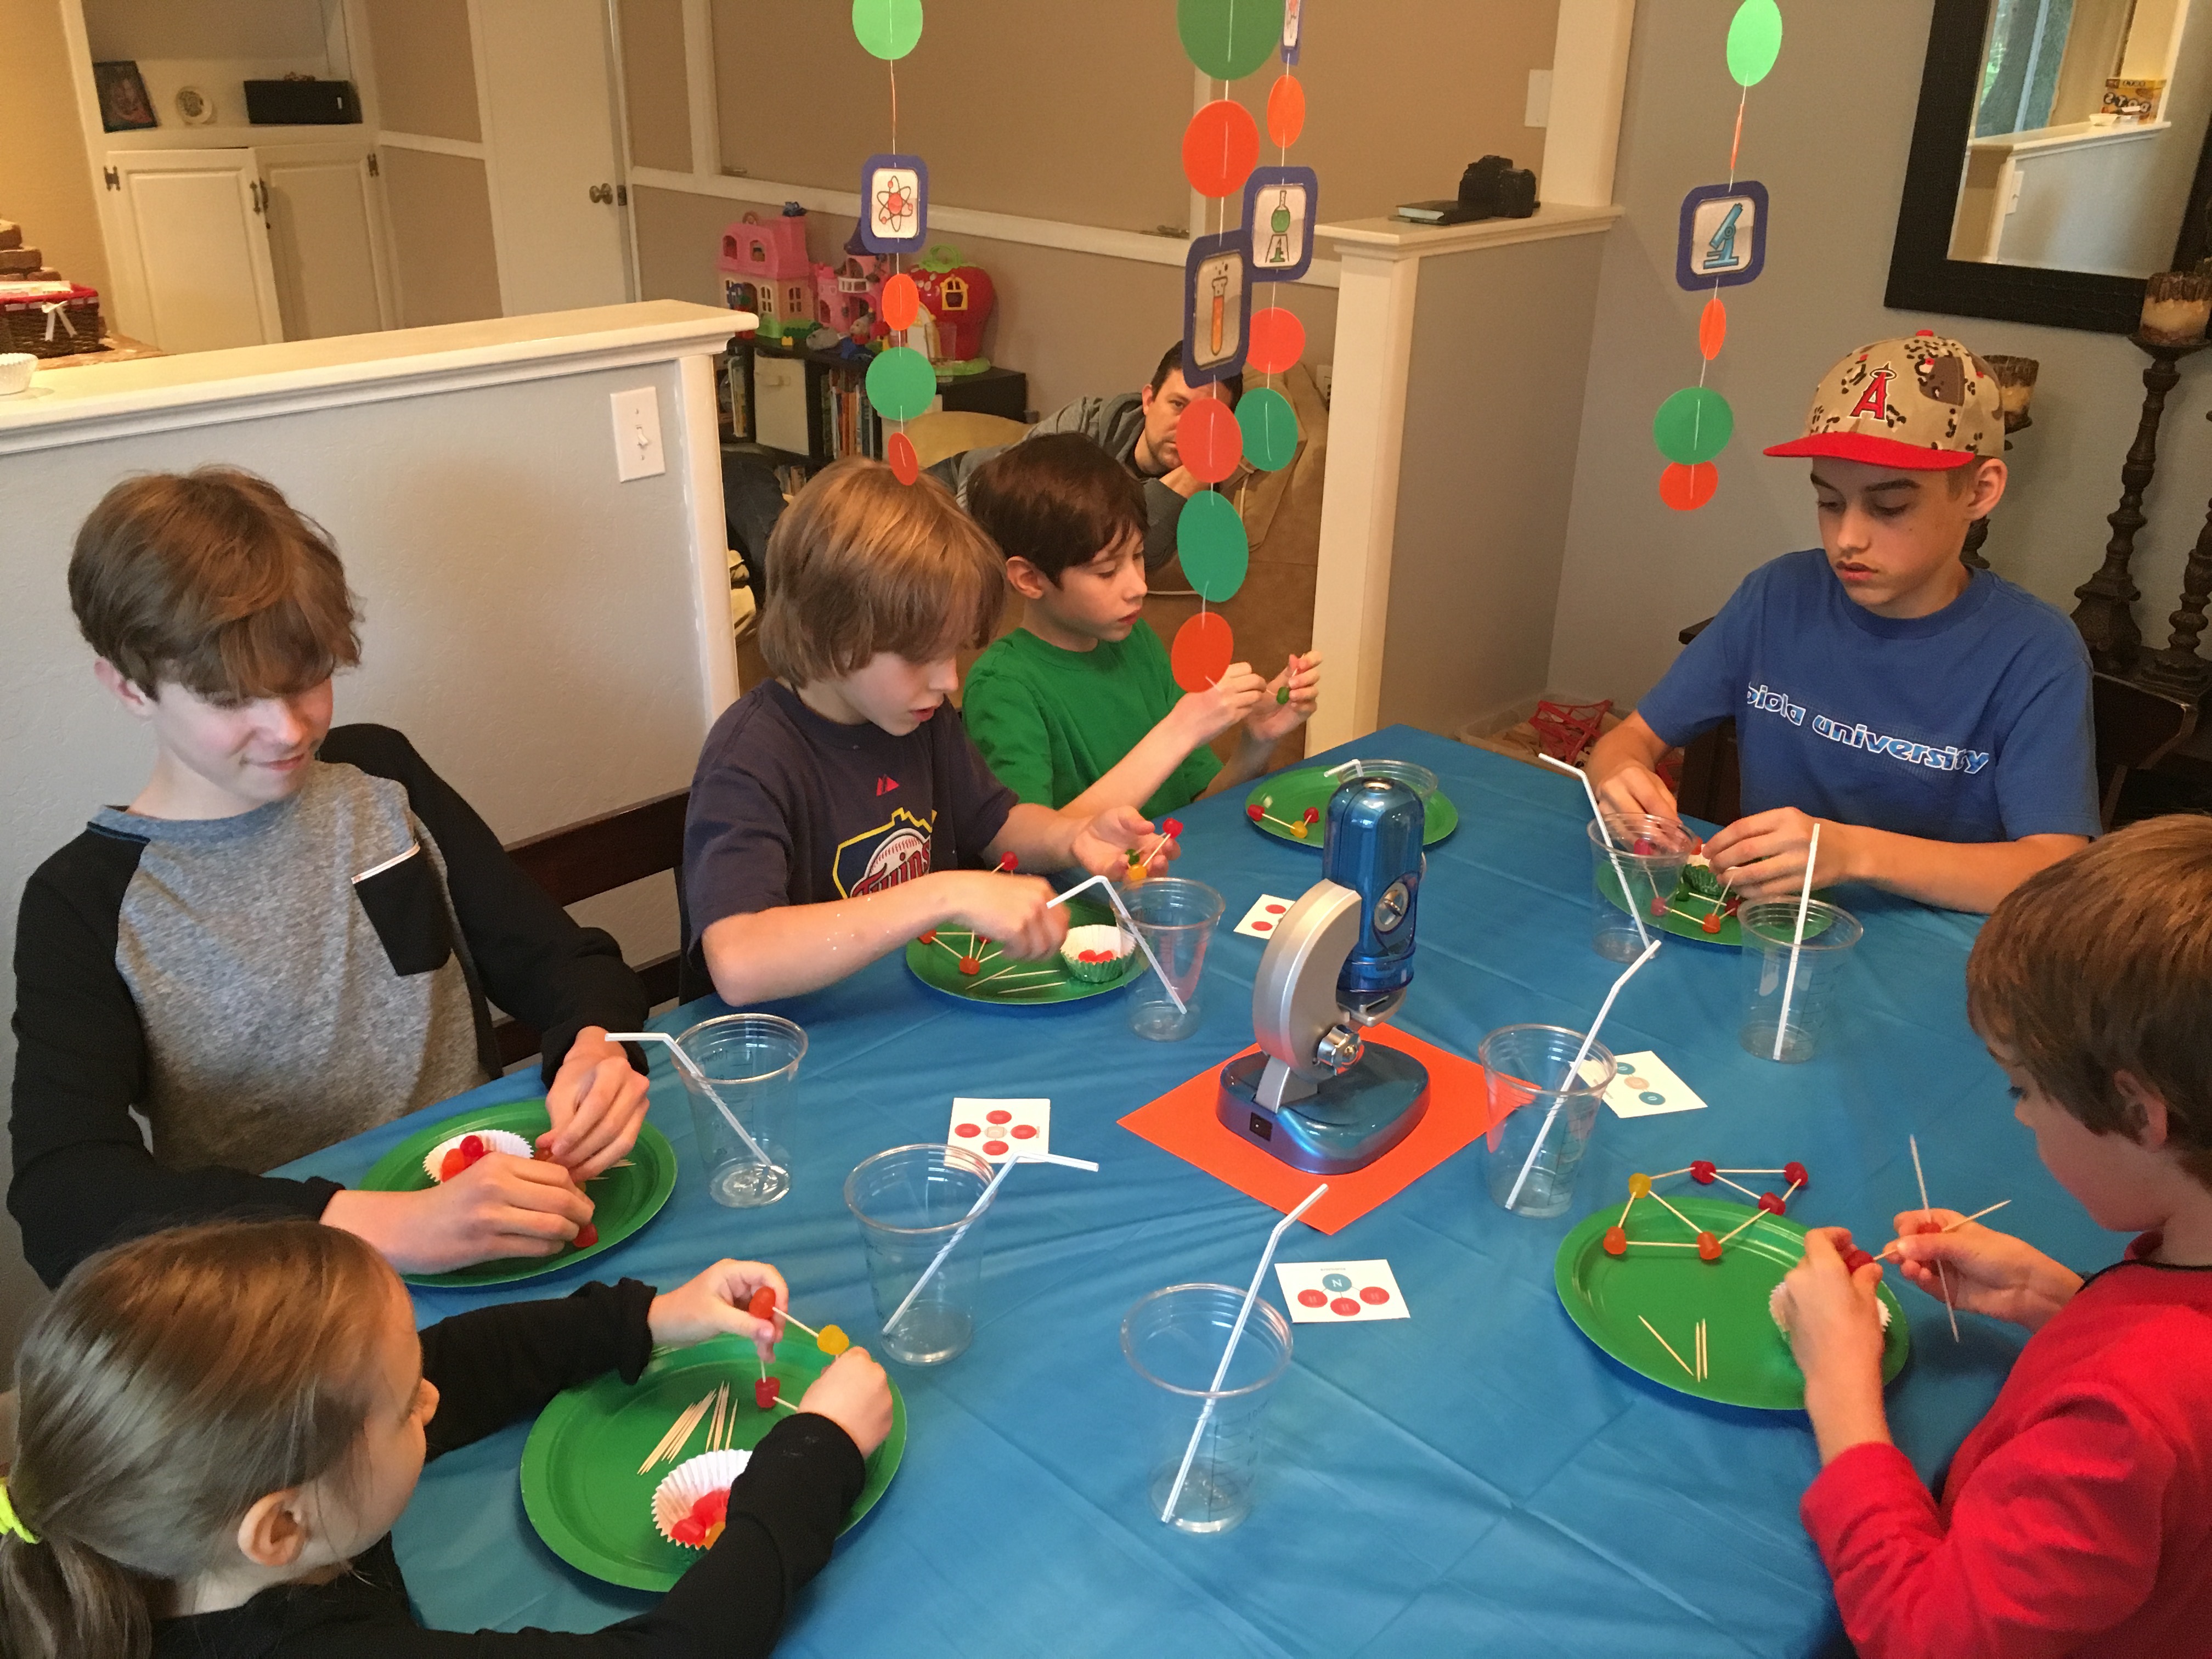
Dots candy and toothpicks make the perfect edible molecules. Try and create real models, like carbon dioxide, or just create your own crazy molecule. Science can be fun and tasty at the same time! 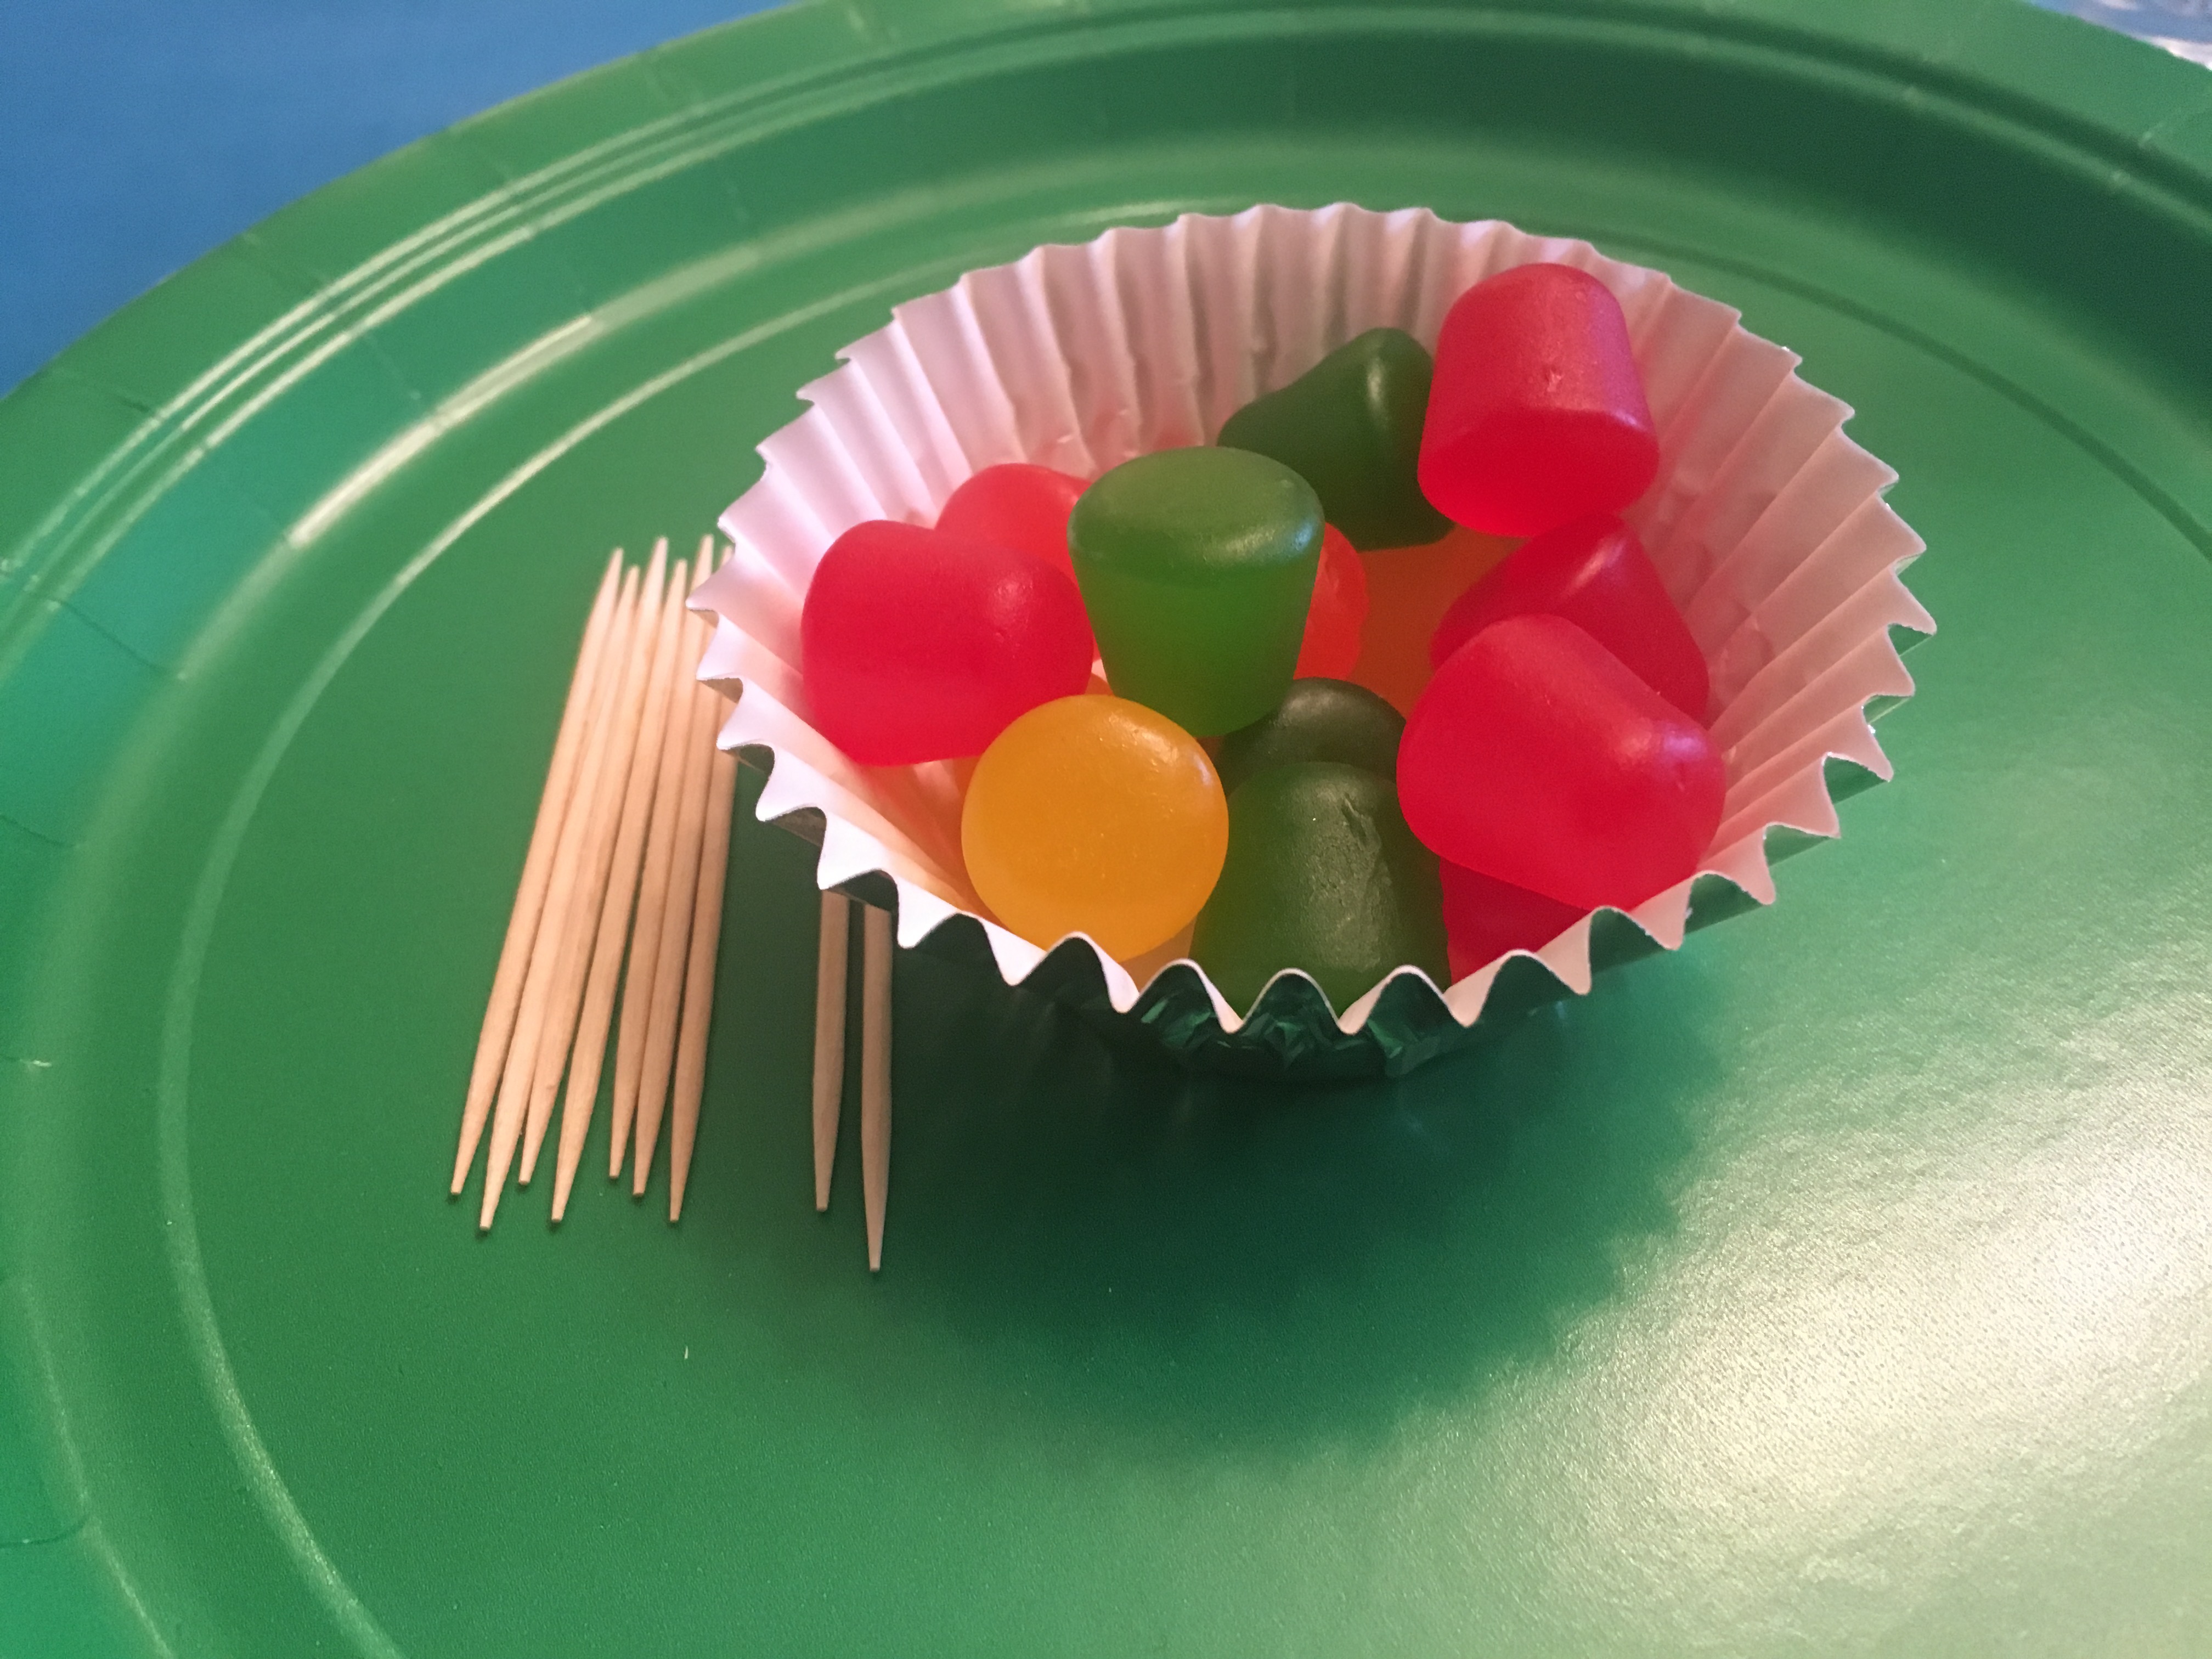
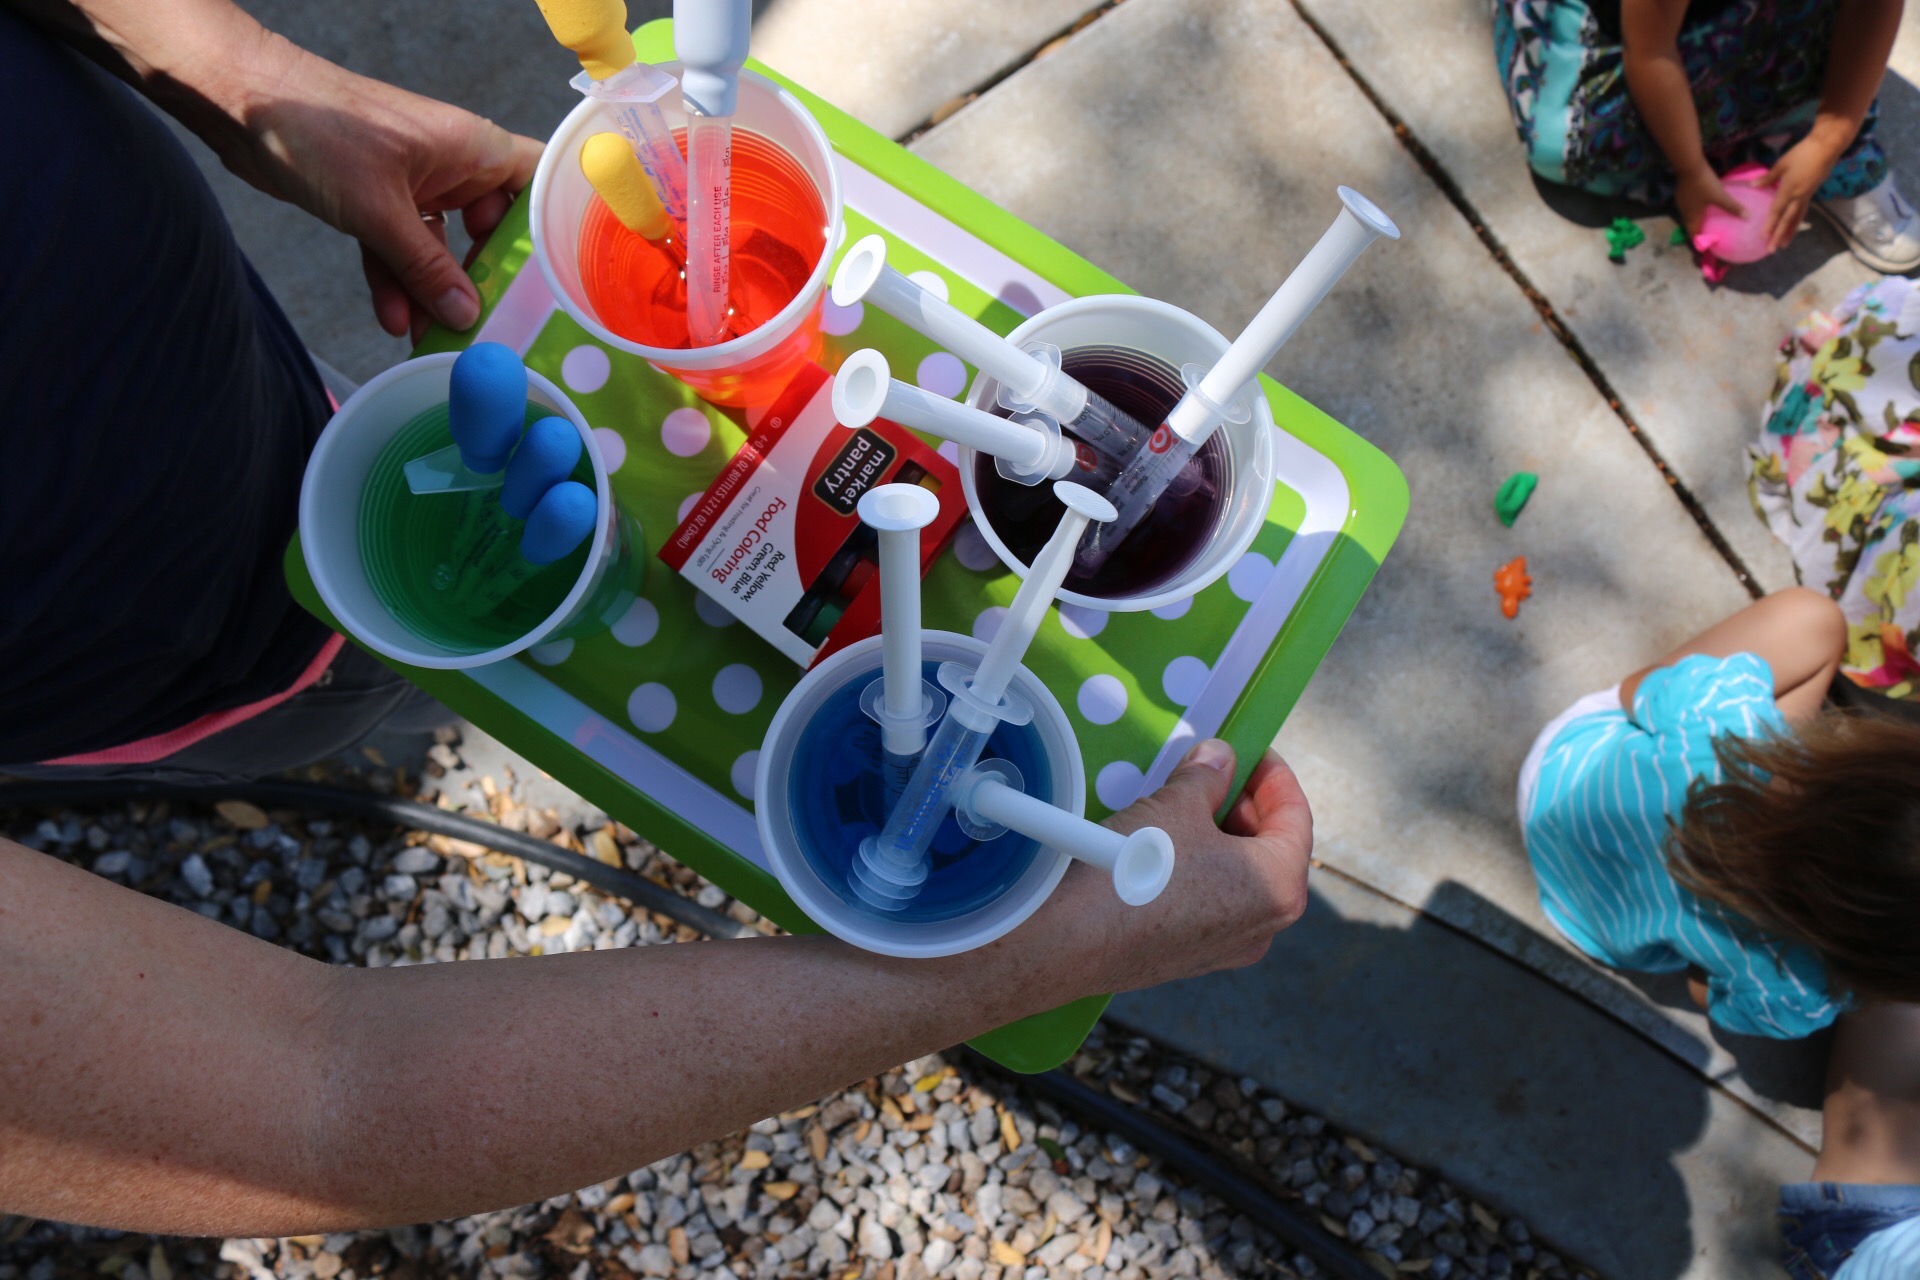
 Petrie dish anyone? A couple of drops of food coloring, a few sprinkles, and 4 of Wilton’s black sugar pearl sprinkles turn ordinary green jello into an edible science experiment. #CommissionsEarned
 Gummy lifesaver topped marshmallow pops dipped in nerds are always a huge hit in our house. I used Wilton’s candy melts in dark chocolate and orange to create these yummy treats.

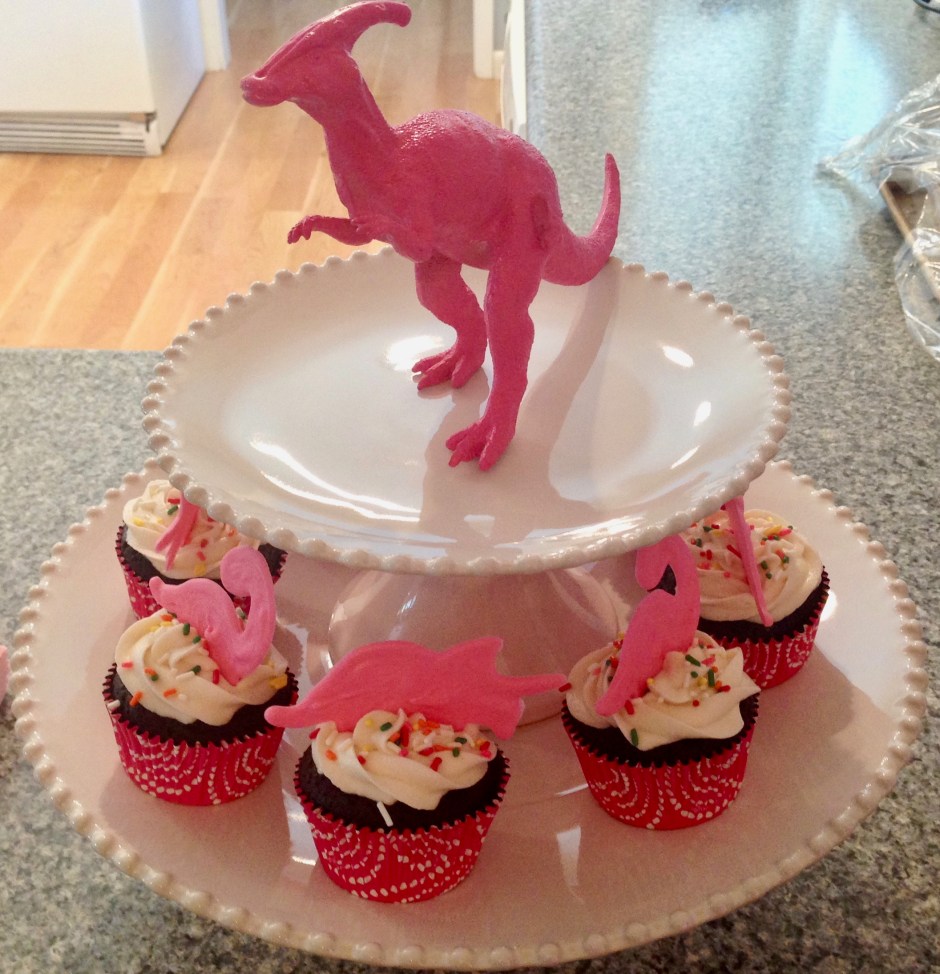
Wilton’s candy melts are perfect for creating edible cupcake toppers. To go along with the science theme, I created beakers, test tubes, and molecules. Mini m&m’s completed the look. 


What’s a science party without test tubes? These plastic test tubes made great party favors to send home with Micah’s friends. Chewy Airhead Bites are the perfect size candy to fit into the tubes, but you could use a variety of different candies. #CommissionsEarned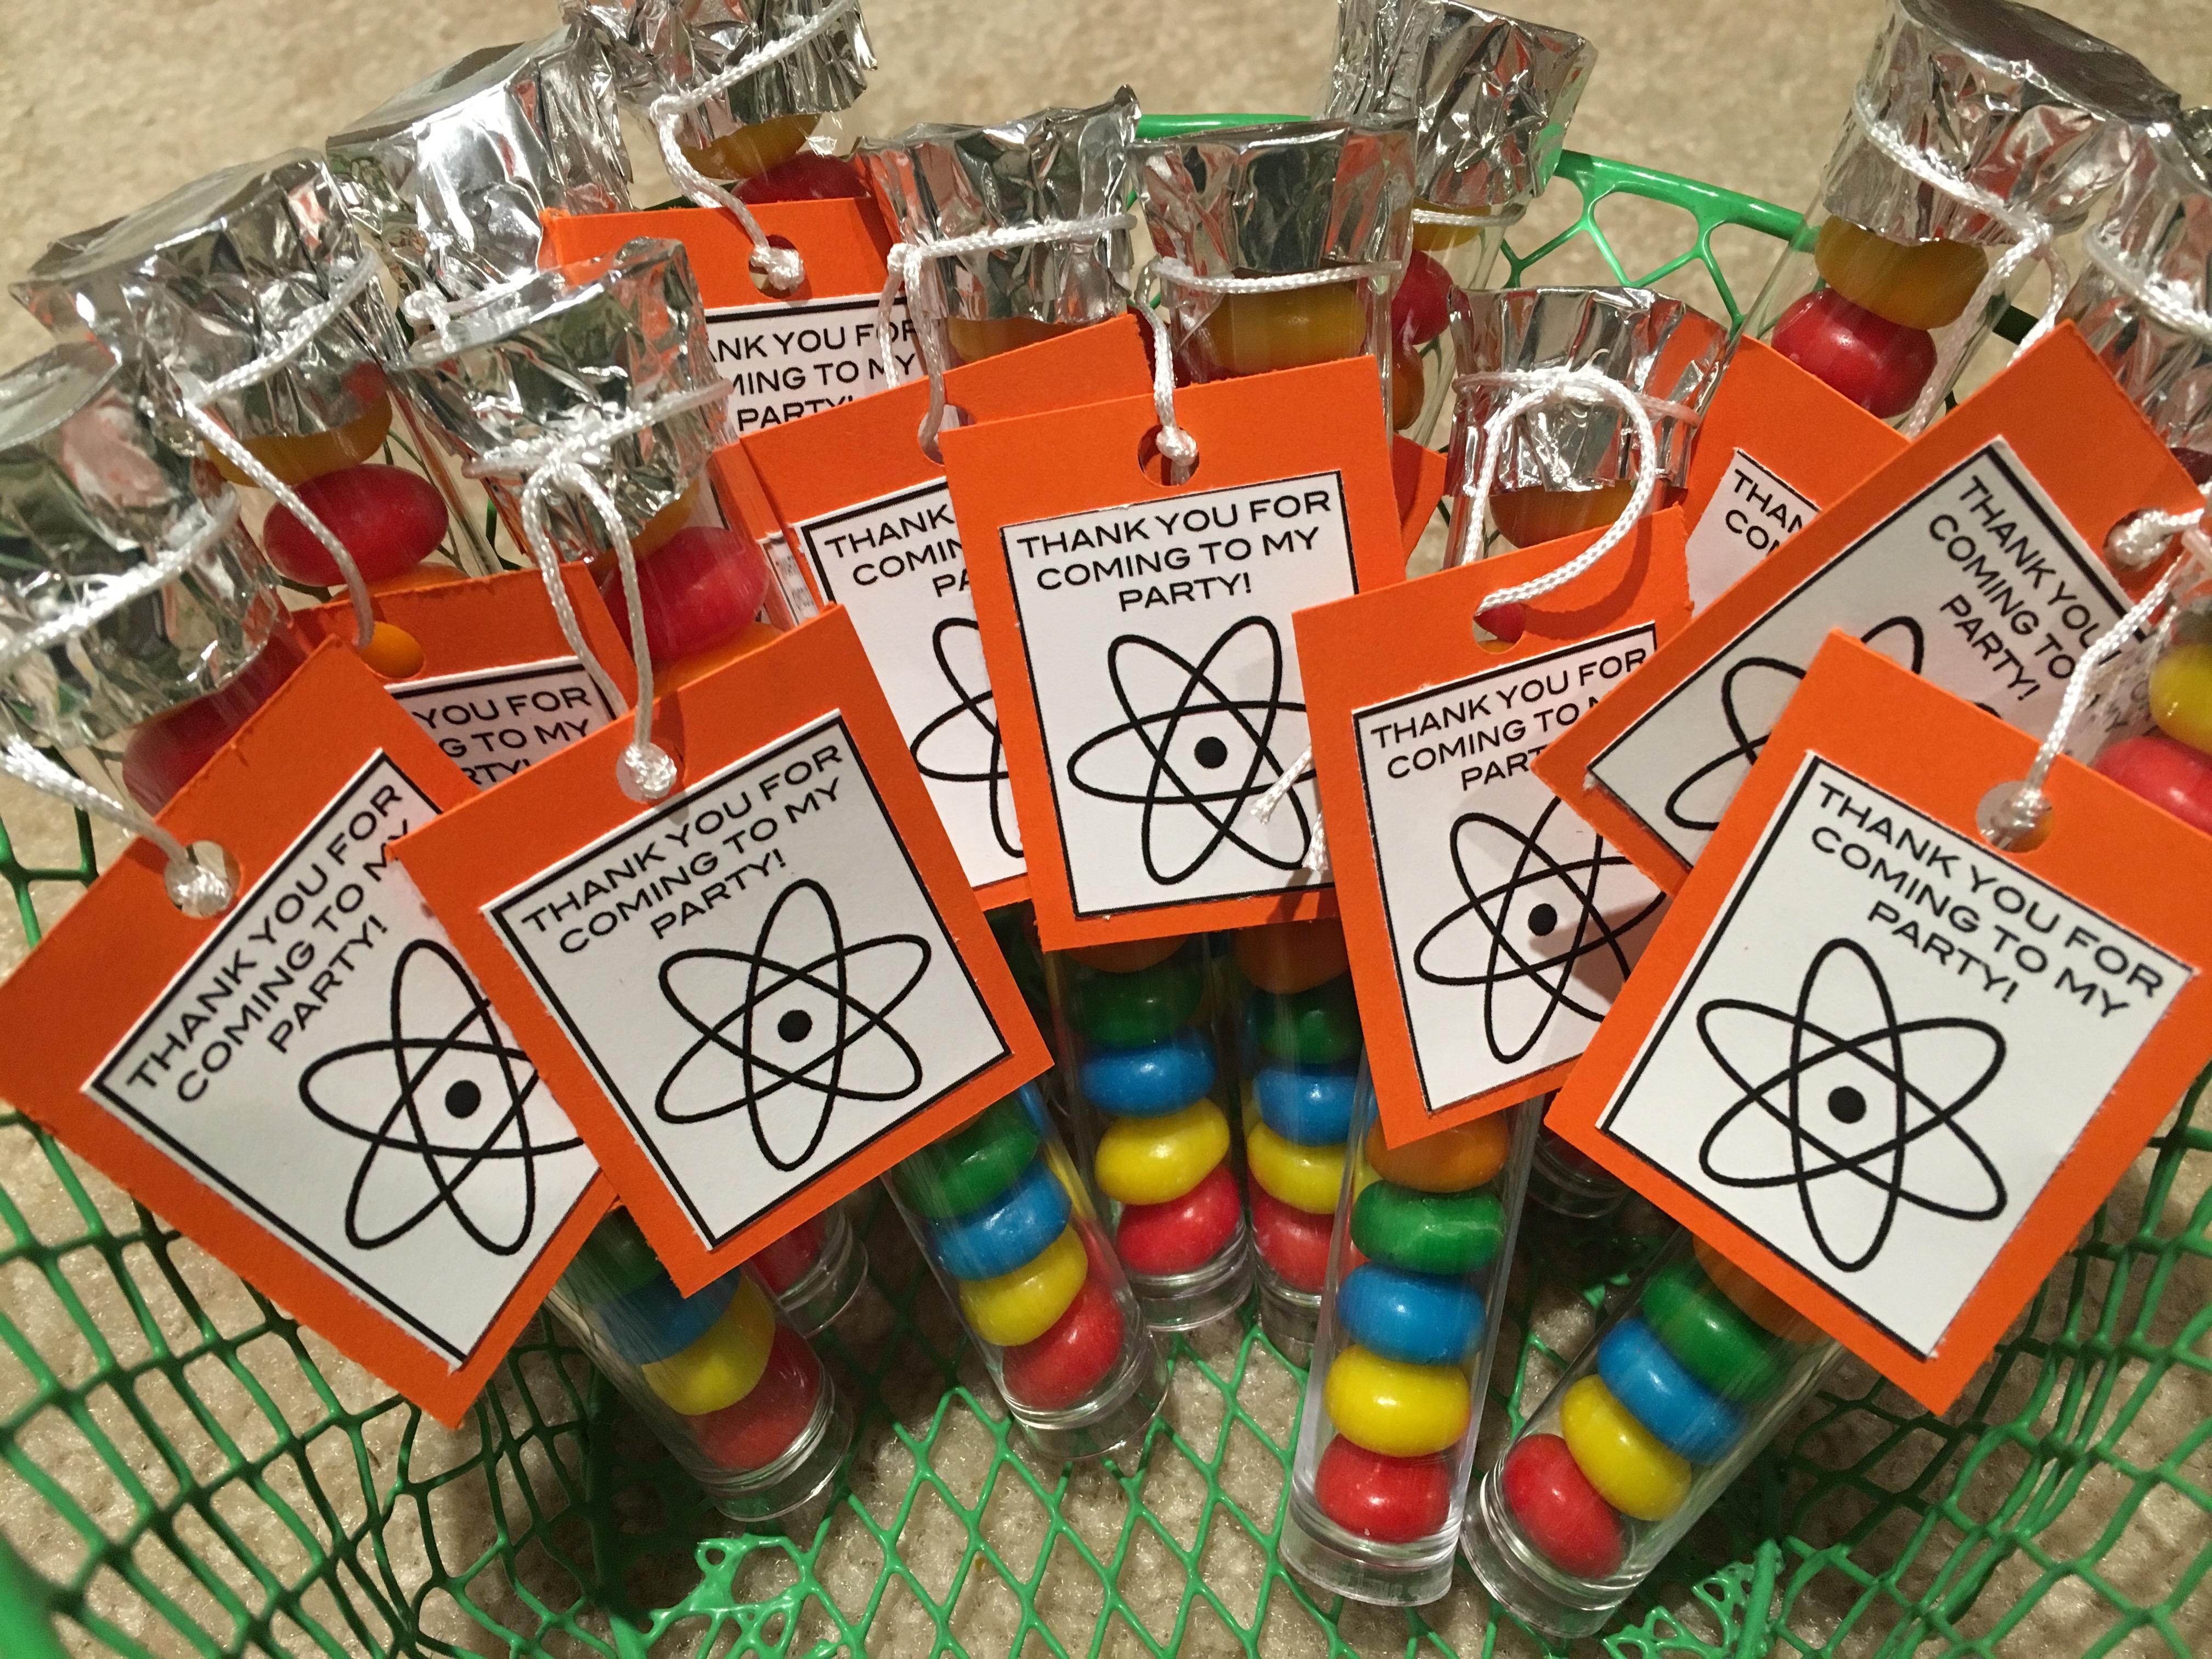
For more fun birthday ideas check out some of my other blogposts:
Portal Cookie Pops & Birthday Party
Nerf Wars Birthday Party
Wings of Fire Birthday Party


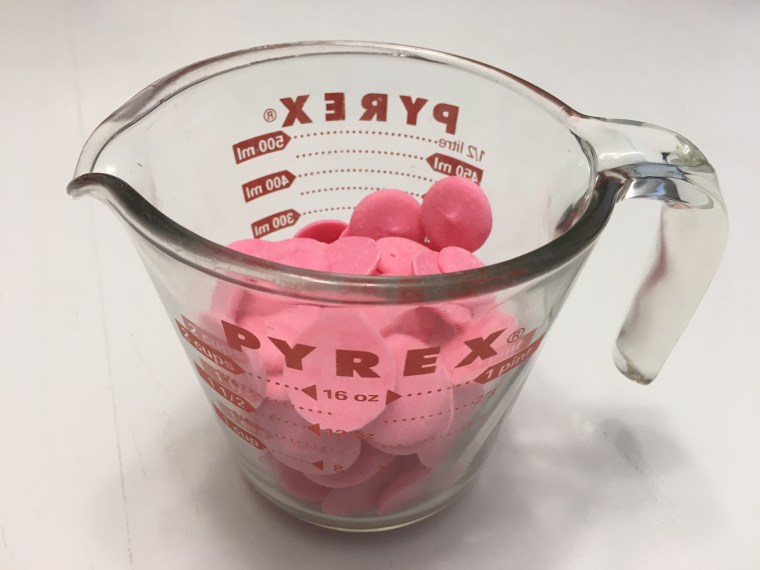
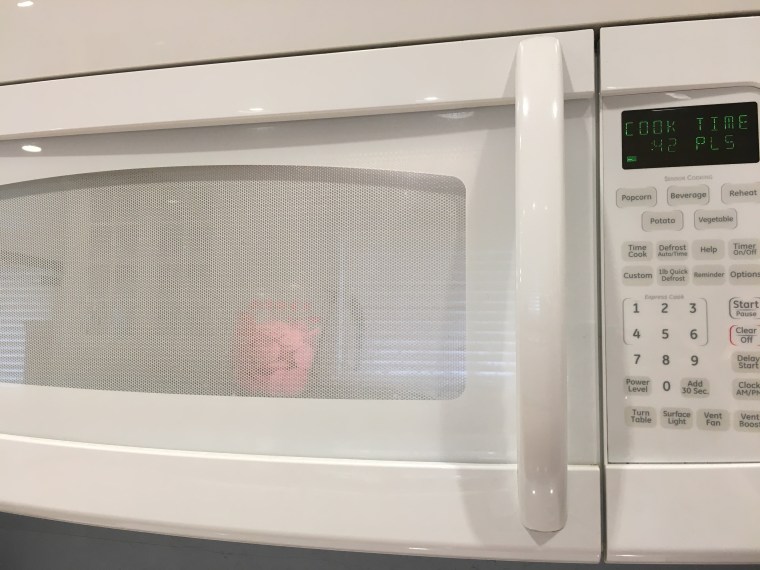
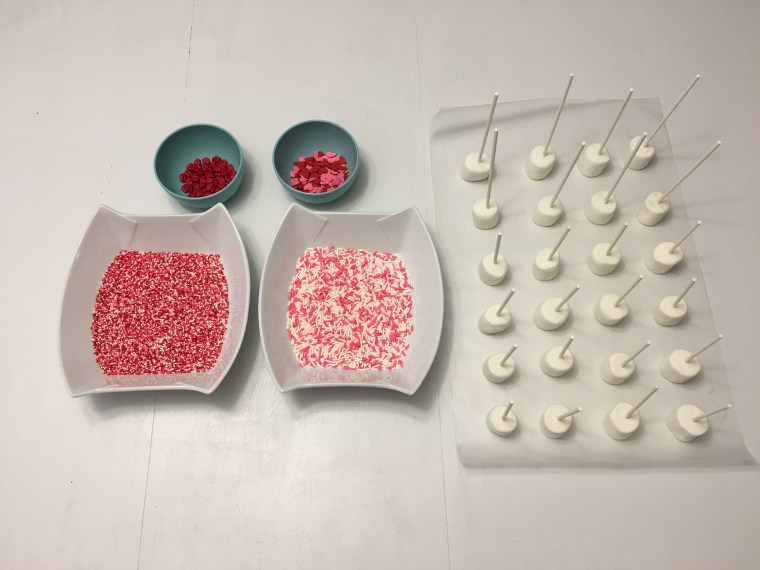


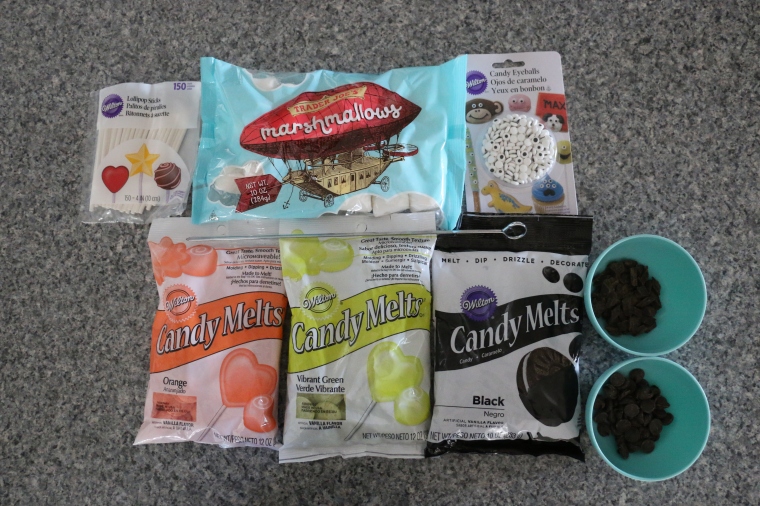 I like to use mason jars to melt the candy in, but small bowls or coffee mugs work also. Just make sure whatever you use is microwaveable. It’s best to set everything up before melting so your all ready to begin dipping the marshmallows. Line your countertop with wax paper and push a lollipop stick into the center of each marshmallow. Get your candies and sprinkles all ready to go. Follow the directions on the back of the bag of candy melts. I have found it best to start with one minute in the microwave on 50% power. After that, stir, and then go an additional 30 seconds at a time until your candy is easy to stir and completely melted. *Do not over melt…sometimes as you stir, the candy will continue to melt, so give it a good stir each time.
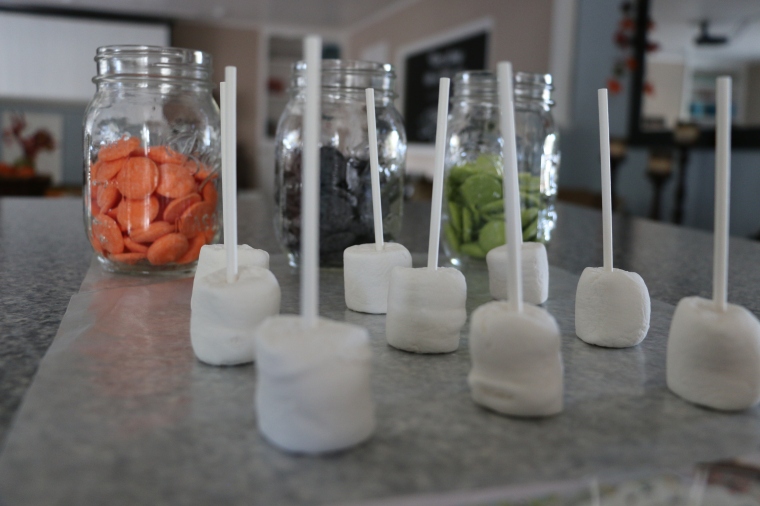
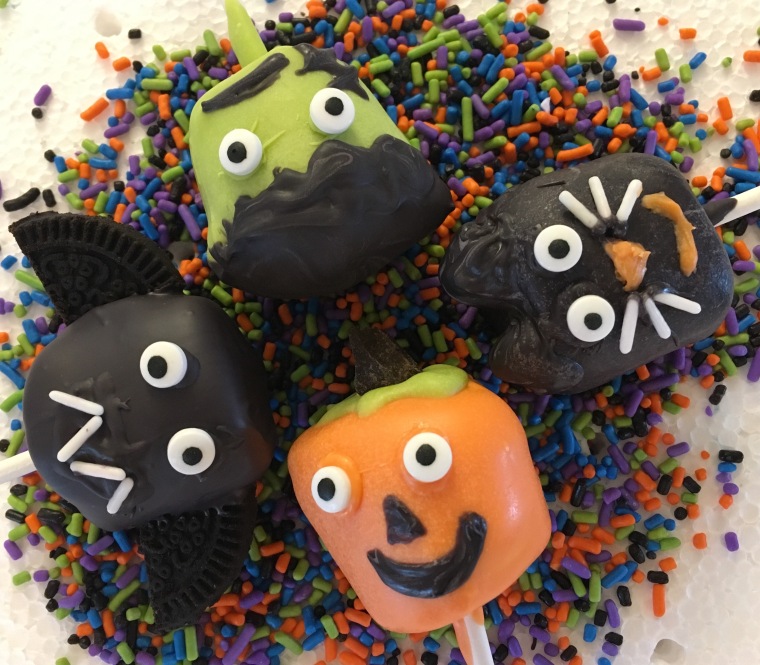
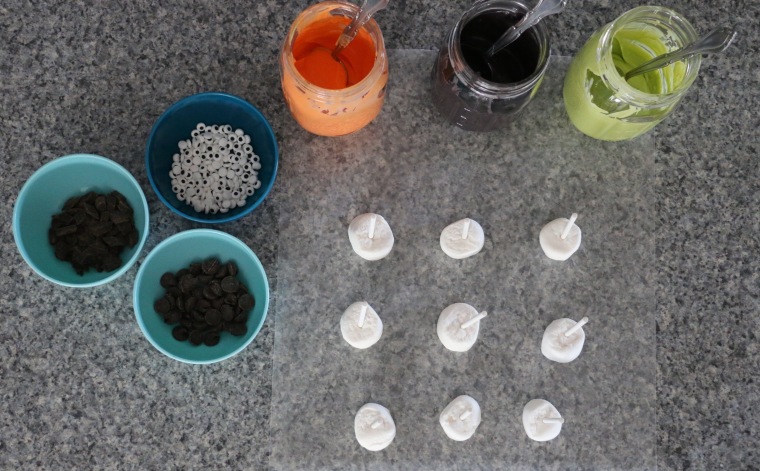 Now comes the fun part! You are ready to dip and decorate! Enjoy my tutorial on making Halloween Marshmallow Pops for more helpful tips!