Each year, I try to incorporate some type of Christmas craft into our Advent activities. When my kids were younger, we would often take nature walks and collect all sorts of natural treasures. My kids are older now, and nature walks are a distant memory, but this remains one of my favorite DIY Christmas crafts that we made together.
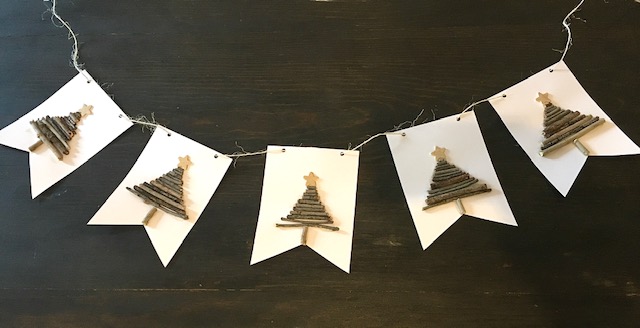
This simple and inexpensive Christmas Tree Banner will add a rustic touch to your holiday decor and kids will have so much fun collecting sticks and twigs to use for their creations. You will need to pre-cut white or off white card stock in rectangles or pendants and purchase some wooden stars, gold paint, twine, and glue. Before your nature walk, take a few minutes to paint your wooden stars with the gold paint. #CommissionsEarned

Bundle up, grab a bag, and go on a stick hunt. Look for sticks in a variety of lengths, but try to find ones in a similar width around. Once you get home, hand each child a piece of the pre-cut banner and let them sort through the sticks, breaking pieces off to for their Christmas Tree, and working their way from bottom to top, while leaving a bit of room for a star.


Glue the sticks in place, including a vertical twig for the trunk and add one of your gold stars to the top of each twig tree. Once all of your banner pieces have dried and you have hole punched the top, thread your twine through and find the perfect place to hang your rustic Christmas Tree Banner.


For more fun Christmas ideas check out the following blogposts:
The Polar Express & Graham Cracker Trains


 Google Christmas silhouettes online and find four that you want to use. Size them to fit in the center of your canvas with enough space around each for the glitter. Try and make all 4 about the same size. Print out your silhouettes and cut them to use as templates.
  Trace your silhouettes on the back of your adhesive-backed vinyl. Cut them out to create four stickers.
 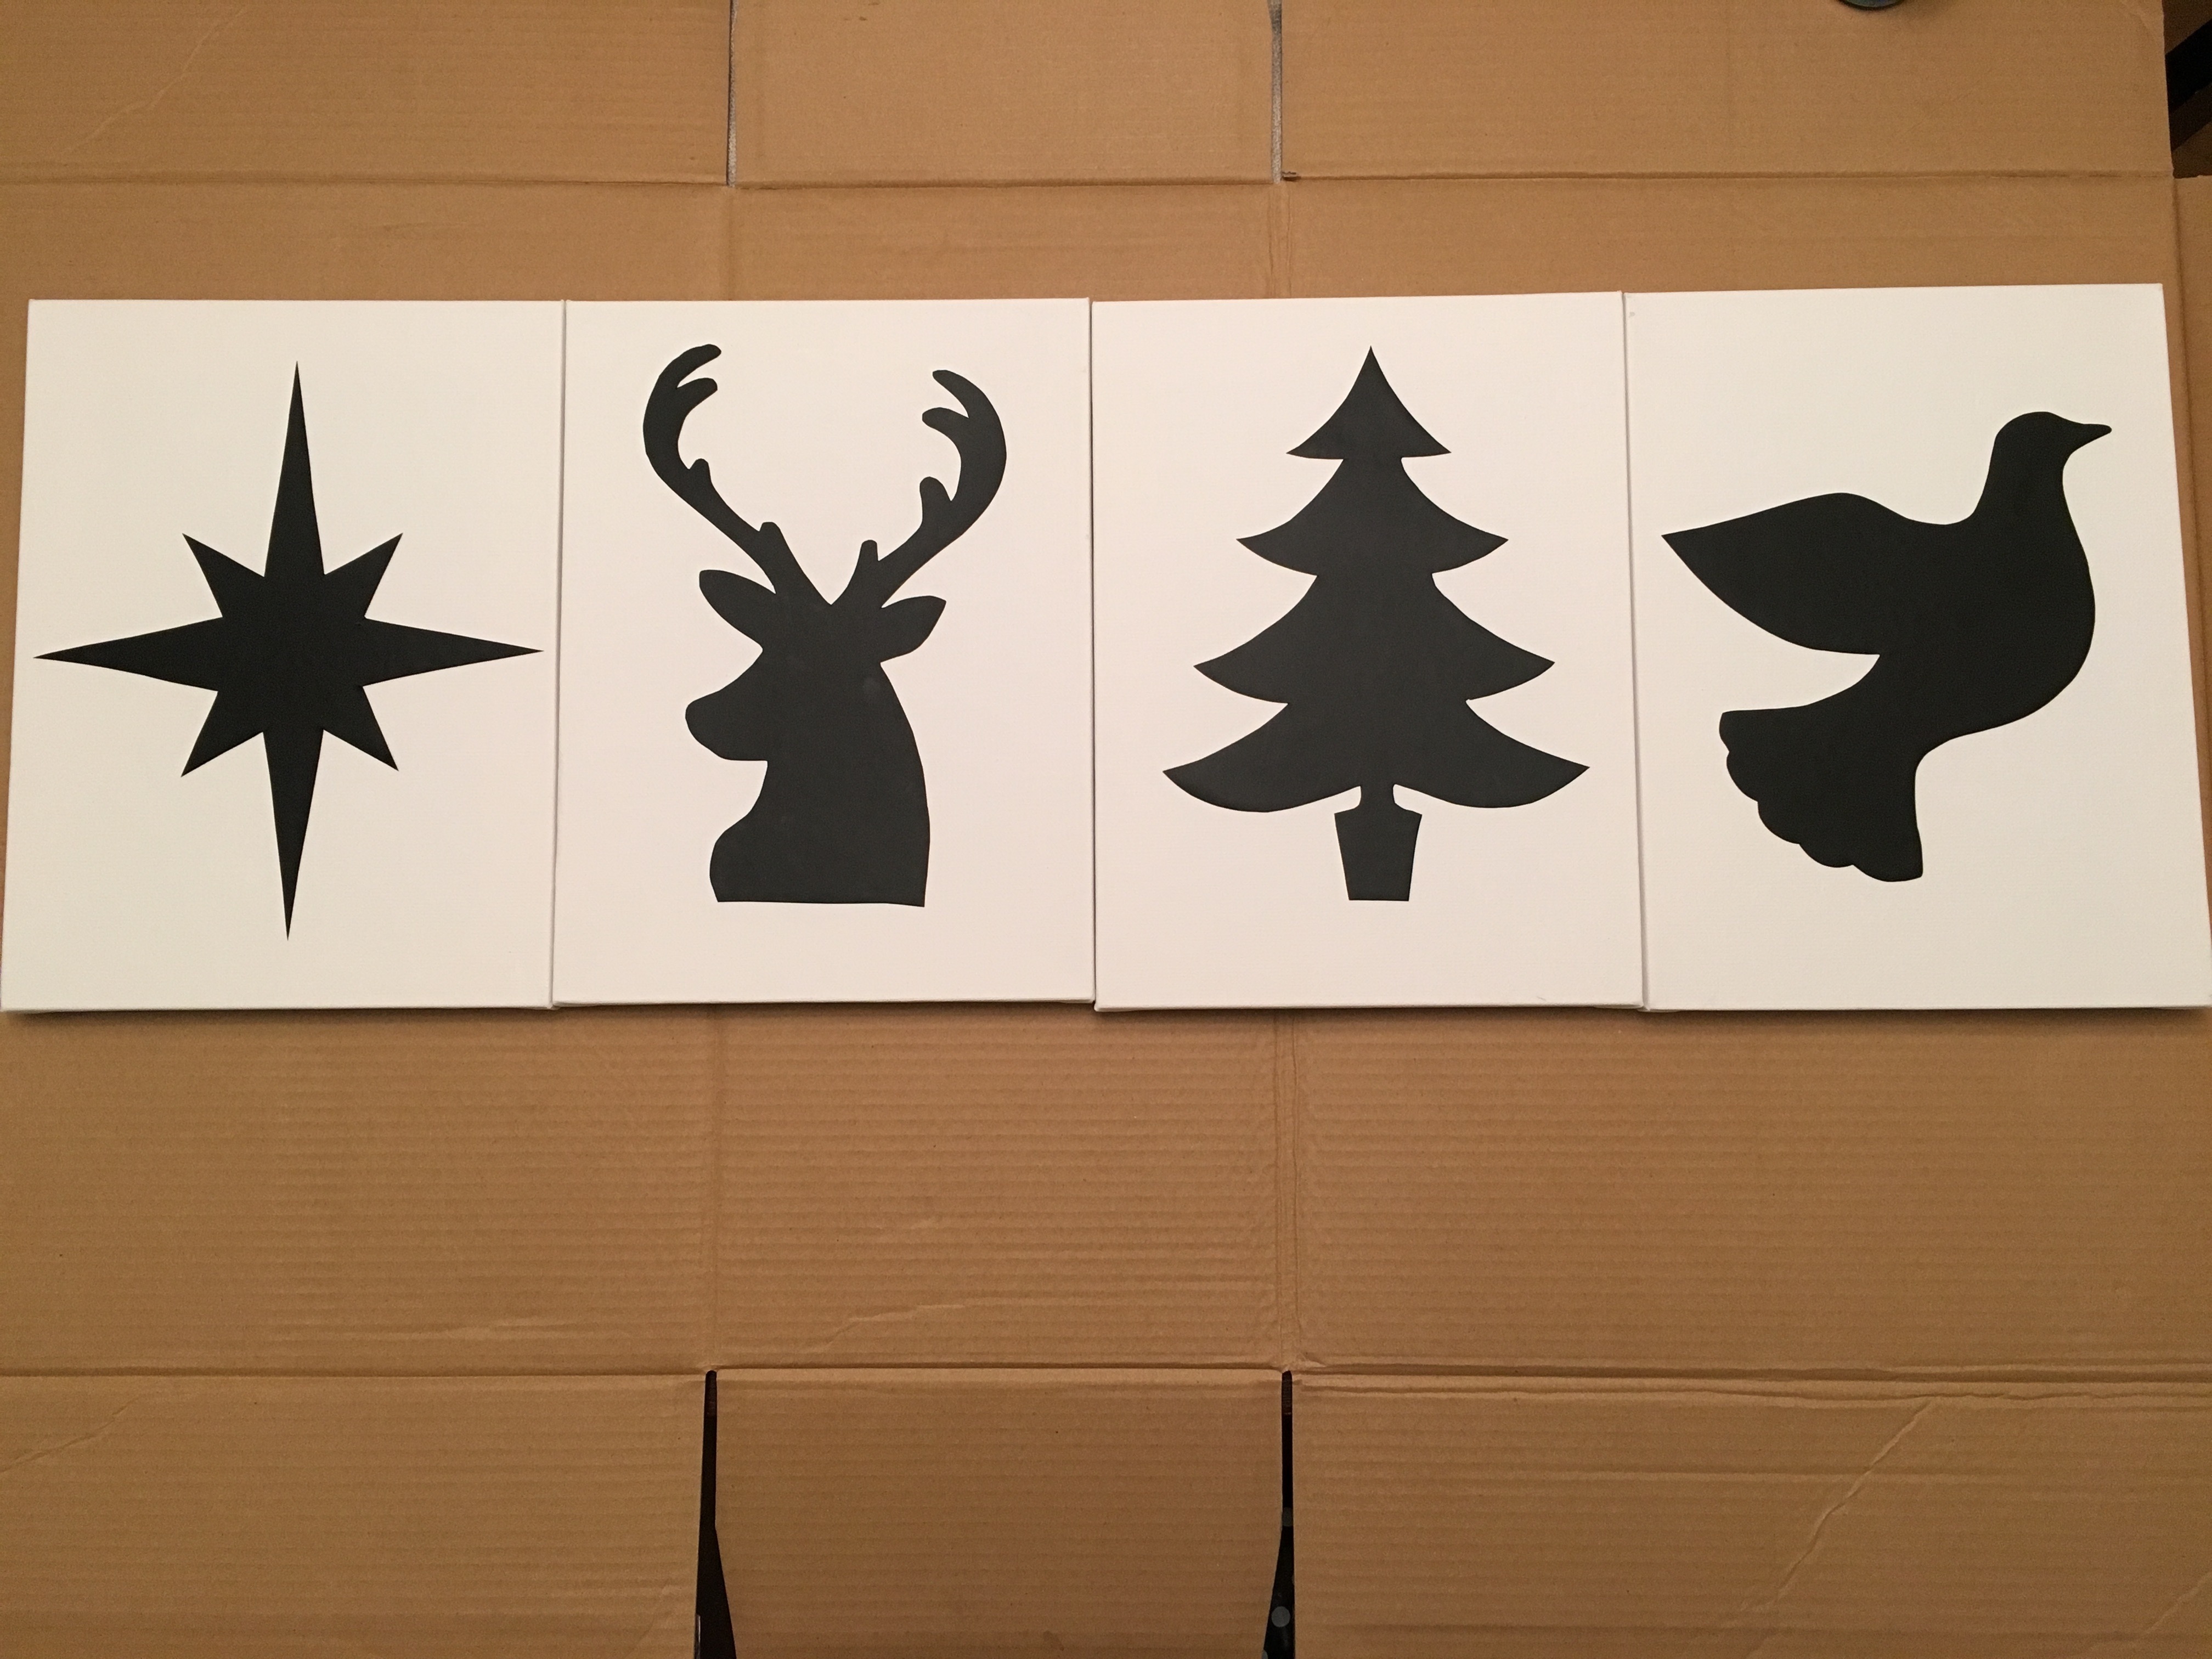 Place one “sticker” on each canvas.
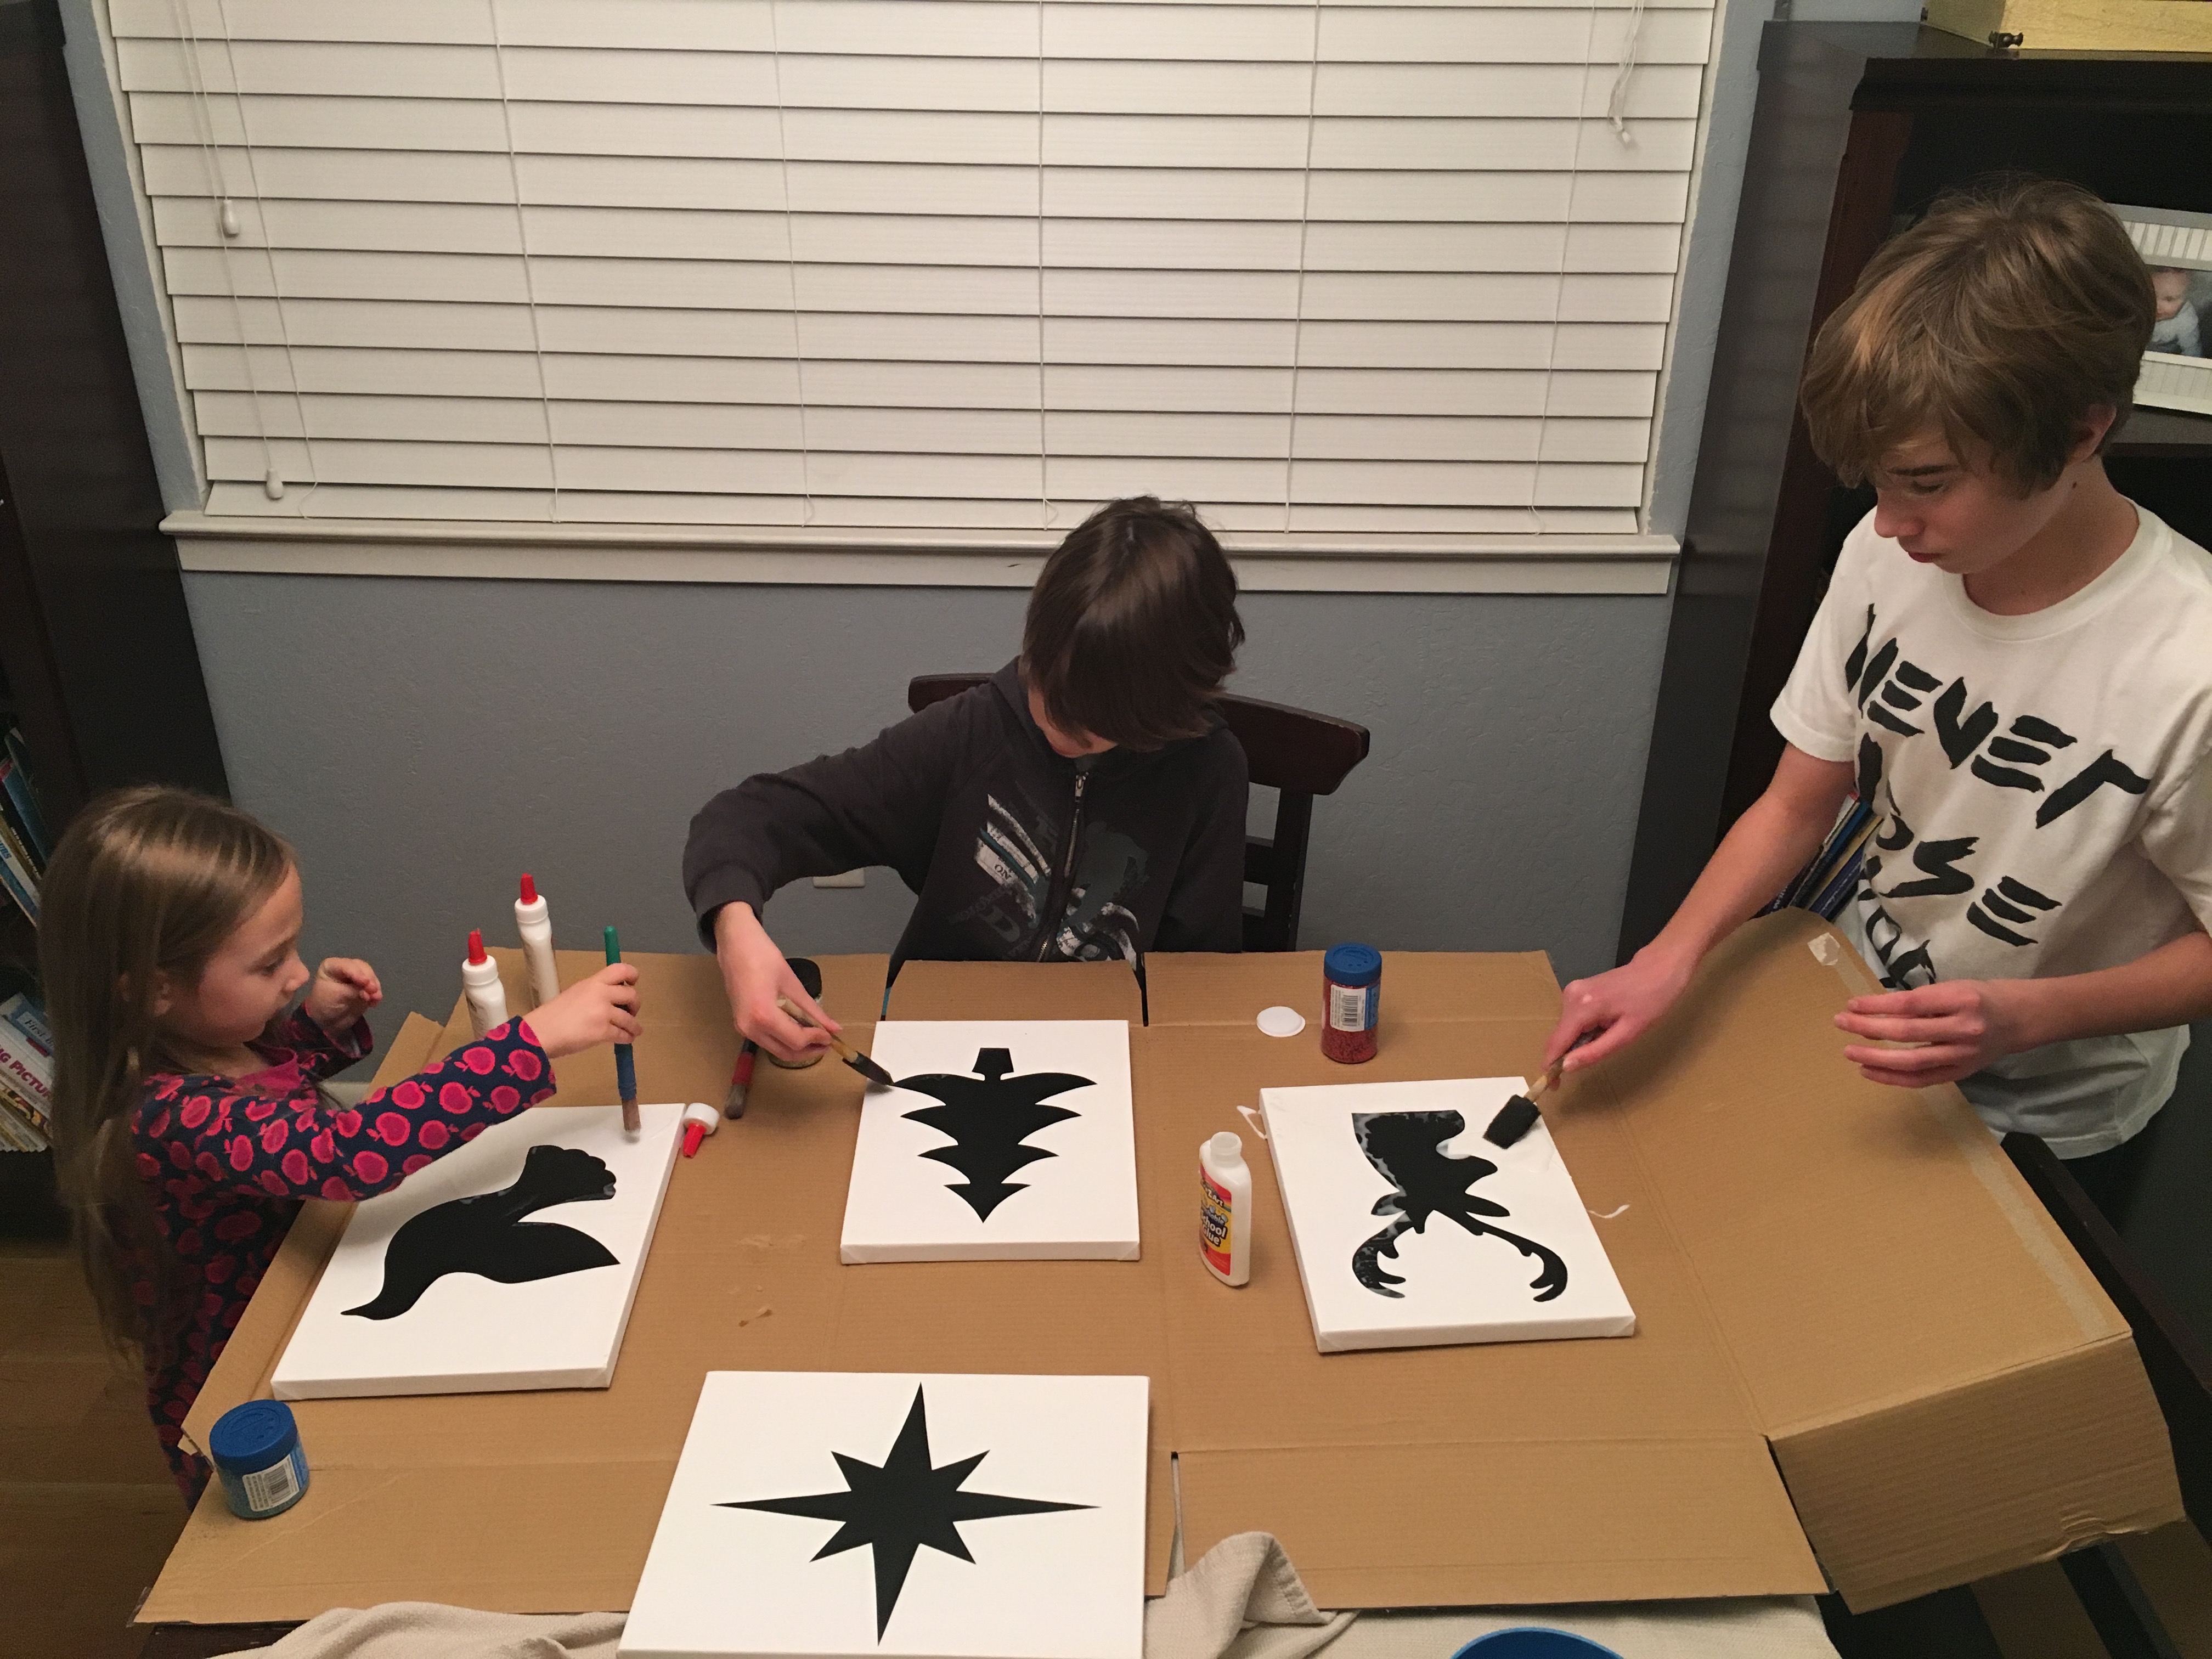 Paint glue evenly all over the white parts of your canvas. It’s ok to get a bit of glue on the stickers, but try to keep it to a minimum so that you can see the outline for when you peel it off later.
  Sprinkle glitter all around your silhouette and be sure to go over the edges a bit to make sure you create a nice line all around each image.
 Wait about 45 minutes. You will want to peel your stickers before the glue and glitter completely dry. This will create a cleaner line.
  Allow your canvases to dry completely. Shake the glitter off. Then paint over them one more time with white school glue. This will seal the glitter in so that it doesn’t fall off everywhere when you they are hanging up on your wall. Let them dry overnight.
 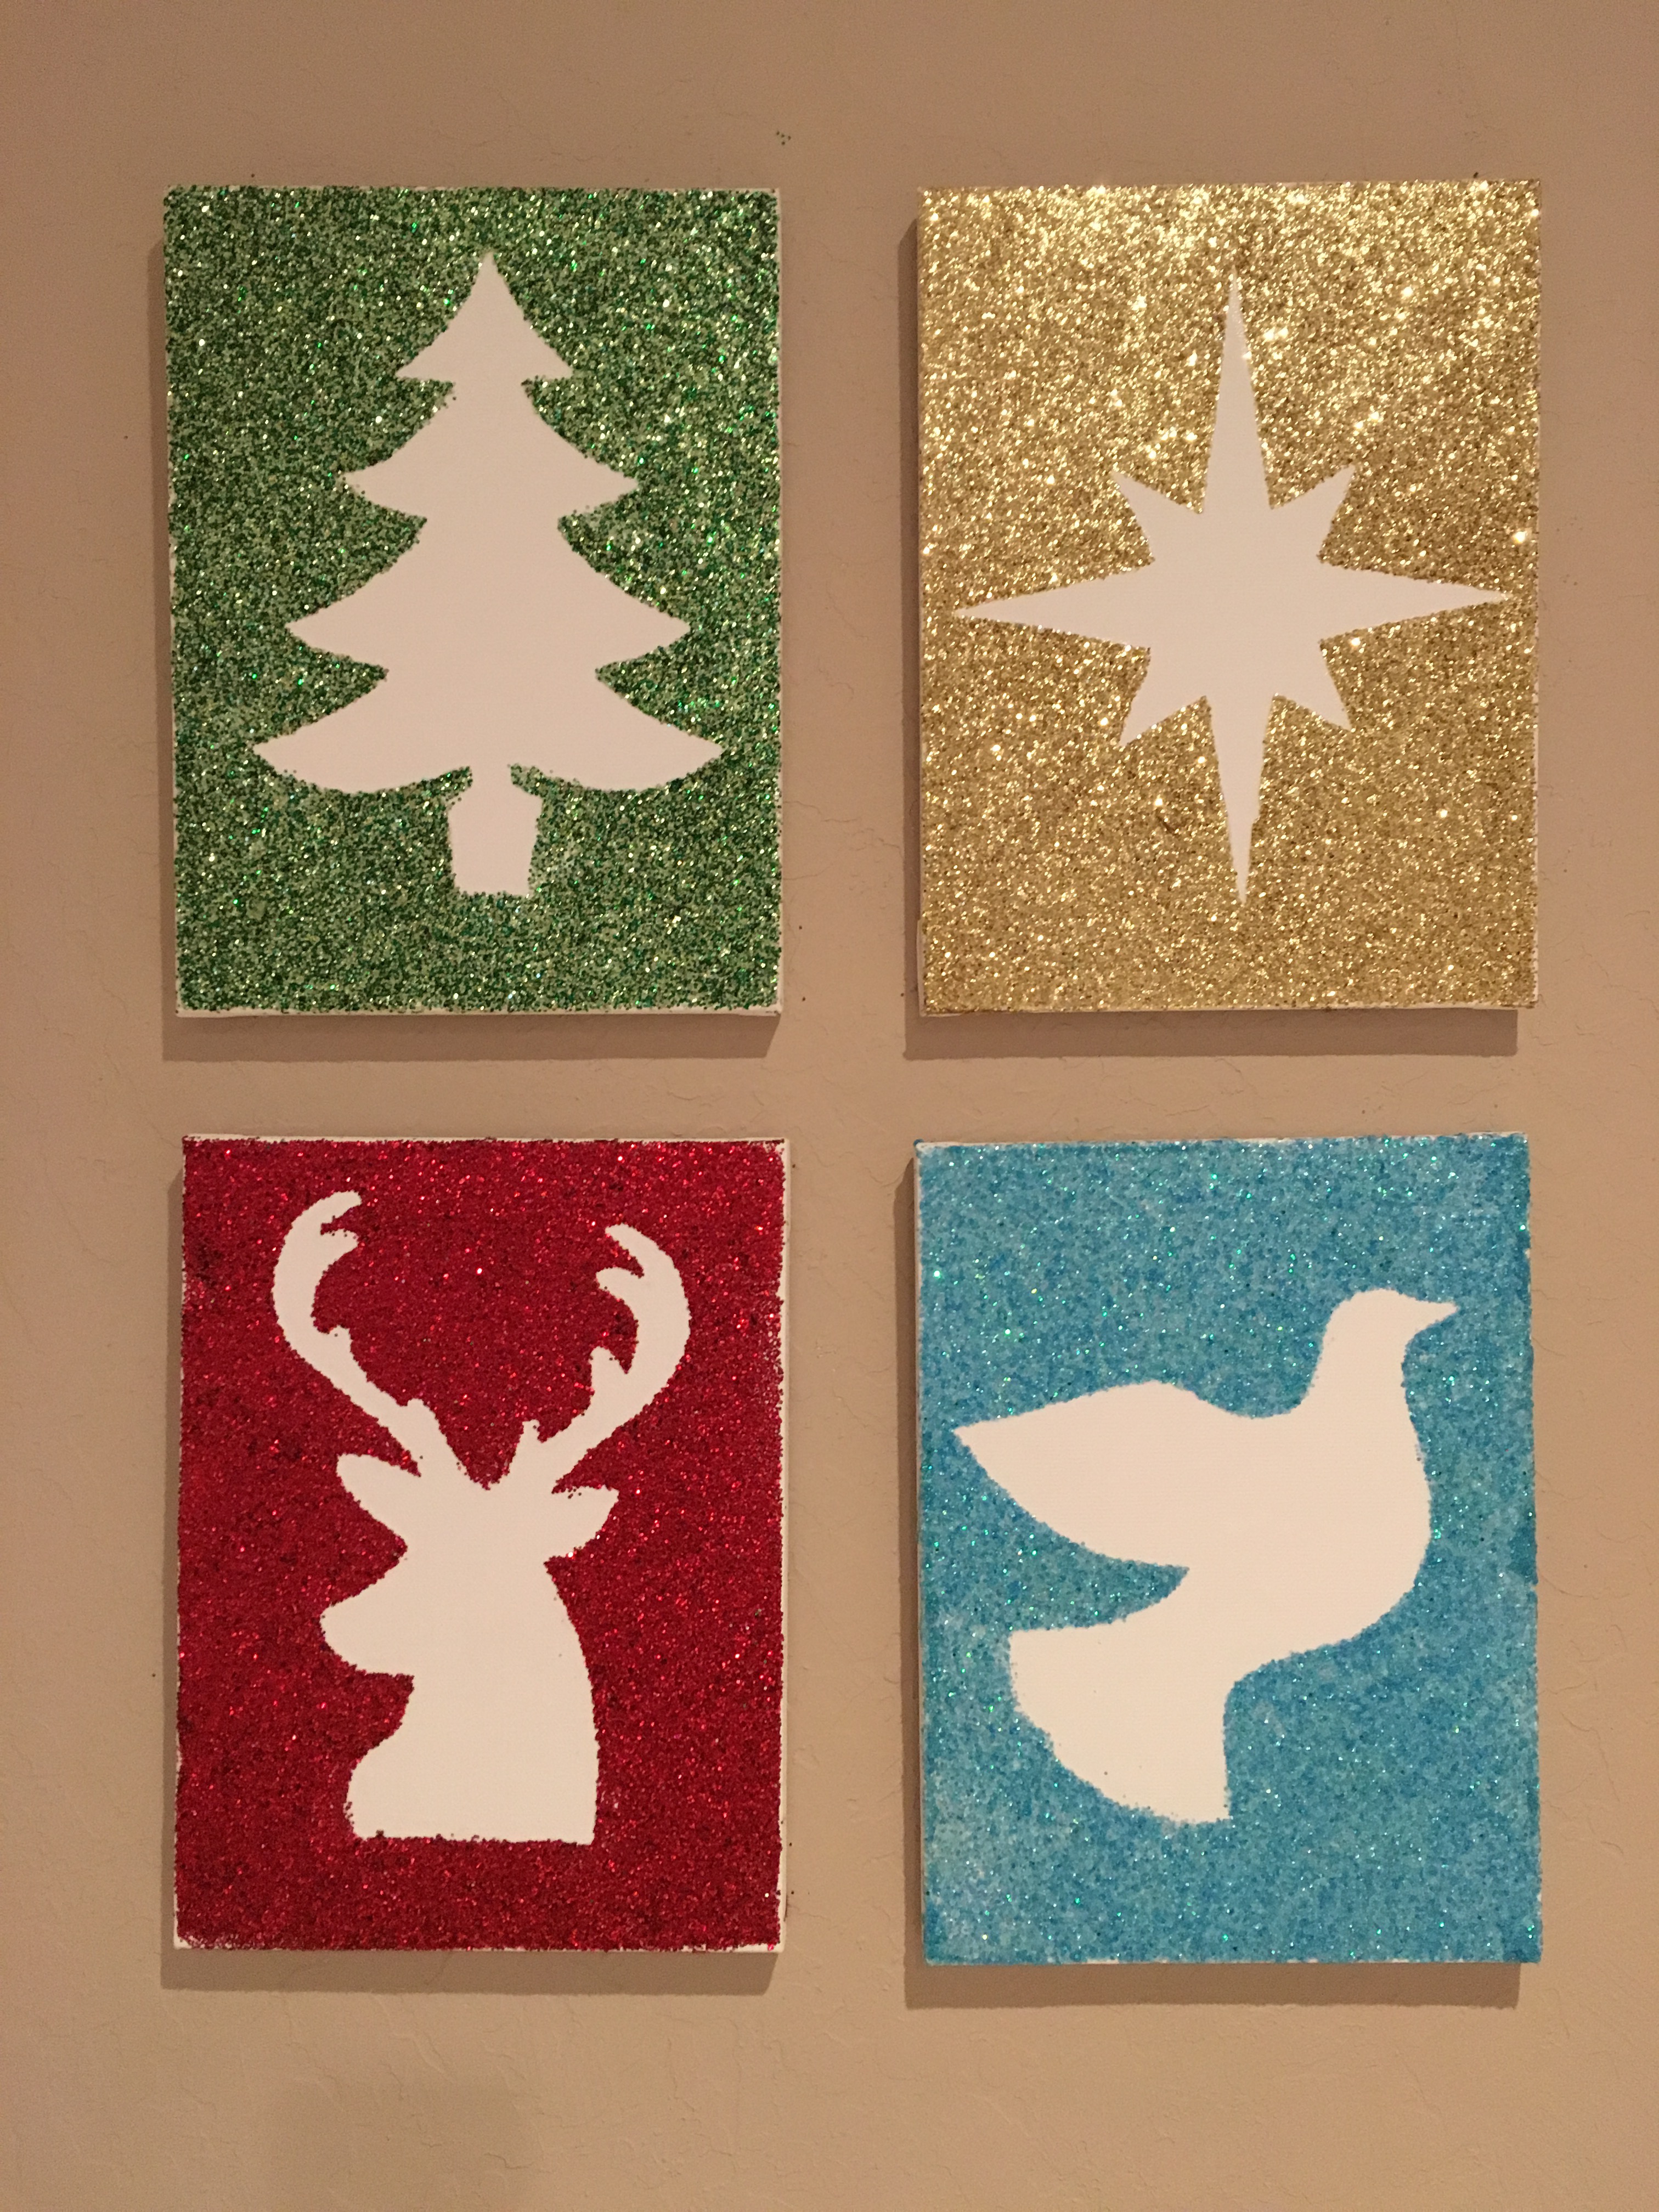 Hang up and admire your beautiful Glittery Christmas Silhouettes!