Portal Cookie Pops & Birthday Party

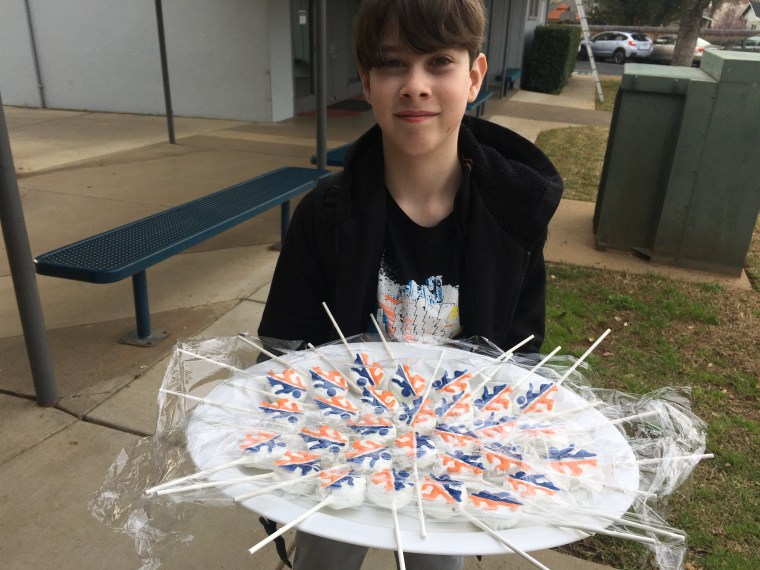
My son, Micah, is a huge fan of the video games Portal and Portal 2.  So for his 11th birthday, he decided to have a Portal themed party.  I wanted to send a special treat for Micah to bring to school on his big day, so I went to work making these super tasty Portal Cookie Pops.  He was so thrilled to bring them to share with all of his friends!  You can watch my tutorial above if you want to make some of your own Portal Cookie Pops!

IMG_6620IMG_6642

portal cookie pop topper template pdf

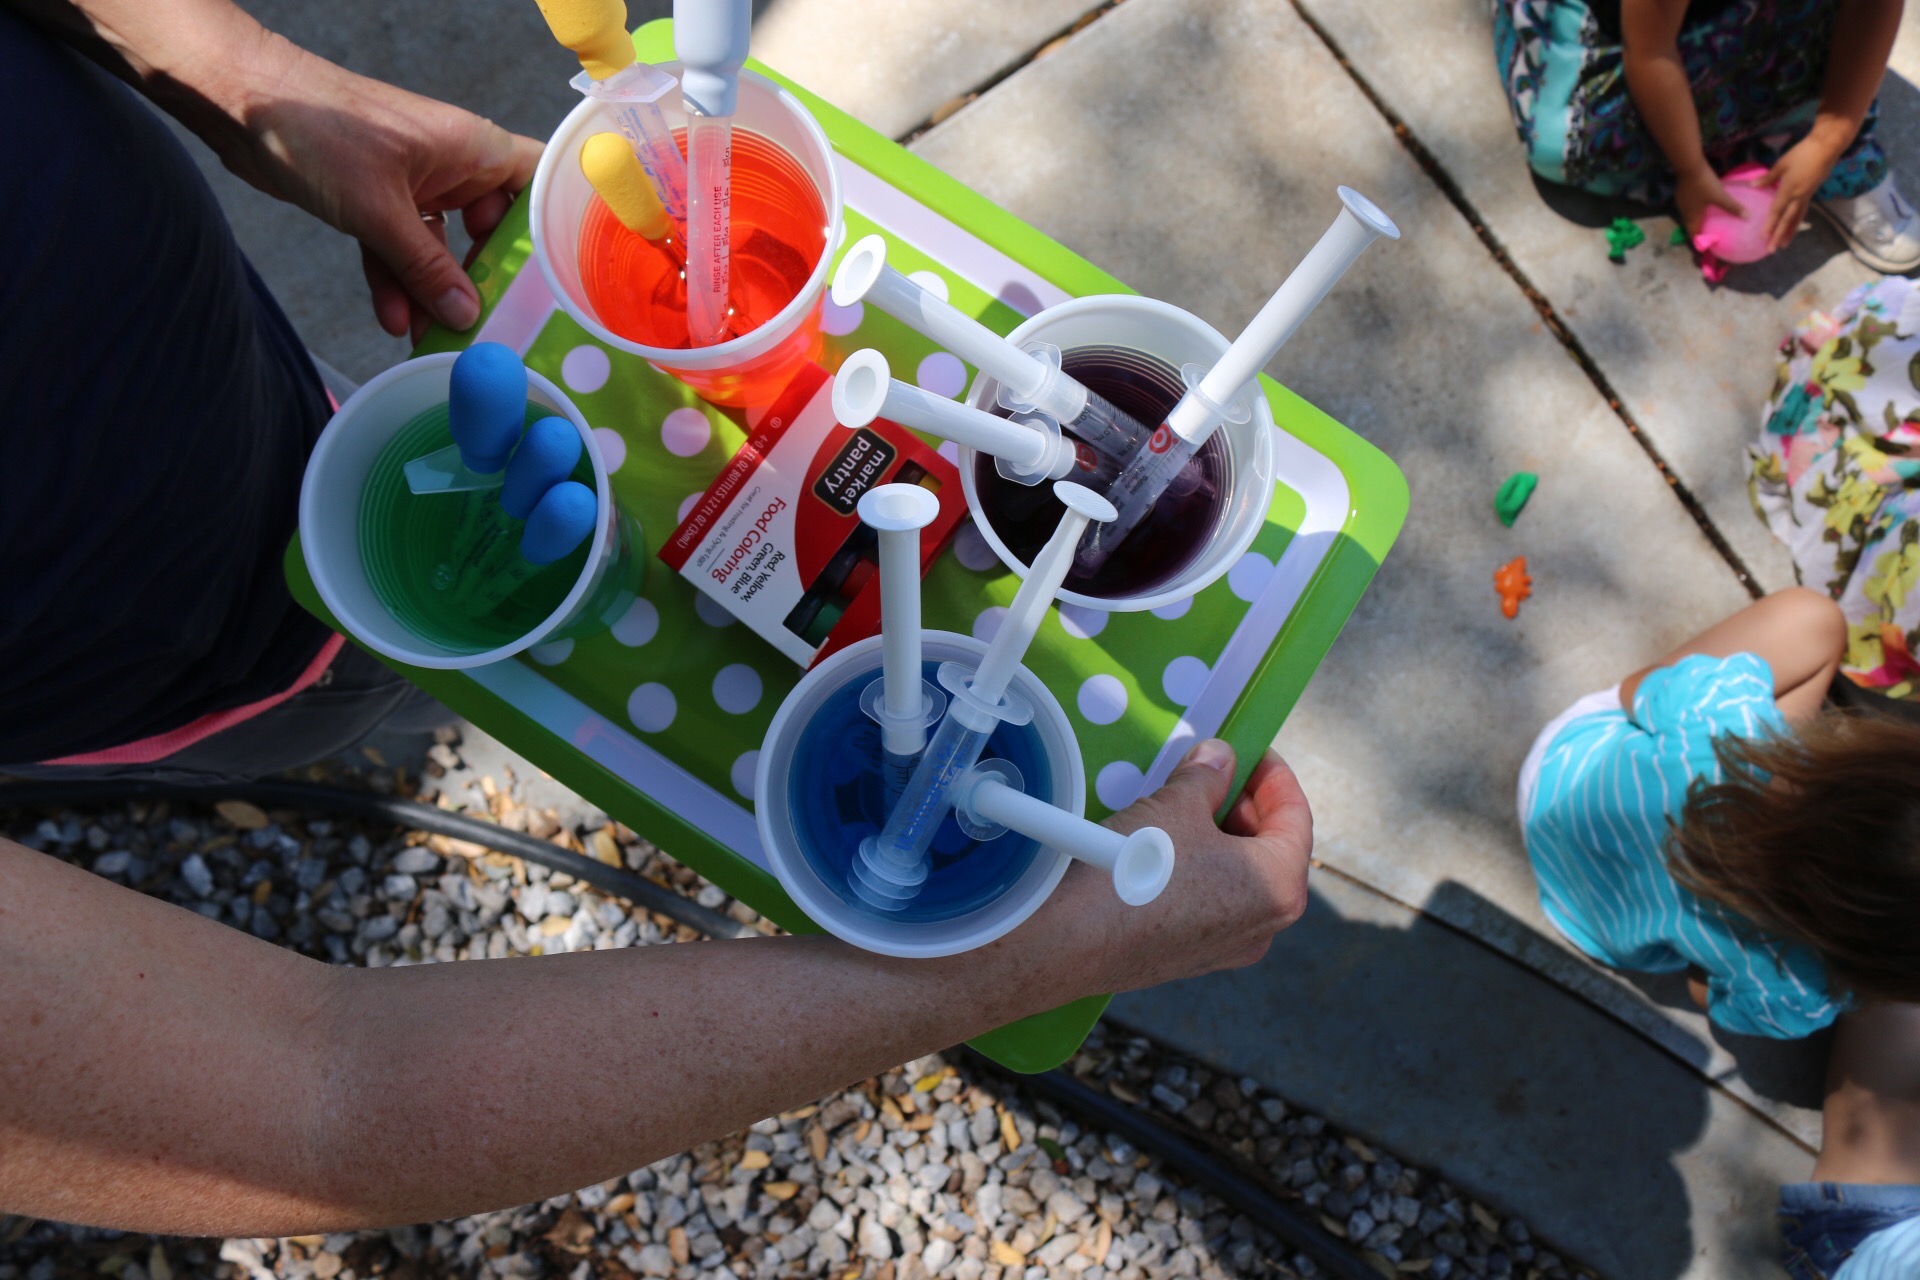
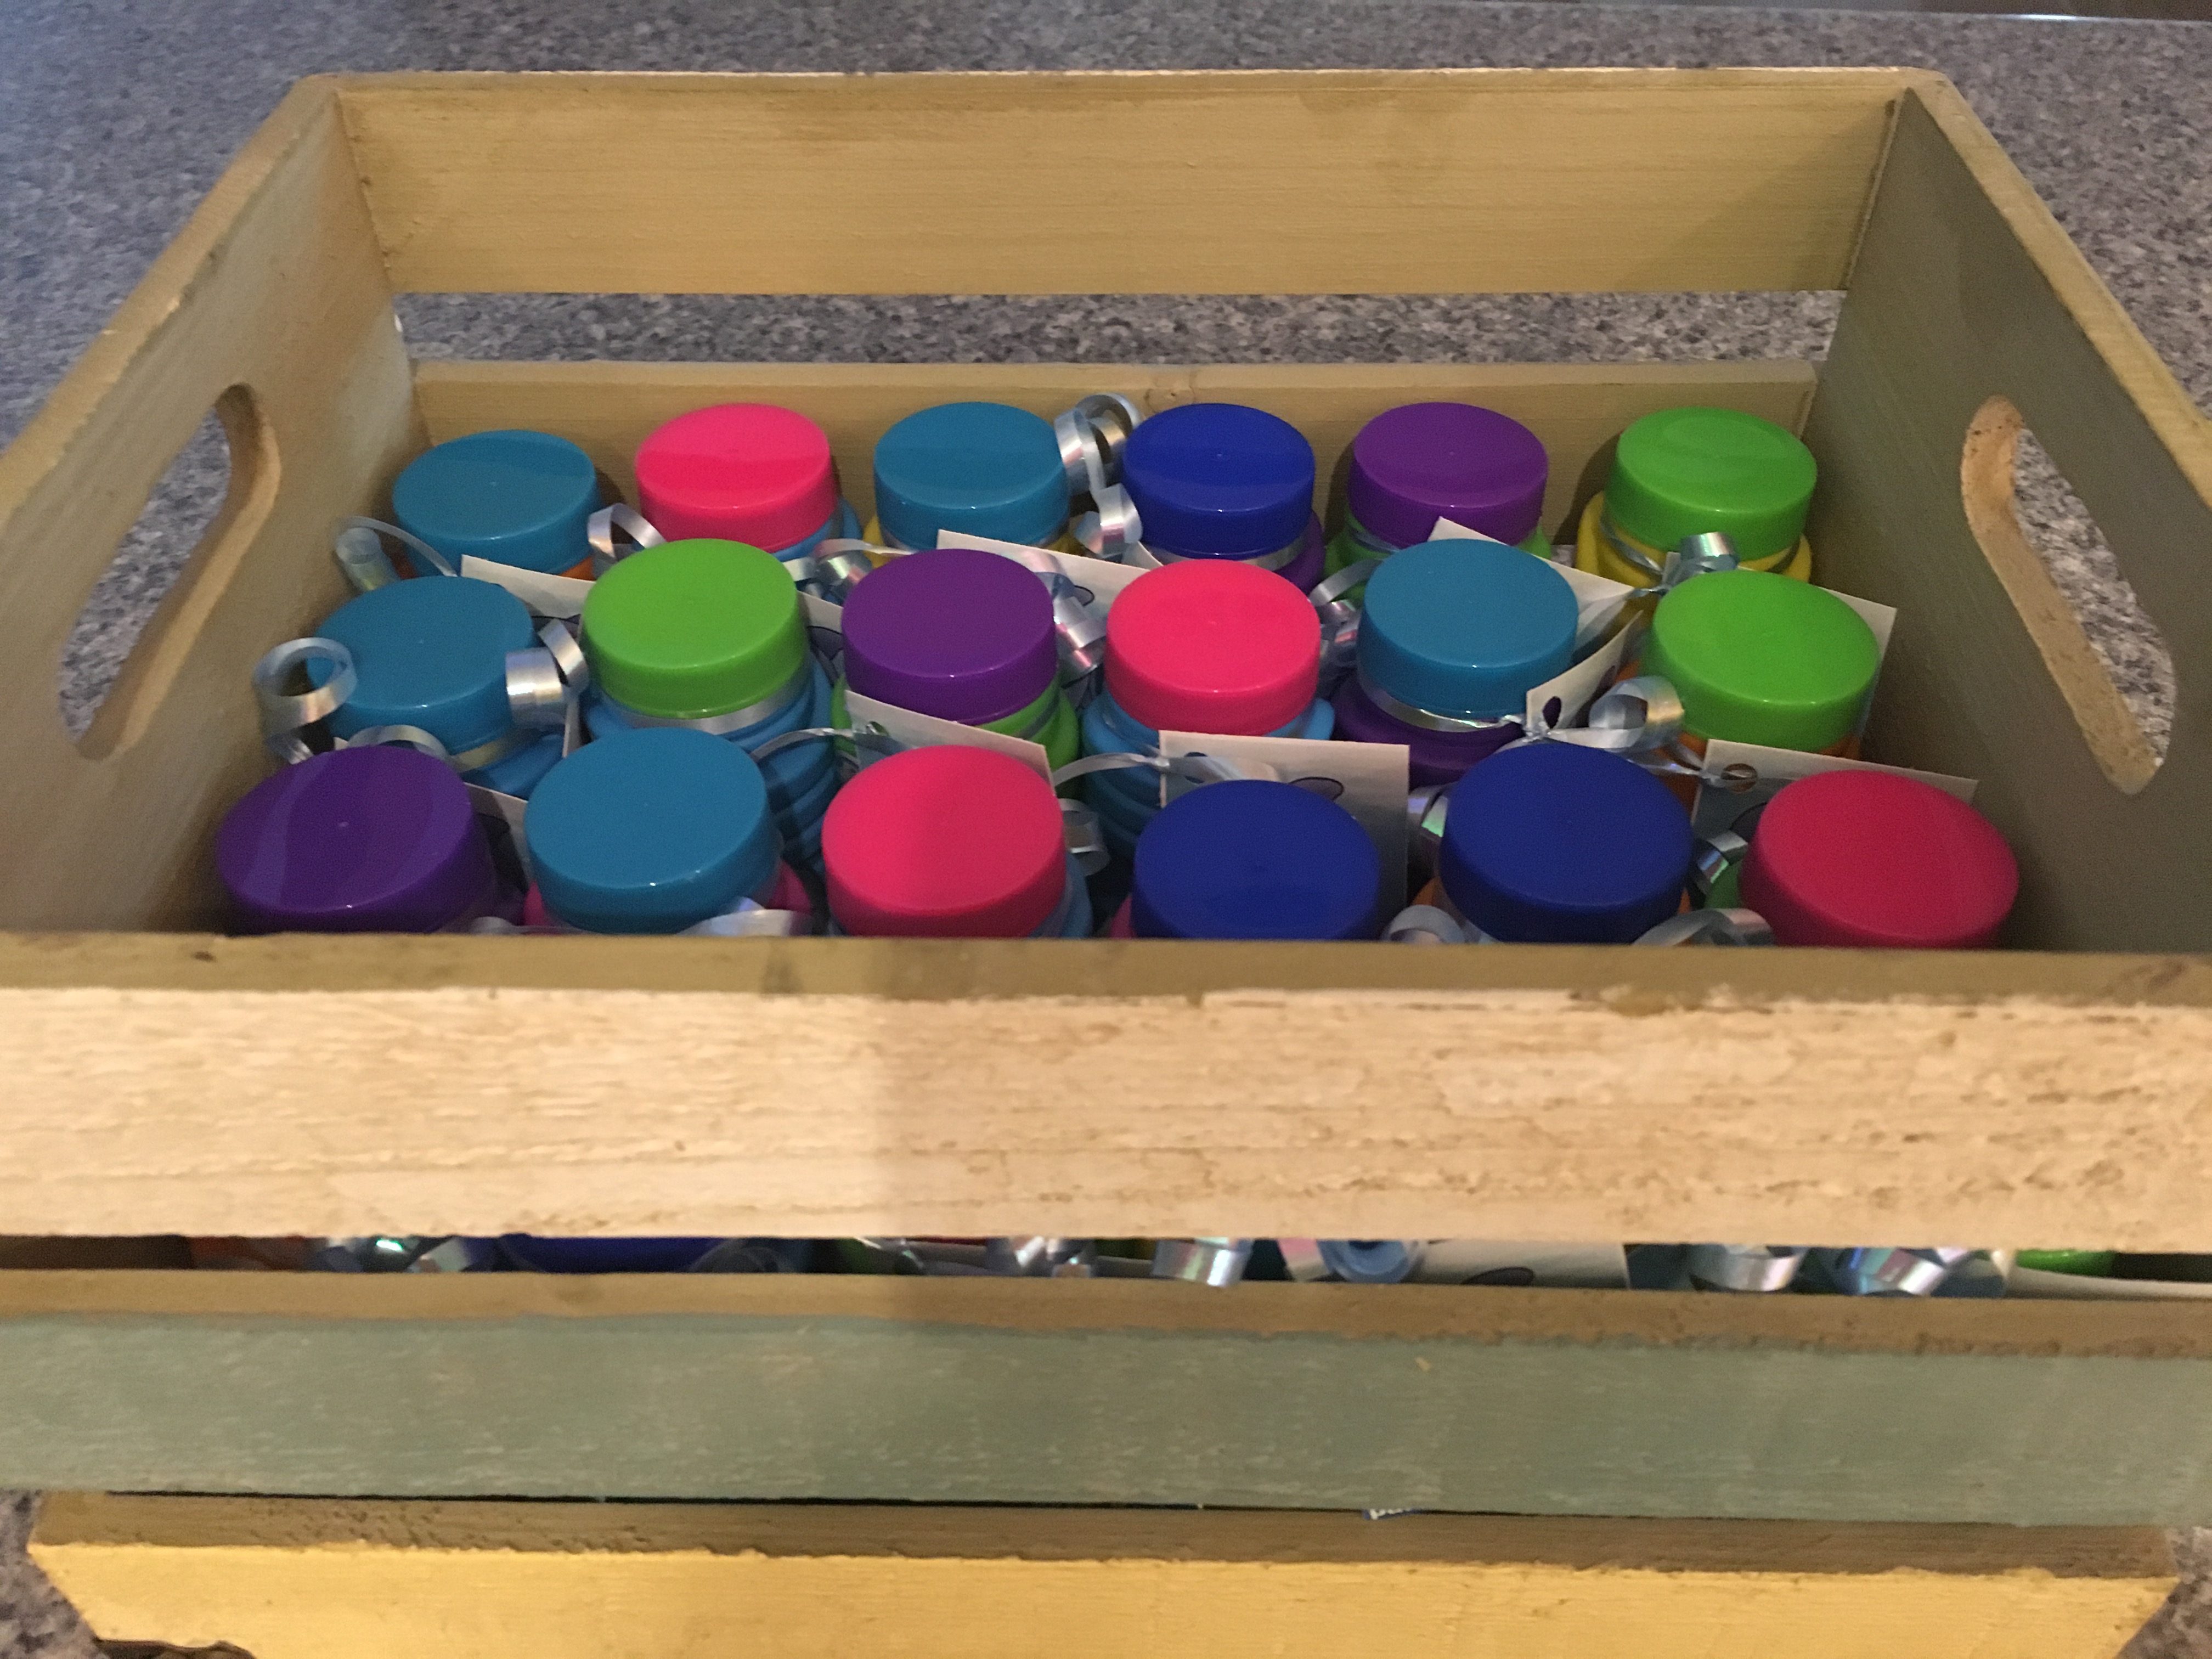
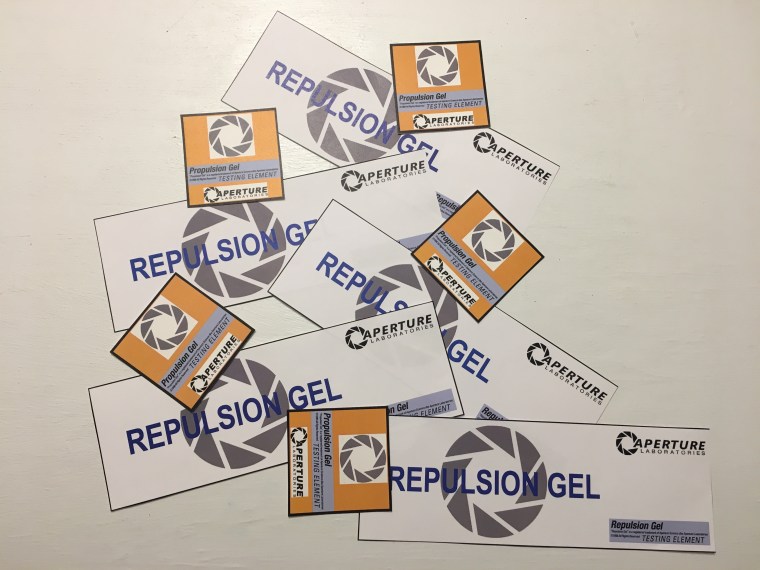
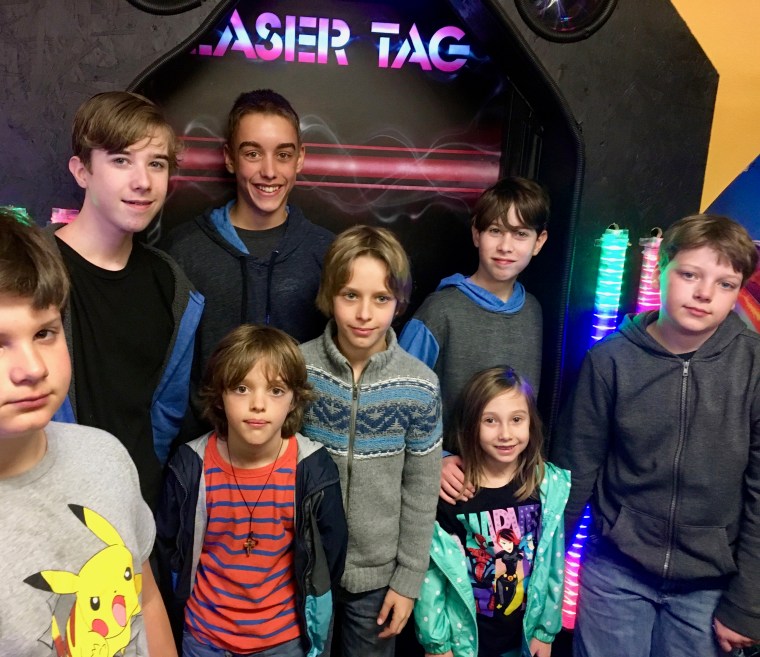
The party itself didn’t require a whole lot of preparation because Micah wanted to have it at a local “fun center” so that he and his buddies could play laser tag and ride go carts.  I did want to add a couple of fun elements though, so I created these labels to make “Propulsion Gel” and “Repulsion Gel” to give to each of the kids.

According to theportalwiki.com , “Propulsion Gel is a bright orange substance that greatly reduces the friction of objects moving across the surface to which it is applied. Propulsion Gel also increases velocity, as objects covered in Propulsion Gel also have their friction reduced, causing them to slide around and be moved more easily.  Repulsion Gel is a light blue substance that repels objects, and any player or object that hits a surface coated with Replusion Gel will bounce off.”

IMG_6656

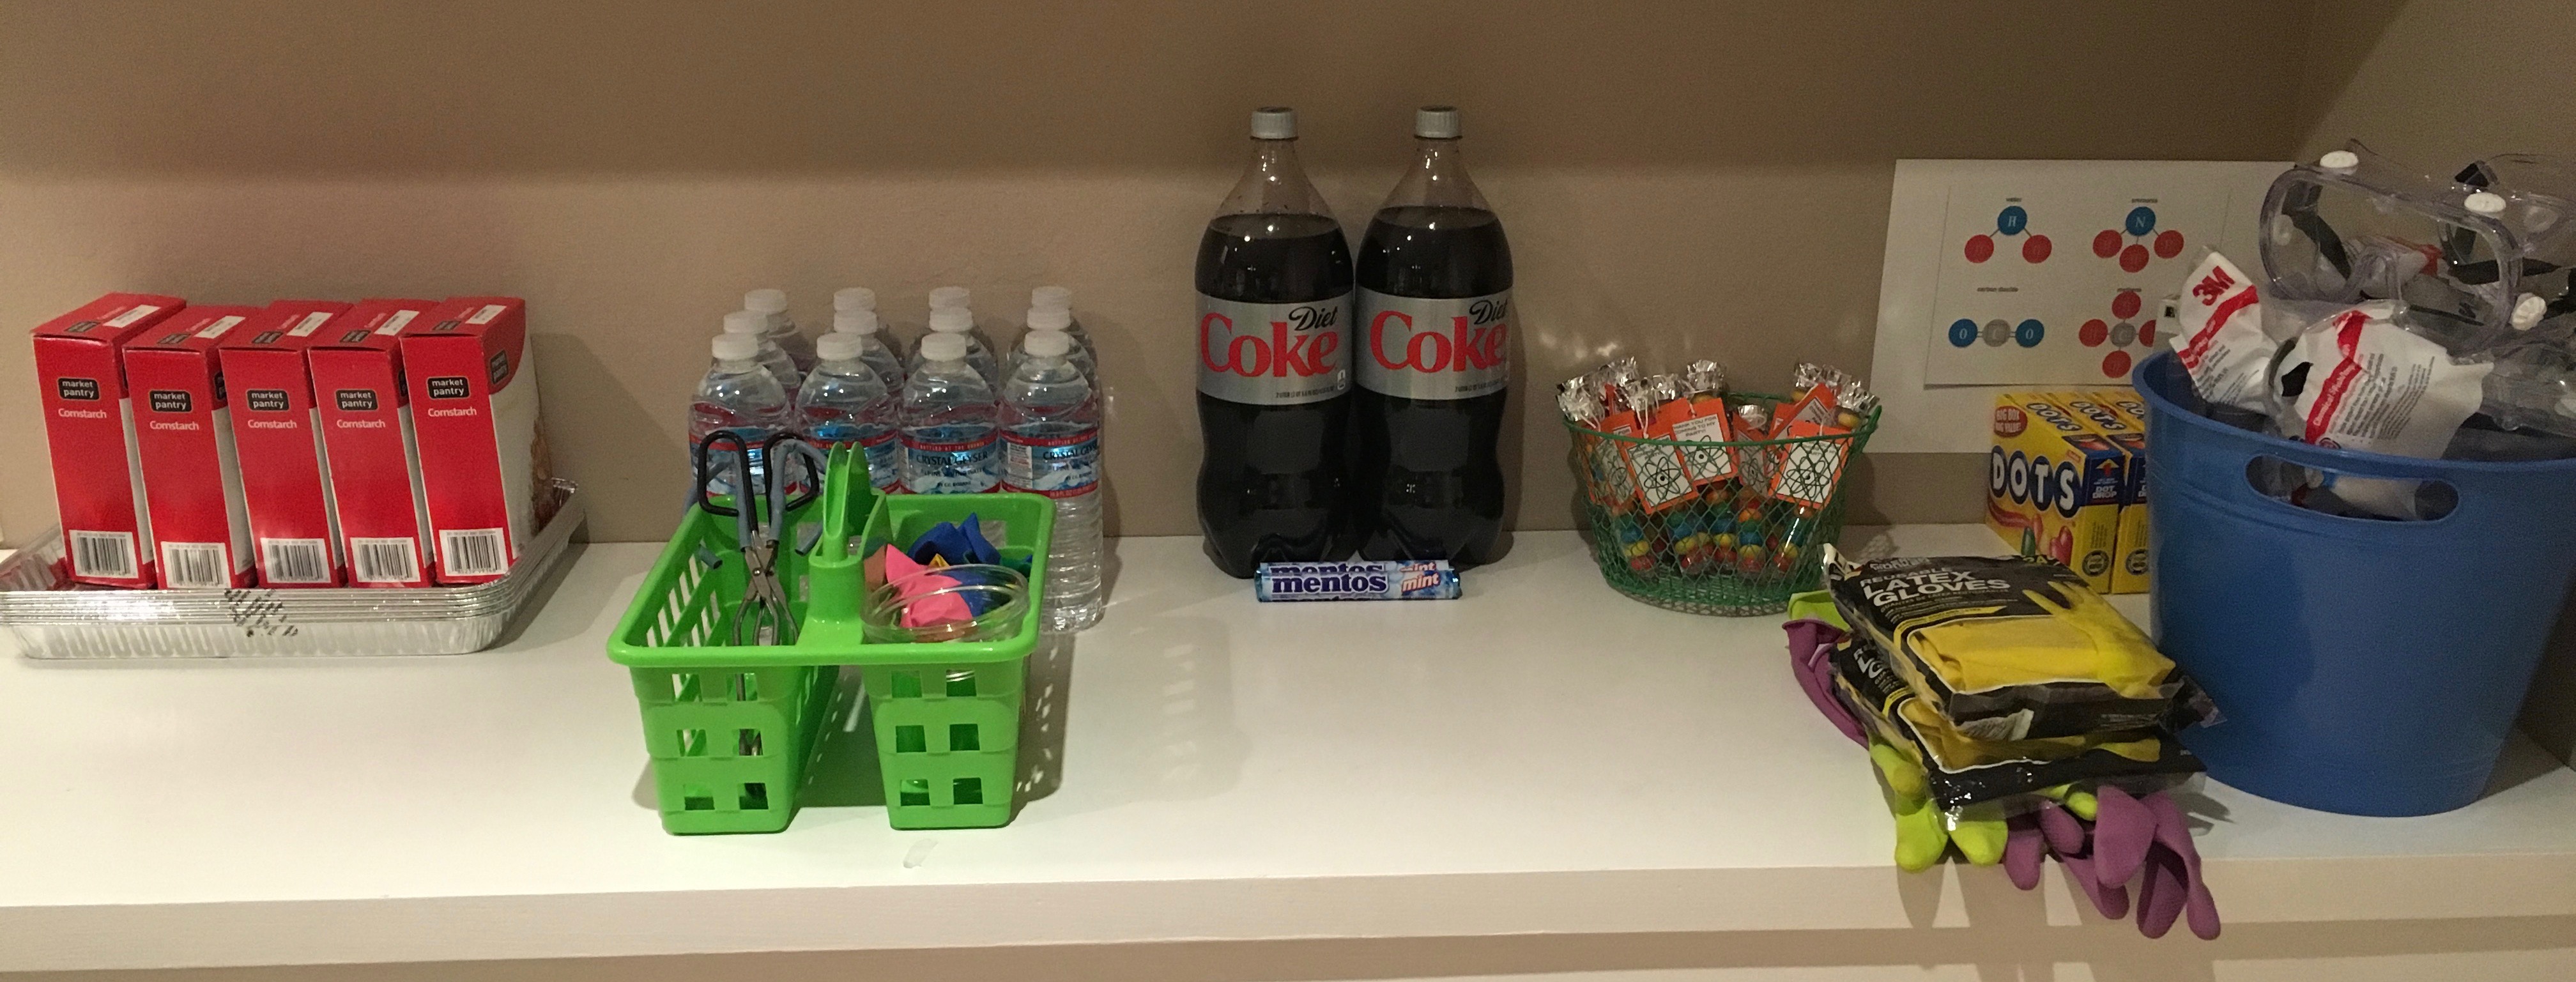
We used orange slime that we found in the dollar section at Target for the Propulsion Gel and blue Gatorades for the Repulsion Gel.  It’s close to Easter, so we could only find orange slime in “carrot” containers.  We transferred the slime into 4 0z extra small ziplock square containers with lids.  These were the perfect size!  I bought a 12 pack of 12 oz Gatorades, which were just the right amount for Micah’s party. #CommissionsEarned

Here are the printable templates I created for the Propulsion Gel and Repulsion Gel.

propulsion gel template pdf

repulsion gel template pdf

IMG_6679IMG_6687IMG_6692Version 2IMG_6709IMG_6714

In Portal, there is also a specific cake that is talked about throughout the game.  We definitely had to make a Real Portal Cake for Micah’s 11th birthday!  Click here for my recent blogpost on How to Make a Real Portal Cake.

I would definitely have to say that Micah’s Portal Birthday Party was a huge success!

How to make a Real Portal Cake 

How to Make a Real Portal Cake

Portal and Portal 2 are popular video games.  Truthfully, I’ve never played either of them, but according to my son they are the “best video games ever!”  Here’s a bit about the games according to my son Micah…”In Portal, you are a test subject in a huge underground facility called Aperture Science that is supposedly under Michigan.  You go through the tests (which are puzzles), solving them, and they get harder and harder along the way.  At a certain point in the game, you acquire a tool which makes portals that objects and you yourself can pass through.  This tool is official called the Aperture Science Handheld Portal Device, but is more commonly referred to as the Portal Gun.”

Micah’s 11 birthday was March 3rd and he wanted a Portal Themed Birthday Party!  Micah chose to have his party at a Fun Center in our city so that we could play laser tag and ride go carts, so the cake became the main thing that represented the Portal Theme.

In Portal there is a gigantic robot named GLaDOS at the center of the facility.  GLaDOS runs everything and she promises you cake at the end of the test, but it turns out that she’s lying.  She actually puts you on a platform headed towards a fire pit.  In the game, there is a message written on a wall in a secret room, written by a scientist that says, “the cake is a lie!”   Here are a couple of images from the actual game.

This was a super fun cake to create!  You can watch my tutorial to learn how to make one of your own.  This cake is definitely NOT a lie!  I used Pillsbury devil’s food cake mix, Hershey’s chocolate bars for the chocolate shavings on the outside of the cake,  vanilla and chocolate frosting, cherry gumballs, and a white candle.  #CommissionsEarned

img_6722

For more Portal Birthday Party fun, check out my blogpost from the party. You’ll find links to free printables for “repulsion gel” and “propulsion gel” as well as an awesome tutorial on how to make Portal Cookie Pops.

For another fun teen boy birthday party idea check out my latest blogpost:

Retro Video Game Room (ARCADE) for Teens

Science Experiment Party


Micah is our little scientist.  He loves all things science, so naturally, when he was about to turn 10, we began to plan the ultimate Science Experiment Birthday Party.  The vision started to take shape one afternoon when we bought a slab of dry ice for Micah to “play” with.  He literally spent over 4 hours experimenting with it.  I decided then and there that dry ice experiments would be the main event of the party.  I wanted to include a couple of other simple activities as well.  A Coke and Mentos demonstration, cornstarch and water play, and build your own edible molecules made this an unforgettable birthday party!

The decorations were quite simple, since most of our time was spent on the science activities.  I created a really fun “Happy Birthday Micah” banner using letters from the periodic table and a couple of science symbols.  My cricut came in handy for most of the homemade decorations.  I used an old toy microscope as our centerpiece and placed Micah’s plasma ball near the food area.  I used a black sharpie to draw lines and numbers on clear plastic cups to make them resemble beakers.  I lined our counter with everything needed for the party, so that it was quickly accessible to keep things moving along.

We read up on the proper safety precautions needed when handling dry ice, so we were well prepared to host a party of this kind.  In the birthday invitations, I asked that a parent be present to help supervise their own child/children and asked the kids to come dressed in long sleeves, long pants, and close toes shoes.  We provided gloves and safety goggles for each person handling the dry ice and when the kids arrived we were all ready to go. #CommissionsEarned


IMG_1623

IMG_1660 (1)IMG_1659IMG_1658IMG_1656IMG_1655IMG_1654IMG_1653IMG_1663IMG_1697

Water mixed with dry ice in some mason jars makes for some pretty awesome smoke, but when you add a couple of drops of dish soap, you take it to a whole new level.  What kid doesn’t like to create a giant mass of bubbles that turns to smoke when popped!?! IMG_9592IMG_1705IMG_9585

Did you know that you can blow up a balloon by placing it over a water bottle with a small chunk of dry ice inside?  But why stop there, a rubber glove pulled over a mason jar will work as well…and it’s pretty awesome to let it fill up so much that it pops off all on it’s own. IMG_1711

Time to get messy.  Cornstarch mixed with water makes for such a great hands on experience.  You can actually shape the mixture into a solid ball, open up your hand, and then watch it melt before your very eyes and turn back to liquid form.  And what kid doesn’t enjoy getting a little bit messy just for fun!?! #CommissionsEarnedIMG_1724IMG_1670

Dots candy and toothpicks make the perfect edible molecules.  Try and create real models, like carbon dioxide, or just create your own crazy molecule.  Science can be fun and tasty at the same time! IMG_1684IMG_1733IMG_1737Petrie dish anyone?   A couple of drops of food coloring, a few sprinkles, and 4 of Wilton’s black sugar pearl sprinkles turn ordinary green jello into an edible science experiment.  #CommissionsEarnedIMG_1677IMG_1662Gummy lifesaver topped marshmallow pops dipped in nerds are always a huge hit in our house.  I used Wilton’s candy melts in dark chocolate and orange to create these yummy treats.

IMG_1682

Wilton’s candy melts are perfect for creating edible cupcake toppers.  To go along with the science theme, I created beakers, test tubes, and molecules.  Mini m&m’s completed the look.  IMG_1648IMG_1675IMG_1650

What’s a science party without test tubes?  These plastic test tubes made great party favors to send home with Micah’s friends.  Chewy Airhead Bites are the perfect size candy to fit into the tubes, but you could use a variety of different candies. #CommissionsEarnedIMG_1651

For more fun birthday ideas check out some of my other blogposts:

Portal Cookie Pops & Birthday Party 

Nerf Wars Birthday Party 

Wings of Fire Birthday Party 

Frozen Birthday Party

Anna.  Elsa.  Olaf.  My daughter, Karis, turned four a few months after Frozen hit the theaters.  Of course, she, along with every other little girl in America, wanted to have a Frozen birthday party.  Unfortunately, party decorations and “Frozen everything” had not filled the stores yet.  Perfect opportunity to get creative!  I was able to order a few things online from a party store, plates, a table cloth, cups, and stickers.  I bought two posters, one of Anna & Elsa and another of Olaf, and I lucked out when I found some Frozen chapsticks at TJ Maxx. The rest was up to me.  I used my Cricut a ton for this party, cutting letters out of sparkly card stock to make several banners with the phrases, “Let It Go,” “Do You Want to Build a Snowman?” and “Happy Birthday!”  I also cut out circles, squares, and snowflakes to add to the decor.  My daughter wore an Anna dress that we purchased at Target, and with her long braids, she felt just like Anna on her special day. I had so much fun planning the activities for this party. #CommissionsEarnedIMG_6897IMG_7643IMG_7645

Karis and I made several batches of sparkly Frozen play dough.  We collected everything needed to build our own snowmen…noses (cut pieces of orange pipe cleaner), hair and eyebrows (cut pieces of black pipe cleaner) , eyes (googly eyes), arms (small sticks gathered from our yard), tooth (white rectangles of poster board), and coal (mini black pom poms). When the girls arrived, I had them all sit around the coffee table.  I gave each a paper plate and a hunk of play dough and let them build their own Olaf.  This was the cutest activity and the snowmen were adorable.  #CommissionsEarned Even my older boys participated and enjoyed themselves.  When the party was over, each child got to take their snowman home with them.

 IMG_7644IMG_6938IMG_7652

We used the Olaf poster to play “Pin the Nose on Olaf.”  I wanted one more game that would be fun for 4 year olds, so I came up with this “Knock the Castle Down” game.  I printed a castle coloring page off of the computer, colored it to match the party decor, cut it in 6 pieces and taped it to clear plastic cups.  I bought a pack of 3 whiffle balls from the dollar store and set the castle on a children’s size table.  The kids lined up and took turns throwing the balls and knocking down the castle.  This game ended up being so much fun and my kids played with it many times after the party was over. #CommissionsEarned IMG_6935IMG_7612

Frozen cupcakes…so many possibilities.  I decided on these beautiful snowflake cupcakes. I frosted the cupcakes with vanilla buttercream frosting tinted with Wilton’s food coloring gel in blue.  #CommissionsEarned The day before the party, I made the snowflake toppers with Wilton’s candy melts in bright white and Wilton’s Sprinkles in Blue Sugar Pearl.  (see tutorial) After placing each snowflake on top of the blue icing, I added a couple of Wilton’s Sprinkles in White Sugar Pearl to add a bit more sparkle. 

IMG_7642IMG_7628IMG_7656

These goodie bags were just perfect to pass out at the end of the party… so girly and fun, filled with sparkly treasures for each little princess.  I already had the Frozen chapsticks I purchased early on at TJ Maxx, so I just needed a couple of small items to go with them.  I found the little blue bags in the wedding section at Michael’s and the rings and wands in the toy section. These tiny nail polishes became “Frozen” when we added a snowflake (cut from the Cricut) to each one.  I made some cute tags using Frozen sticker and threaded them through the wands to complete the look.  You can now find a variety of Frozen goodie bag items on Amazon. Karis helped me put the goodie bags together, so she was very proud to hand them out the each of her friends as she said, “goodbye and thank you for coming to my party.” 

IMG_7614IMG_7619IMG_7623IMG_7622

For more fun birthday party ideas check out some of my other blogposts:

Dolphin Birthday Party

Moana Birthday Party

Pink Dinosaur Birthday Party

Adopt A Pet (Beanie Boo) Birthday Party

Warriors Birthday Party

Wings of Fire Birthday Party

Science Experiment Birthday Party

Art Themed (Zoom) Birthday Party

Star Wars Party

Star Wars… one of the most popular ongoing themes for birthday parties!  When my son Micah turned 8, he wanted a Star Wars party.  March is a tricky month.  You never know if it will be rain or shine.  Fortunately, it was a beautiful sunny day, which made this epic Stormtrooper battle possible.  When each child arrived, they were given a homemade light saber made from a pool noodle cut in half, decorated with silver and black duct tape.  Their mission…go out to the backyard and defeat the Stormtroopers (which in reality were white balloons hanging from string with storm trouper faces drawn on them with sharpie).  The boys (and little sister) were way into this battle and it was so fun to watch them running around our yard swatting at all of the bad guys!

I made a hanging centerpiece out of a large white kitchen trash bag by filling it with air, tying it off and drawing a Stormtrooper face on it.  This year I went simple on the cupcakes by purchasing some Yoda and Darth Vader toppers at Michael’s.

We ended the party with a viewing of the very first Star Wars movie, which my son had never seen.  The boys each got to take a light saber noodle home with them and the left over sabers stayed at our house.  Funny thing is, I expected my kids to get tired of them after a week or so, but these noodle sabers were used for many months post party.  One of my boys’ favorite outdoor activities became light saber battles while jumping on the trampoline…perfect as party favors or just to use in everyday play!

IMG_6397   IMG_6359IMG_6399IMG_6362IMG_6387IMG_6393IMG_7190IMG_7188

Sundae Cupcakes

My oldest turned 14 this May.  Fourteen!  How is that even possible!?!  He has decided that he is now too old for themed birthday parties.  I told him that I was ok with not doing a theme this year as long as I could still make him some fun cupcakes.  We decided on Sundae Cupcakes and they were definitely a good choice for a party of teenage boys.  For these cupcakes I used Pillsbury Devil’s Food Cake mix, foil cupcake wrappers, vanilla buttercream frosting, Wilton’s light cocoa candy melts, Wilton’s rainbow jimmies sprinkles, and maraschino cherries with stems.  I have to say, these were one of the easiest cupcakes to decorate and I love how they turned out!  For a couple of tips on how to get the frosting and “hot fudge” just right, try using a large piping tip for the frosting and a squeeze bottle to drizzle the chocolate on top.  You will have to work fast with the candy melts so that you can get to all of the cupcakes before the melted chocolate hardens.  Be sure to add the sprinkles right after drizzling the layer of melted chocolate or they will not stick.  

I also was able to make a variation of these cupcakes for a bake sale at my daughter’s school and I found that cherry sours candies make amazing “cherries” with their vibrant red color.  Red cupcake liners are another nice touch. These delicious cupcakes were a huge hit and I will definitely be making them again in the near future.  #CommissionsEarned 

Pink Dinosaur Party

For my daughter’s 5th birthday, she wanted a pink dinosaur party.  Not your common theme…dinosaurs, yes… pink ones, no!  Dollar store and spray paint to the rescue!  I found 7 good sized plastic dinosaurs at the Dollar Tree and spray painted them bright pink. You can find similar dinosaurs here and then use this spray paint that bonds to plastic. I used card stock in several shades of pink to create most of the other decorations.  Did you know that you can sew paper?  I discovered this recently, and have been making the cutest and most cost effective decorations even since.  I used my Cricut machine to cut circles and flower shapes in the various colors and then sat in front of my sewing machine with little stacks of these cut outs.  In no time at all,  I had 6 paper garlands to hang as the backdrop for the food table.    I also used larger flower shapes cut from my Cricut in shades of pink and patterned scrapbooking paper to create a festive birthday banner for my girl.  I found the pink dinosaur by googling “pink dinosaur” images online.  Pink ribbon tied into bows held each individual letter together. #CommissionsEarned

Edible cupcake toppers are one of my favorite things to create.  You can pretty much make a topper for any theme simply by printing a silhouette of it from the internet.   I used Wilton’s candy melts in pink for the dinosaur silhouette toppers and for the pink marshmallow pops as well.  Check out my blogpost on My Little Pony (Rainbow Dash) Marshmallow Pops for an edible cupcake topper tutorial.  

My daughter wanted to do some dinosaur activities at her party.  Her number one request was “pin the horn on the dinosaur.”  I used a projector to trace a cute pink dinosaur onto a piece of poster board.  I colored it pink and cut out a stack of horns for the kids to pin on.  I also set up a water table outside with a bunch of plastic dinosaurs floating inside.  Water play is always a big hit with preschoolers.  Our picnic table became the craft table.  I cut large dinosaur shapes out of card stock and put out glue, sequins, plastic beads, and googly eyes for the kids to decorate.  My favorite activity of all was “make the dinosaur hatch.”  A couple of days before the party, I filled water balloons with plastic dinosaurs and water. I tied them off and froze them.  I brought out these frozen “dinosaur eggs” and handed one to each child.  I gave them each a medicine dropper, added food coloring to cups of water and had the kids make their dinosaur hatch.  They peeled the balloon off of the “ice egg” (some needed a little help from parents with this part).  Then they took the colored water and squirted it over their egg until their little plastic dinos hatched out. #CommissionsEarned

Once again, the dollar store came through for the “thank you for coming” gifts.  I was able to buy dinosaur eggs with a mini plastic dinosaur surrounded by pink and blue slime.  To make them coordinate with our theme, I covered the back with a rectangle of pink card stock and made a front cover with the little pink dinosaur image and the words, “thank you for coming to my party.”  My 5 year old girl was absolutely thrilled with her pink dinosaur party, and so was I.  You can find a similar dinosaur egg party favor here.IMG_9512IMG_9483IMG_9516IMG_9531IMG_9514IMG_8857IMG_8853IMG_8887IMG_9542IMG_9478IMG_8863IMG_8861IMG_8858IMG_9534

For more kid friendly birthday party ideas check out some of my other blogposts:

Moana Birthday Party

Dolphin Birthday Party

Wings of Fire Birthday Party

Warriors Birthday Party

Art Themed (Zoom) Birthday Party

Dolphin Birthday Party

My daughter, Karis,  fell in love with dolphins after watching the Dolphin Tale movies last year.  The day after her 5th birthday party she declared that for her 6th birthday she wanted to have a dolphin party.  This was so much fun to plan!  With the help of the dollar store and Michael’s,  I was able to create all of the under the sea decor for under $20.   I used paper lanterns cut in half and ribbon to make 3 jellyfish. Crepe paper in two shades of green worked perfectly as seaweed.  White balloons in various sizes and thumb tacked to the wall formed a line of bubbles.  The net held several stuffed dolphins that my kids had won years ago at Circus Circus in Reno, NV.  The hula hoop and blow up dolphin were the perfect addition.  For the dolphin garlands I used card stock in several shades of blue and gray.  I cut these dolphins out by hand and then sewed them with a regular needle and thread.  These hanging dolphin garlands created a dramatic entry into our underwater experience.  I reused some circle and square garlands left over from my son’s birthday party the previous year because they looked a bit like floating bubbles.  I love when I get to reuse decorations from past events!   I decided to do mini cupcakes and marshmallow pops for dessert, and to go along with our dolphin theme, I created mini dolphins out of Wilton’s bright white candy melts.  I used Celebration Sixlets as pearls and Wilton’s white sugar pearl sprinkles as bubbles on the marshmallow pops.  I lined my round of styrofoam with a blue and white polka dotted ribbon and pinned on a sparkly blue dolphin.  I also glued a blue dolphin to a flat toothpick to place on top of the cupcakes.

Because the party was in June, and because we have a pool, the main event for Karis’ party was swimming.  I found 2 huge blow up dolphins for the kids to swim with, and although my daughter was hoping she would get to swim with a real dolphin, she was pretty happy with her two dolphin friends.  The kids had a blast and my big 6 year old girl was all smiles!  As the party was coming to an end, I brought out a crate of bubbles with a “thank you for coming to my party” note attached to each.  I would have to say that Karis’ dolphin swim party was a huge success! #CommissionsEarned

cropped-img_2677.jpgIMG_2684IMG_2665IMG_2768IMG_2765IMG_2667IMG_2688IMG_2698IMG_2701Version 2Version 2IMG_2663IMG_2690

For more fun birthday party ideas check out some of my other blogposts:

Moana Birthday Party

Adopt a Pet (Beanie Boo Cats & Dogs) Birthday Party

Art Themed (Zoom) Birthday Party

Science Experiment Party