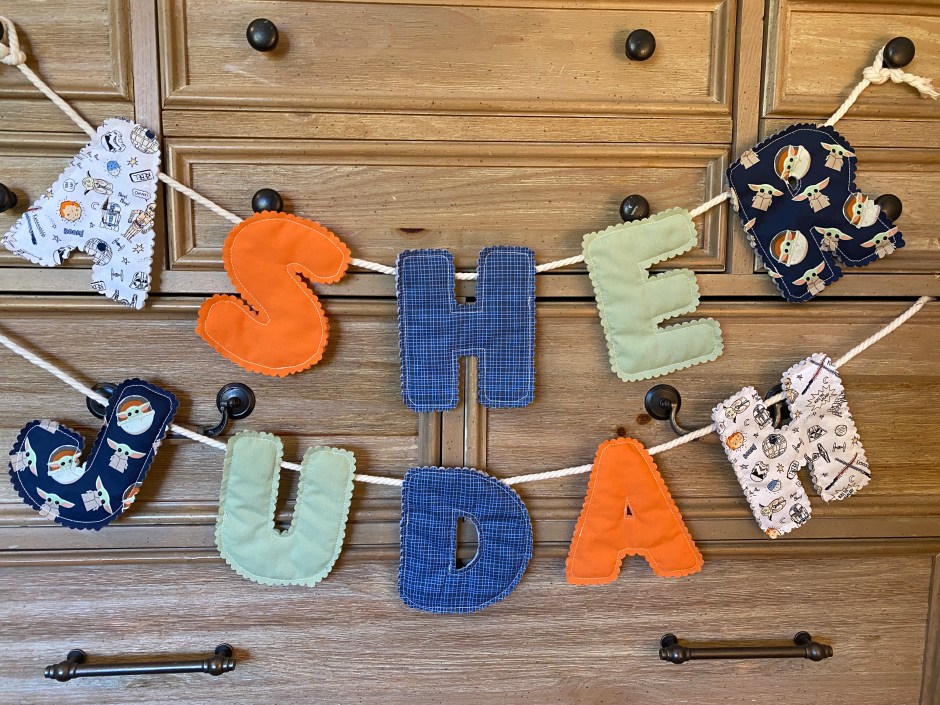
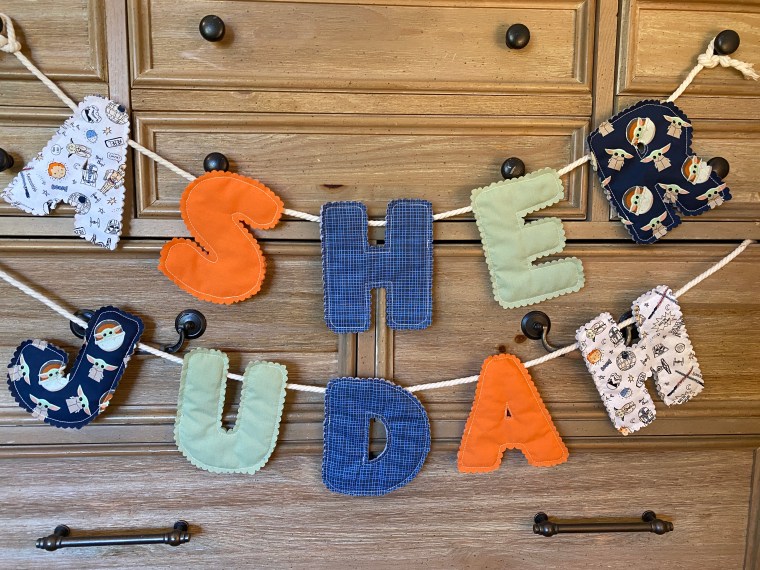
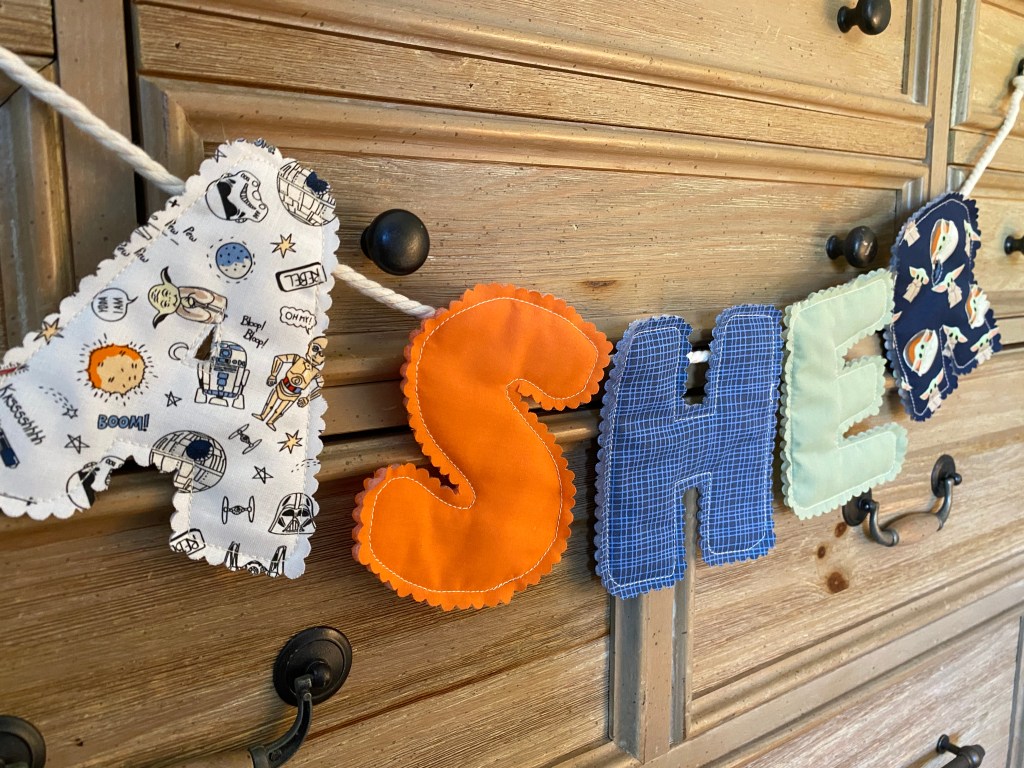
My friend’s little boys had a birthday recently, and it was the perfect opportunity to try out these adorable fabric name banners that I have had on my “list of things I want to create.” The boys are currently big Star Wars fans, so I headed out to my local Michael’s Store for the perfect fabric to add to some remnants that I already had in my collection. I was thrilled to find both the Baby Yoda fabric and the white Star Wars fabric, and I was also excited to try out my new scalloped pinking sheers.
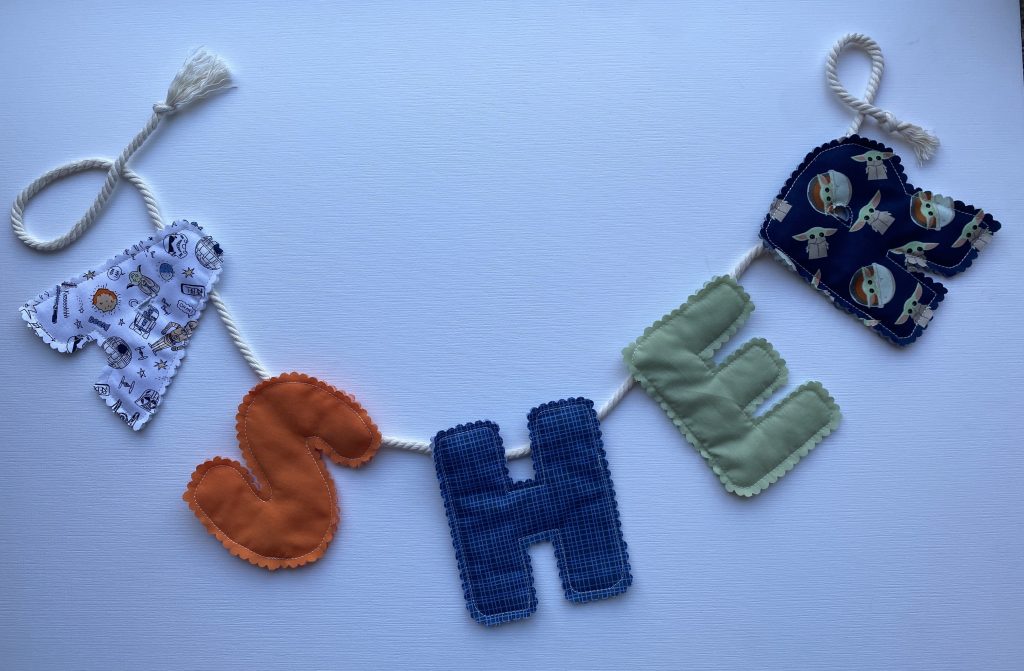
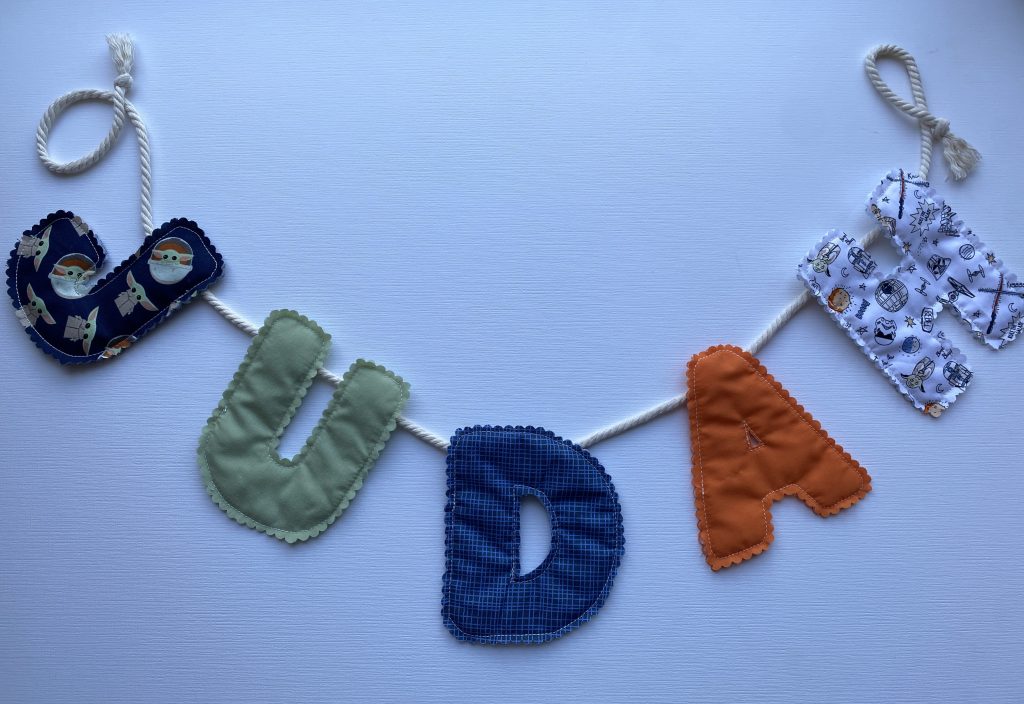
Here is everything you need to make some fabric letters of your own:
letter template (or just print your favorite font on card stock and cut it out. I used my Cricut)
Be sure to cut the fabric a bit larger than your letter templates so that you have room for the scalloped border. Cut 2 pieces of each fabric per letter for the front and back and then cut batting pieces the same size as your fabric.
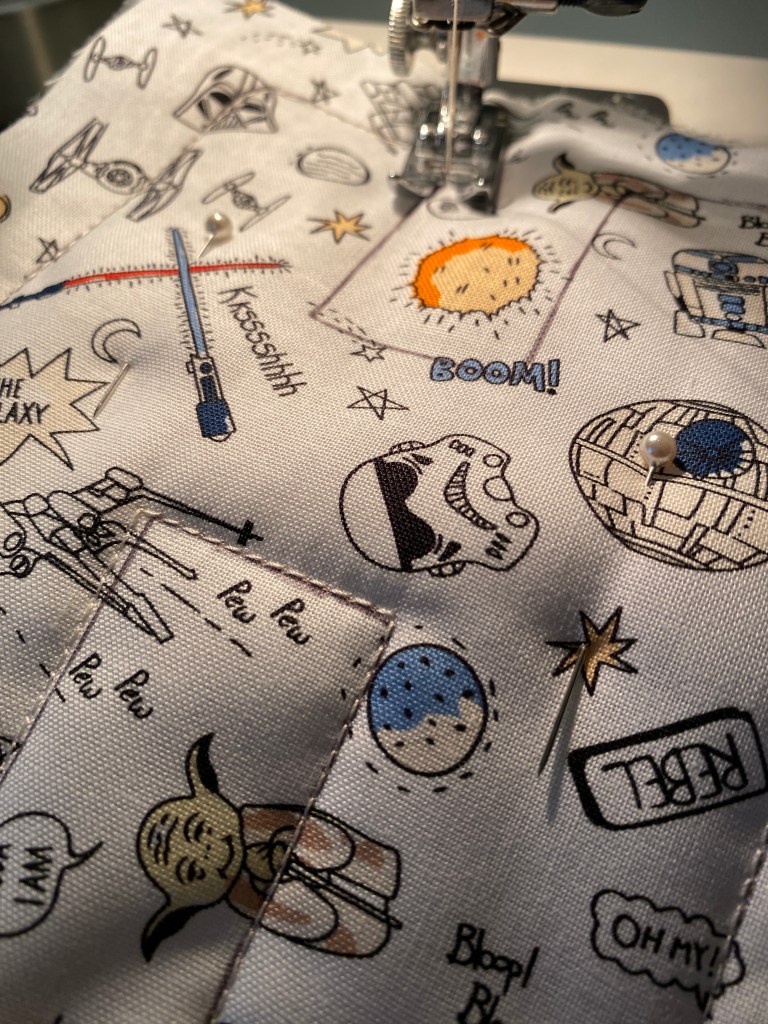
Trace your letters with a heat erasable pen onto the top piece of fabric. Pin you fabric together with batting in the middle. Once all of your letters have been traced and you have pinned your letters, head to your sewing machine.
Use a straight stitch to follow the traced lines of each letter. Go slowly, and take your time around the curves. Be sure to back stitch at the end to avoid fraying.
Once all of your letters are stitched, use your iron (this is the one I own) to erase the pen marks. Then use your scalloped pinking sheers to cut around the outer perimeter of each letter. You will need to use a small sharp pair of fabric scissors to cut the inside of letters like A, P, R, etc.
You can attach your letters to the twine, for hanging, a couple of different ways. I used a bit of embroidery thread on the backs to create loops and just sewed the back of the letters around the twine. You can also use a small piece of ribbon or felt to create a loop and hot glue the loop to the back of your letters.
Fabric letters are so versatile. You can make holiday decor, happy birthday banners, names, signs like playroom and library, or just make an ABC collection for your child out of fabric scraps. And the fabric choices are endless! What are you inspired to make? Leave a comment and let me know.