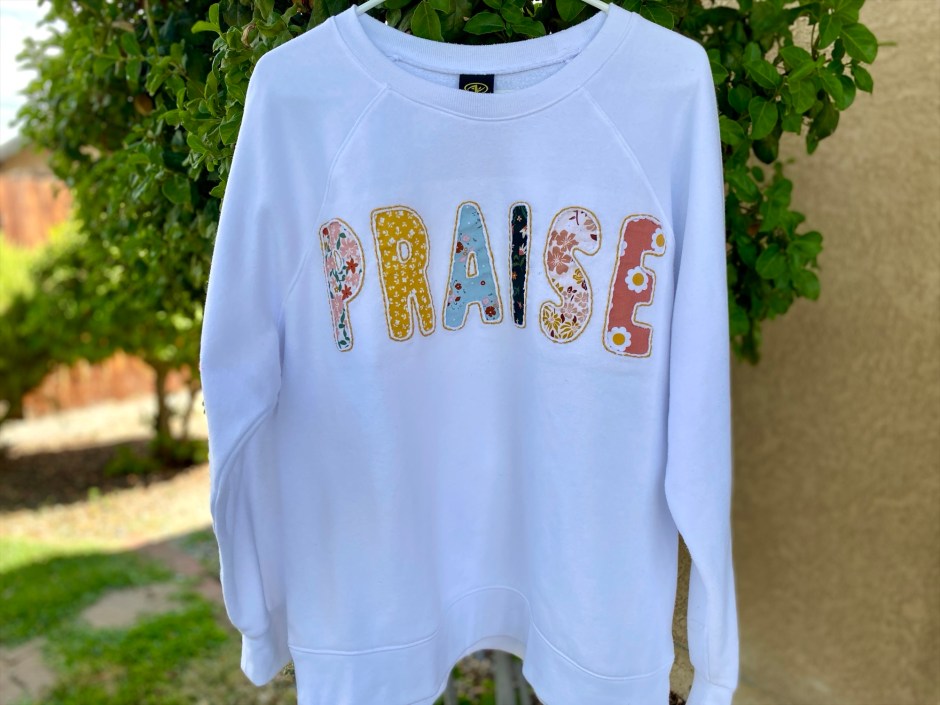
REVERSE APPLIQUE “PRAISE” SWEATSHIRT

I have been wanting to try my hand at reverse applique for quite some time, but life has been busy and I haven’t had as much time for creative ventures. However, I had some pretty floral fabric scraps and an old white crewneck that was just crying out “upcycle me!” So I made some time, and I am so glad that I did.

This “PRAISE” sweatshirt turned out even better than I expected, and I found so much joy in the process. Hand stitching each letter was calming, and cutting out the top layer to reveal the floral pattens underneath made me giddy. I’m counting the days until it’s cool enough for me to wear this adorable creation and dreaming of a million variations that I can start working on once life slows down a bit.

For this project you will only need to know one simple embroidery stitch. Using 2 full strands of embroidery floss, backstitch along the traced letters for the outline of the word “PRAISE.” If you are not familiar with the backstitch, you can find tutorials on youtube. For the letters, print a font of your choosing from your home printer, onto card stock, and cut the letters out to trace. I used a pilot frixion heat erasable pen.

Here is what else you will need if you are going to create your own reverse applique sweatshirt.

a plain crewneck sweatshirt

fabric of your choosing (I like this set from Amazon)

embroidery floss

embroidery hoop

embroidery needles

fabric scissors

heat and bond lite (to iron onto the back of your fabric scraps for more support when stitching)

tender touch (to put over the back to cover your letters & make it softer against your skin)

Be sure to comment on this post to let me know if you are going to make a similar sweatshirt for yourself and subscribe to my blog for more creative content.

St. Patrick’s Day Lucky Shamrock Necklaces

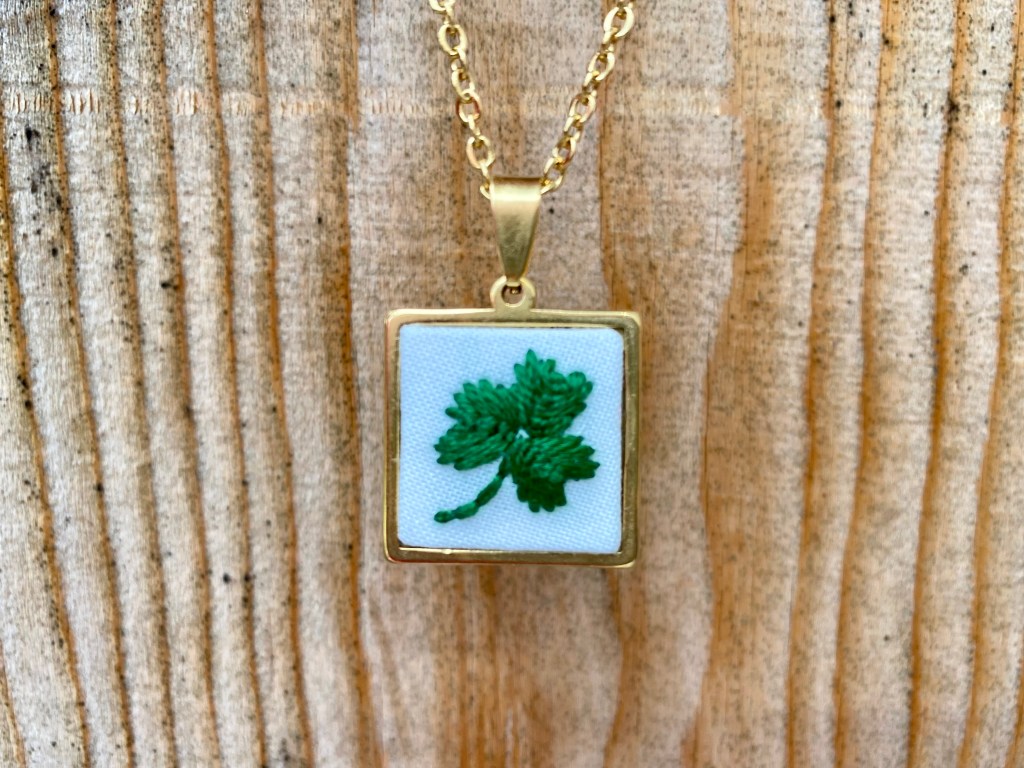
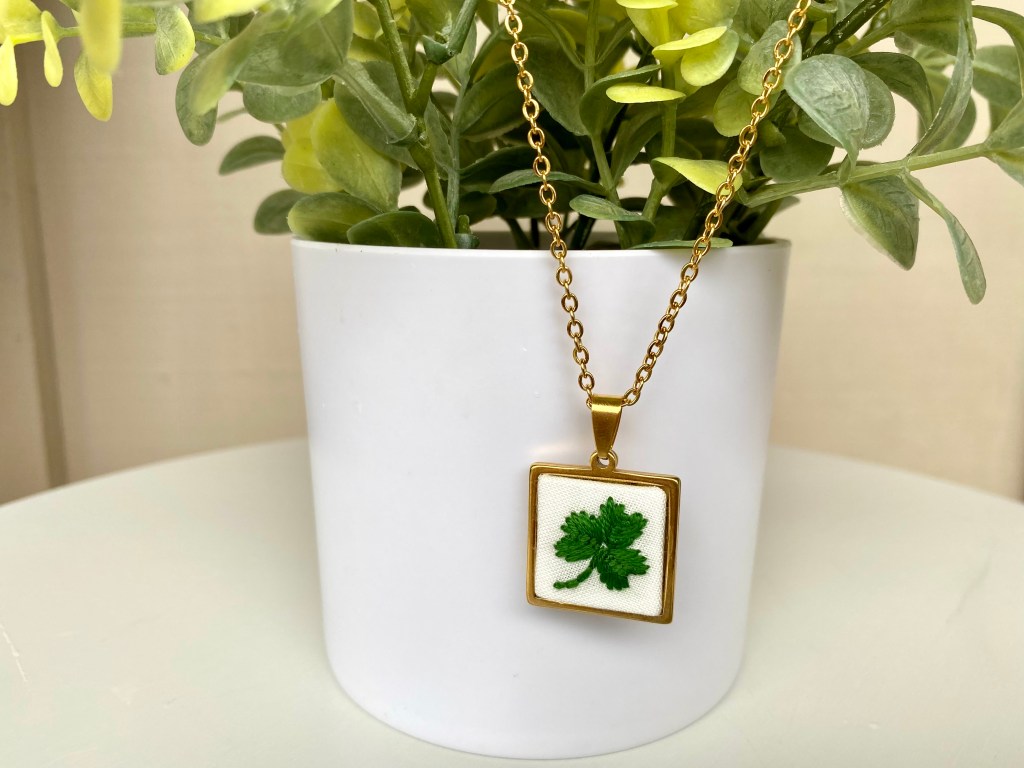
St. Patrick’s Day is just around the corner, and you may be thinking about what you have in your closet with a pop of green so that you don’t get pinched. Well look no further! Add a whimsical touch of green to any outfit with a gorgeous hand embroidered shamrock necklace, now available in my Etsy Shop.

If you are familiar with embroidery, and want to make your own, I’ll include links to all of the products I used. You can also find tips on how to make embroidered necklaces in my previous post Vintage Style Embroidered Floral Necklaces.

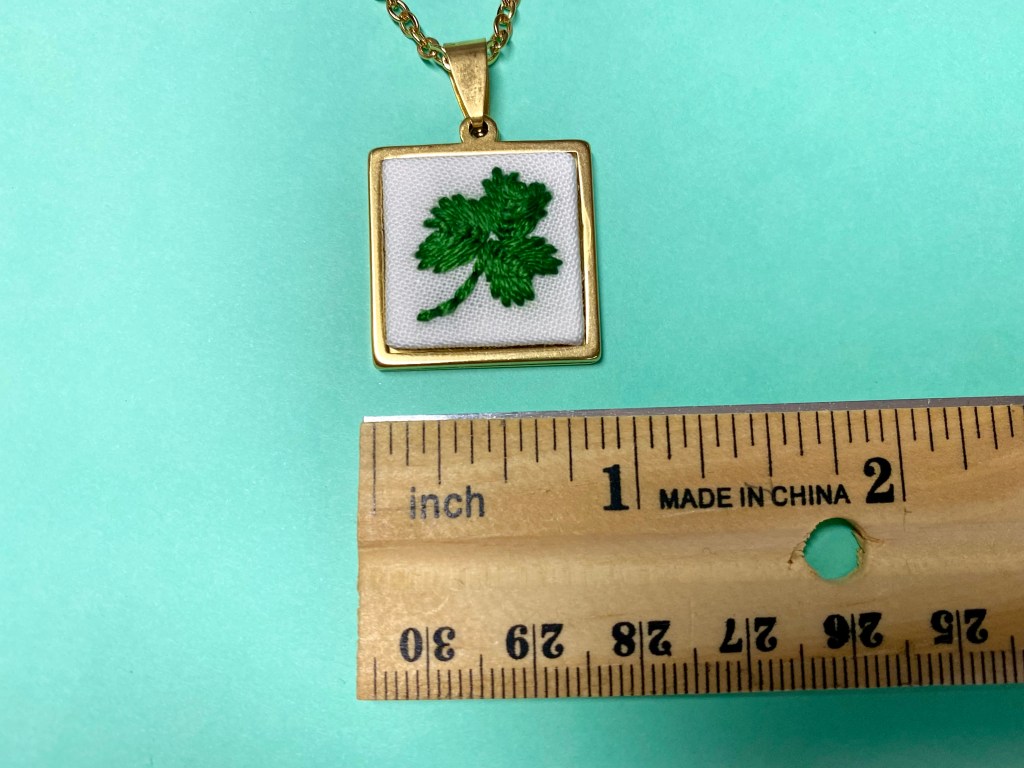
Embroidering a shamrock is easier than I thought. I always use a heat erasable pen or a water soluble marker when drawing patterns on fabric. I just picked up this set by Pilot and they work really well for small details like these tiny shamrocks. For the leaves of the shamrock, I used a fly stitch, and for the stem I used a straight stitch. #commissionsearned

You can find these beautiful square gold bezels here and the gold chains here. They are both high quality and look amazing! I use E 6000 plus glue and white cotton fabric that you can find at your local fabric store. Any green embroidery floss will work for your tiny shamrocks. Just pick a color that you love and stitch away. #commissionsearned

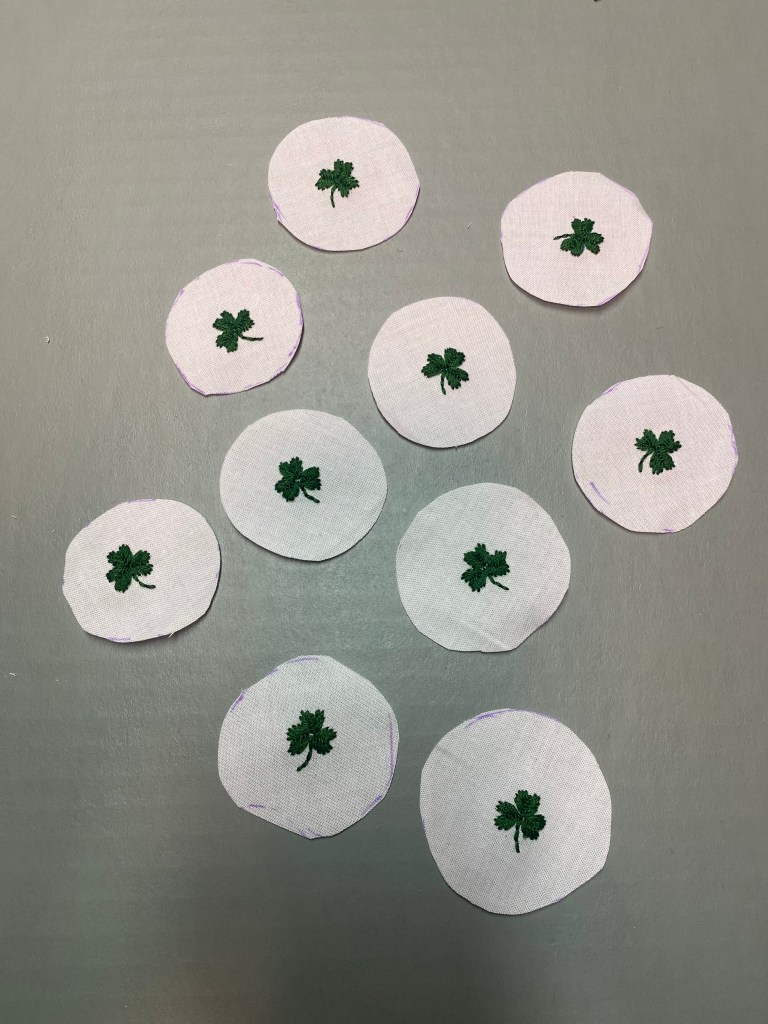
I made a small collection of these necklaces, so here is what my little shamrocks looked like before I made them into necklaces.

And here’s the finished product! You can purchase one of these tiny clover necklaces in my Etsy Shop.

Valentine Felt Heart “Love Bombs”

One of my favorite things to do in the month of February is to shower my kids with words of affirmation leading up to Valentine’s Day. I have done this several different ways over the years, but “LOVE BOMBS” are my favorite. I started this tradition last year and I loved the concept so much, that I decided to make a bunch and sell them. I made a new batch this year and you can find them in my Etsy Shop. But if you are crafty like me, and want to make some “LOVE BOMBS” of your own…

Here’s what you will need:

Felt in Valentine colors

Ribbon

Buttons

Embroidery Floss

Card Stock

Poly-Fil

Needle

White thread

#commissionsearned

Love Bomb Printable PDF

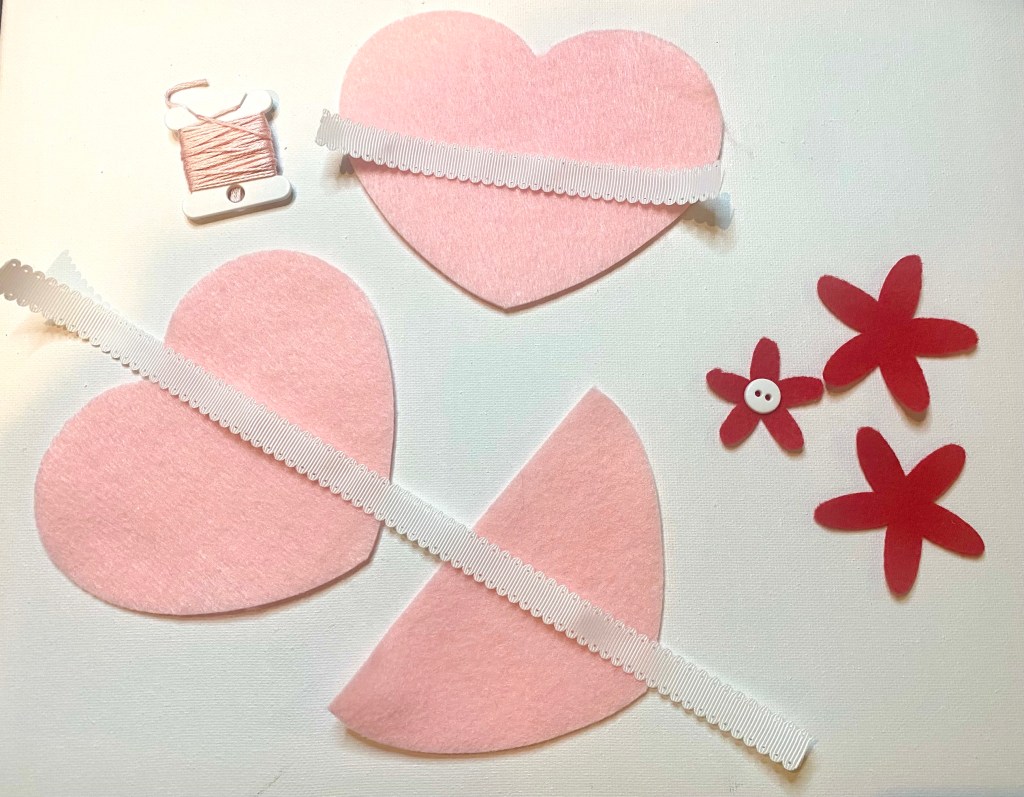
Cut out the three pieces of felt using the free PDF printable that I included. Then cut 2 pieces of ribbon, one about 5 inches to sew to the top of the 1/2 heart pocket, and another piece about 11.5 inches to use as the loop on the top of the heart. Cut some flower shapes if you want make a flower. I used my Cricut Maker 3 to cut these, but you can just cut some simple daisies in various sizes to layer for the felt flower. 

Use a running stitch to attach the ribbon to the top of the pocket. Depending on the ribbon you choose, you can place it behind the pocket or in front of it. Next, sew the button to the center of your flower and then sew the flower to the pocket and front piece of the heart. 

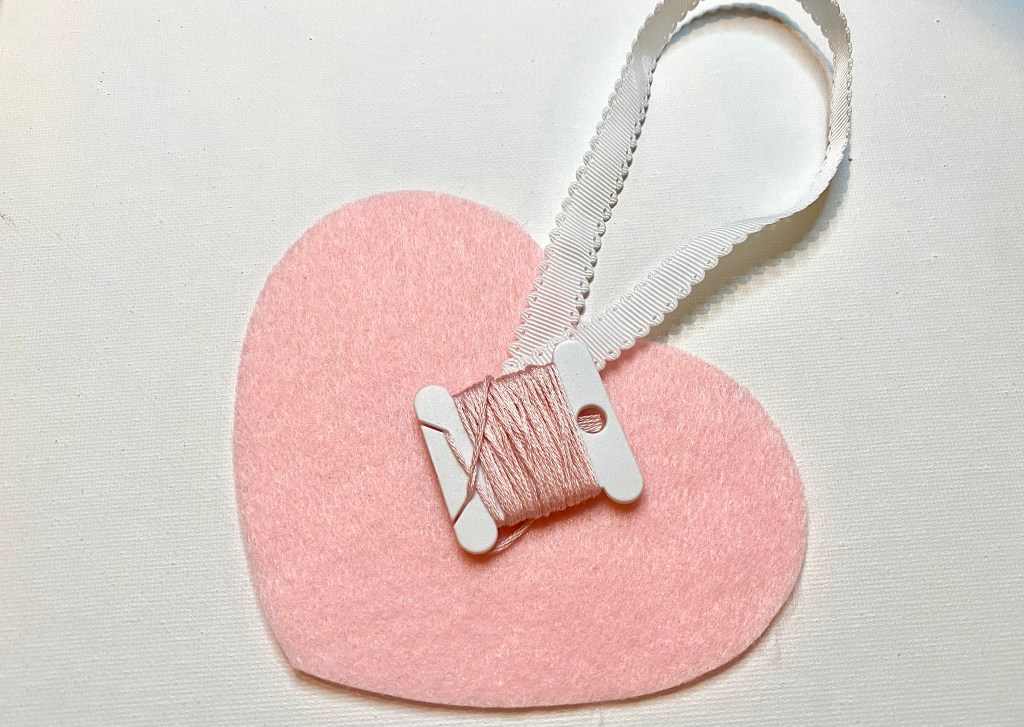
Loop the longer piece of ribbon, and add a couple of stitches to the inside of the back heart piece.

Now put all three layers together and use a blanket stitch around the entire heart with your embroidery floss in a color that closely matches your felt. If you don’t know how to do a running stitch and a blanket stitch, you can find many helpful tutorials on youtube. Be sure to leave about 2.5 inches of your heart open to stuff with the Poly-fil. #commissionsearned

Once you have stuffed your heart, complete the blanket stitch the rest of the way around, and your VALENTINE LOVE BOMB is complete. Hang it on your child’s bedroom door on January 31 and place a note in the pocket each night leading up to Valentine’s Day to fill their love tank to overflowing. Or you can start your LOVE BOMB on Valentine’s Day and continue leaving notes as many days in a row as you would like to.

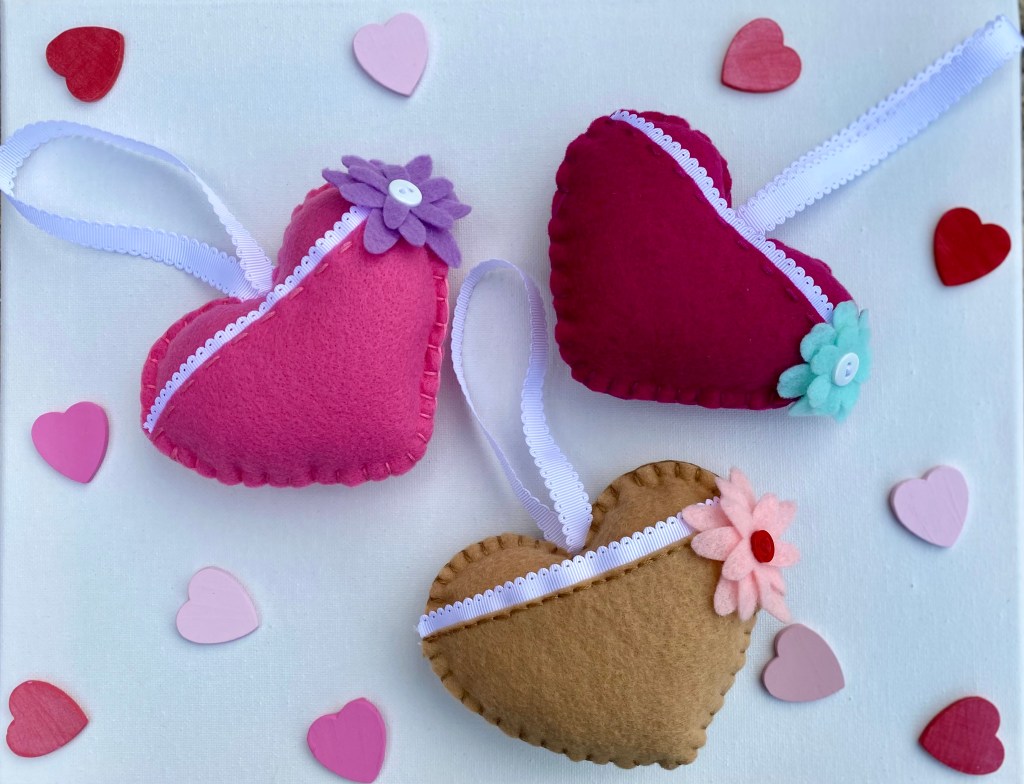
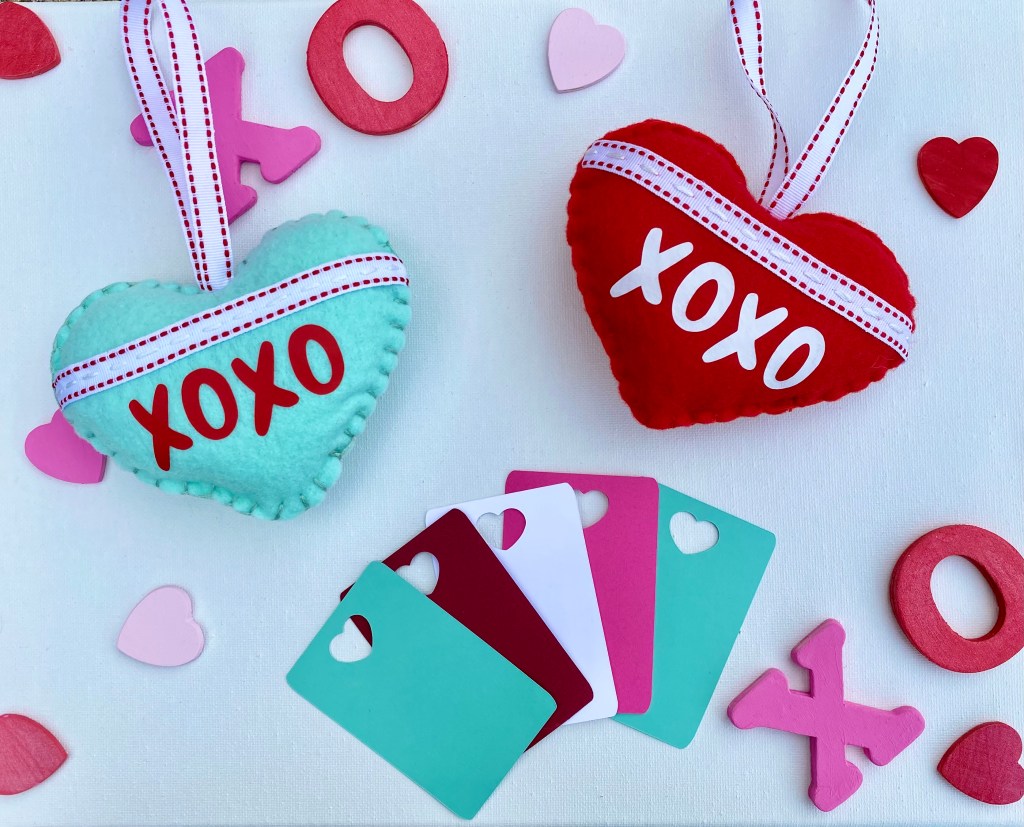
I’ve included photos of the various styles of “LOVE BOMBS” that I created this year.

I also used my Cricut Maker 3 to make the little cut out heart cards, but you can just cut pieces of card stock in Valentine colors to fit inside of the little pocket. 

Be sure to subscribe to my blog and leave me a comment to let me know if you make some “LOVE BOMBS” of your own, or you can purchase one of mine from my new Etsy Shop.