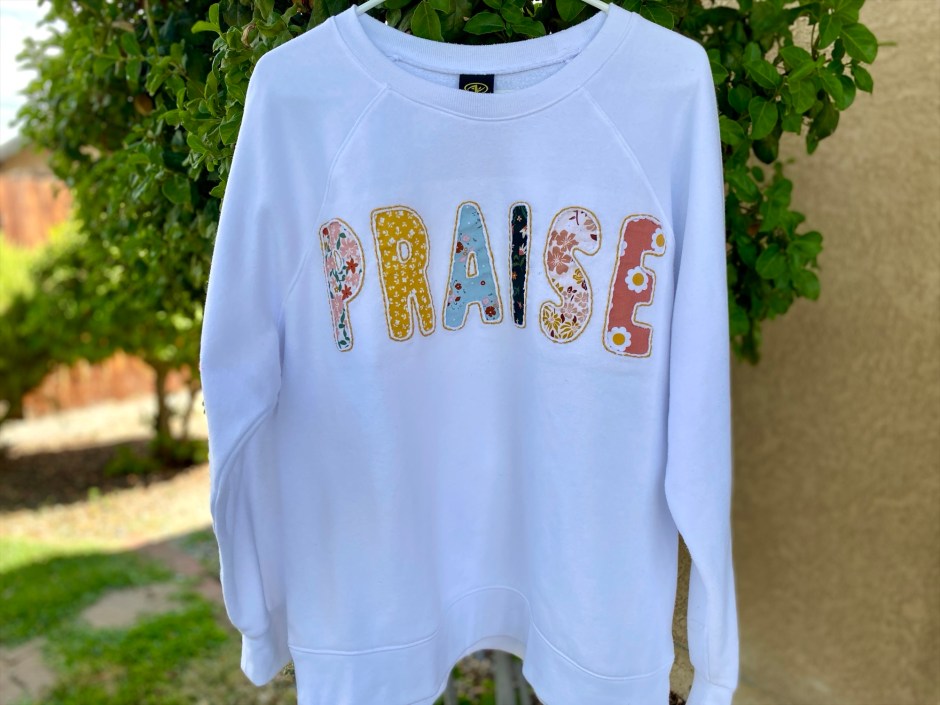
I have been wanting to try my hand at reverse applique for quite some time, but life has been busy and I haven’t had as much time for creative ventures. However, I had some pretty floral fabric scraps and an old white crewneck that was just crying out “upcycle me!” So I made some time, and I am so glad that I did.
This “PRAISE” sweatshirt turned out even better than I expected, and I found so much joy in the process. Hand stitching each letter was calming, and cutting out the top layer to reveal the floral pattens underneath made me giddy. I’m counting the days until it’s cool enough for me to wear this adorable creation and dreaming of a million variations that I can start working on once life slows down a bit.
For this project you will only need to know one simple embroidery stitch. Using 2 full strands of embroidery floss, backstitch along the traced letters for the outline of the word “PRAISE.” If you are not familiar with the backstitch, you can find tutorials on youtube. For the letters, print a font of your choosing from your home printer, onto card stock, and cut the letters out to trace. I used a pilot frixion heat erasable pen.
Here is what else you will need if you are going to create your own reverse applique sweatshirt.
fabric of your choosing (I like this set from Amazon)
heat and bond lite (to iron onto the back of your fabric scraps for more support when stitching)
tender touch (to put over the back to cover your letters & make it softer against your skin)
Be sure to comment on this post to let me know if you are going to make a similar sweatshirt for yourself and subscribe to my blog for more creative content.