 Pennant Banners are one of the most simple sewing projects and can add pops of color to any room or front porch. They can be used as a party decoration, on a mantle or mirror during the holidays, or in a child’s room. They can be made out of paper, material, or burlap. The possibilities are endless! I have made various kinds of pennant banners for many occasions. For this post, I’m featuring the most recent one I made for a friend of mine, but I’m also including one of my most popular youtube video tutorials on how to make a pennant banner.
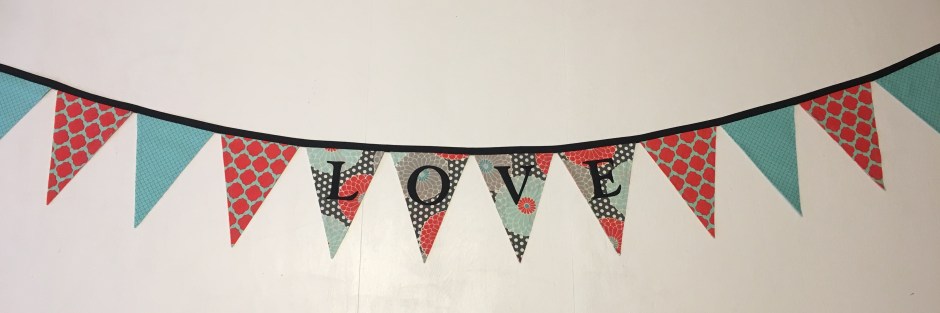
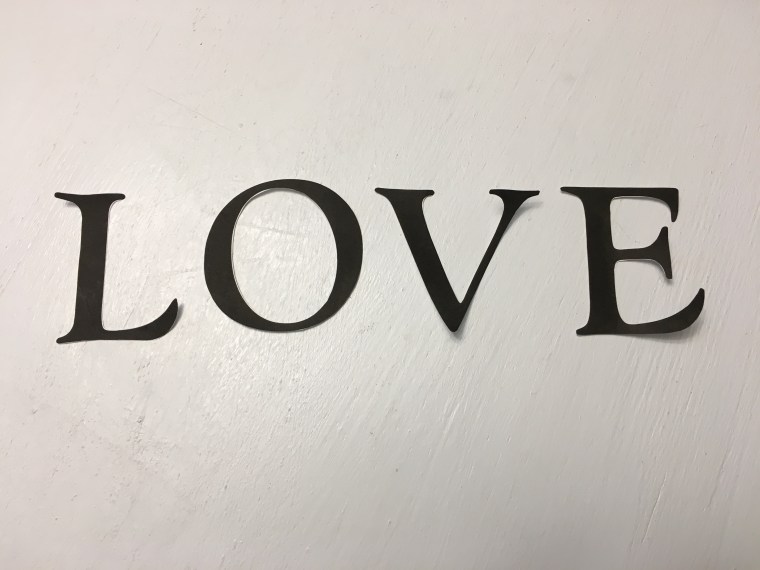
With Valentine’s Day only a couple of weeks away, you may want to make your own version of this LOVE Pennant Banner to hang on your mantle! After watching my tutorial on How to Make A Pennant Banner, you will need a couple of additional steps to add letters to your banner. 
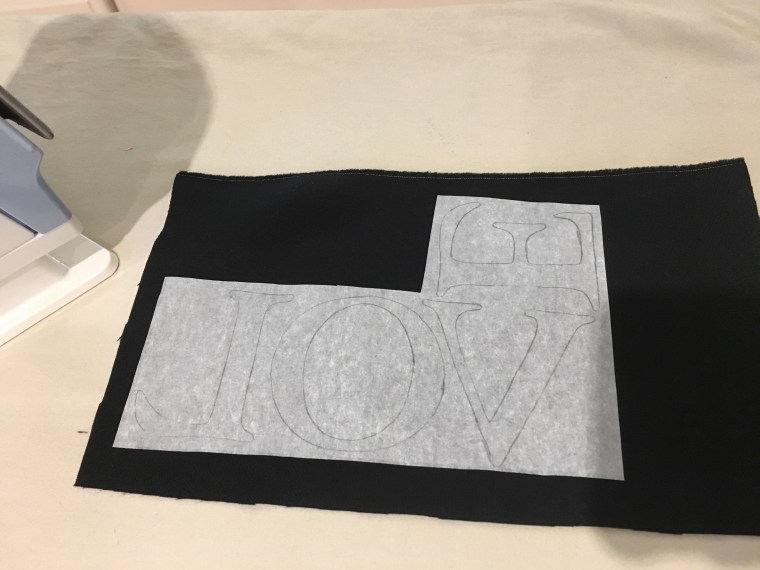
You will need to purchase a package of light Seam A Seam 2 from your local fabric store. Find a font you like on your computer. Print your letters in the size you want them to be on your banner. Cut out the letters. Turn your letters over and trace them onto a sheet of the Seam A Seam. Peal the bottom off and adhere to the fabric you have chosen for your letters. Iron over the top to attach the Seam A Seam to your fabric. Cut out the letters, following the lines you initially traced. Peel the backing off. Your fabric letters should now be slightly tacky on the back. Position them on your banner exactly as you want them. Iron them for about 20 -30 seconds one at a time. Your banner is now complete. For a more in depth tutorial on how to use the Seam A Seam to attach letters to fabric, watch my Advent Bags Tutorial.


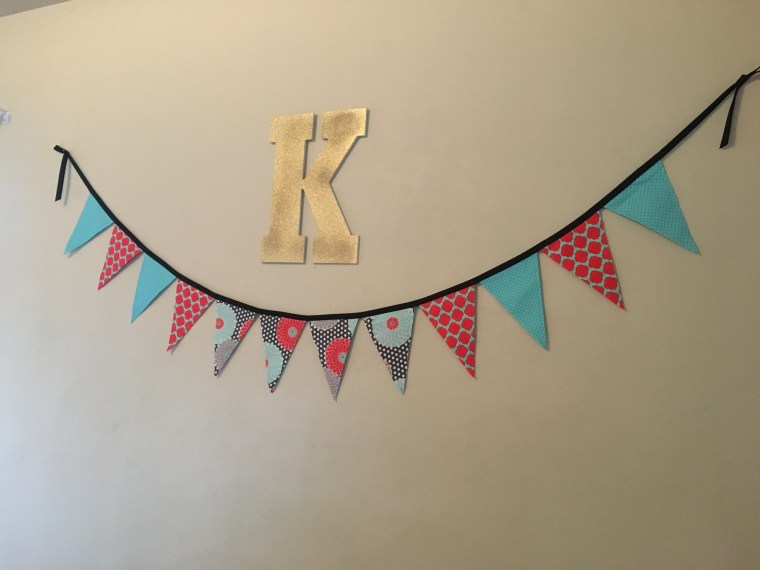
My friend decided to use this pennant banner for her daughter’s nursery. It just so happened to work perfectly with the colors she chose and I am so thrilled to see it hanging up in this precious baby girl’s bedroom.