


One of my favorite things to do in the month of February is to shower my kids with words of affirmation leading up to Valentine’s Day. I have done this several different ways over the years, but “LOVE BOMBS” are my favorite. I started this tradition last year and I loved the concept so much, that I decided to make a bunch and sell them. I made a new batch this year and you can find them in my Etsy Shop. But if you are crafty like me, and want to make some “LOVE BOMBS” of your own…
Here’s what you will need:
#commissionsearned
Love Bomb Printable PDF
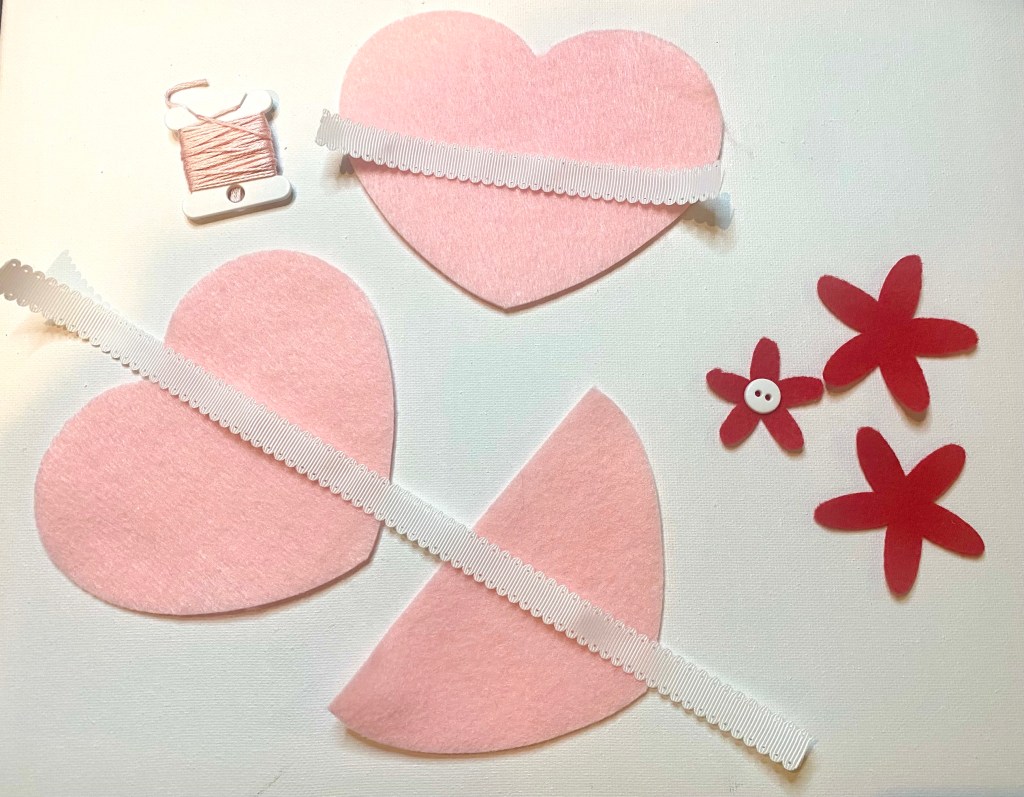
Cut out the three pieces of felt using the free PDF printable that I included. Then cut 2 pieces of ribbon, one about 5 inches to sew to the top of the 1/2 heart pocket, and another piece about 11.5 inches to use as the loop on the top of the heart. Cut some flower shapes if you want make a flower. I used my Cricut Maker 3 to cut these, but you can just cut some simple daisies in various sizes to layer for the felt flower.

Use a running stitch to attach the ribbon to the top of the pocket. Depending on the ribbon you choose, you can place it behind the pocket or in front of it. Next, sew the button to the center of your flower and then sew the flower to the pocket and front piece of the heart.
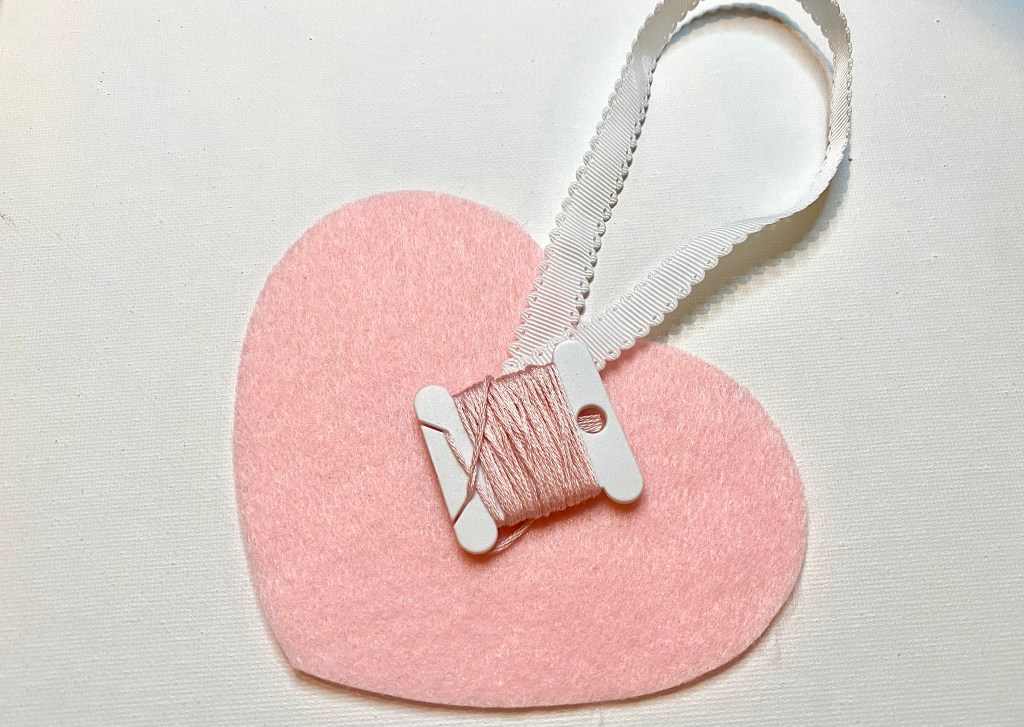
Loop the longer piece of ribbon, and add a couple of stitches to the inside of the back heart piece.
Now put all three layers together and use a blanket stitch around the entire heart with your embroidery floss in a color that closely matches your felt. If you don’t know how to do a running stitch and a blanket stitch, you can find many helpful tutorials on youtube. Be sure to leave about 2.5 inches of your heart open to stuff with the Poly-fil. #commissionsearned
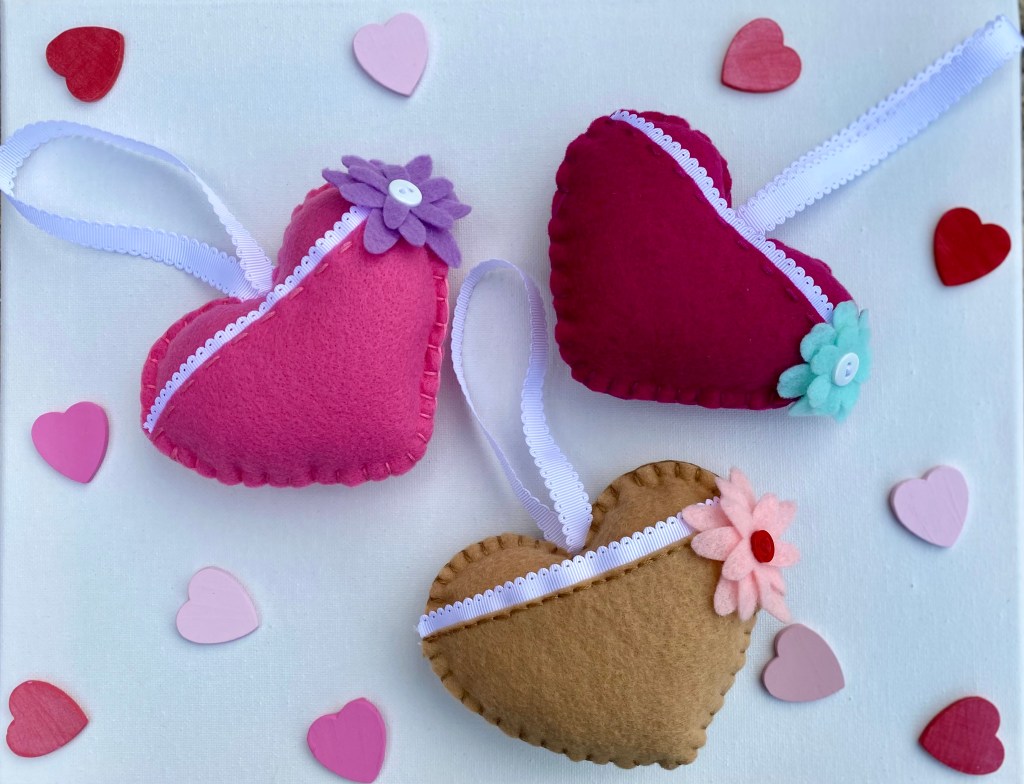
Once you have stuffed your heart, complete the blanket stitch the rest of the way around, and your VALENTINE LOVE BOMB is complete. Hang it on your child’s bedroom door on January 31 and place a note in the pocket each night leading up to Valentine’s Day to fill their love tank to overflowing. Or you can start your LOVE BOMB on Valentine’s Day and continue leaving notes as many days in a row as you would like to.
I’ve included photos of the various styles of “LOVE BOMBS” that I created this year.

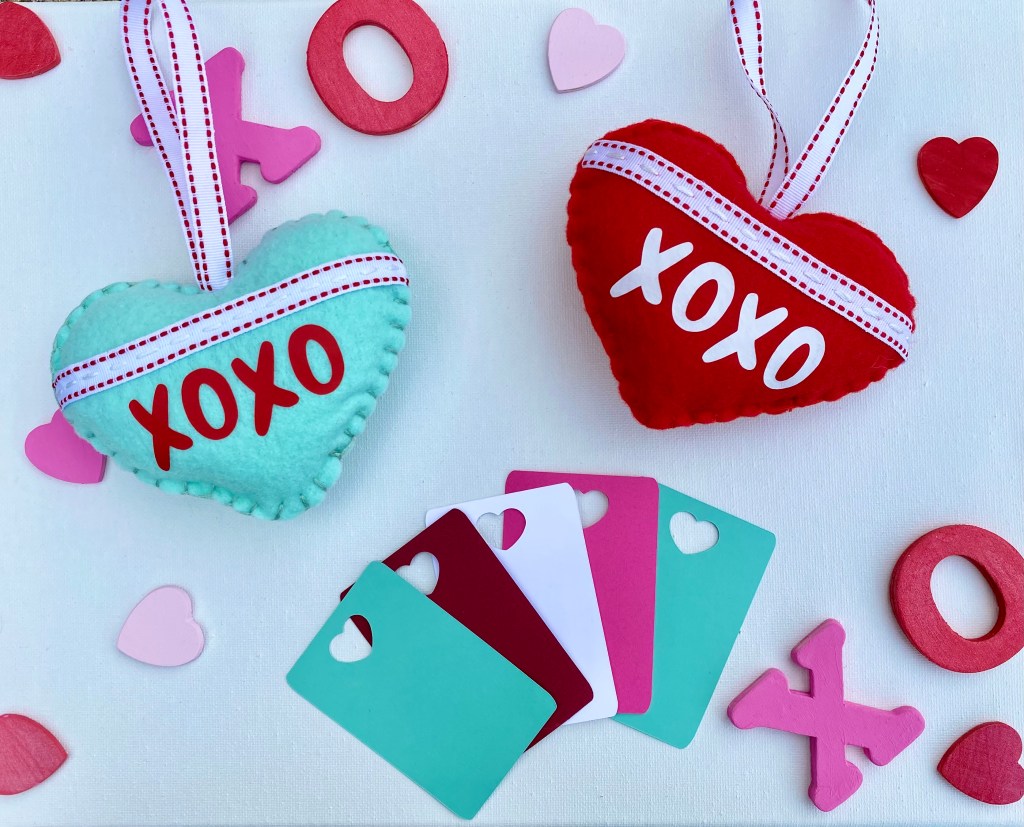


I also used my Cricut Maker 3 to make the little cut out heart cards, but you can just cut pieces of card stock in Valentine colors to fit inside of the little pocket.
Be sure to subscribe to my blog and leave me a comment to let me know if you make some “LOVE BOMBS” of your own, or you can purchase one of mine from my new Etsy Shop.


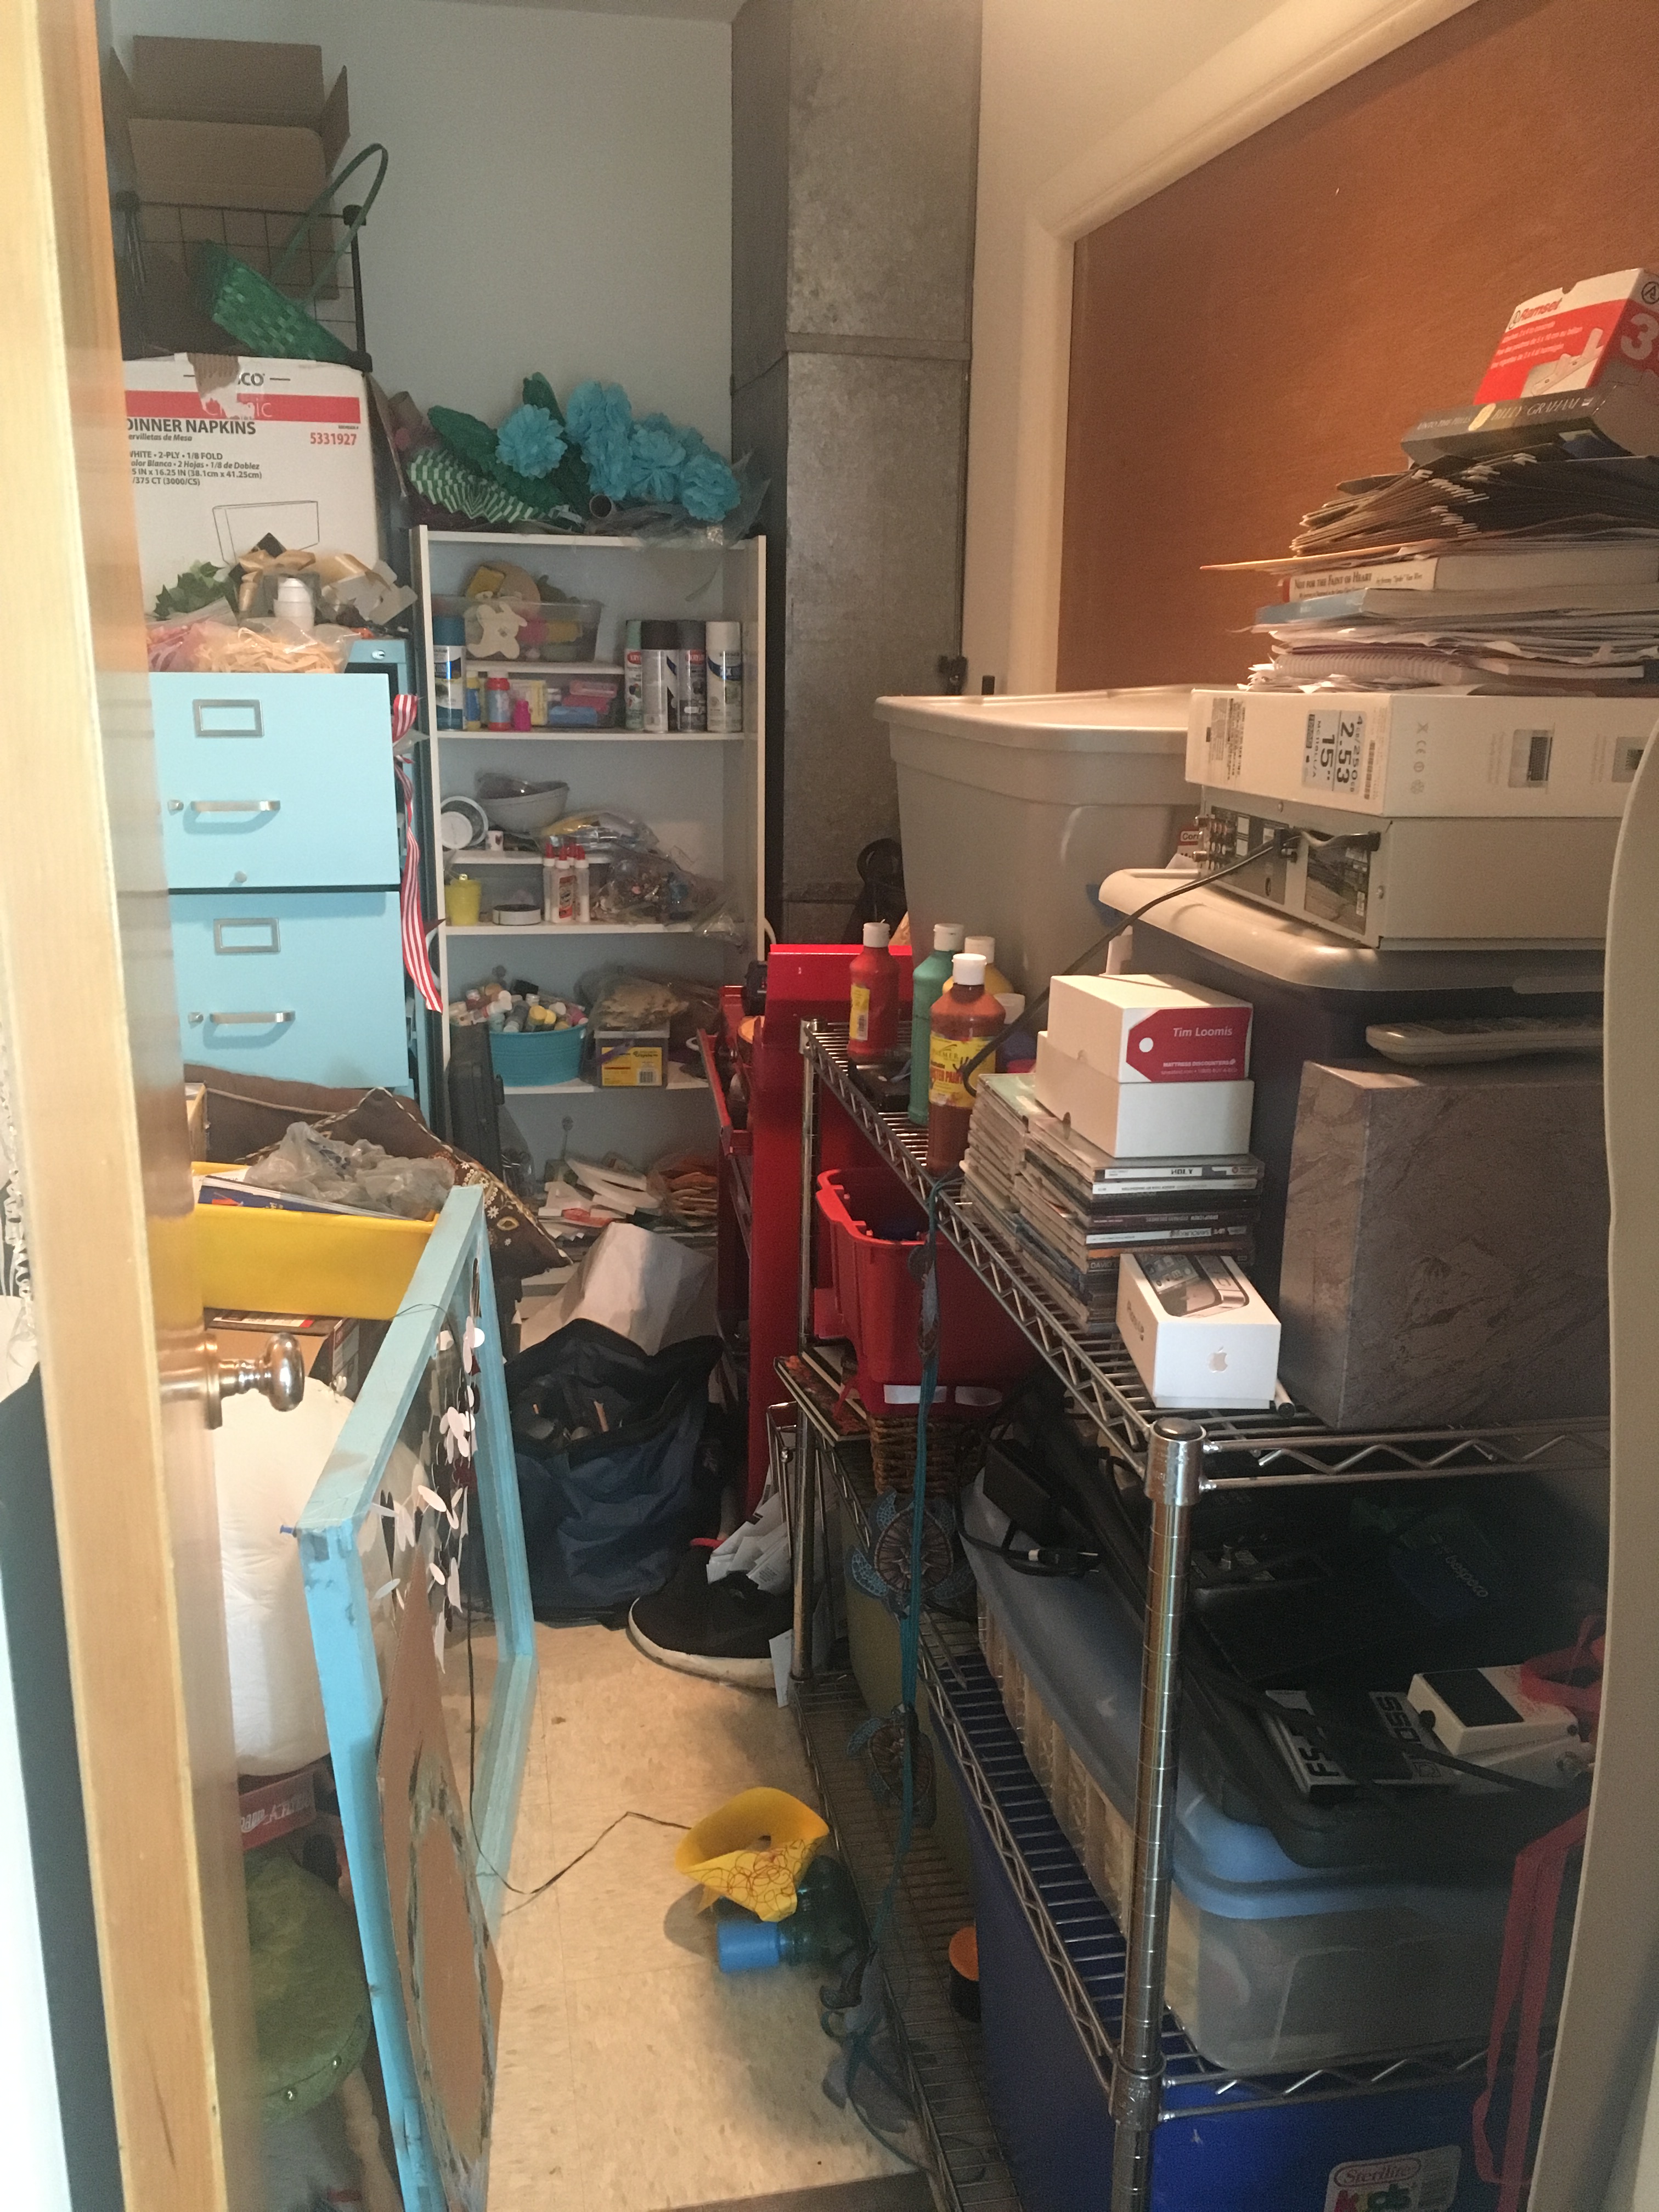
 AFTER
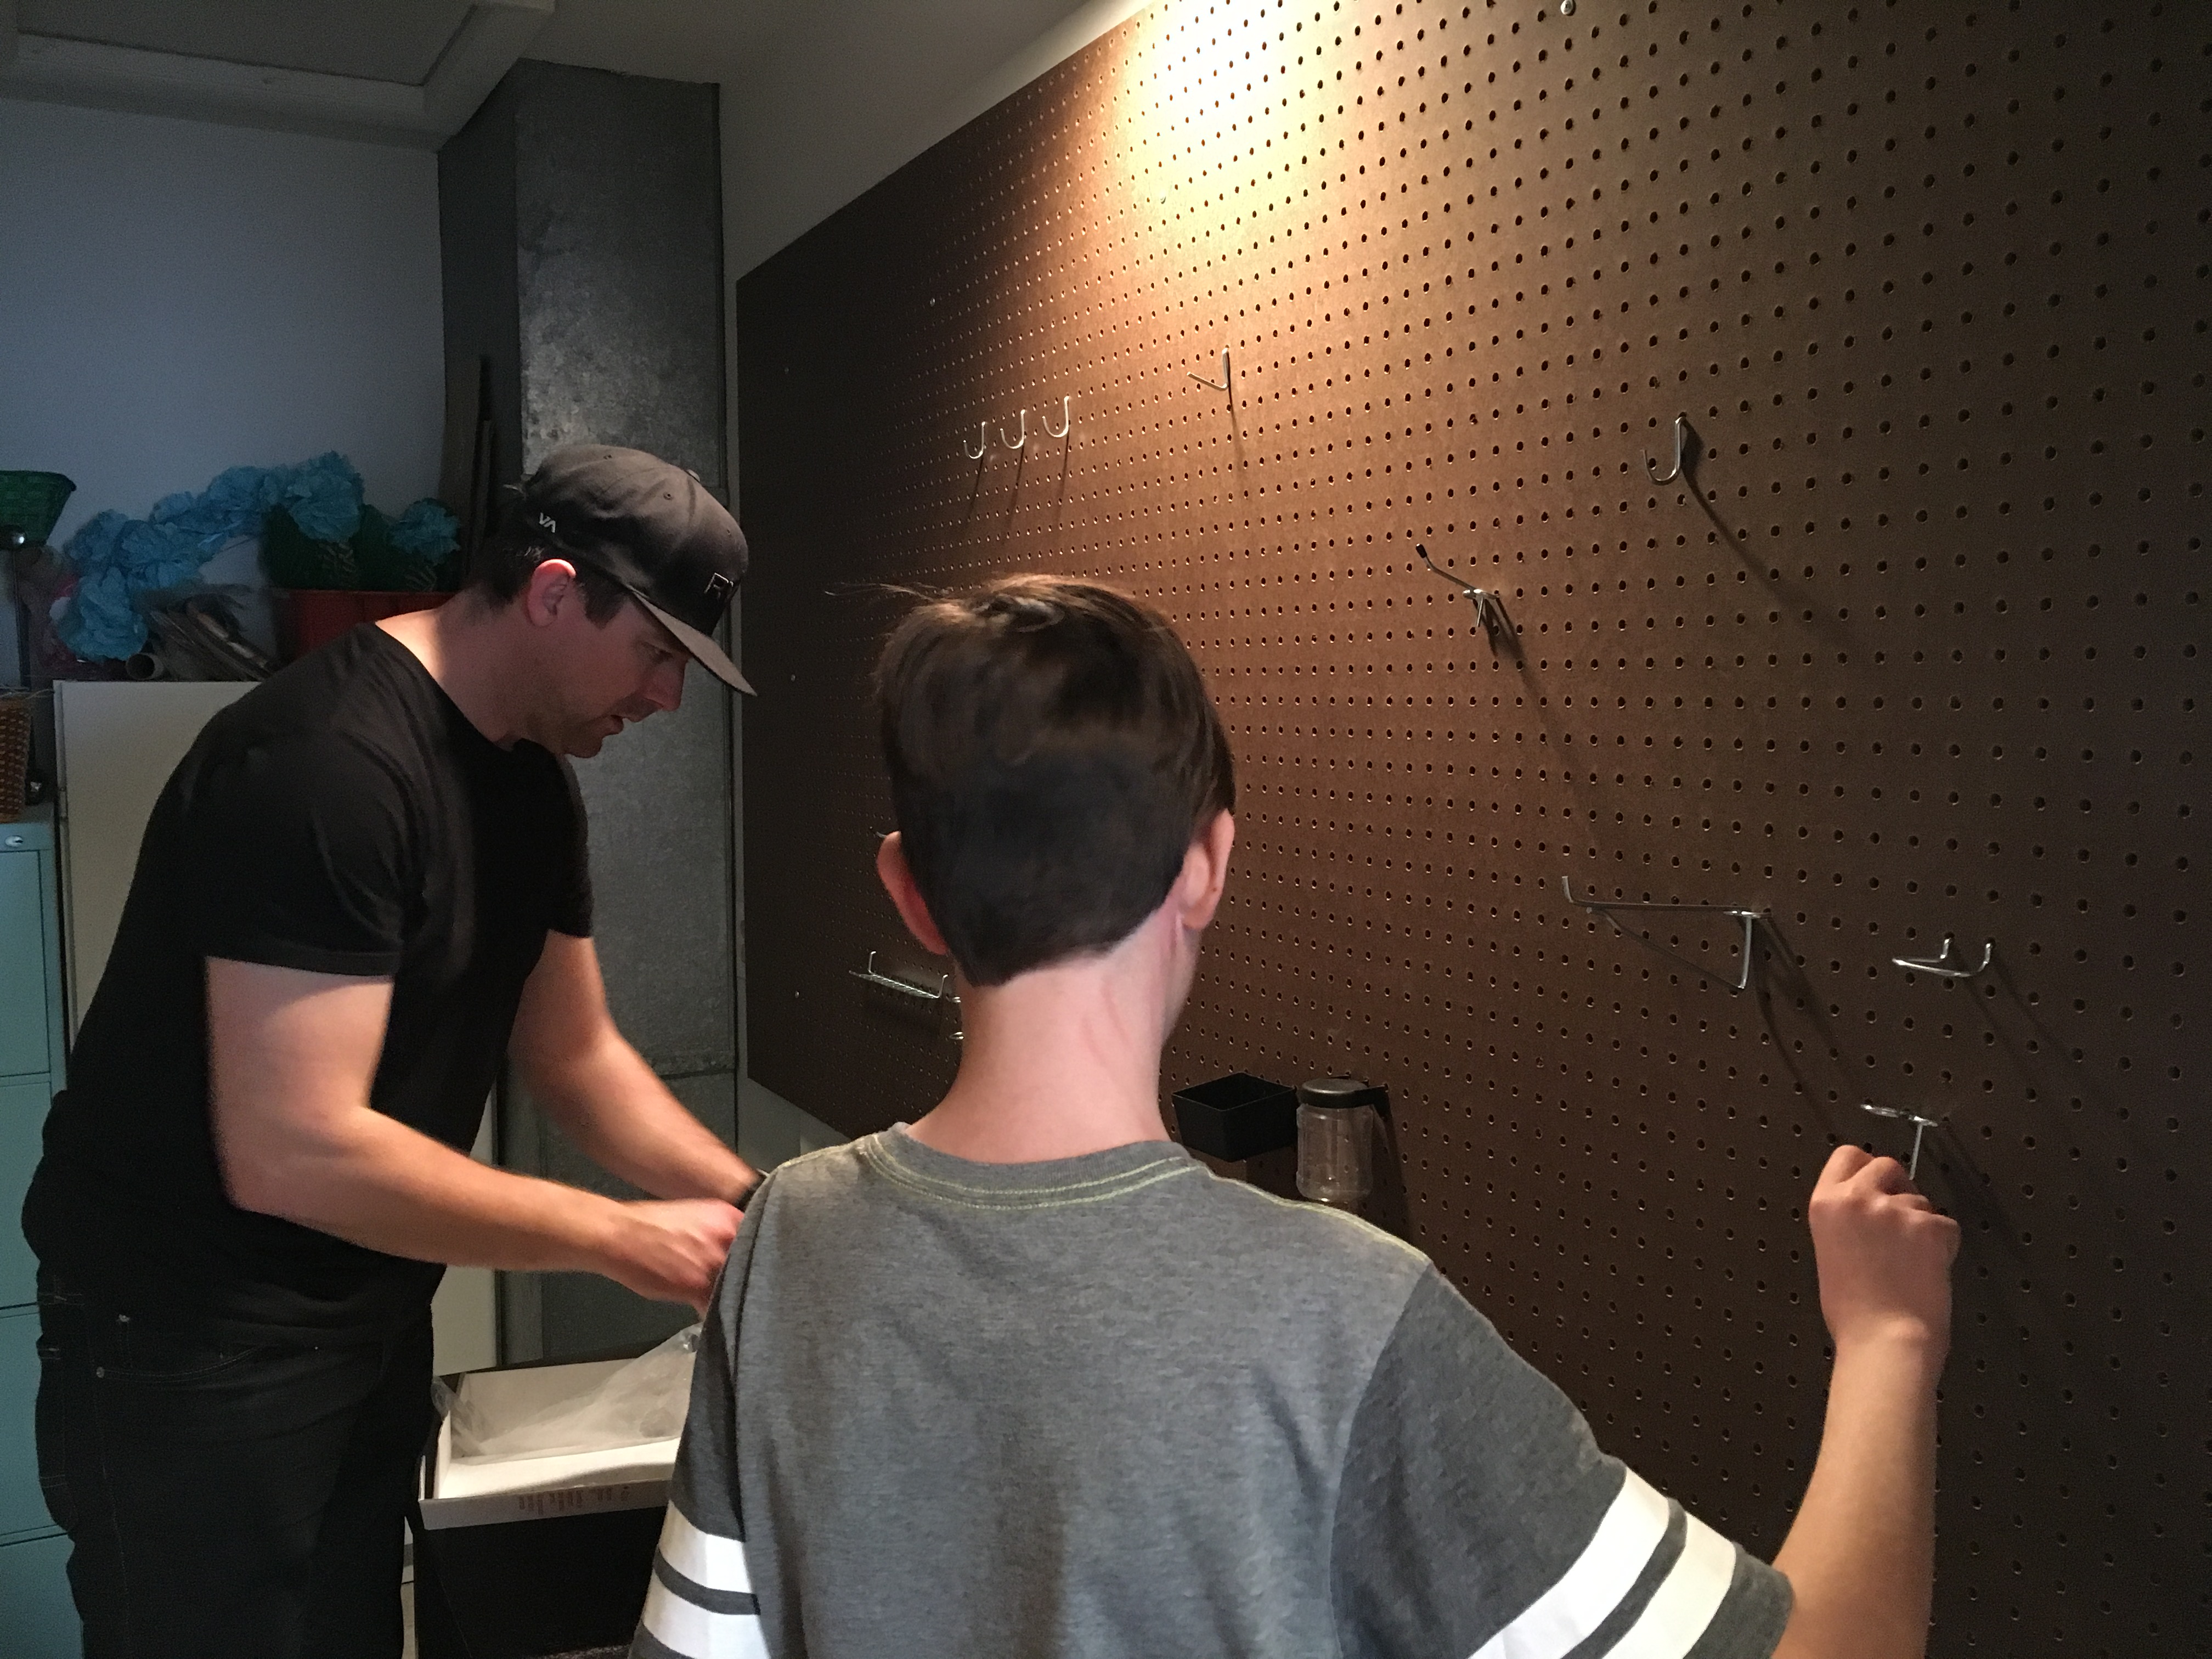
AFTER
