These Thanksgiving silhouettes made out of Wilton’s candy melts are the perfect edible toppers for your Thanksgiving cake and cupcakes. Simply print out silhouettes of pilgrims, indians, turkeys, and the Mayflower. Lay wax paper over your silhouettes. Melt your chocolates, place the melted candy in a Wilton’s squeeze bottle, and you are ready to create these delicious toppers. Watch my tutorial to learn how to create these festive toppers for your Thanksgiving feast and find more creative Thanksgiving ideas on my blogposts Thanksgiving (Turkey Handprint) Kids Table and Thanksgiving Turkey Place Cards . #CommissionsEarned
Thanksgiving has always been my favorite holiday. I love the food, the family time, and all the yummy desserts. Involving the kids in the preparations makes the anticipation even greater. Each year, I give my kids an activity to do before we pack up and make the trip to visit family for Thanksgiving. We made these place cards several years ago, and I have to say, they are still one of my favorites. To make these cute turkey place cards for your Thanksgiving table you will need card stock in plain colors, scrapbooking paper in various fall prints for the feathers, and buttons or googly eyes. Cut out rectangles of card stock and fold in half for the cards, cut out the basic turkey shape, small orange triangles for beaks, red squiggly gobbles, and feathers in various prints. Hand out glue sticks and let your kids get creative with the design of their turkeys. Leave some room on one side to place the names. I just printed a list of names off of the computer and then backed them with dark brown card stock to make them pop. These little place cards looked perfect on our Thanksgiving table, and my kids were very proud of their creations! #CommissionsEarned
My daughter and I recently added a tutorial for you to enjoy and you can find another fun kid friendly Thanksgiving idea by clicking on my most recent blogpost Thanksgiving (Turkey Handprint) Kids Table. Happy Thanksgiving!
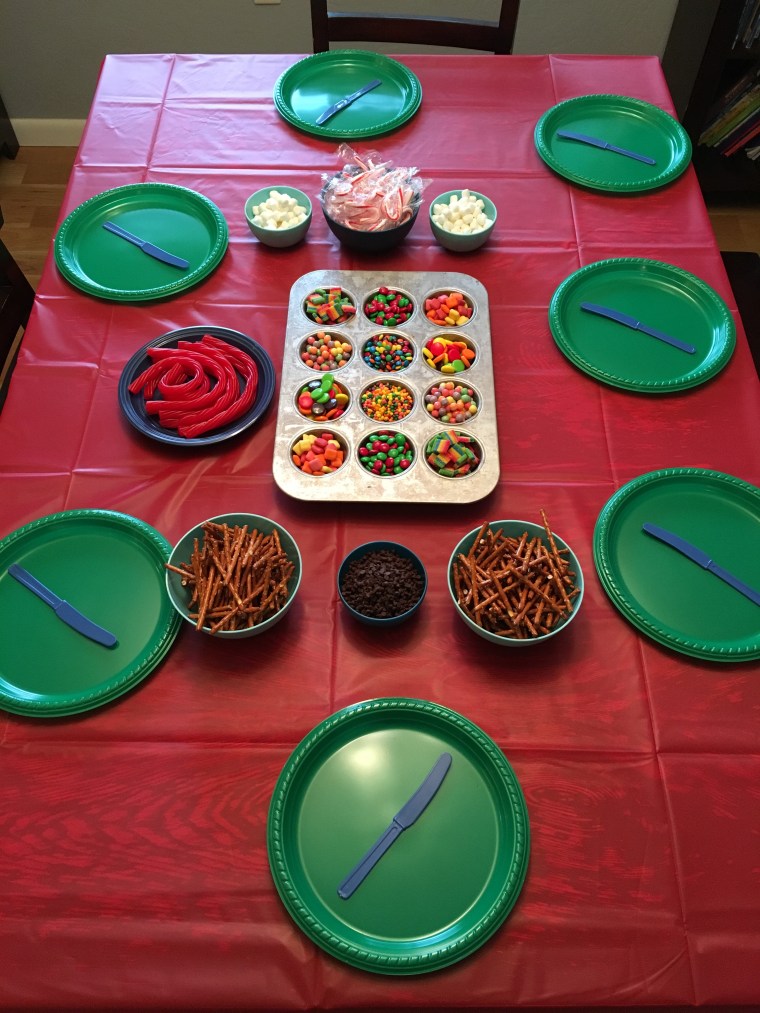
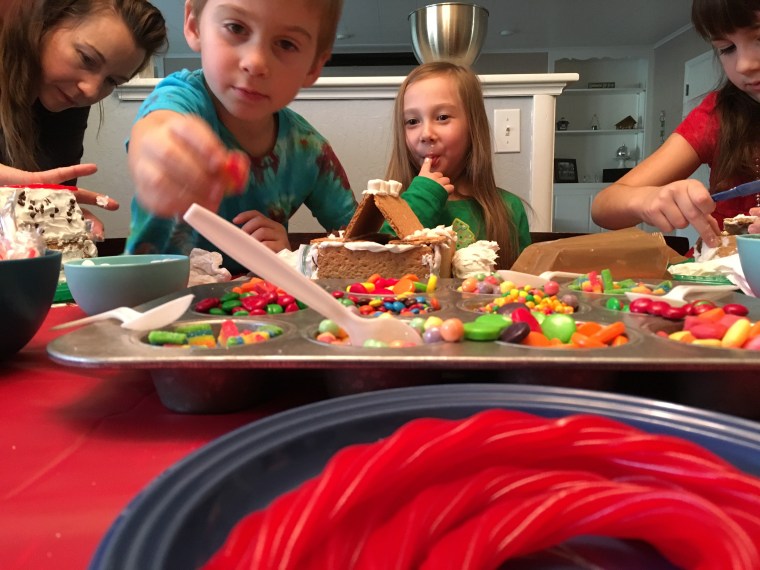
When my oldest son was in preschool, we started this tradition. Every year during Christmas Break, my kids get to invite a couple of friends over to make graham cracker gingerbread houses. We have carried on this tradition for 10 years now and it is definitely one we all look forward to. A muffin tray makes the perfect holder for the various small candies used to decorate these tiny edible houses. Royal frosting is a must, as it hardens quickly and acts like glue to hold the sides of your houses together. Stick pretzels can be used to create a log cabin or a fence. It’s helpful to give each child a baggie full of frosting with one corner snipped off for cleaner lines. Because this is a messy experience, I like to put a cheap plastic table cloth on my table for easy clean up. It’s also important to buy heavy duty plastic or thick paper plates to build your houses on. To secure the houses, it’s best to “glue” the base to the plate with some royal frosting. I always invite parents to stay and hang out while the kids work on their house’s. Not only does it make for good company, but there are extra hands to hold graham crackers in place and spread frosting for little ones who need the help. I love to see how each child comes up with a completely different and unique design for their graham cracker gingerbread house. I imagine that we will continue this tradition for years to come!
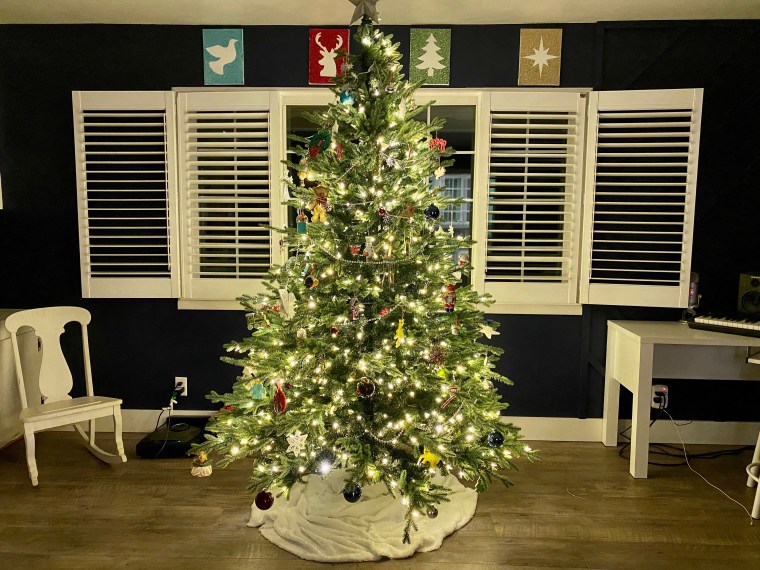
One of our Advent Activities for this year was “make a craft.” I decided that Glittery Christmas Silhouettes would make the perfect actvity for my kids. I have to say, I am very happy with how they turned out and it will be fun to put them up each December for years to come. My kids range in age from 5-13 and they were each able to do this with just a little help from me. Here’s what you will need for your glittery silhouettes. Four rectangular canvases, adhesive-backed vinyl, a computer, scissors, cardboard or newspaper (to cover your work area), white school glue, paintbrushes or foam brushes, and four different colors of glitter. #CommissionsEarned
Google Christmas silhouettes online and find four that you want to use. Size them to fit in the center of your canvas with enough space around each for the glitter. Try and make all 4 about the same size. Print out your silhouettes and cut them to use as templates. Trace your silhouettes on the back of your adhesive-backed vinyl. Cut them out to create four stickers. Place one “sticker” on each canvas.Paint glue evenly all over the white parts of your canvas. It’s ok to get a bit of glue on the stickers, but try to keep it to a minimum so that you can see the outline for when you peel it off later. Sprinkle glitter all around your silhouette and be sure to go over the edges a bit to make sure you create a nice line all around each image.Wait about 45 minutes. You will want to peel your stickers before the glue and glitter completely dry. This will create a cleaner line. Allow your canvases to dry completely. Shake the glitter off. Then paint over them one more time with white school glue. This will seal the glitter in so that it doesn’t fall off everywhere when you they are hanging up on your wall. Let them dry overnight. Hang up and admire your beautiful Glittery Christmas Silhouettes!
Update: We have now been using these for the past 5 years and they are holding up beautifully. For a tip when storing them: use plastic wrap to cover each canvas individually, then stack them and wrap the stack in plastic wrap as well. I store mine inside of a closet on a shelf, and each year they look as lovely as they did the first year we made them. Here is a picture from last Christmas so that you can see how nice they look in my navy blue living room next to my Board & Batten Feature Wall .
For more fun Christmas ideas check out the following blogposts:
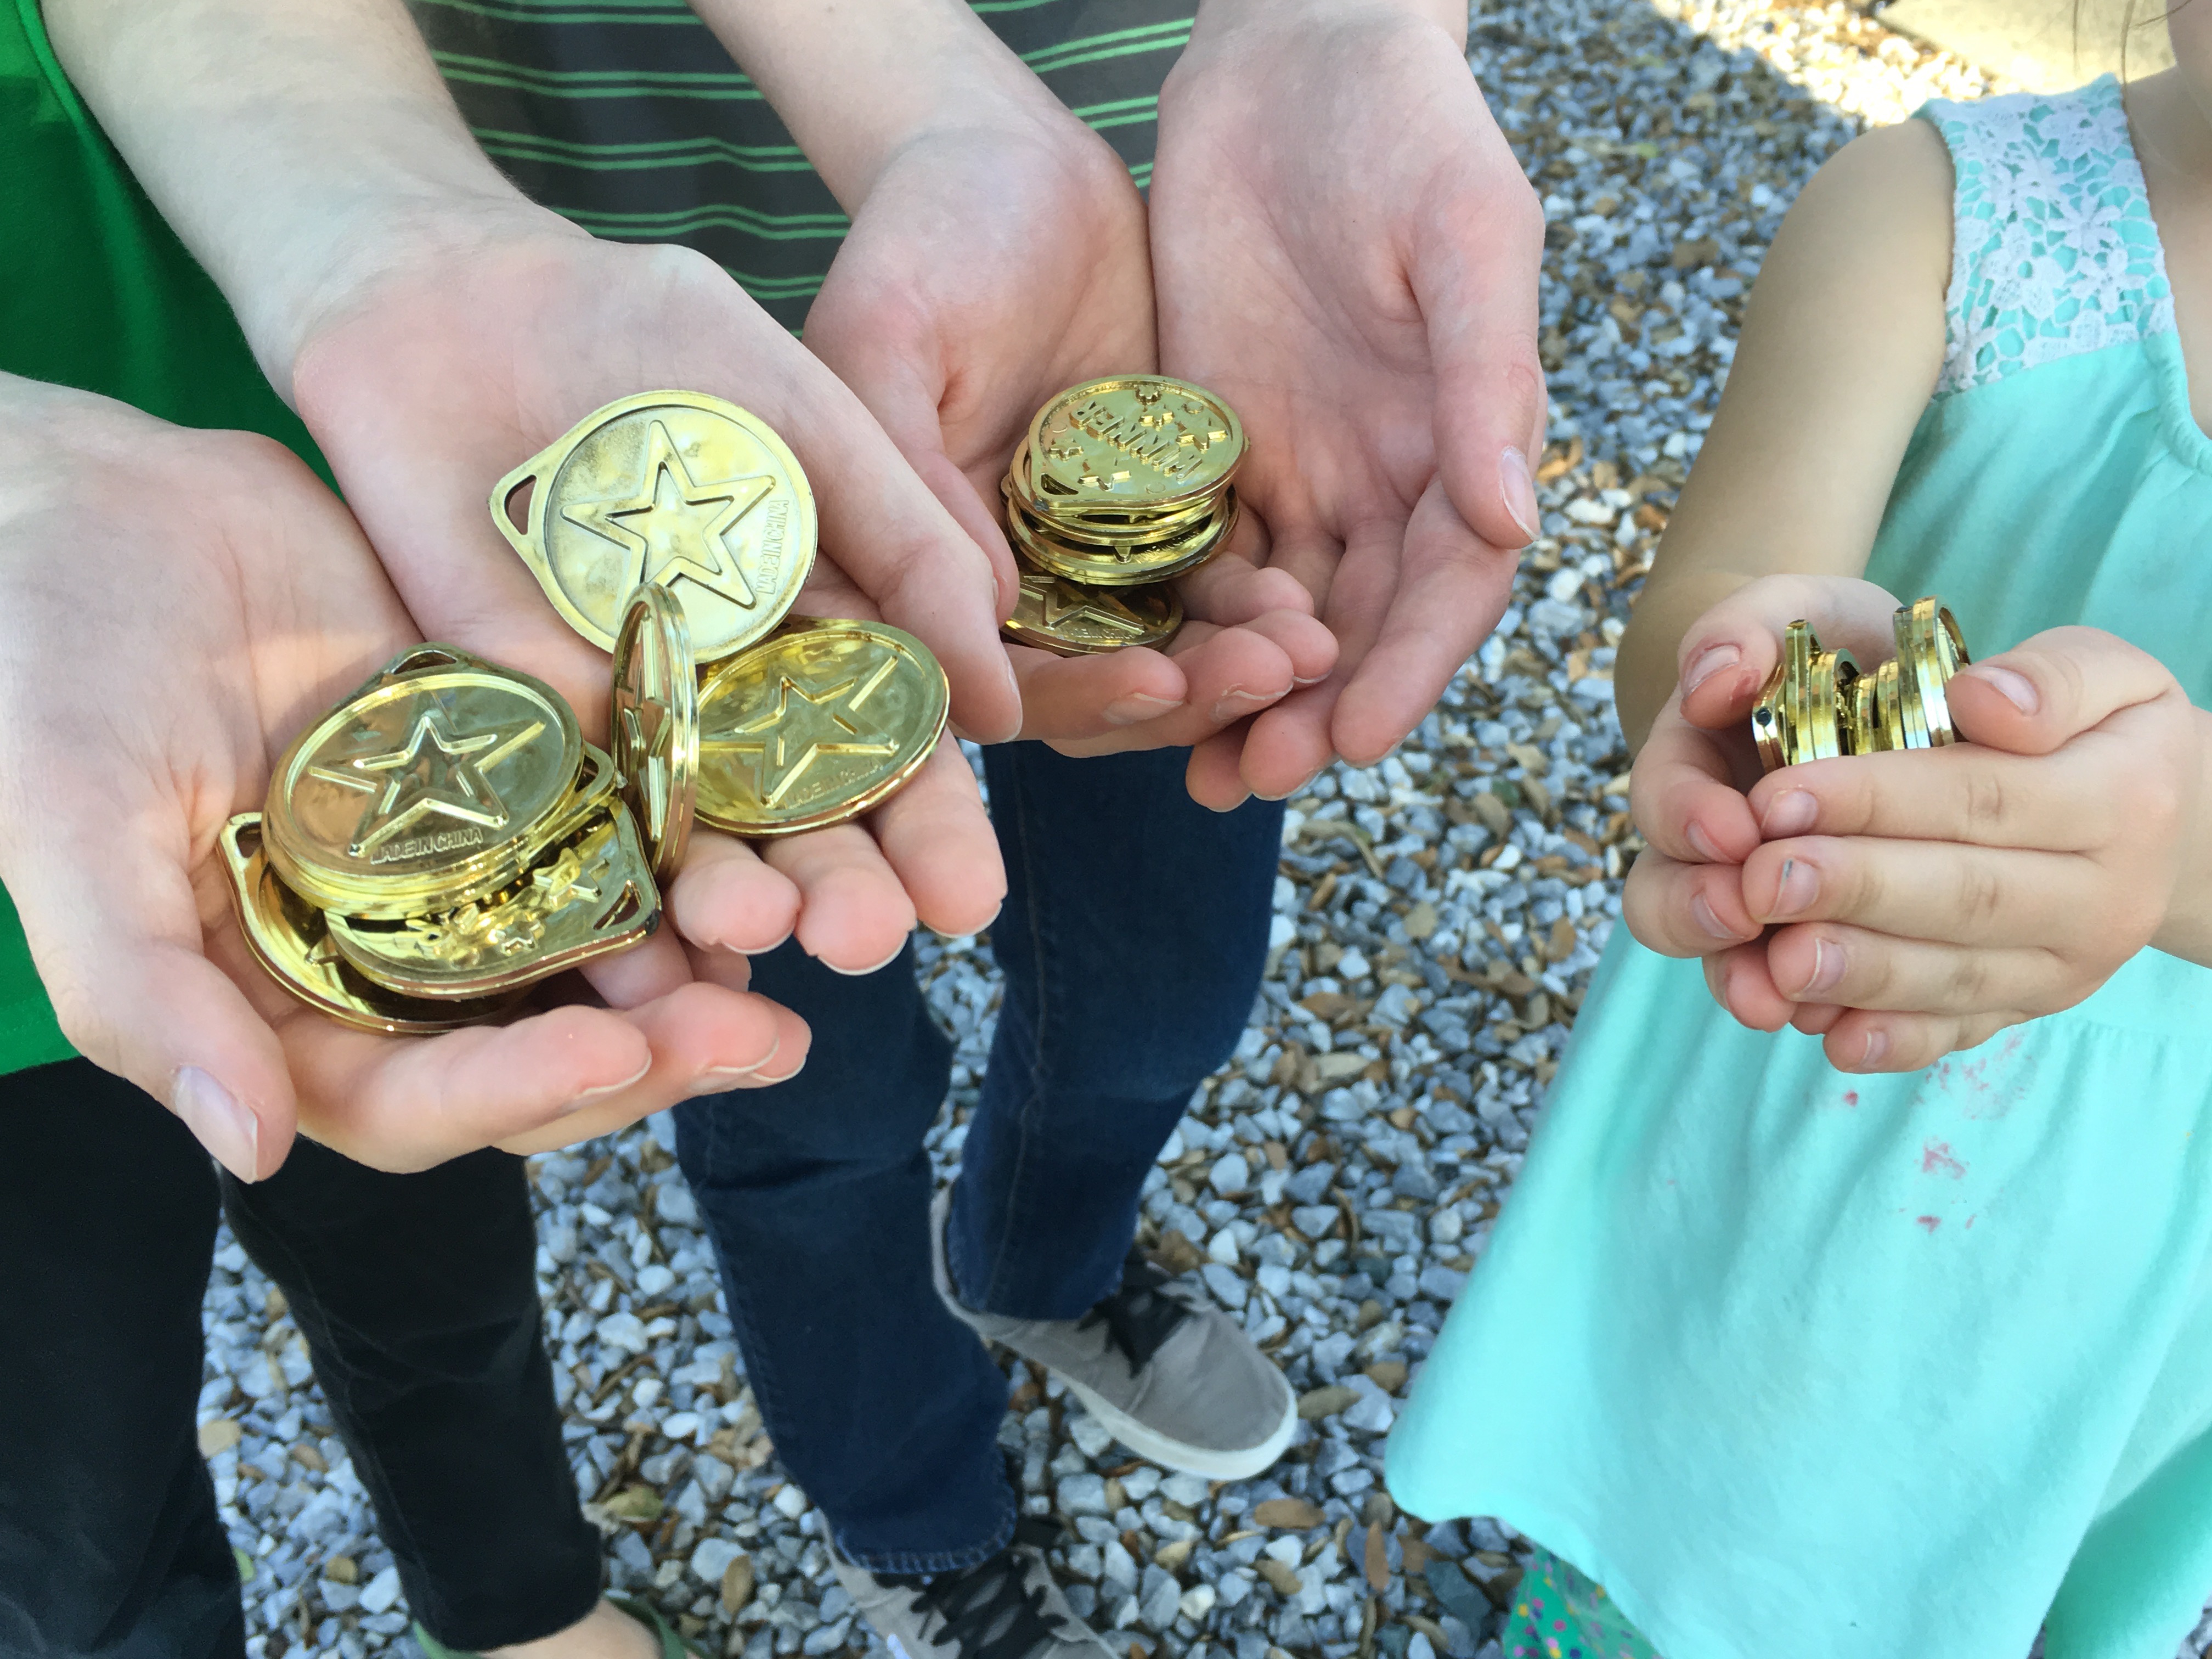
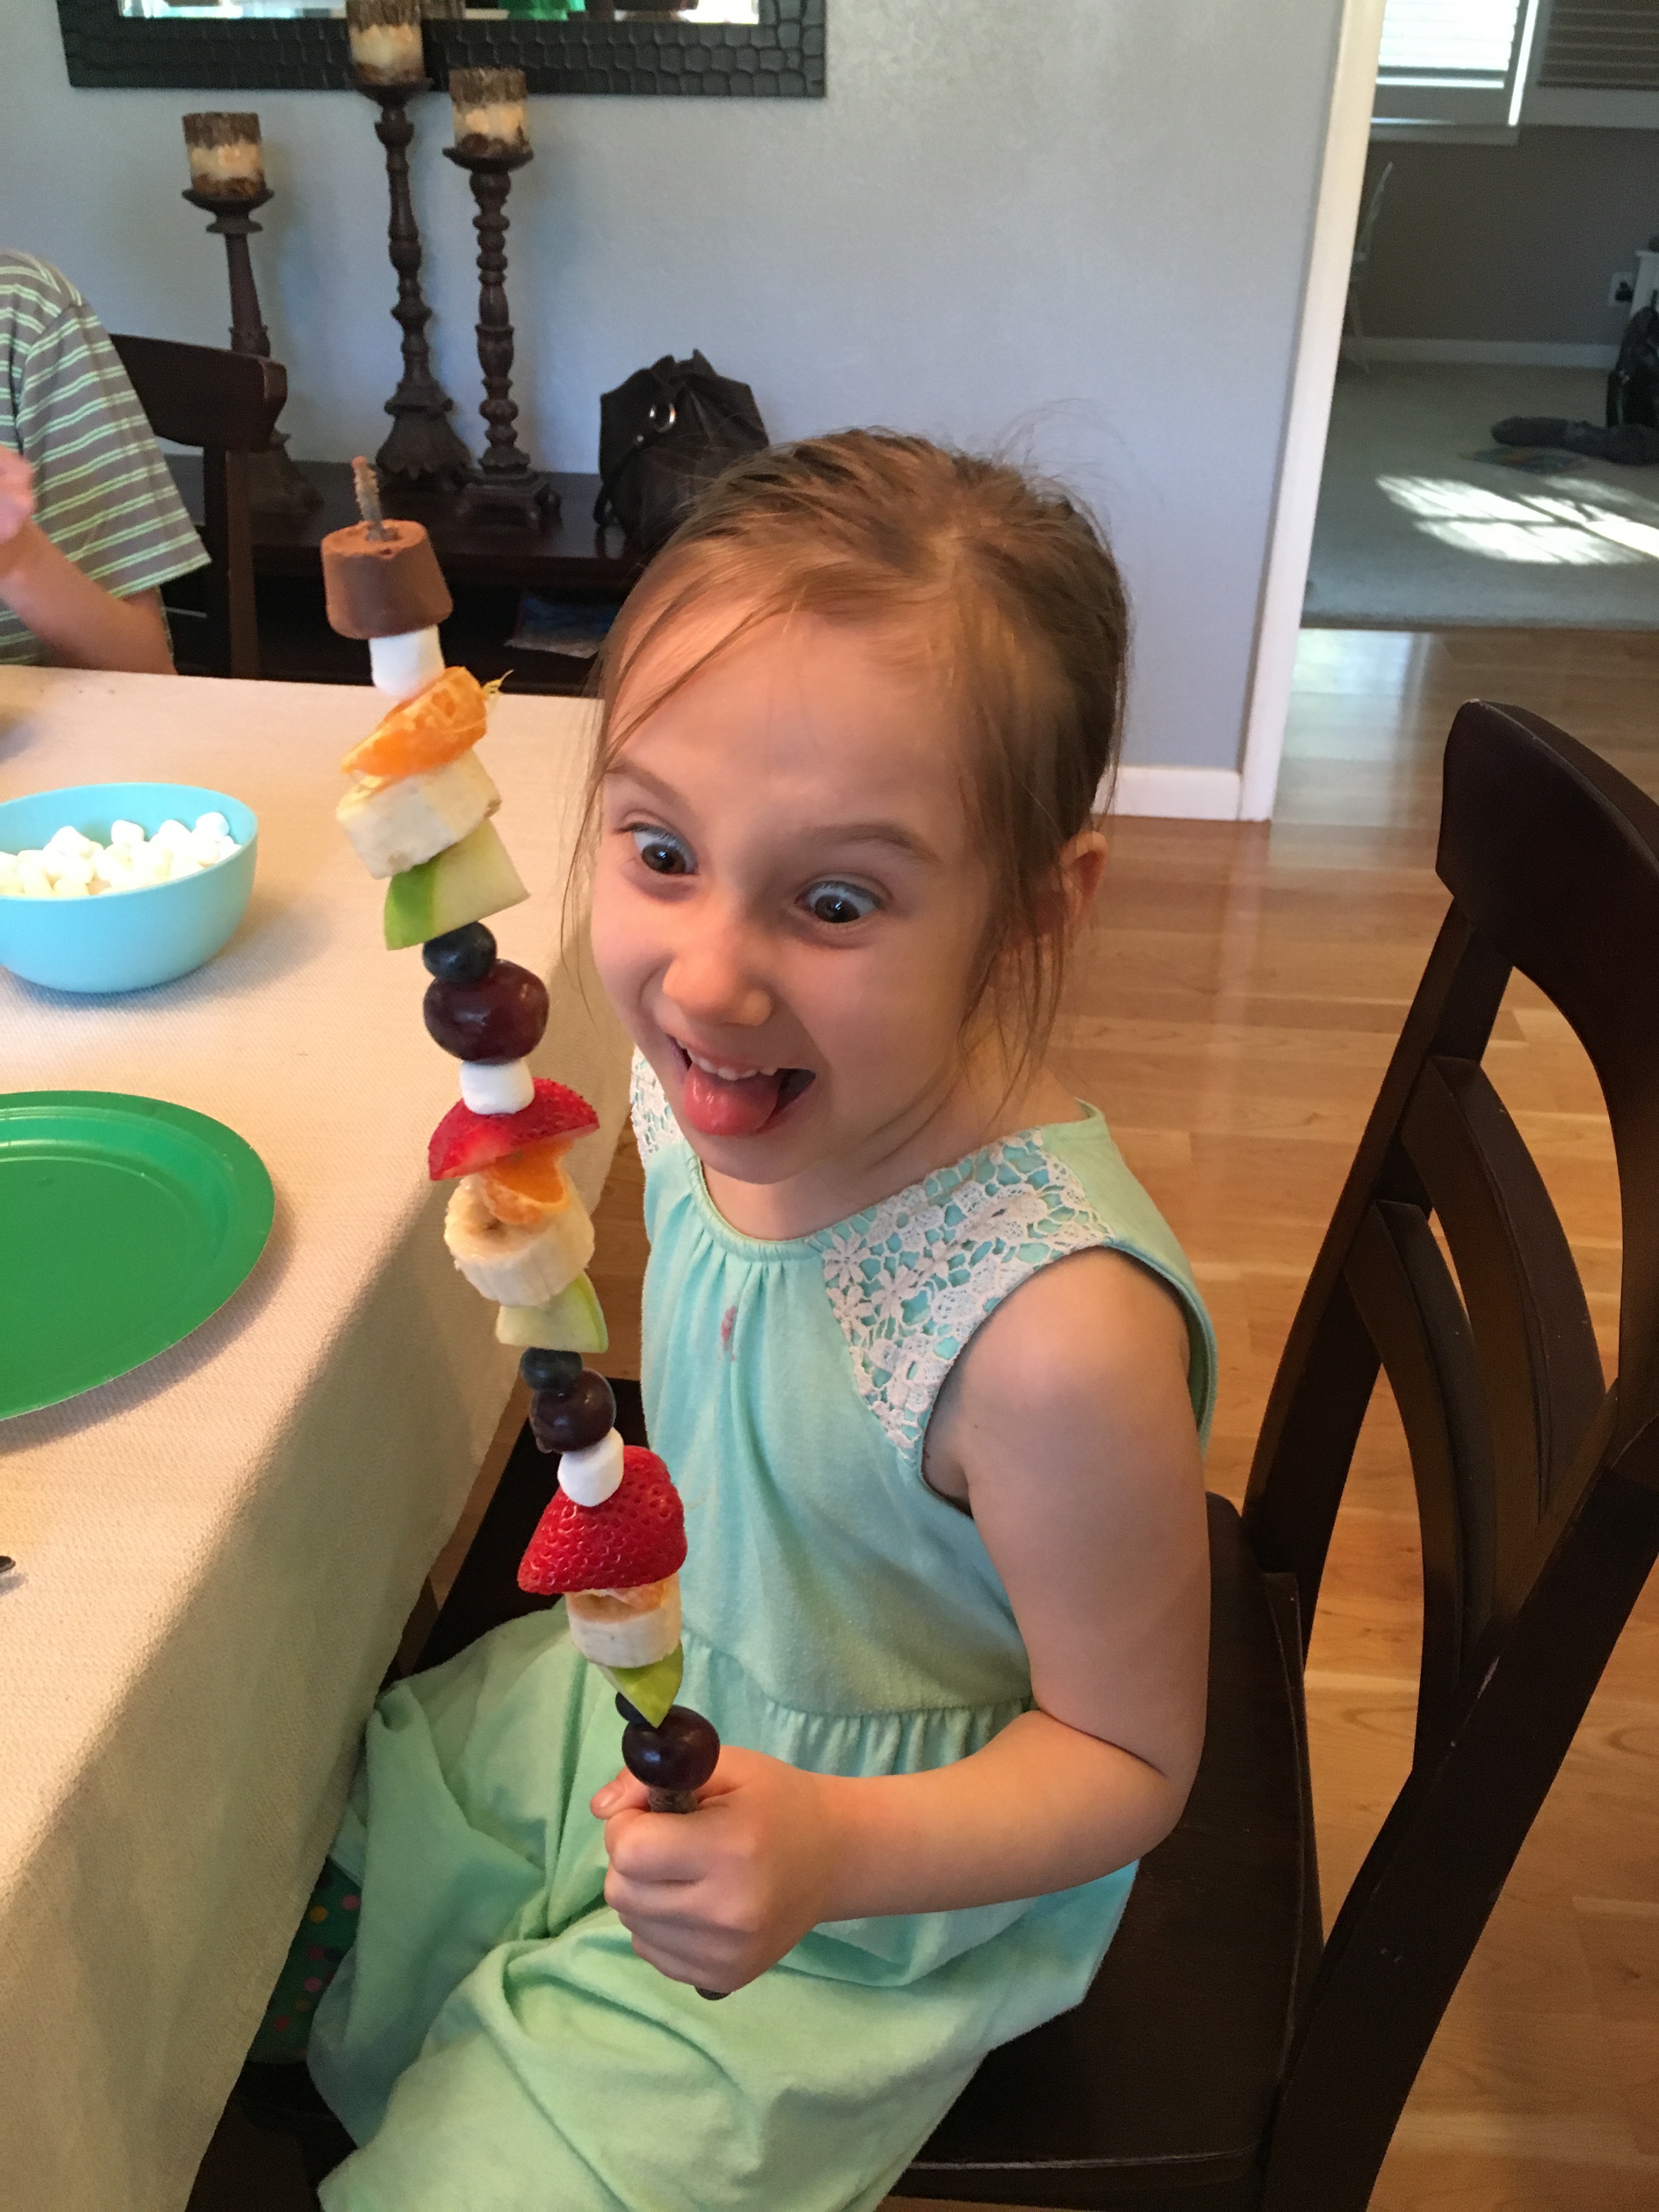
I love creating fun experiences for my children. We started this tradition about 3 years ago and my kids look forward to it every St. Patrick’s Day. For “Rainbow Kabobs” you will need some fake gold coins from the dollar store (I couldn’t find coins, so I bought “gold metal necklaces” and pulled the ribbons off of them), fruit in the colors of the rainbow, mini marshmallows, gold wrapped candy (rolos), and some kabob sticks. The first year we did this was the most fun. I hid the rainbow of fruit and treats from my kids and sent them outside on a “treasure hunt.” I told them to find all the gold coins that were hidden in the backyard. Then I asked them where the pot of gold is usually found…at the end of the rainbow of course! I had them trade in their “pot of gold” and close their eyes. Then I brought out their rainbow of yummy goodness as well as the marshmallow “cloud” and the edible “pot of gold.” They absolutely loved making and eating these colorful kabobs! Now, each year, they look forward to this simple tradition even though it is no longer a surprise.


 These Thanksgiving silhouettes made out of Wilton’s candy melts are the perfect edible toppers for your Thanksgiving cake and cupcakes. Simply print out silhouettes of pilgrims, indians, turkeys, and the Mayflower. Lay wax paper over your silhouettes. Melt your chocolates, place the melted candy in a Wilton’s squeeze bottle, and you are ready to create these delicious toppers. Watch my tutorial to learn how to create these festive toppers for your Thanksgiving feast and find more creative Thanksgiving ideas on my blogposts Thanksgiving (Turkey Handprint) Kids Table and Thanksgiving Turkey Place Cards . #CommissionsEarned


 Google Christmas silhouettes online and find four that you want to use. Size them to fit in the center of your canvas with enough space around each for the glitter. Try and make all 4 about the same size. Print out your silhouettes and cut them to use as templates.
  Trace your silhouettes on the back of your adhesive-backed vinyl. Cut them out to create four stickers.
 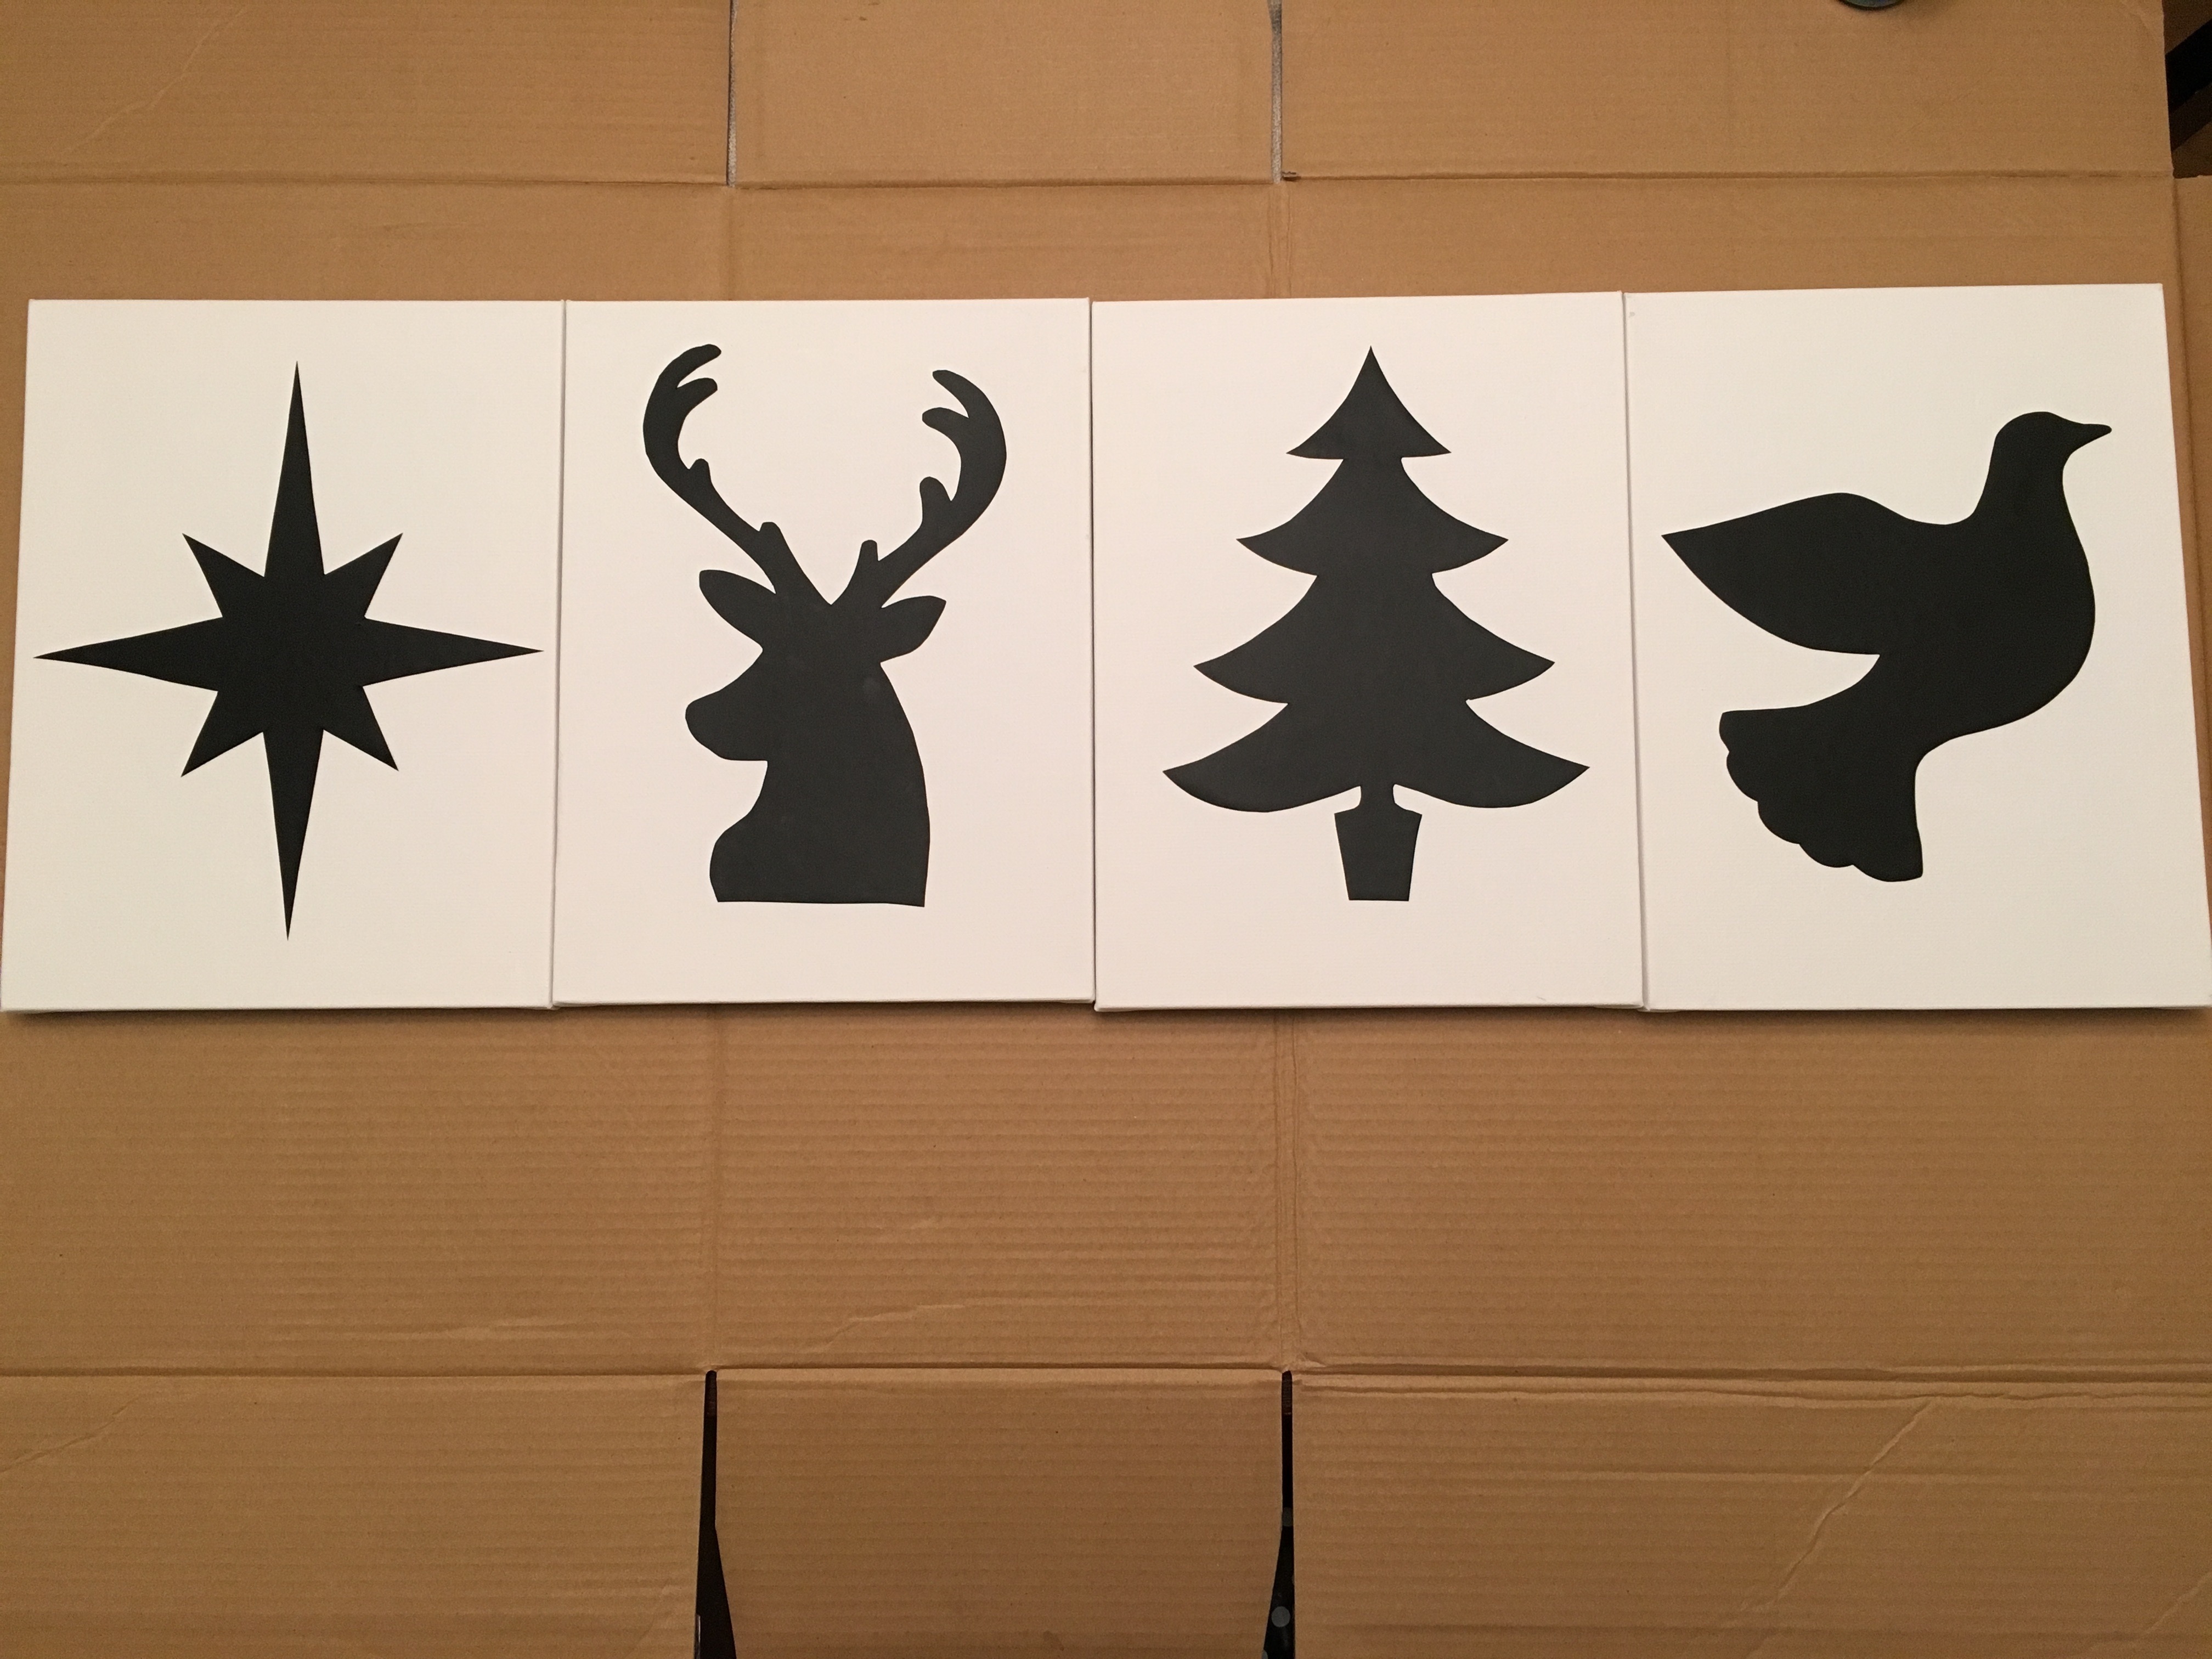 Place one “sticker” on each canvas.
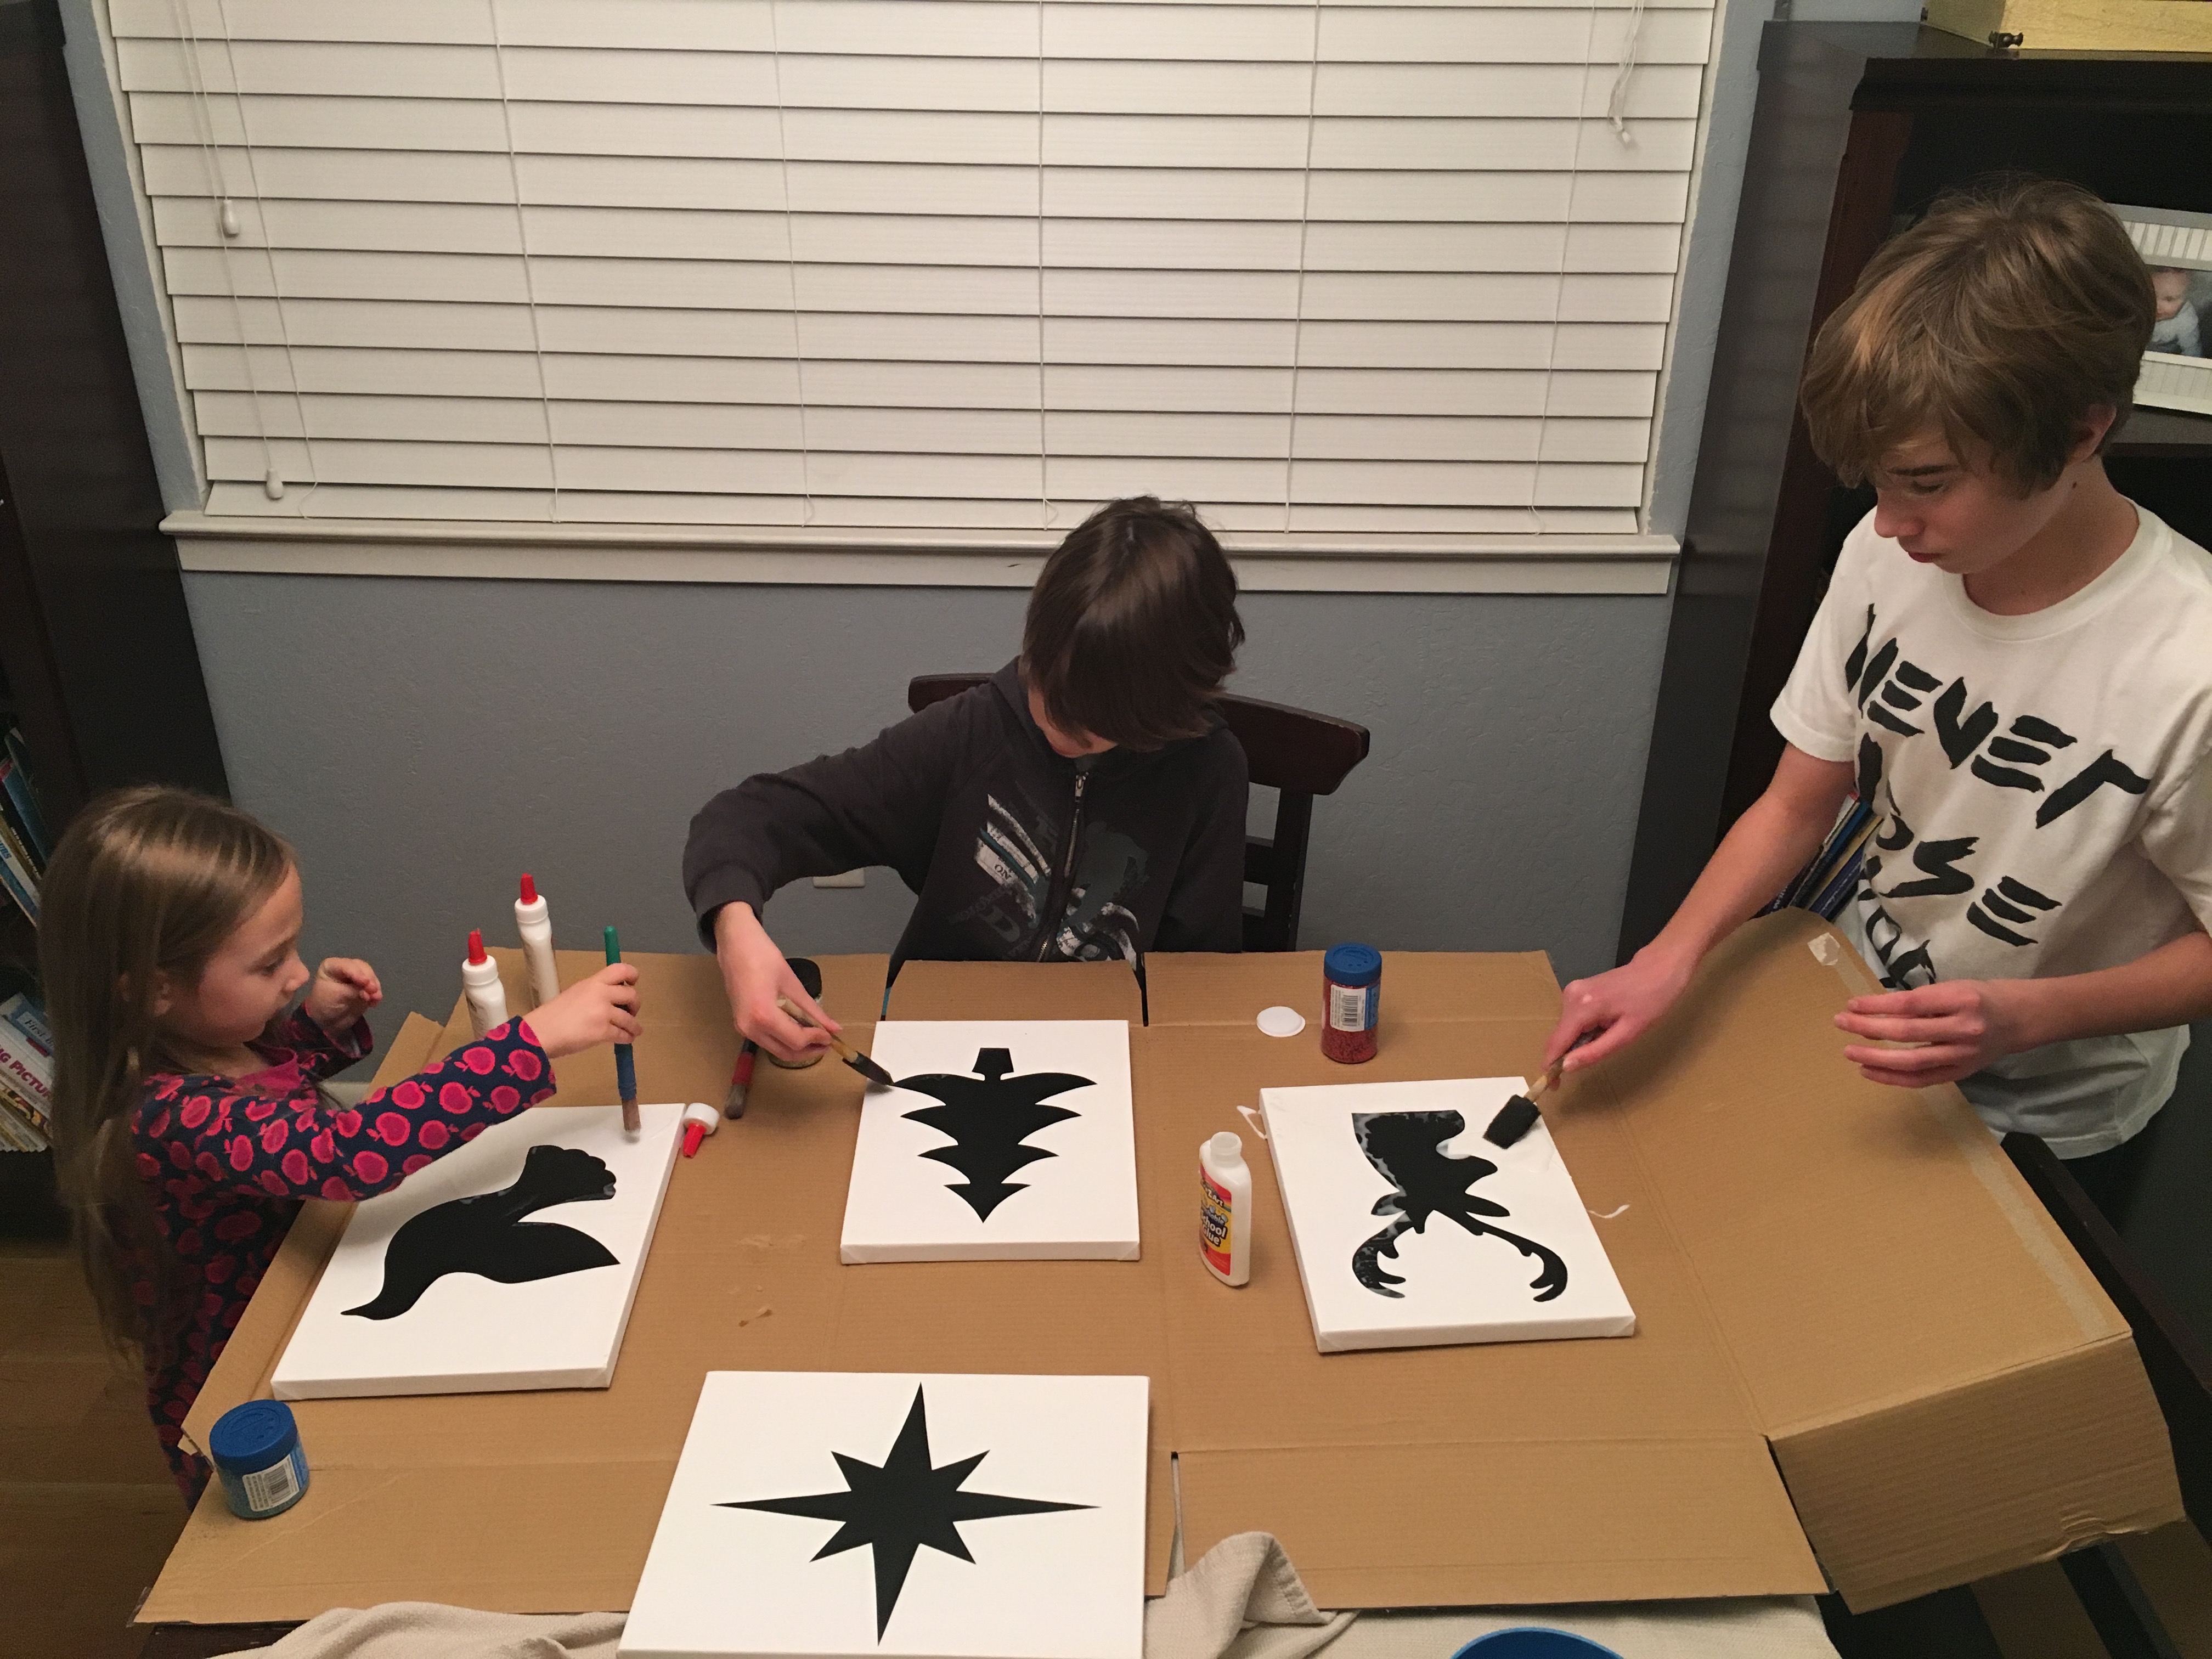 Paint glue evenly all over the white parts of your canvas. It’s ok to get a bit of glue on the stickers, but try to keep it to a minimum so that you can see the outline for when you peel it off later.
  Sprinkle glitter all around your silhouette and be sure to go over the edges a bit to make sure you create a nice line all around each image.
 Wait about 45 minutes. You will want to peel your stickers before the glue and glitter completely dry. This will create a cleaner line.
  Allow your canvases to dry completely. Shake the glitter off. Then paint over them one more time with white school glue. This will seal the glitter in so that it doesn’t fall off everywhere when you they are hanging up on your wall. Let them dry overnight.
 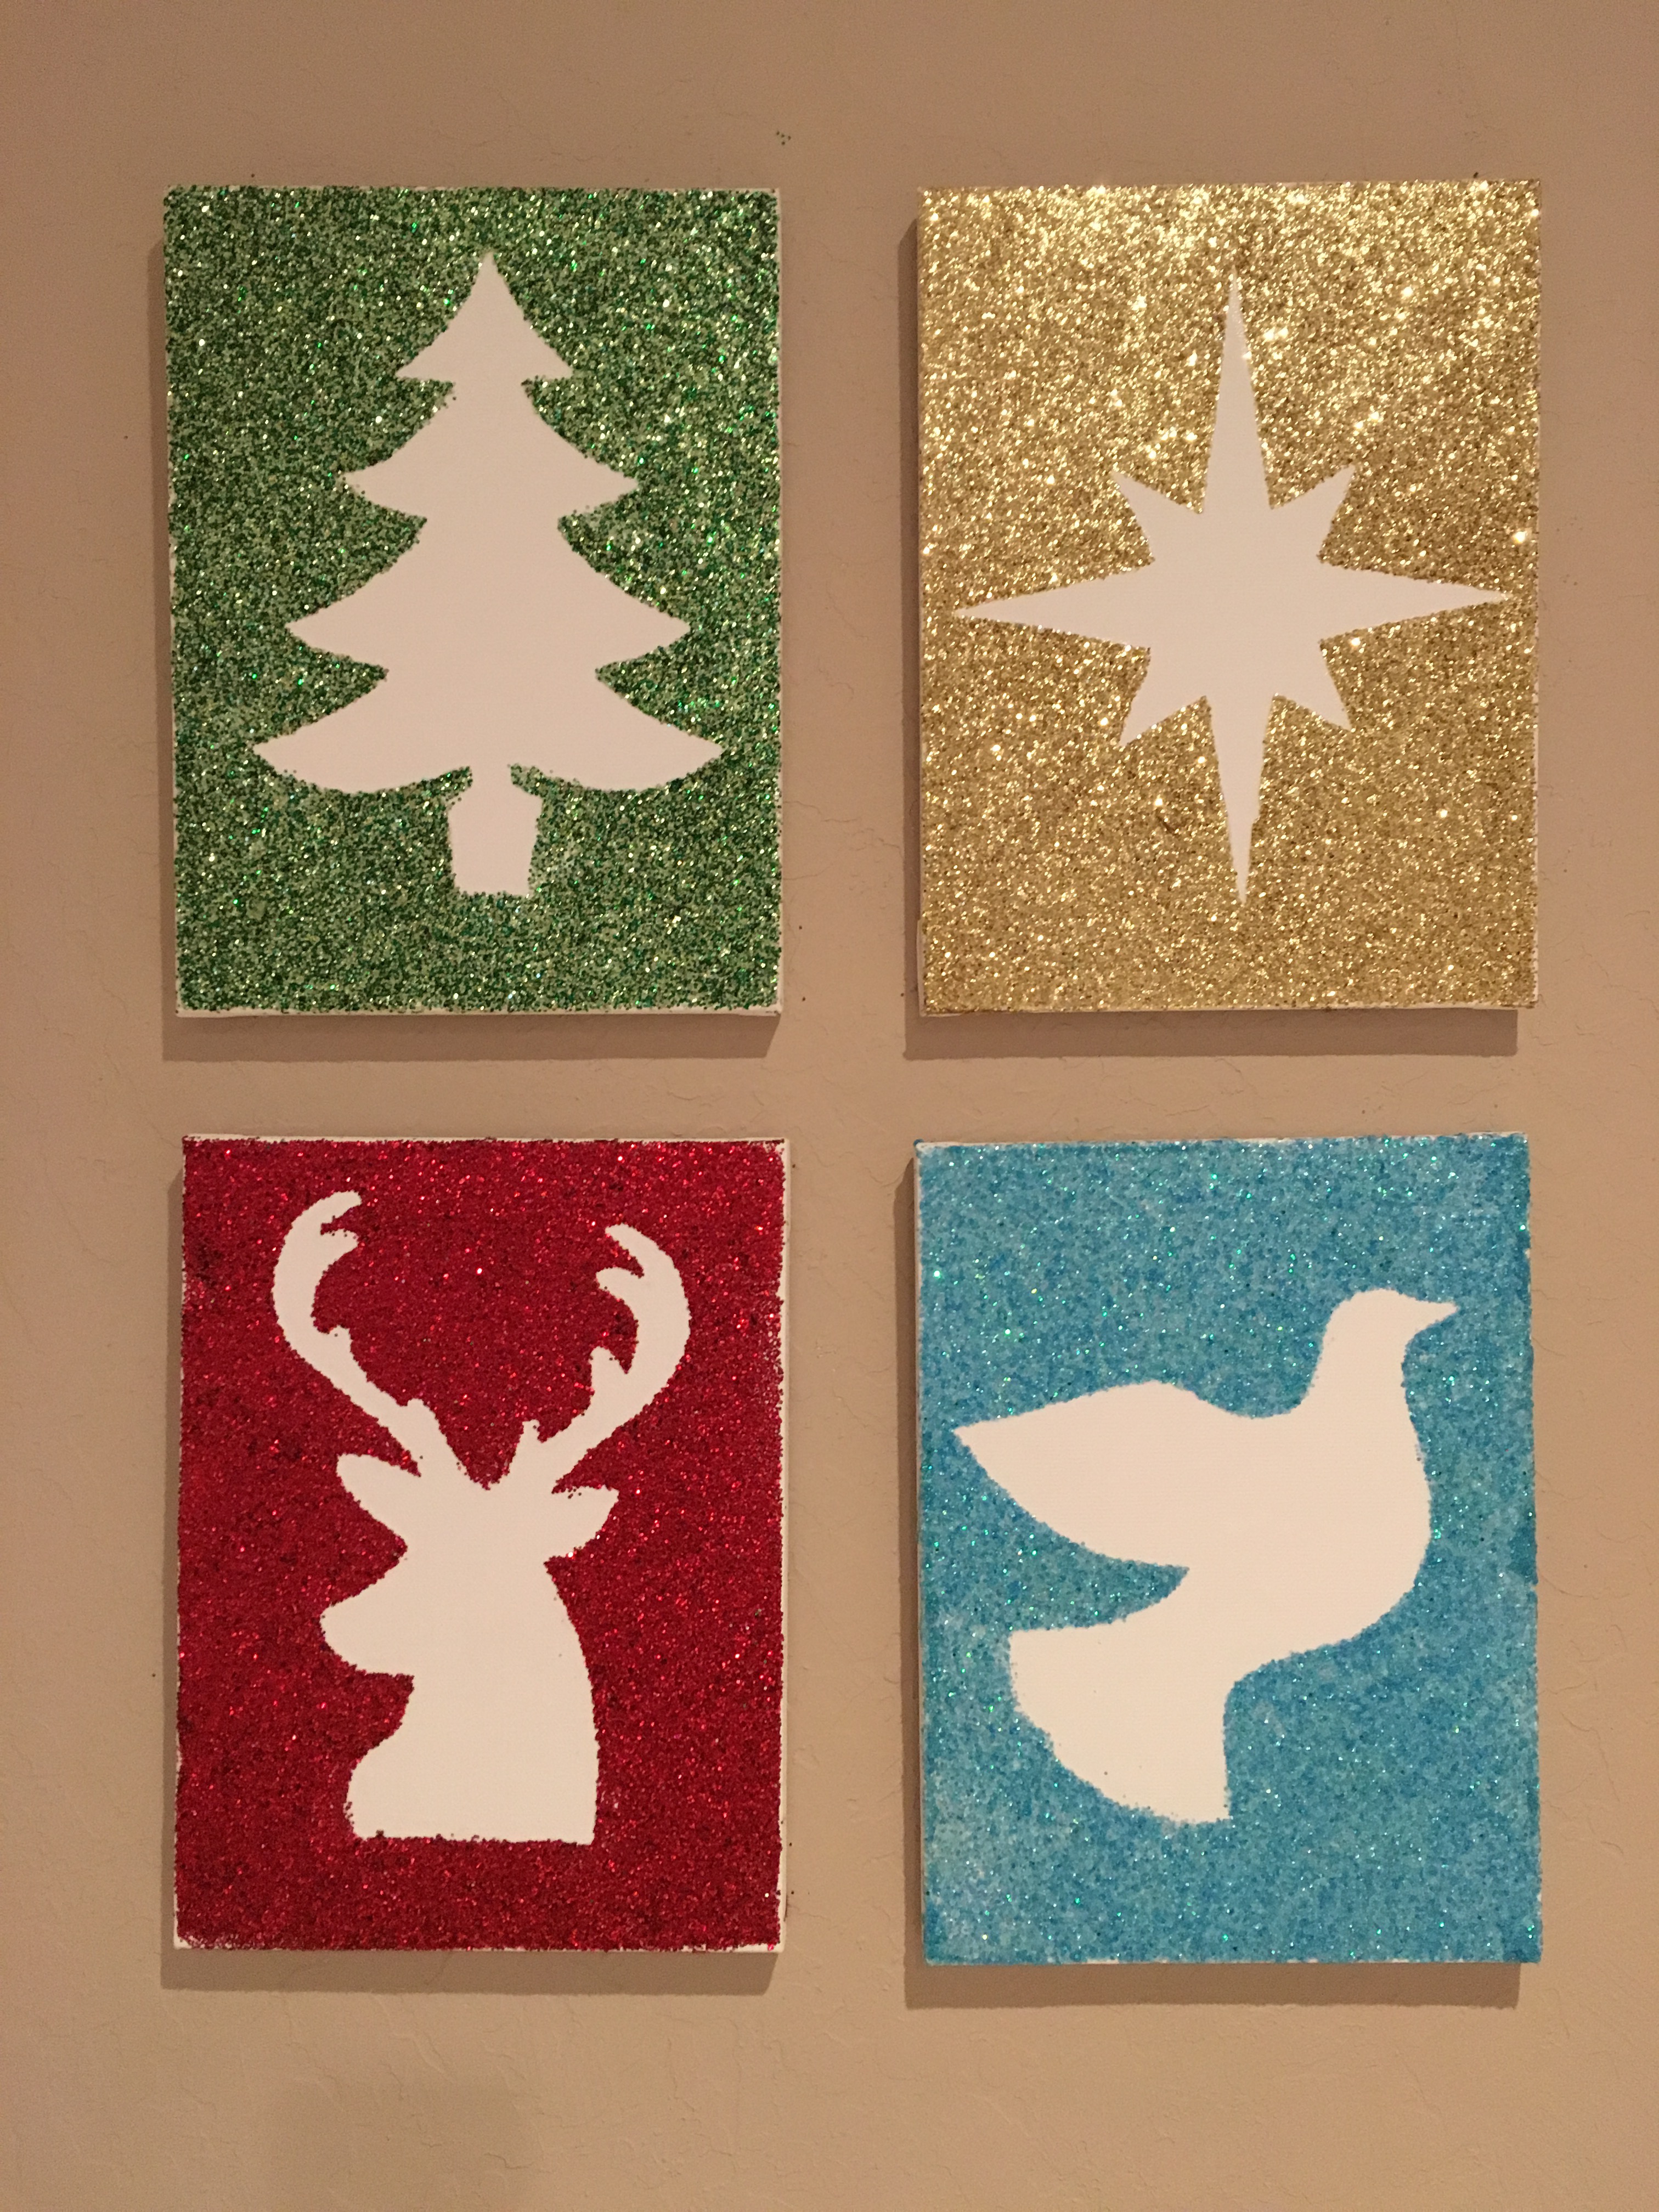 Hang up and admire your beautiful Glittery Christmas Silhouettes!