This school year, I have the privilege of being a part of the Theater Booster Club at my daughter’s school. The TBC is a group of parents who support the school’s performing arts program. One of my favorite events each year is the Talent Show. I love this incredible opportunity for students to showcase their talents. This year, we had singers, musicians, dancers, a beat-boxer, an aerial silk performer, and so much more. It was an amazing show!
To help make this event even more special for the kids, the TBC got together over the summer to brainstorm theme ideas and to decide on what types of decor we wanted to create. We settled on “Old Hollywood” for our theme, and went to work gathering supplies and crafting all the things. I hit up a local appliance store for as many refrigerator boxes as I could fit in my van. We put 2 aside to make into giant popcorn boxes and another for a “media-inspired” filmstrip countdown to use as a photo backdrop. Two more boxes were designated for giant film reels, and the rest we used for a film strip photo station that we set up for the cutest picture keepsakes from the Talent Show.
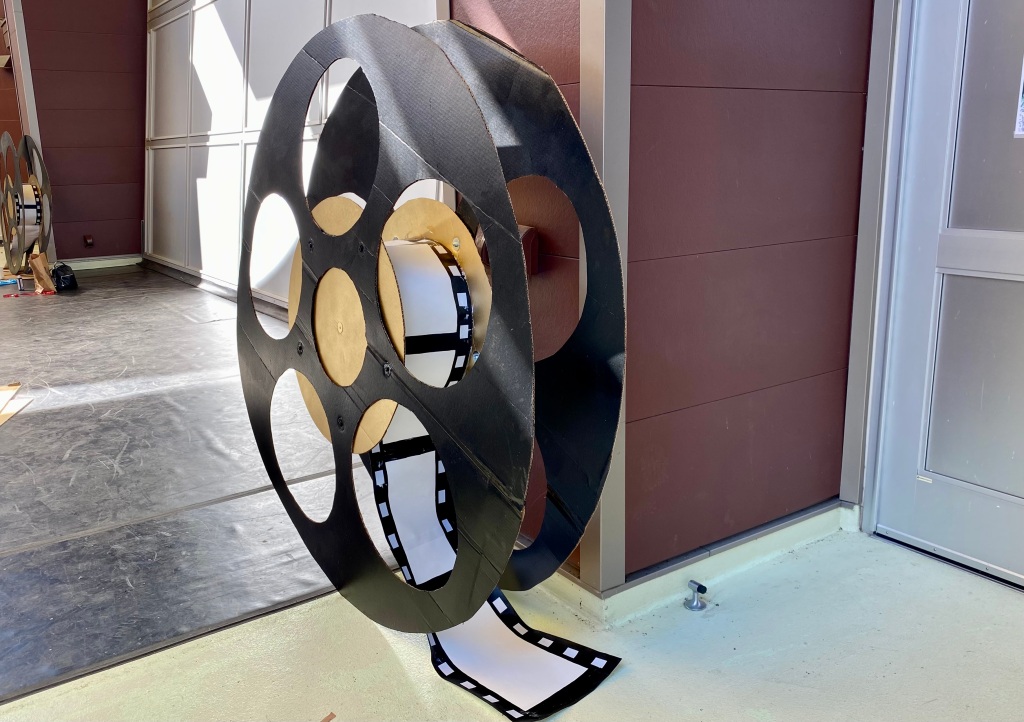
Our team gathered one hot September morning to start painting red and white striped popcorn boxes and black film reels. I had cut out the film reels a couple of days before (after projecting them onto cardboard using my Mouka mini projector). This is a must-have tool for making oversized props and I have gotten a ton of use out of it in the past 2 years. We used painter’s tape to make the lines on the popcorn boxes and used paint from Lowes instead of craft paint for these oversized props because it is thicker and required fewer coats. I also used my projector to trace the POPCORN sign onto a piece of white poster board and then painted it with the same red paint we used for the stripes. #commissionsearned
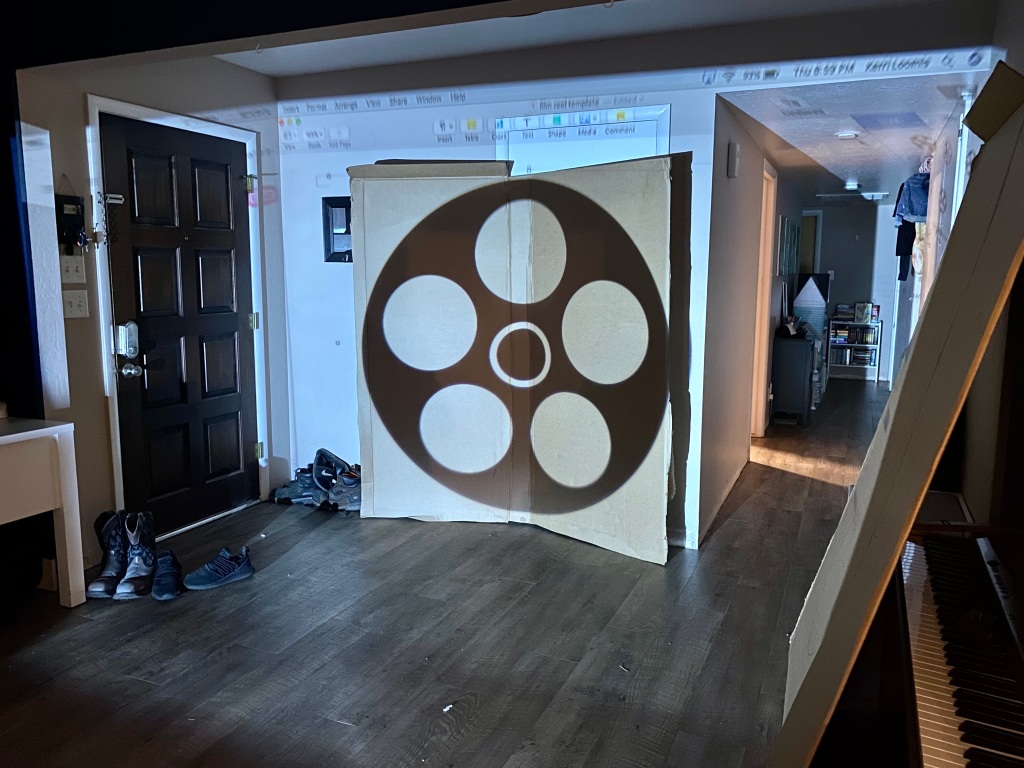


Putting the film reels together was the next project. I purchased 2 small cardboard poster tubes, cut out 4 circles that were smaller than the 6 ft film reels, and asked my husband for some help with attaching the pieces. We spray-painted the inside of the reels with gold Rustoleum spray paint to give them a metallic appearance, attached two cardboard circles to the poster tube, and transported everything to the school because they were too big to transport once they were all put together.
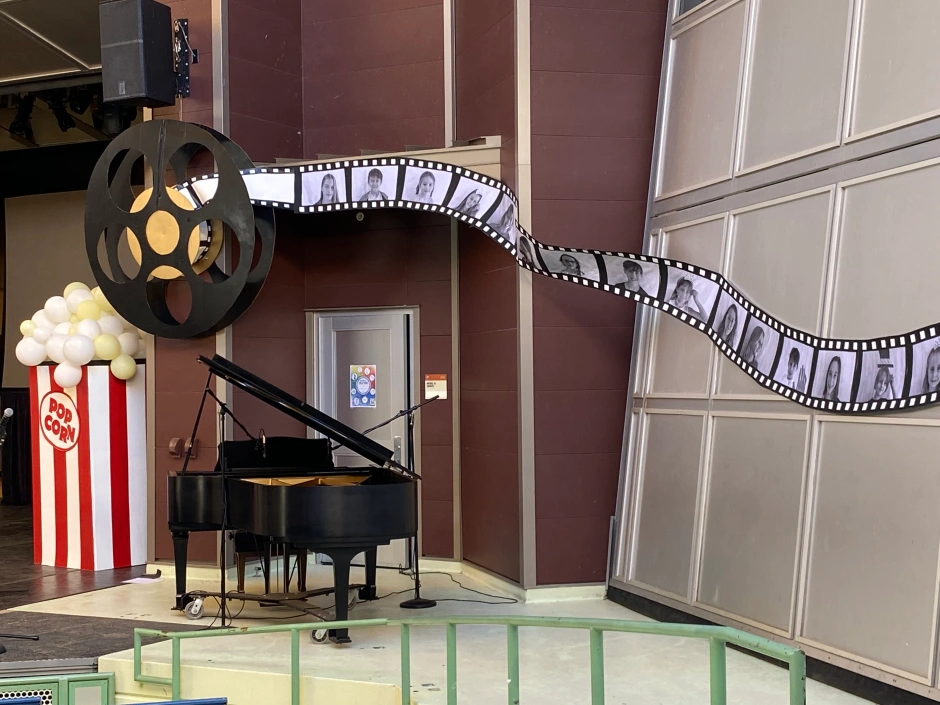
In the meantime, I got to work on the filmstrip of all of the kids who participated in the Talent Show. This was the most amazing prop that we created because it made the kids feel like celebrities! They loved seeing the giant film strip with their faces when they walked into the amphitheater on the night of the show.
To pull this off, our team set up a camera on the days of the talent show auditions. Before each child auditioned, we snapped a photo with a white backdrop behind them. We gave them photo booth prop options and encouraged them to pose in a variety of ways. The kids didn’t know what they were posing for at the time, so we were able to surprise them.
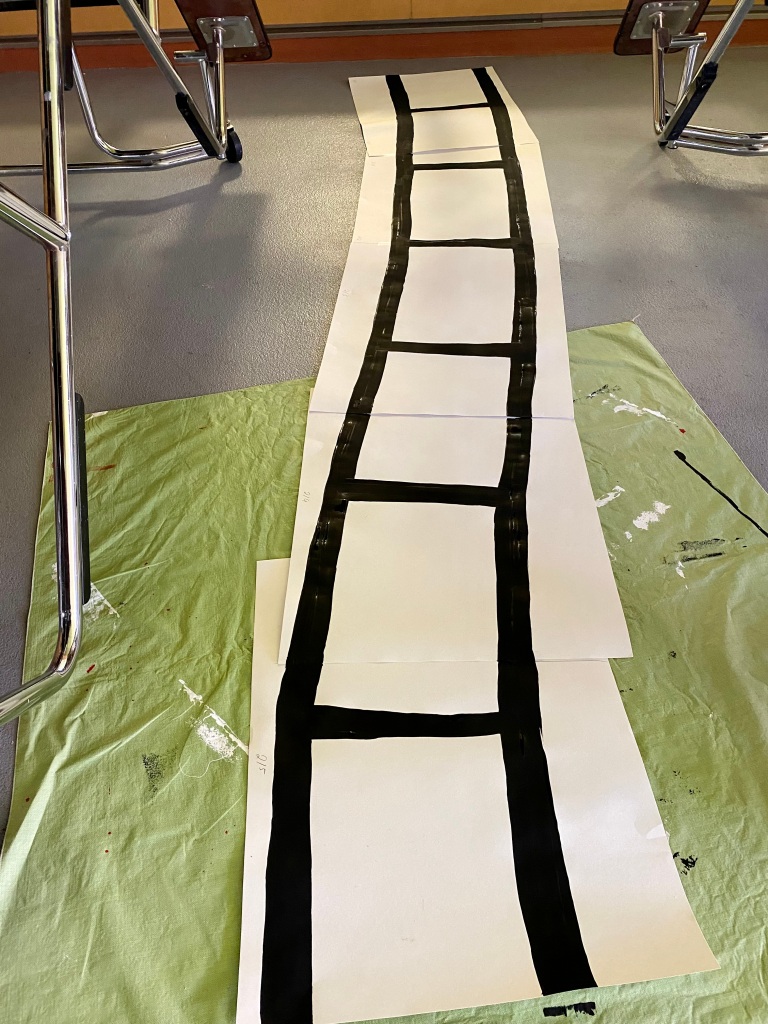
After we gathered all of the photos, our team printed them in black and white onto 11×14 paper. We used white poster board for the film strip and pieced it together with a curve to fit along the walls of the amphitheater. This was definitely not an easy project. It required a lot of measuring, gluing, painting, and cutting, and was very time-consuming…but it was worth every minute when we saw the looks on the kid’s faces on the night of the show.
After painting the 2-inch black film strip lines around each of the kid’s photos, we used white vinyl squares, cut from the Cricut Maker for the finishing touch, making it look very much like a winding film strip. I also added a smaller bit of blank film strip around the inside of the giant 6ft film reels so it gave the illusion that the film strip was coming out of the reel. My husband helped me attach the black reels to the gold centers with screws, washers, and bolts and they held together really well. #commissionsearned


The final project was the photo station. For the backdrop, I used a large sturdy refrigerator box opened up. I had gray and white house paint left over from some projects at home, and I used black duct tape, black electrical tape, black acrylic paint, and my Mouka projector. I also set aside a couple more large pieces of cardboard for the film strip. I started by outlining the entire box with black duct tape. Then I made 4 distinct panels by adding strips of tape to the folds. I painted a white stripe along the top and bottom and then added smaller tape strips to make the film squares. Another strip of tape along the tops of these created the top and bottom of the film strip. Next, I projected two circles onto the middle of each panel and added 1, 2, 3, and 4 for the countdown. I painted the numbers with black acrylic paint and used black electrical tape for the thinner lines.
After projecting the film strip onto a piece of cardboard, I traced it and cut out two more identical pieces. I layered the 3 cardboard cutouts and glued them with E600 glue. I put bricks on top for several hours while they dried and then painted the entire thing black. The 3 layers made the filmstrip a lot more sturdy, which is important when lots of people will be handling a prop. The white rectangles were once again, vinyl cut out from the Cricut, and I added a thick layer of Mod Podge over the top to give it a shiny finish and to keep the white rectangles from falling off. #commissionsearned


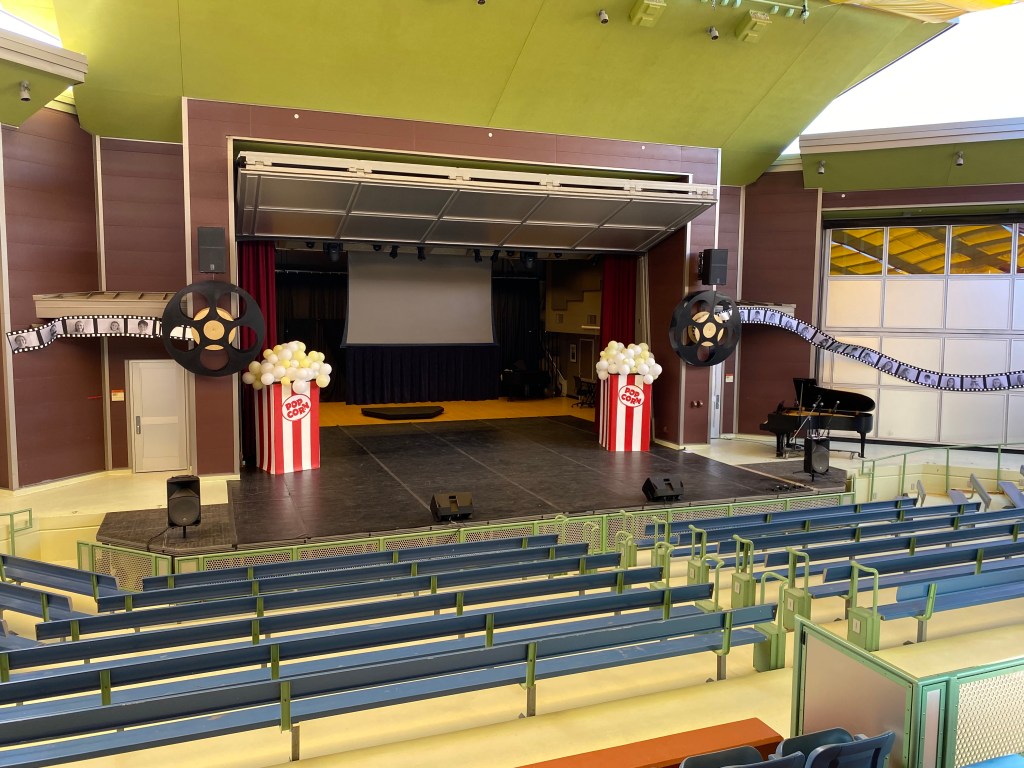
On the day of the event, our team got to work putting up all of the decor so that the room was ready to go at showtime. One of our TBC members is gifted at balloon displays and she made the popcorn boxes “POP” with white and yellow balloons. She also added the black and white balloon displays to the photo station to give it a polished look. The facilities guys at the school were instrumental in hanging the giant film reels and film strips and helping to make our vision come to life.
It was definitely a group effort to pull off this giant undertaking, but our TBC team is full of creative parents who get the job done! The Talent Show was a huge success! The kids felt like “stars” and all of our hours of hard work were so worth it!!! The highlight of the night for me was that my daughter got to perform a song with her dad, which is a memory that I know they will both cherish forever. You can see their smiling faces in the filmstrip at the bottom of this post.


red plaid dress & red bowtie #commissionsearned