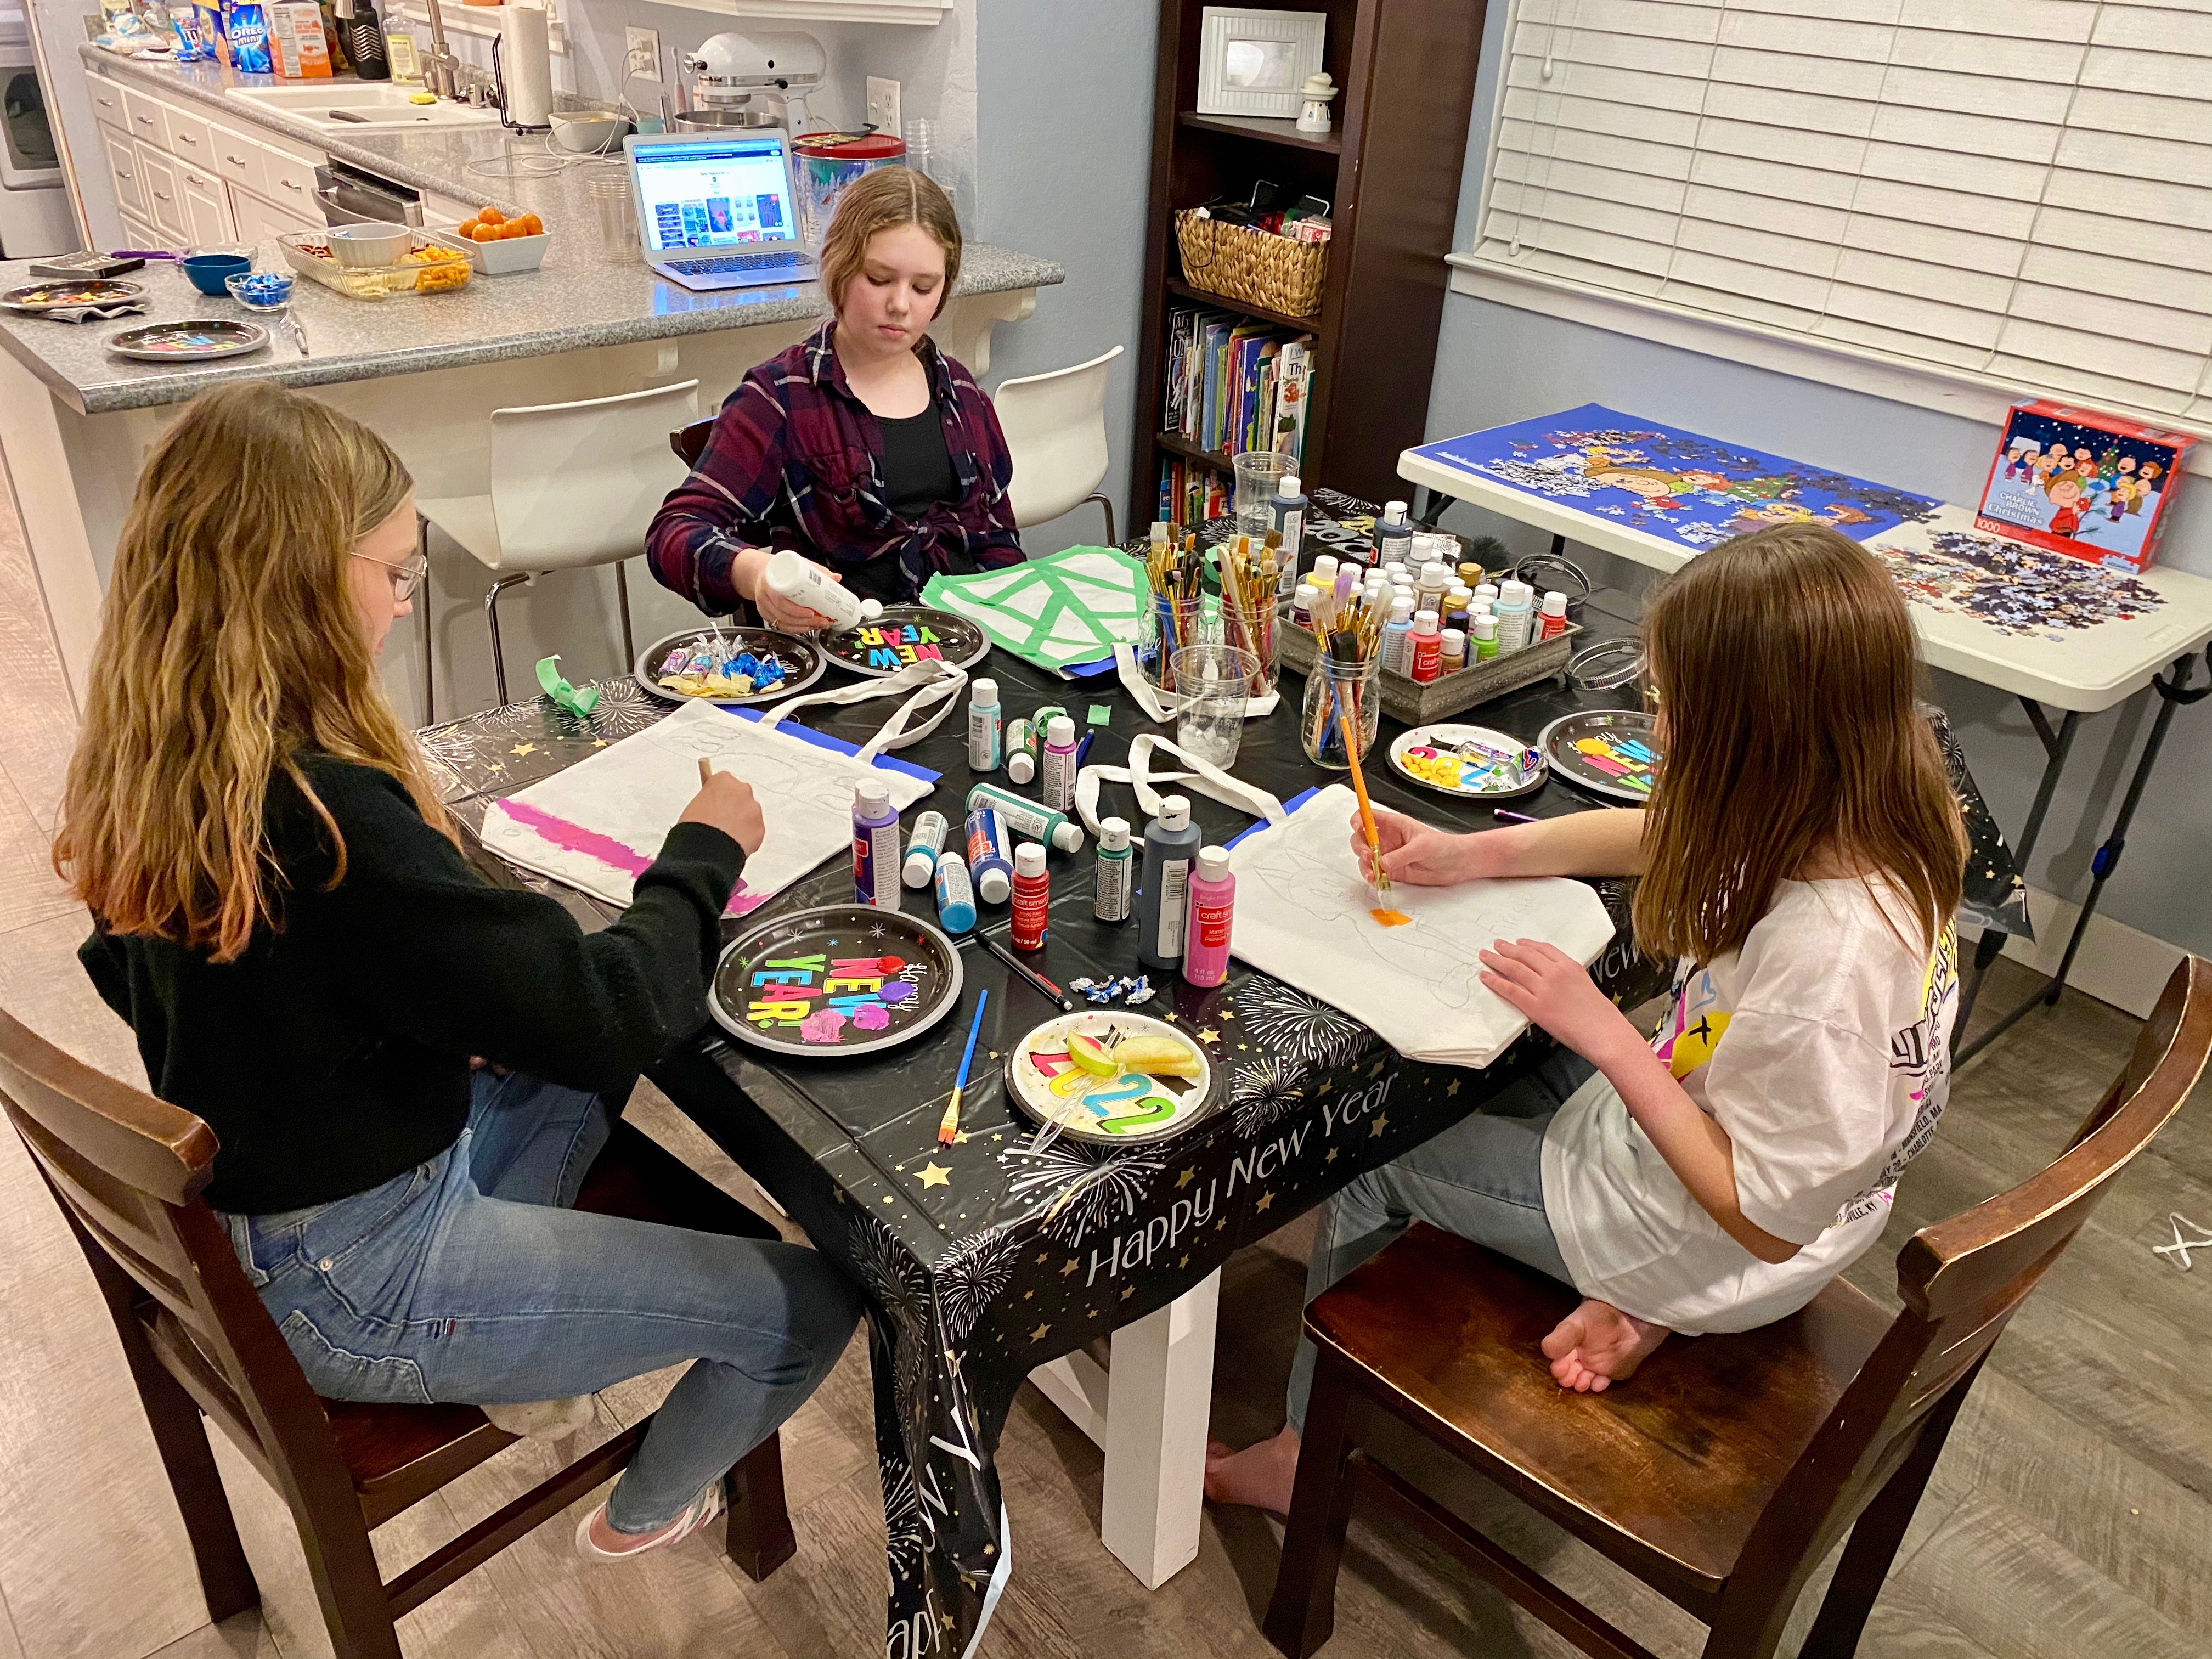
Every year, my daughter’s school holds a talent show and it is something that everyone looks forward to. I have the wonderful opportunity of being a part of the Theater Booster Club (TBC). The TBC is a group of parents who support all things “theater” at the school, and one of my favorite tasks is creating fun decor for our events.
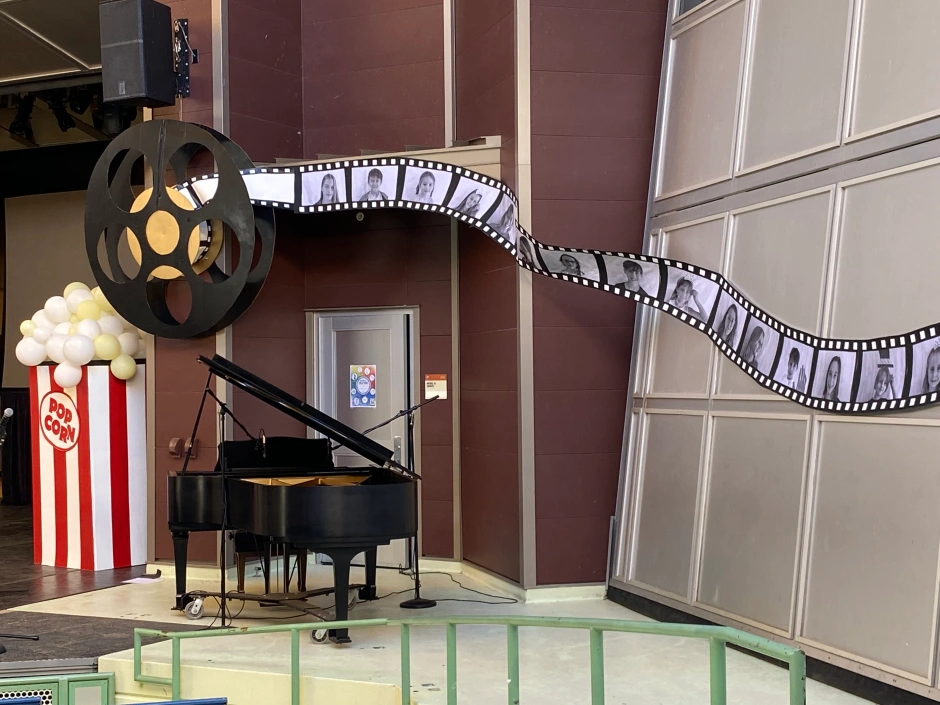
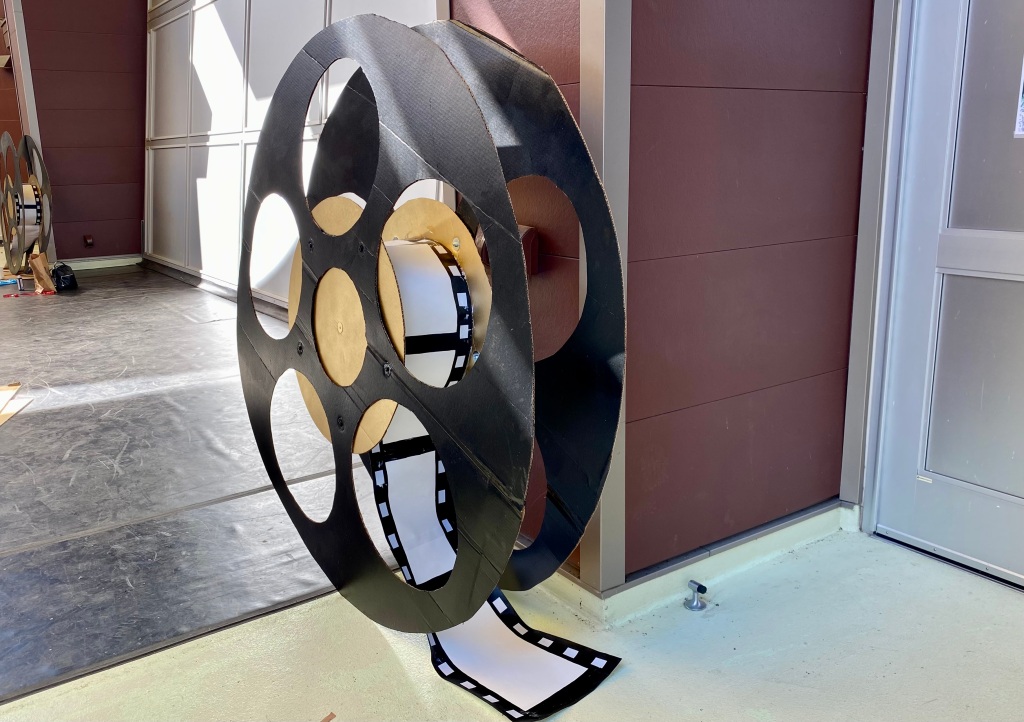
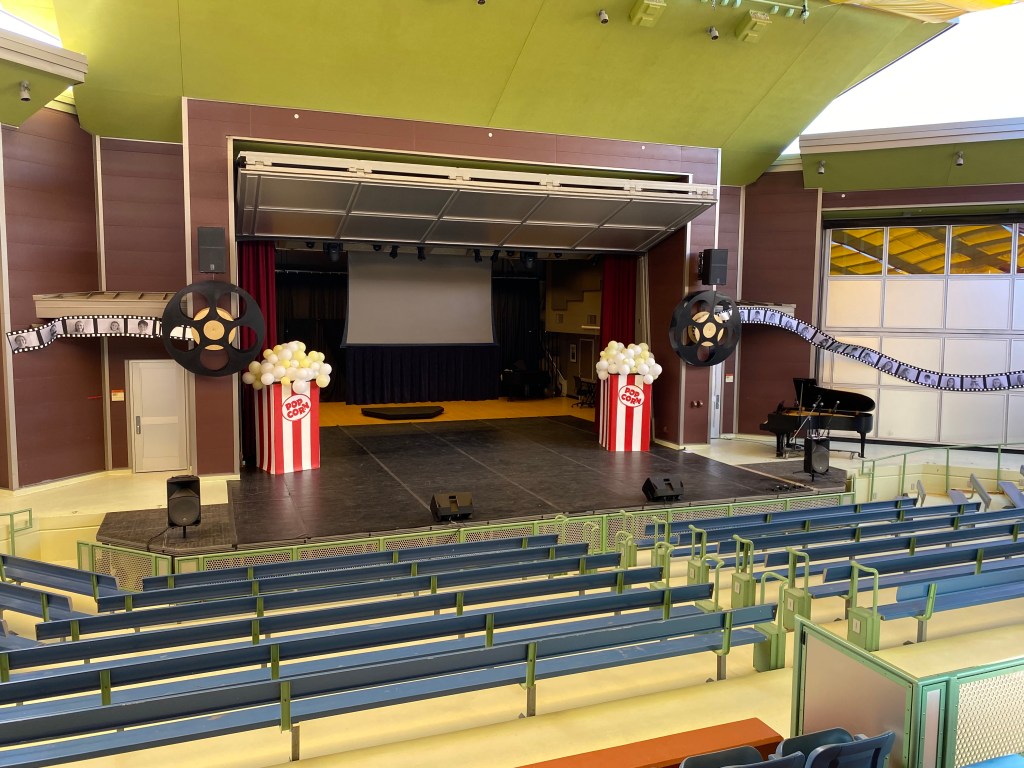
Last year, we had an “Old Hollywood Theme,” which included giant film reels and oversized popcorn boxes. I was hoping to reuse some of our incredible props from last year, and the red and white striped popcorn boxes were just begging to be used in a circus-themed event. So last May, our team started planning to make this year’s talent show “CIRCUS” an EPIC event for the kids and their families to enjoy.
As you can see, our fabulous popcorn boxes made another debut, but the backlit silhouettes and circus sign stole the show. Our stage was amazing! Just enough to make for an eye-catching backdrop for our performers, but not too much to take away from their acts. Here’s how we got this effect. Once again, my mini mooka projector came in handy. (#commissionsearned) I found some cool silhouettes on Pinterest and took a screenshot of them. Then I wirelessly connected the projector to my computer and drew them out on 1/4 of a cardboard refrigerator box. I was able to get all 4 silhouettes out of one large box, and I painted them black with acrylic paint.

Because cardboard is so flimsy, and we need the silhouettes to stand up, our awesome facilities guy at our school built us 5 wooden stands to attach the silhouettes to. We stretched white muslin around the frames. Each frame was 6 ft tall, so I purchased 10 yards of muslin to cover all 5 frames.
The middle frame was purposefully empty because we opened the talent show with a rendition of “The Greatest Show” from the movie The Greatest Showman. Our ringmaster stood in a pose behind the middle silhouette, and as he started to sing, he made his way onto the stage, followed by a choir of 8 other students. We had 4 kids already on stage waving signs that said “WOOAAH” to get the audience to participate. Then the rest of the kids (who wanted to be in the opening act) paraded across the stage and around the amphitheater, singing along as they went. It was such a fun way to kick off the night.

As the evening went on and it got darker in the outdoor amphitheater, the colored lights behind the silhouettes became vibrant and created such a wonderful display.

Not only was our stage top-notch, but we added some wonderful touches all around the room. One of our amazing moms painted a huge clown that was mounted above the double doorway. I was able to project the clown onto the 4 panels of another refrigerator box and traced out the image (that I also found on Pinterest). Then I handed it off to the most creative mom, who took it to the next level by adding additional cardboard sides to make the mouth touch all the way to the floor. She painted it with such detail that it looked fantastic, and she added PVC pipe to help mount it above the doors. You can see just how tall it is in the picture of my daughter and I standing under it.


That same mom created a ticket booth at the entrance, and I made a big sign that said, “WELCOME TO THE GREATEST SHOW” using my Cricut Maker 3 and black cardstock. (#commissionsearned)

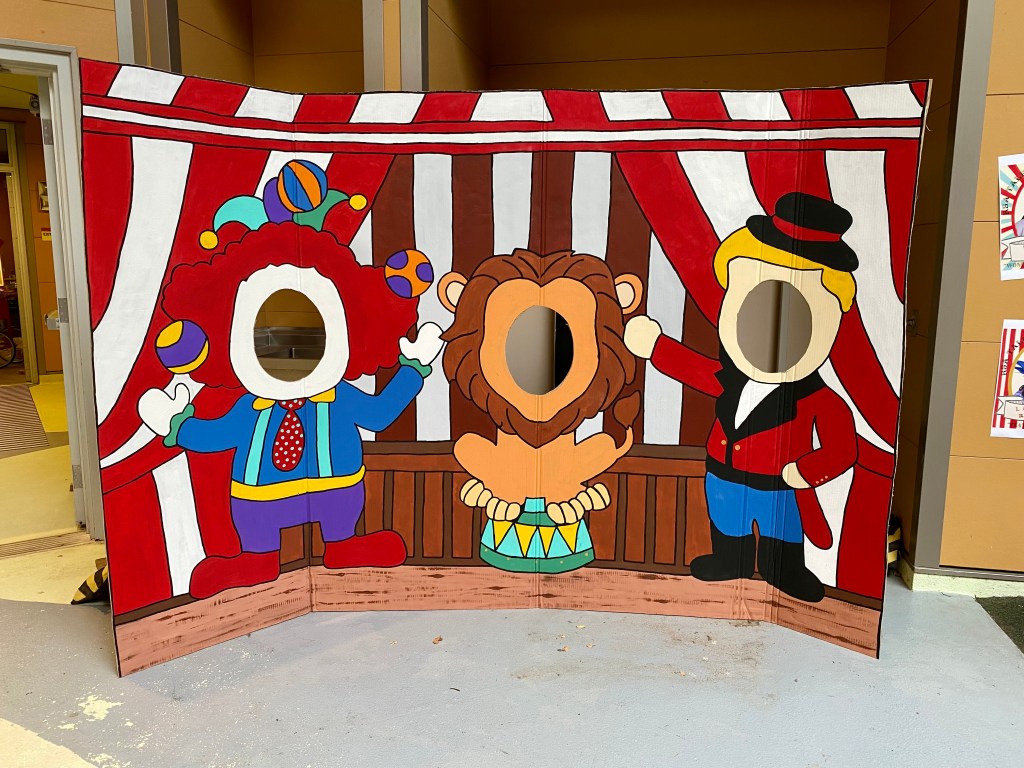
Our team painted the most adorable circus-themed “photo booth” with a lion, ringmaster, and clown…another image that I projected onto an open refrigerator box. We used a variety of colors of acrylic paint and brushes and it turned out great! #commissionsearned


My Cricut came in handy once again for these directional signs, and they were not just for decoration, they actually led to the locations displayed on the arrows. I used colored cardstock in red, yellow, and black and a variety of fonts from Cricut Design Space. We wanted to be able to reuse the arrows that we had painted and cut out of cardboard, so I attached the letters with glue dots so they were easily removable. The glue dots also came in handy for sticking the white and yellow balloons together to look like clumps of popcorn in the oversized popcorn boxes. #commissionsearned


A couple of tips for those of you who want to try out making these oversized popcorn boxes. They are made out of free refrigerator boxes from our local appliance store. Be sure to grab a couple of inexpensive nets and an electric balloon pump. If you line the inside top of the box with a net, you will need a lot fewer balloons. Also, be sure to blow up your balloons in a variety of sizes to give them more of a “popcorn” vibe, and use those glue dots to cascade a few popcorn pieces over the sides of the box. Painter tape is super helpful in making your red and white lines straight, and the popcorn logo was created on a piece of white poster board and taped onto the box. #commissionsearned
Be sure to subscribe to my blog for more amazing DIYs, crafts, and more. We are already planning next year’s show and it’s going to be a good one!!!