

Halloween is just around the corner and my daughter wanted me to make her a fun Halloween tee on my Cricut Maker 3. I recently purchased a huge variety pack of HTVRONT heat transfer vinyl, a heat press machine, and a heat press mat, so I already had most of the supplies I needed. I found an inexpensive tee and went to work. #commissionsearned
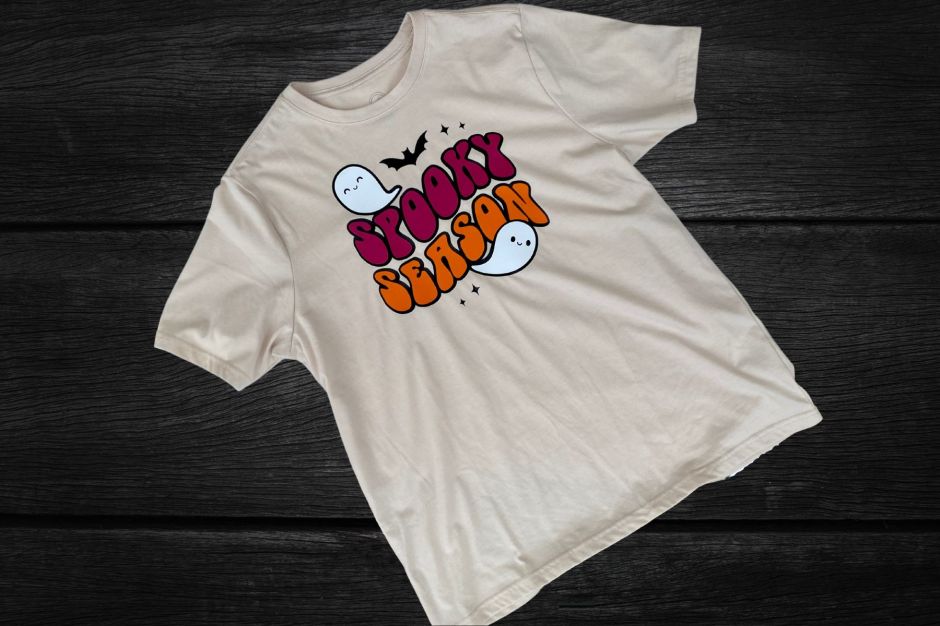
We looked through the designs in Cricut Design Space and my daughter loved this “spooky season” SVG. I am still fairly new at layering heat transfer vinyl, so I was really pleased that this shirt turned out perfect. I started with the black vinyl and only pressed it for about 12 seconds. Then added the pink and orange. By cutting the carrier sheet close to the letters, I was able to press both colors at the same time. I only pressed this layer for about 10-12 seconds as well. I finished off by layering the white ghosts and pressed for an additional 20 seconds just to make sure that all of the layers were securely transferred to the t-shirt.
Here are a couple of important tips to remember when doing layers with HTV.
- always mirror heat transfer vinyl
- press each layer for a short amount of time- usually between 10-12 seconds, just to get the layer to stick to the tee and come off of the transfer paper
- trim the transfer paper close to your design to try and save on the amount of layers you are pressing
- be sure to use a Teflon sheet or parchment paper between your vinyl and heat press
- finish off with a final press of 15-20 seconds to make sure your design is thoroughly pressed onto your tee
- wait 24 hours before washing your tee and always wash inside out on cold without fabric softener and hang to dry
For more Halloween Fun, check out some of my other posts:
DIY Wings of Fire Dragon Costume
