Strawberries and Chocolate…the perfect combination. When my husband asked me to come up with a dessert to pass out to the moms of our church for Mother’s Day, I knew exactly what to make. Chocolate covered strawberries are delicious on their own, but when you add a drizzle of white chocolate across the top they are even better! I have to admit, that I didn’t quite know what I was getting into when I said yes to dipping 500 chocolate covered strawberries for Mother’s Day at the Stirring. I may or may not have stayed up until 2 AM finishing these tasty little treats! Lesson learned, next time, I will ask for help 🙂
Here are a few tips to make the perfect chocolate covered strawberries. First of all, choose berries with pretty stems. They look much more appetizing. Use white cupcake holders to place your dipped berries on so they each have their own holder. Rinse your strawberries and dry them on paper towels. Do not skip this step! It’s essential to dry each strawberry completely before dipping or the chocolate will not set correctly.
Once your berries are dry you are ready to dip. Melt your chocolate. I used Wilton’s candy melts in dark cocoa for the dipping and in bright white for the drizzles. Dip each strawberry and place on a individual cupcake holder to set. Once your dark chocolate has hardened, you can melt the white. I used a spoon to drizzle the white chocolate over each berry. In no time at all, you can have a platter of delicious chocolate covered strawberries to serve at your next party, or to just enjoy with your family.


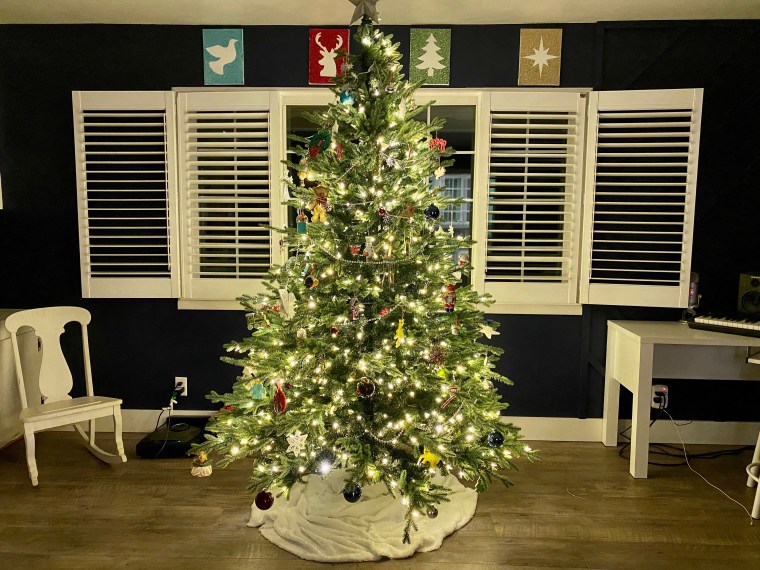
 Google Christmas silhouettes online and find four that you want to use. Size them to fit in the center of your canvas with enough space around each for the glitter. Try and make all 4 about the same size. Print out your silhouettes and cut them to use as templates.
  Trace your silhouettes on the back of your adhesive-backed vinyl. Cut them out to create four stickers.
 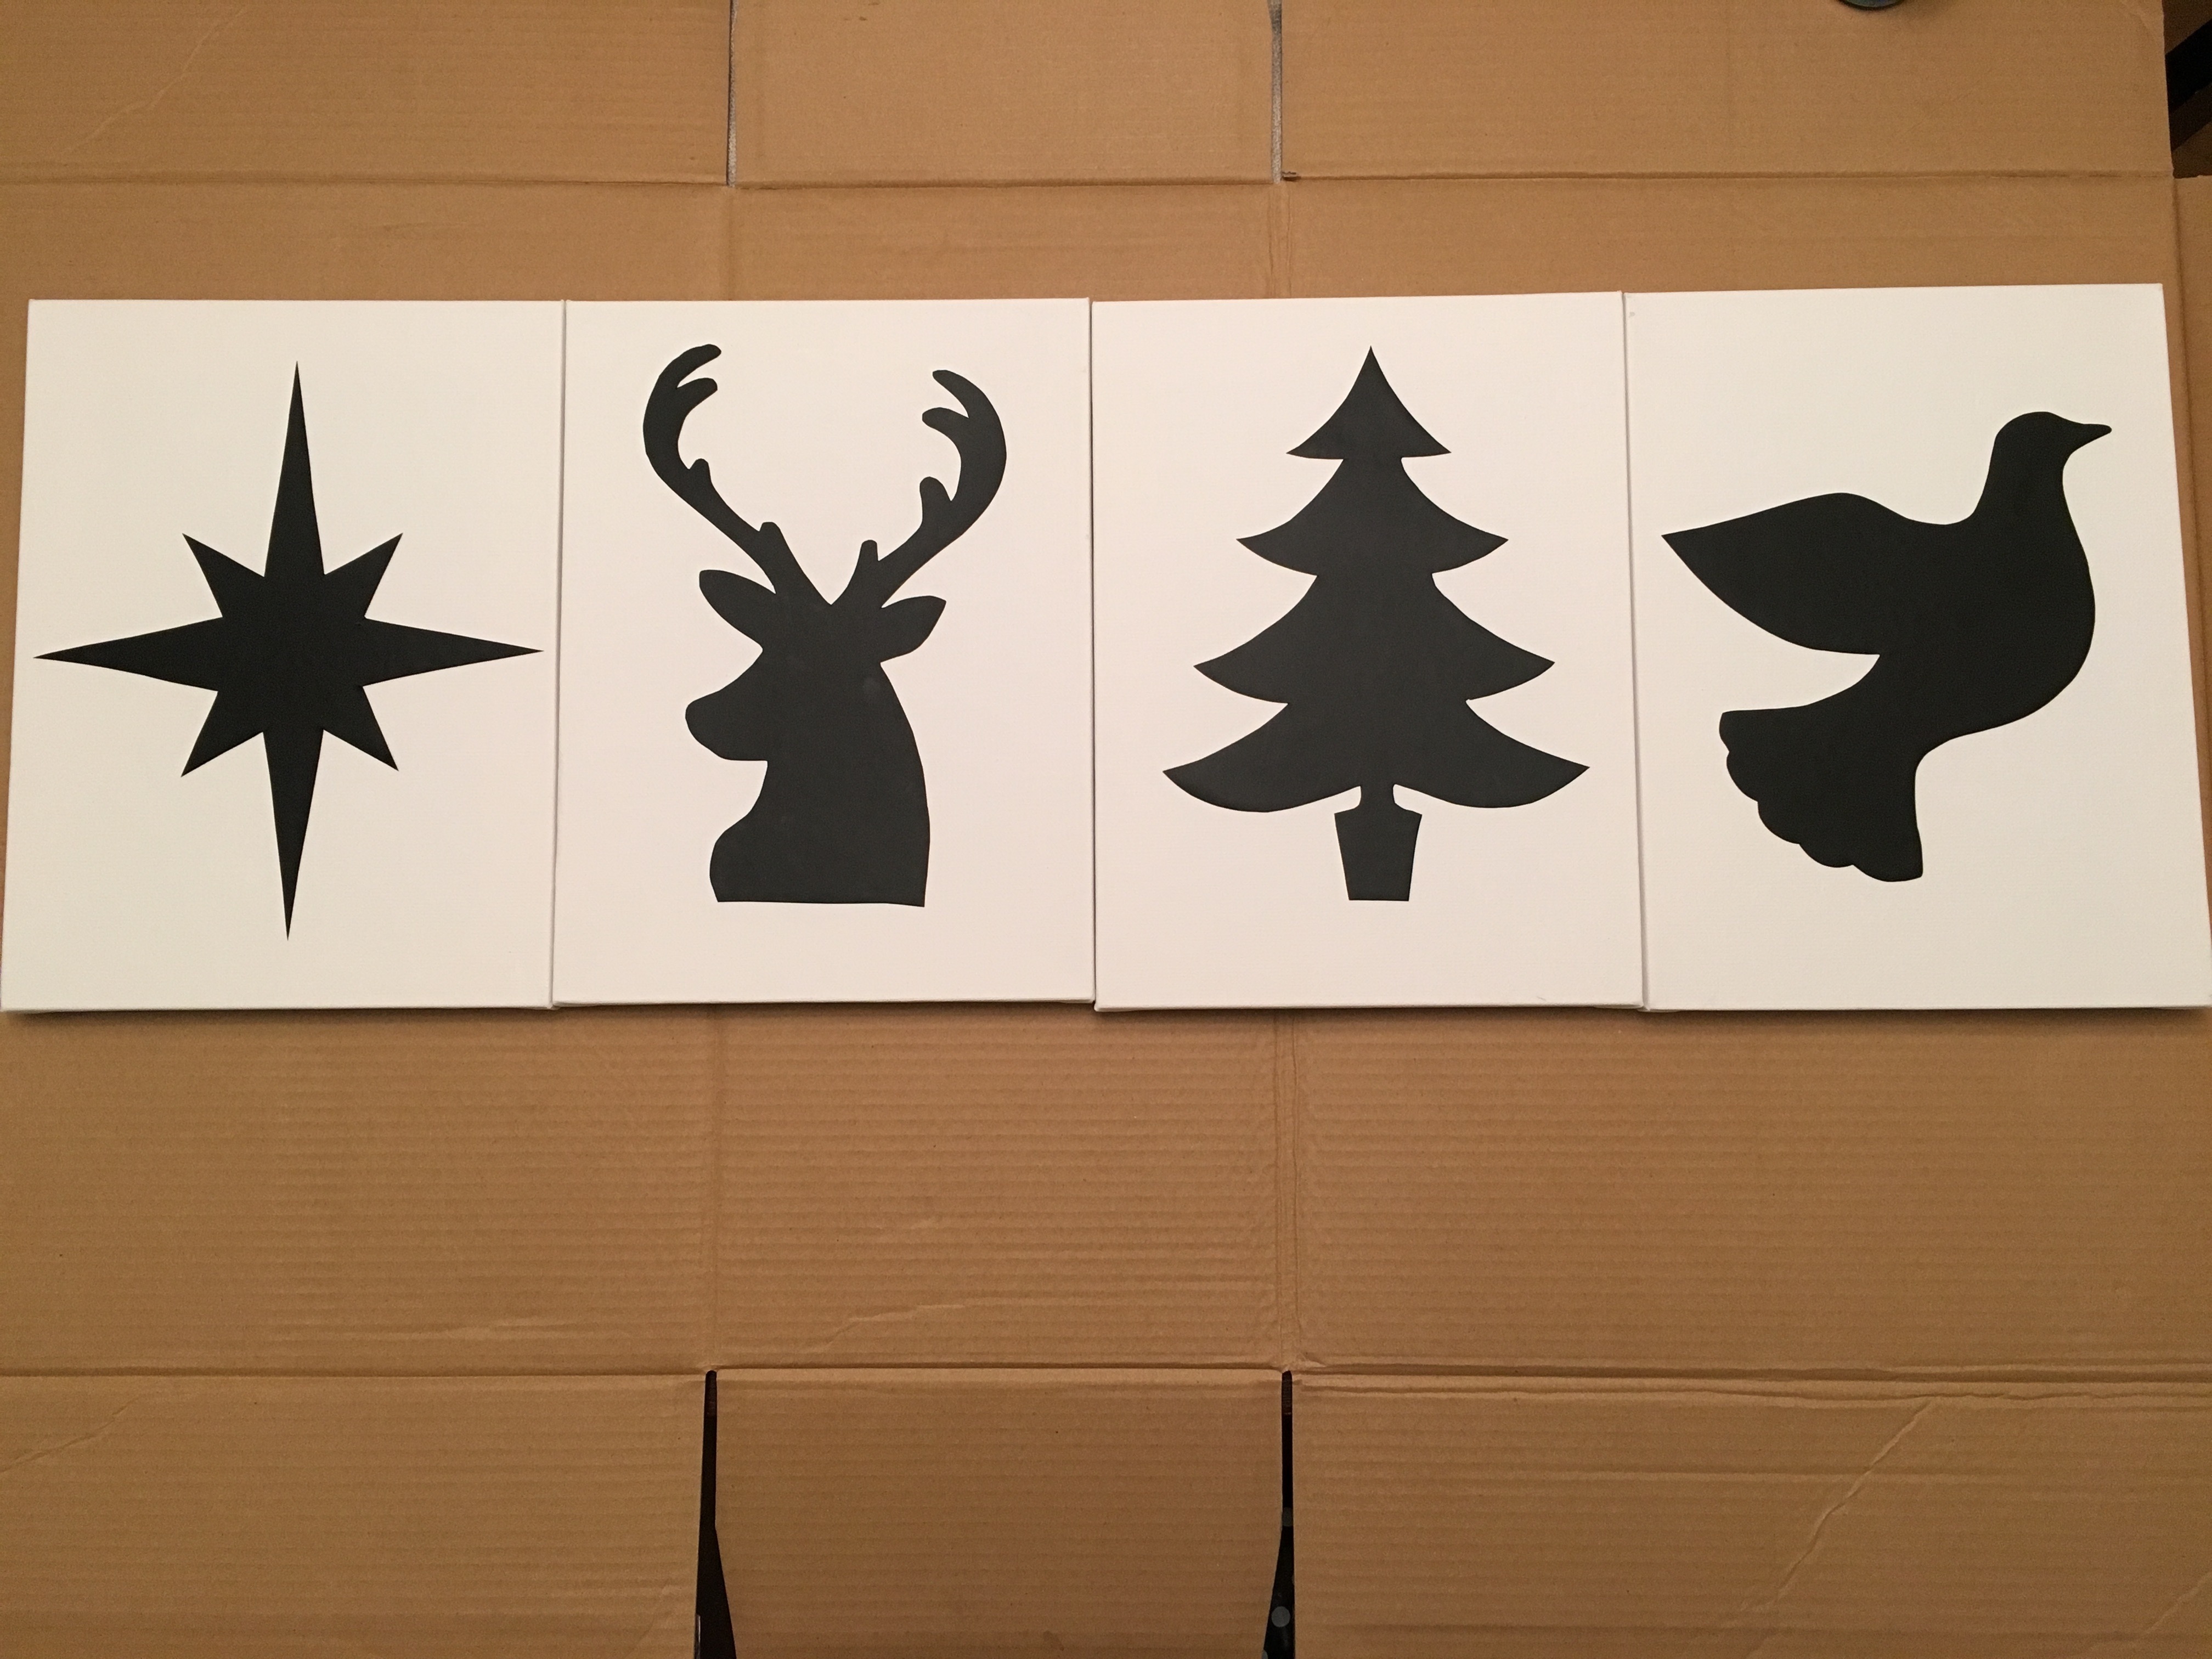 Place one “sticker” on each canvas.
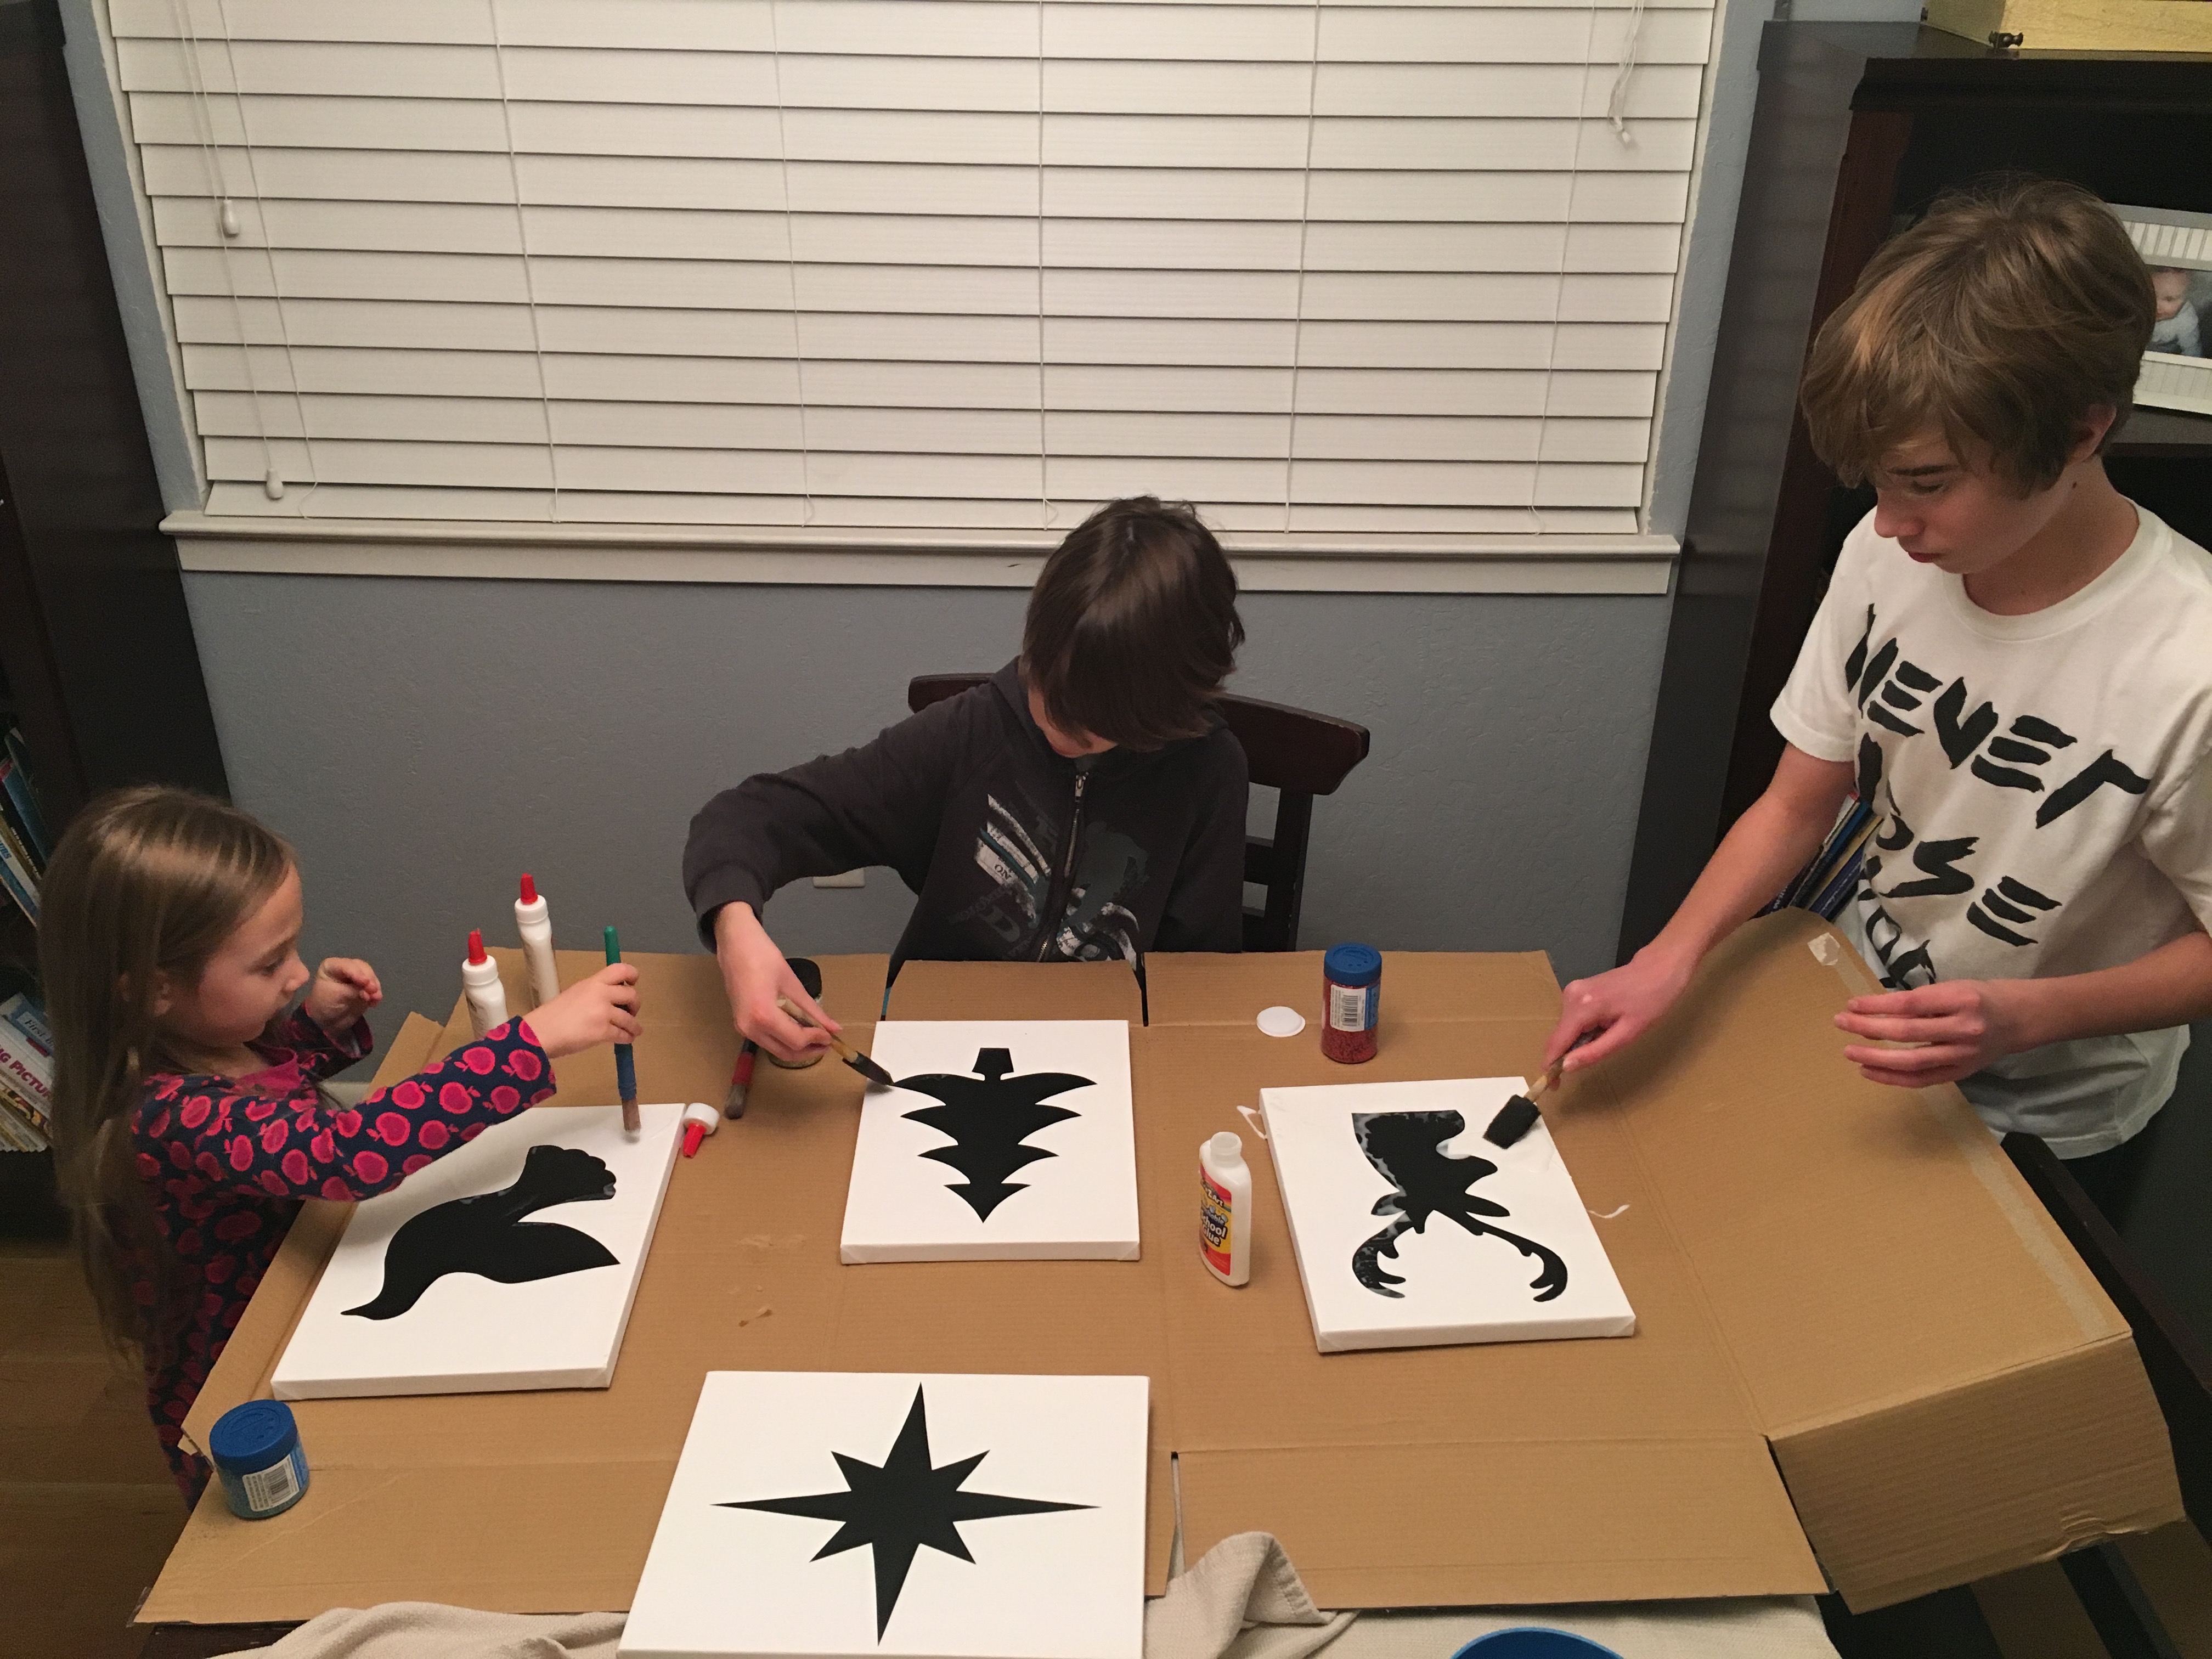 Paint glue evenly all over the white parts of your canvas. It’s ok to get a bit of glue on the stickers, but try to keep it to a minimum so that you can see the outline for when you peel it off later.
  Sprinkle glitter all around your silhouette and be sure to go over the edges a bit to make sure you create a nice line all around each image.
 Wait about 45 minutes. You will want to peel your stickers before the glue and glitter completely dry. This will create a cleaner line.
  Allow your canvases to dry completely. Shake the glitter off. Then paint over them one more time with white school glue. This will seal the glitter in so that it doesn’t fall off everywhere when you they are hanging up on your wall. Let them dry overnight.
 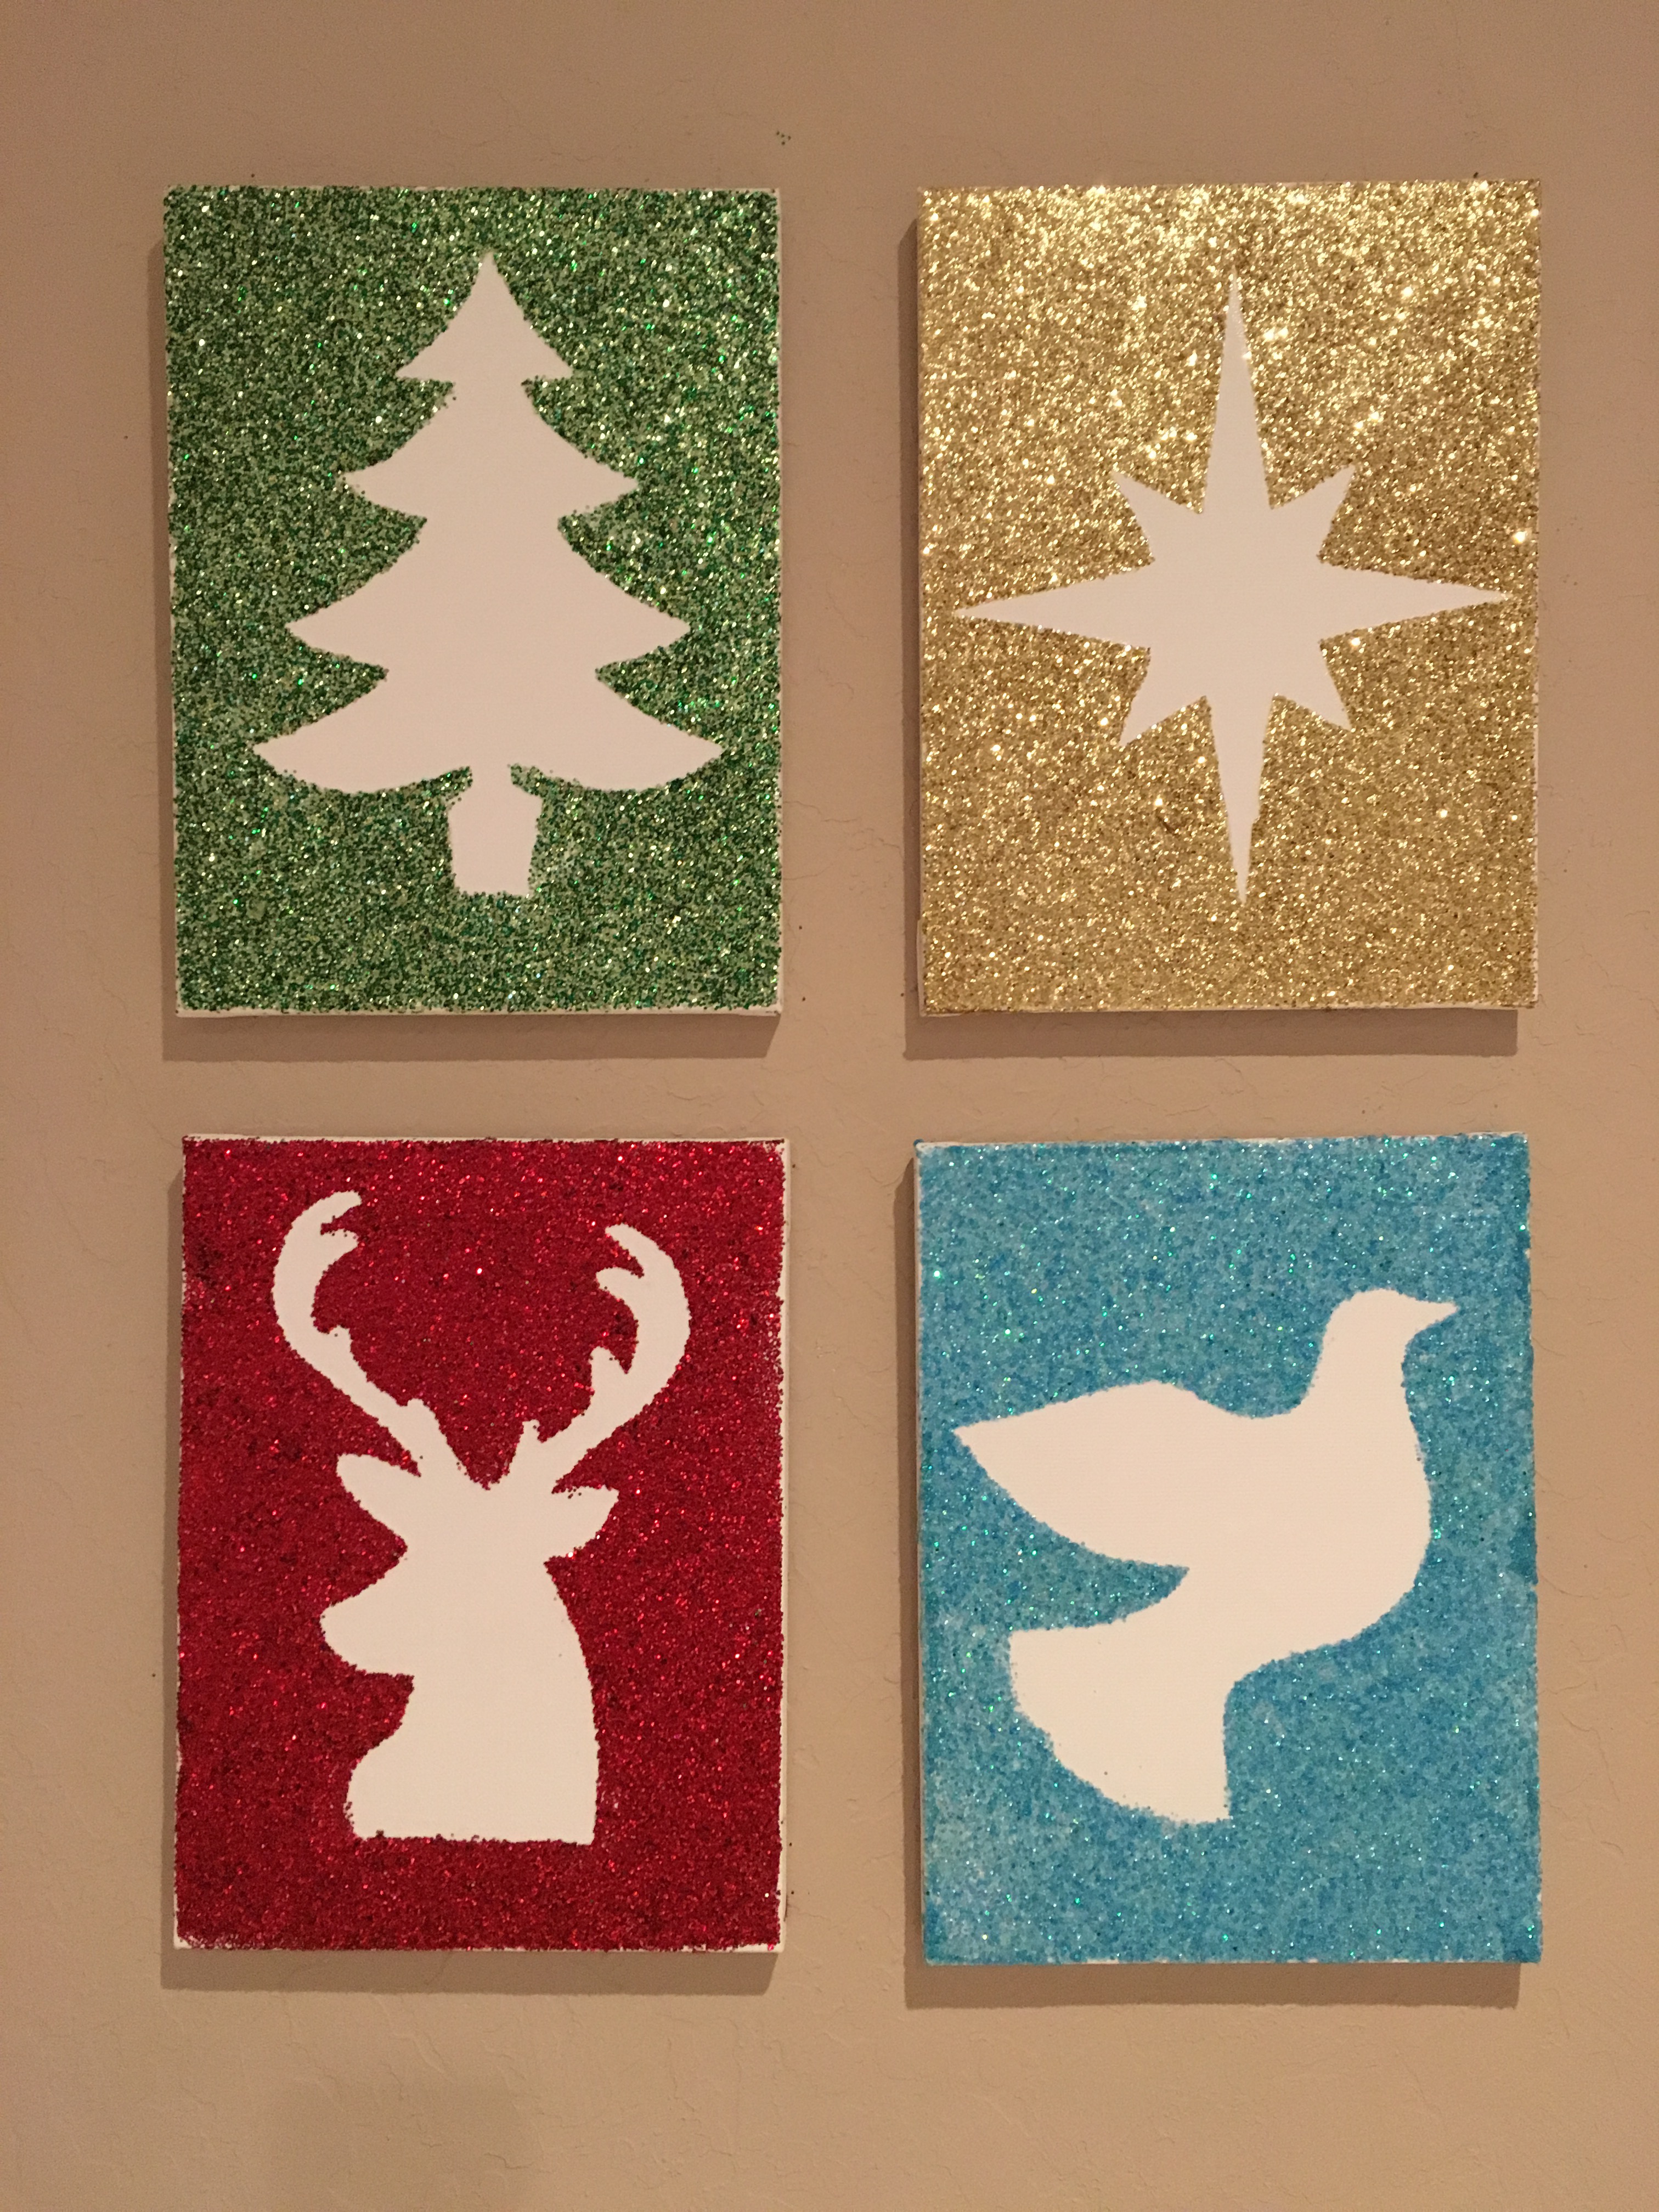 Hang up and admire your beautiful Glittery Christmas Silhouettes!