Anna. Elsa. Olaf. My daughter, Karis, turned four a few months after Frozen hit the theaters. Of course, she, along with every other little girl in America, wanted to have a Frozen birthday party. Unfortunately, party decorations and “Frozen everything” had not filled the stores yet. Perfect opportunity to get creative! I was able to order a few things online from a party store, plates, a table cloth, cups, and stickers. I bought two posters, one of Anna & Elsa and another of Olaf, and I lucked out when I found some Frozen chapsticks at TJ Maxx. The rest was up to me. I used my Cricut a ton for this party, cutting letters out of sparkly card stock to make several banners with the phrases, “Let It Go,” “Do You Want to Build a Snowman?” and “Happy Birthday!” I also cut out circles, squares, and snowflakes to add to the decor. My daughter wore an Anna dress that we purchased at Target, and with her long braids, she felt just like Anna on her special day. I had so much fun planning the activities for this party. #CommissionsEarned


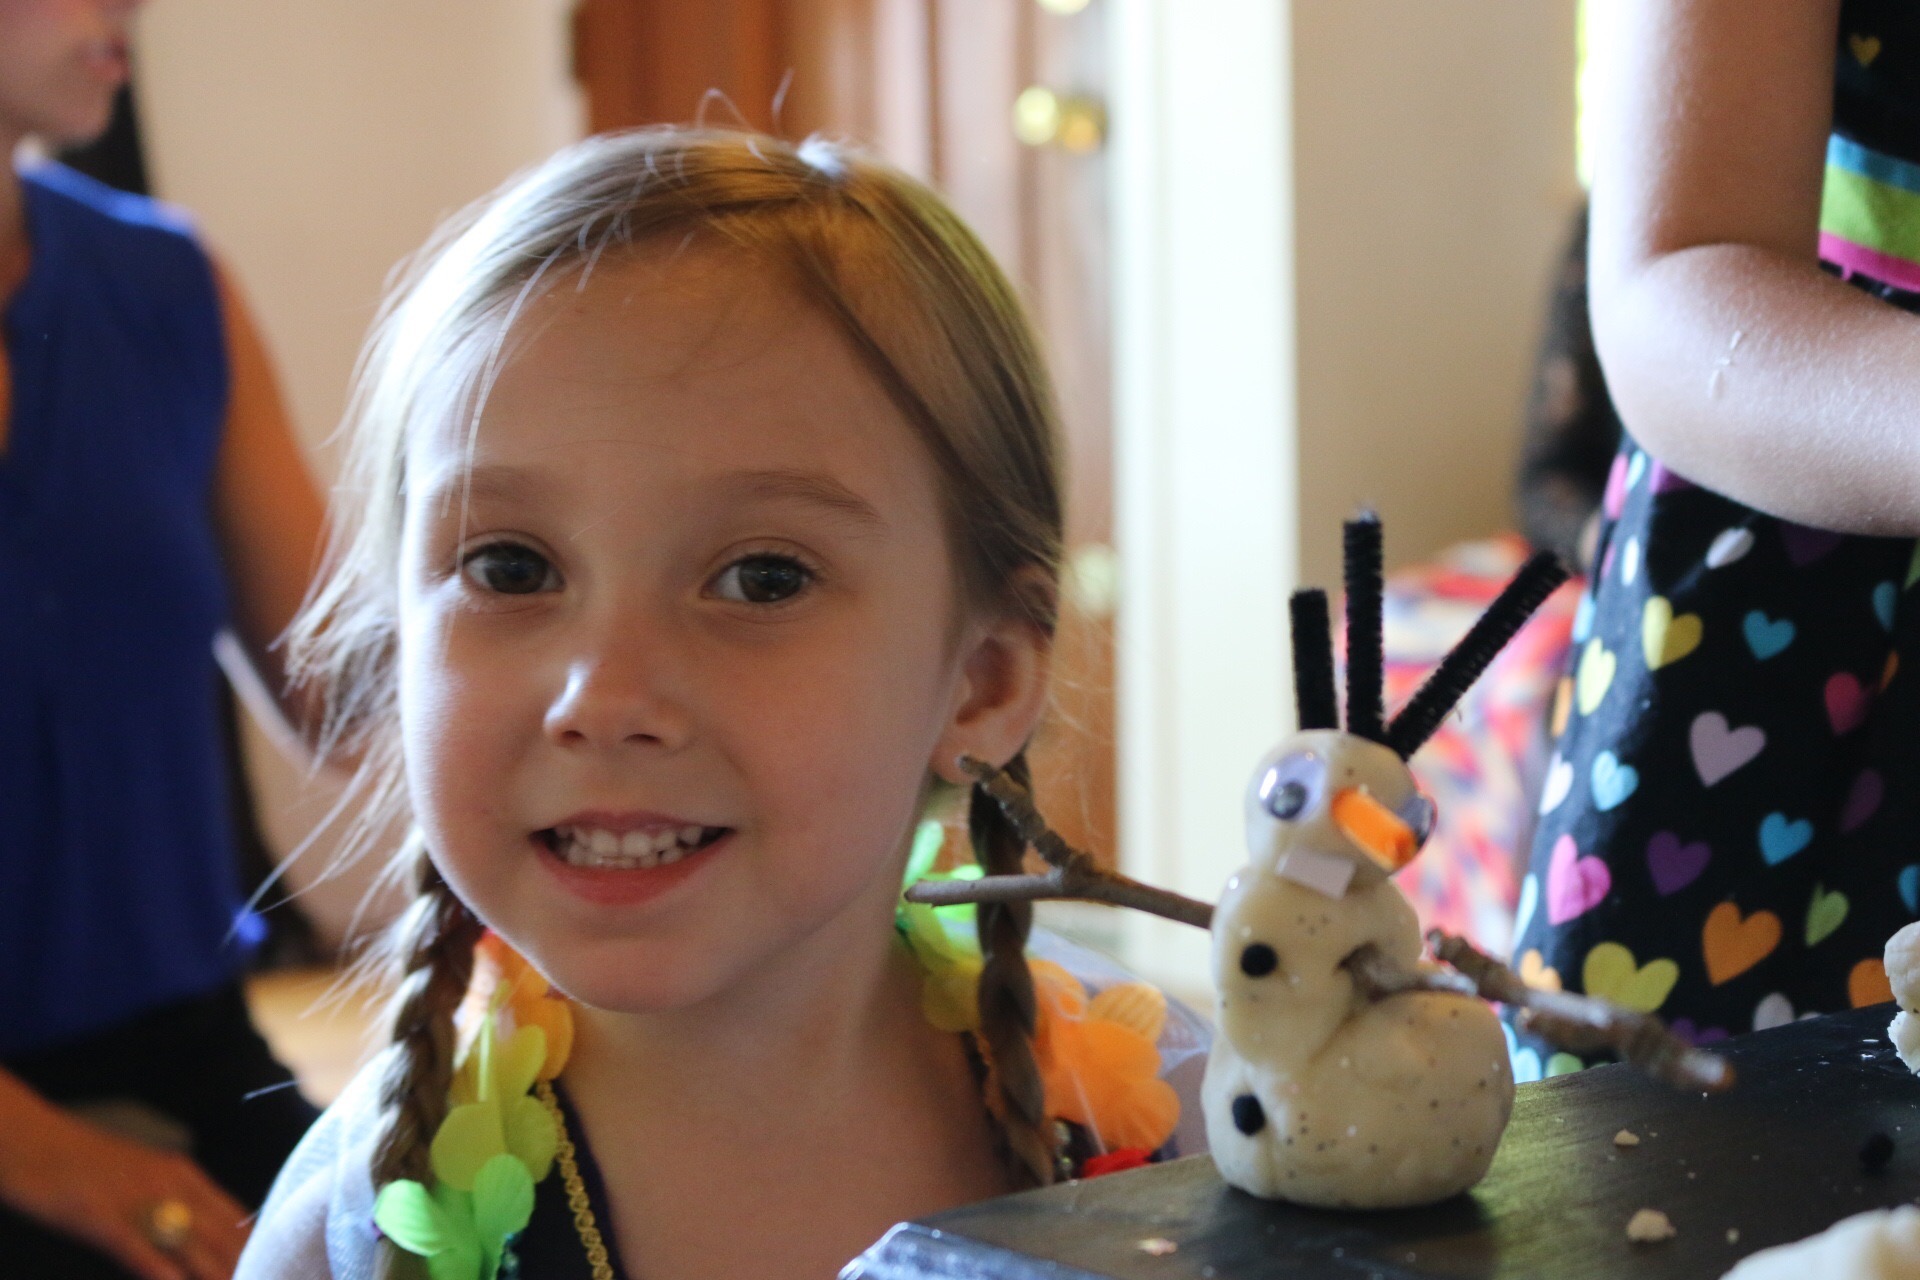
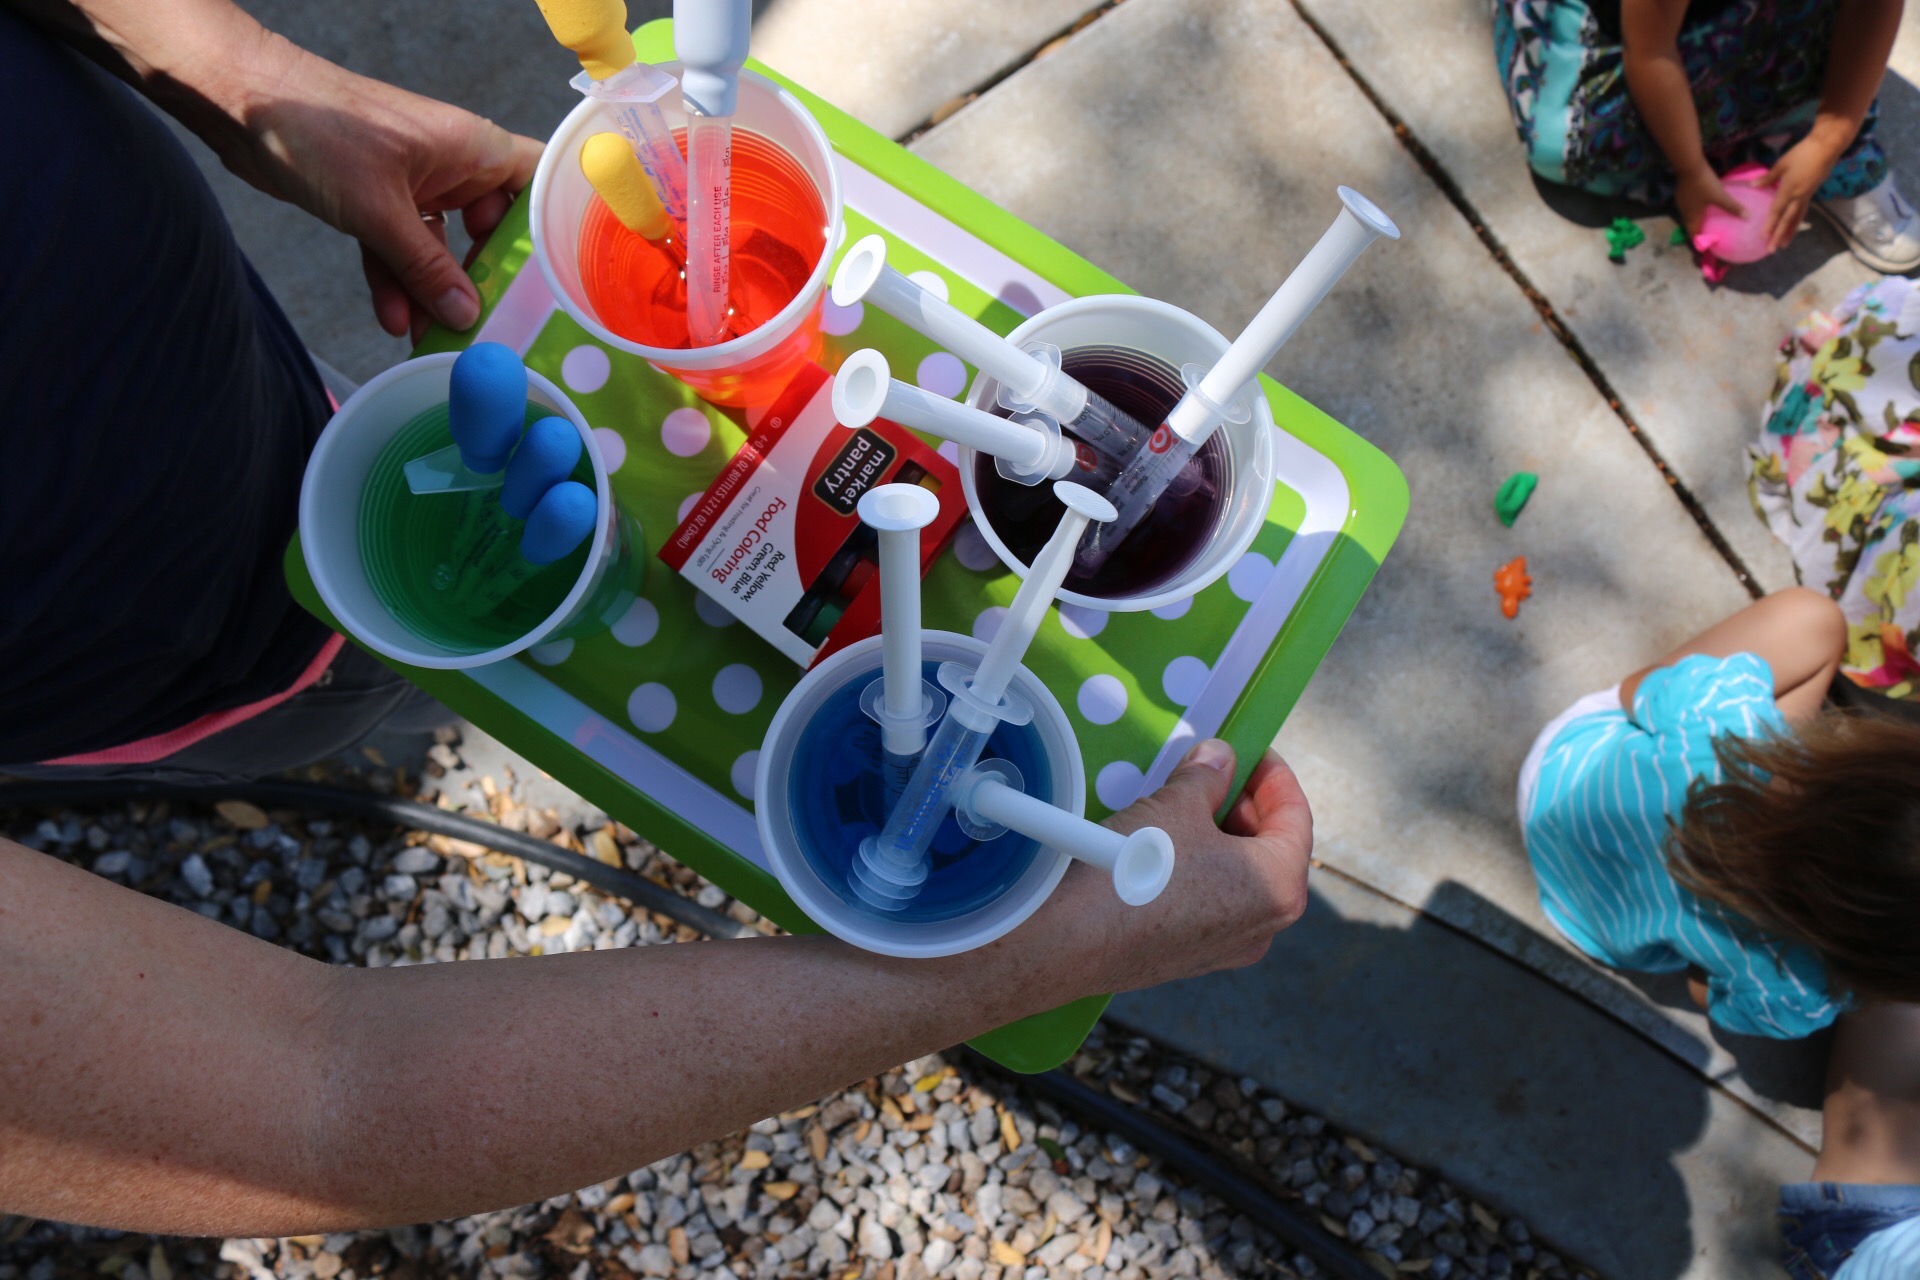
Karis and I made several batches of sparkly Frozen play dough. We collected everything needed to build our own snowmen…noses (cut pieces of orange pipe cleaner), hair and eyebrows (cut pieces of black pipe cleaner) , eyes (googly eyes), arms (small sticks gathered from our yard), tooth (white rectangles of poster board), and coal (mini black pom poms). When the girls arrived, I had them all sit around the coffee table. I gave each a paper plate and a hunk of play dough and let them build their own Olaf. This was the cutest activity and the snowmen were adorable. #CommissionsEarned Even my older boys participated and enjoyed themselves. When the party was over, each child got to take their snowman home with them.


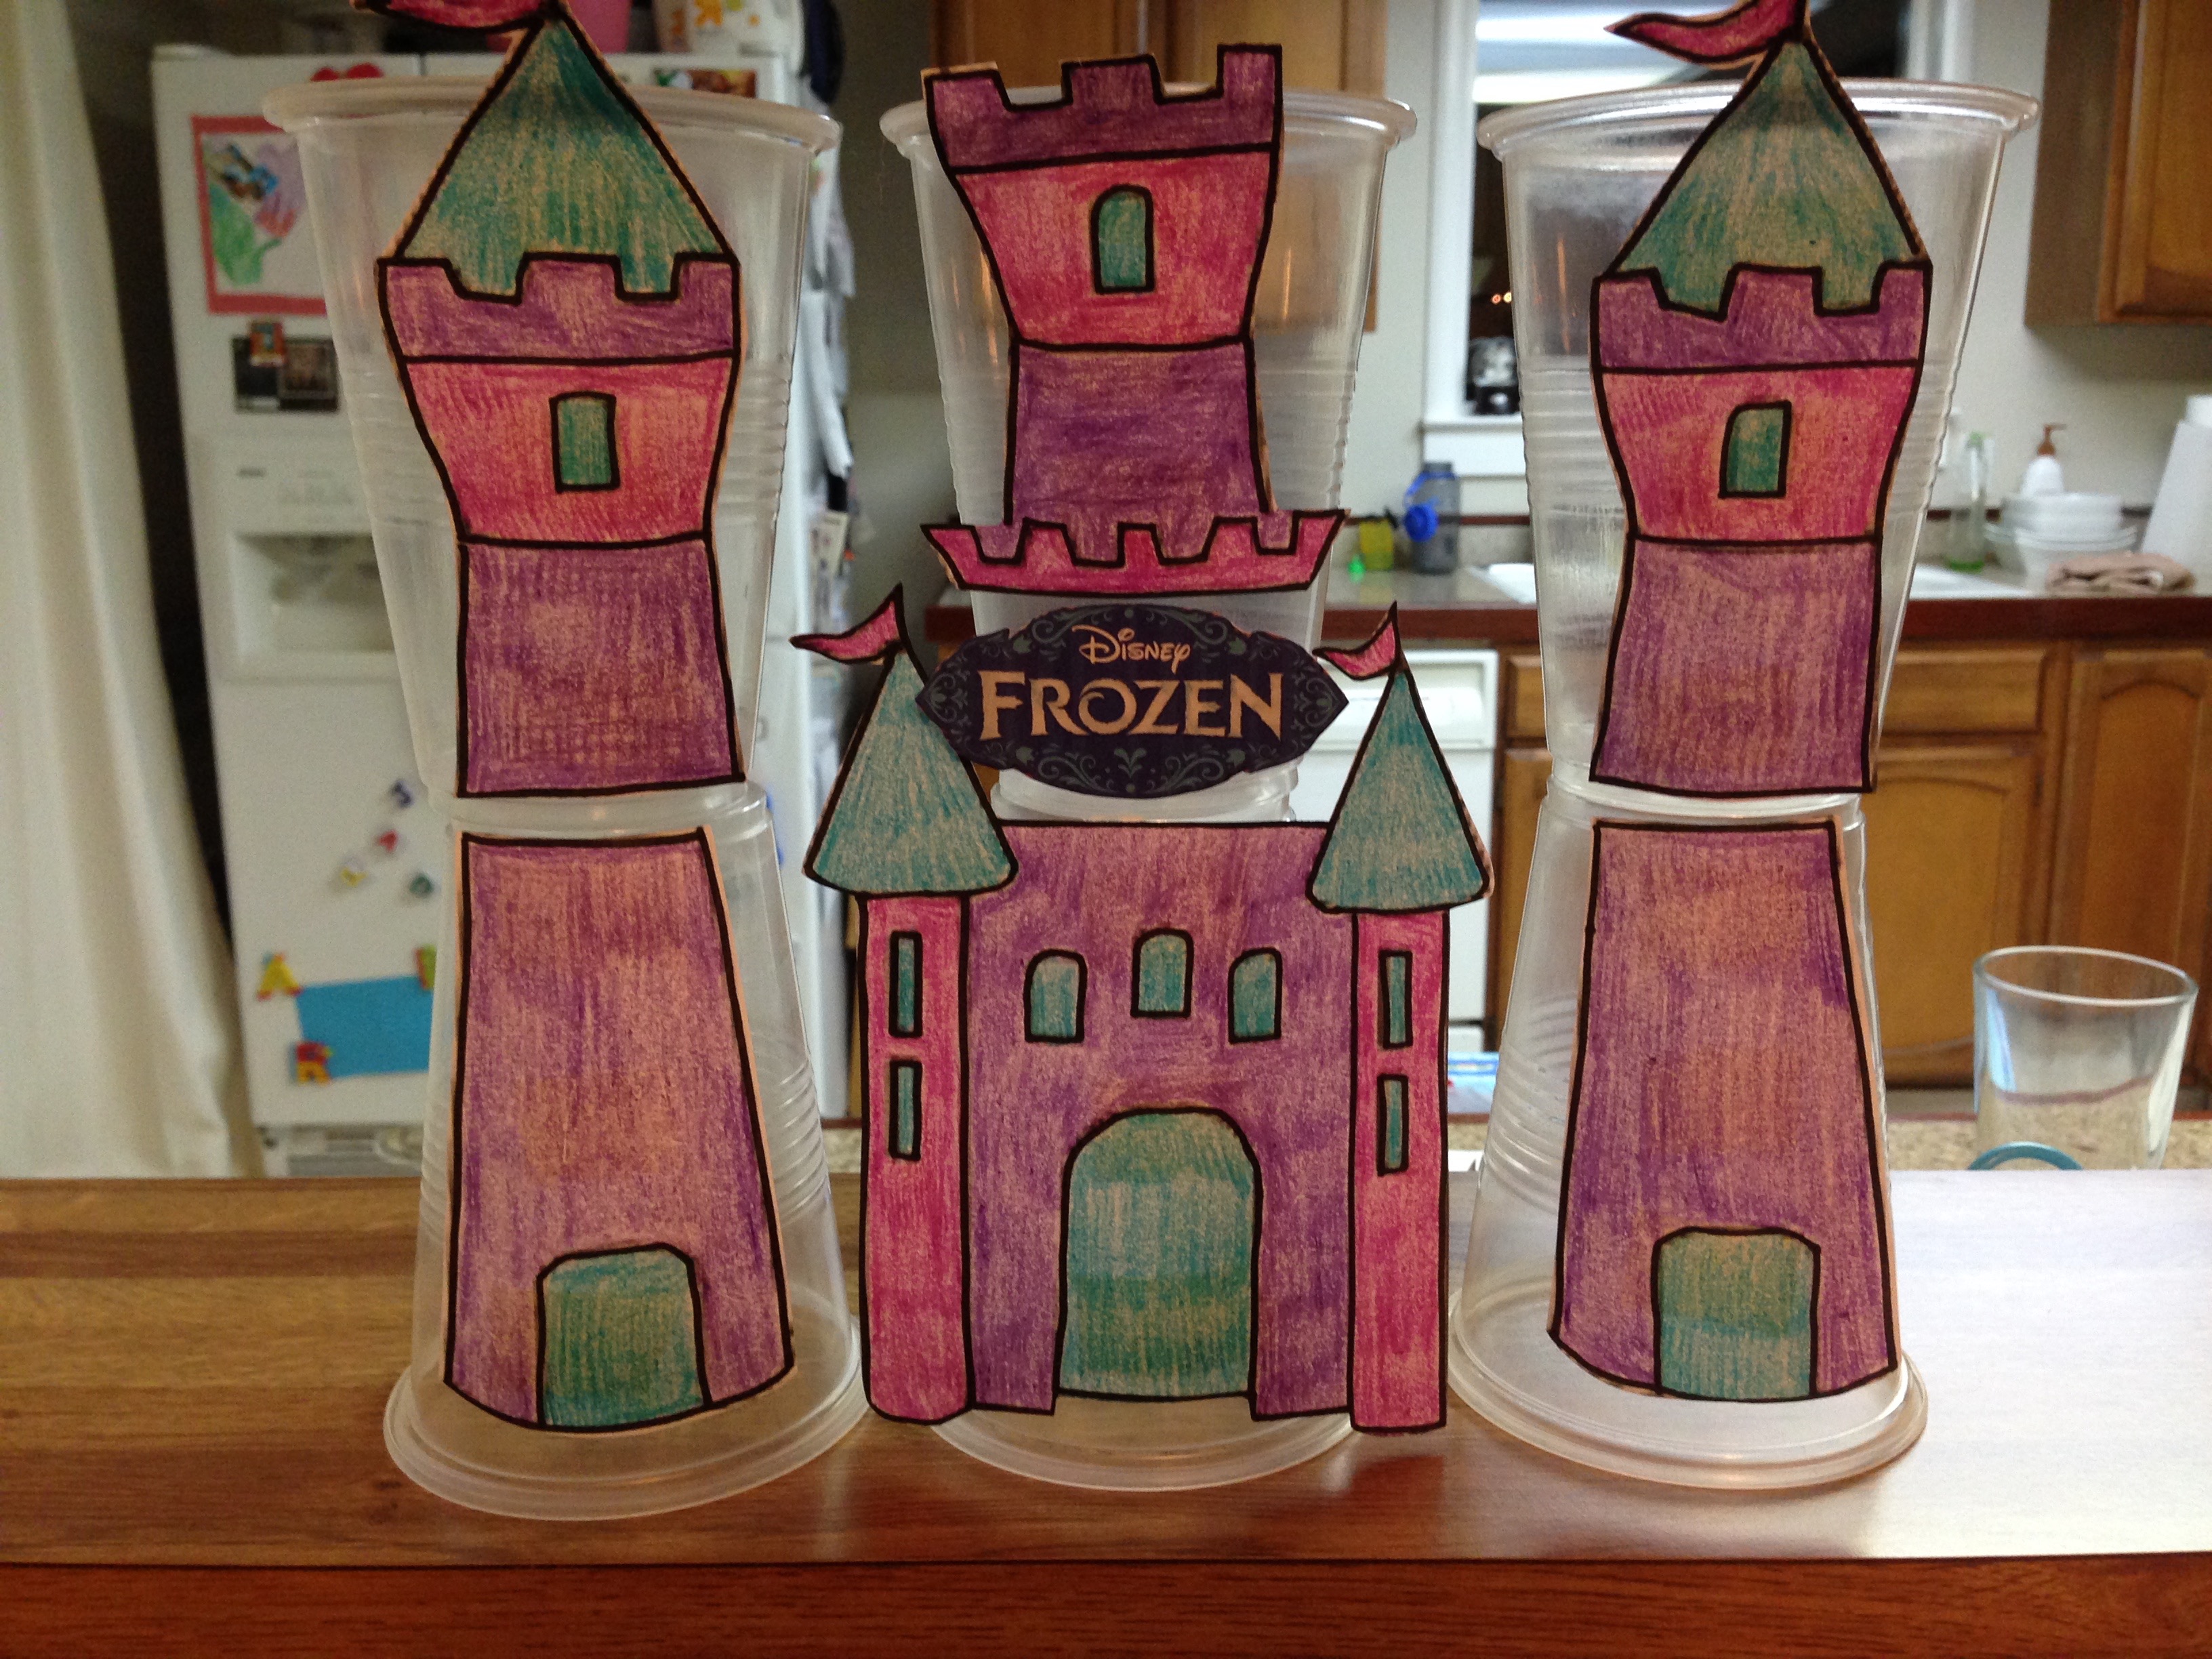
We used the Olaf poster to play “Pin the Nose on Olaf.” I wanted one more game that would be fun for 4 year olds, so I came up with this “Knock the Castle Down” game. I printed a castle coloring page off of the computer, colored it to match the party decor, cut it in 6 pieces and taped it to clear plastic cups. I bought a pack of 3 whiffle balls from the dollar store and set the castle on a children’s size table. The kids lined up and took turns throwing the balls and knocking down the castle. This game ended up being so much fun and my kids played with it many times after the party was over. #CommissionsEarned 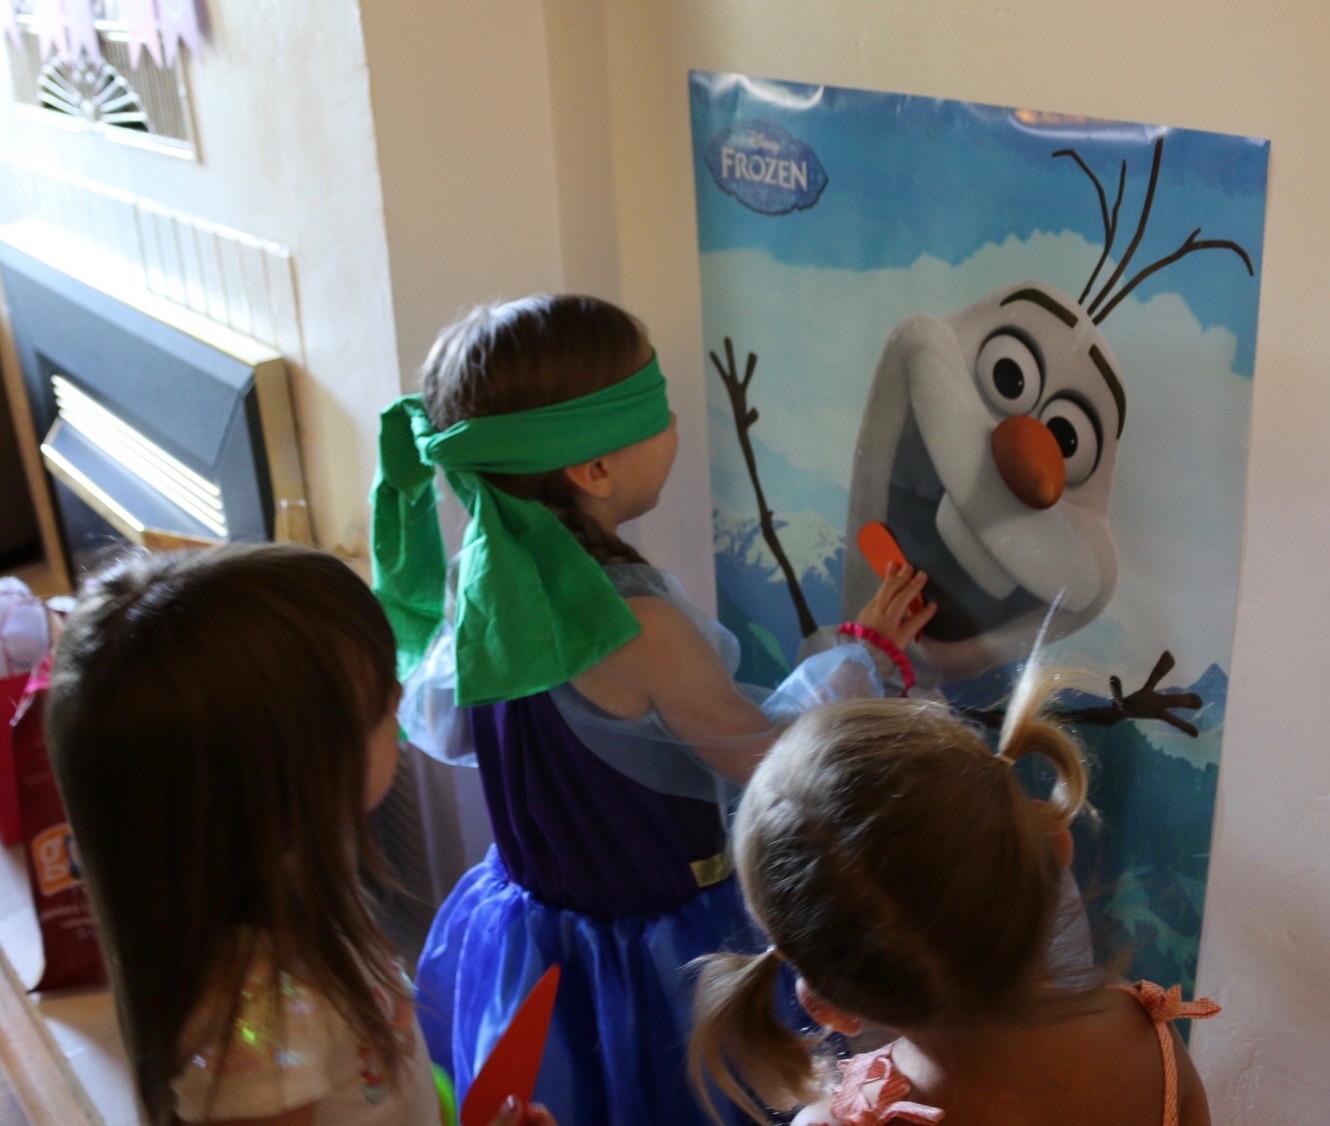
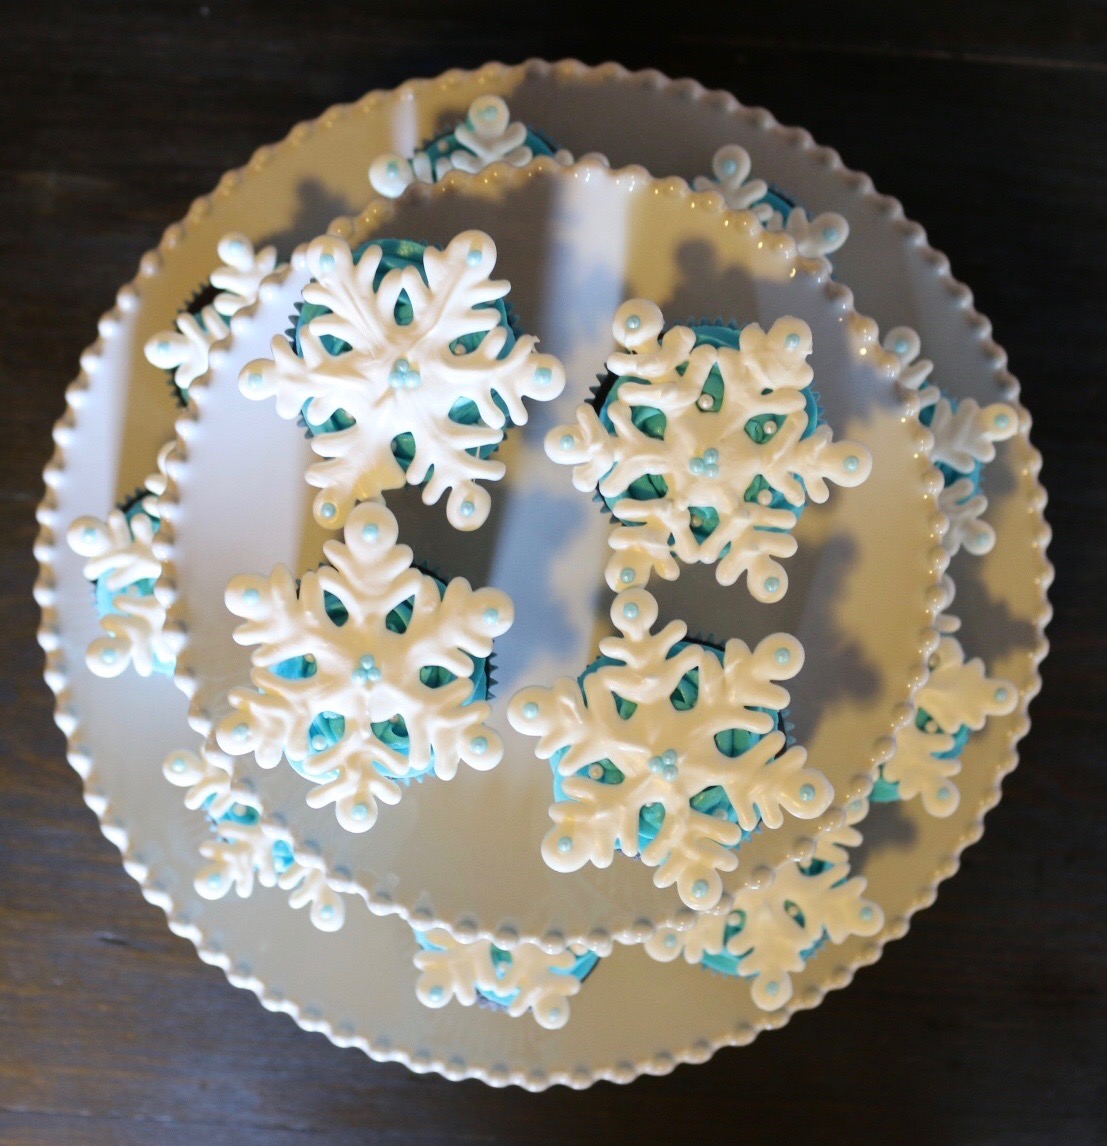
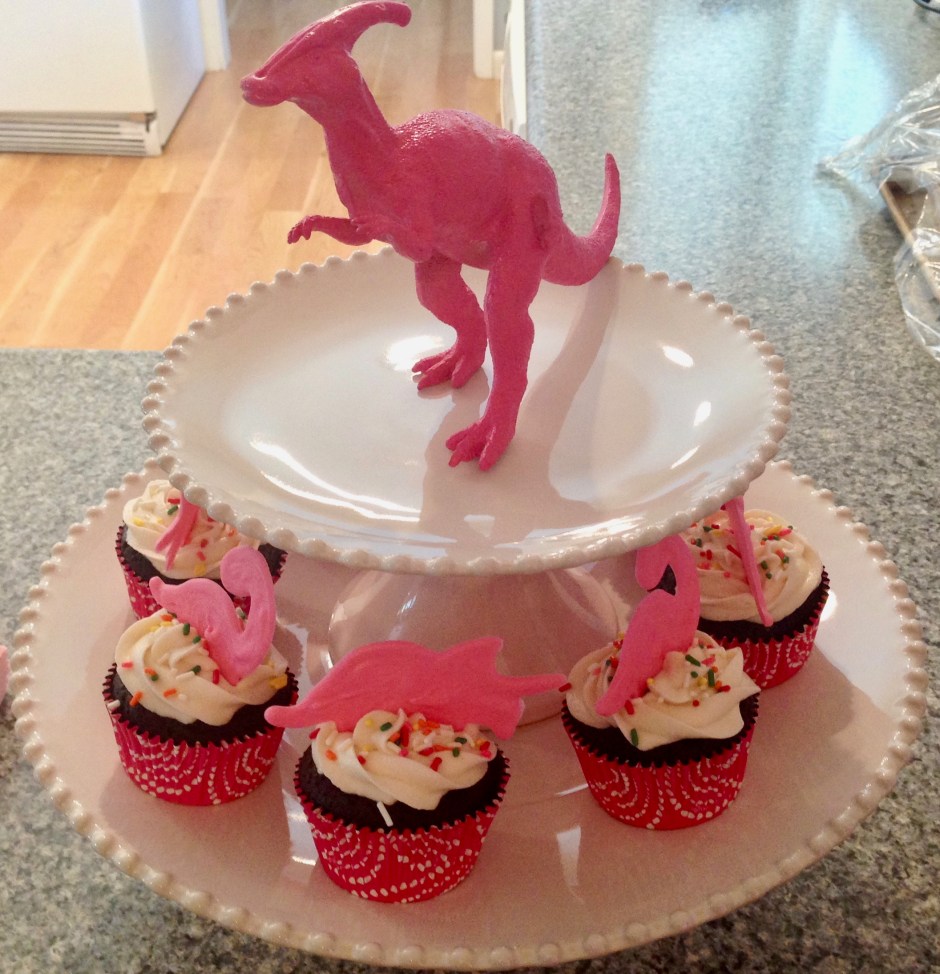
Frozen cupcakes…so many possibilities. I decided on these beautiful snowflake cupcakes. I frosted the cupcakes with vanilla buttercream frosting tinted with Wilton’s food coloring gel in blue. #CommissionsEarned The day before the party, I made the snowflake toppers with Wilton’s candy melts in bright white and Wilton’s Sprinkles in Blue Sugar Pearl. (see tutorial) After placing each snowflake on top of the blue icing, I added a couple of Wilton’s Sprinkles in White Sugar Pearl to add a bit more sparkle.


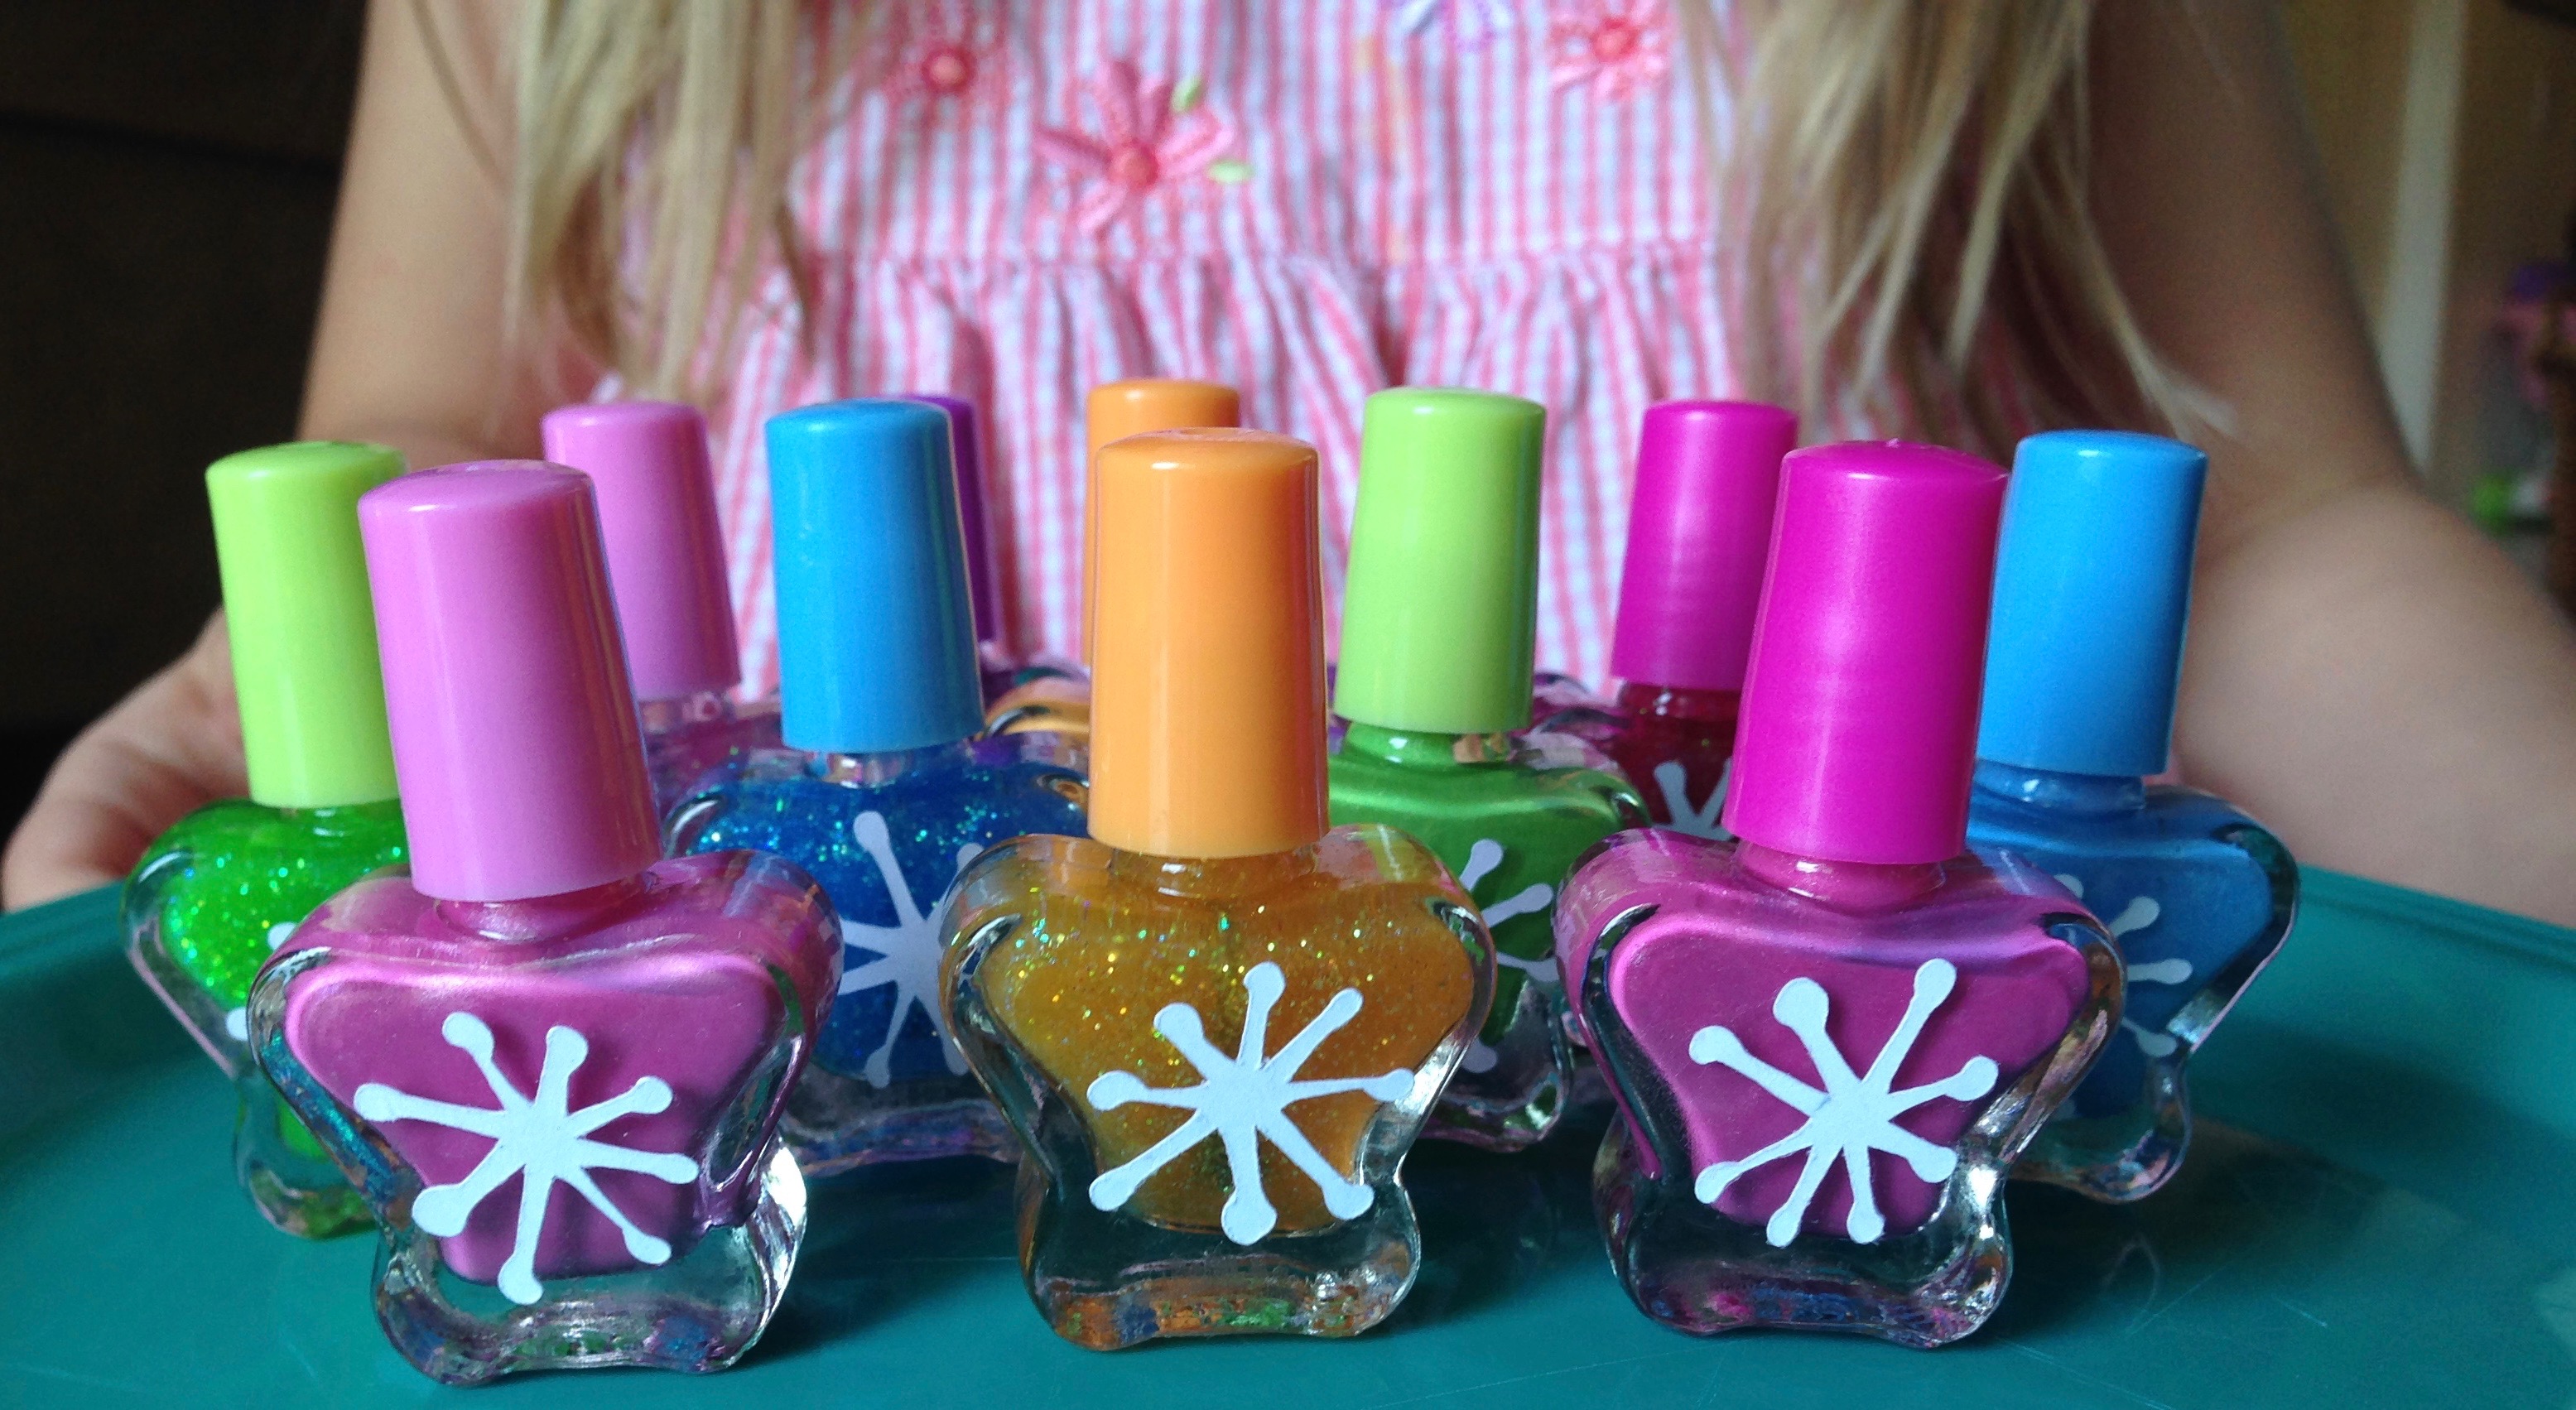
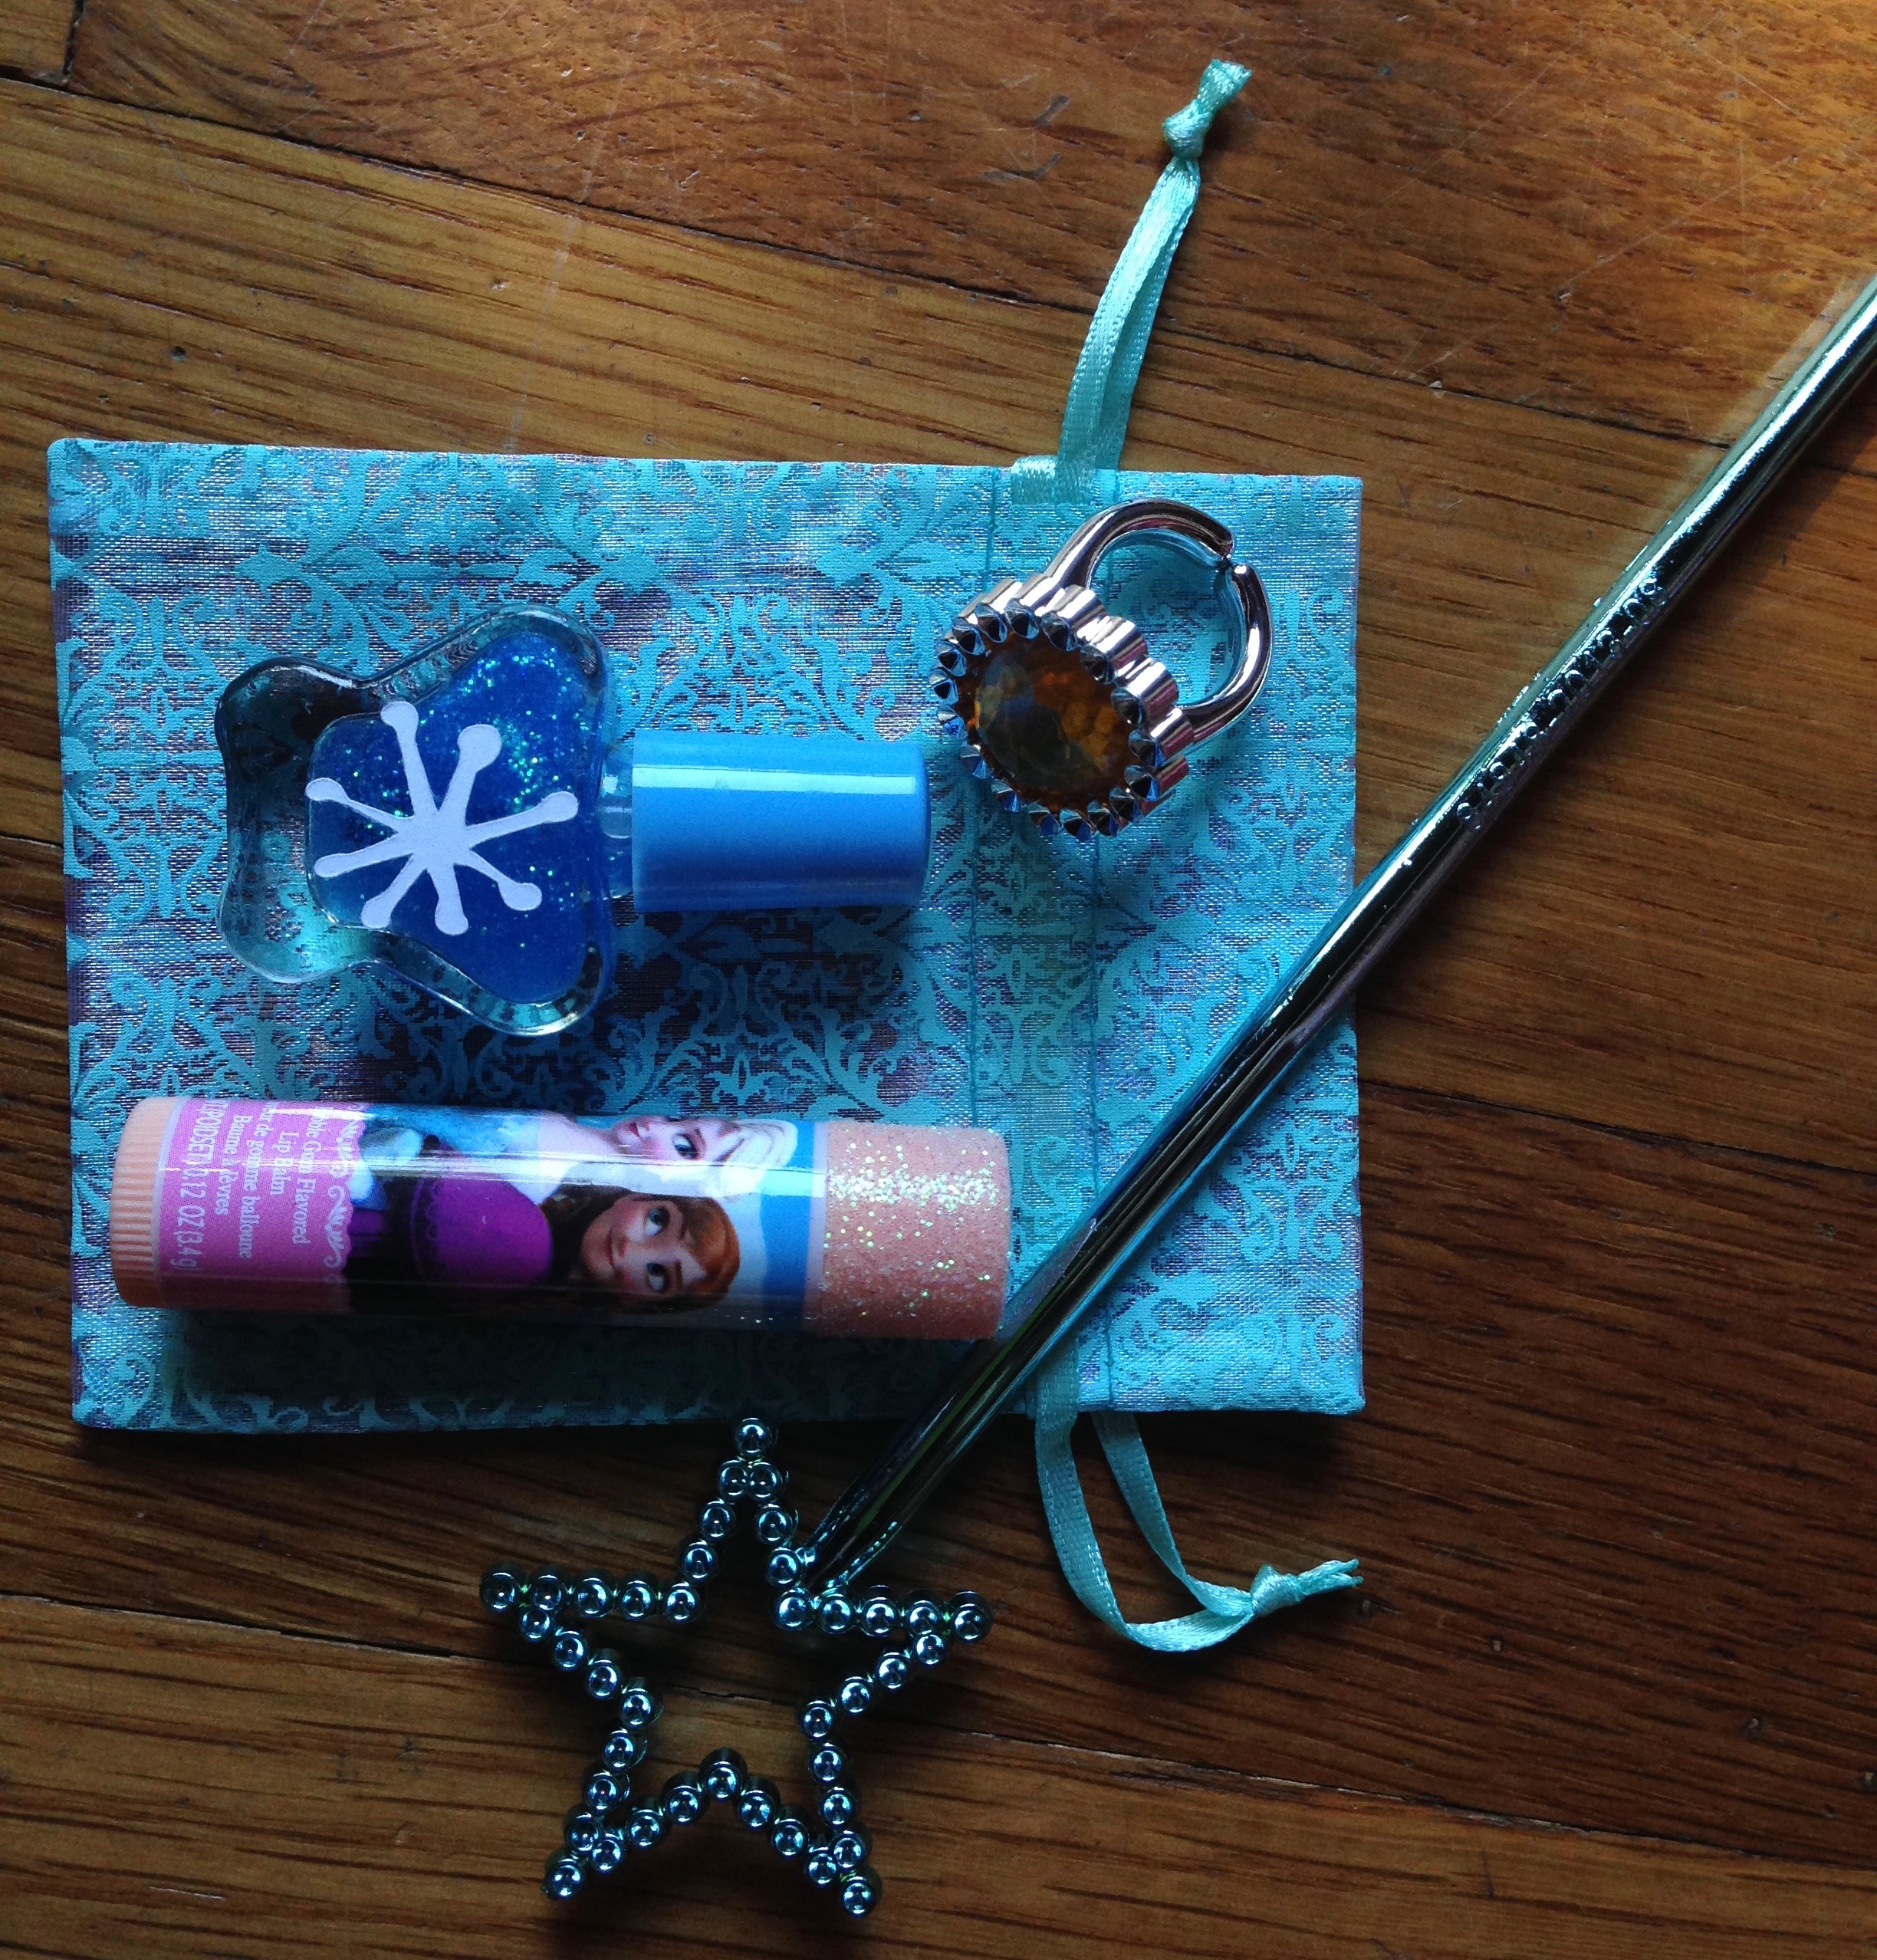
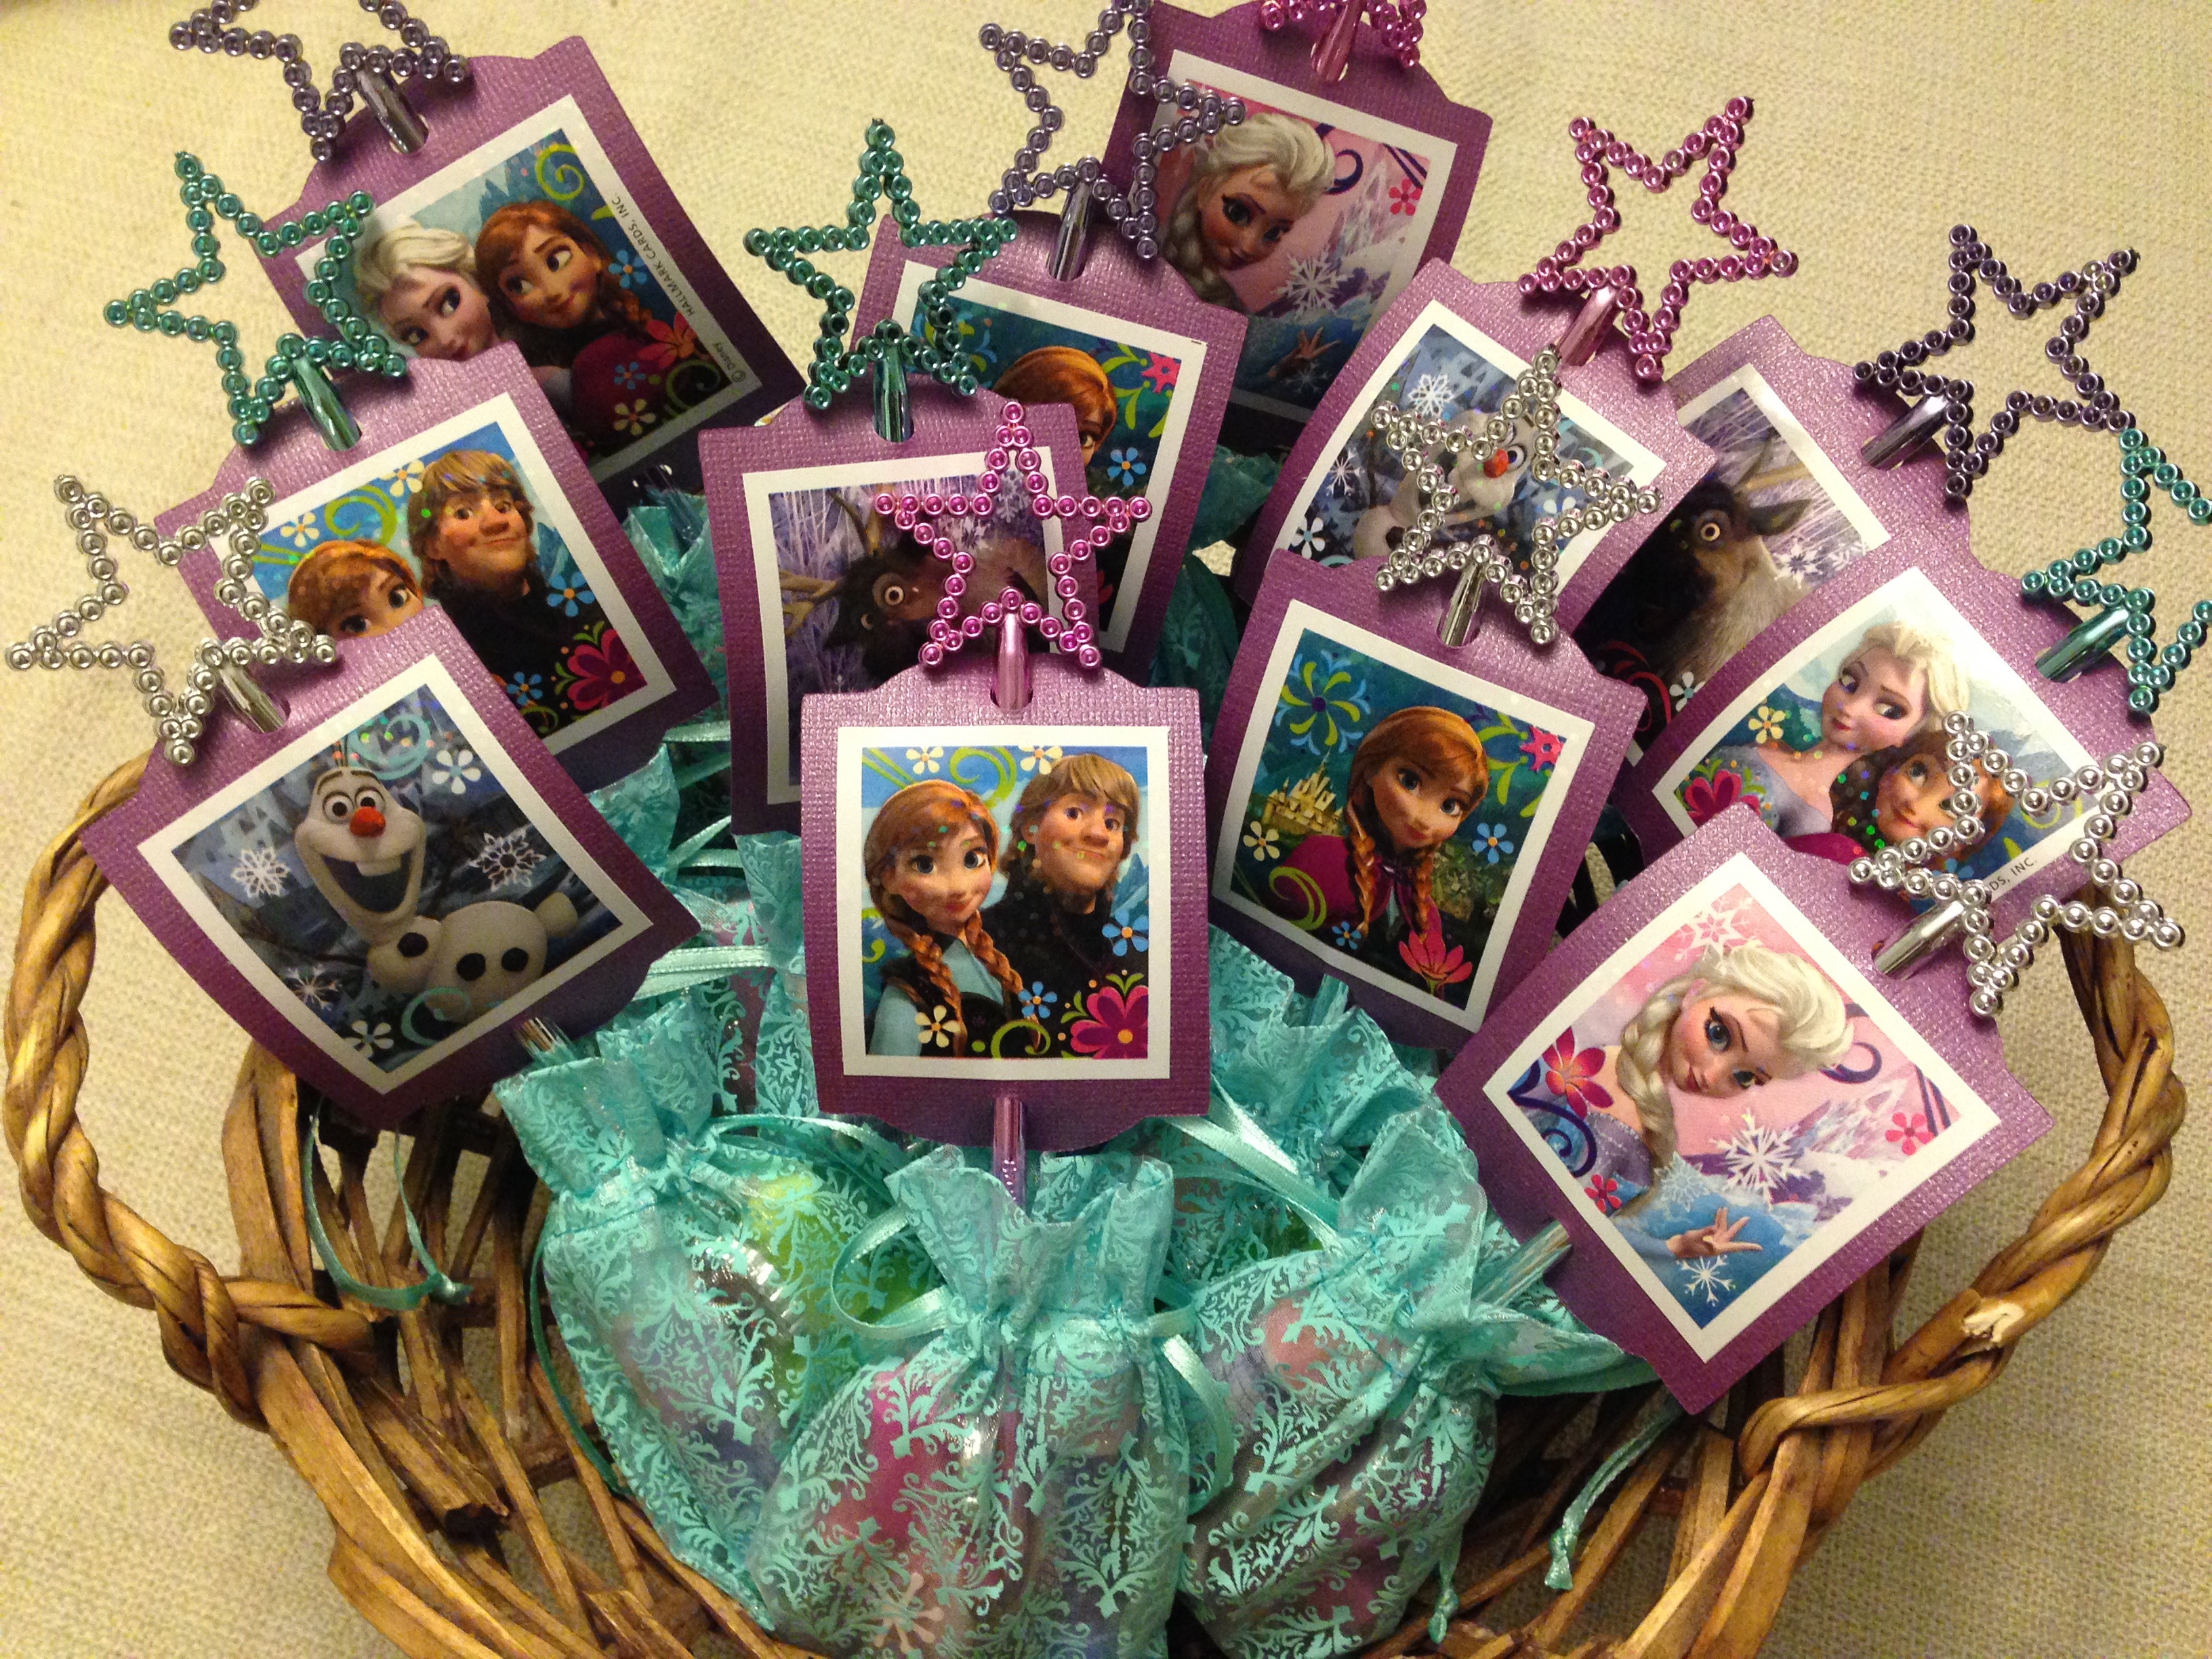
These goodie bags were just perfect to pass out at the end of the party… so girly and fun, filled with sparkly treasures for each little princess. I already had the Frozen chapsticks I purchased early on at TJ Maxx, so I just needed a couple of small items to go with them. I found the little blue bags in the wedding section at Michael’s and the rings and wands in the toy section. These tiny nail polishes became “Frozen” when we added a snowflake (cut from the Cricut) to each one. I made some cute tags using Frozen sticker and threaded them through the wands to complete the look. You can now find a variety of Frozen goodie bag items on Amazon. Karis helped me put the goodie bags together, so she was very proud to hand them out the each of her friends as she said, “goodbye and thank you for coming to my party.”

For more fun birthday party ideas check out some of my other blogposts:
Adopt A Pet (Beanie Boo) Birthday Party


 Google Christmas silhouettes online and find four that you want to use. Size them to fit in the center of your canvas with enough space around each for the glitter. Try and make all 4 about the same size. Print out your silhouettes and cut them to use as templates.
  Trace your silhouettes on the back of your adhesive-backed vinyl. Cut them out to create four stickers.
 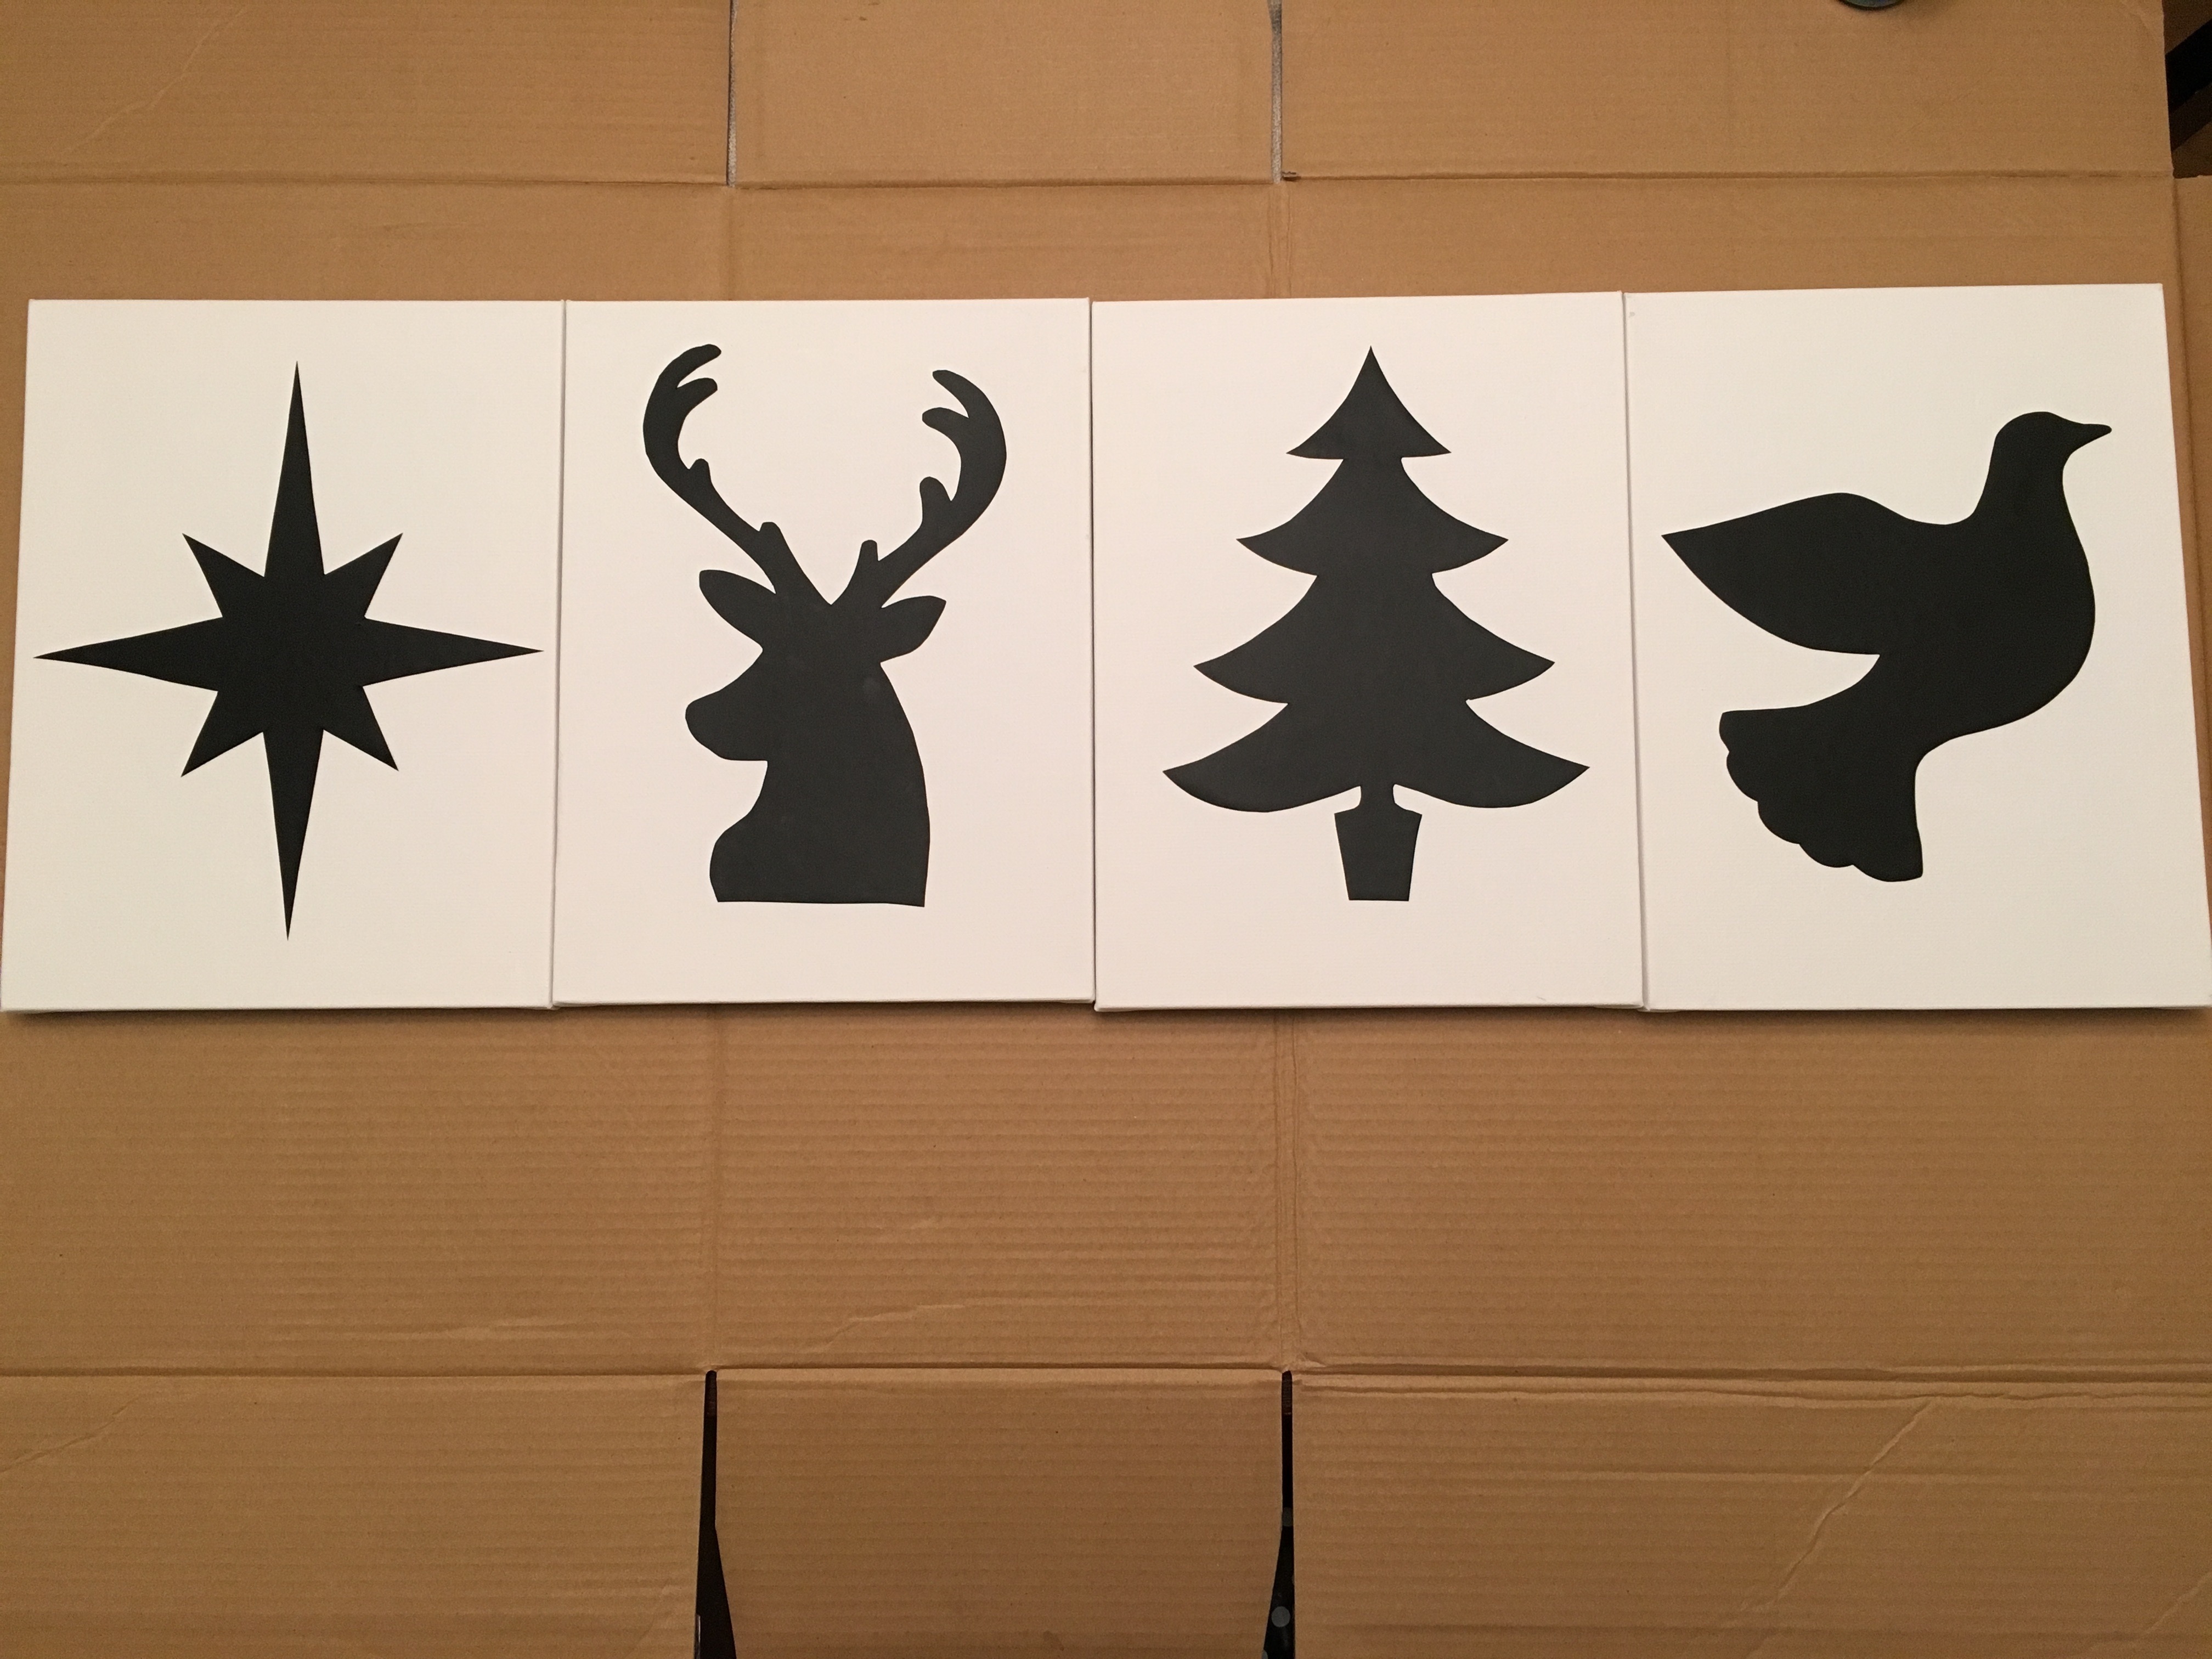 Place one “sticker” on each canvas.
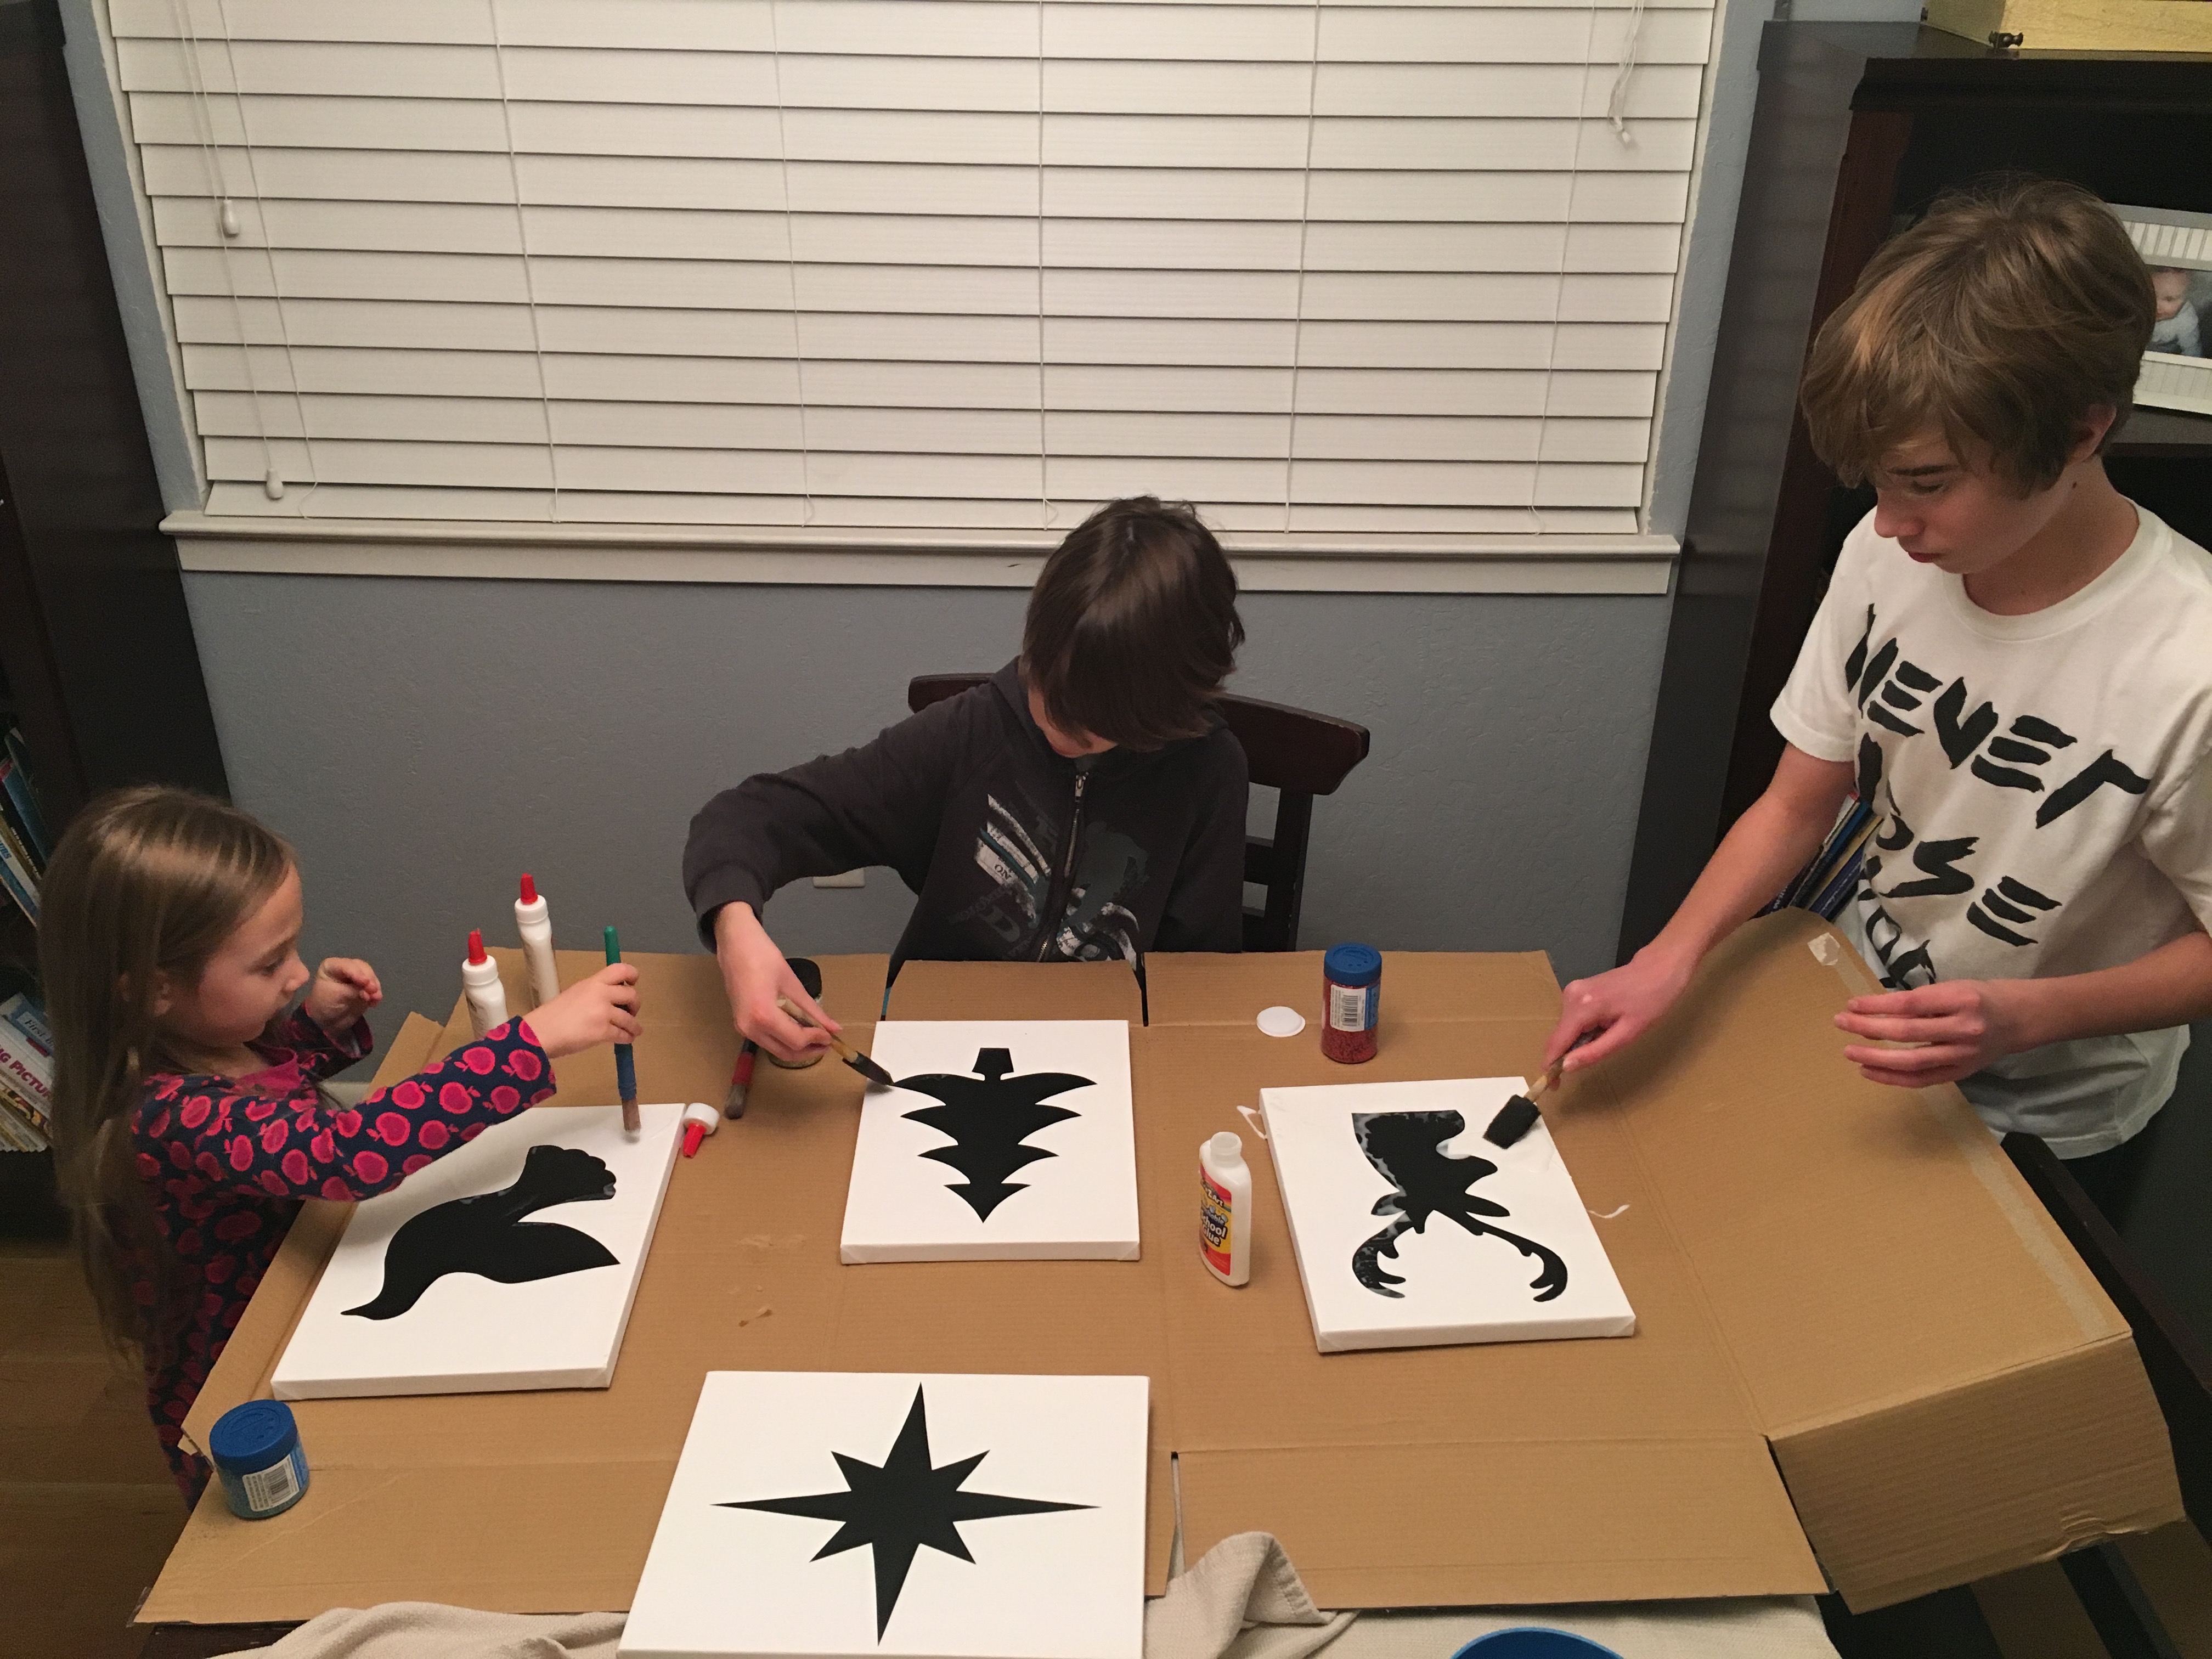 Paint glue evenly all over the white parts of your canvas. It’s ok to get a bit of glue on the stickers, but try to keep it to a minimum so that you can see the outline for when you peel it off later.
  Sprinkle glitter all around your silhouette and be sure to go over the edges a bit to make sure you create a nice line all around each image.
 Wait about 45 minutes. You will want to peel your stickers before the glue and glitter completely dry. This will create a cleaner line.
  Allow your canvases to dry completely. Shake the glitter off. Then paint over them one more time with white school glue. This will seal the glitter in so that it doesn’t fall off everywhere when you they are hanging up on your wall. Let them dry overnight.
 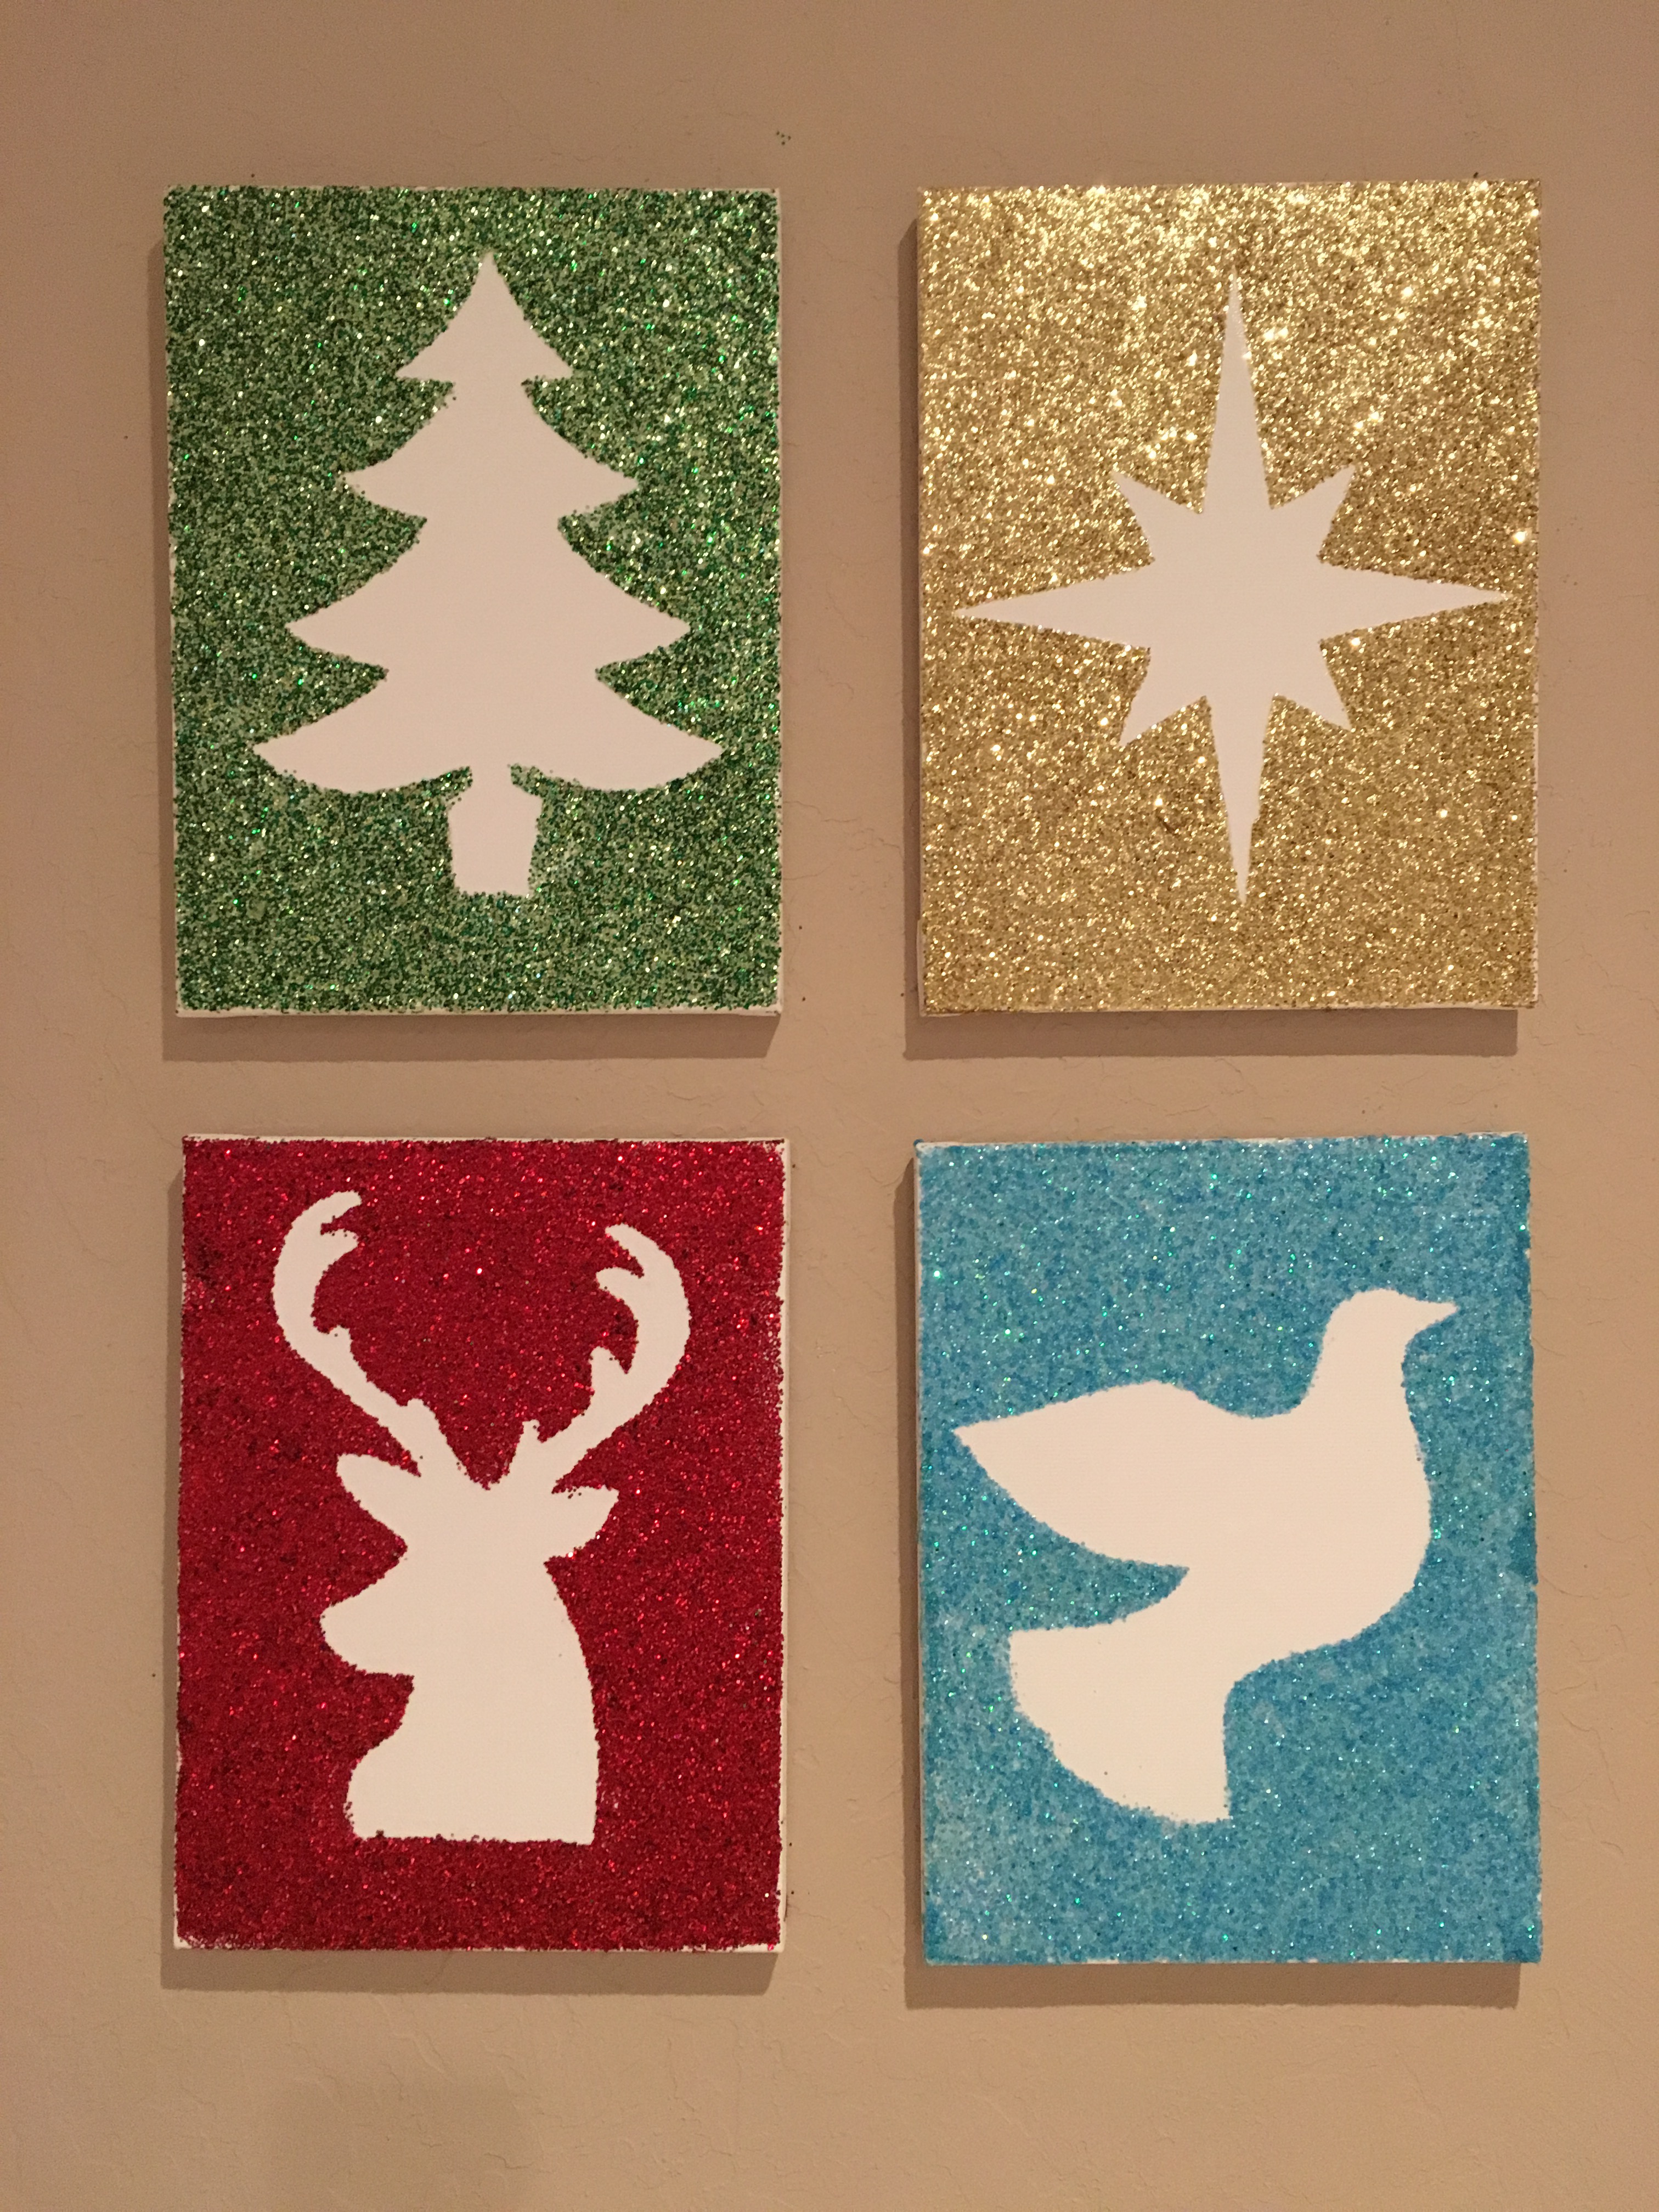 Hang up and admire your beautiful Glittery Christmas Silhouettes!