Easter Egg and Easter Bunny Embroidery Patterns with Watercolors

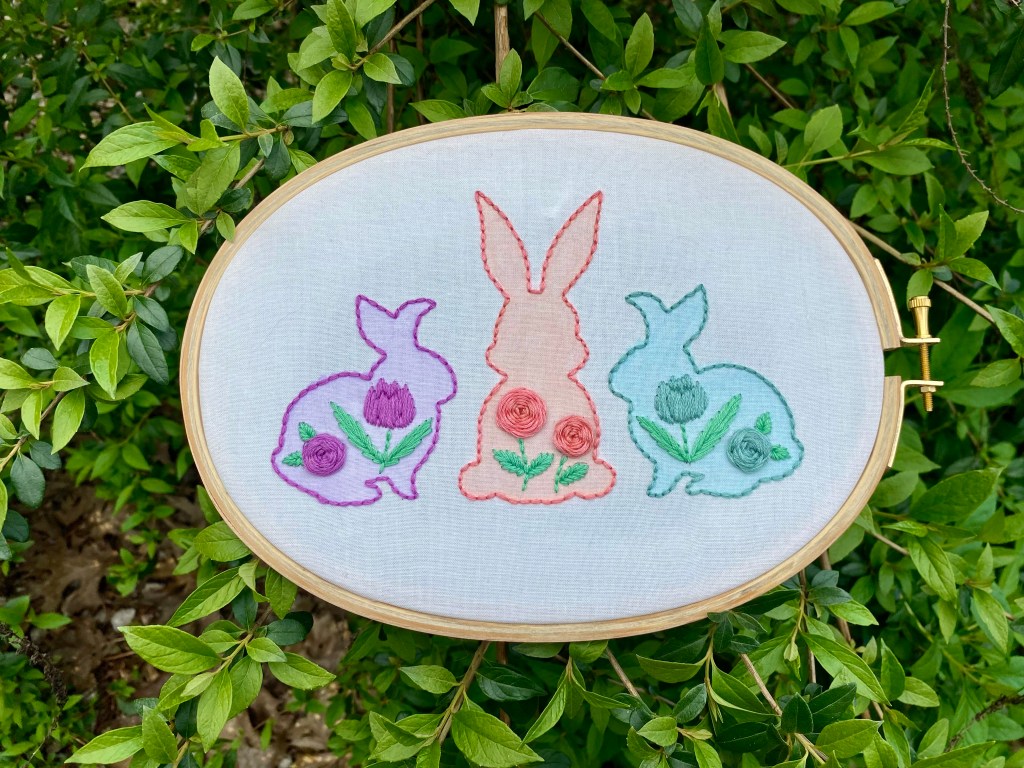
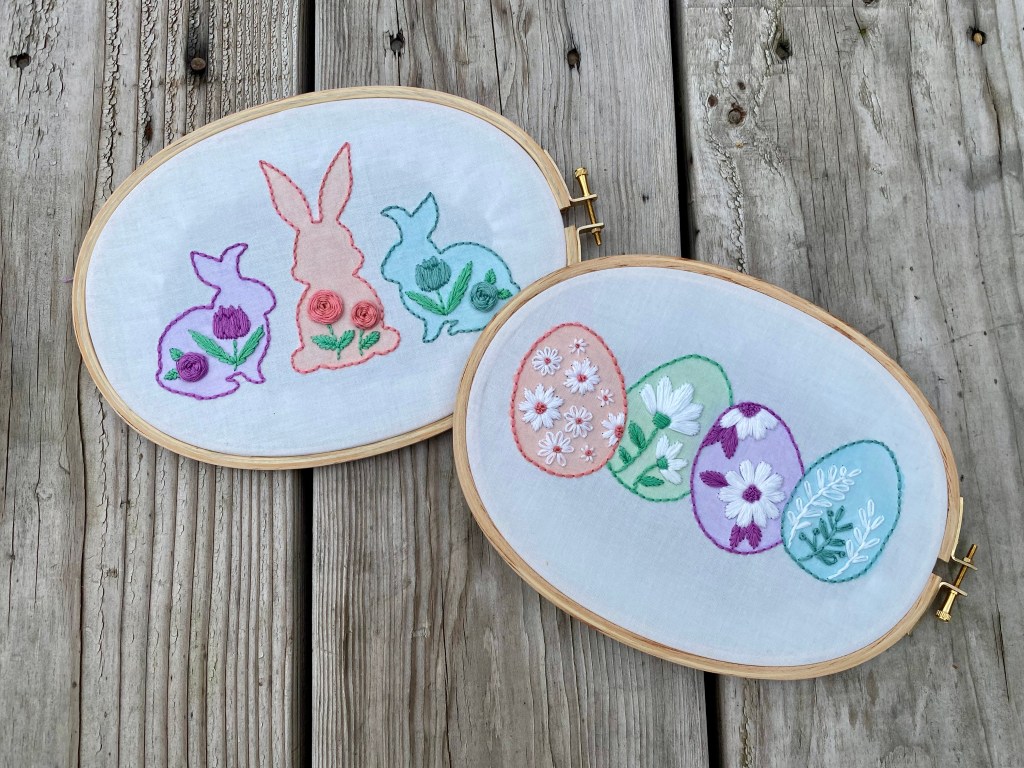
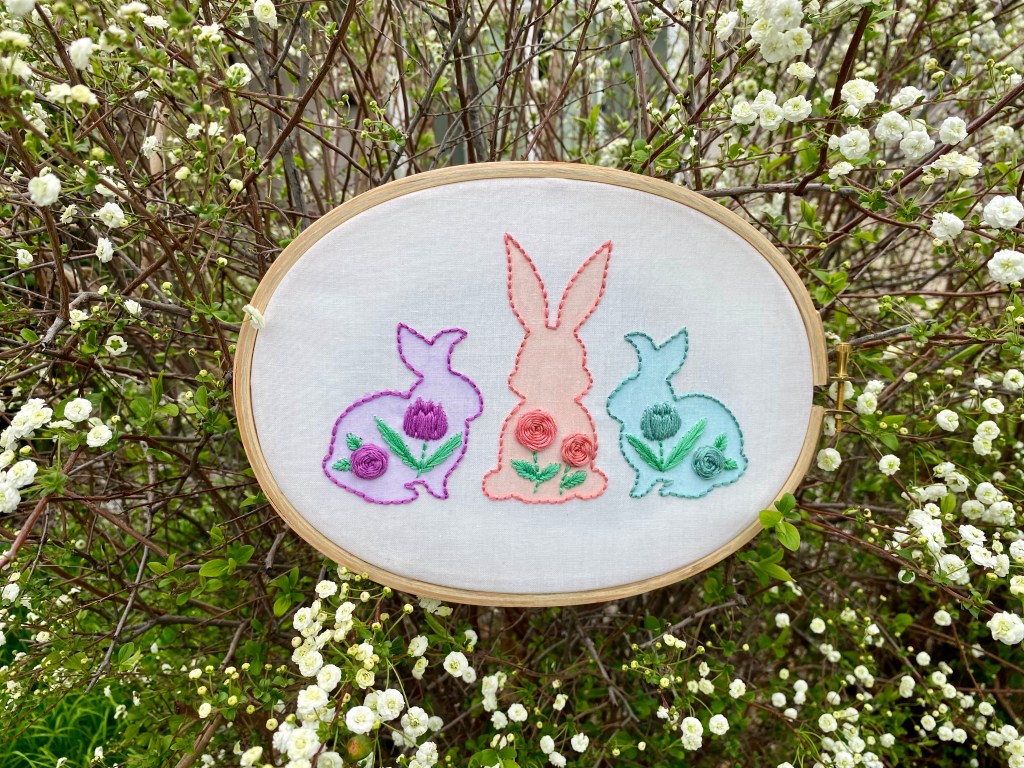
For quite some time, I have been wanting to try out watercolor with embroidery and I decided that Easter was the perfect opportunity to give it a go. I bought an inexpensive set of watercolors at Hobby Lobby, but after testing them out, I realized that the colors I wanted were not in the palette. So I experimented with adding water to acrylic paint, and I have to say that I am very pleased with the results. Just a small quirt of acrylic paint mixed with water worked brilliantly.

My first attempt was a bust. I painted my fabric too close to the edge of the eggs and bunnies and it bled over quite a bit. With just a few tweaks, I found a good system. I embroidered the outline using a back stitch first. Then I added the watercolor, starting in the center of the egg or bunny and worked my way toward the outer edge, being careful to wait to see how far the watercolors spread. As I got closer to the edge, I made sure the brush was less saturated and dabbed very gently.

After letting the watercolors dry completely, I stitched the floral designs inside of the eggs and bunnies. I used a heat erasable fabric pen to trace out the pattern before adding the watercolors, and because the colors were pastels, it was easy to see the pattern inside of the bunnies and eggs, even after painting.

If you love embroidery or are interested in learning, here is what you will need to make these beautiful pastel Easter Patterns:

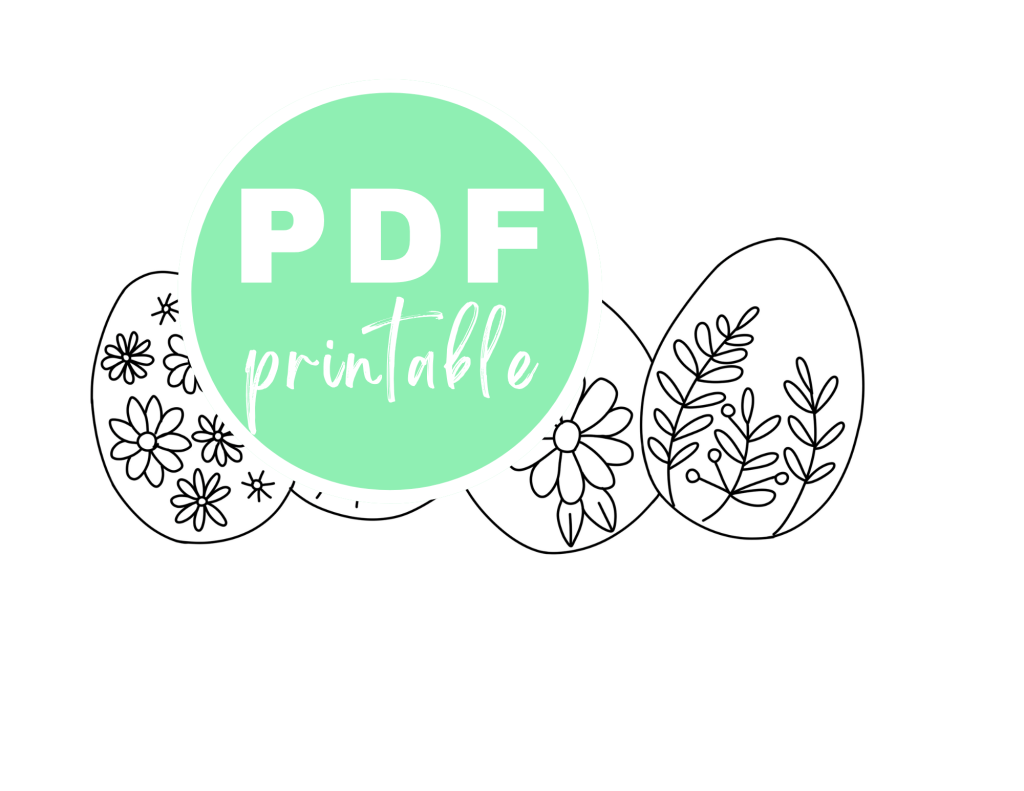
PDF printable pattern and instructions available in my Etsy Shop

2 oval embroidery hoops (you can use 8 inch round hoops as well)

white cotton fabric

embroidery floss (color suggestions DMC 554, 760, 913, 3817, & BLANC)

fabric pens

embroidery needles

scissors

watercolors or acrylic paints

If you purchase my pattern, you will also get access to a full video tutorial for the egg pattern on my new YouTube Channel “thistles and rainbows,” as well as a tutorial on how to do the woven wheel rose stitch so that you can complete the bunny pattern.

Embroidery has become one of my favorite hobbies. I find it to be a relaxing way to get quiet in the midst of the noise and business of life. The pattern possibilities are endless and I have several more in the works right now. Keep checking my Etsy Shop for fun new embroidery patterns and more.

Vintage Style Embroidered Floral Necklaces

If you’ve been following my blog, then you know that embroidery has become one of my passions. I love learning new stitches and creating beautiful things, and these vintage style necklaces have become some of my favorites. They may look complicated, but they are actually easier than you would expect. 

You can find countless tutorials on youtube on how to do various embroidery stitches, but one of my goals for 2024 is to create my own channel to teach people how to do embroidery. Stay tuned for more information about that. If you are wanting to learn how to make similar necklaces or keychains, here is what you will need.

cotton or linen fabric

embroidery floss

needles

embroidery hoop

necklace bezels

chains

keychain bezels

keychain holders

E6000 plus crystal clear glue

clothes pins

cardboard for bezel inserts (I cut mine on my Cricut Maker 3, but you can use scissors and an empty cereal box)

#commissionsearned

Space out your embroidery so that you can easily cut around each one. I like to use a water soluble fabric marker to draw little circles in the same size as the bezel so that each one fits inside of the circle. I also use the fabric marker to trace around the fabric before I cut it. Leave enough of an edge to fit around the cardboard circle insert.

Optional tip: I like to cut a small circle of felt (the same size as the cardboard insert) to place in between the fabric and the cardboard circle to make the fabric and embroidery puff up a bit.

Cut a small circle out of cardboard to fit inside of the bezel. Some bezels come with glass or metal inserts so you don’t have to make your own. Use a running stitch around the excess fabric and cinch it to tighten around the back. Then use the rest of the thread in a criss cross pattern to tighten the folds in place so that the fabric lays as flat as possible against the cardboard.

Use a generous glob of E6000 crystal clear glue inside of the bezel. You should have a thin layer around the inside of the metal, but not so much that it will squeeze out over the edge when you press the embroidery on it. Place the fabric/embroidery inside of the bezel and hold in place with 2-3 clothes pins. Let them dry for 24 hours and then remove the clothes pins and gently fluff up any indents with your fingers. Add a chain and your necklaces are ready to wear. If you are making keychains, then attach the keychain holders instead of adding a necklace chain.

I’ve included a picture of my most recent craft fair so that you can see how I display my necklaces and keychains. I used my Cricut Maker 3 to create the necklace holders out of card stock. #commissionsearned I do currently have a small collection of St. Patrick’d Day embroidered necklaces in my Etsy Shop if you are looking to purchase one.

My favorite thing about making these necklaces and keychains is that each one is unique and there are so many variations you can create. Embroidery is a lost art, but it is making a come back. If you are interested in learning more about embroidery, follow along with me on my blog. I have a lot of fun projects and tutorials planned for the new year!

For more embroidered necklaces, check out my blogpost St. Patrick’s Day Necklaces.